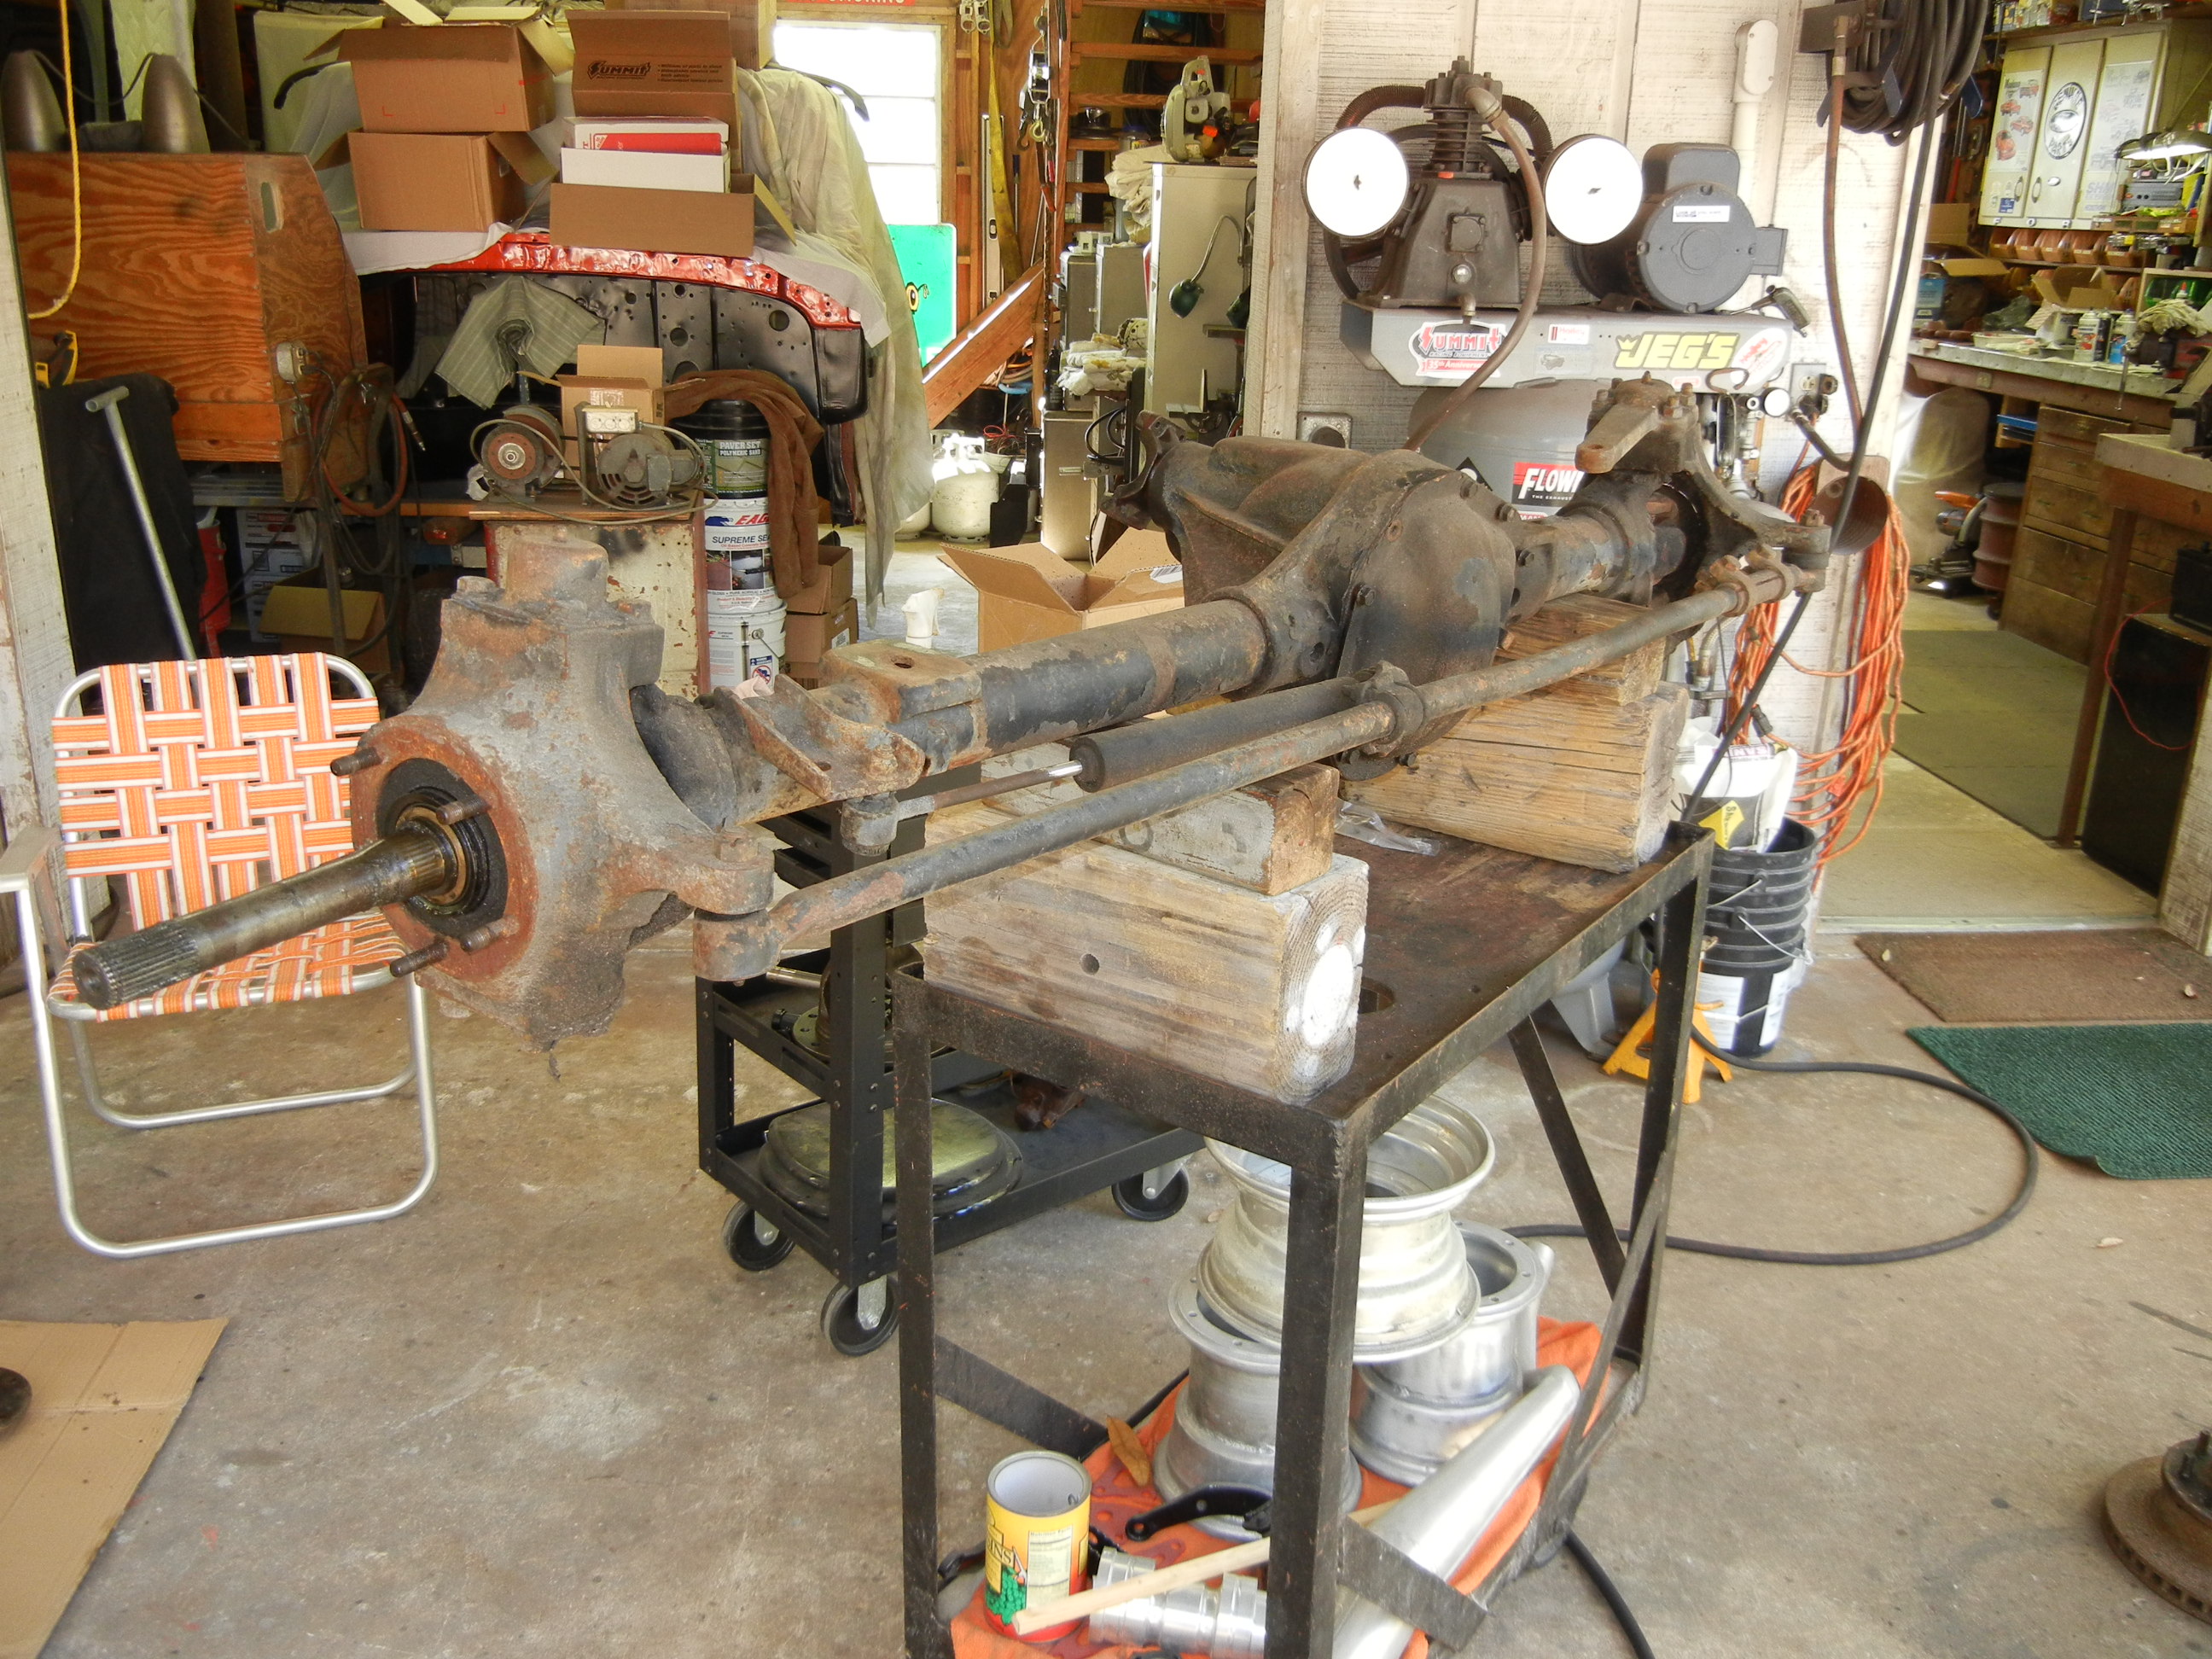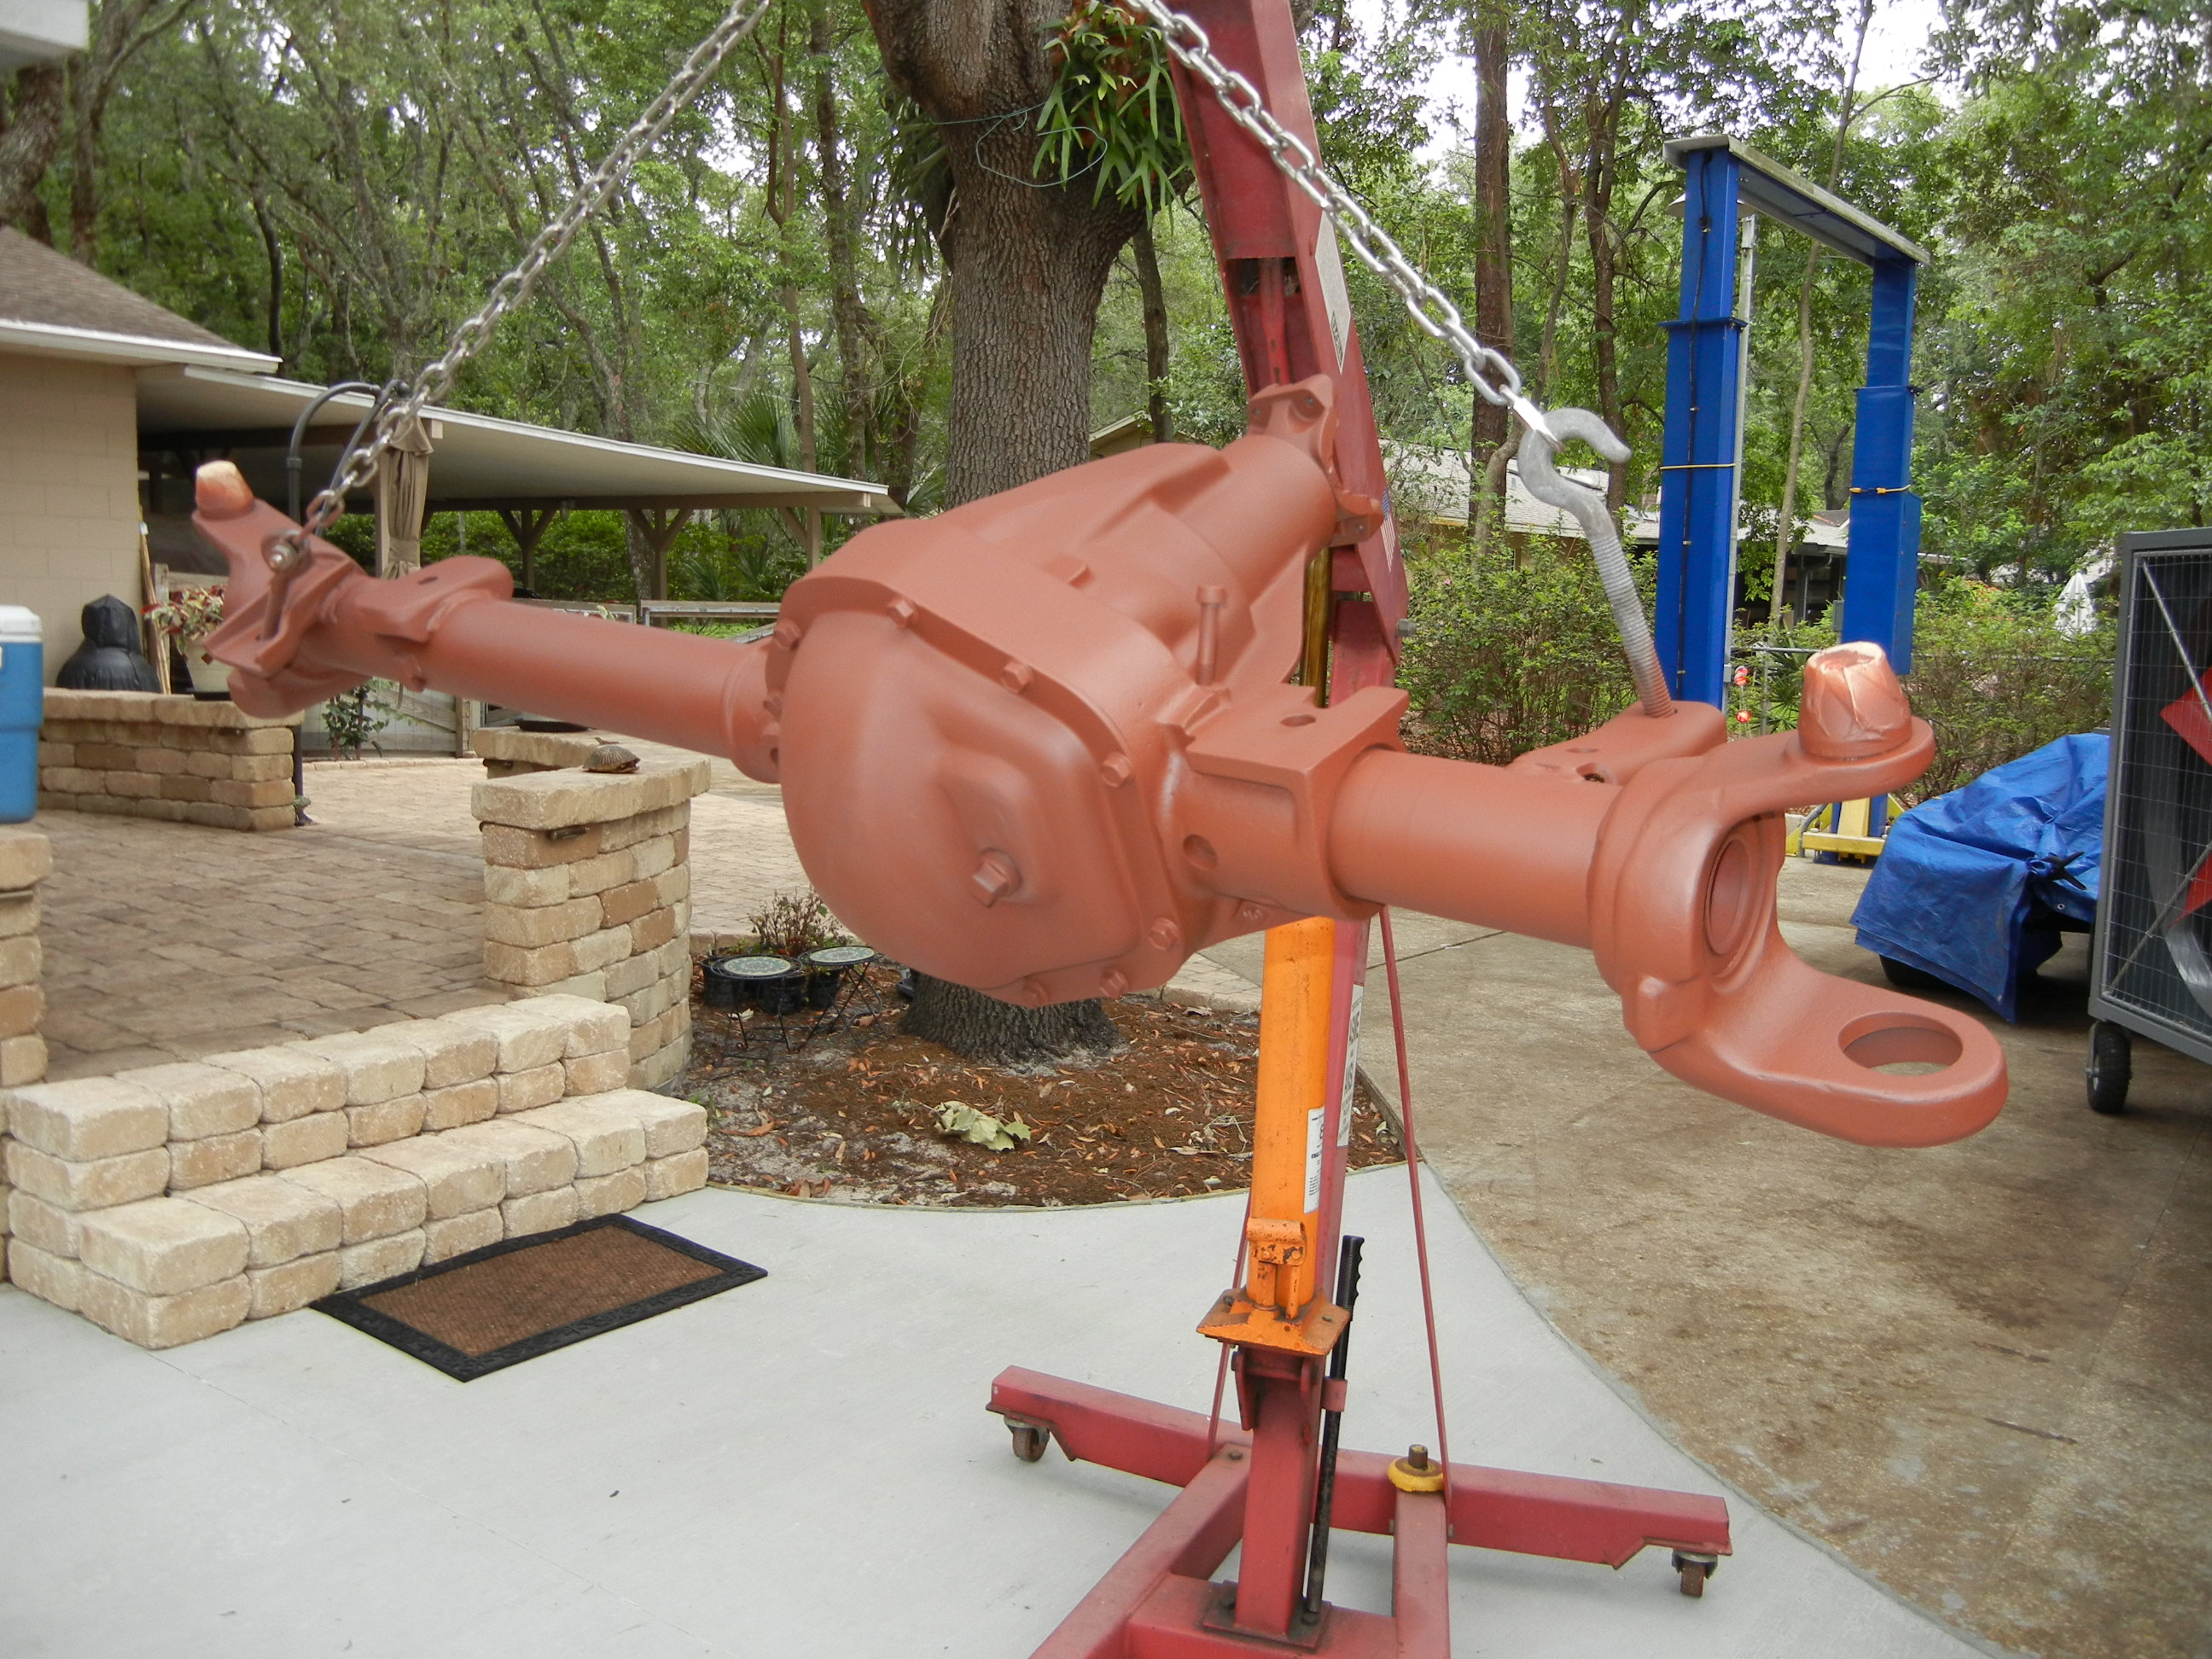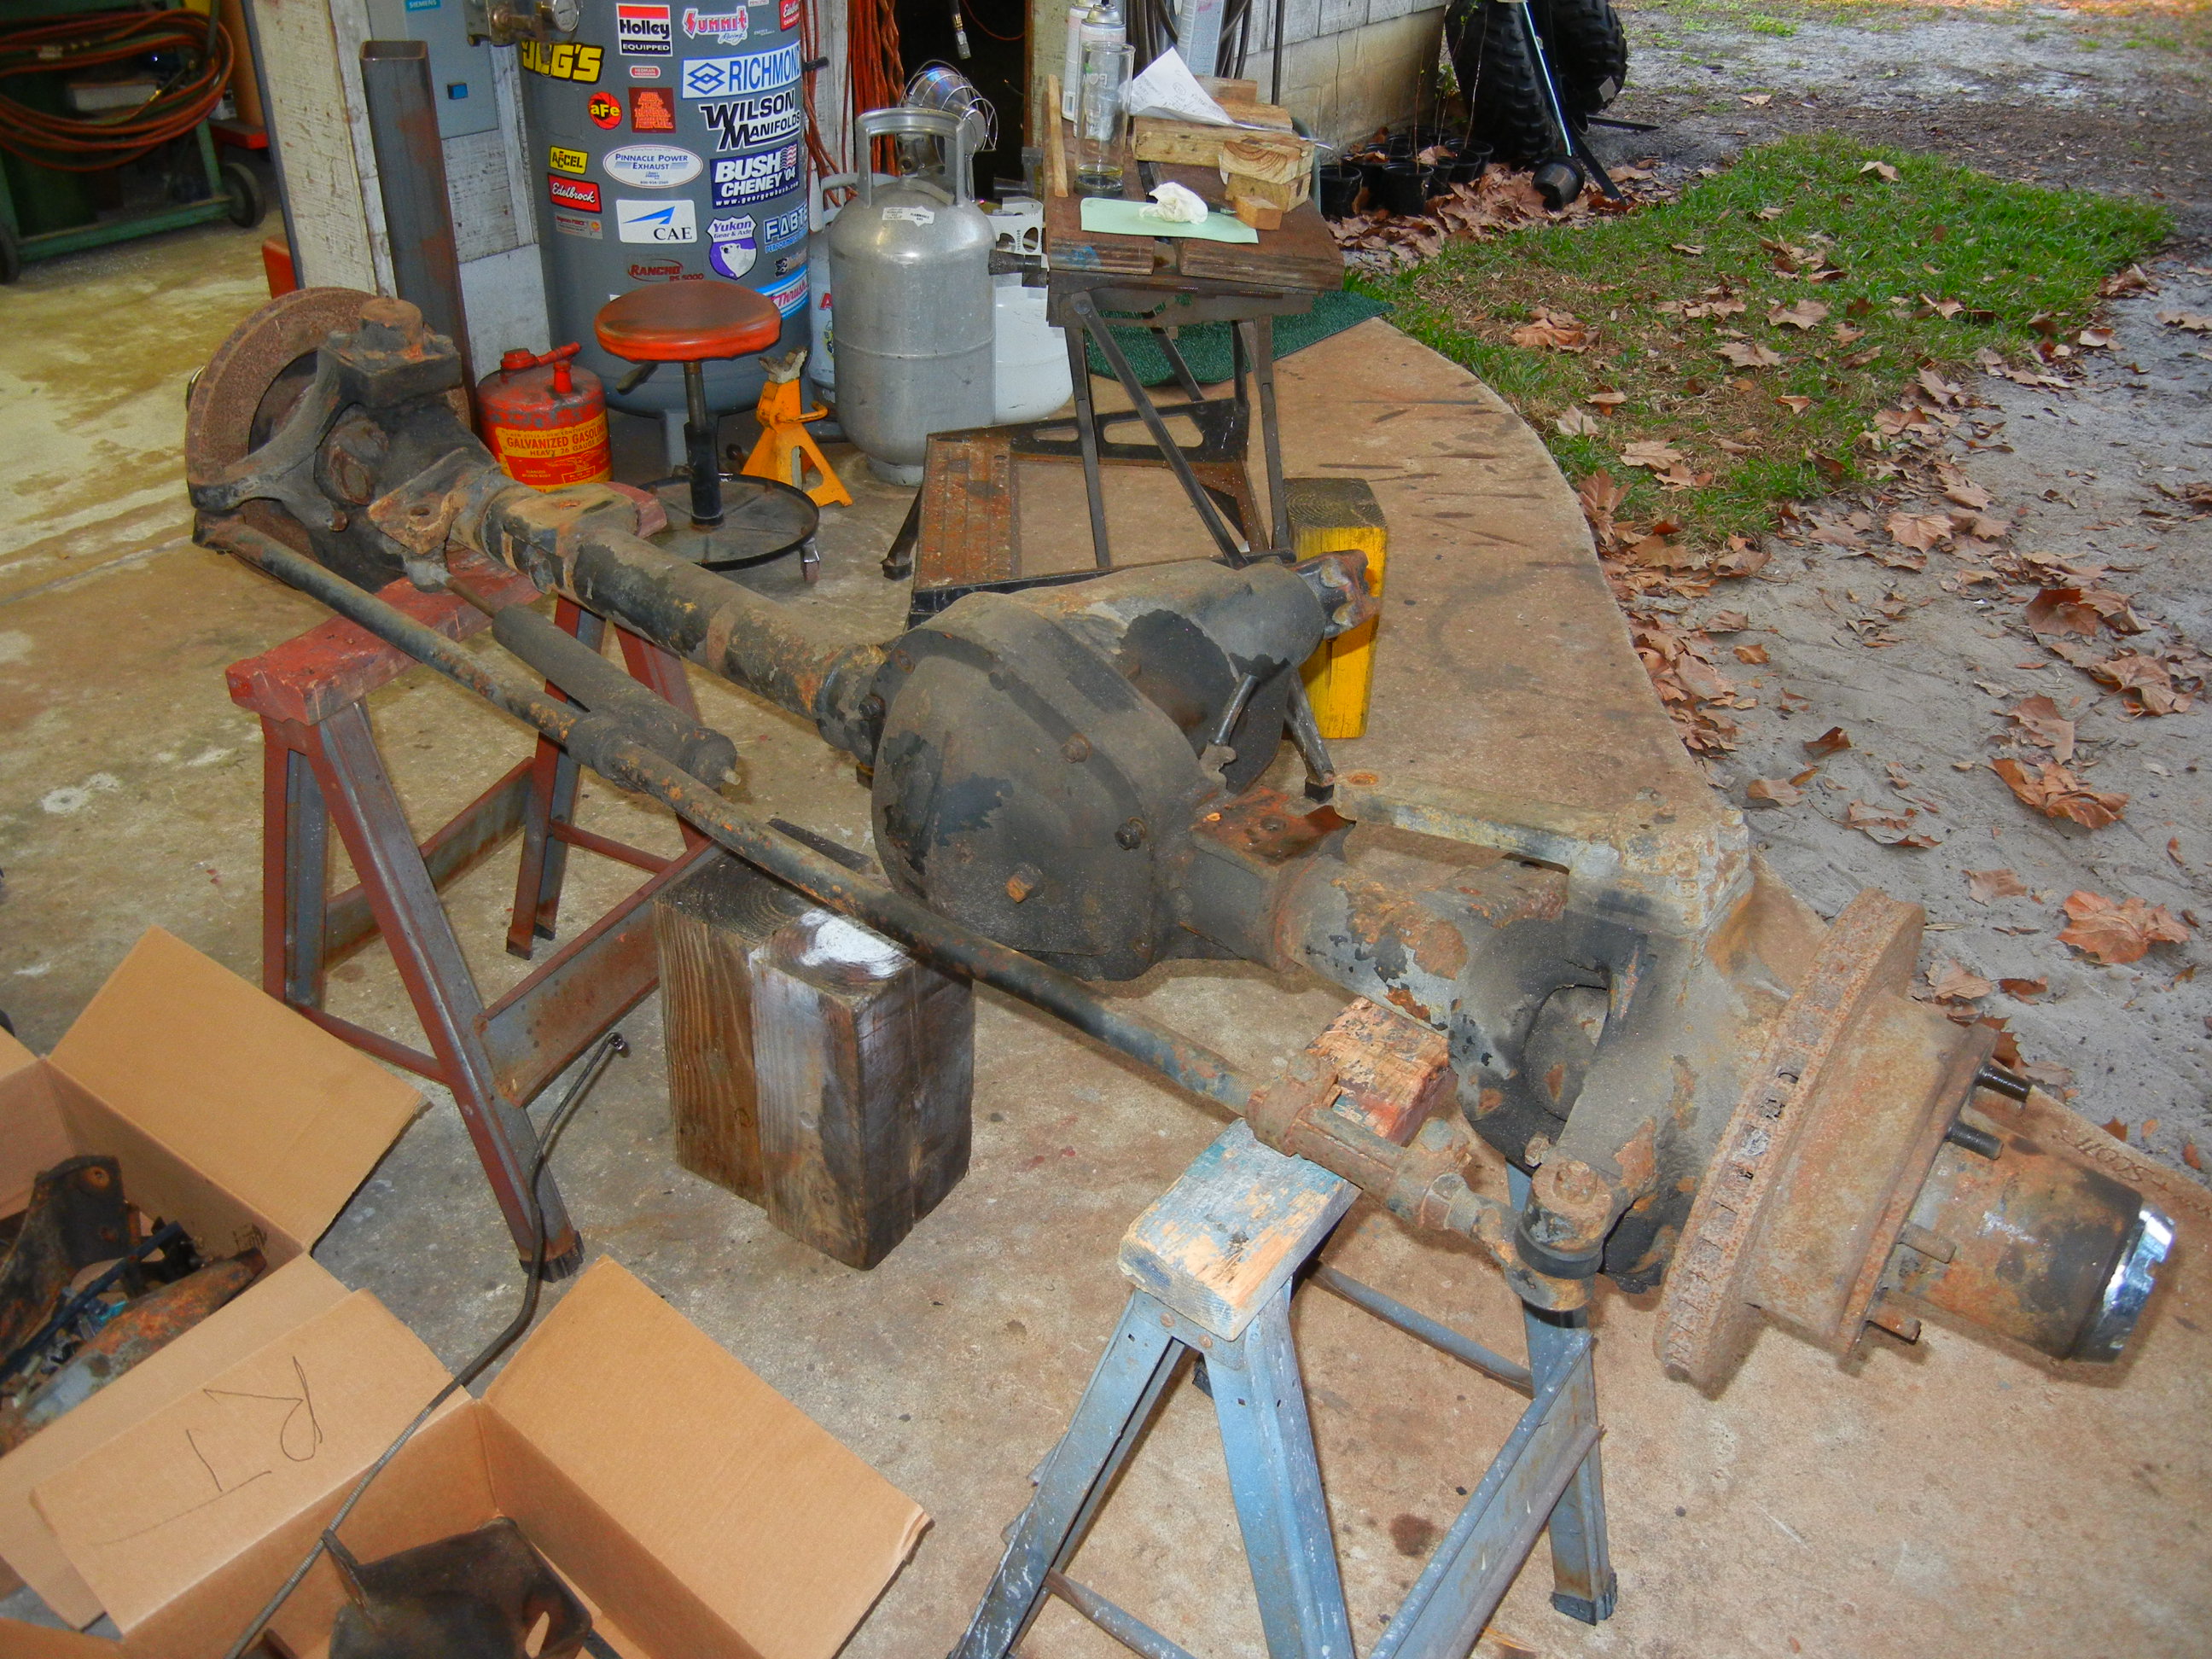
Like the Dana 70 page, this will show the pain and progress of rebuilding the famous '78/79 Ford Dana 60 front axle. The previous (original) owner wheeled this truck hard since day one. If the frame and body are any indication of the condition of this truck, then I'm either going to get really lucky or really screwed by this axle. Follow along!
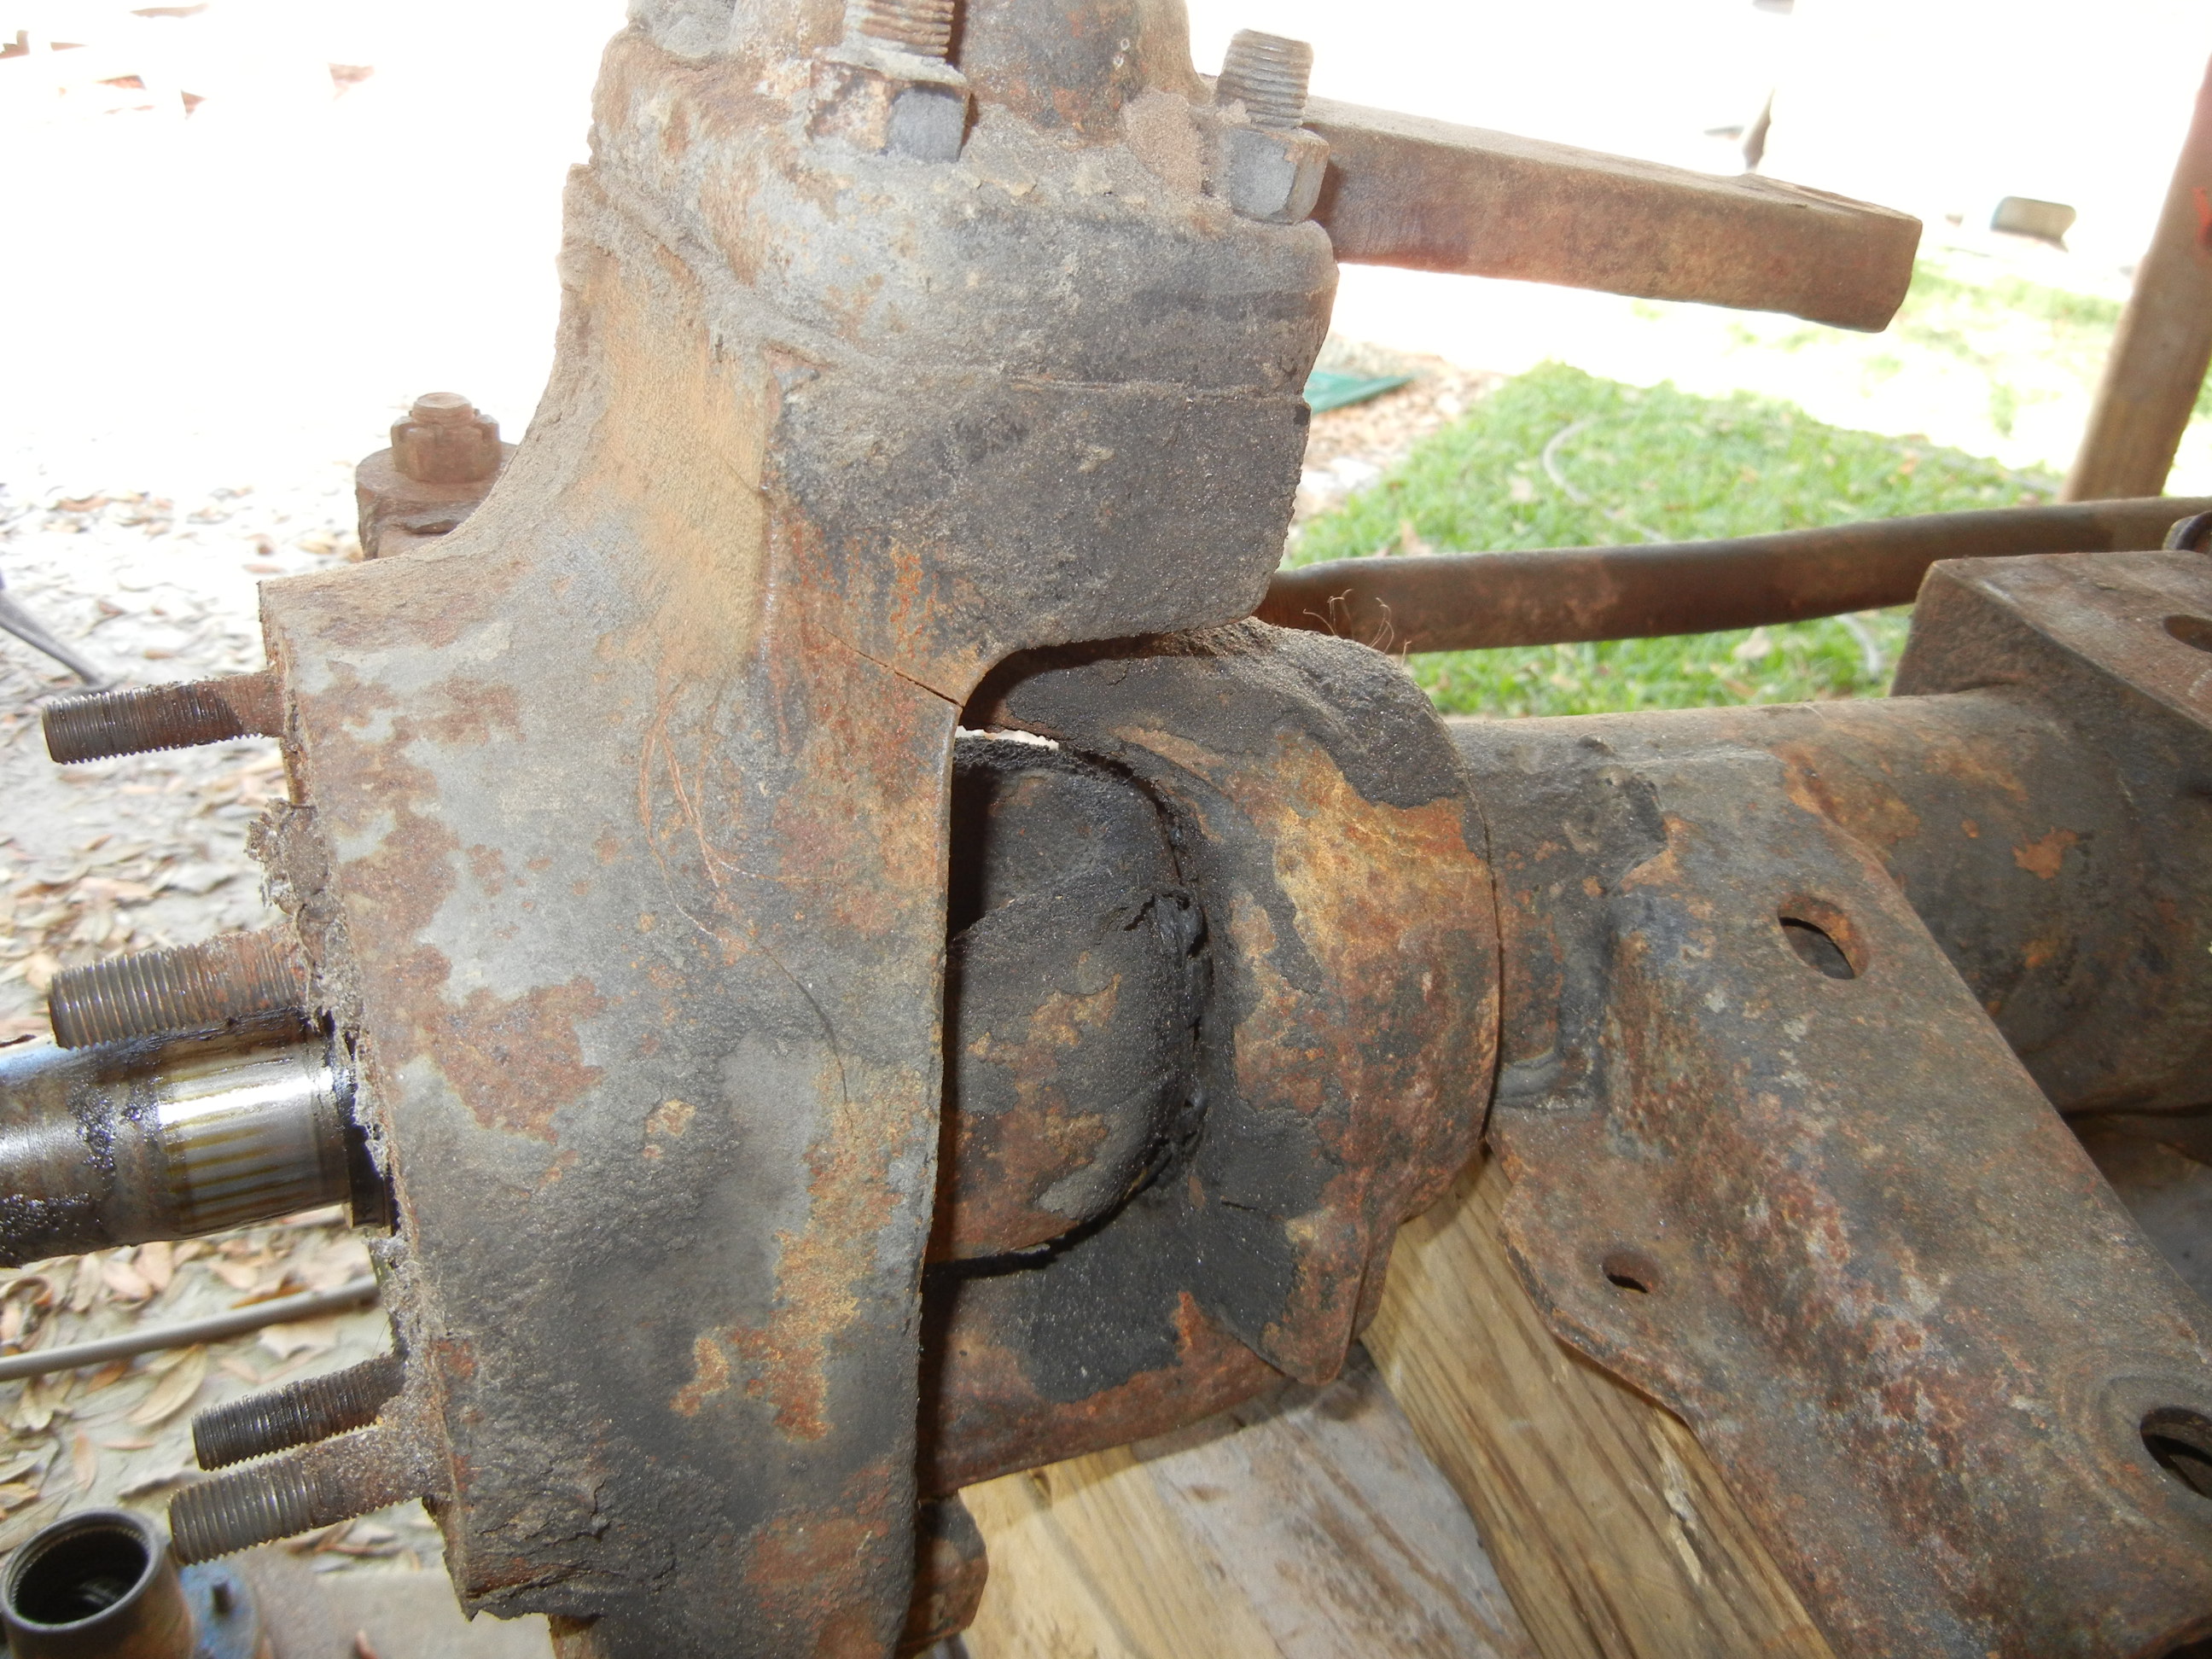
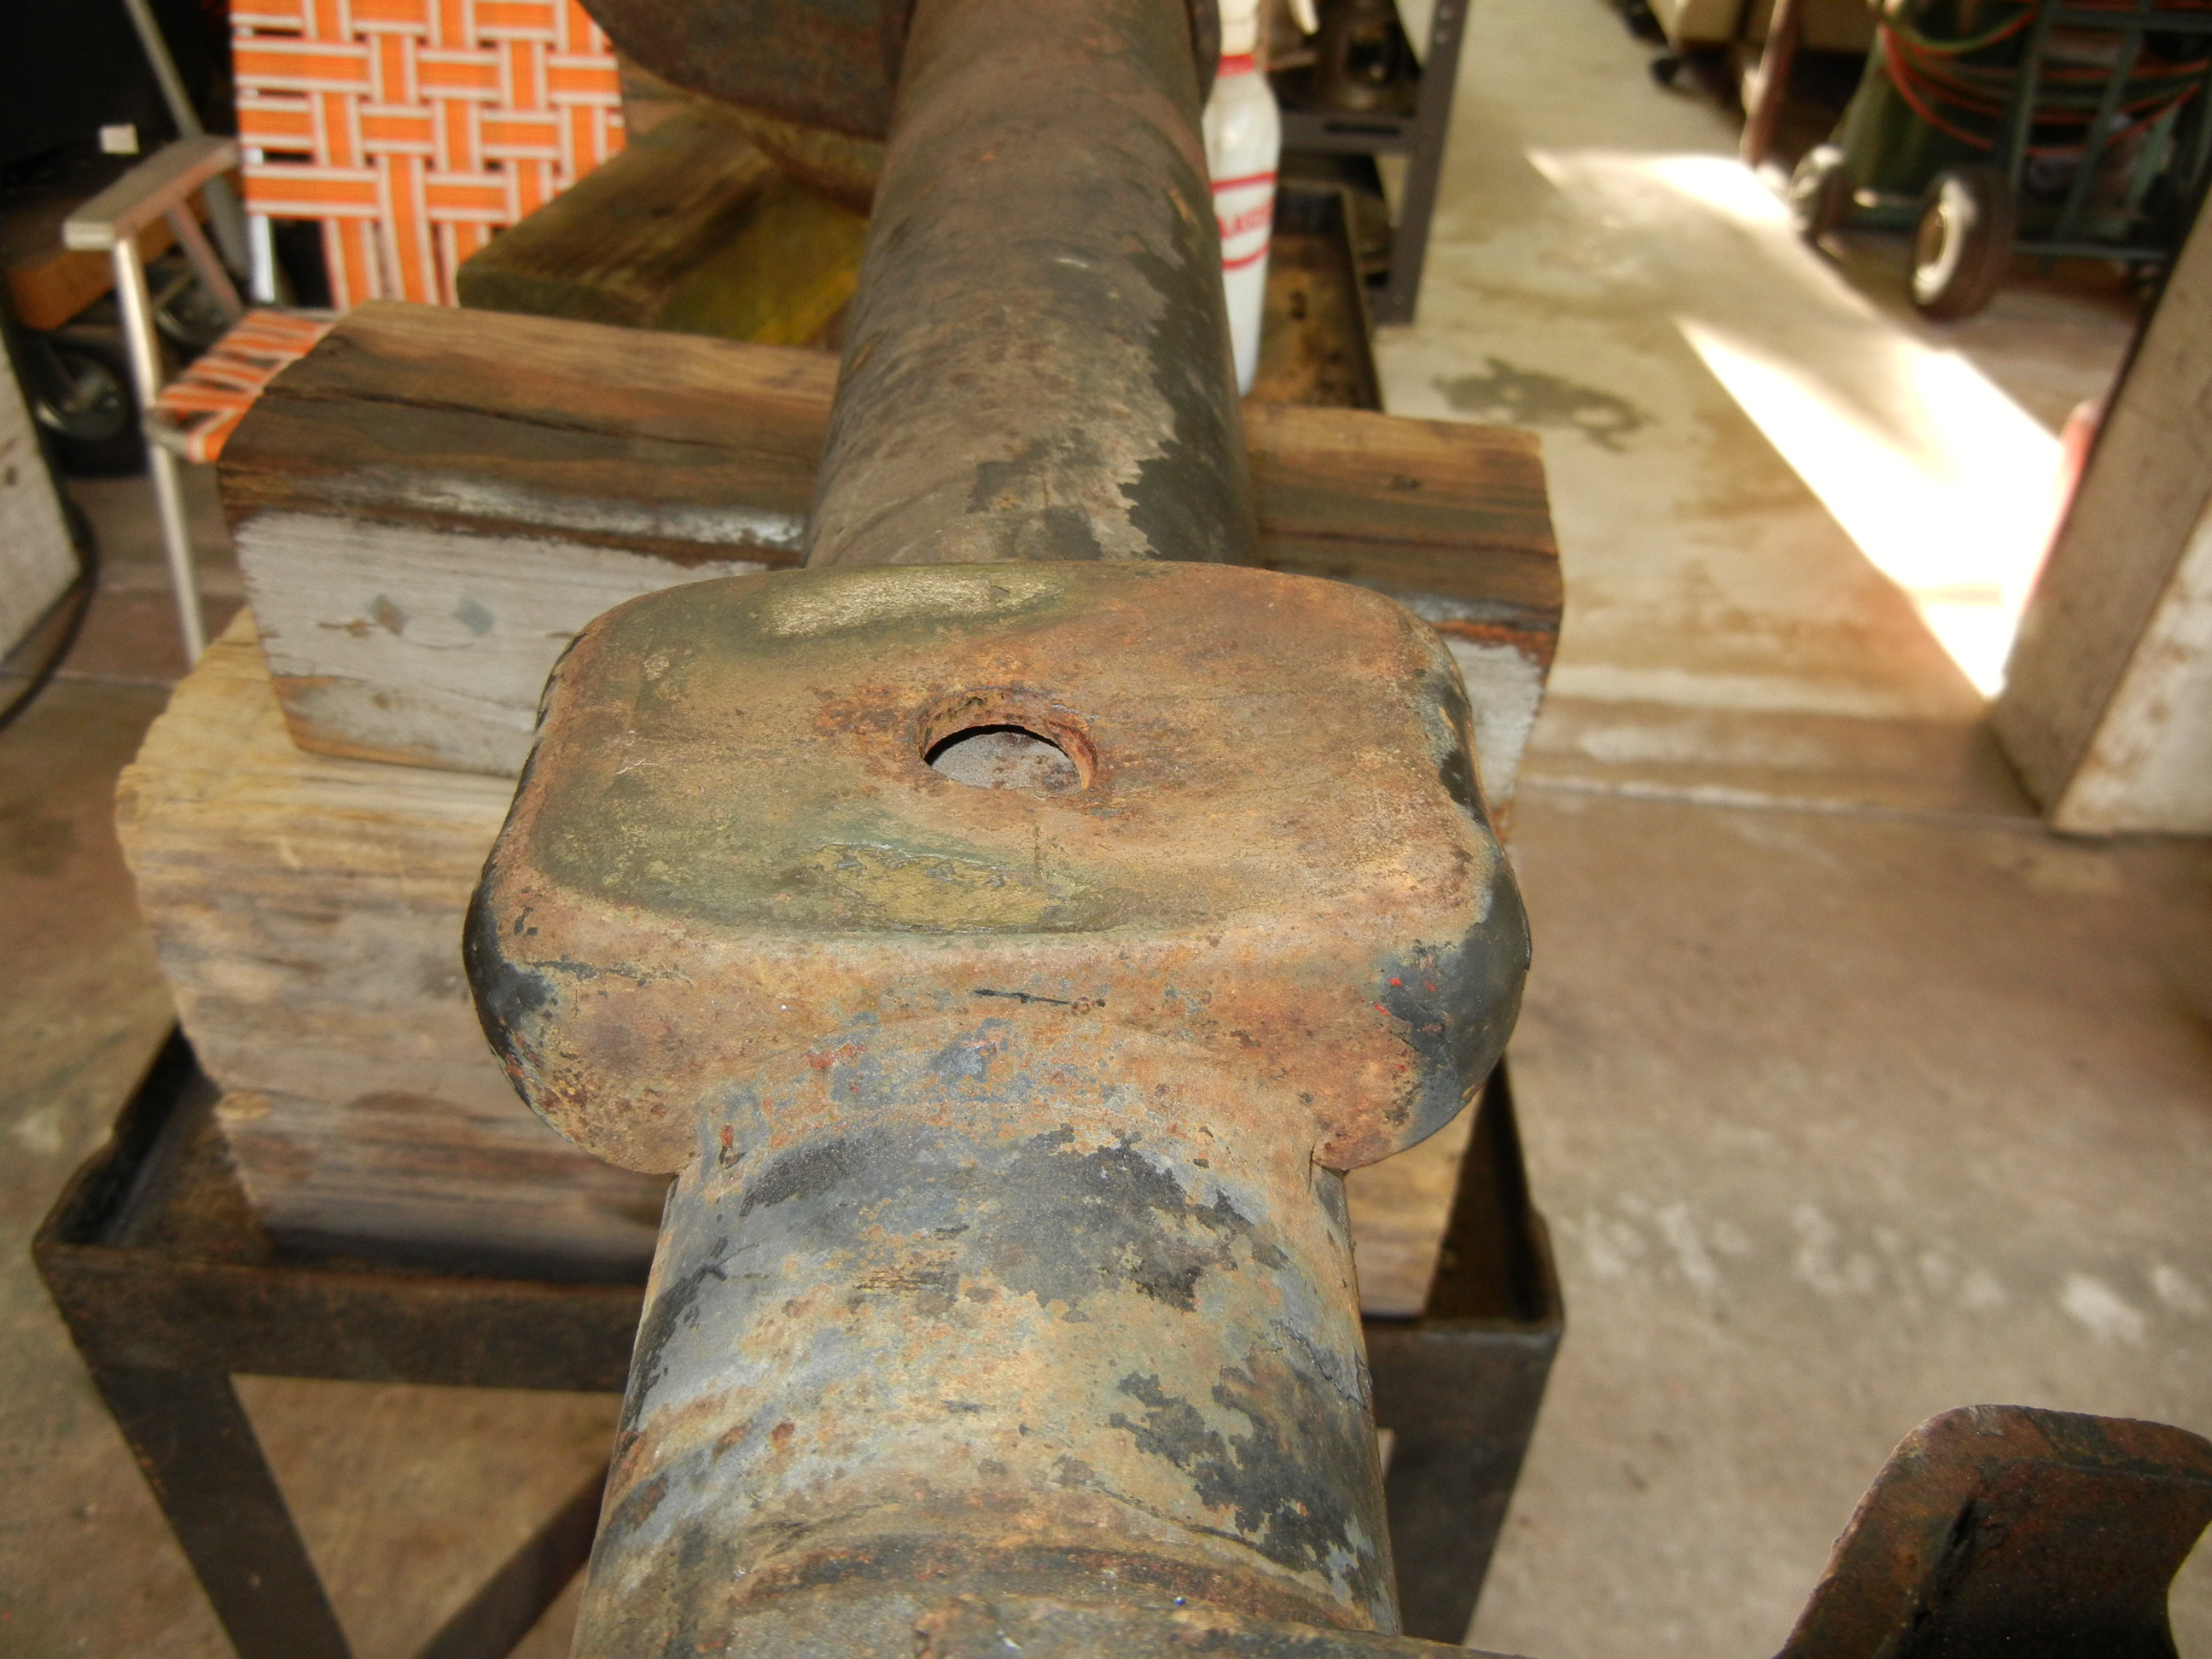
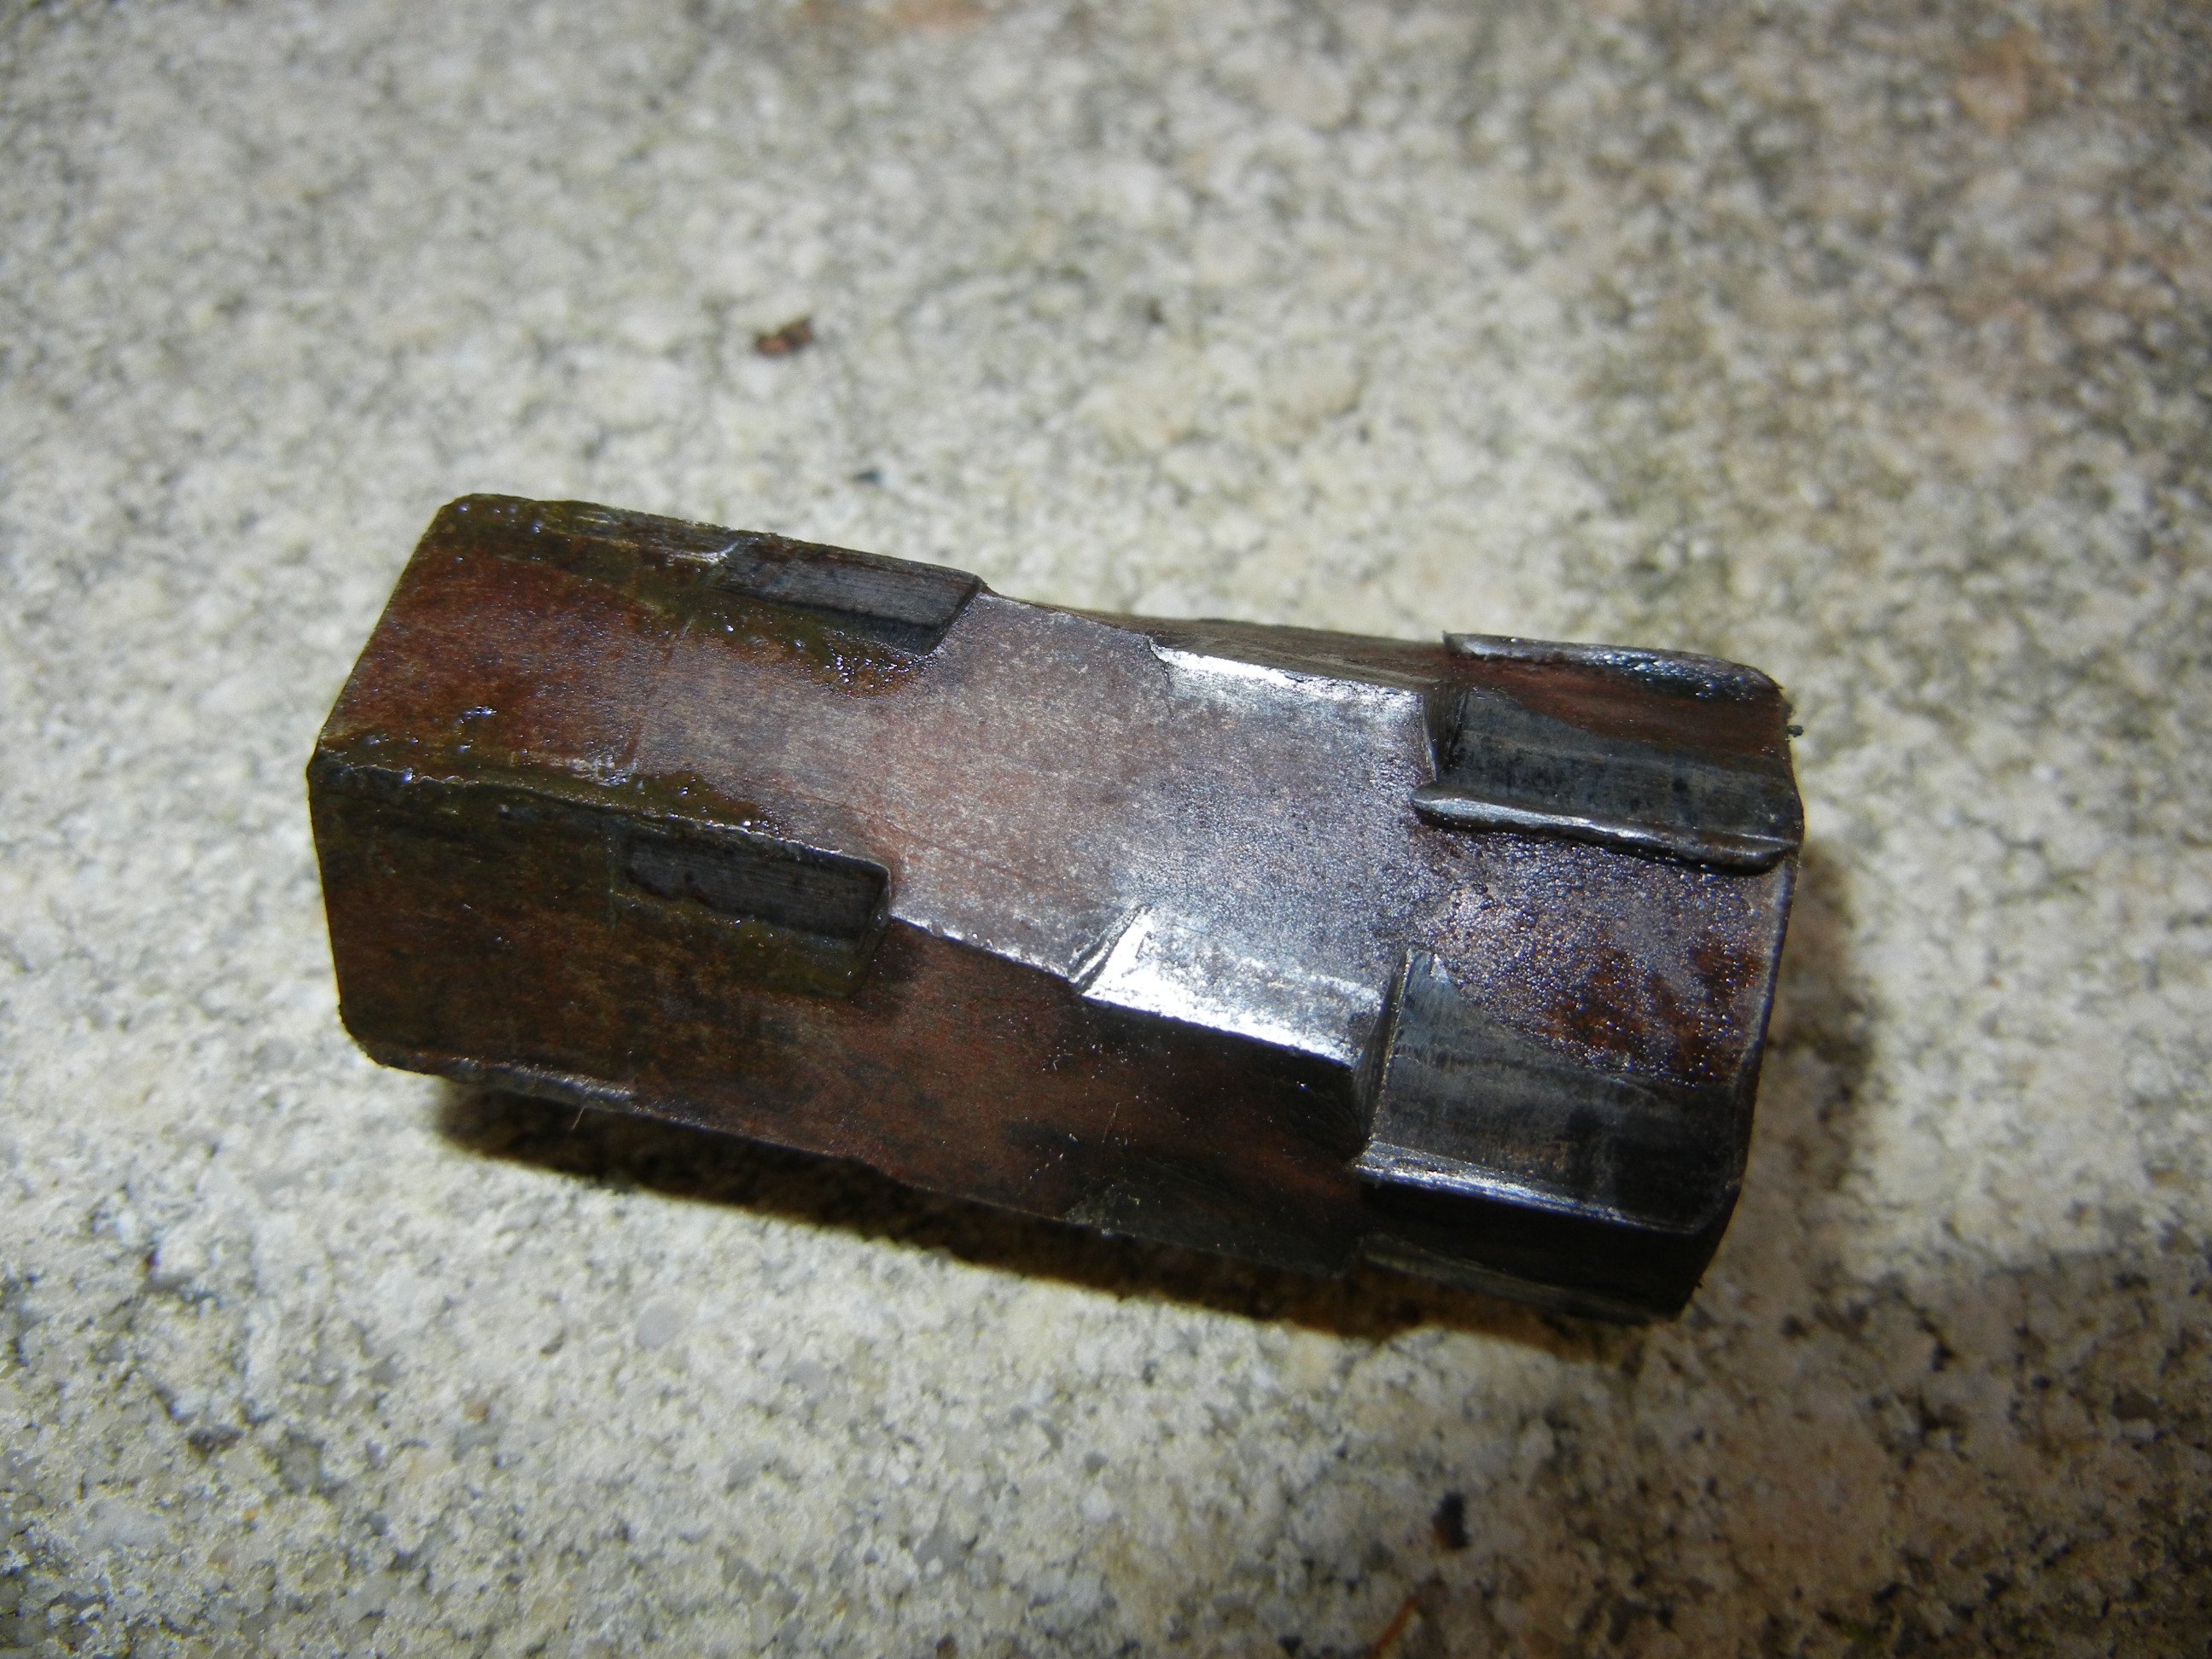
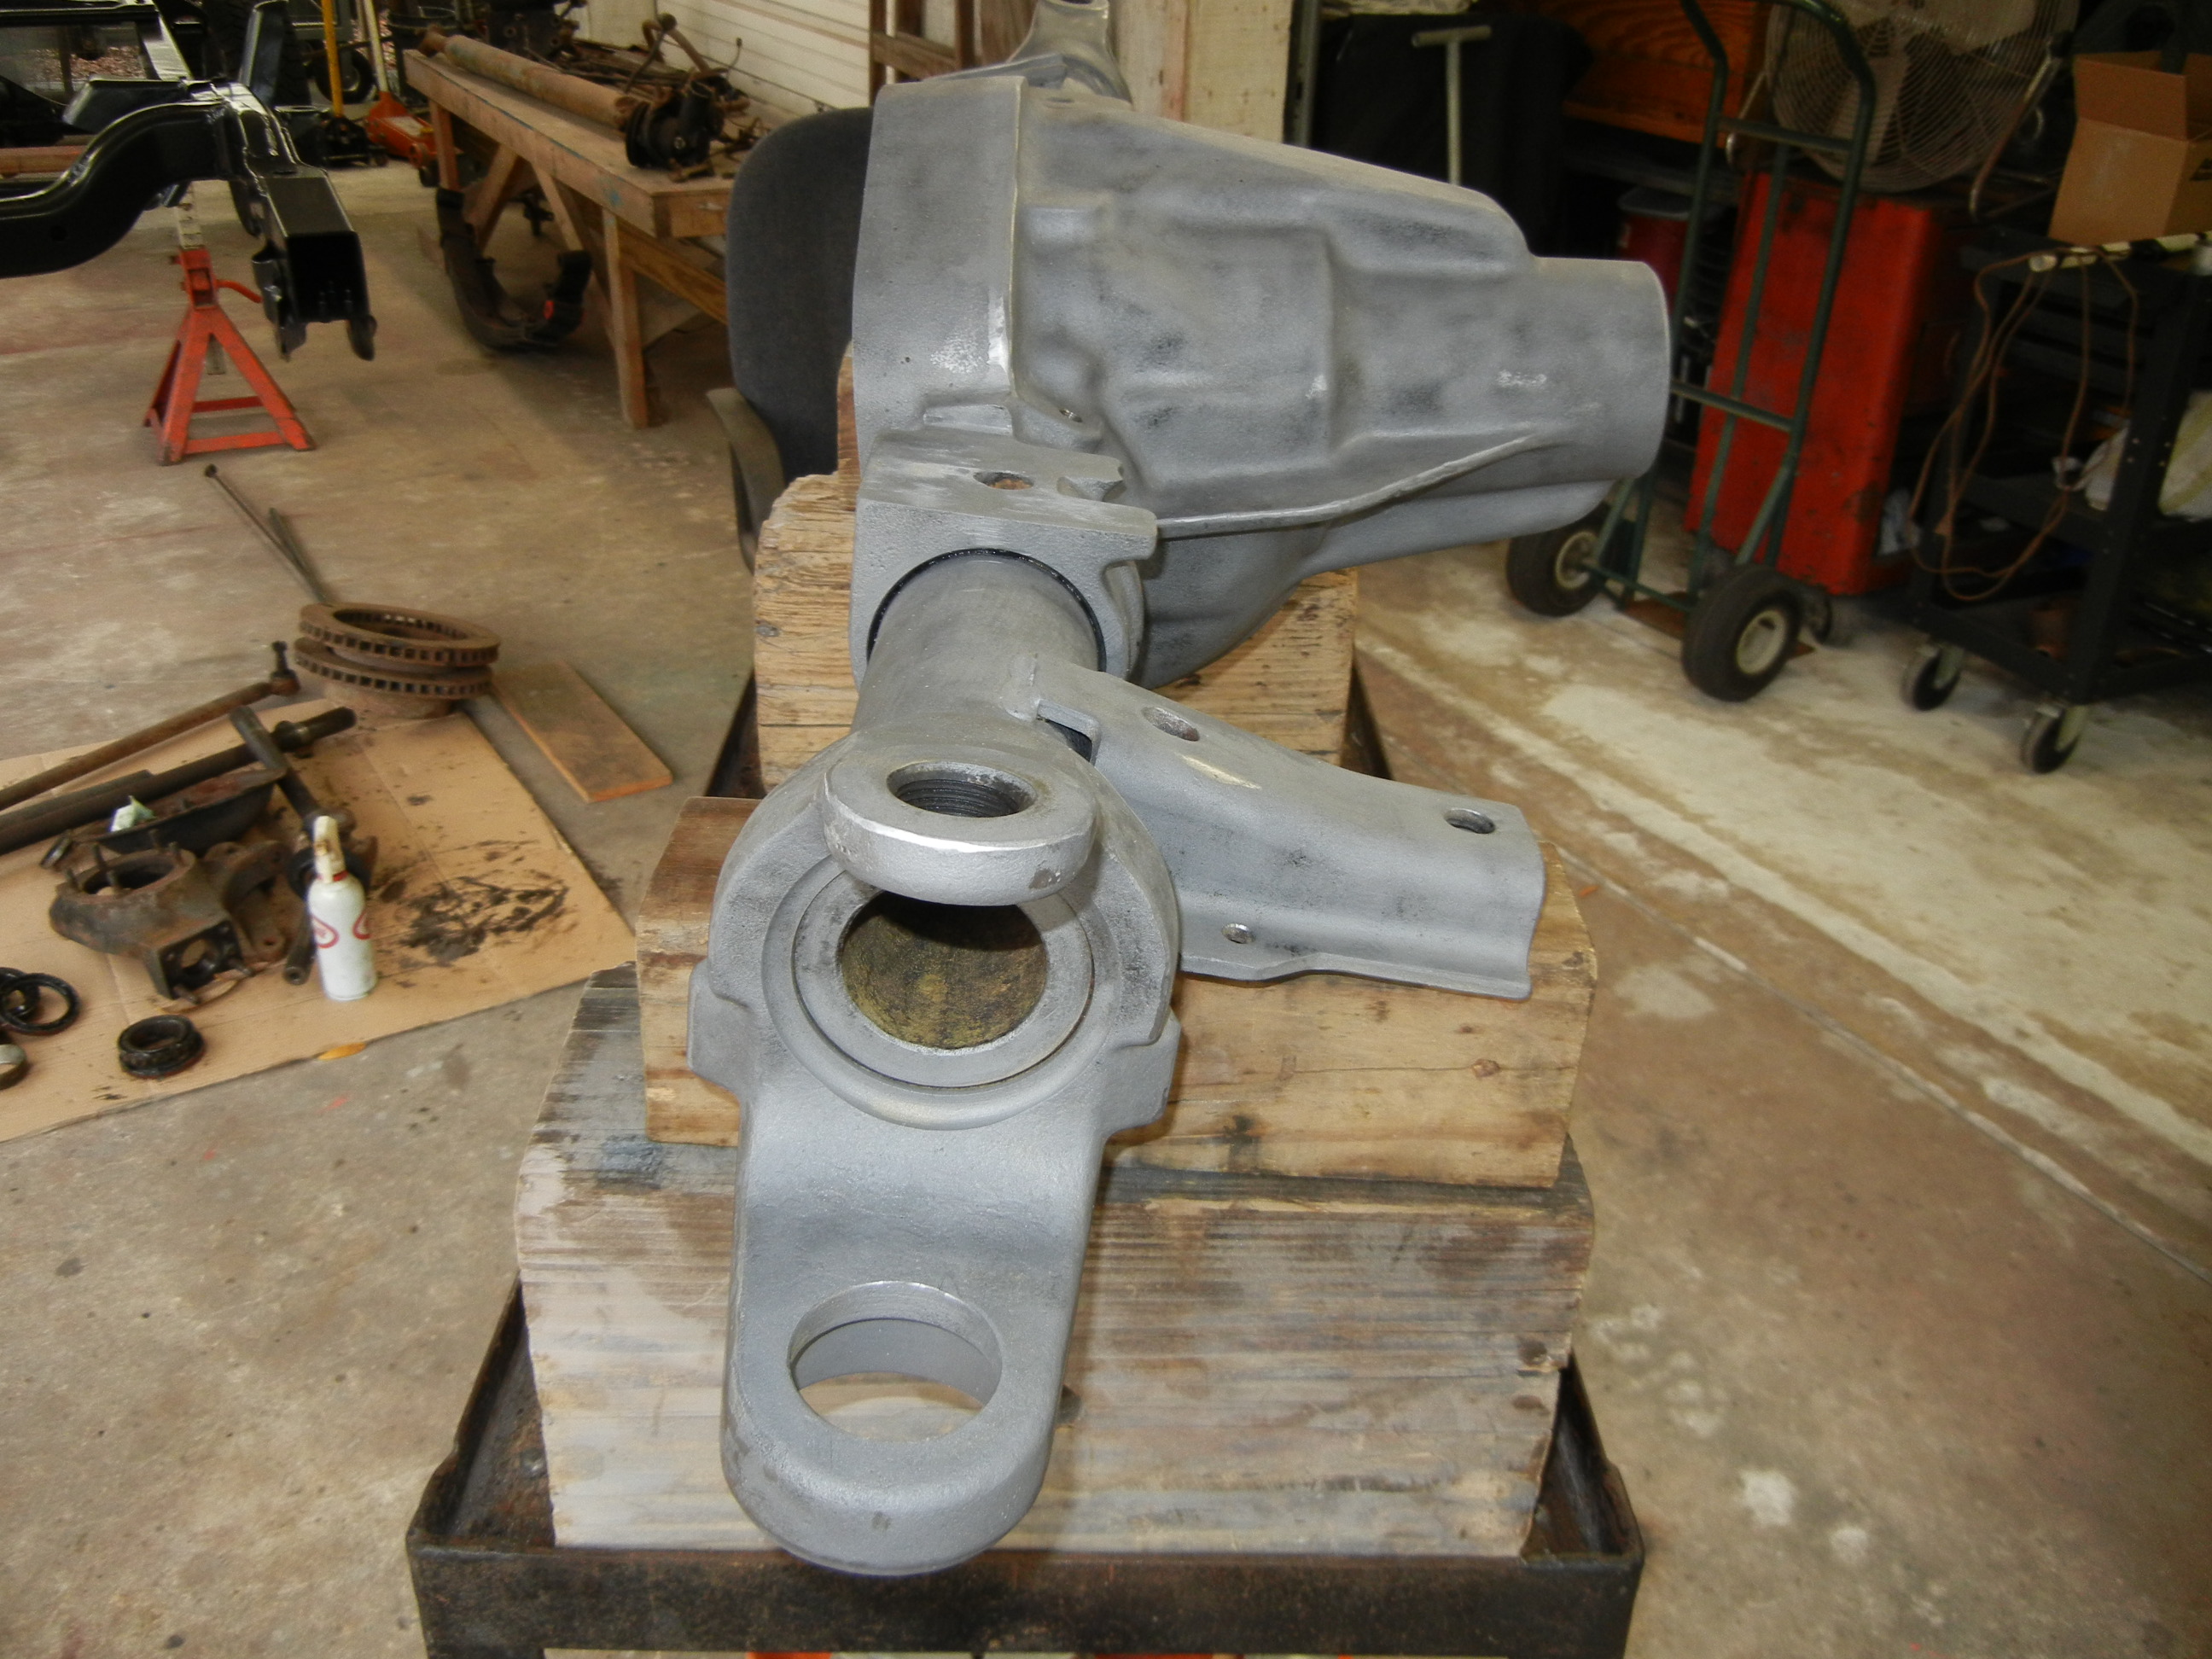
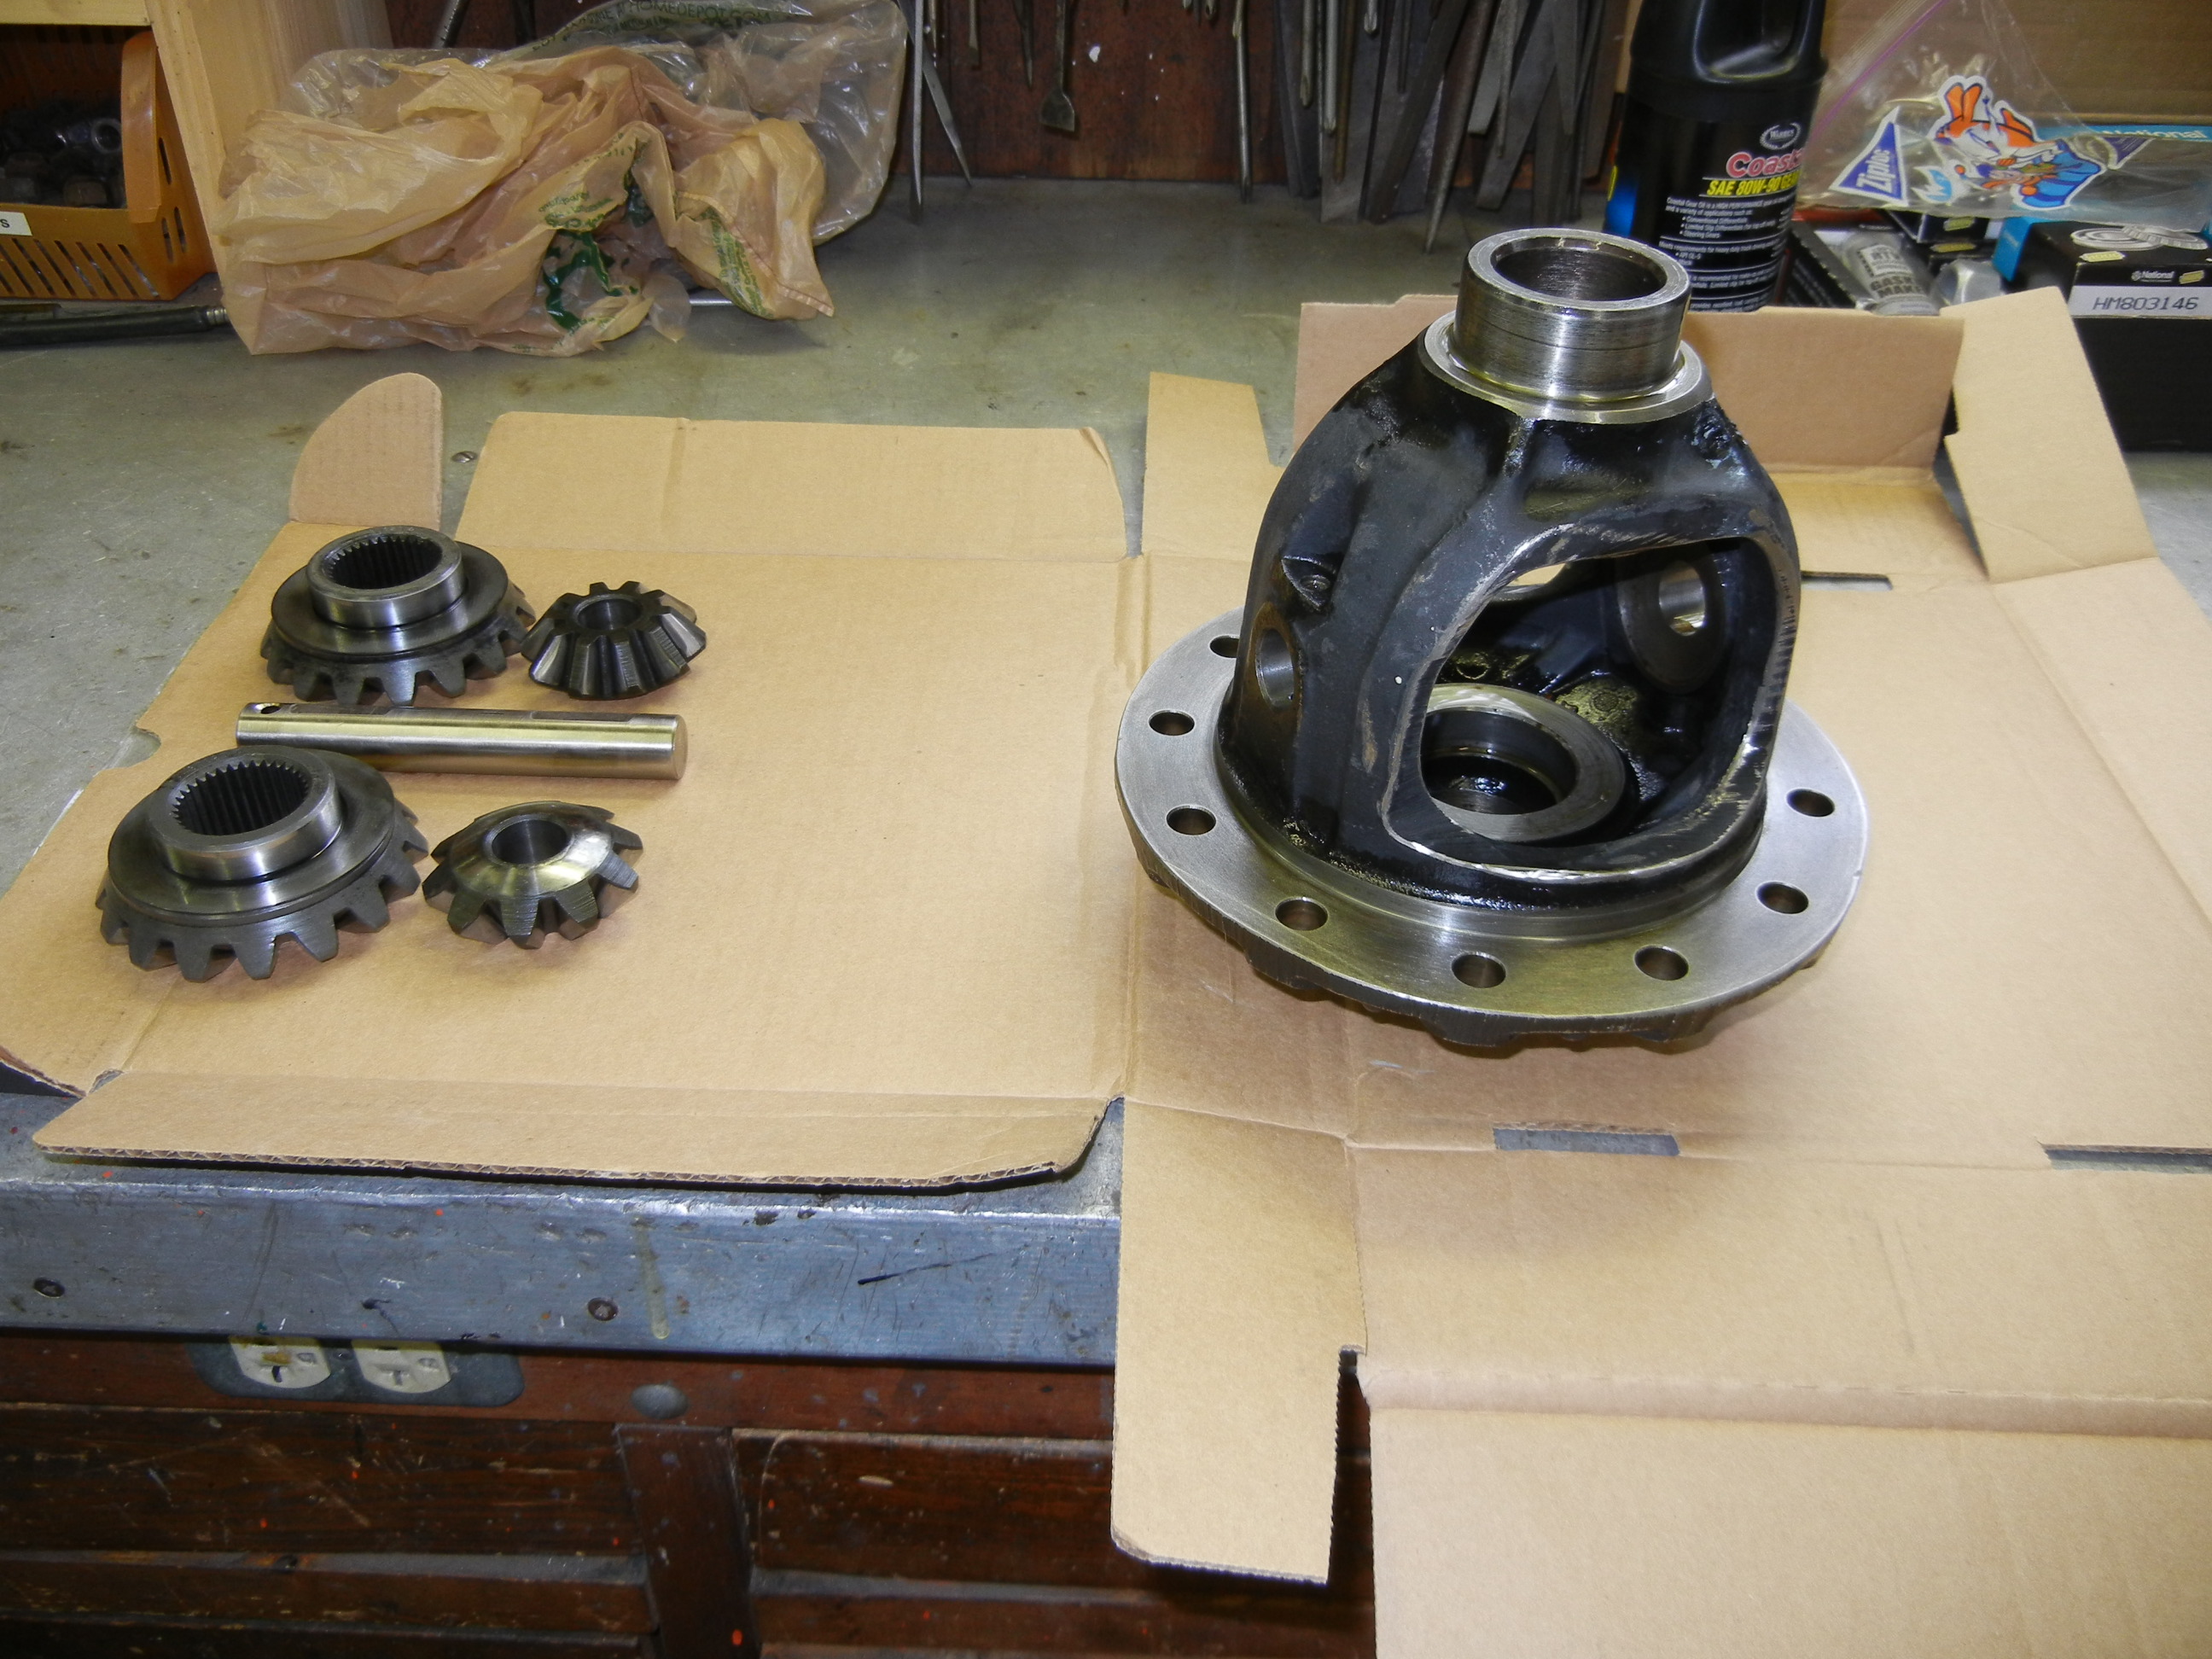
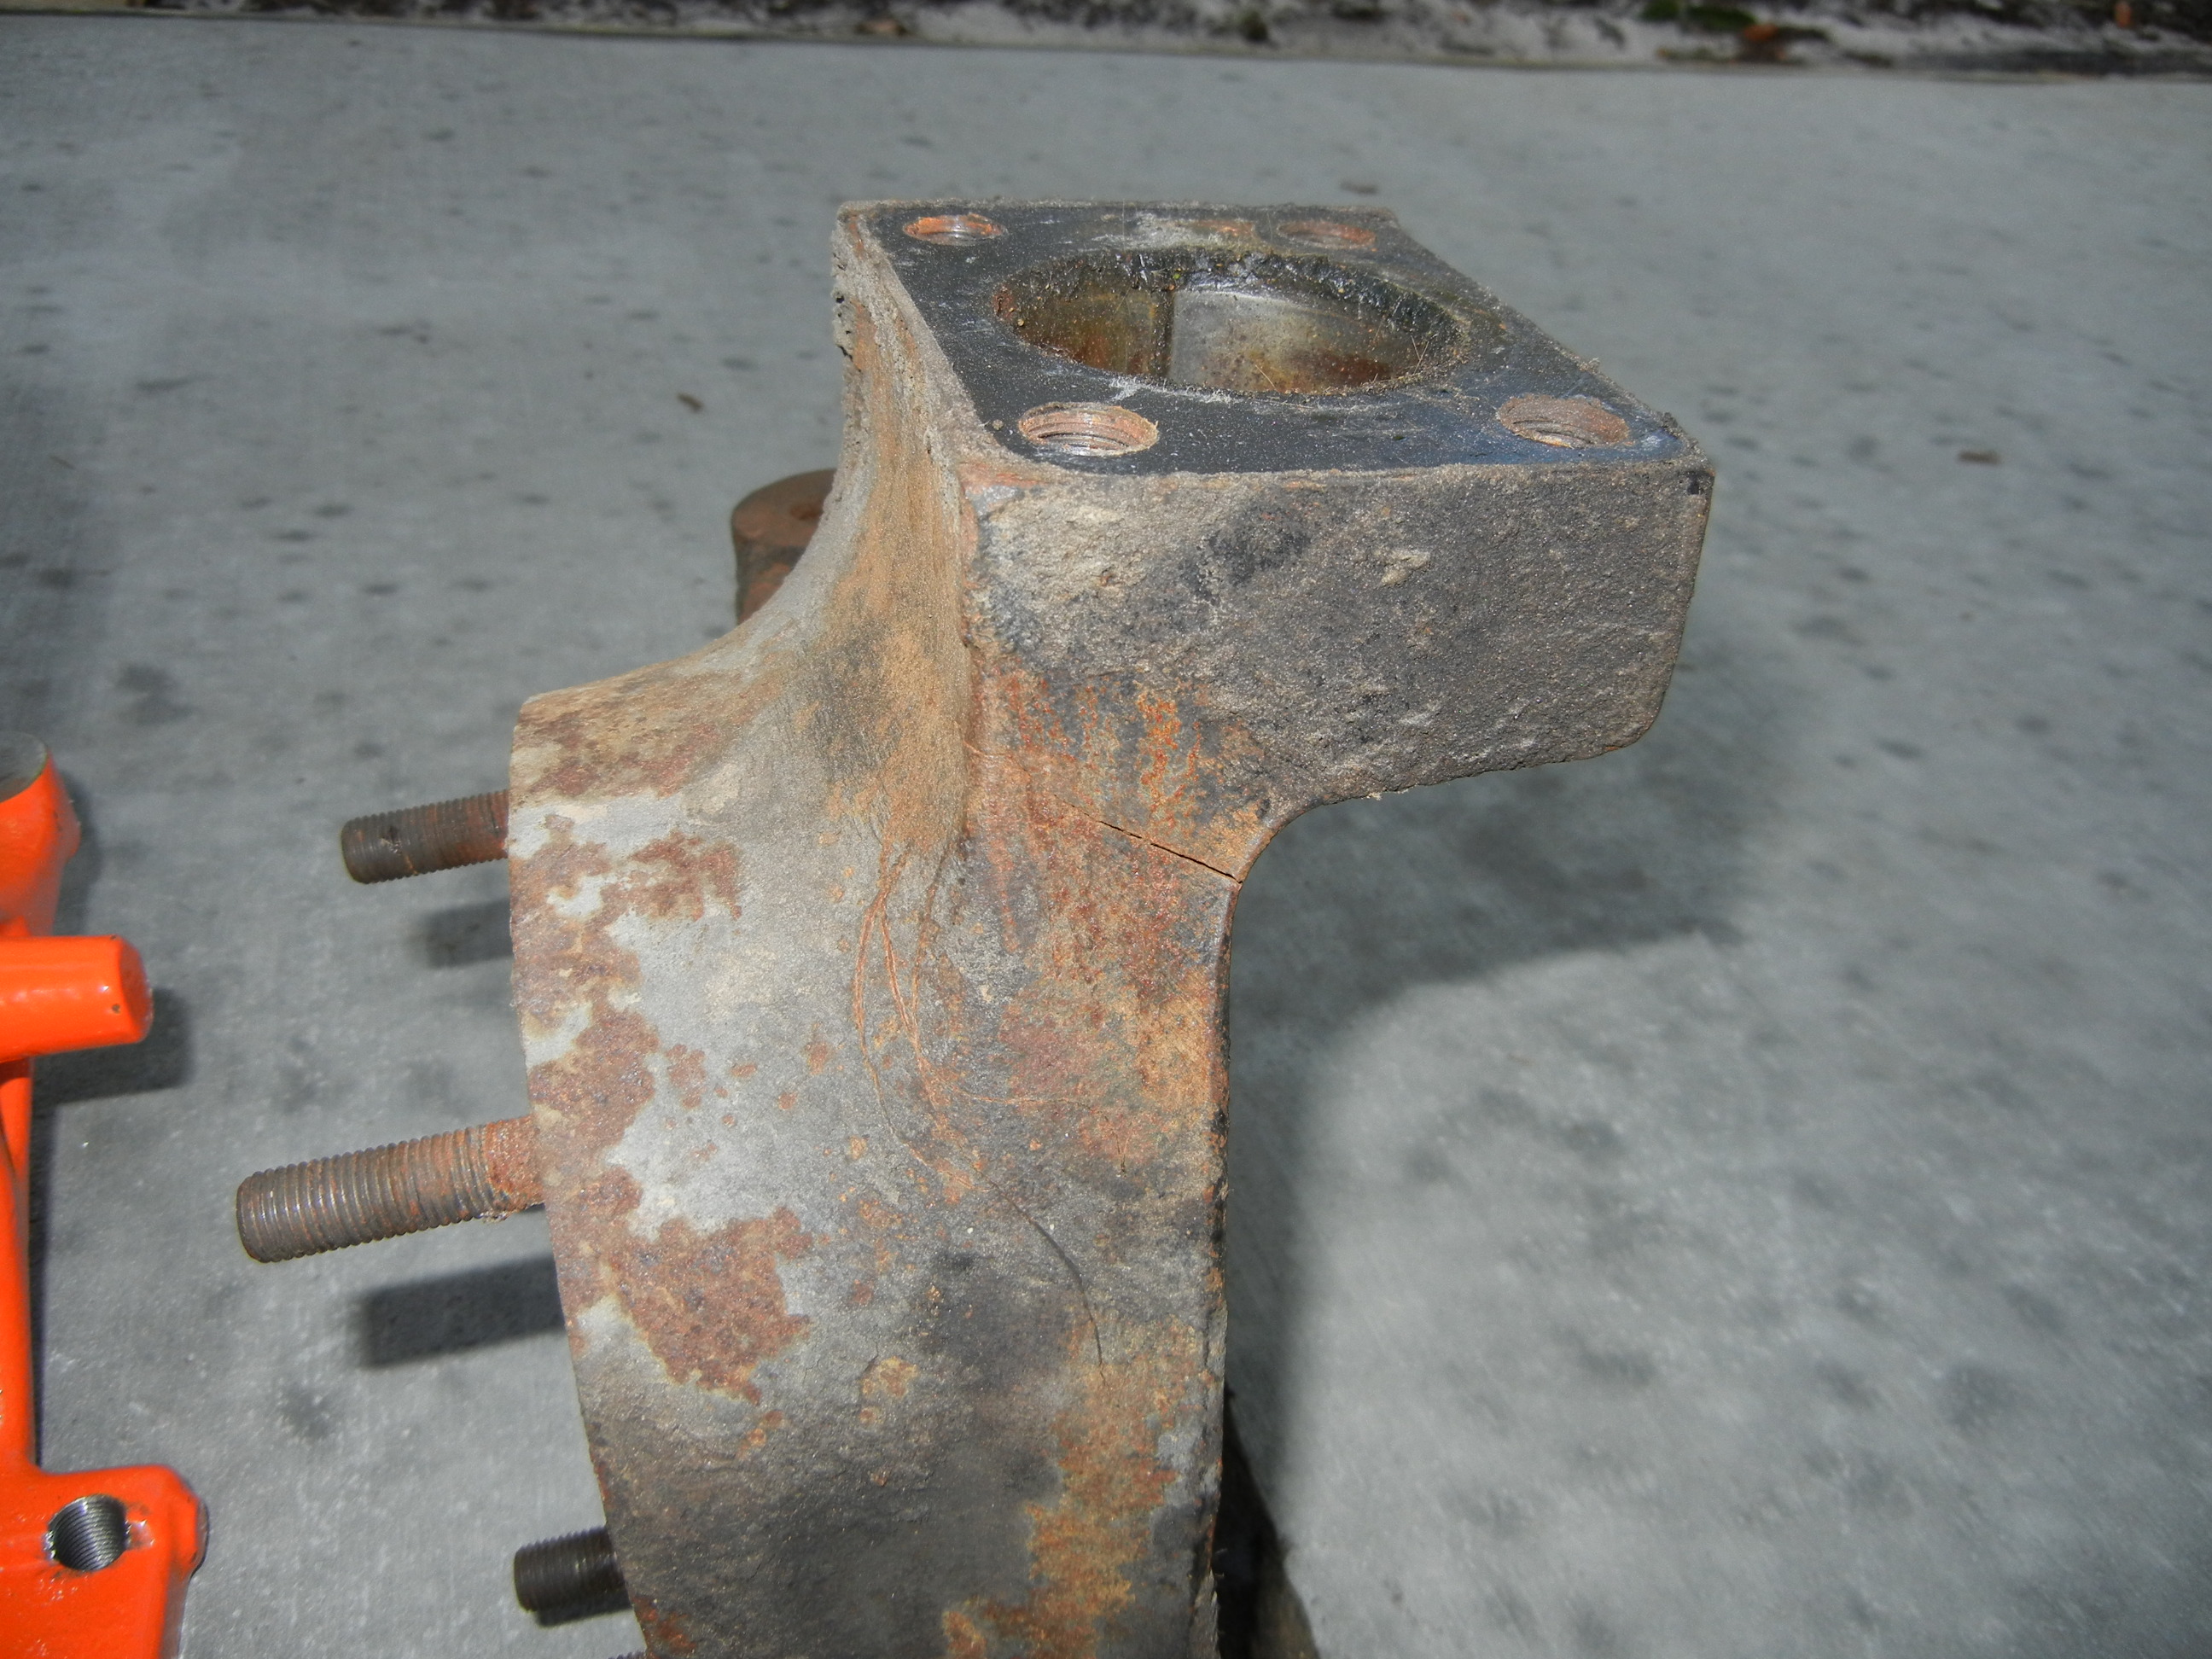
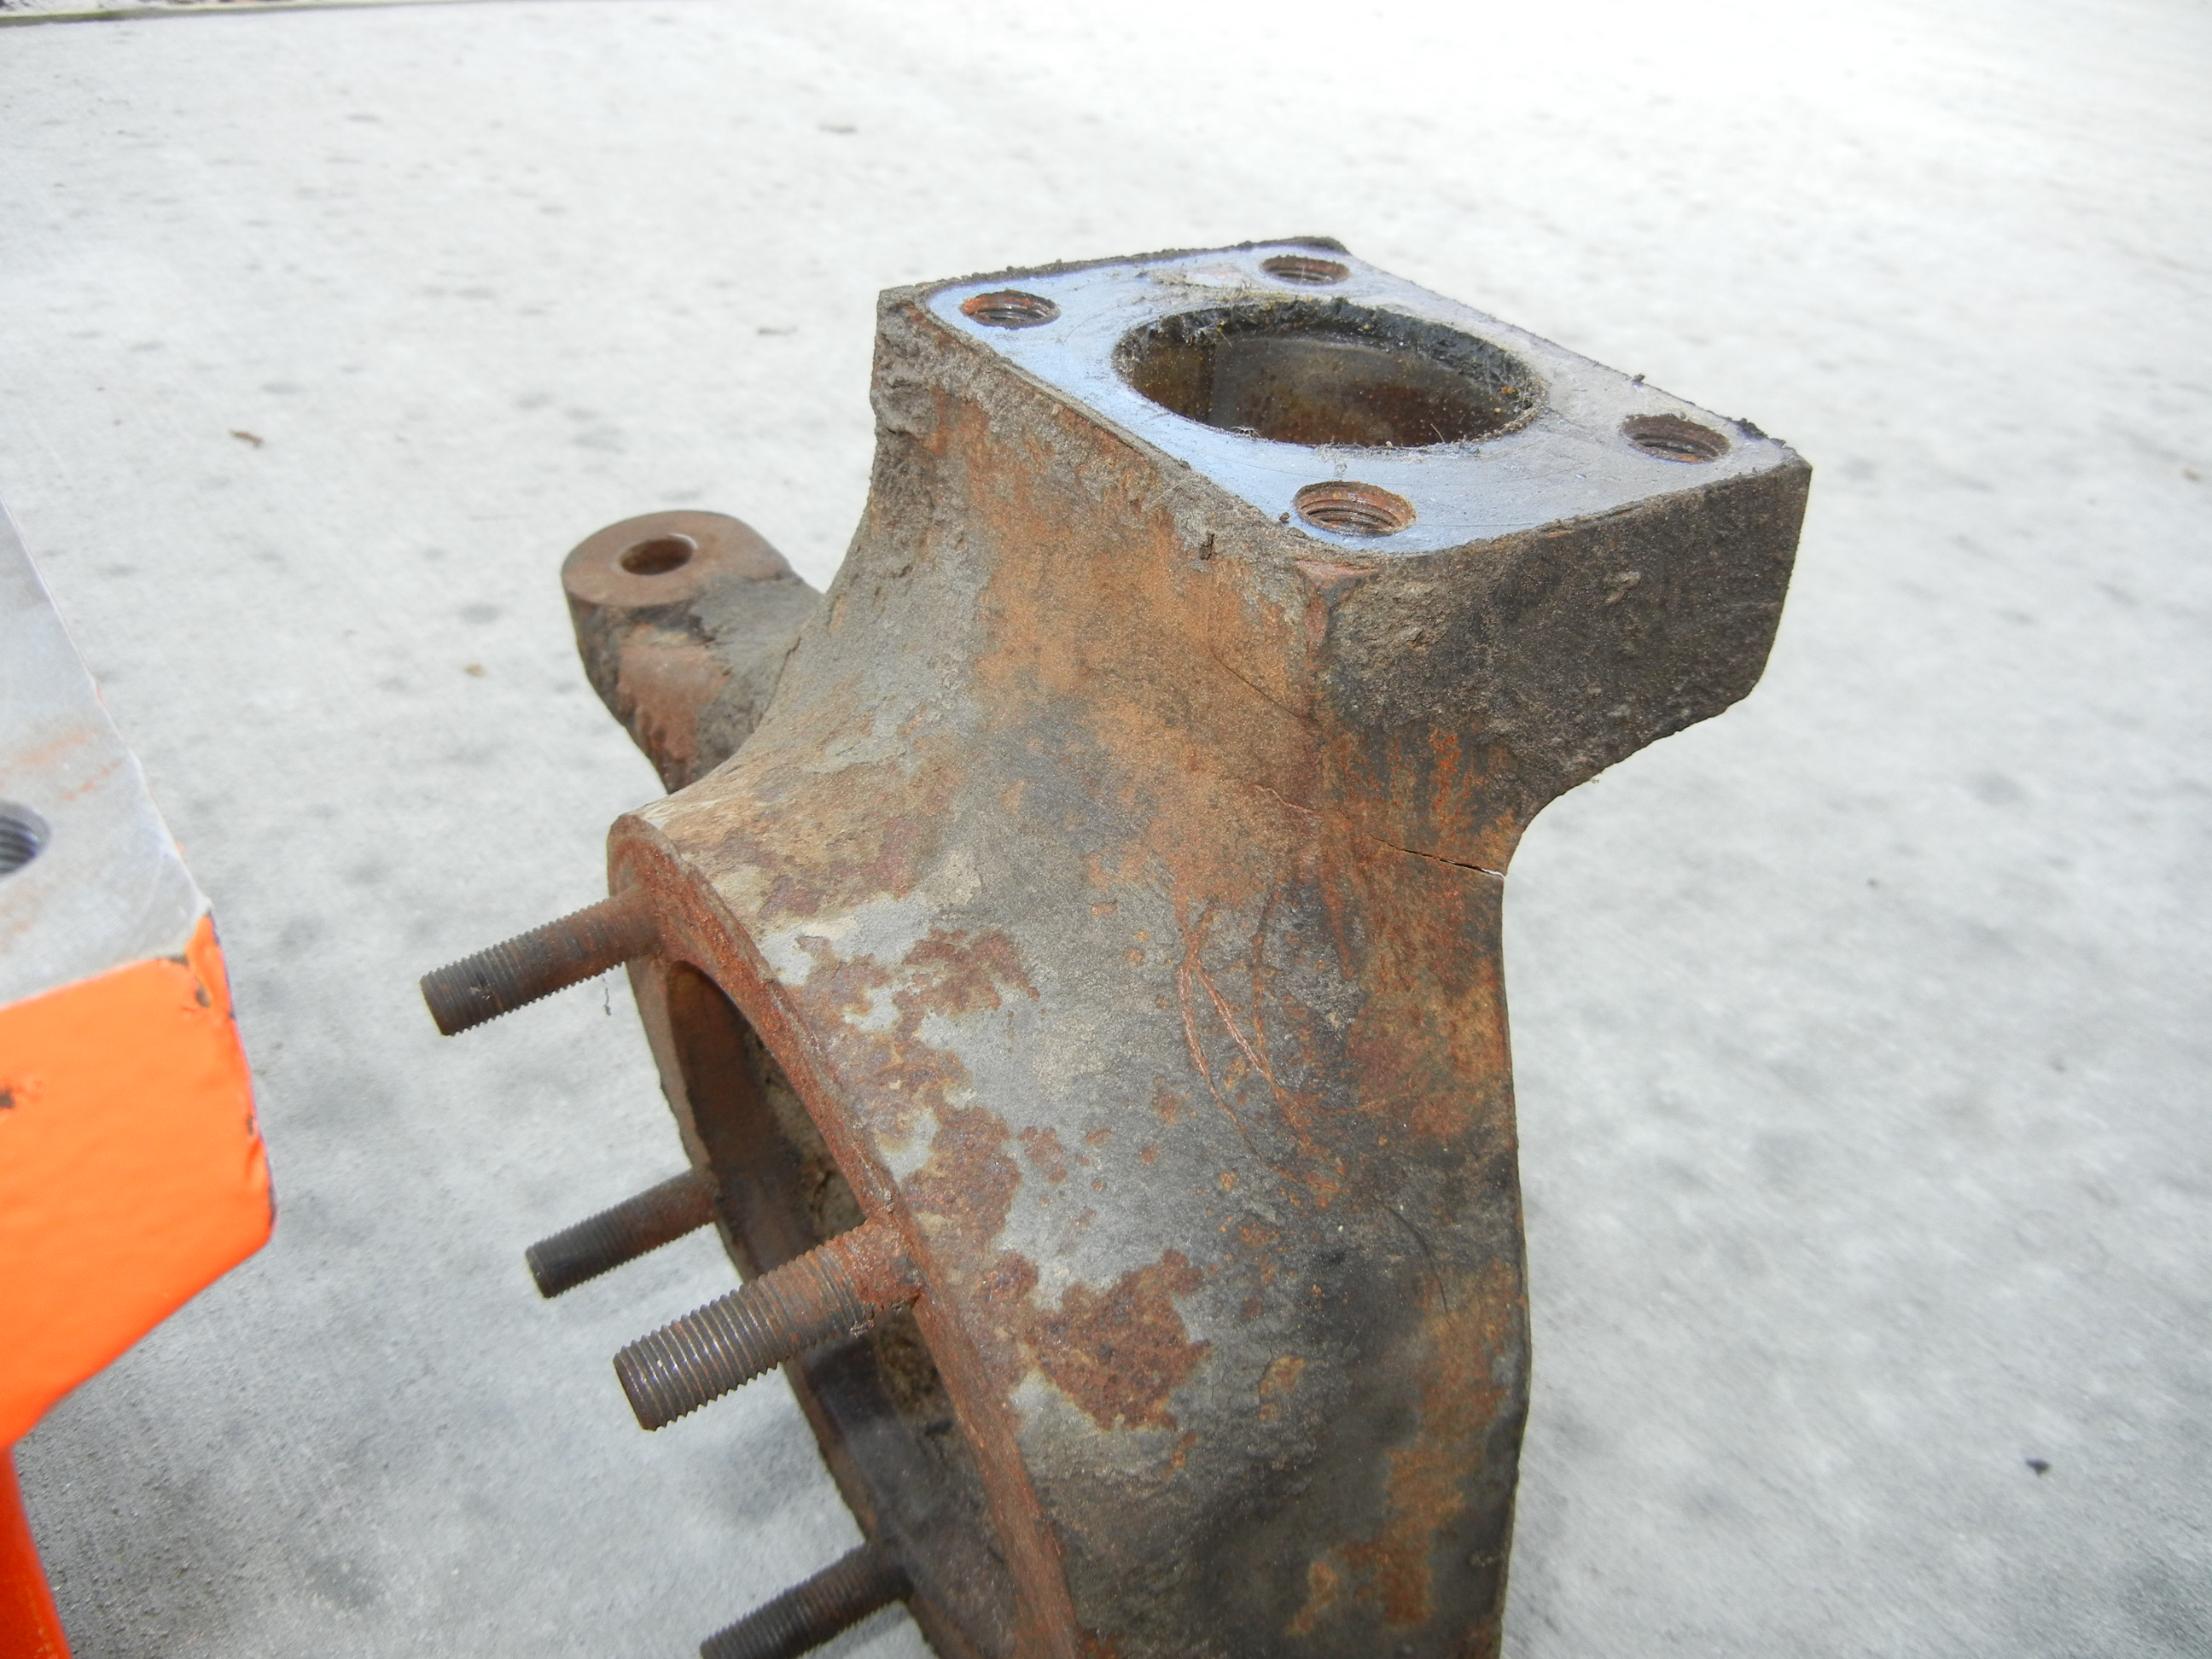
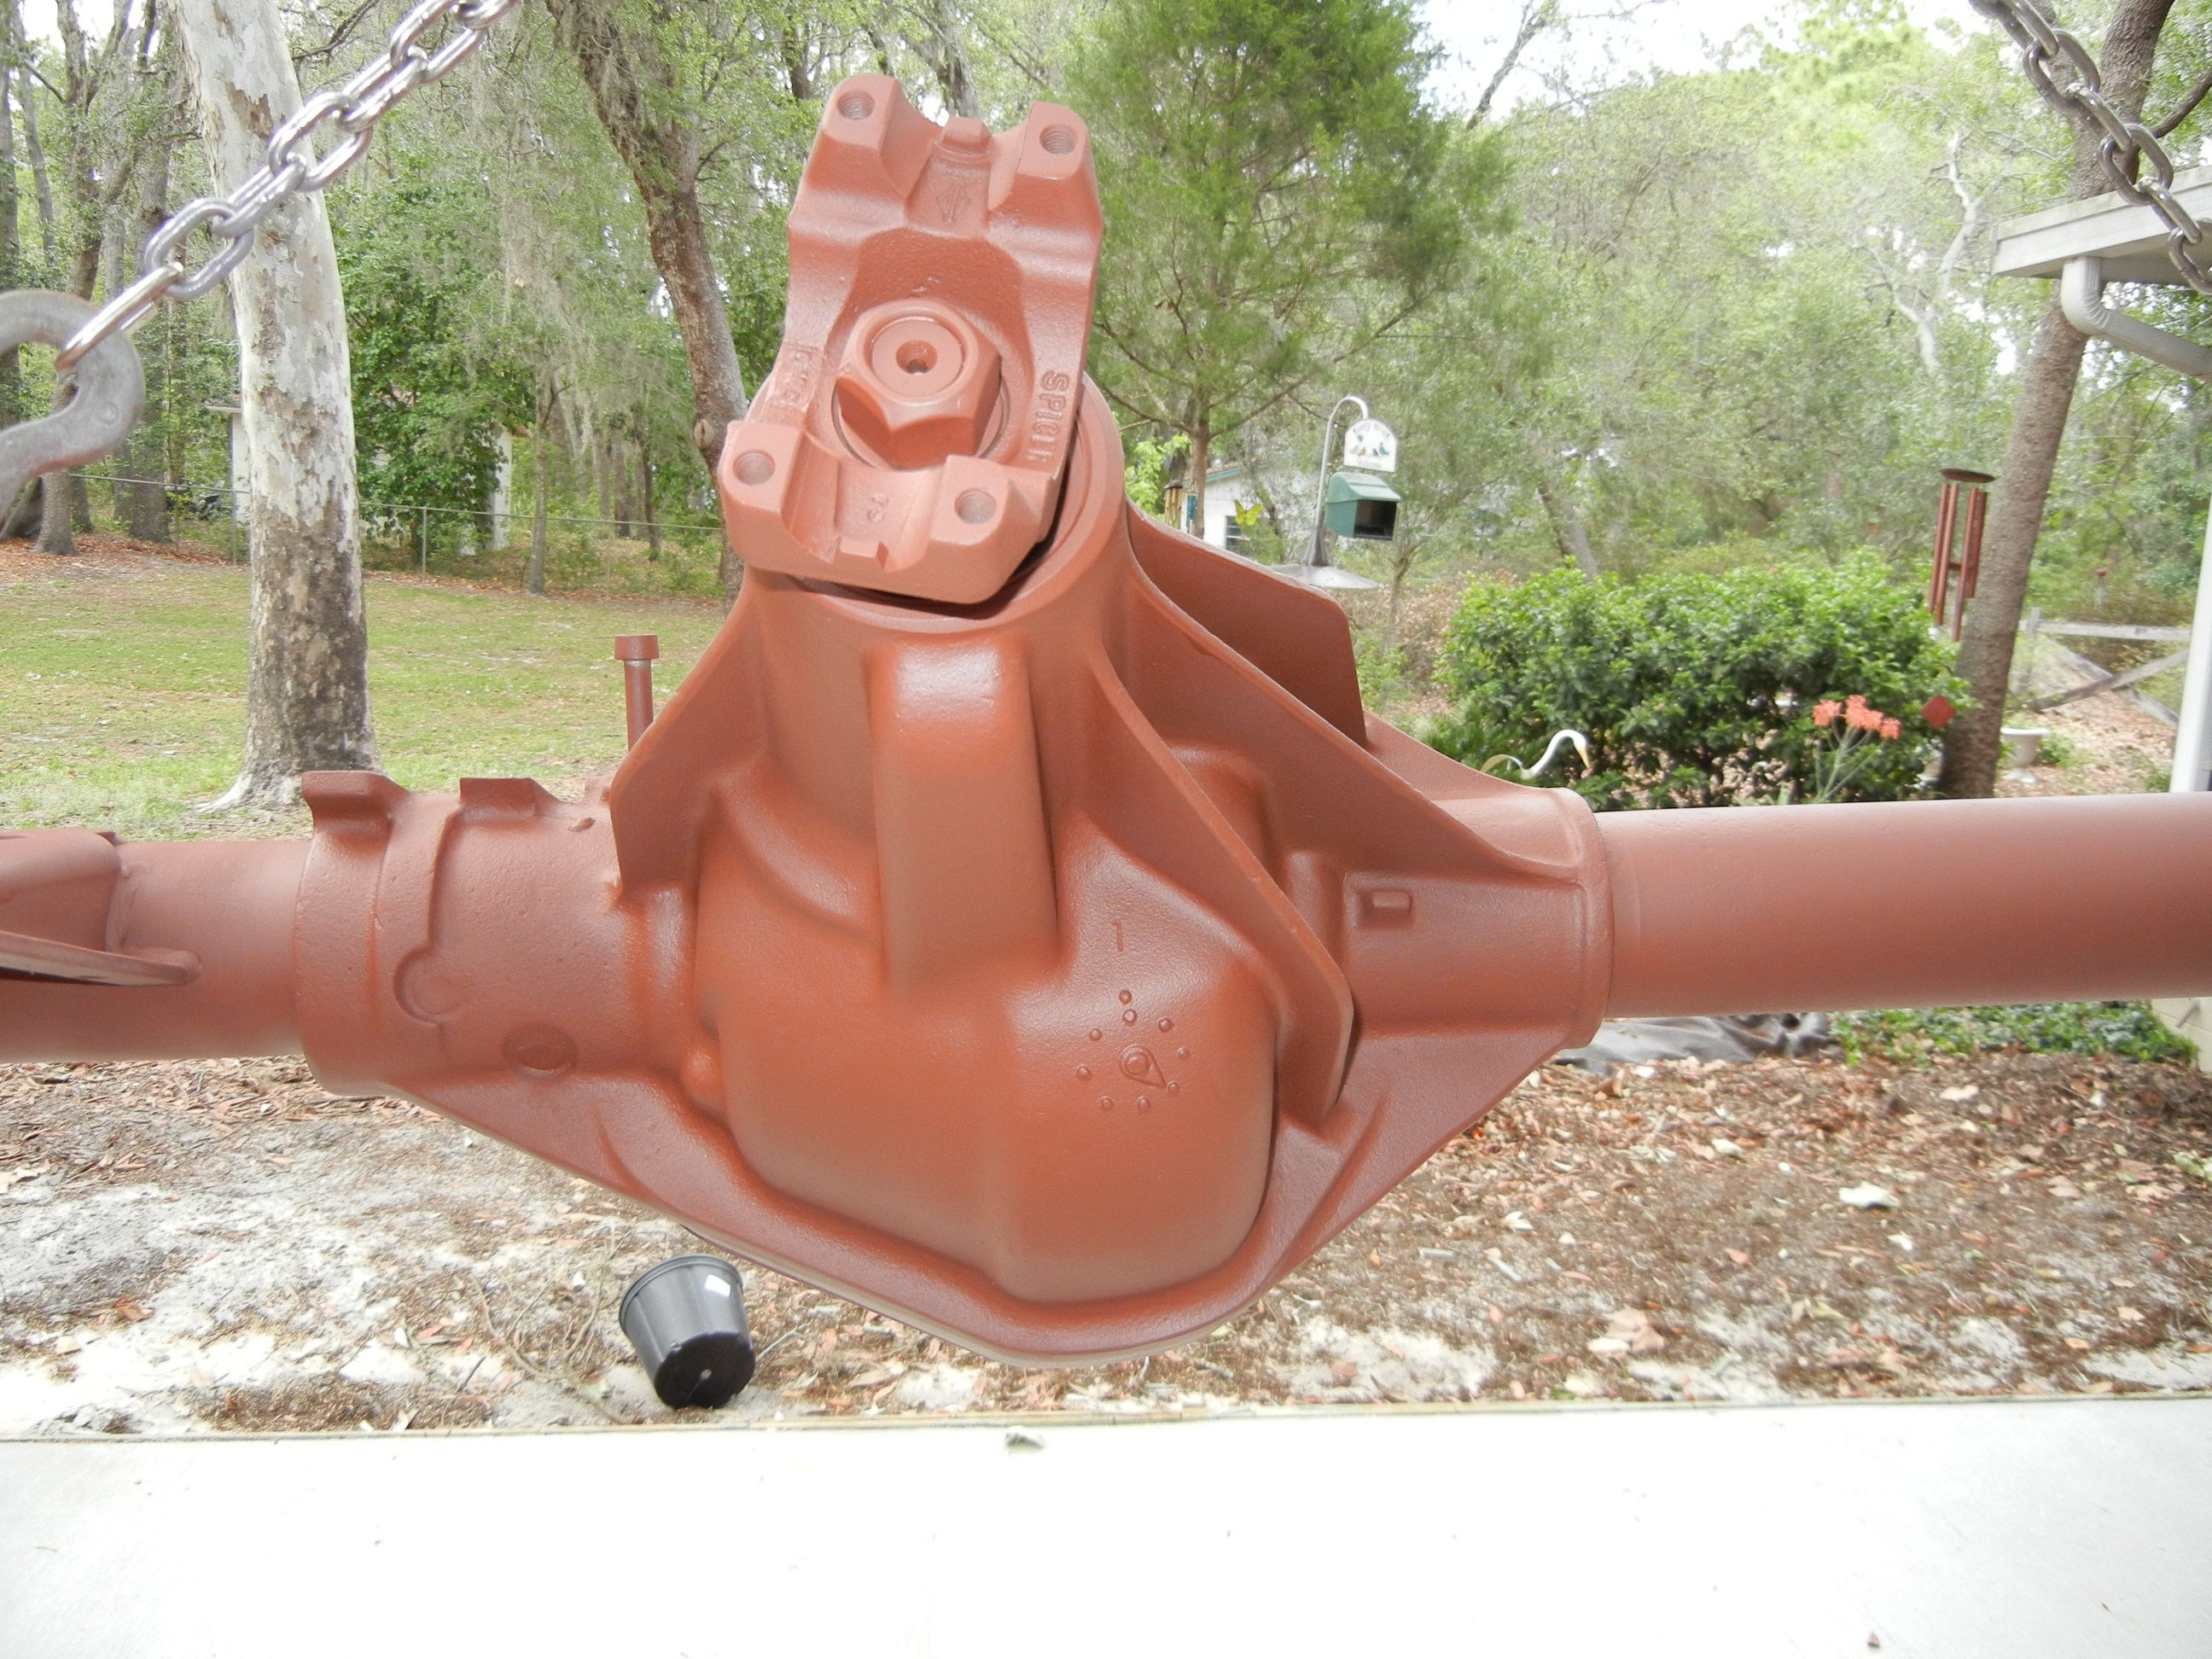
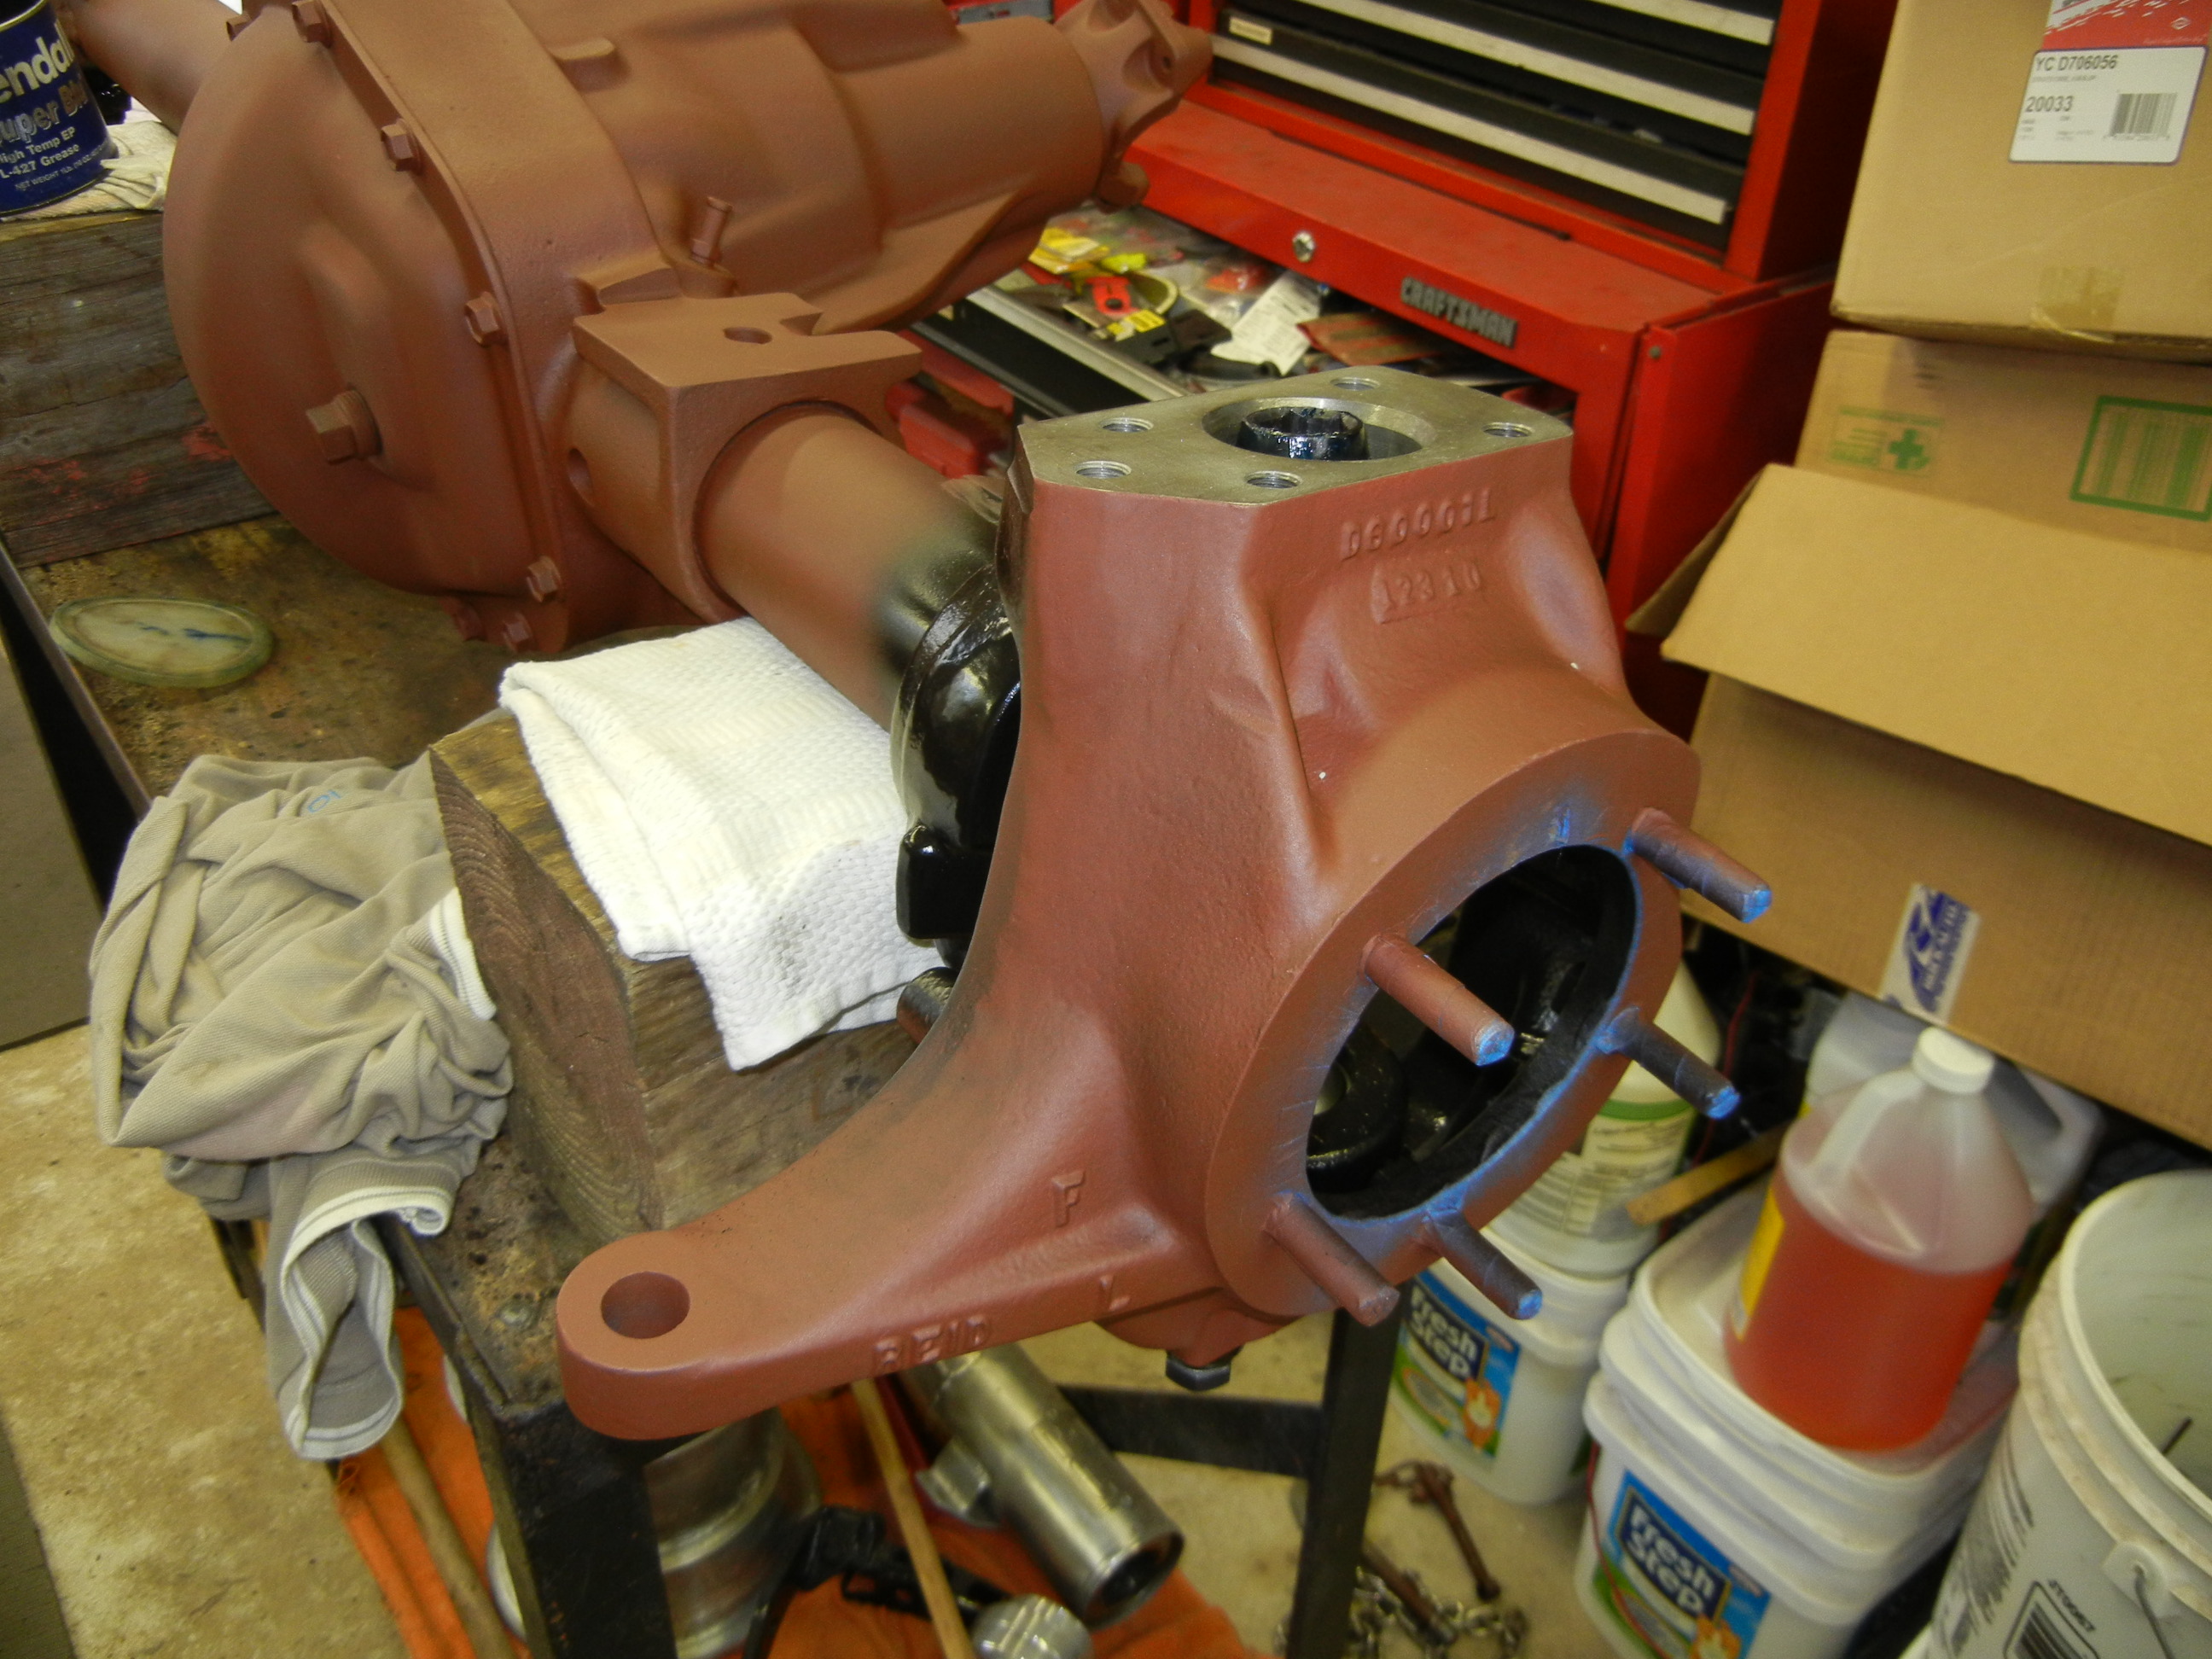
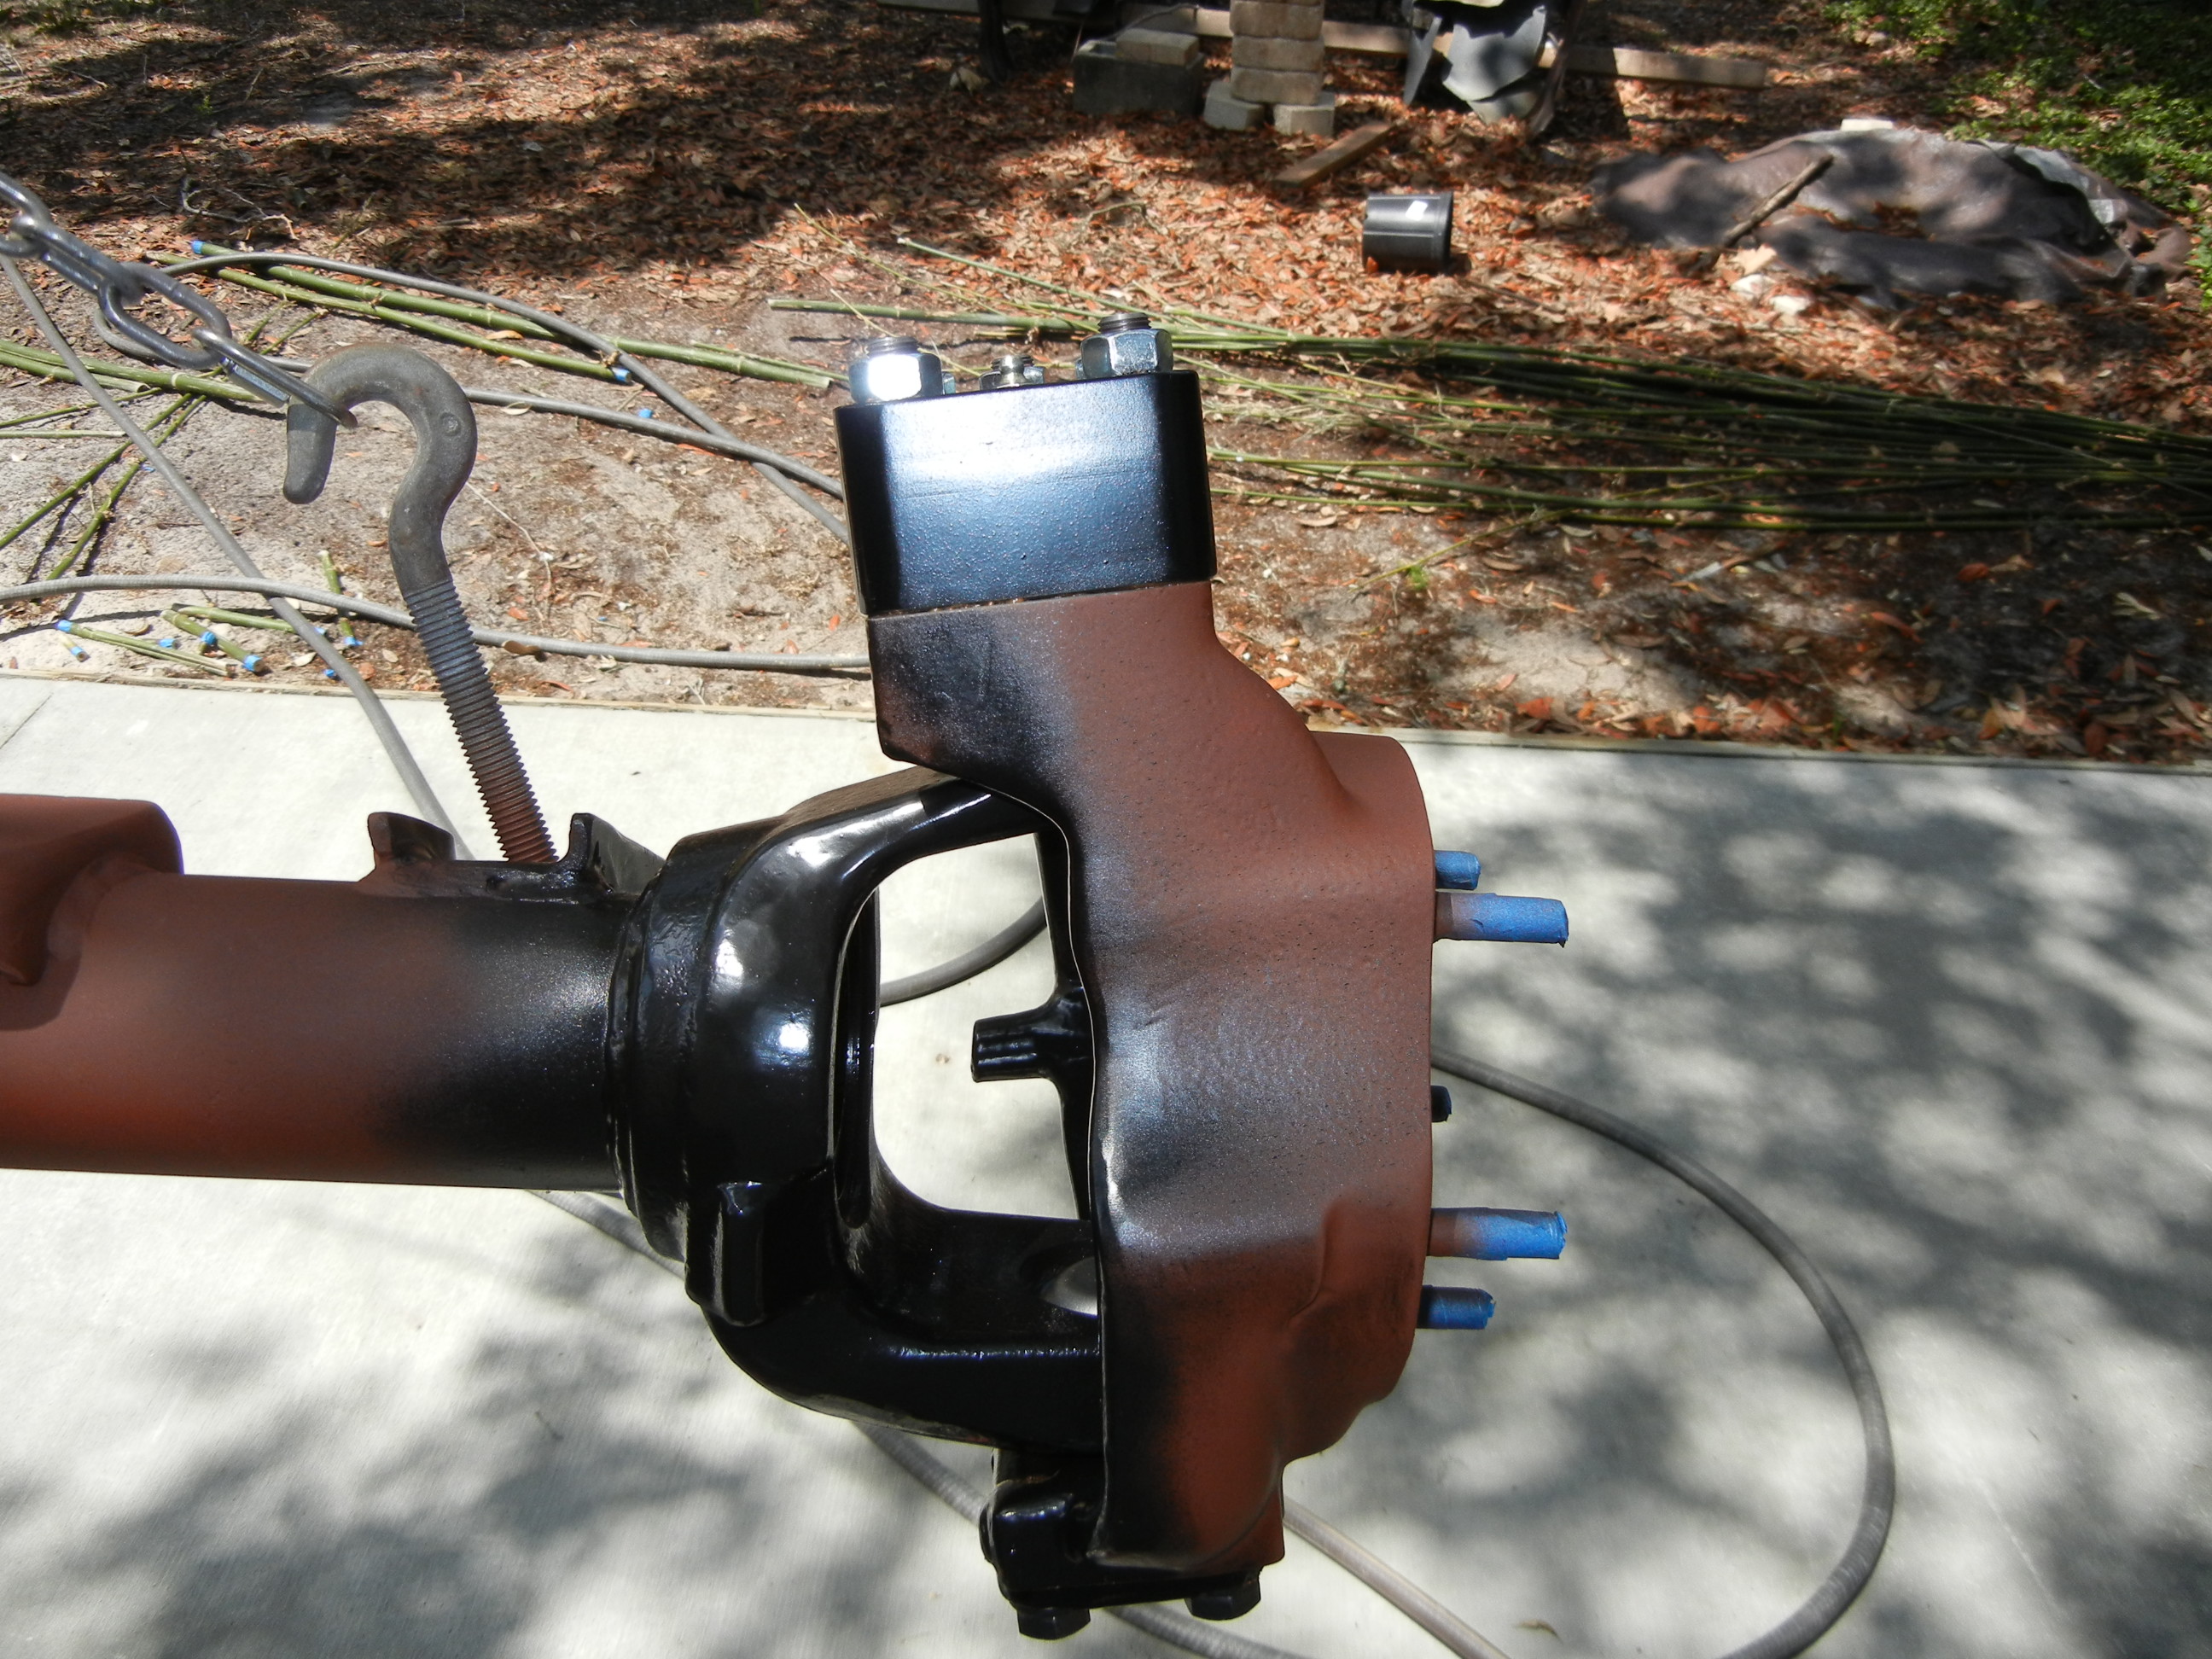
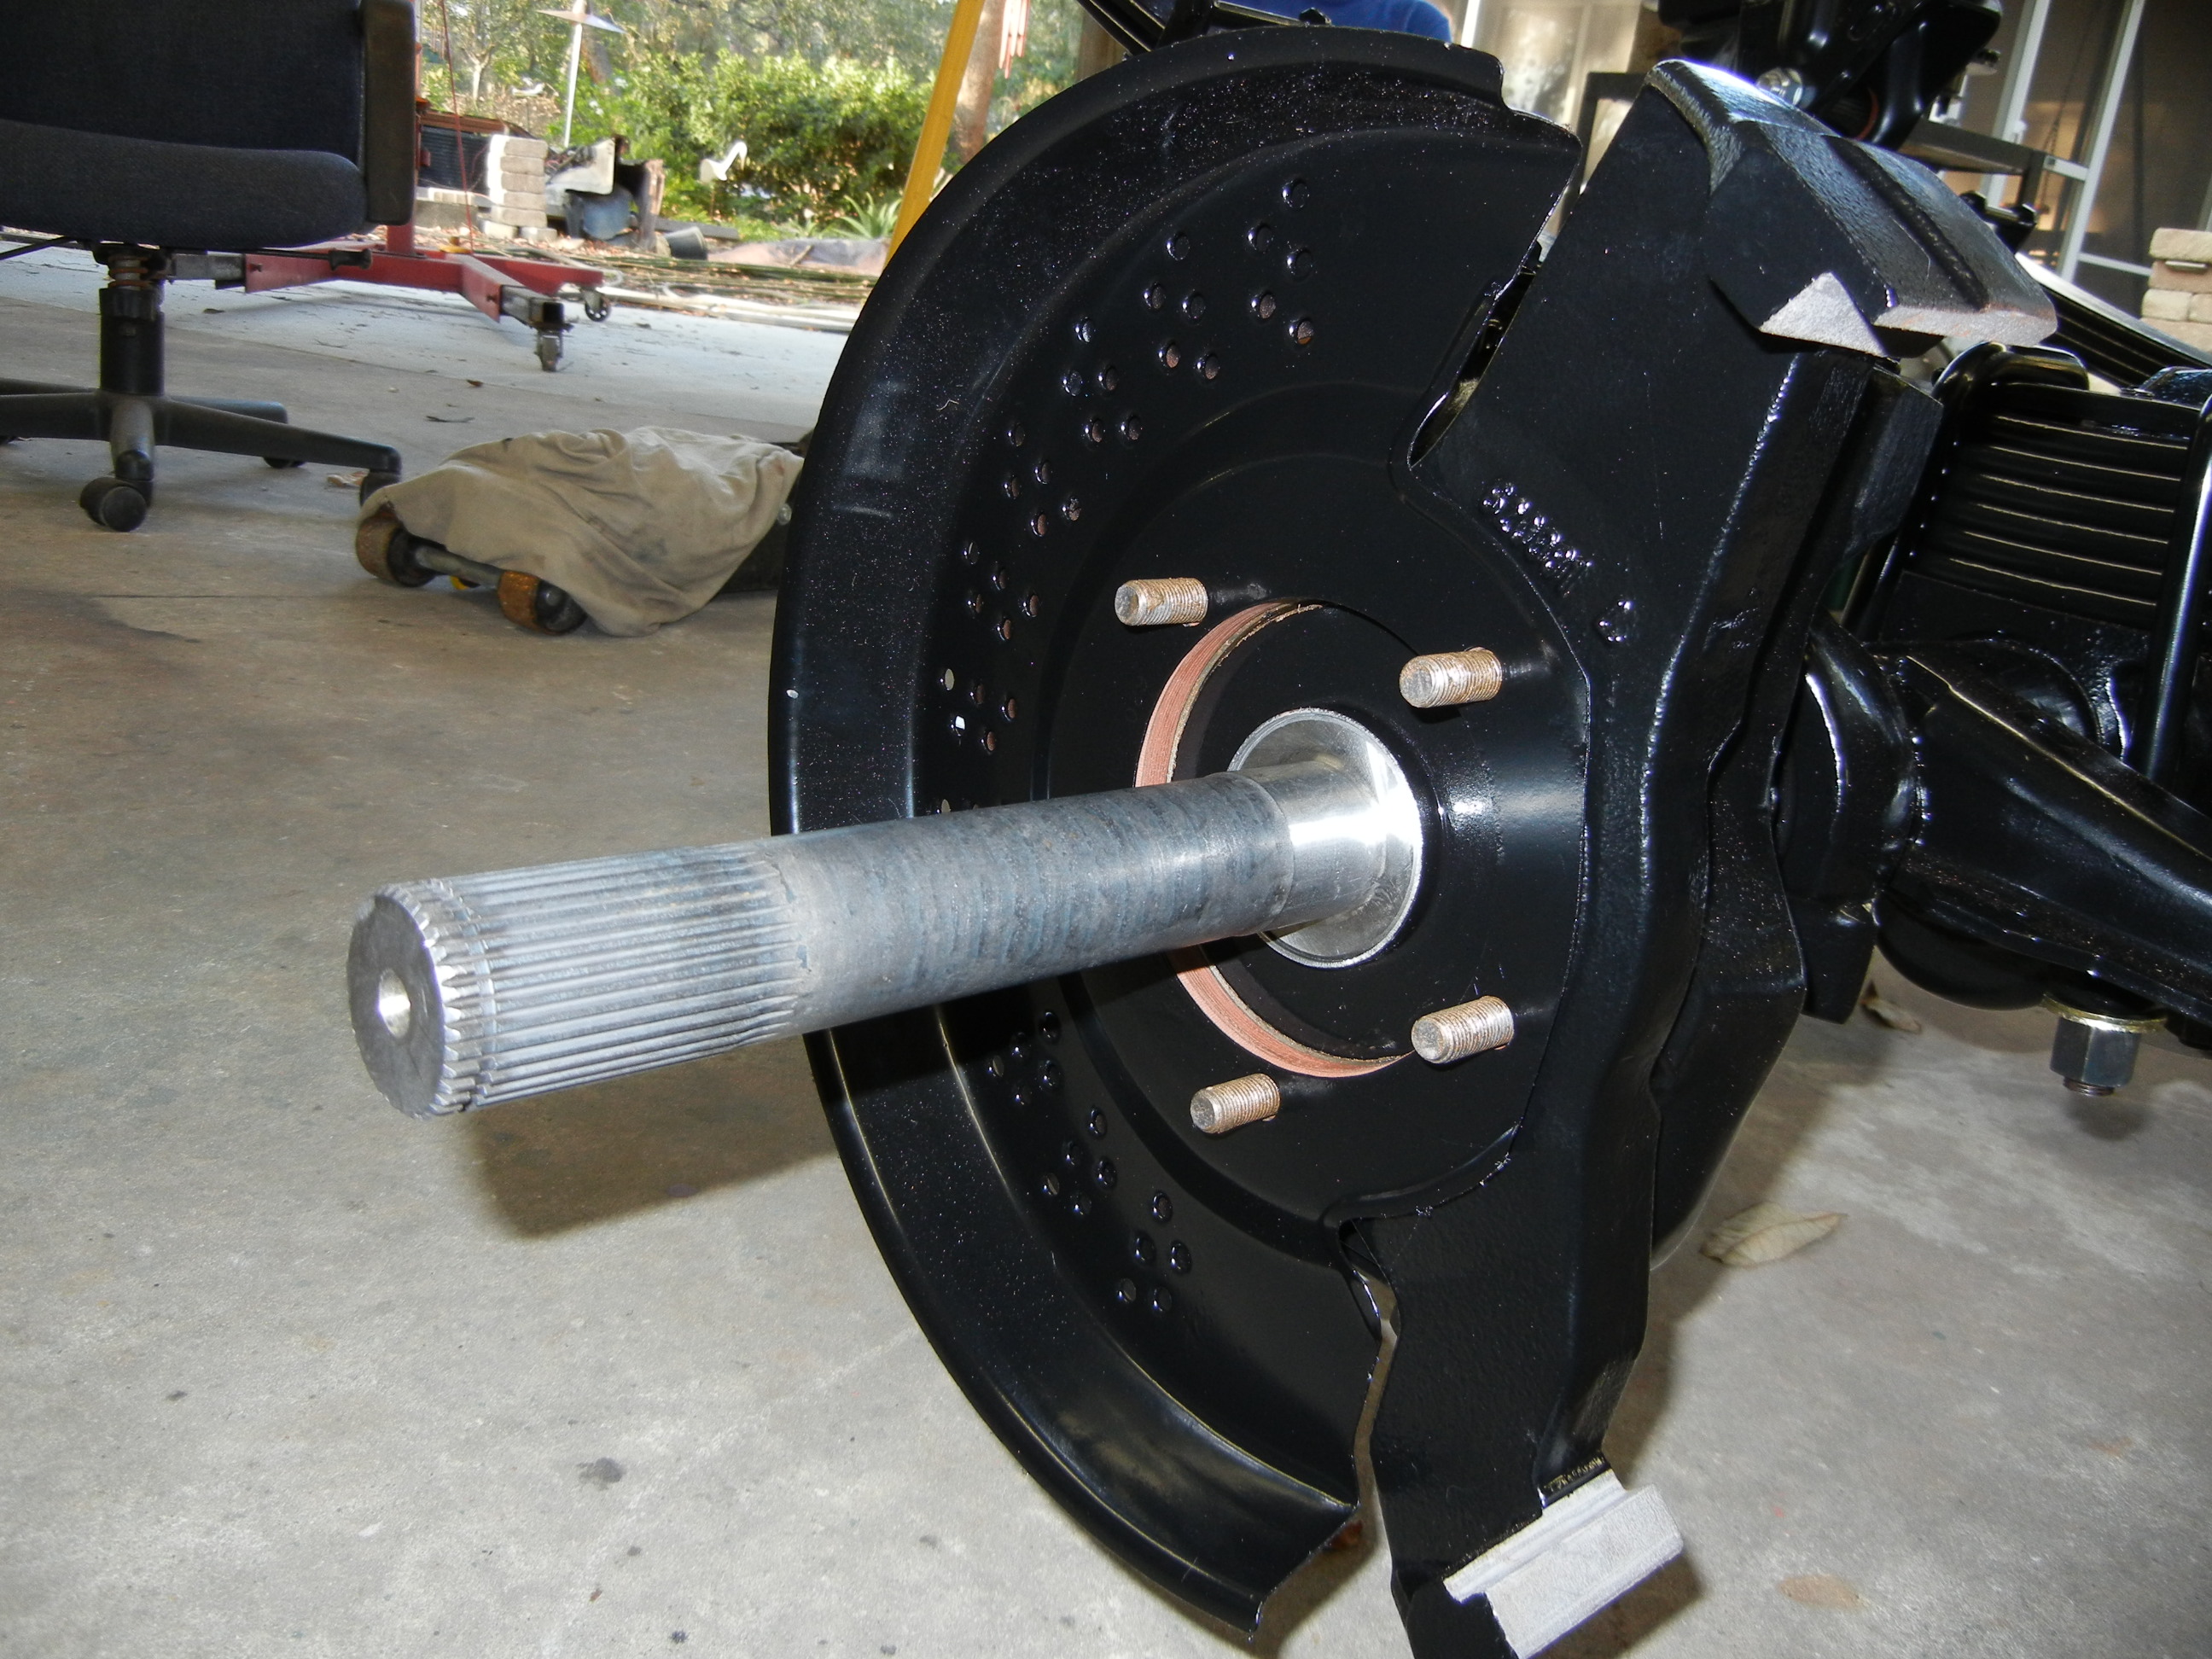
As previously mentioned, the front carrier was used in another project. At the time of removal, the 4.10 ring gear was tossed in the trash due to the slop between it and the pinion. Now 8 years later I realize what I am getting myself into. The pinion is completely trashed, bearings are sloppy, rotors gouged, tie rod is bent, lockouts are crusty and corroded and worst of all there is the infamous crack on the driver's side steering knuckle (Ford was weaker than Chevy/Dodge)!
Wow, this axle pretty much needs everything replaced already! Who knows what the hubs, spindles and axle shafts look like?
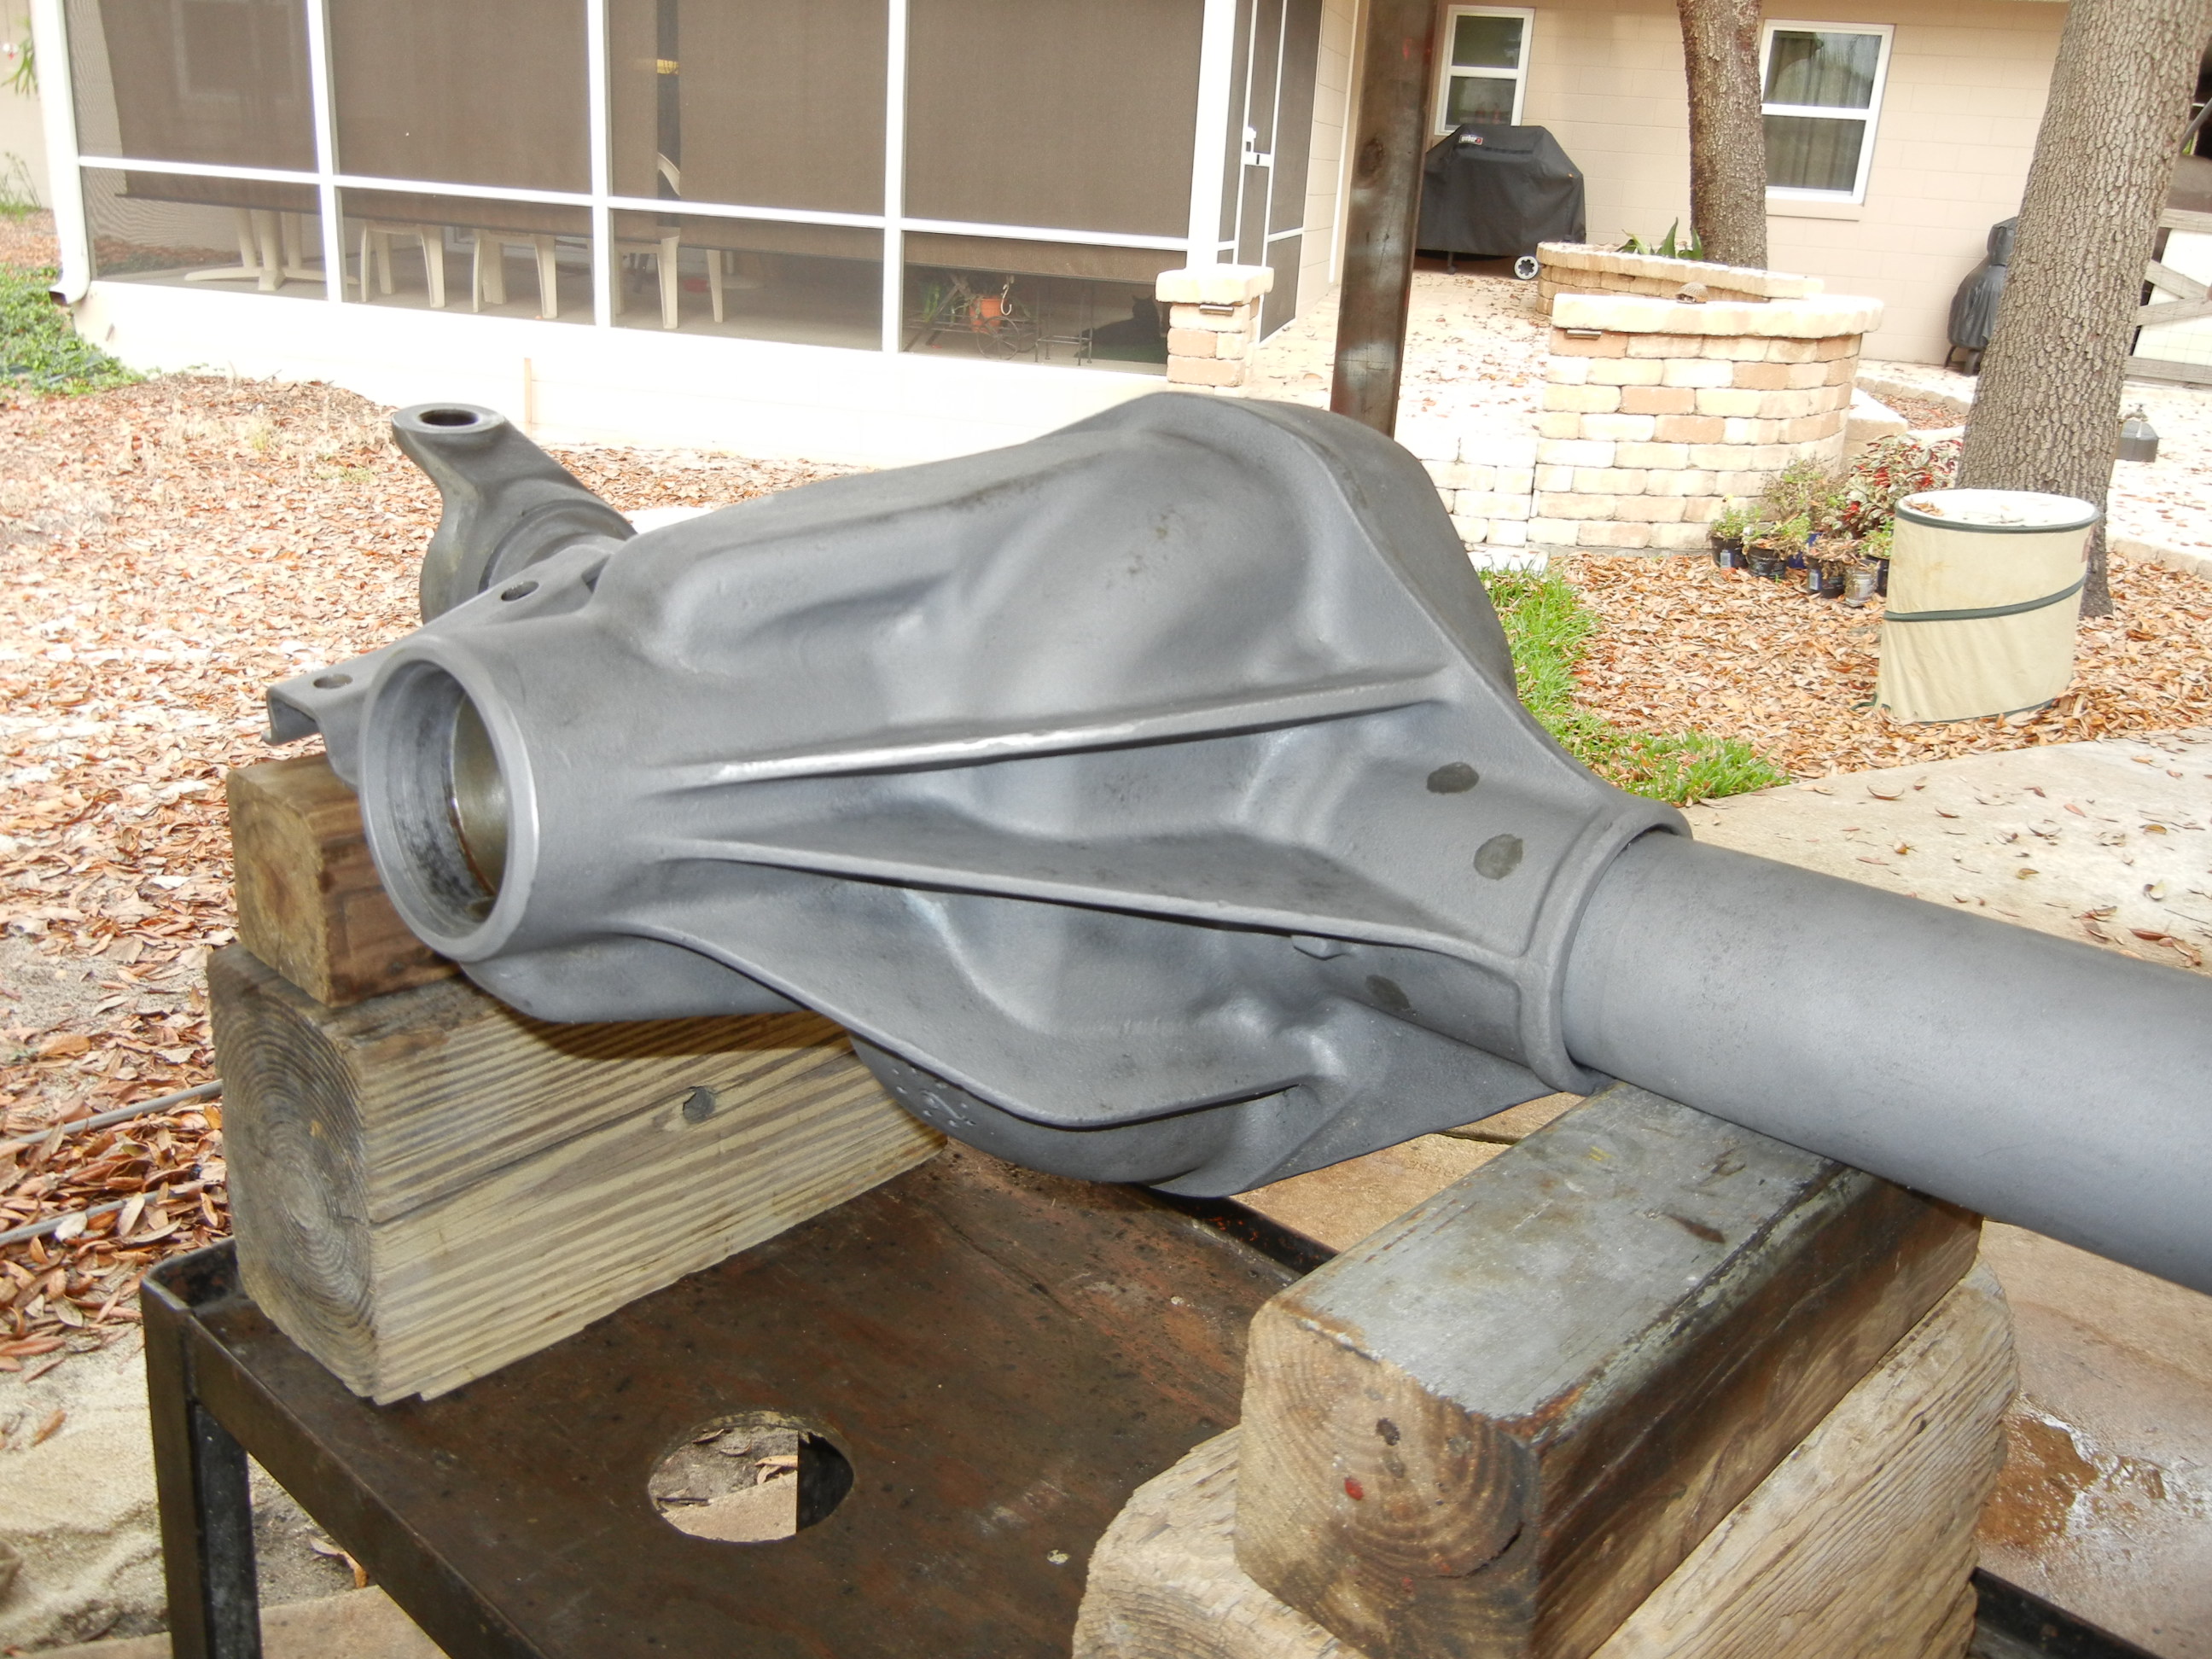
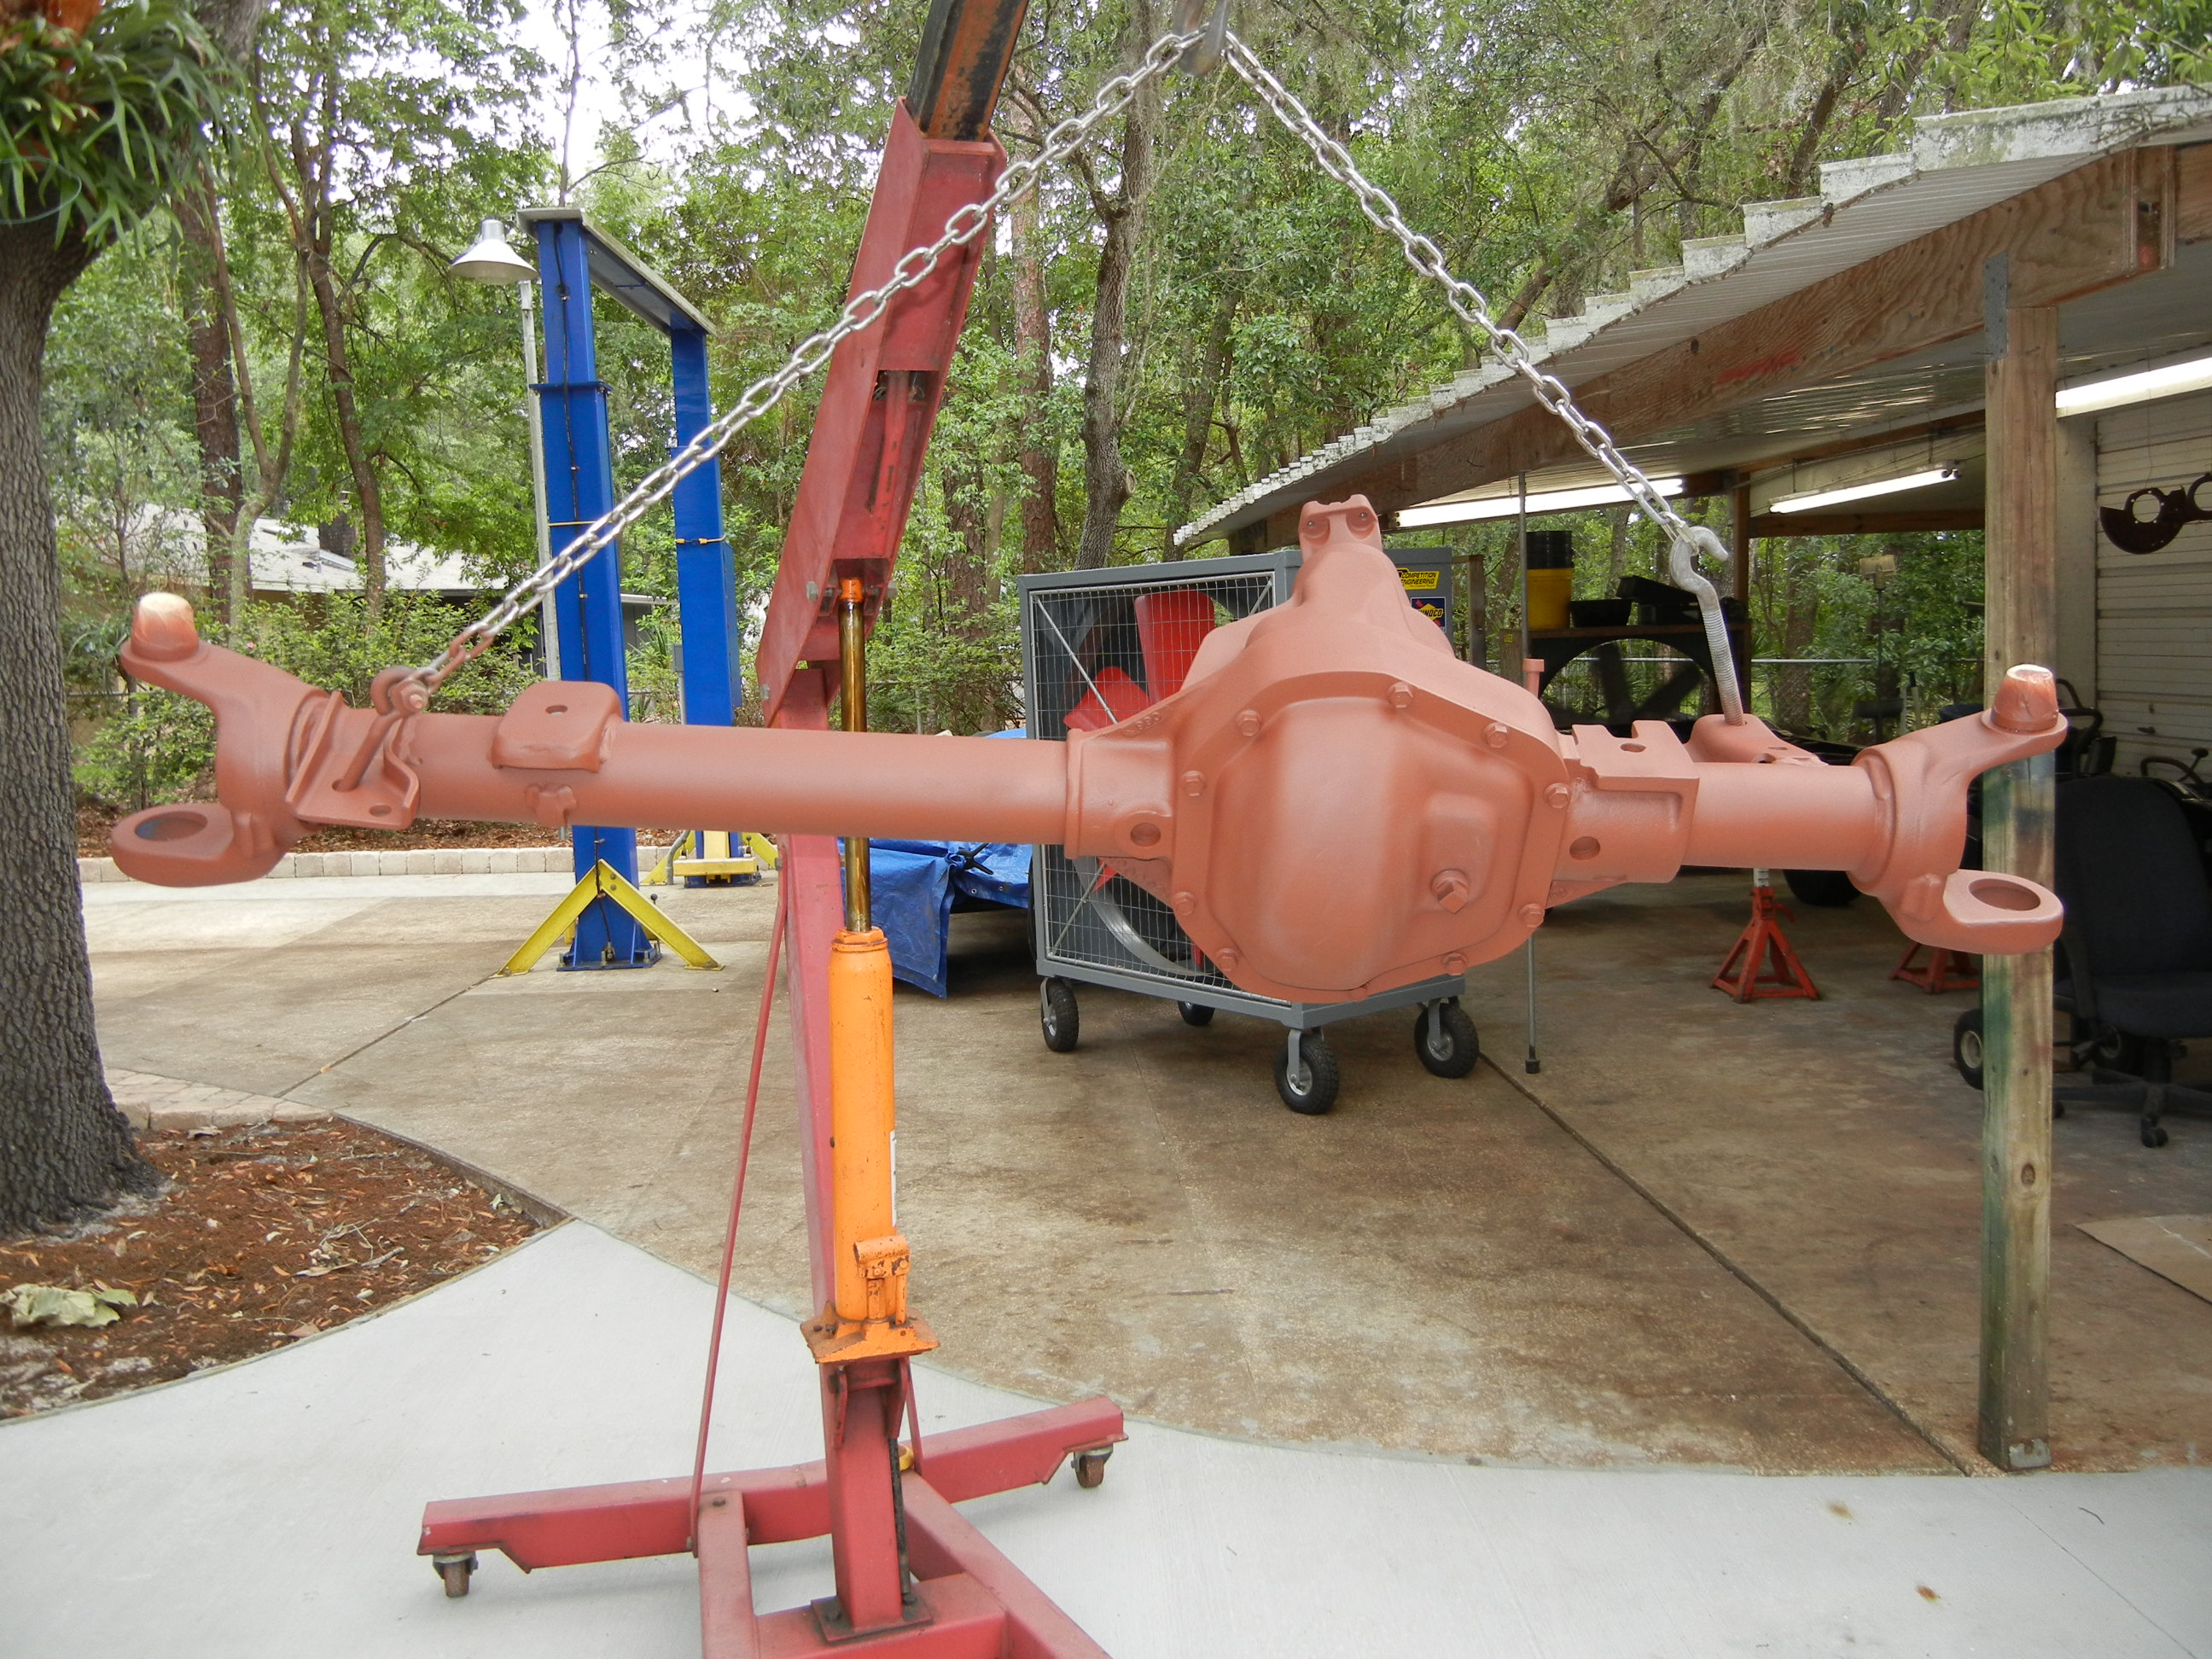
So now that the rear D70 is finished, attention is turned to
this front axle in desperate need of a good cleaning!
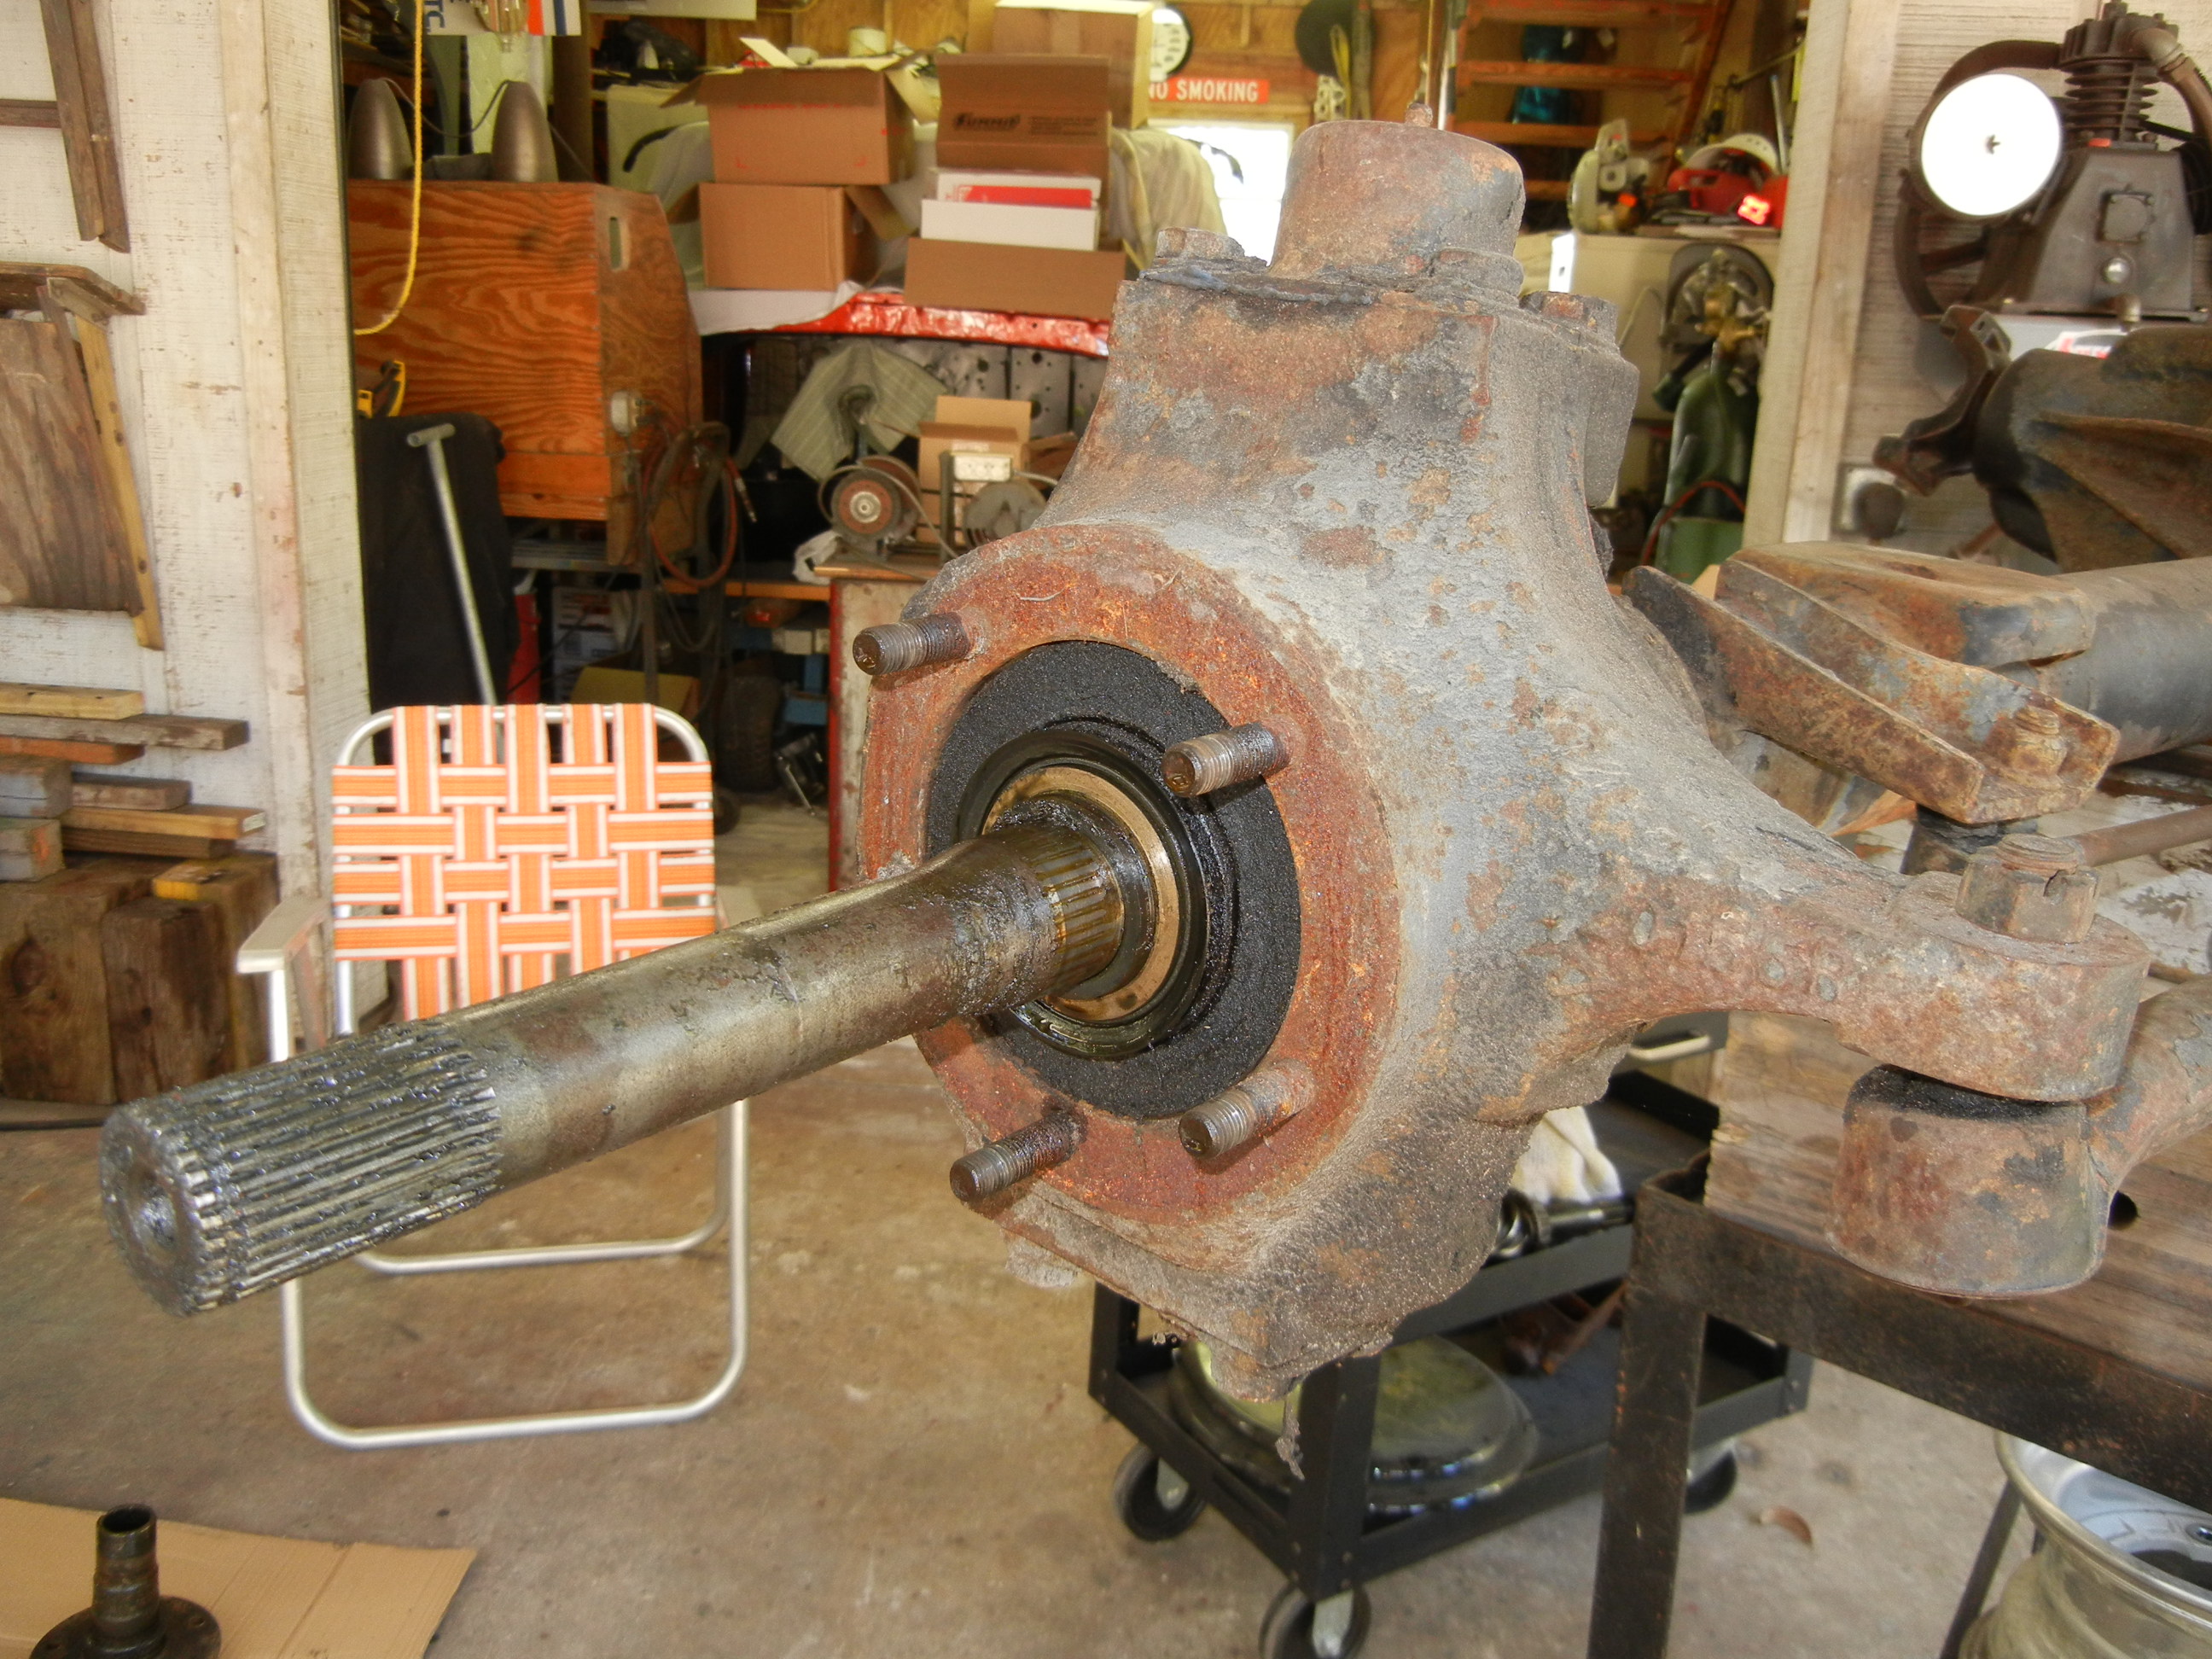
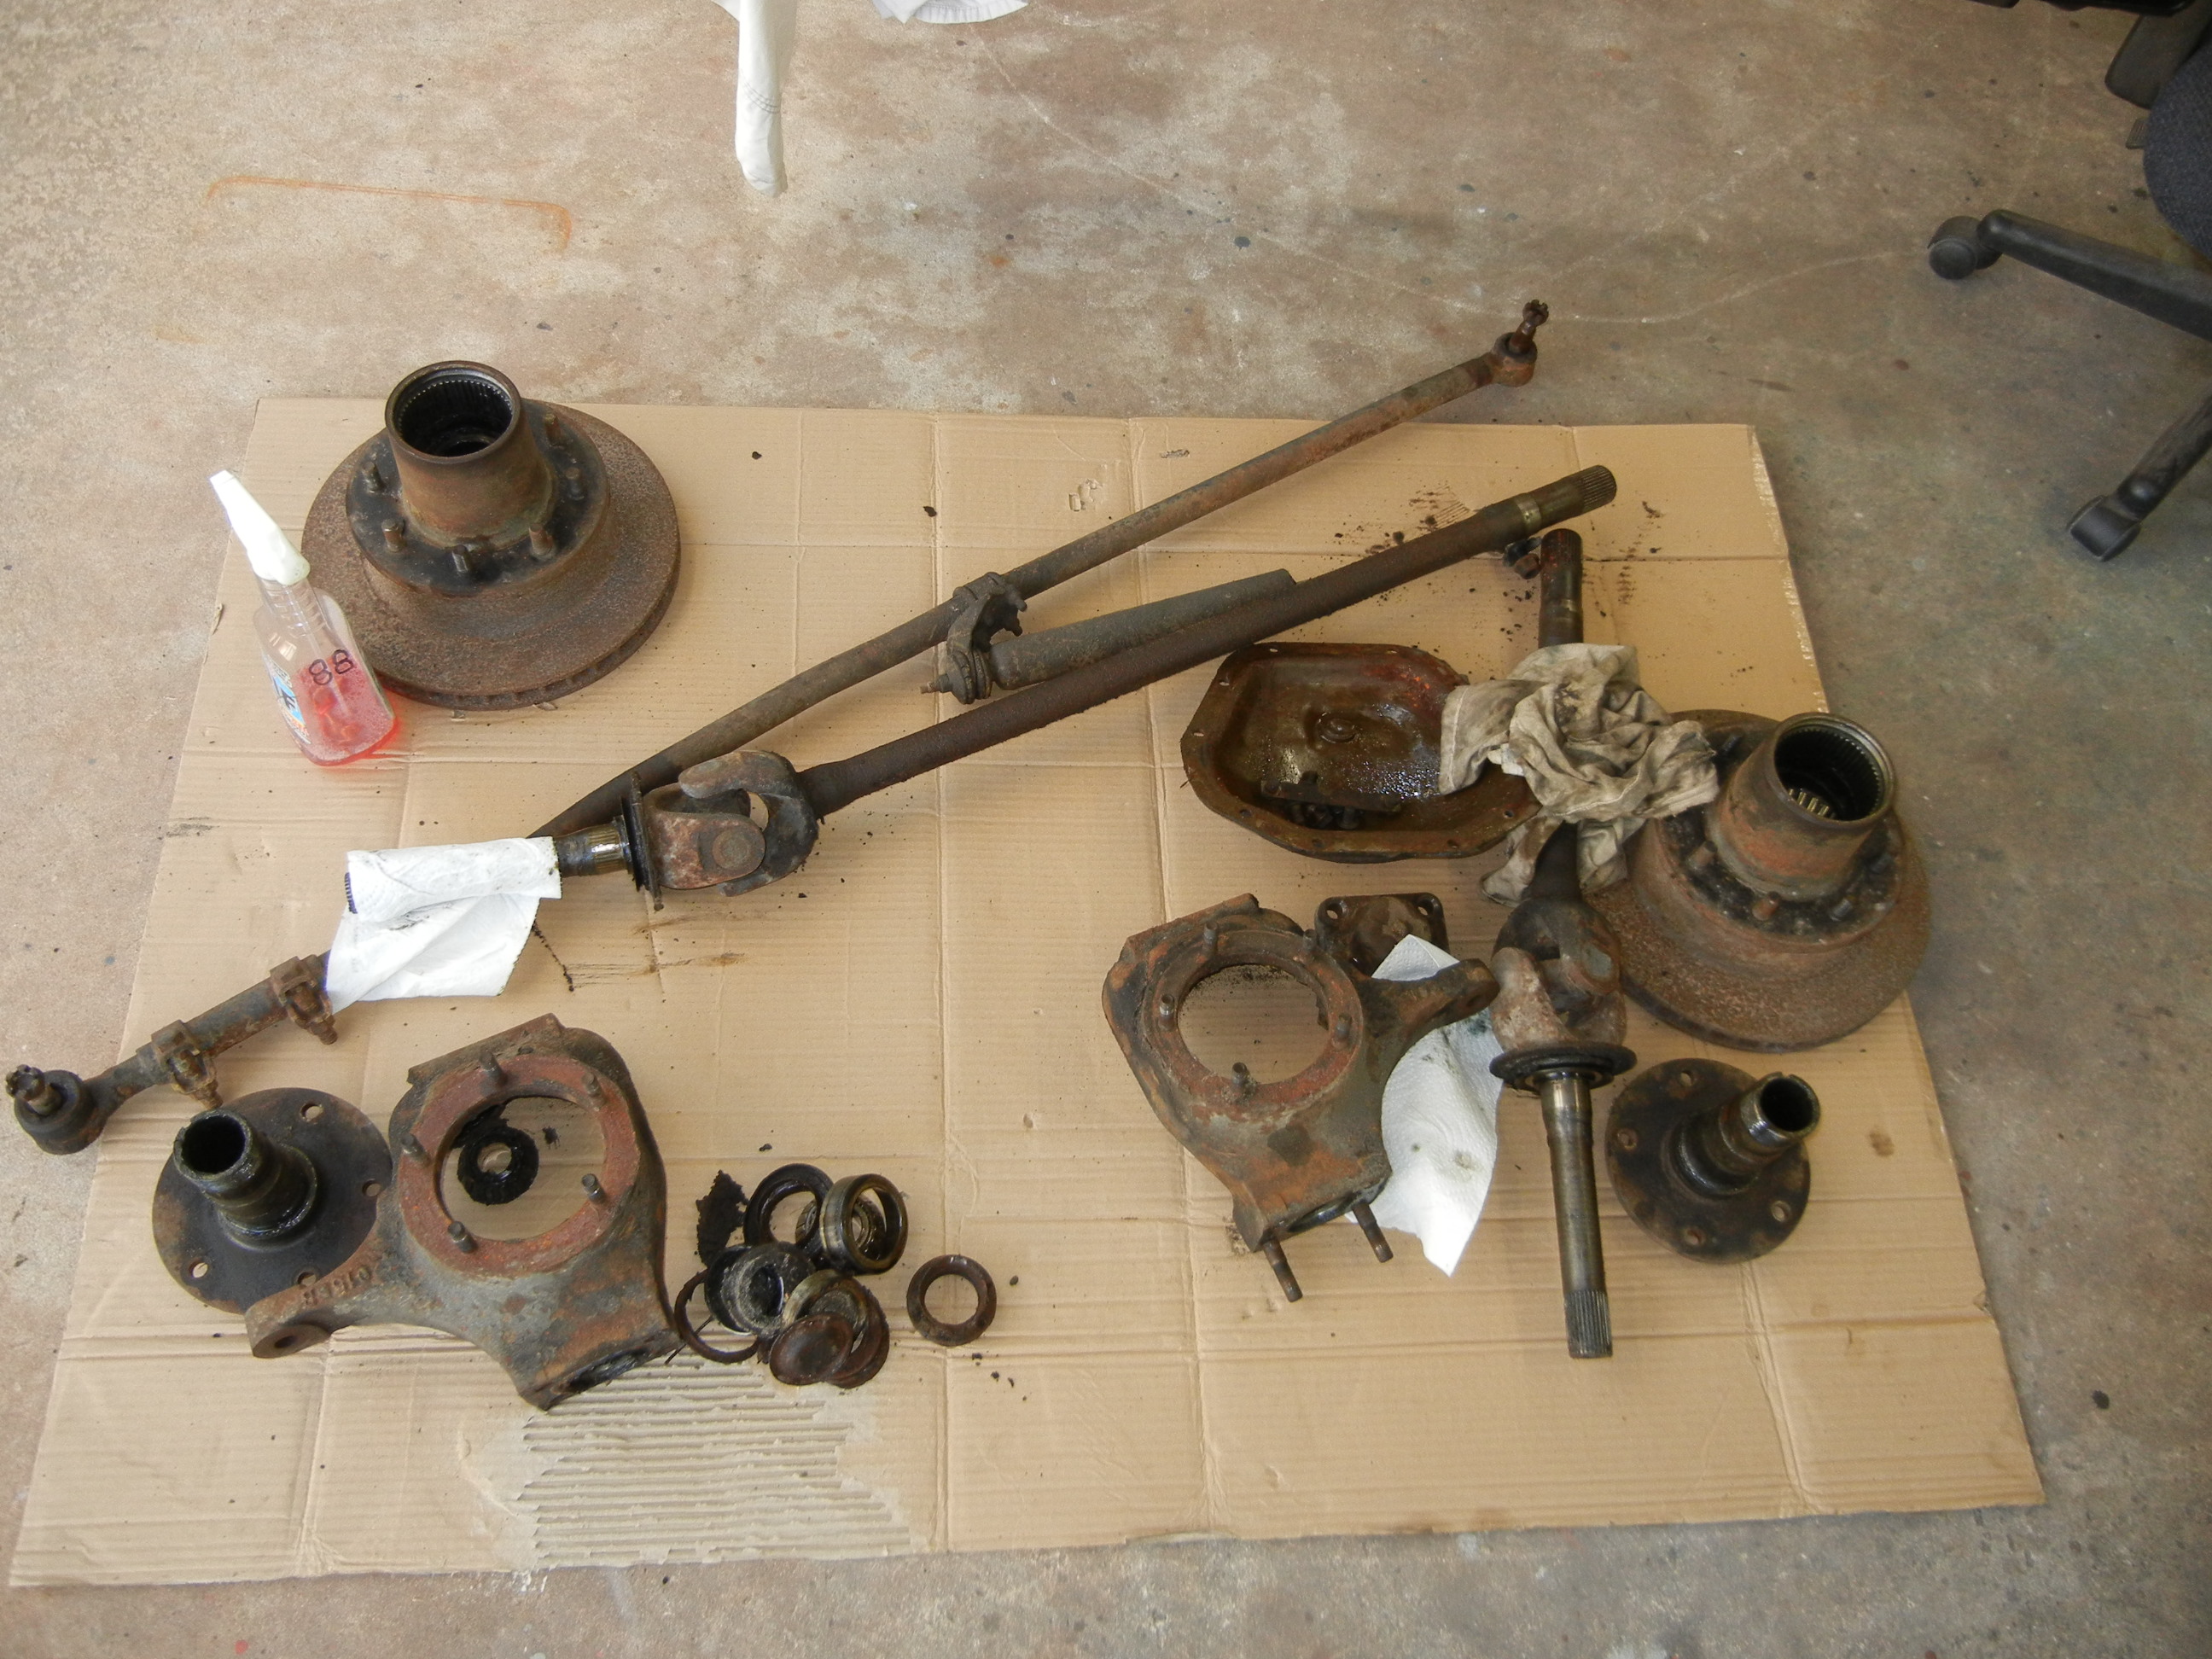
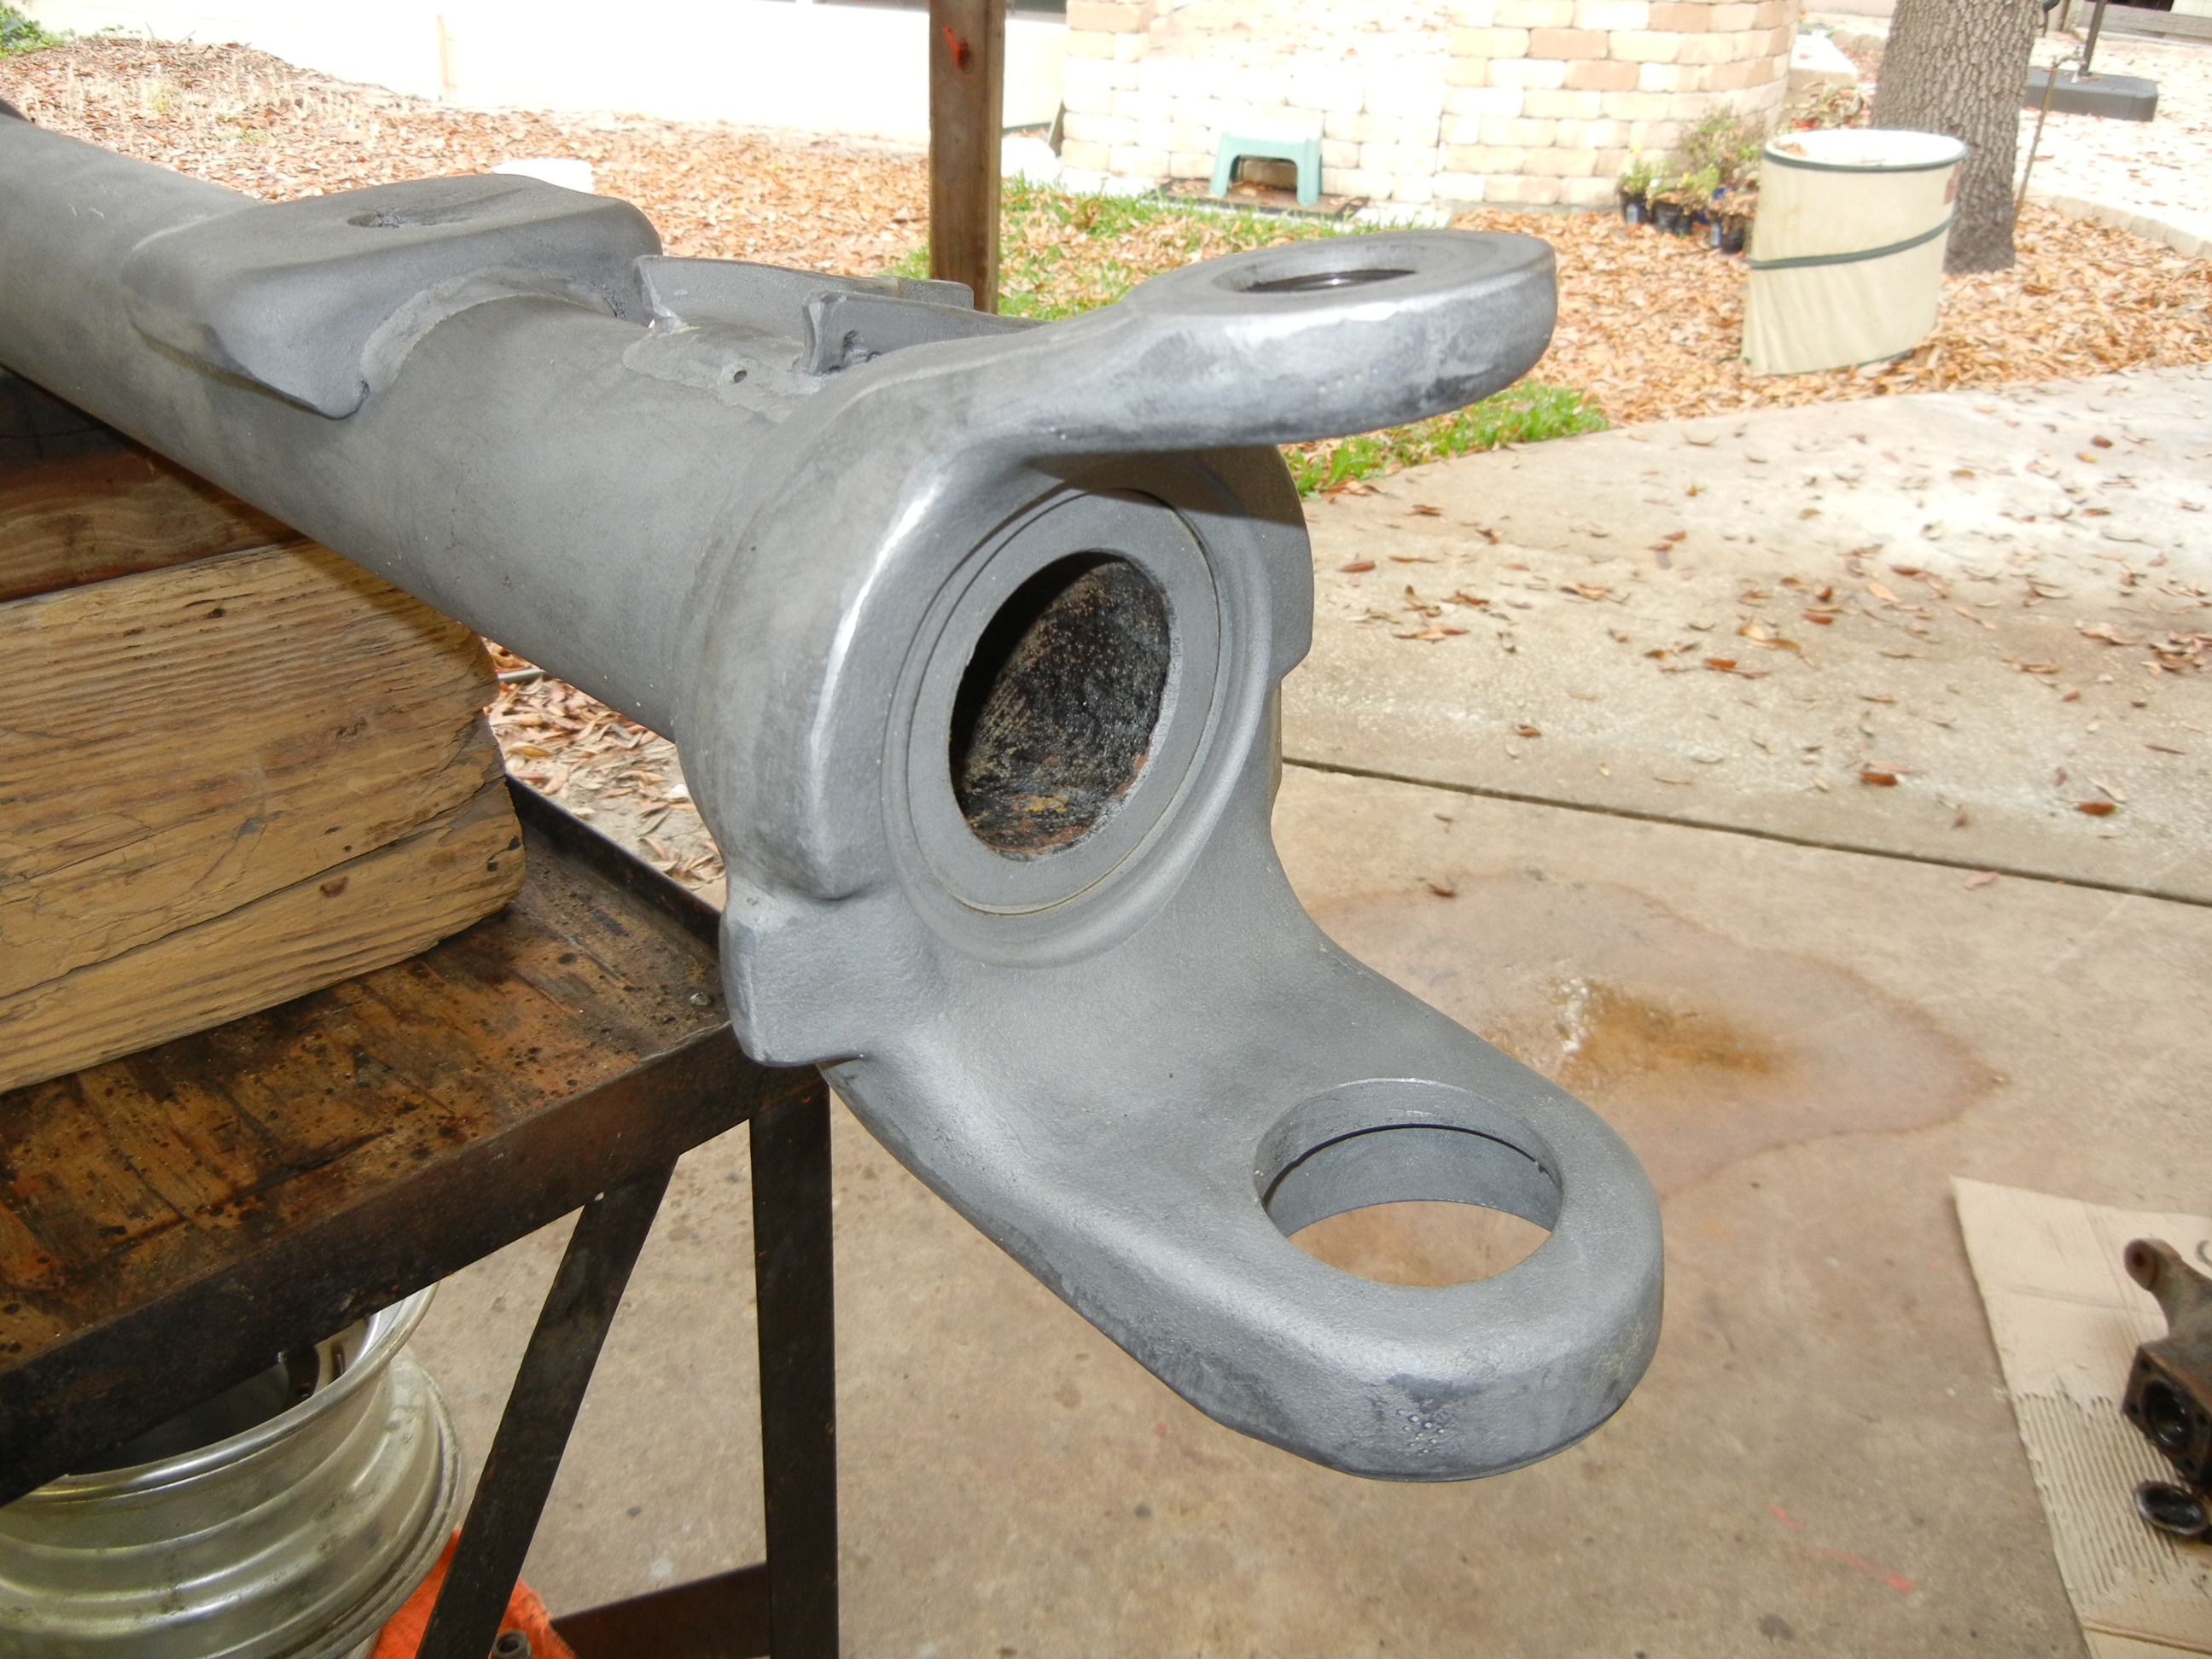
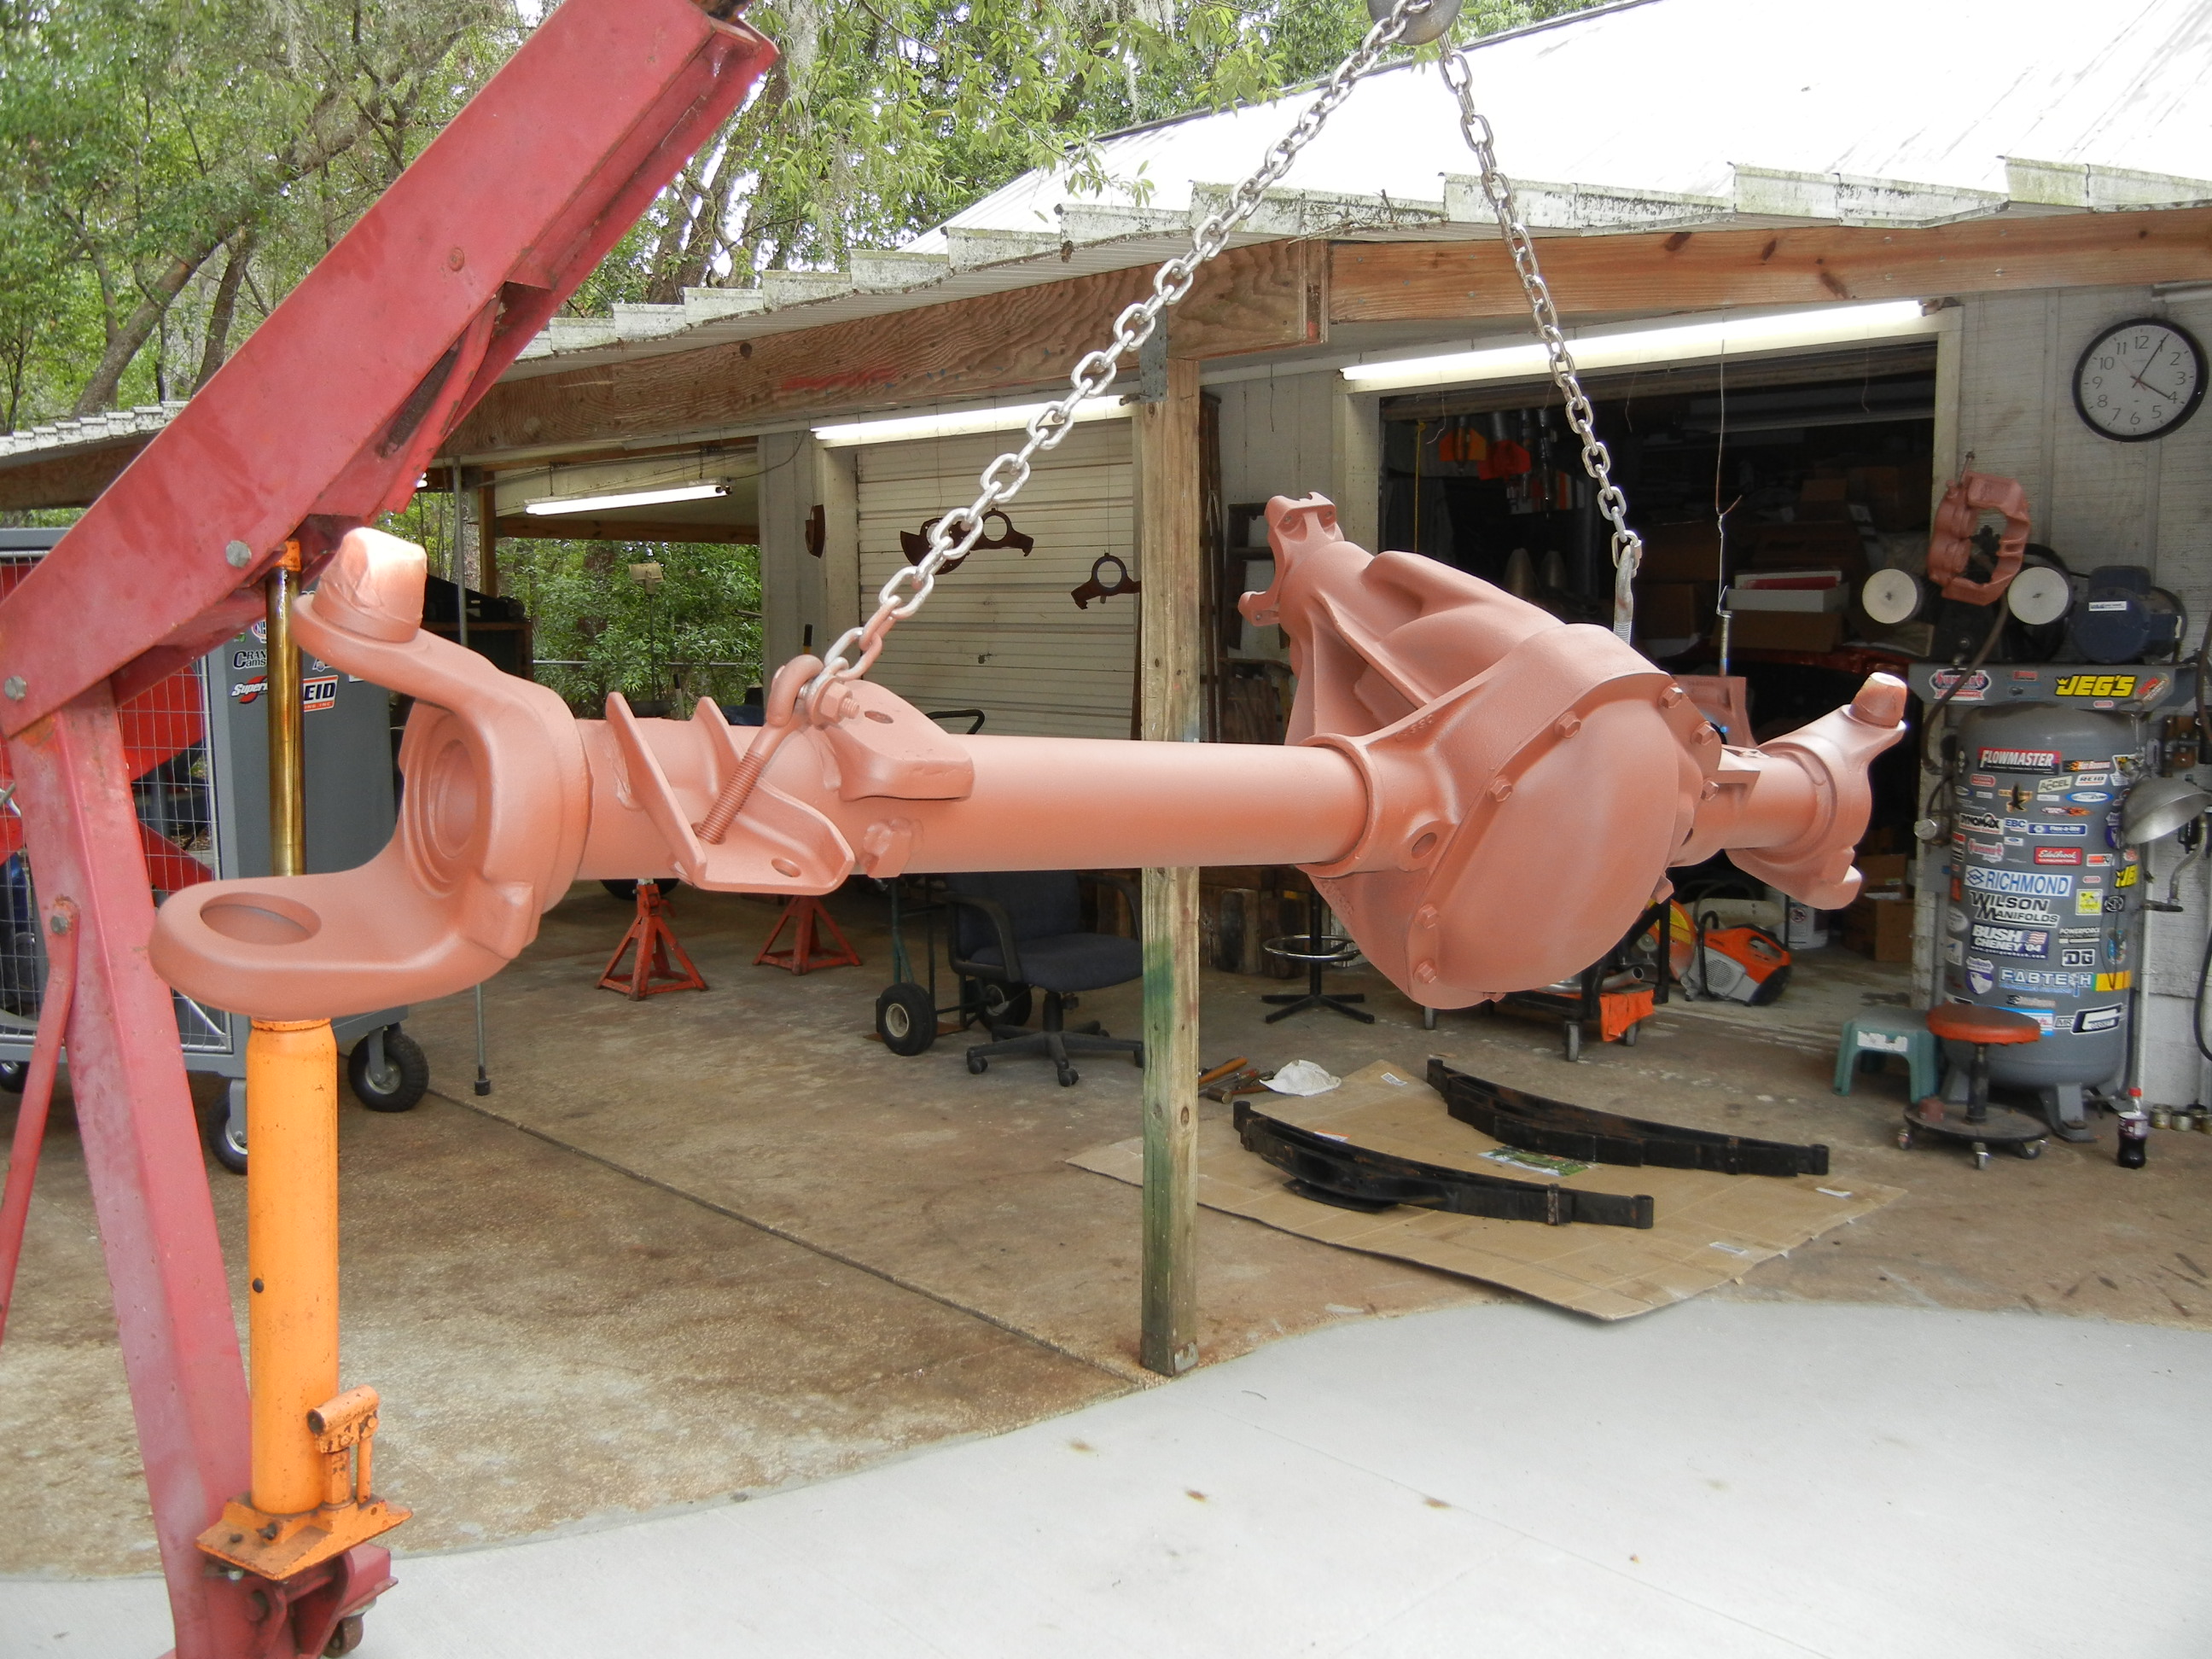
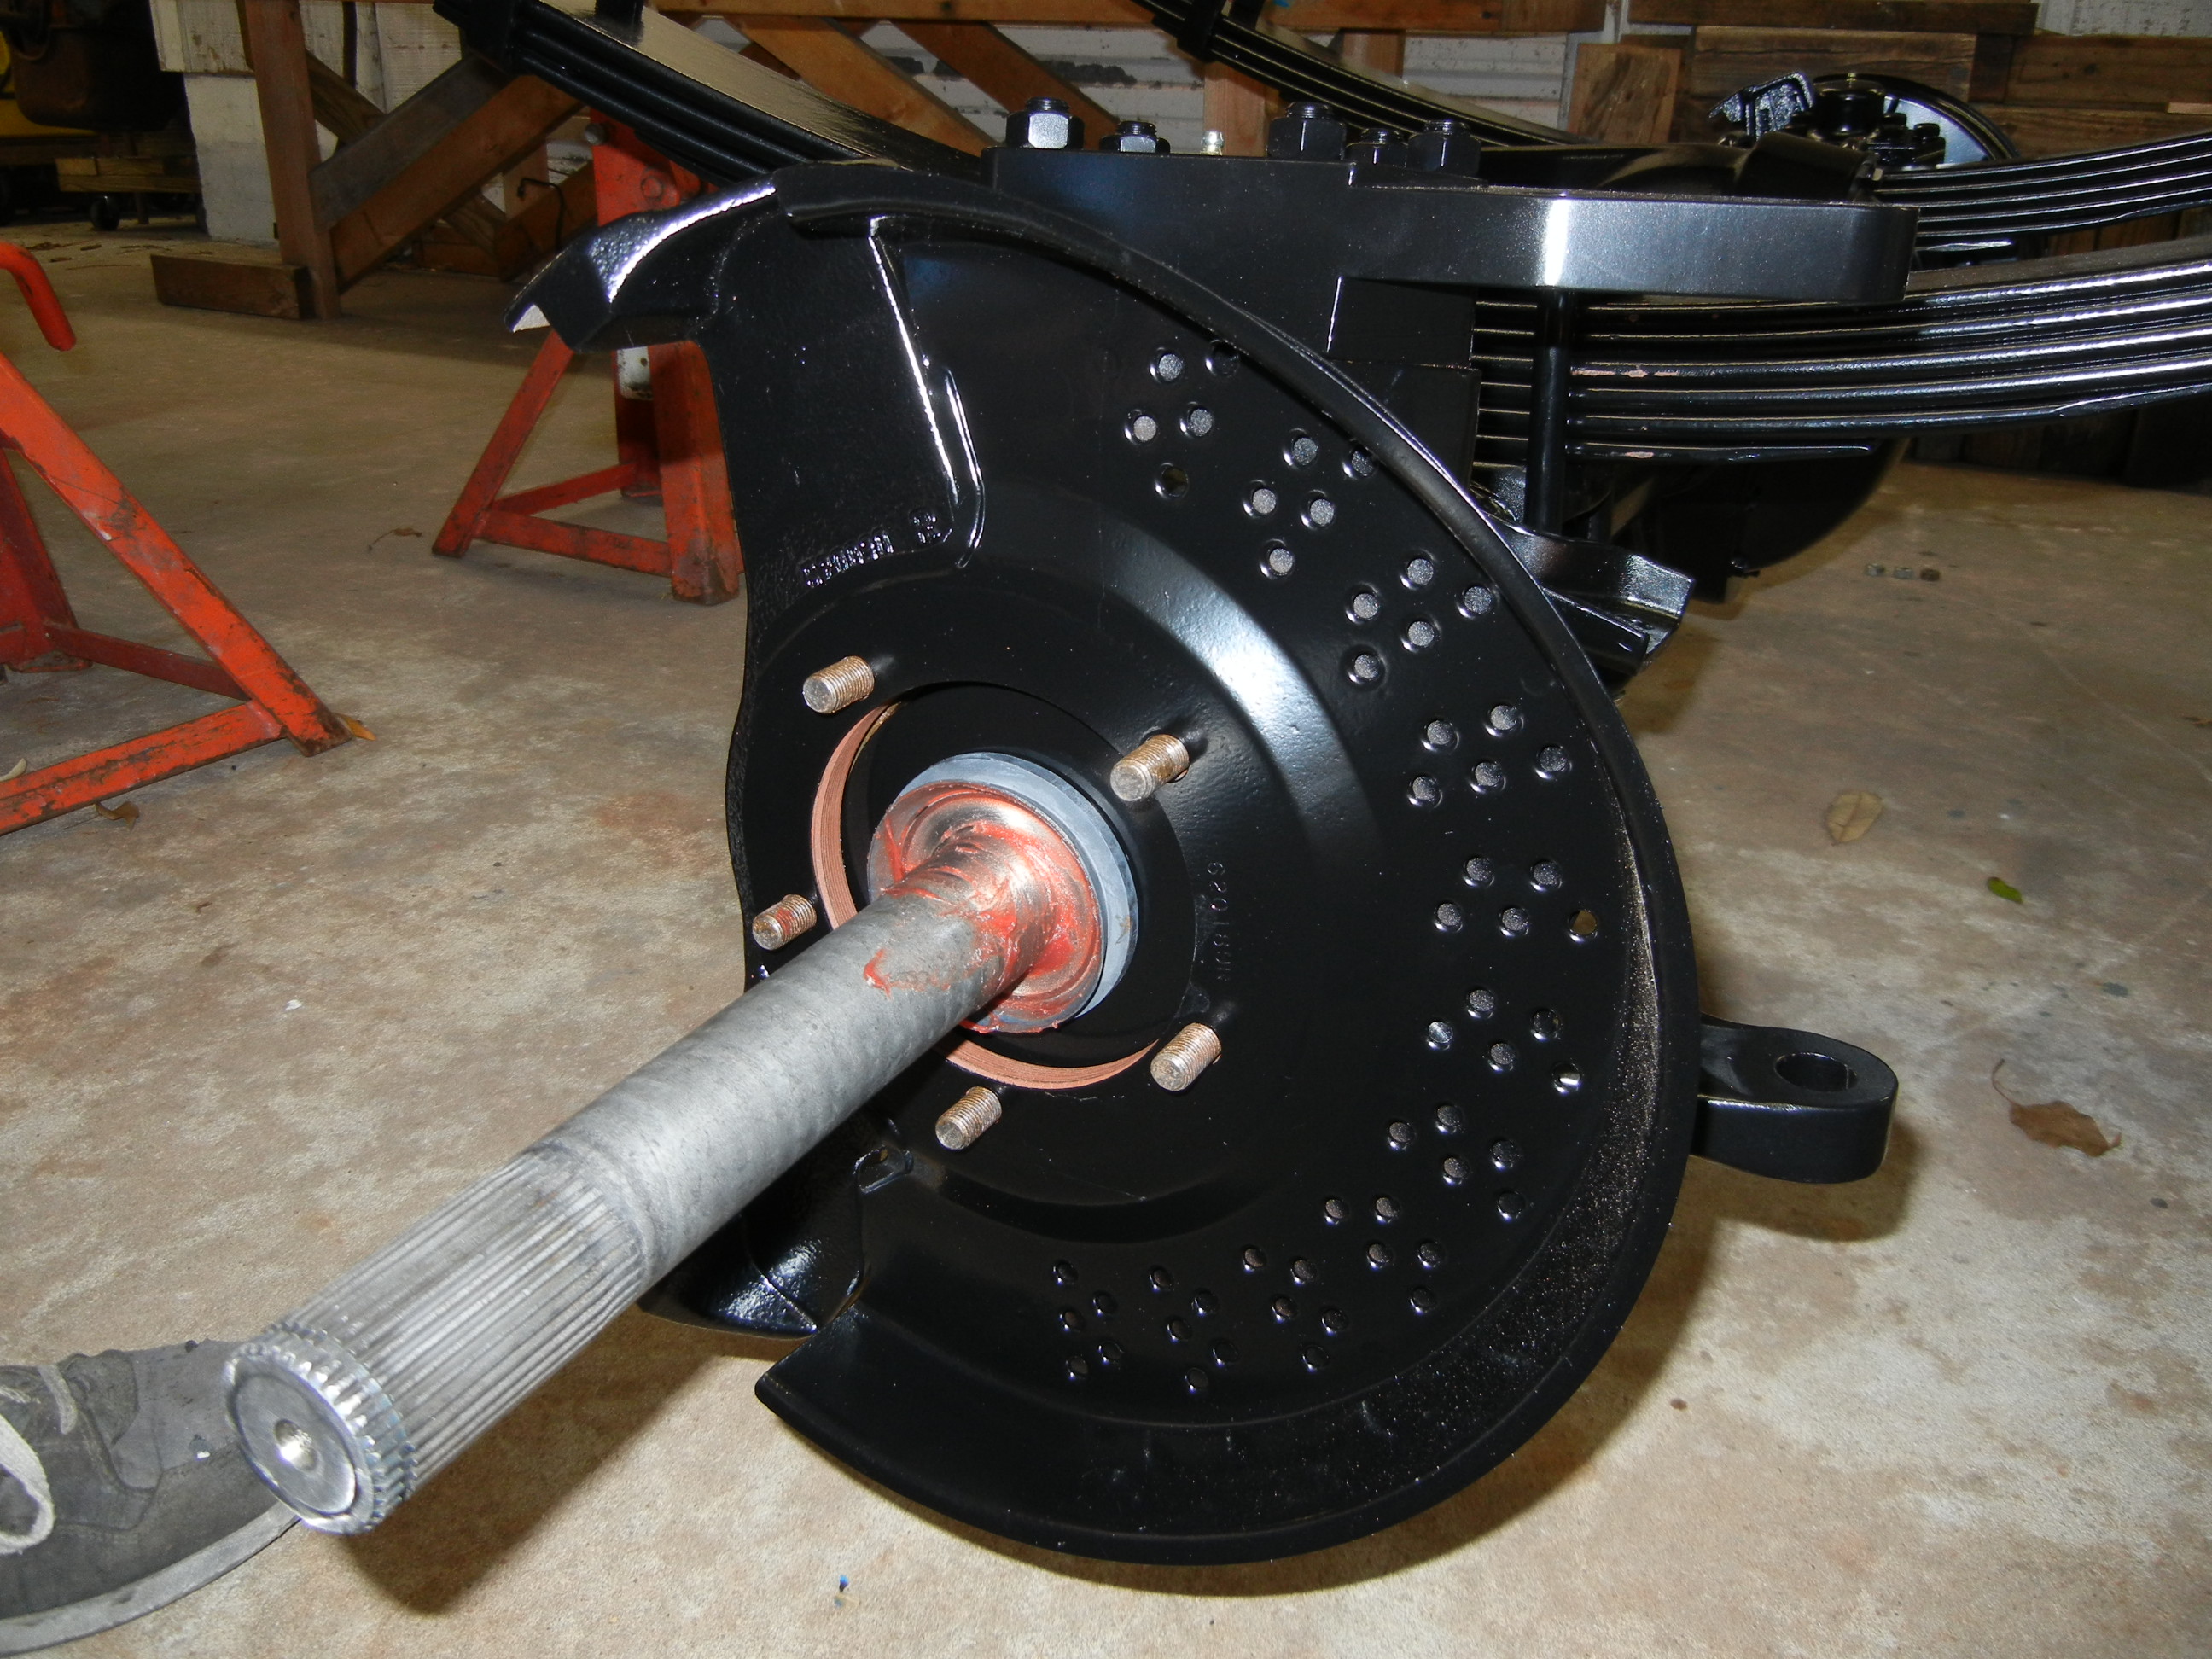
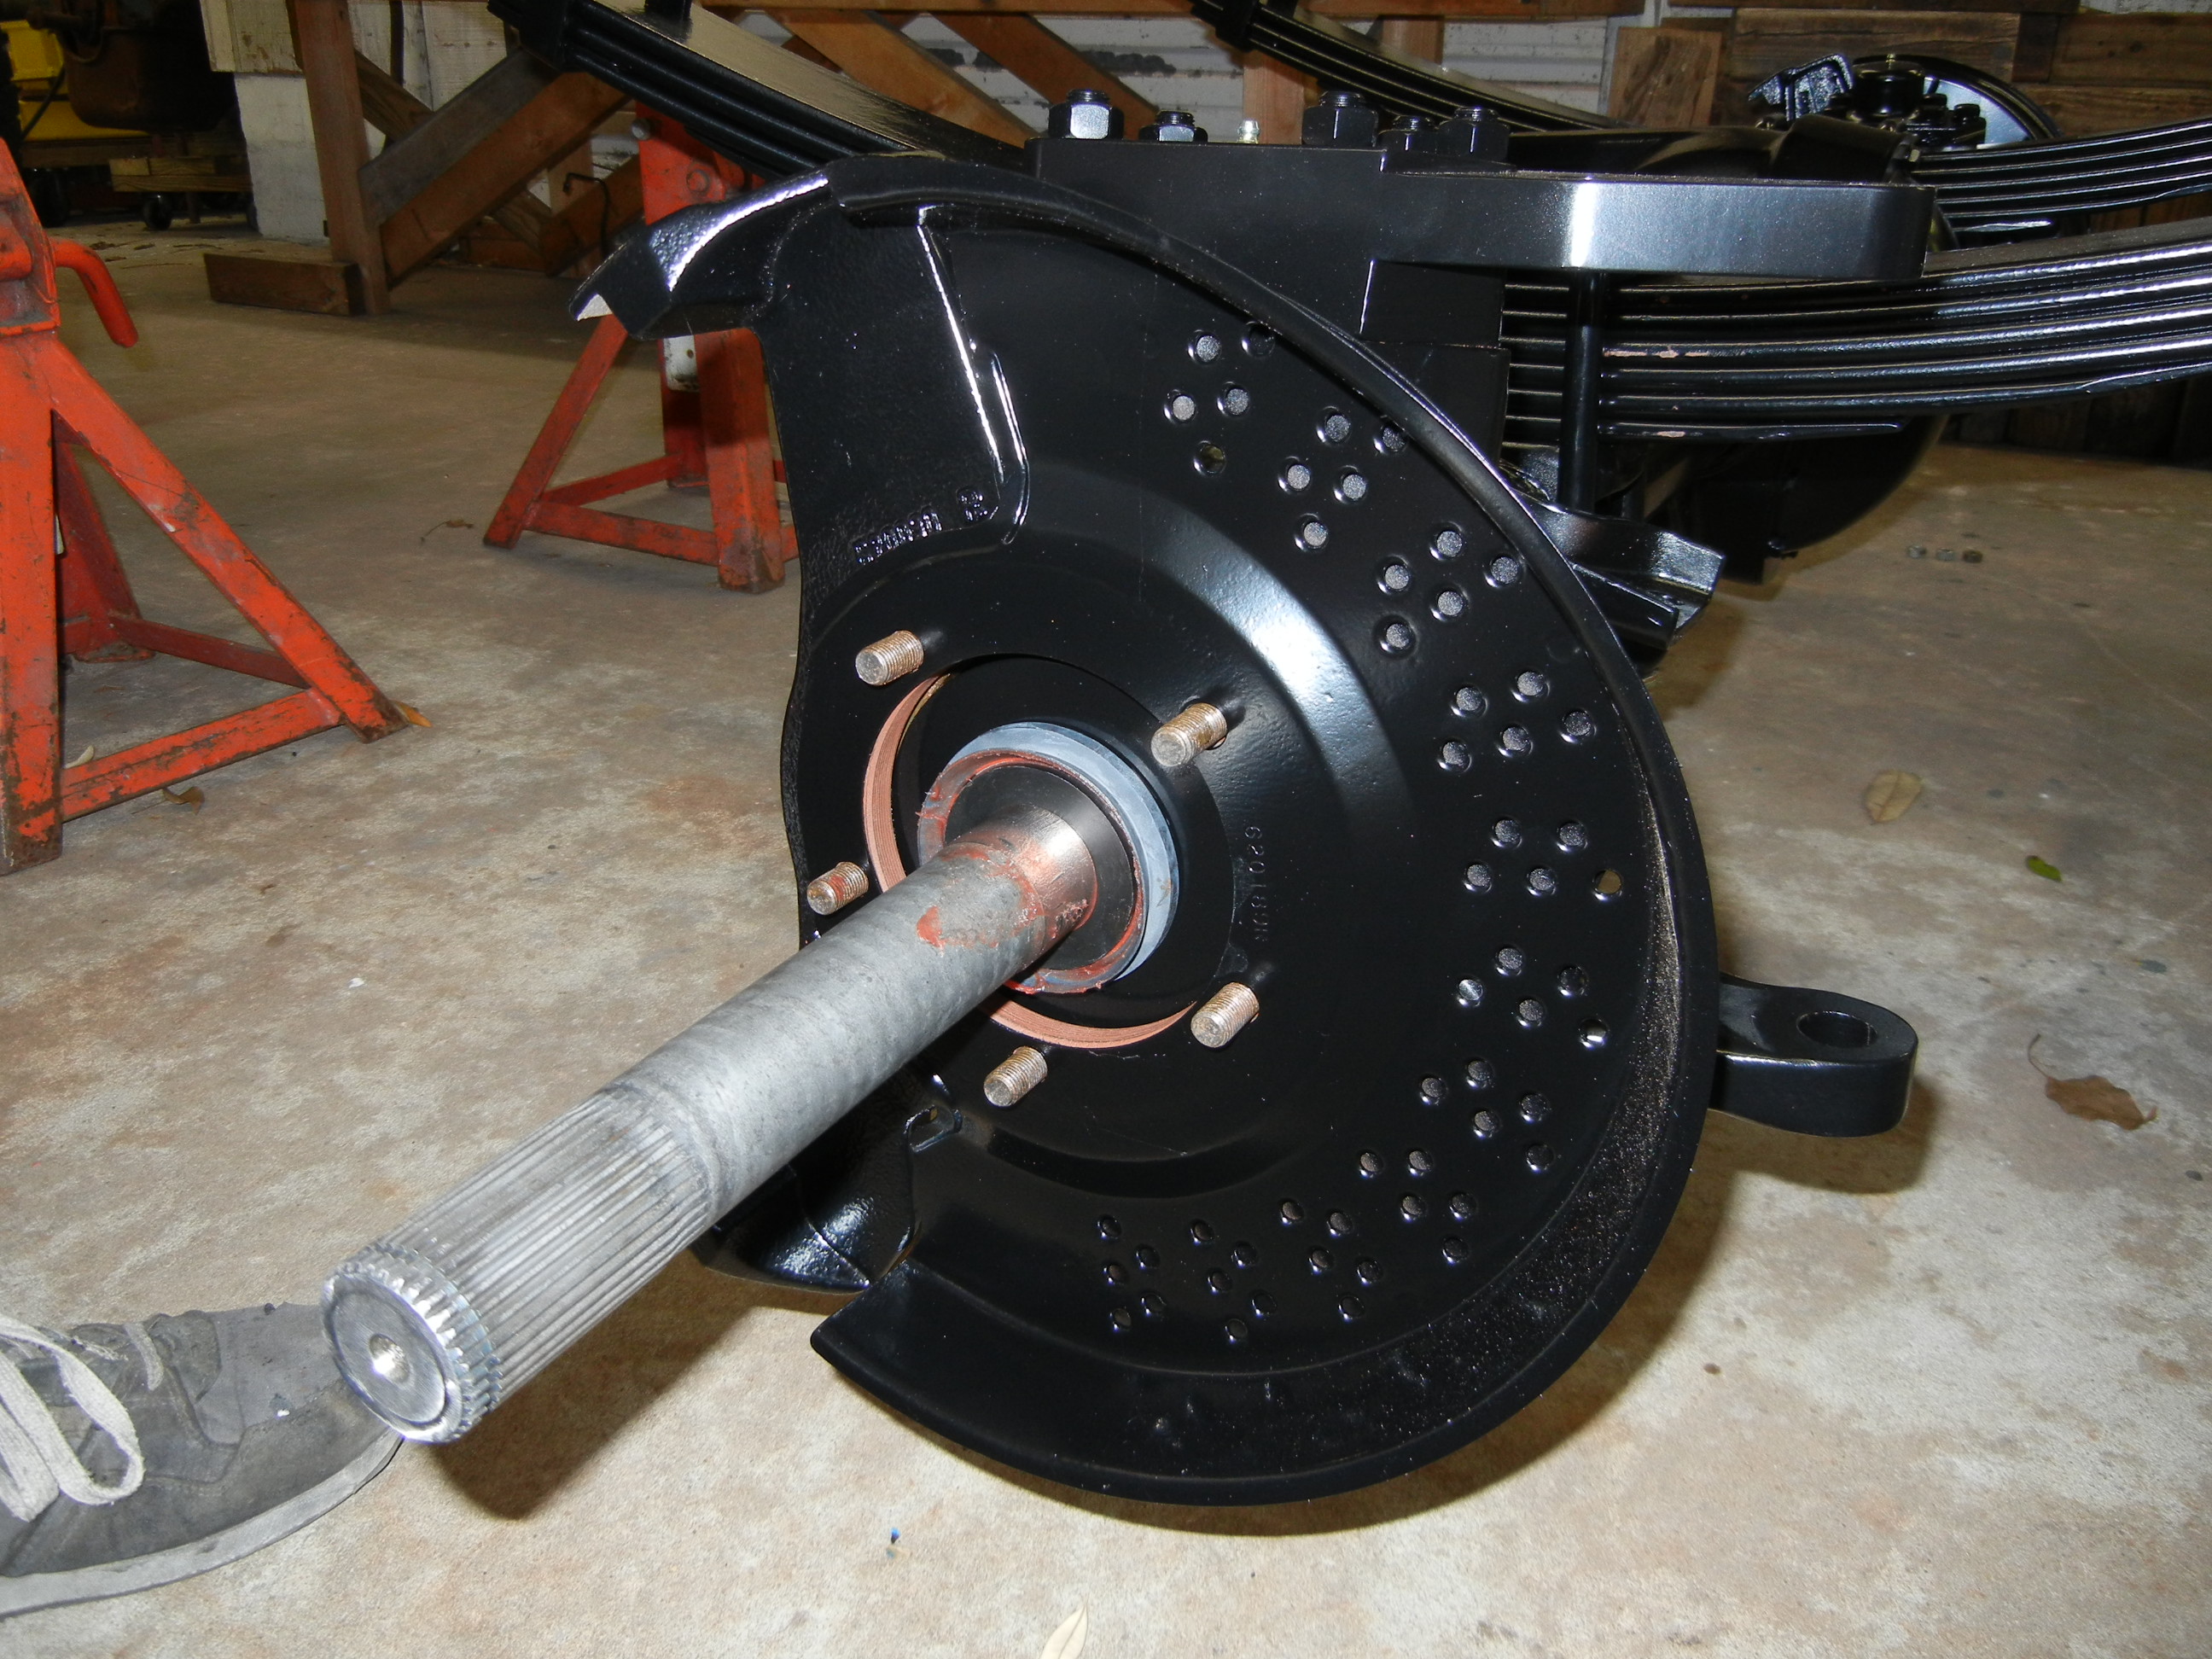
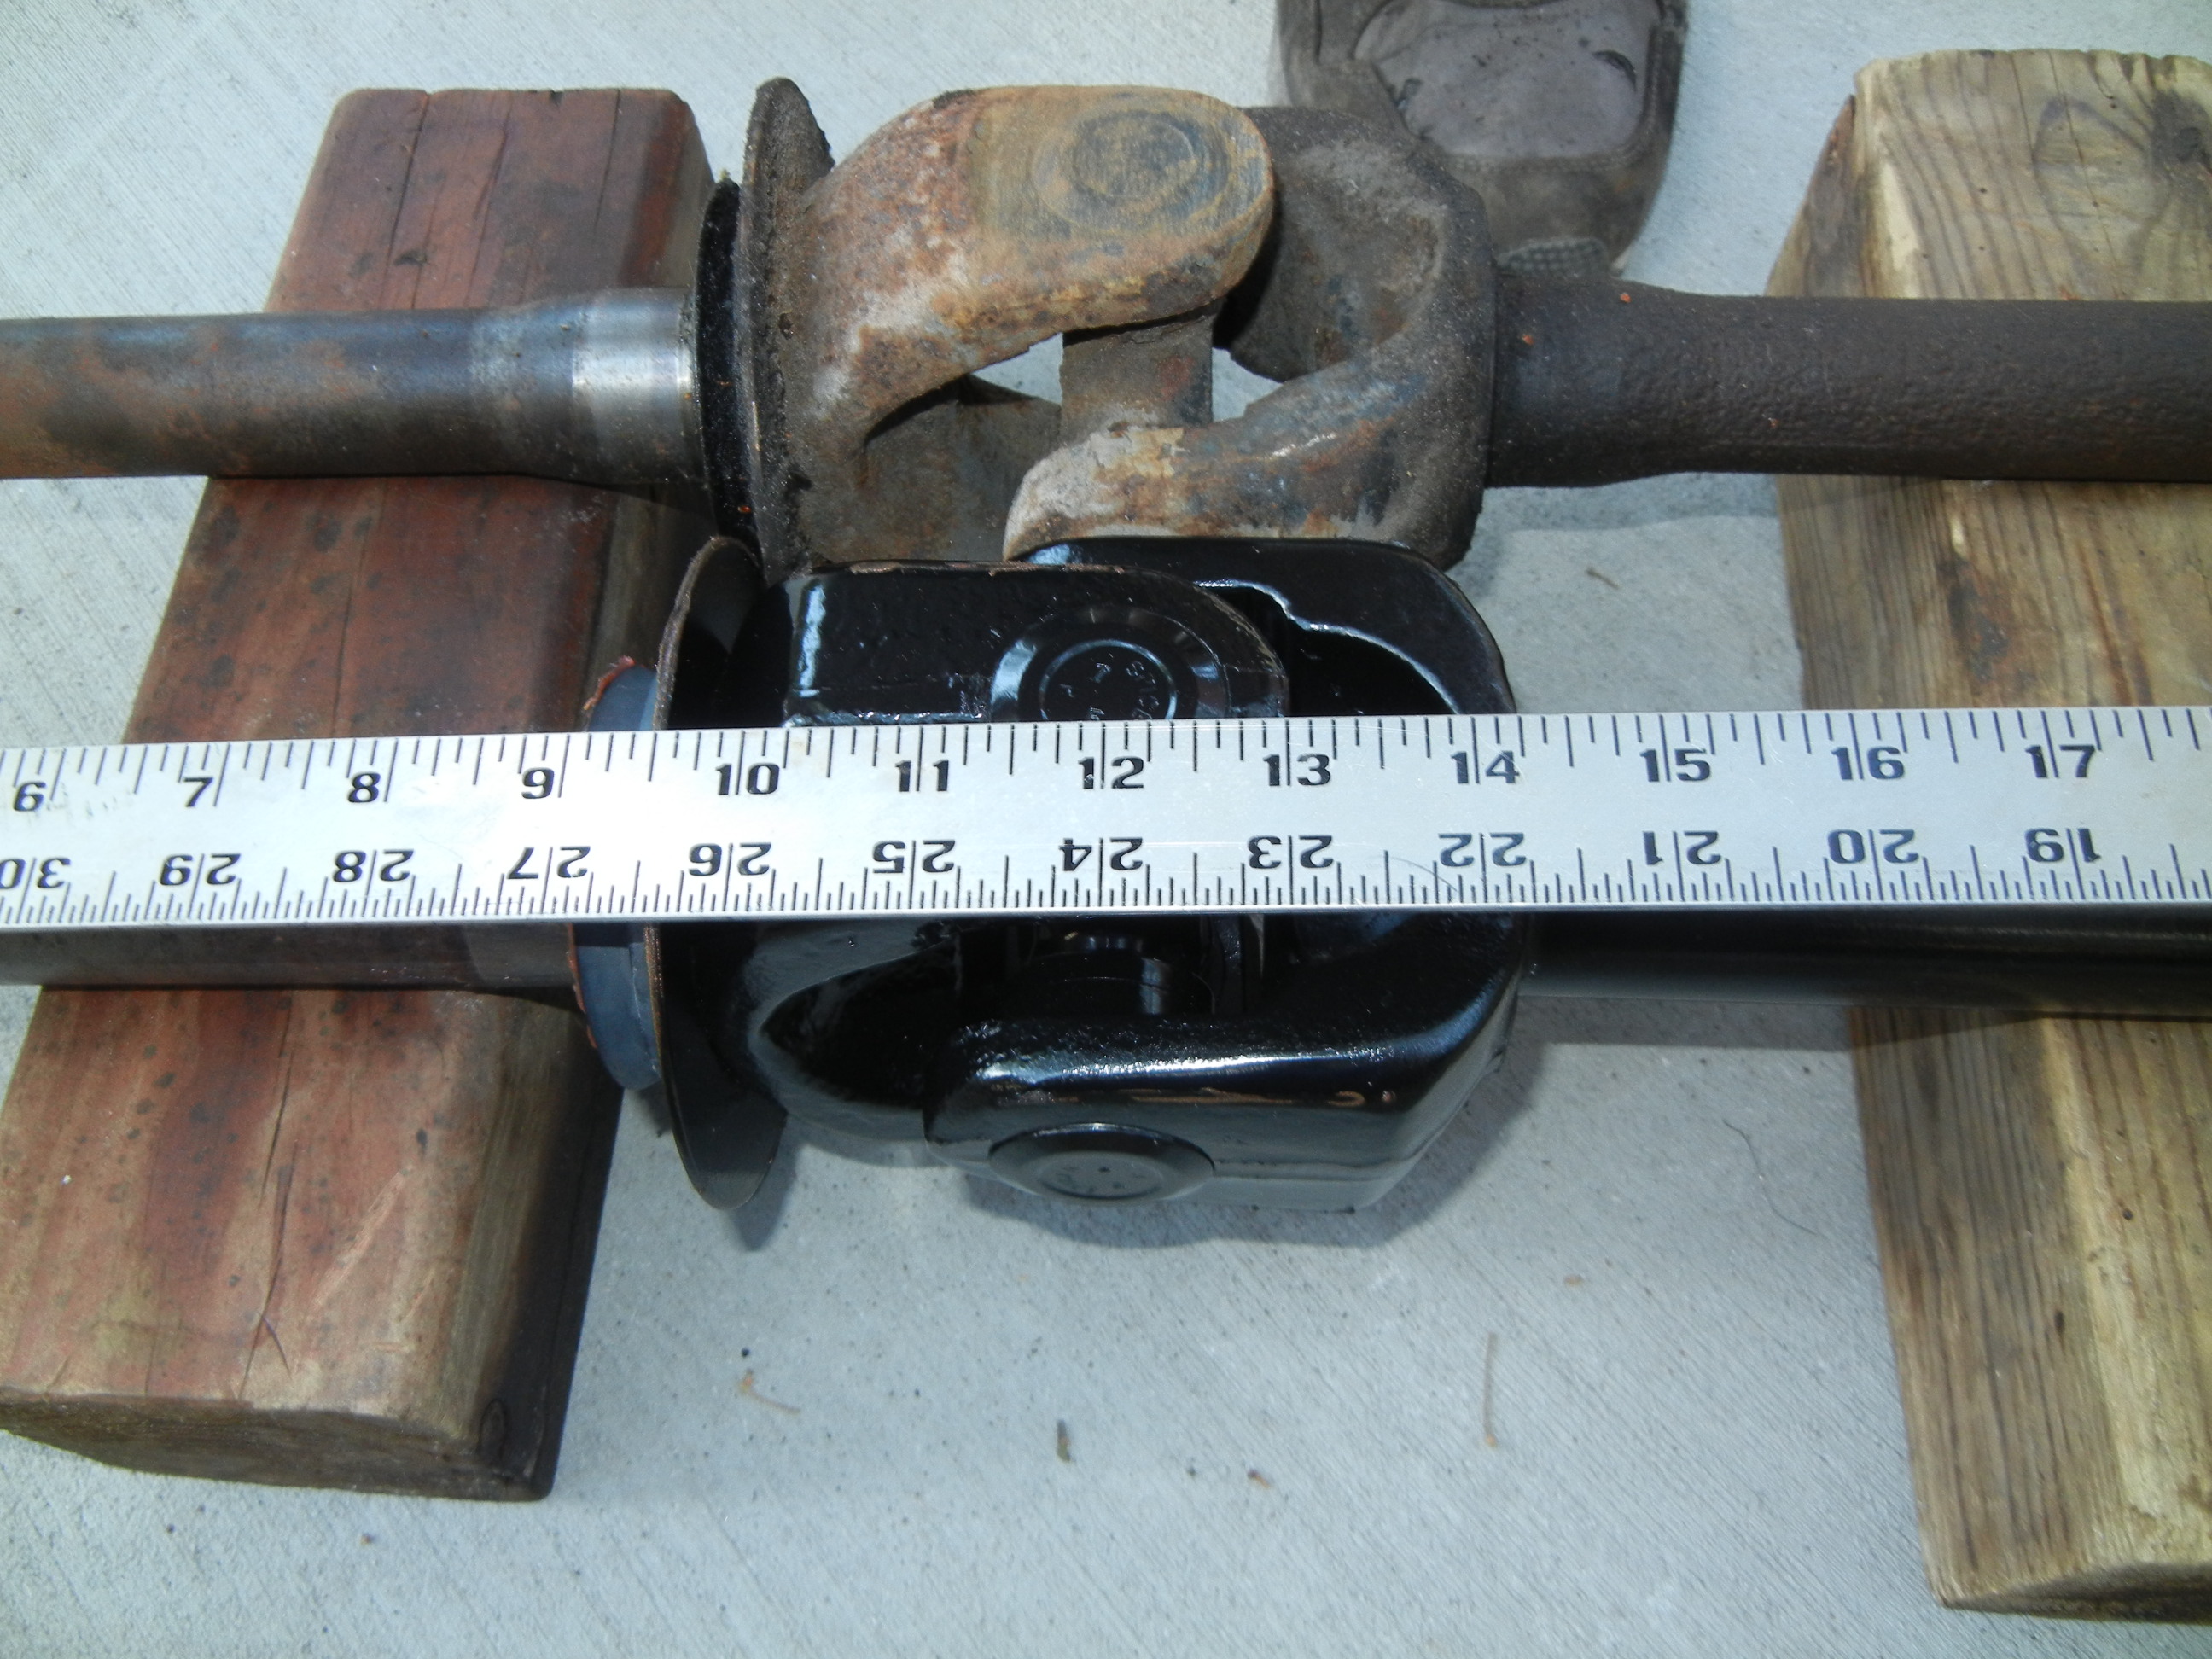
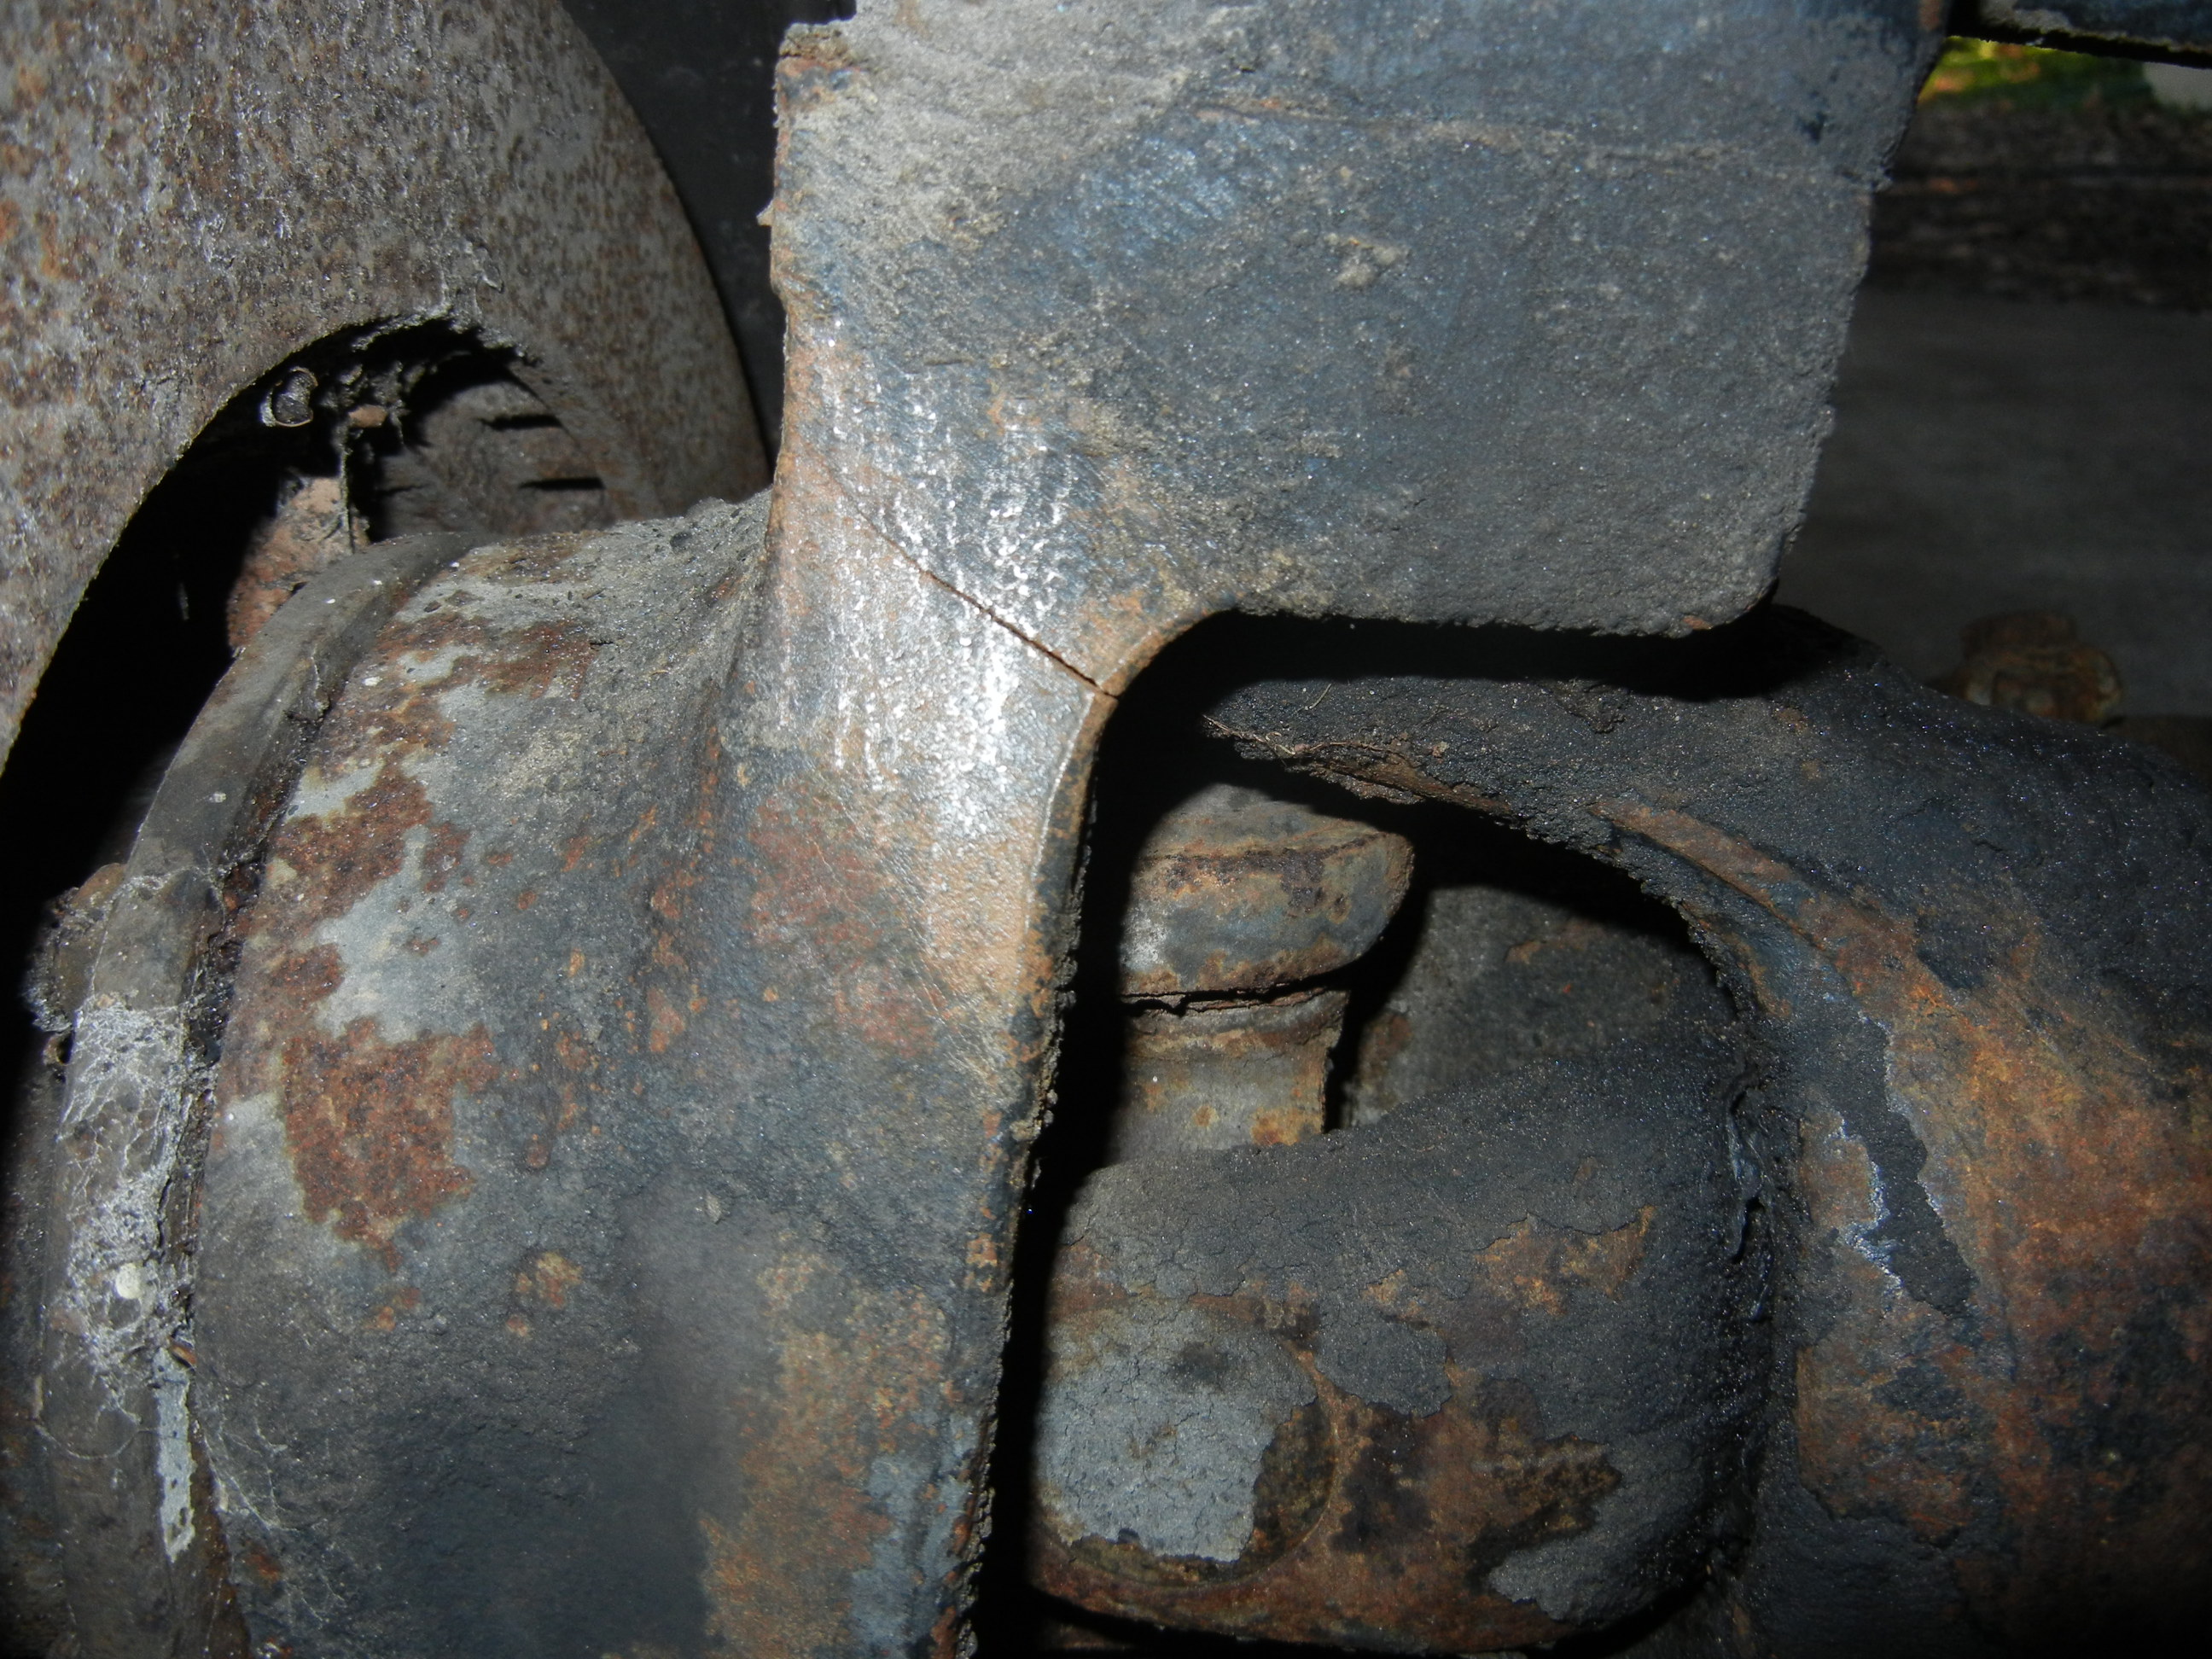
As suspected, this axle is about as worn as they come. Both inner axles are
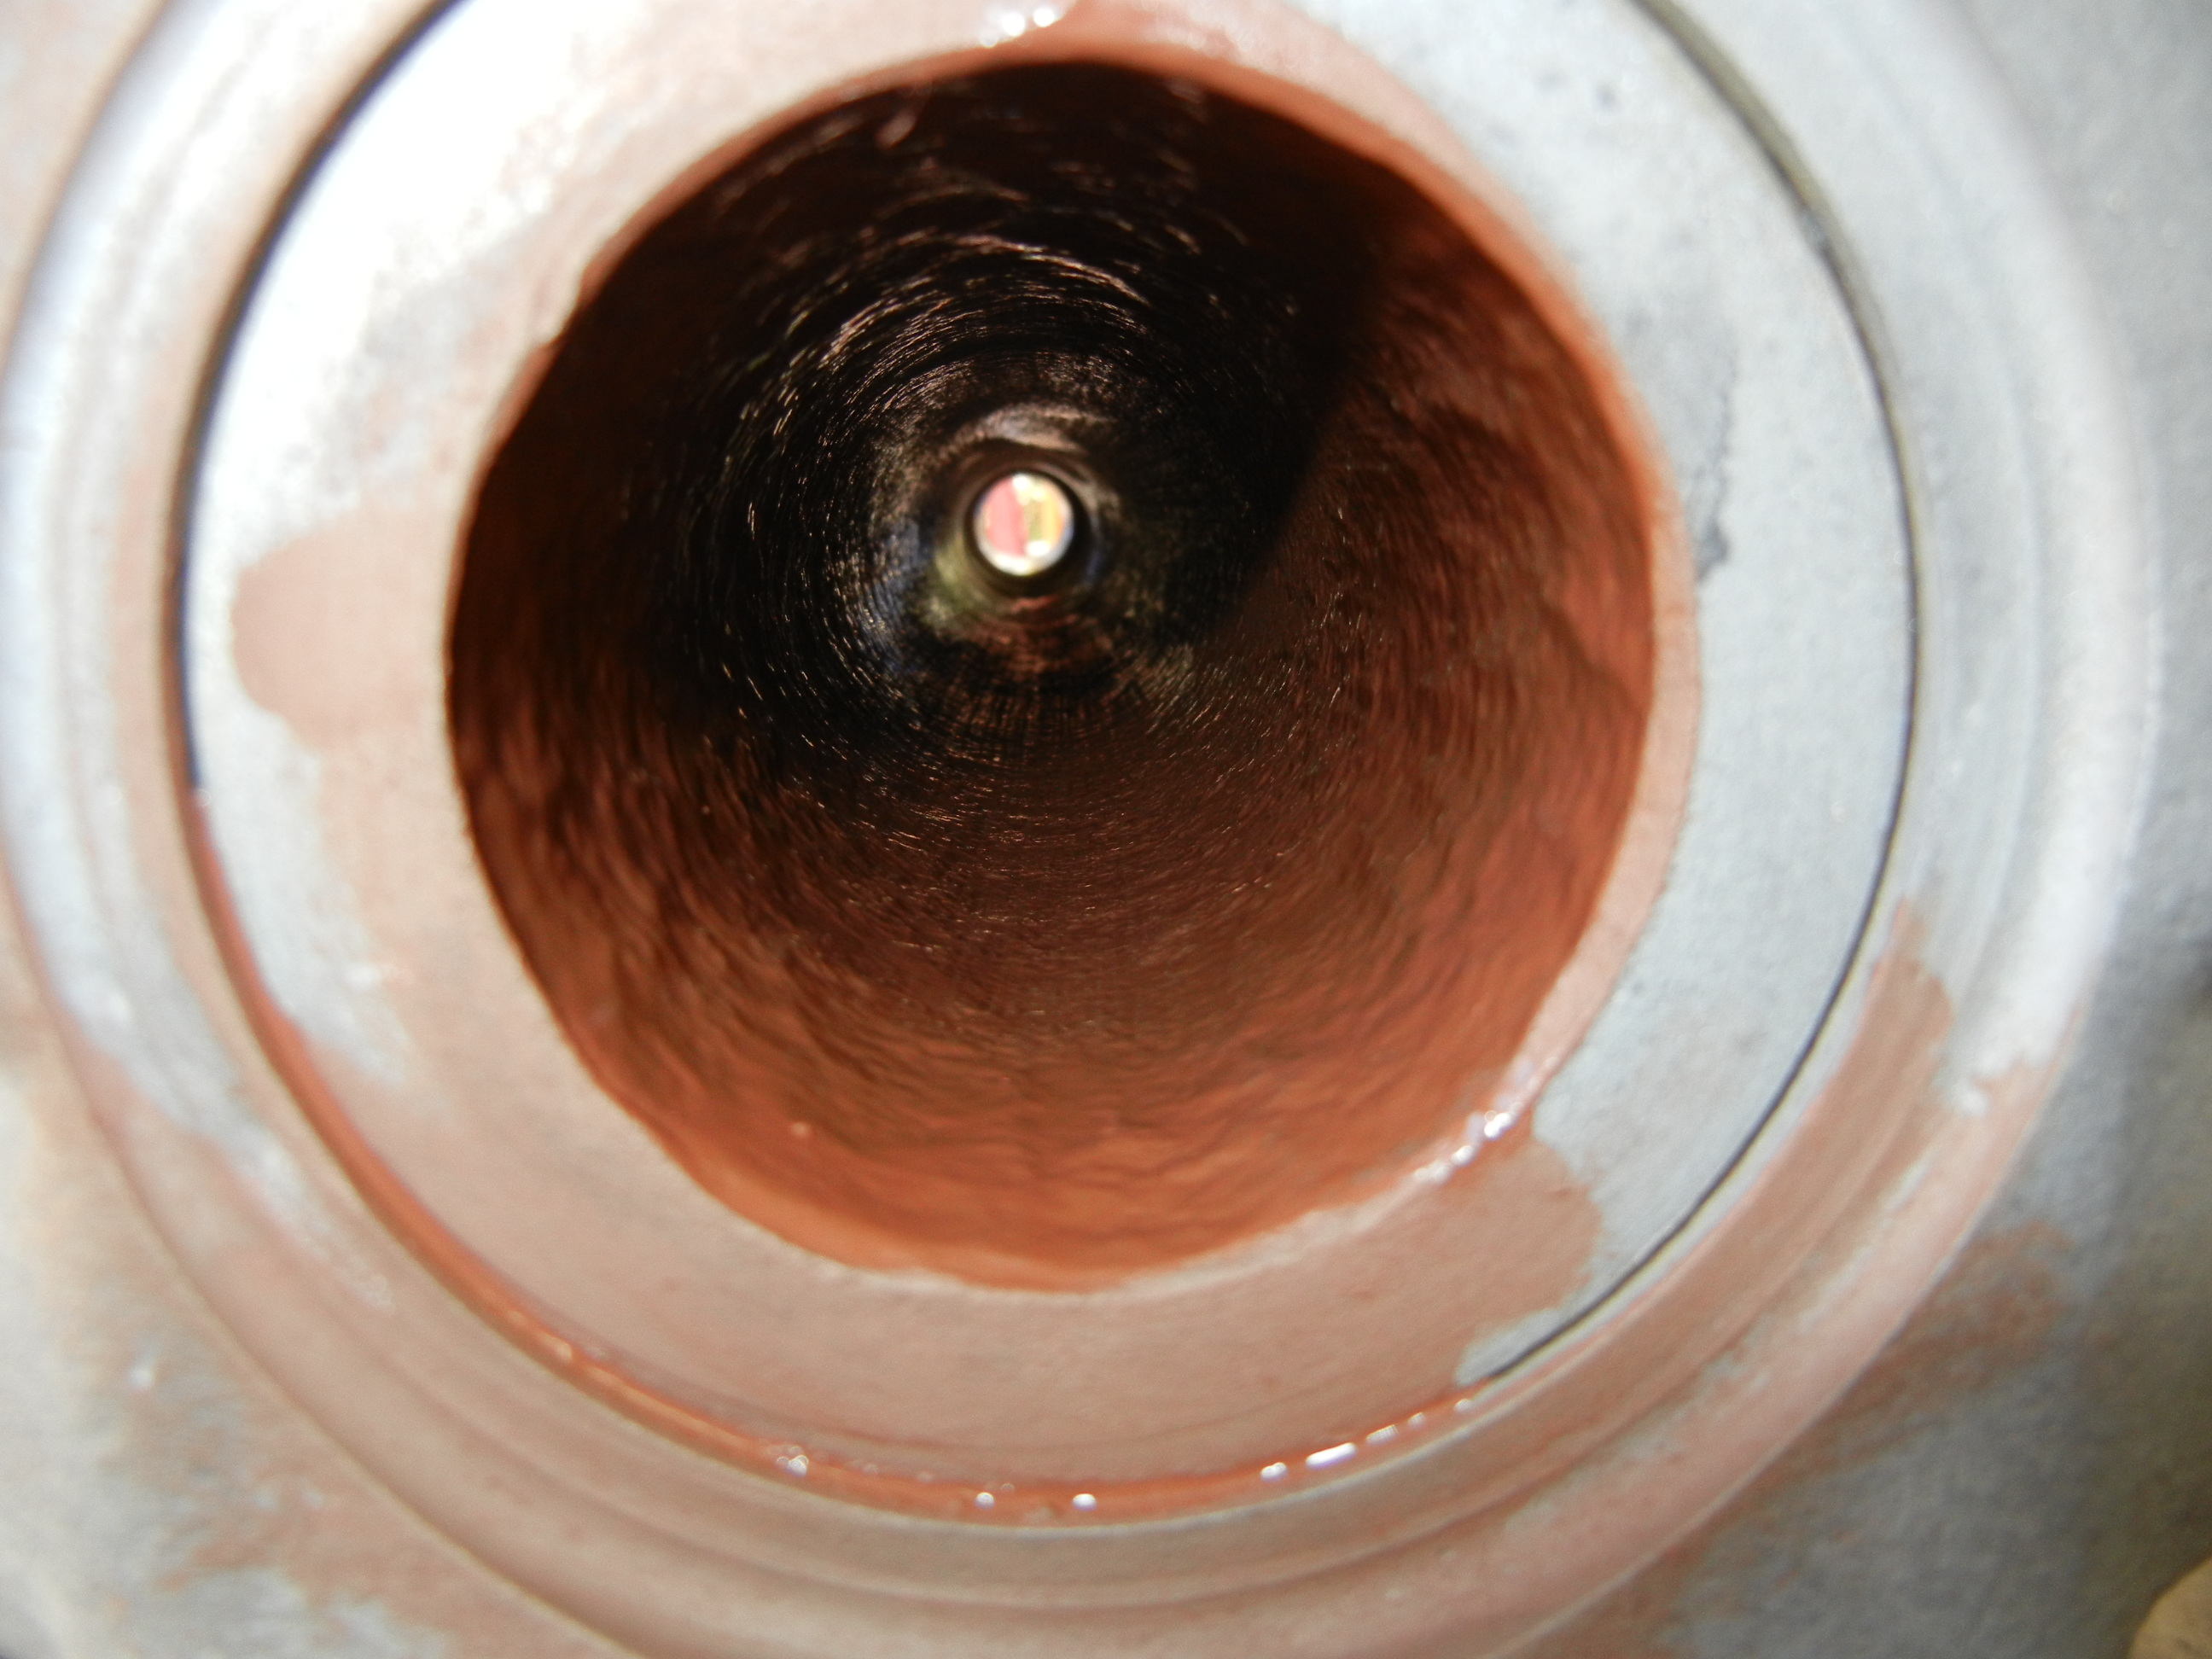
grooved where the inner seal rides. Also one spindle is grooved as well. Yea,
it's pretty helpless!
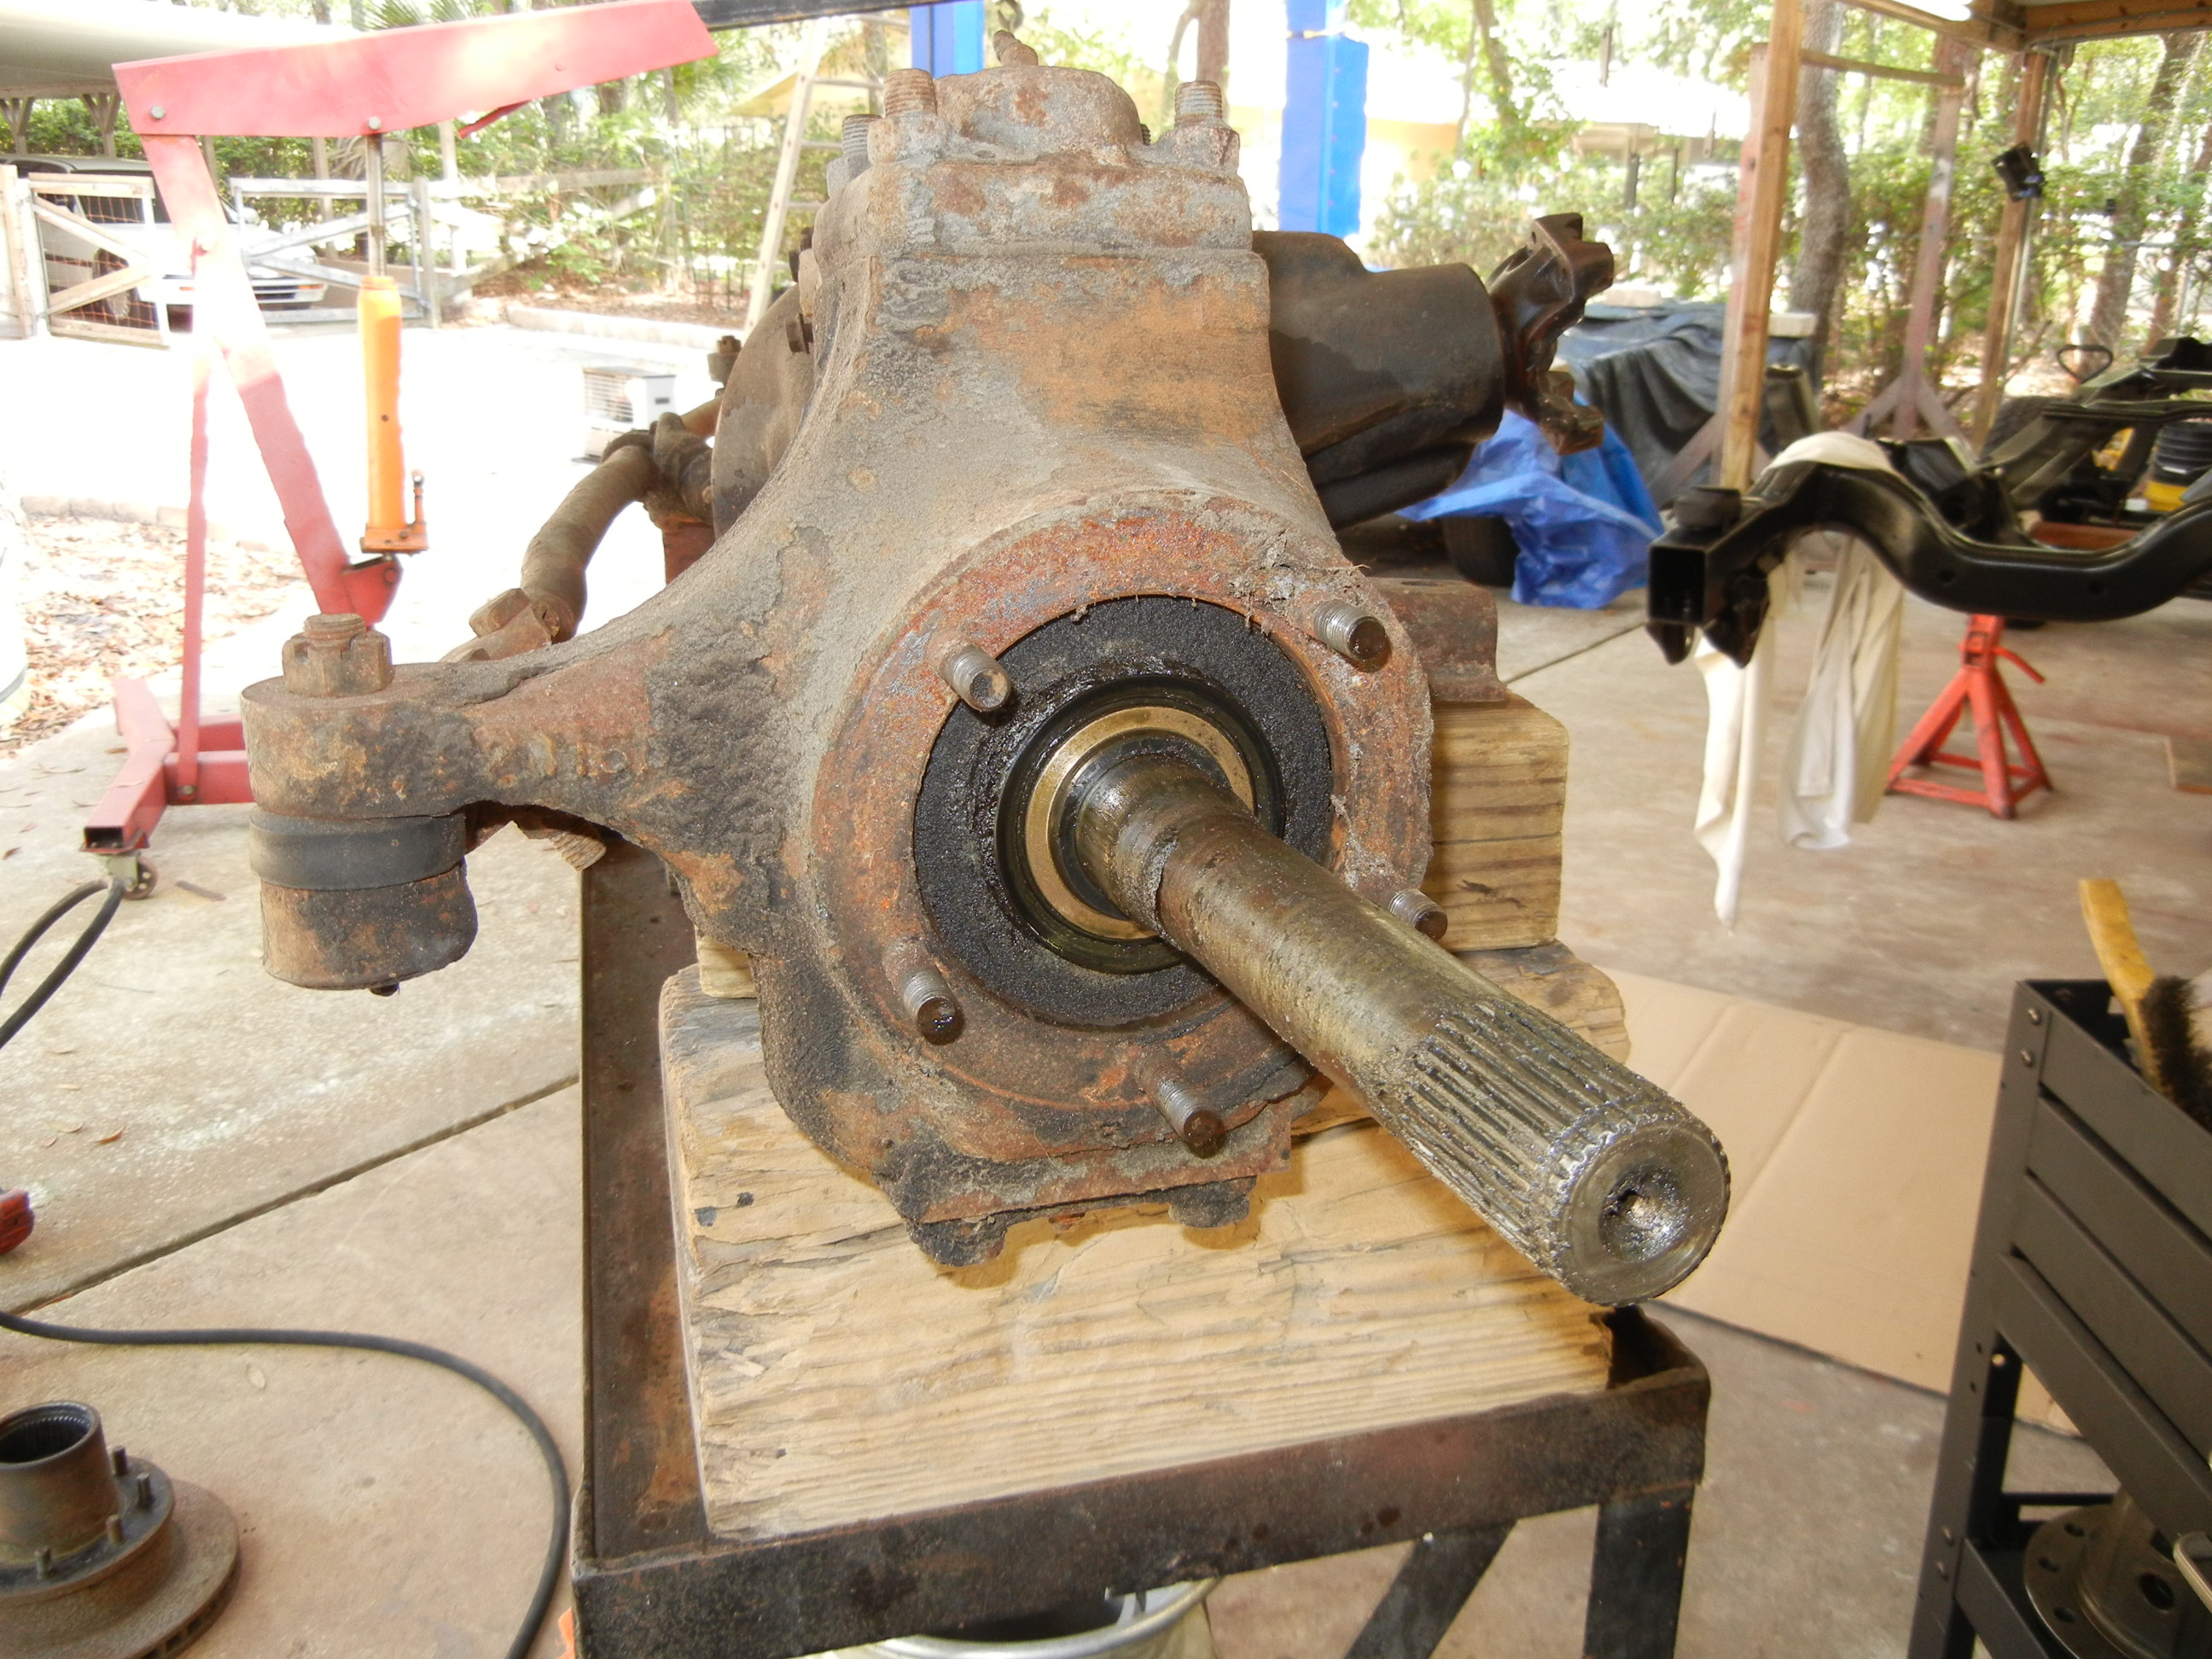
A decision will have to be made later whether to keep the stock axles (that have who knows how many hard miles on them, and now I have even larger tires!) by fixing the seal surfaces (if possible) or just buy aftermarket all 35 spline units. The knuckles are already trash. Aftermarket knuckles will have to be purchased for sure. The one that isn't cracked might as well be junk. I can't sell it knowing it could potentially injure others if it ever gave way.
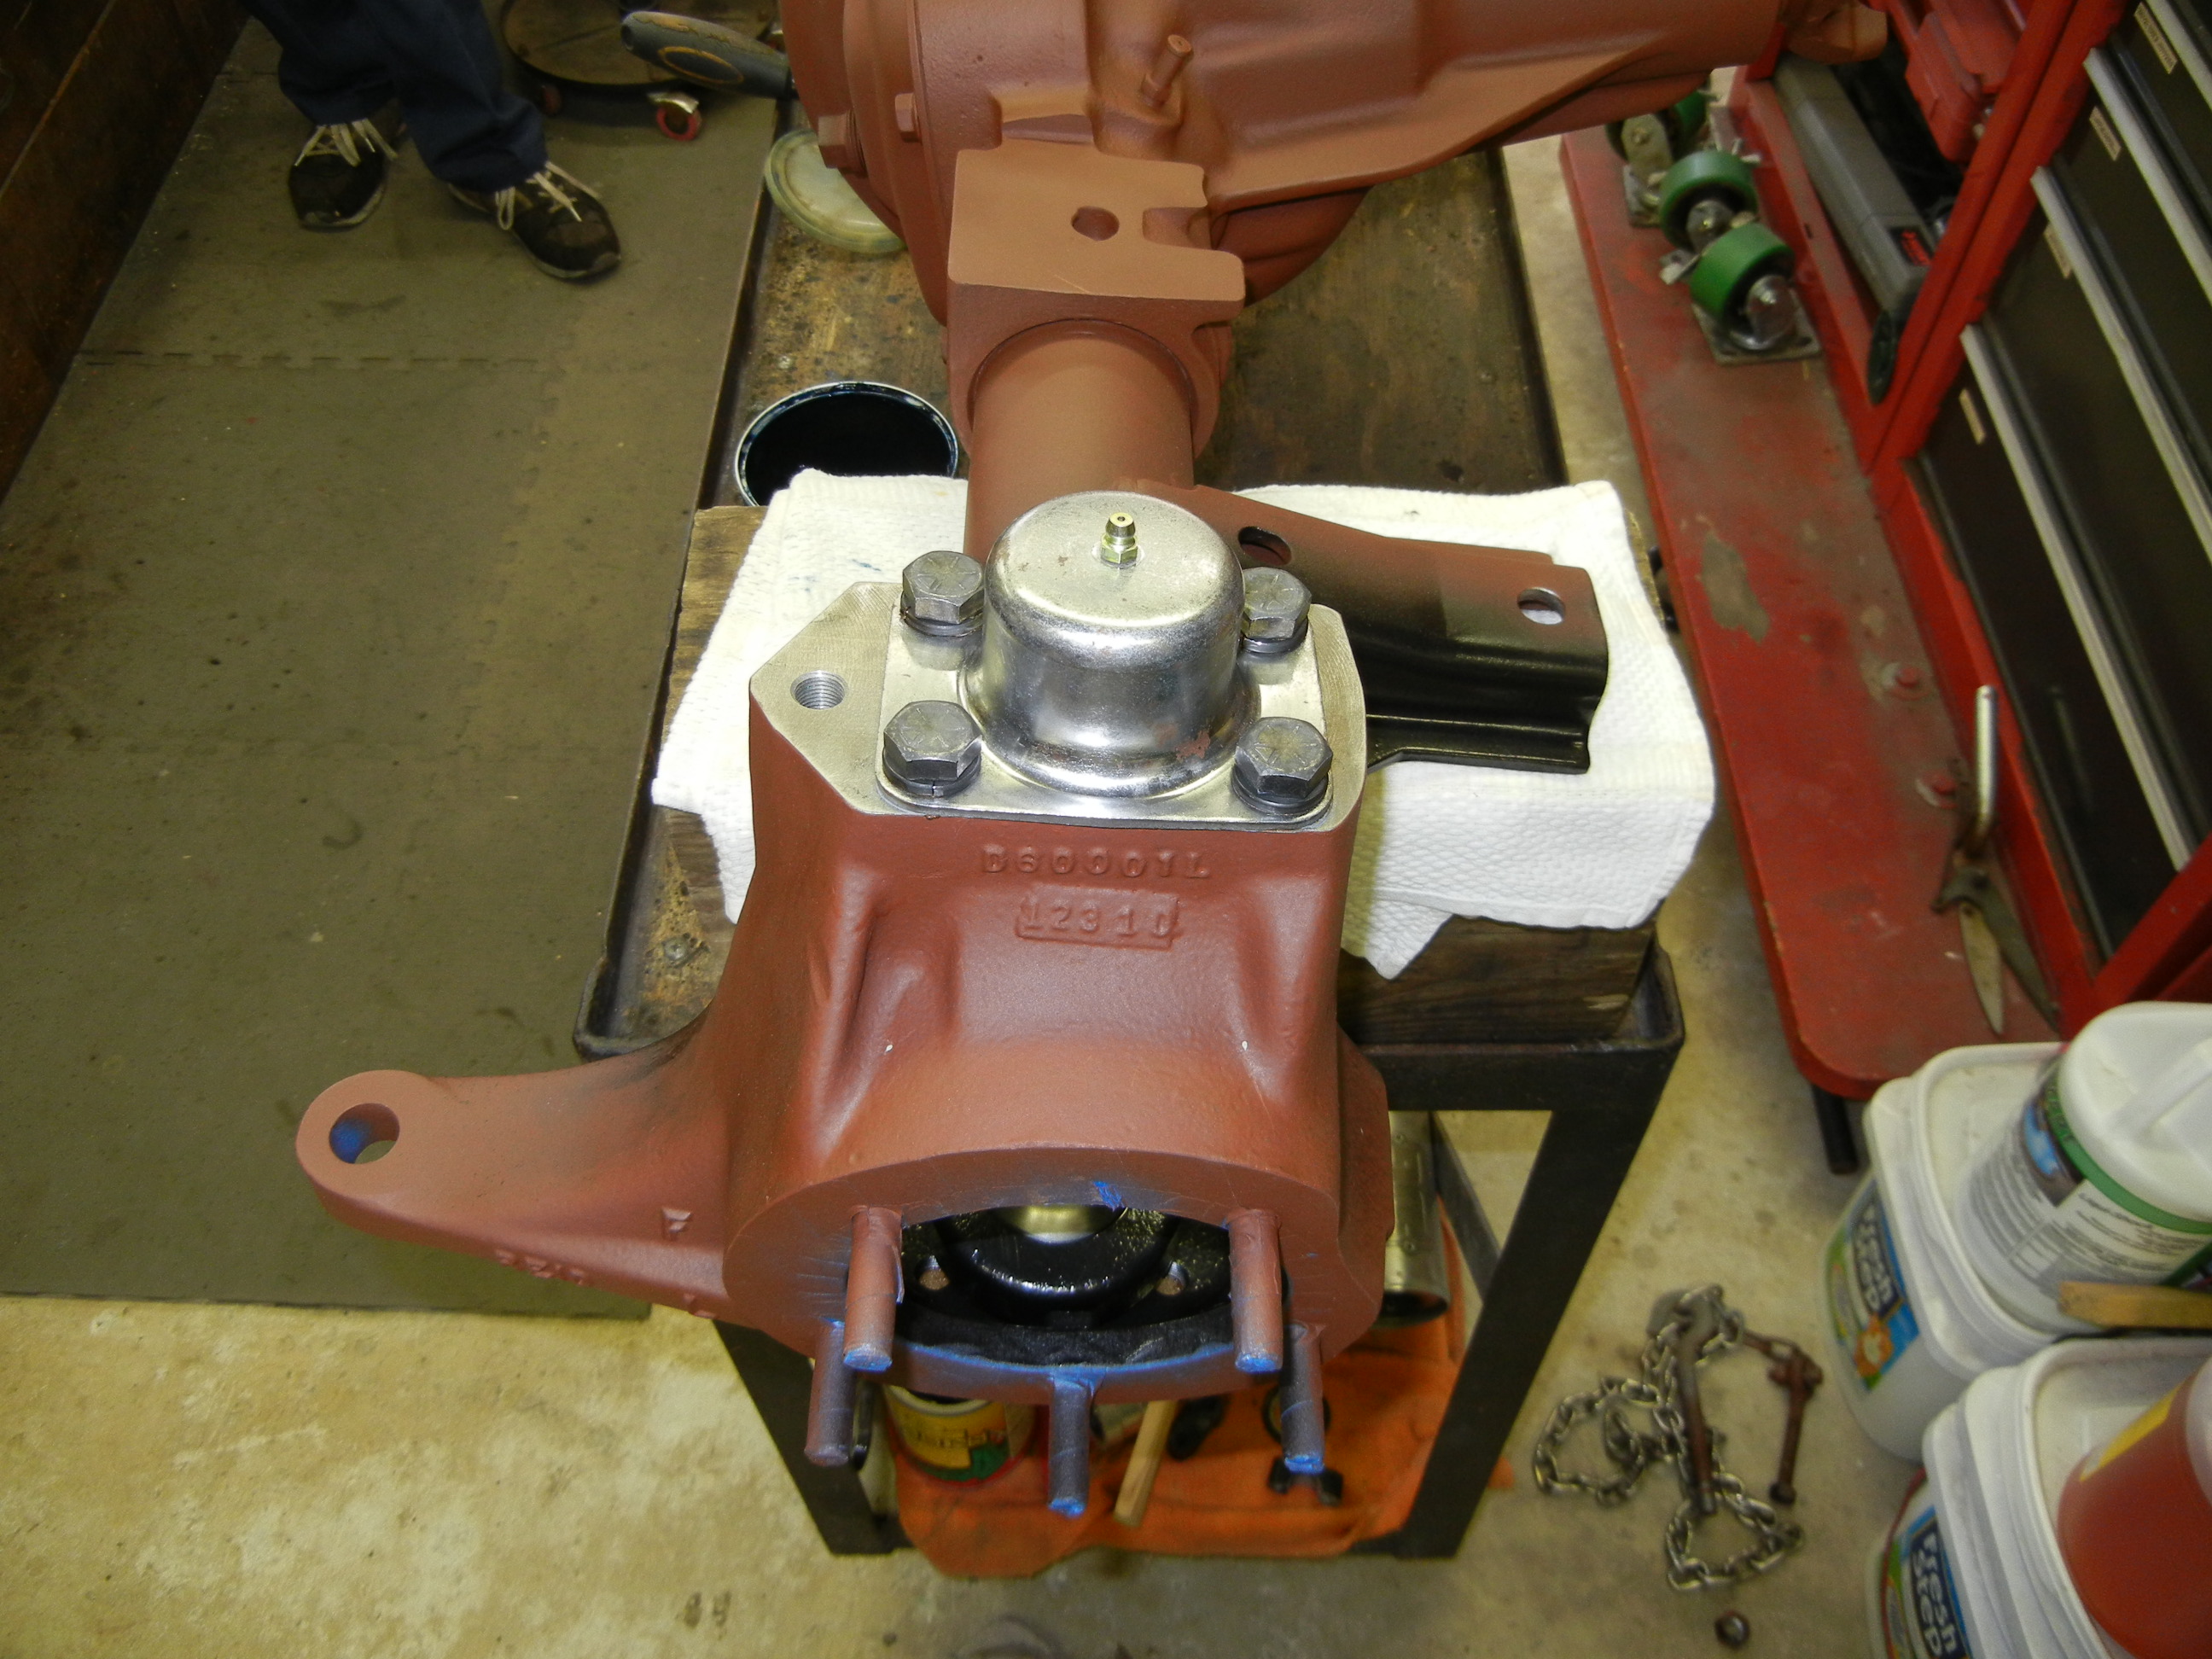
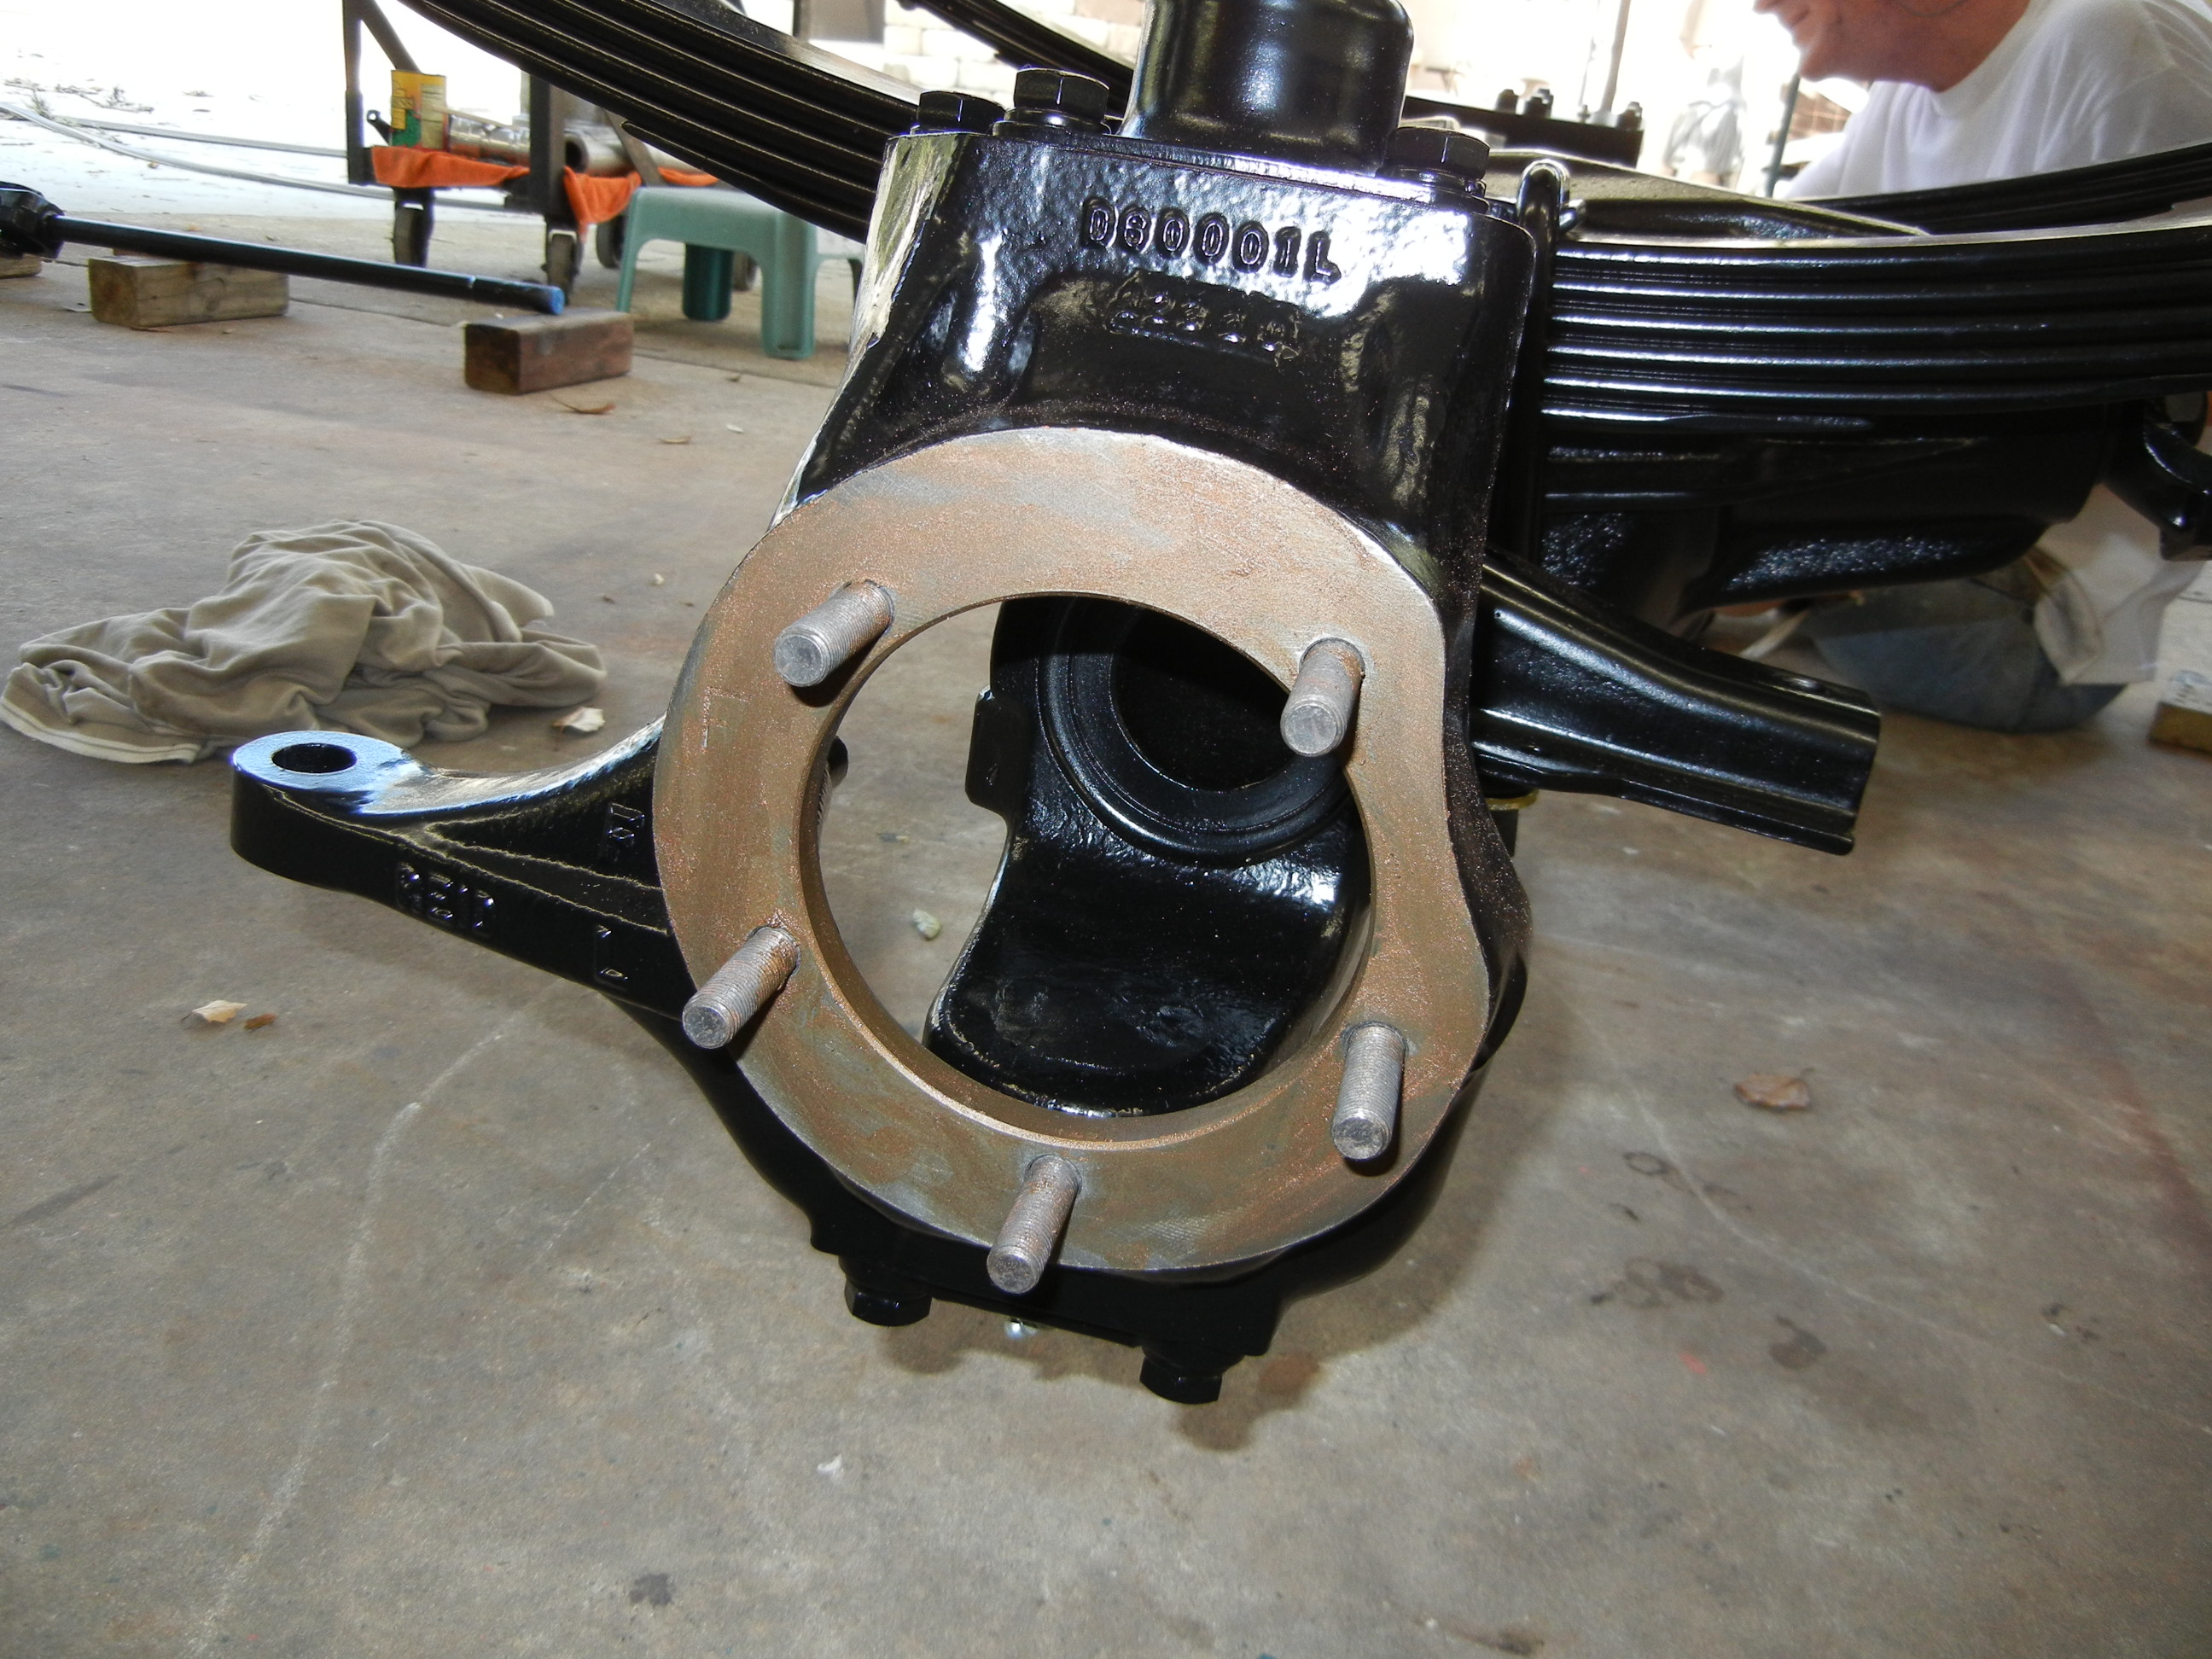
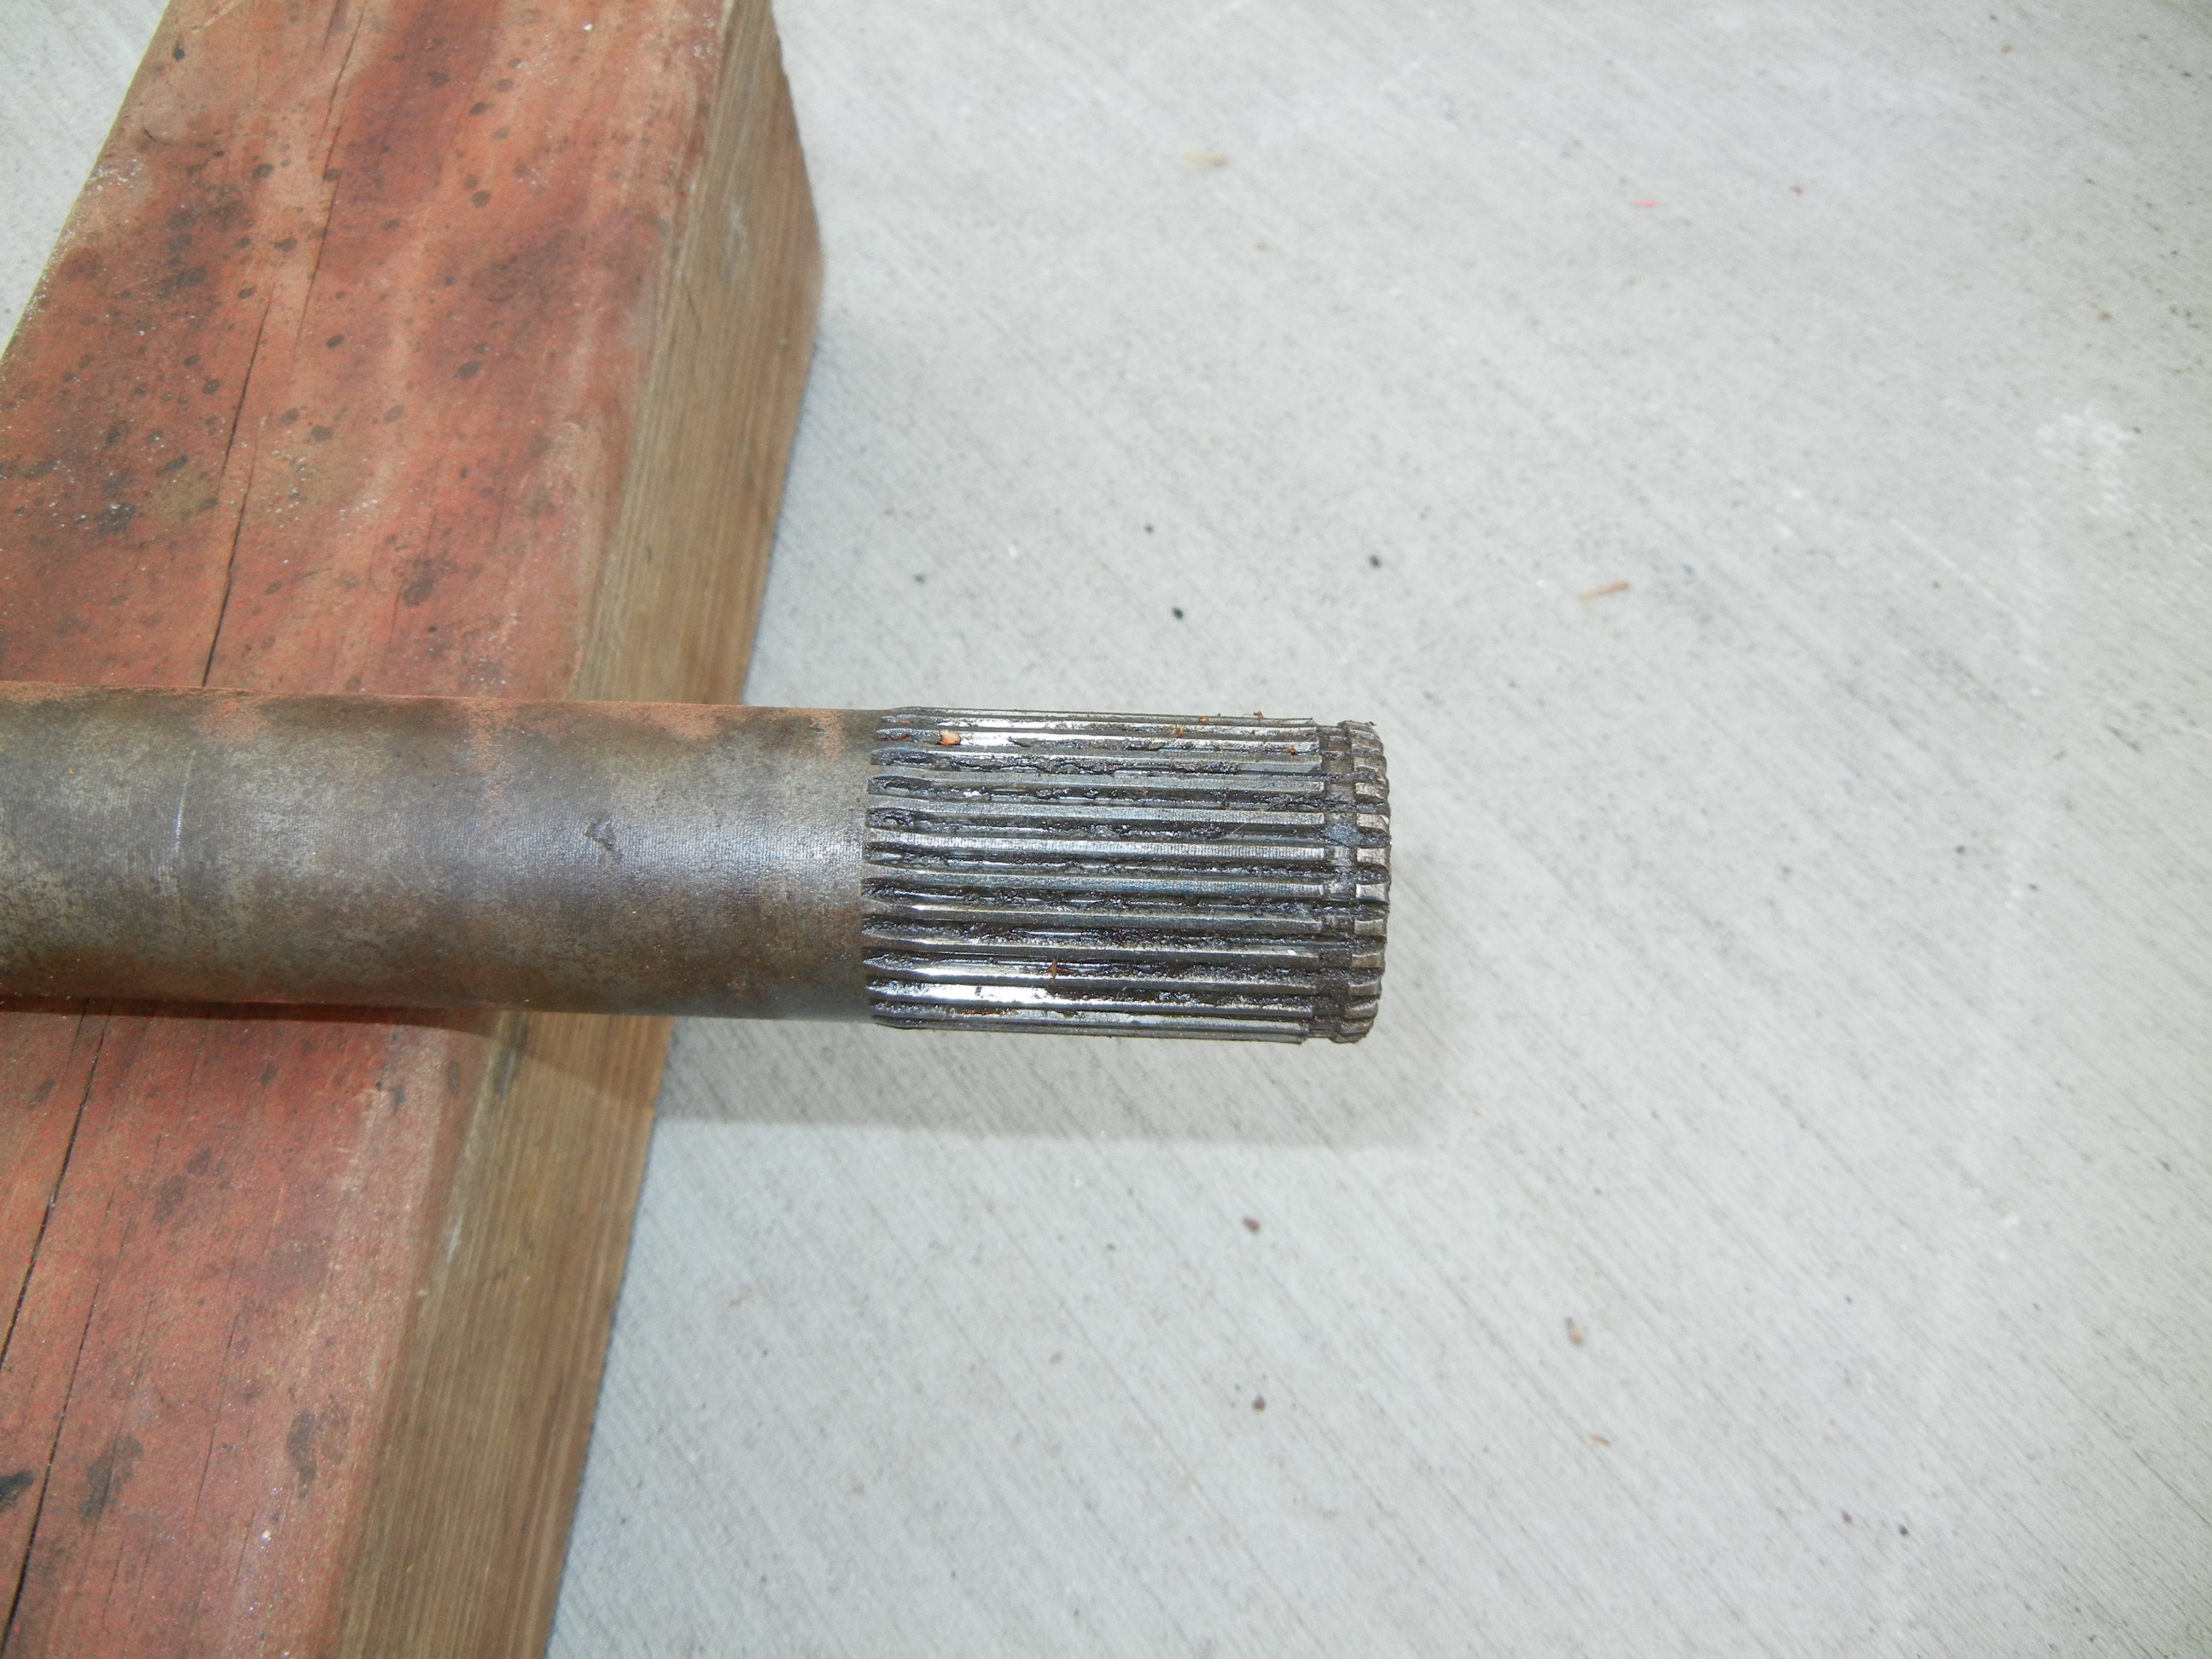
After the teardown was complete, the depressing reality set in. BOTH spindles are not only grooved in the seal area but also show signs of spun inner bearings. The axle shafts also showed grooved seal areas. I will probably be upgrading to 35 spline non-neckdown axle shafts now so it won't have to be done later. The original Spicer 30 spline lock outs are trash so might as well buy the 35 spline now. The only reusable parts are the hubs, brake brackets and lower kingpin bearing housing.
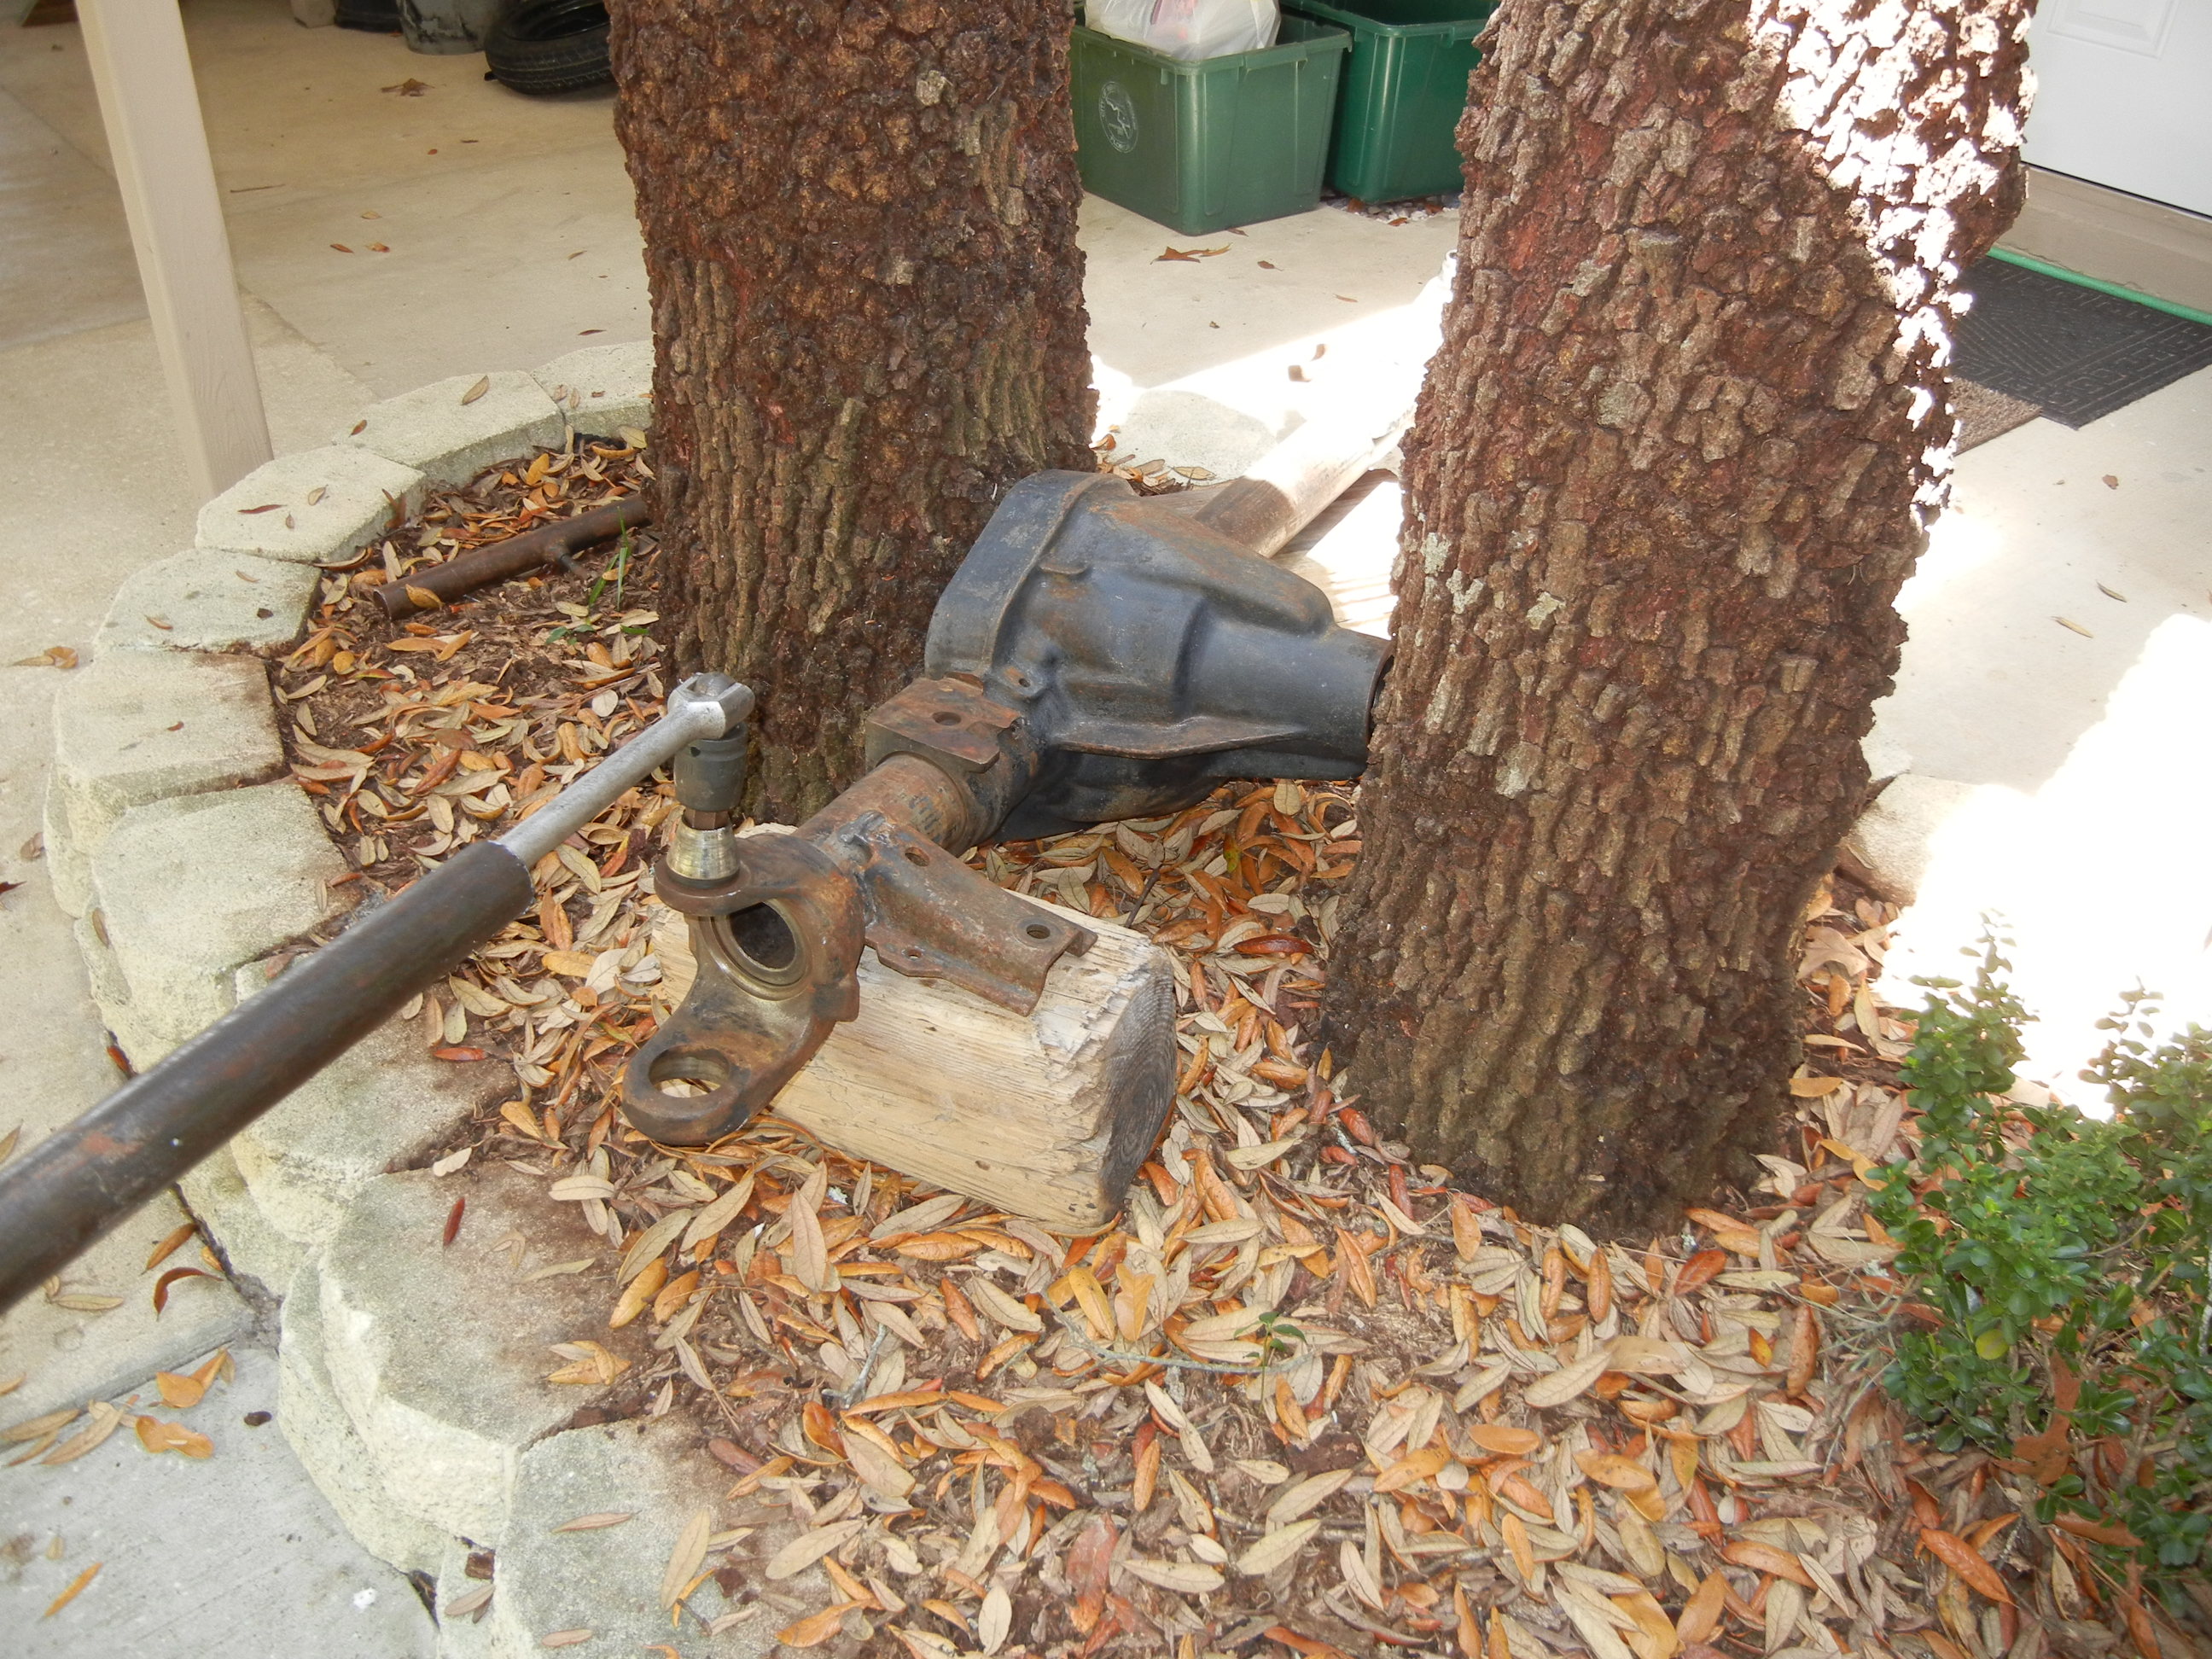
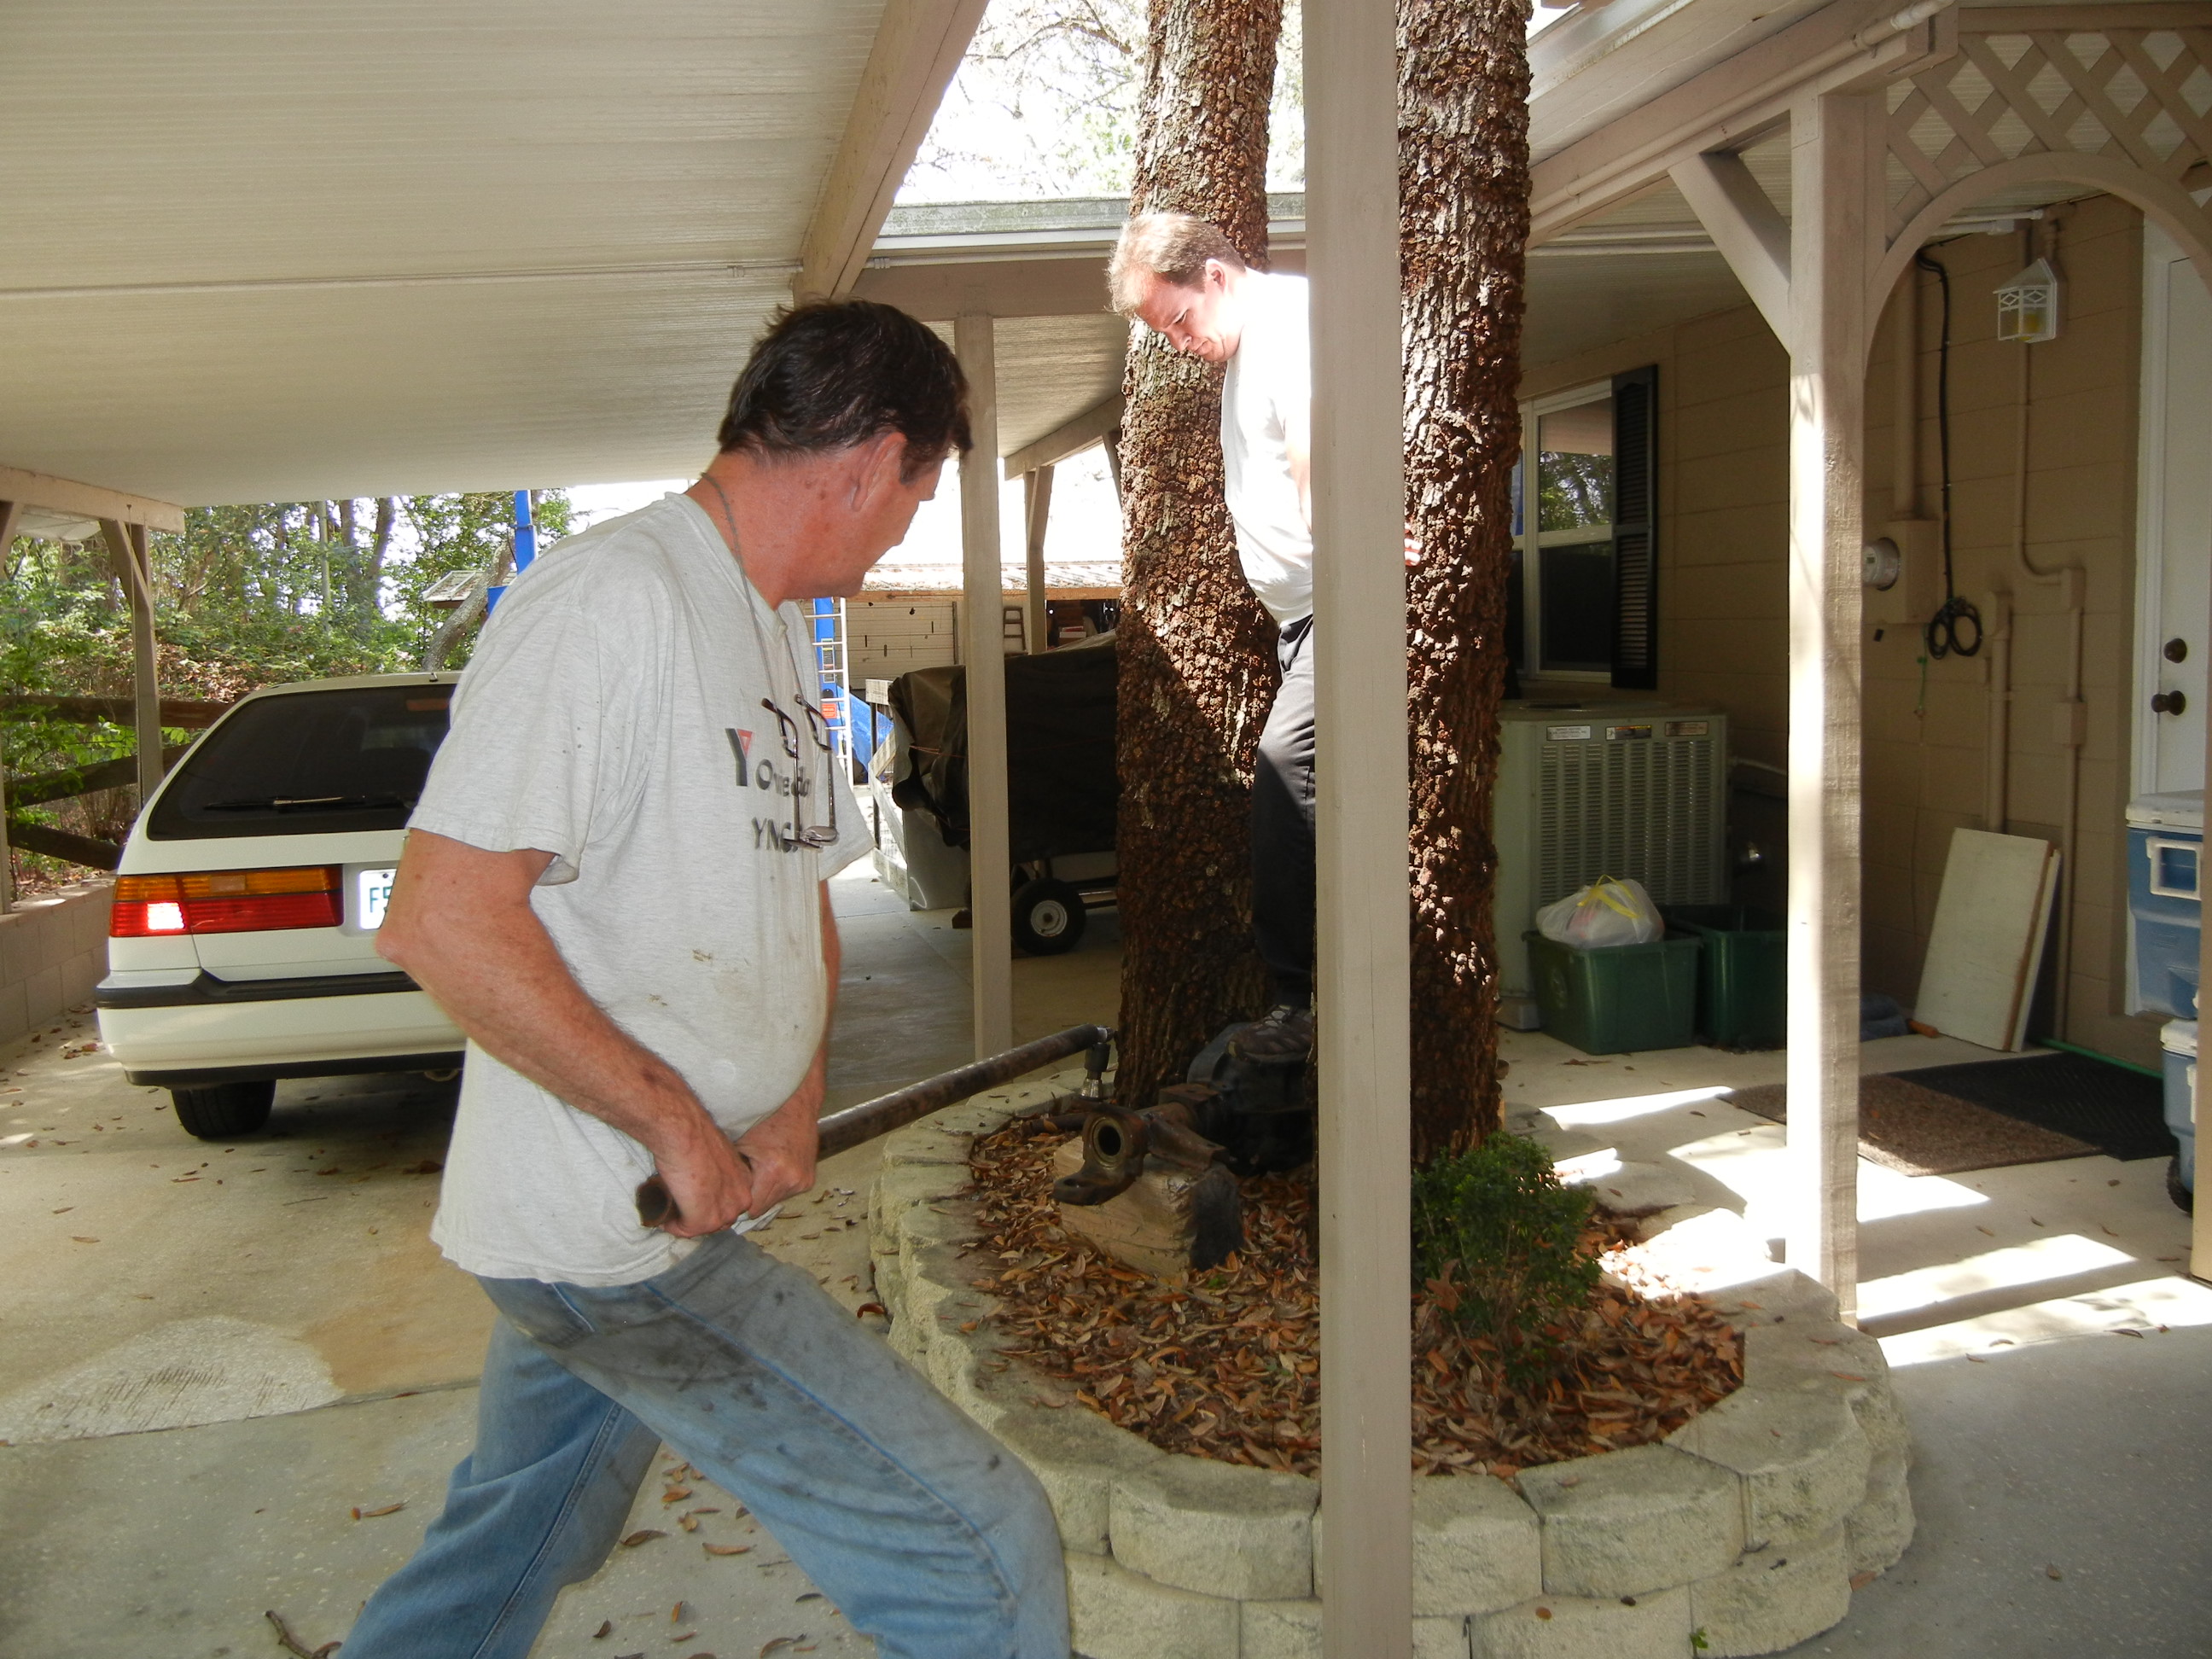
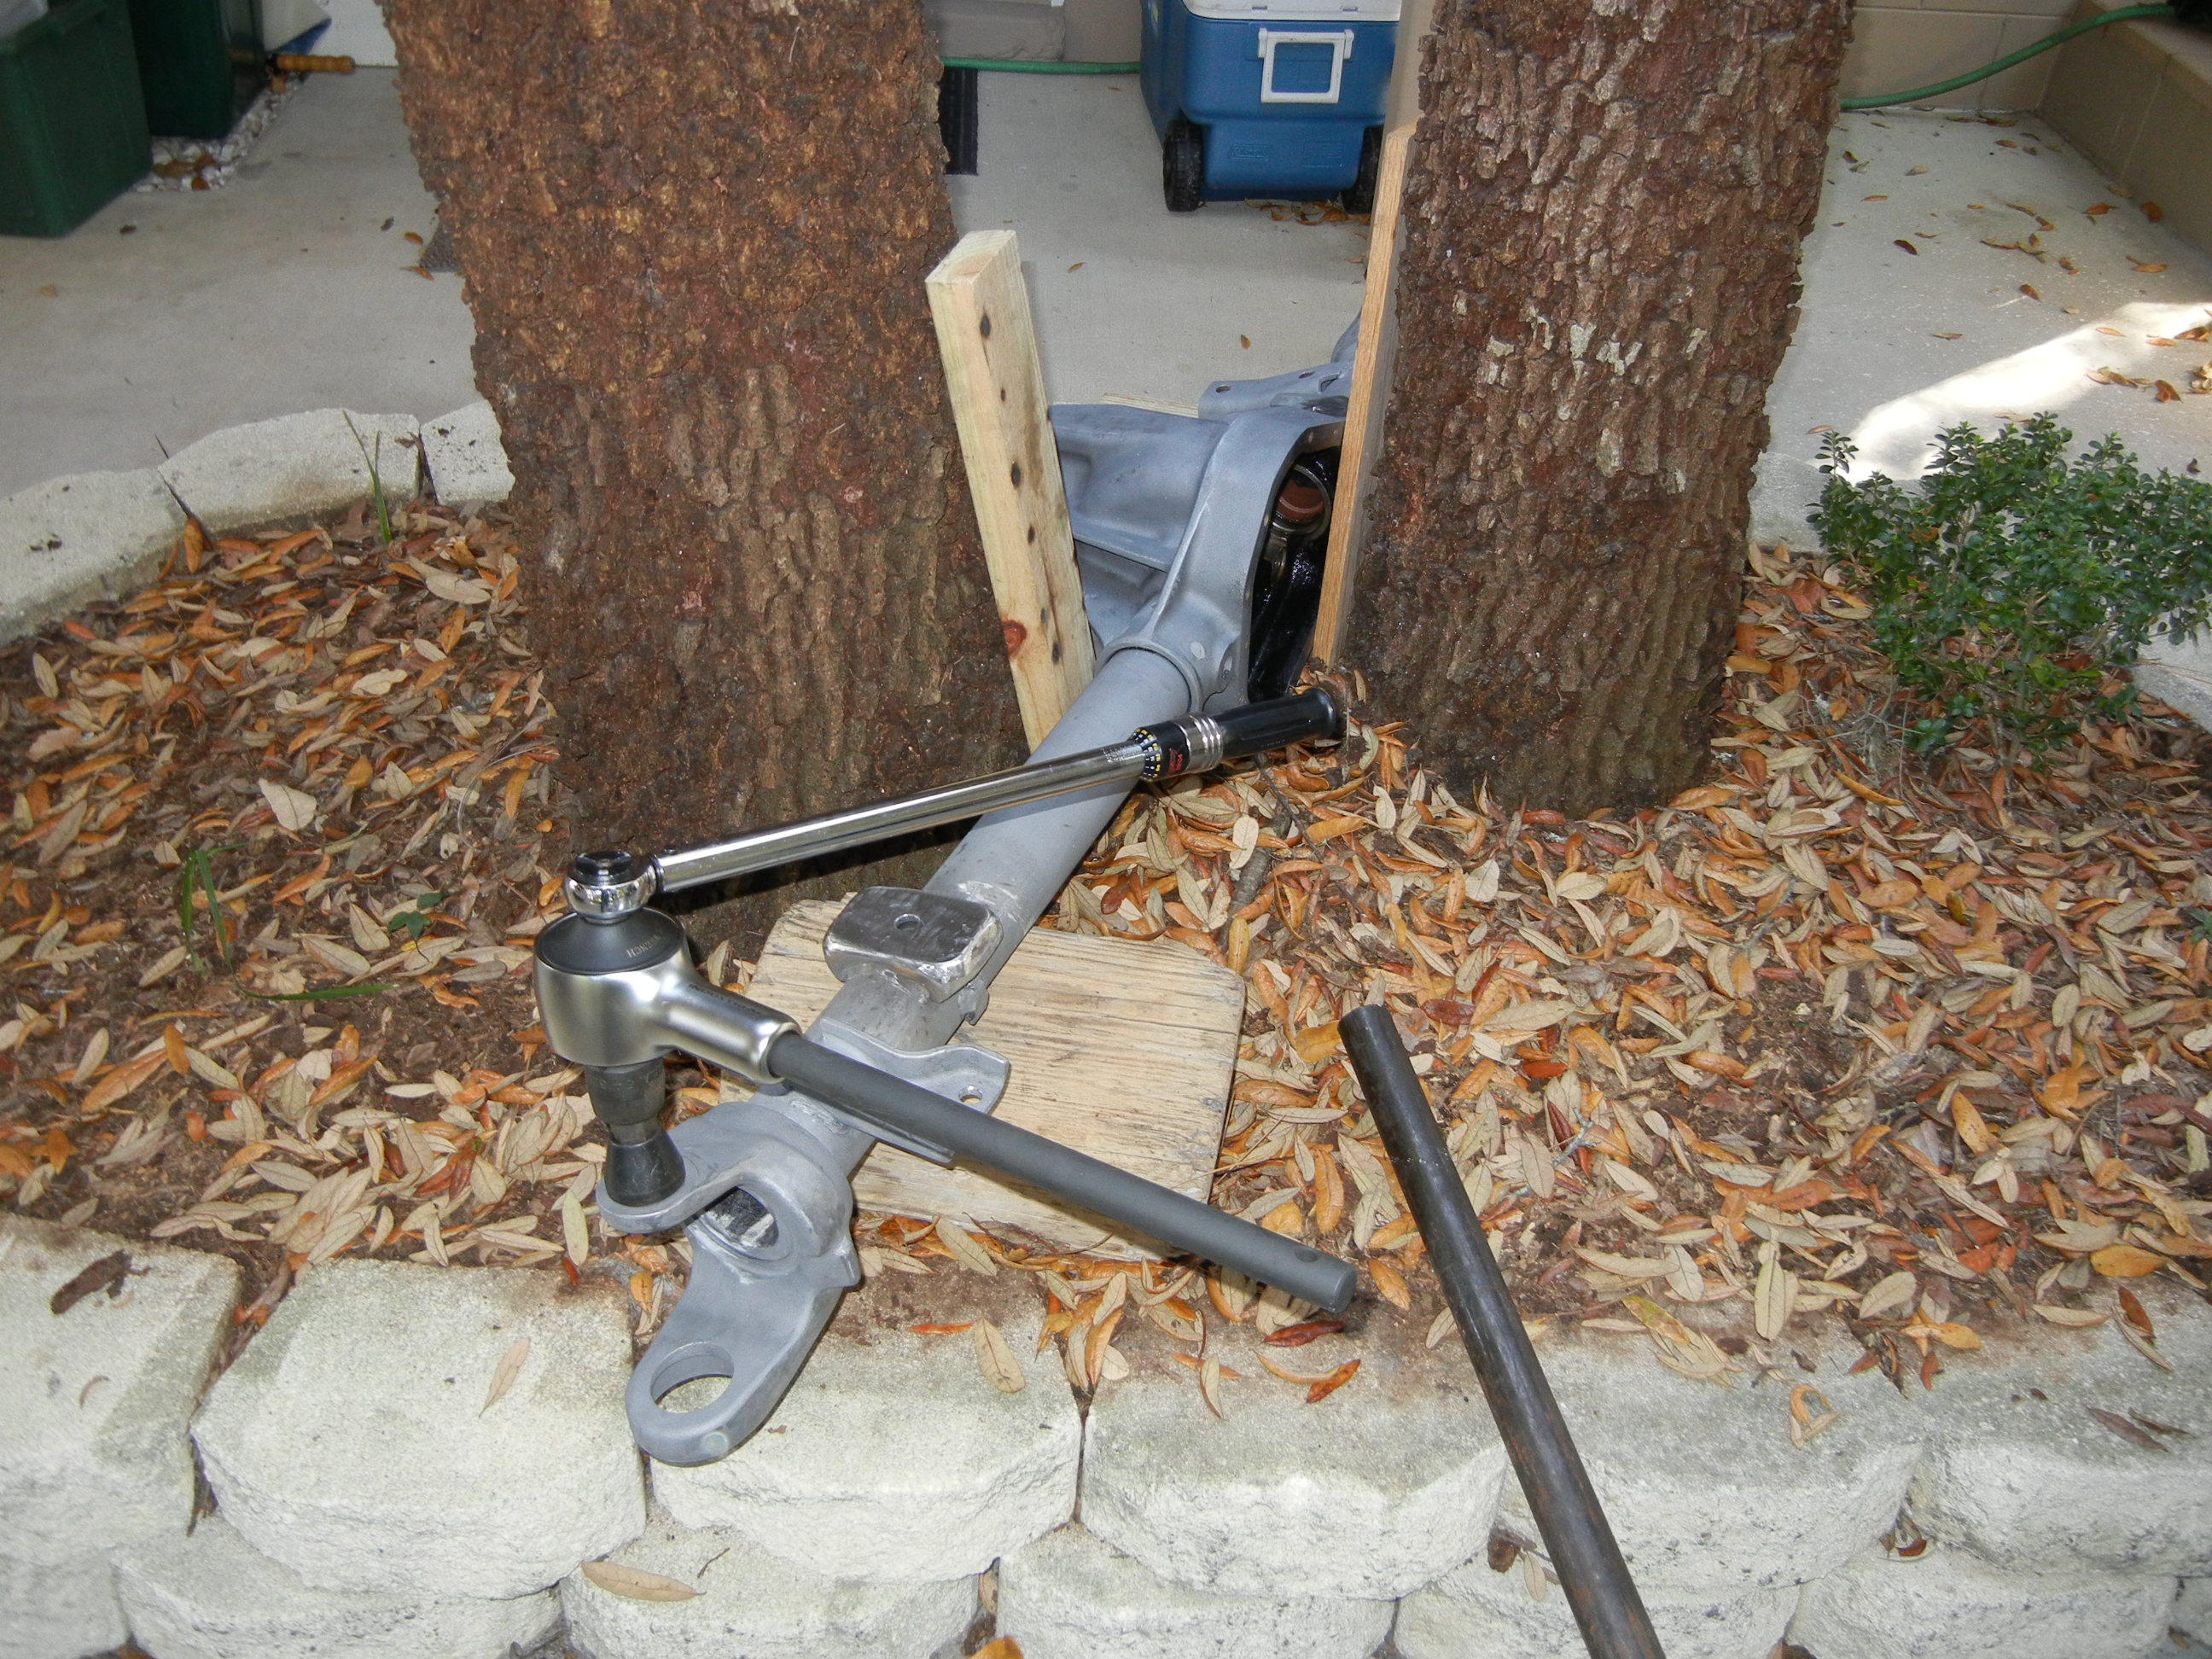
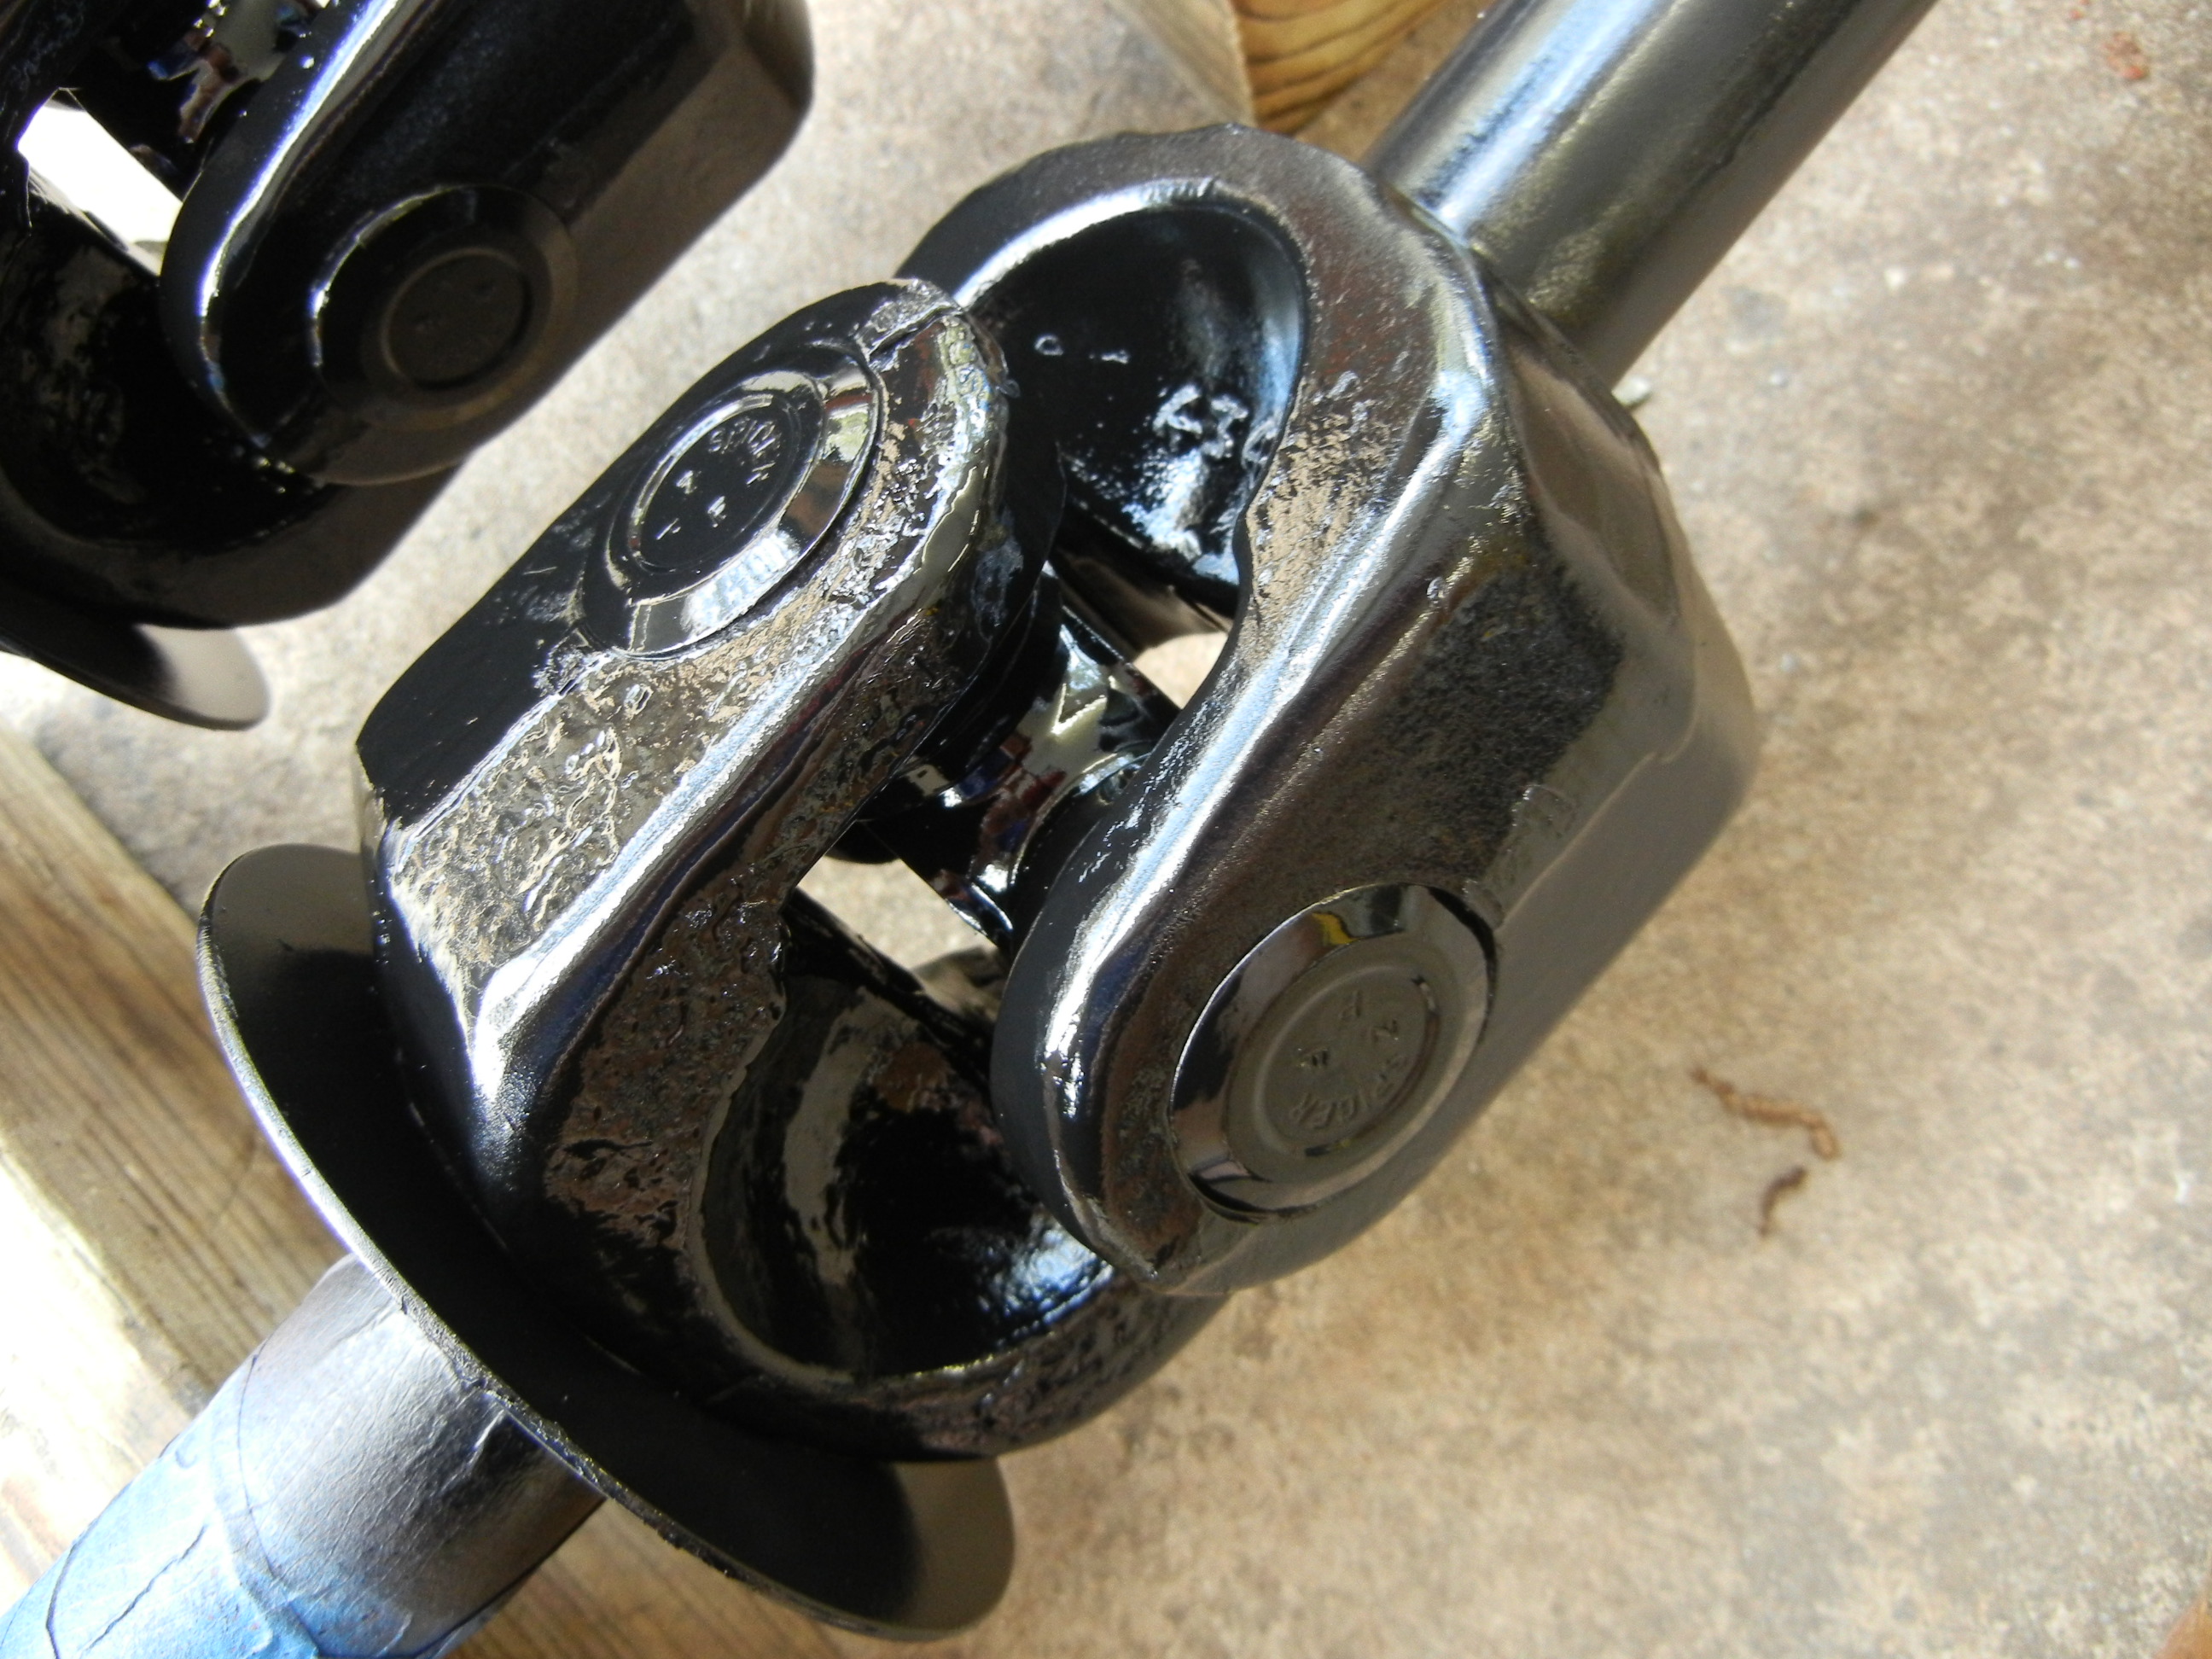
The original kingpins needed to be removed since I ordered the full rebuild kit and it comes with new ones. They were very tight from the 600ft-lbs initial torque but after 30+ years they were even tighter. One side popped loose fairly easy while the other side needed some persuasion with the torch. We used two well matured Live Oak trees to hold the housing while we performed this operation. I stood on top of the axle to keep it from flipping over while my father did the real "work". To show you how tight the one kingpin was, we almost rounded off one of the hex adapters before switching to a back up. I'm glad East Coast Gear Supply threw in another unit with my purchase...details to follow :)
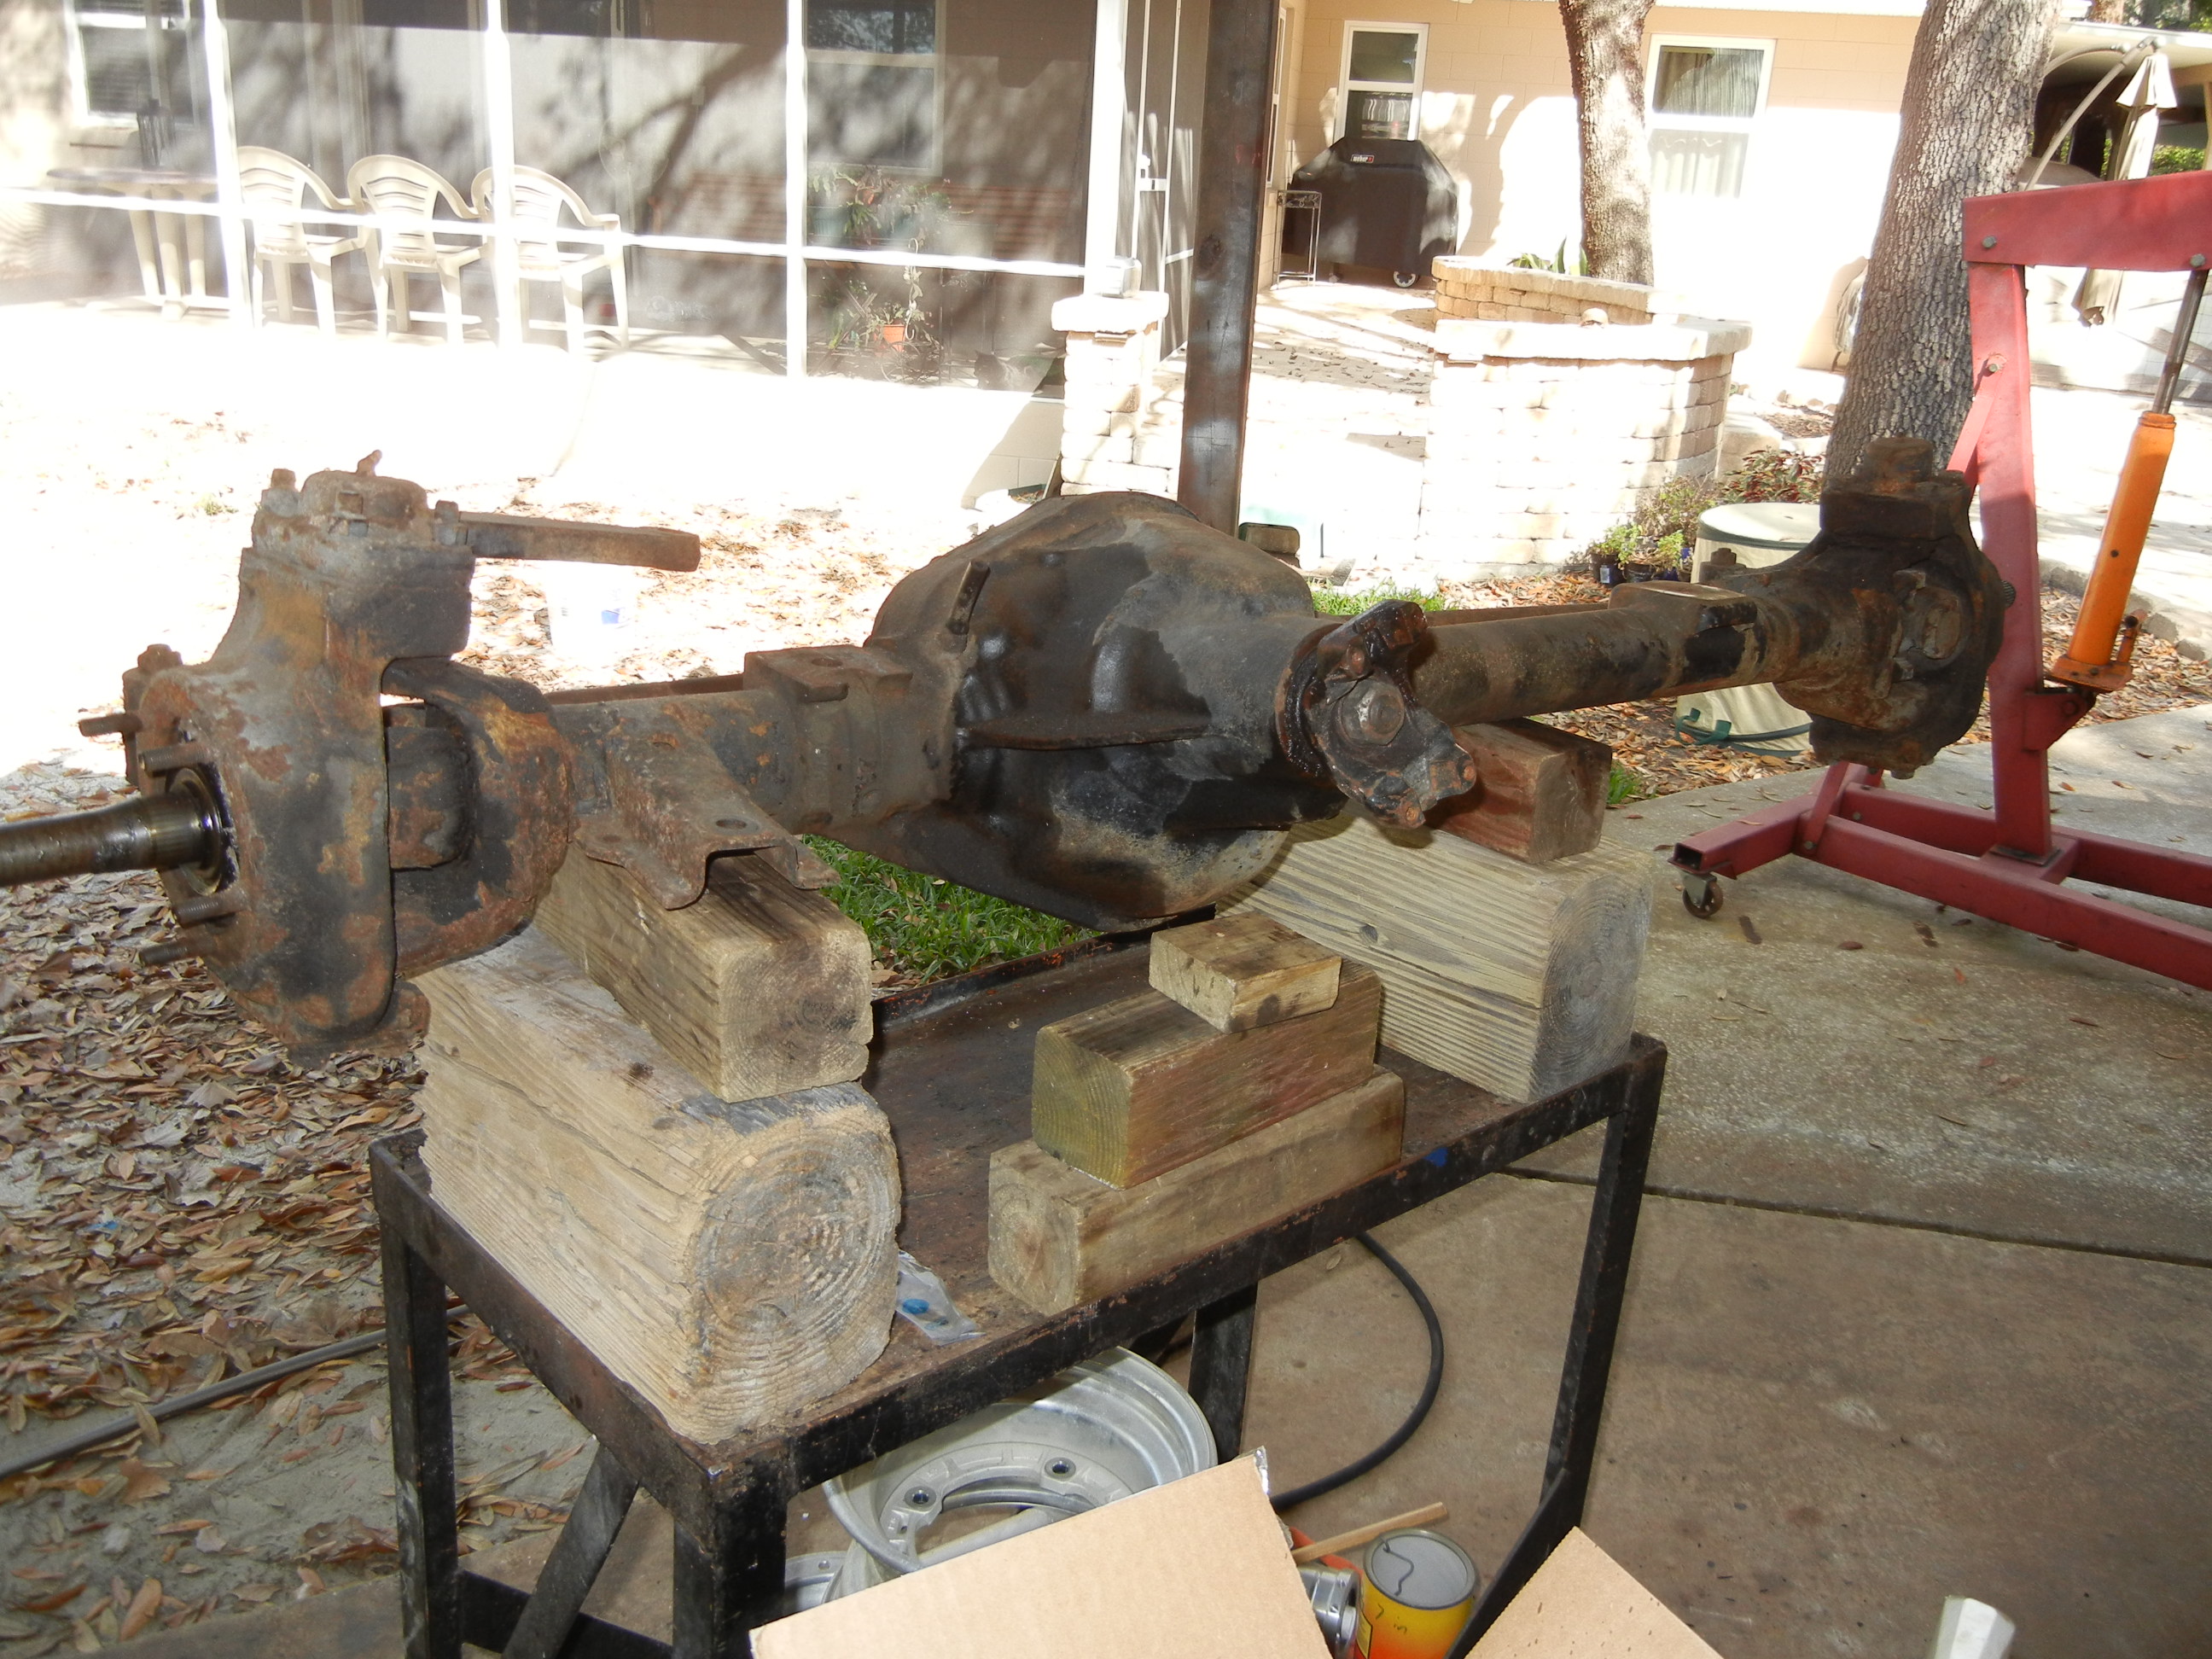
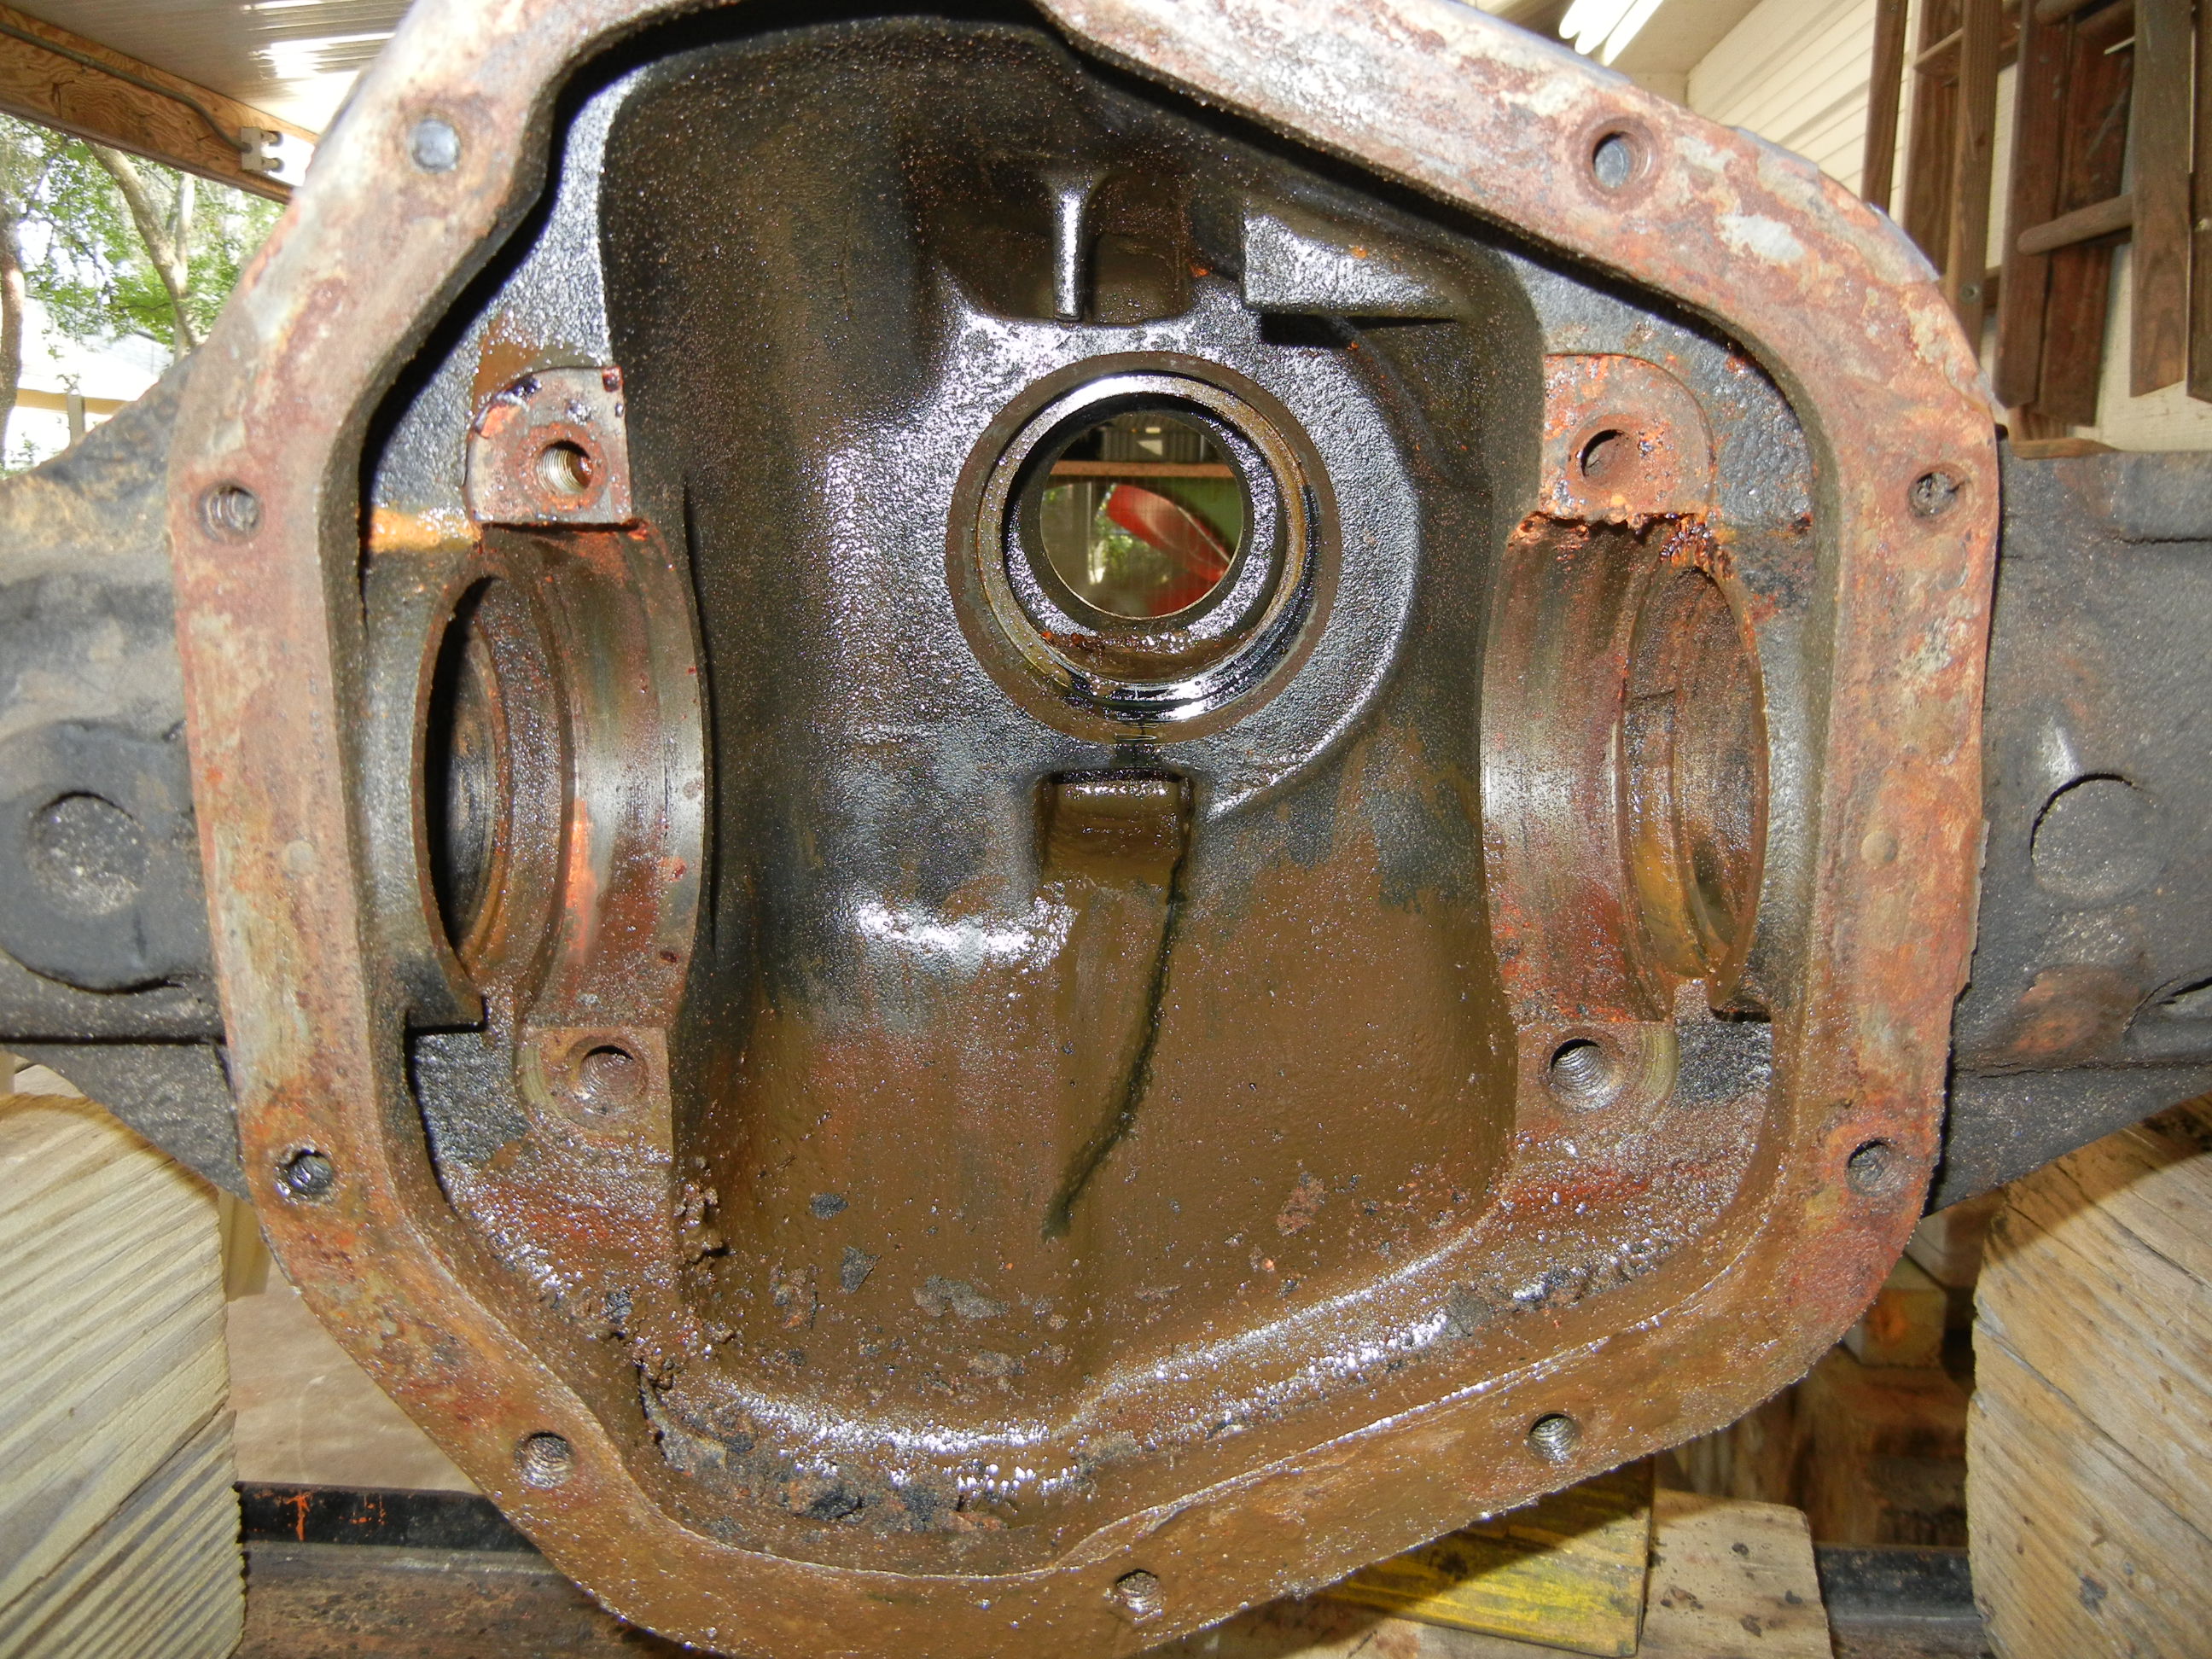
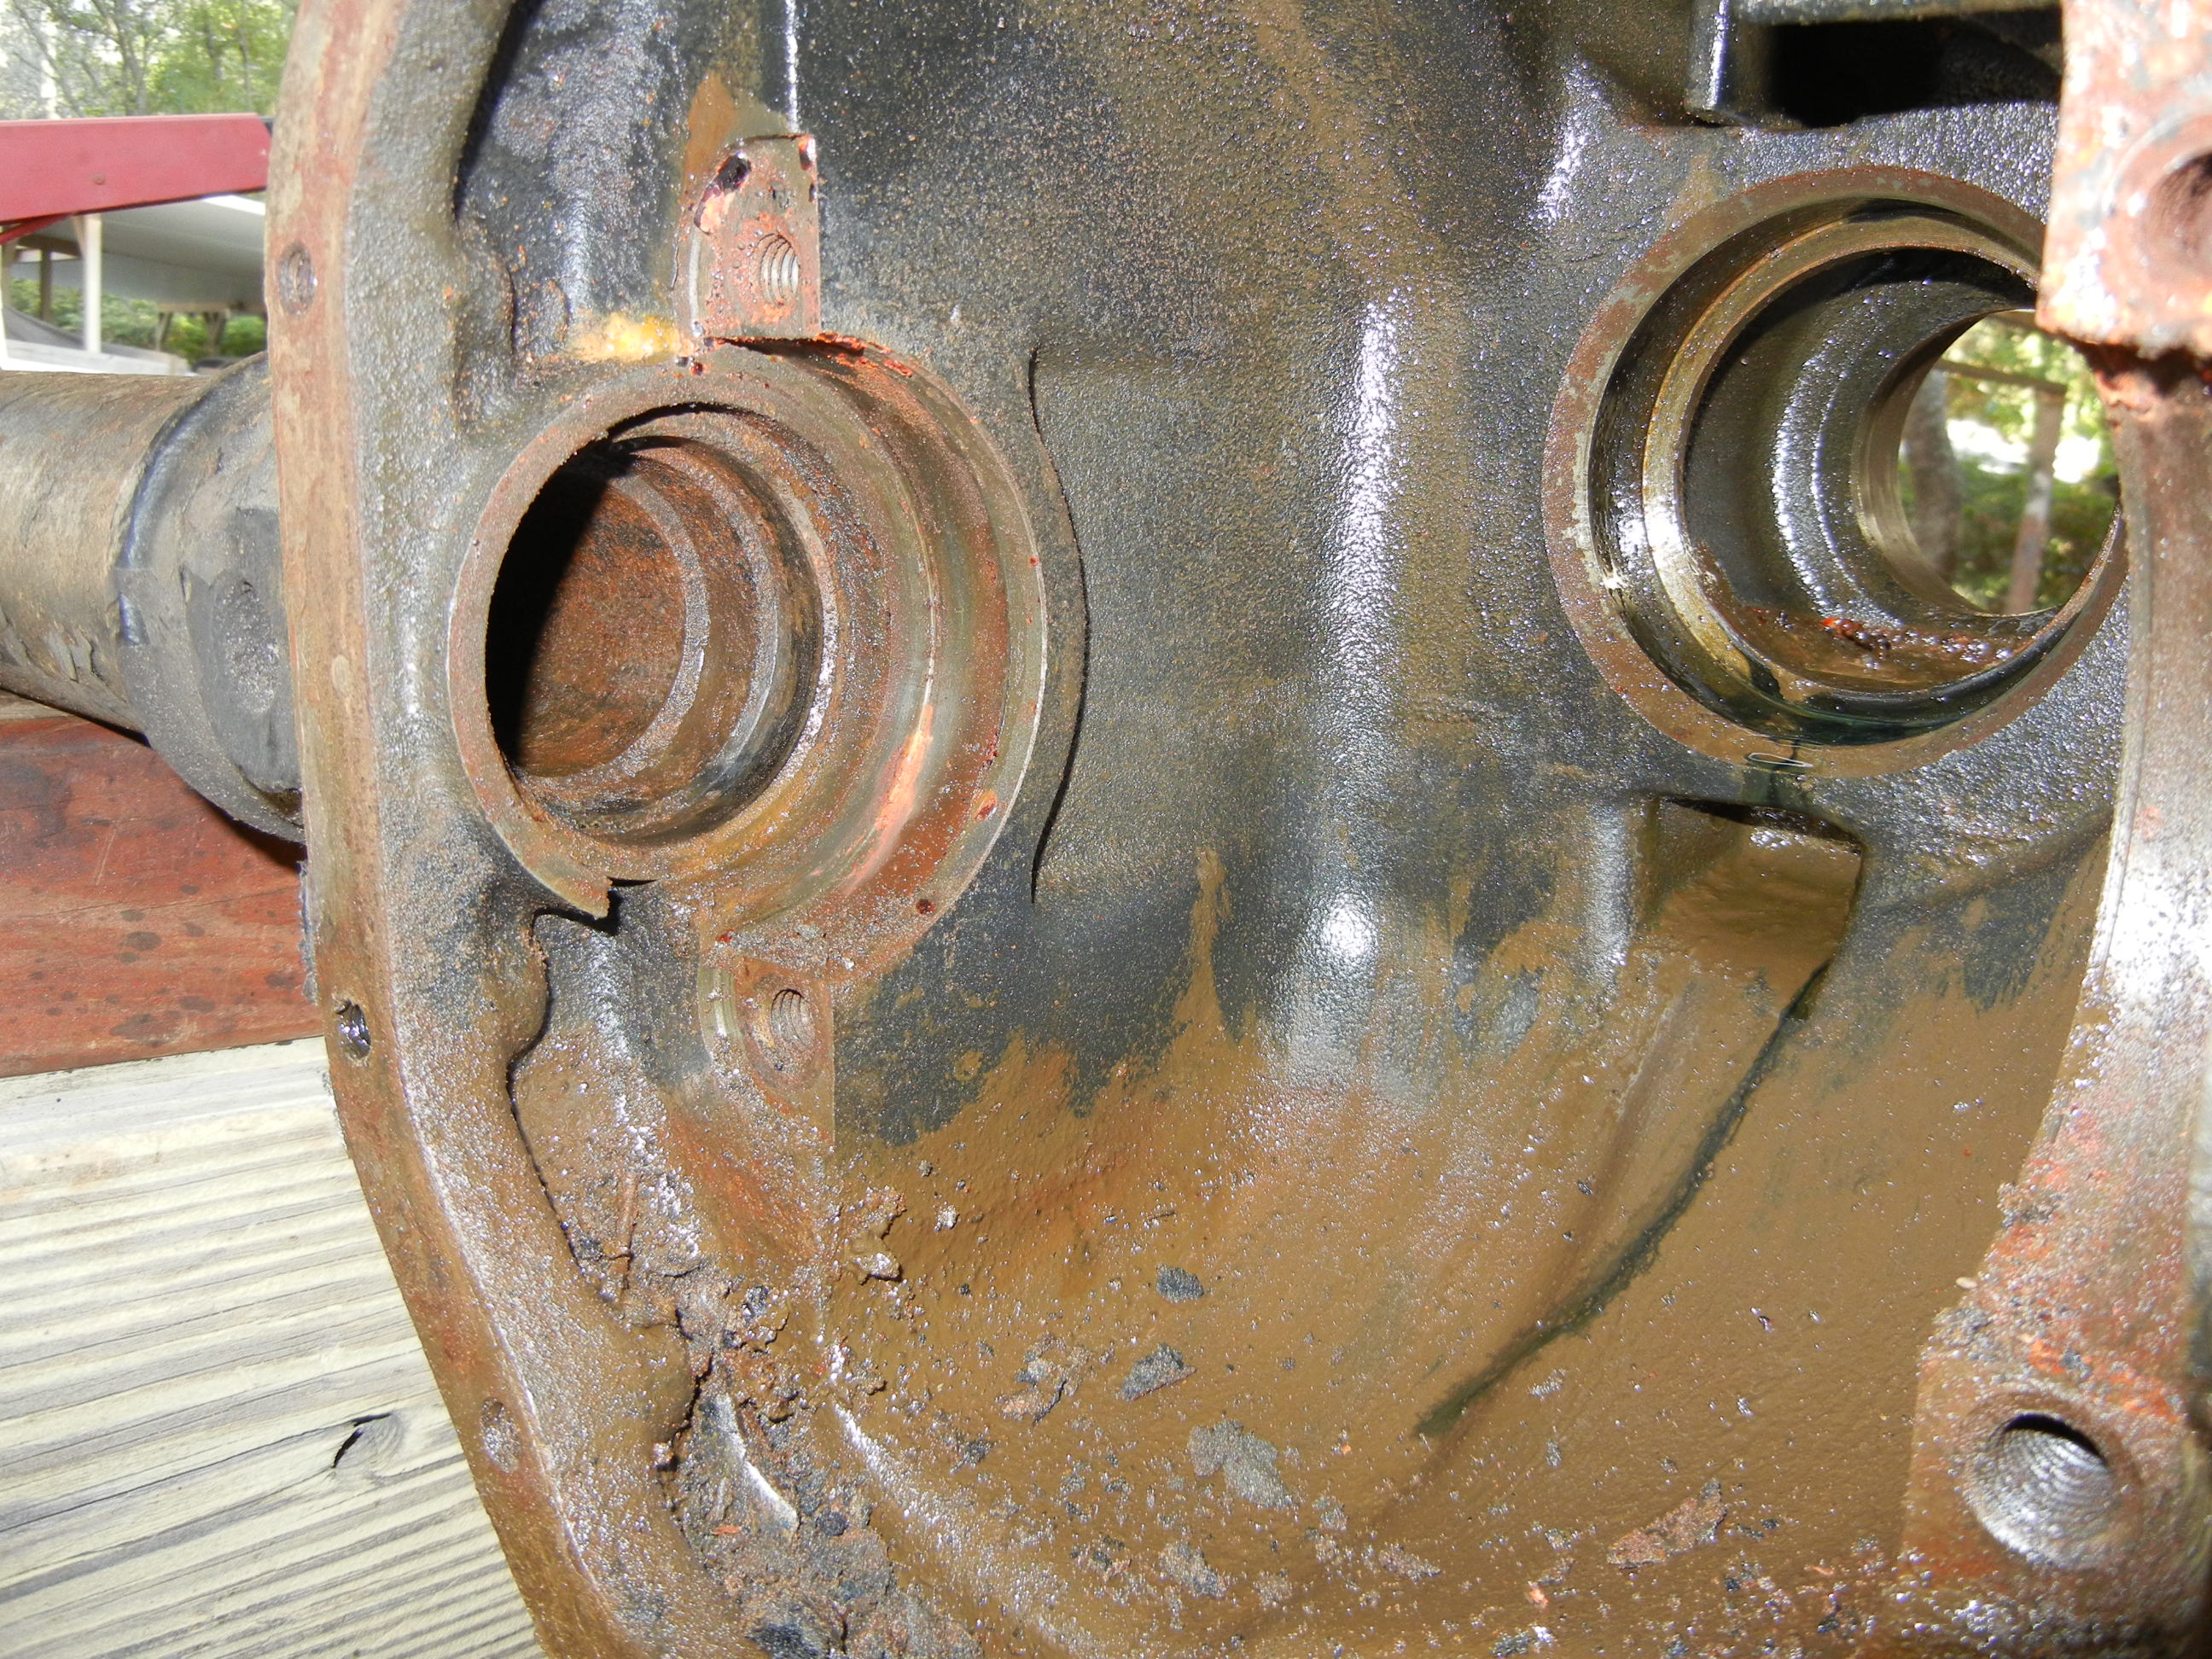
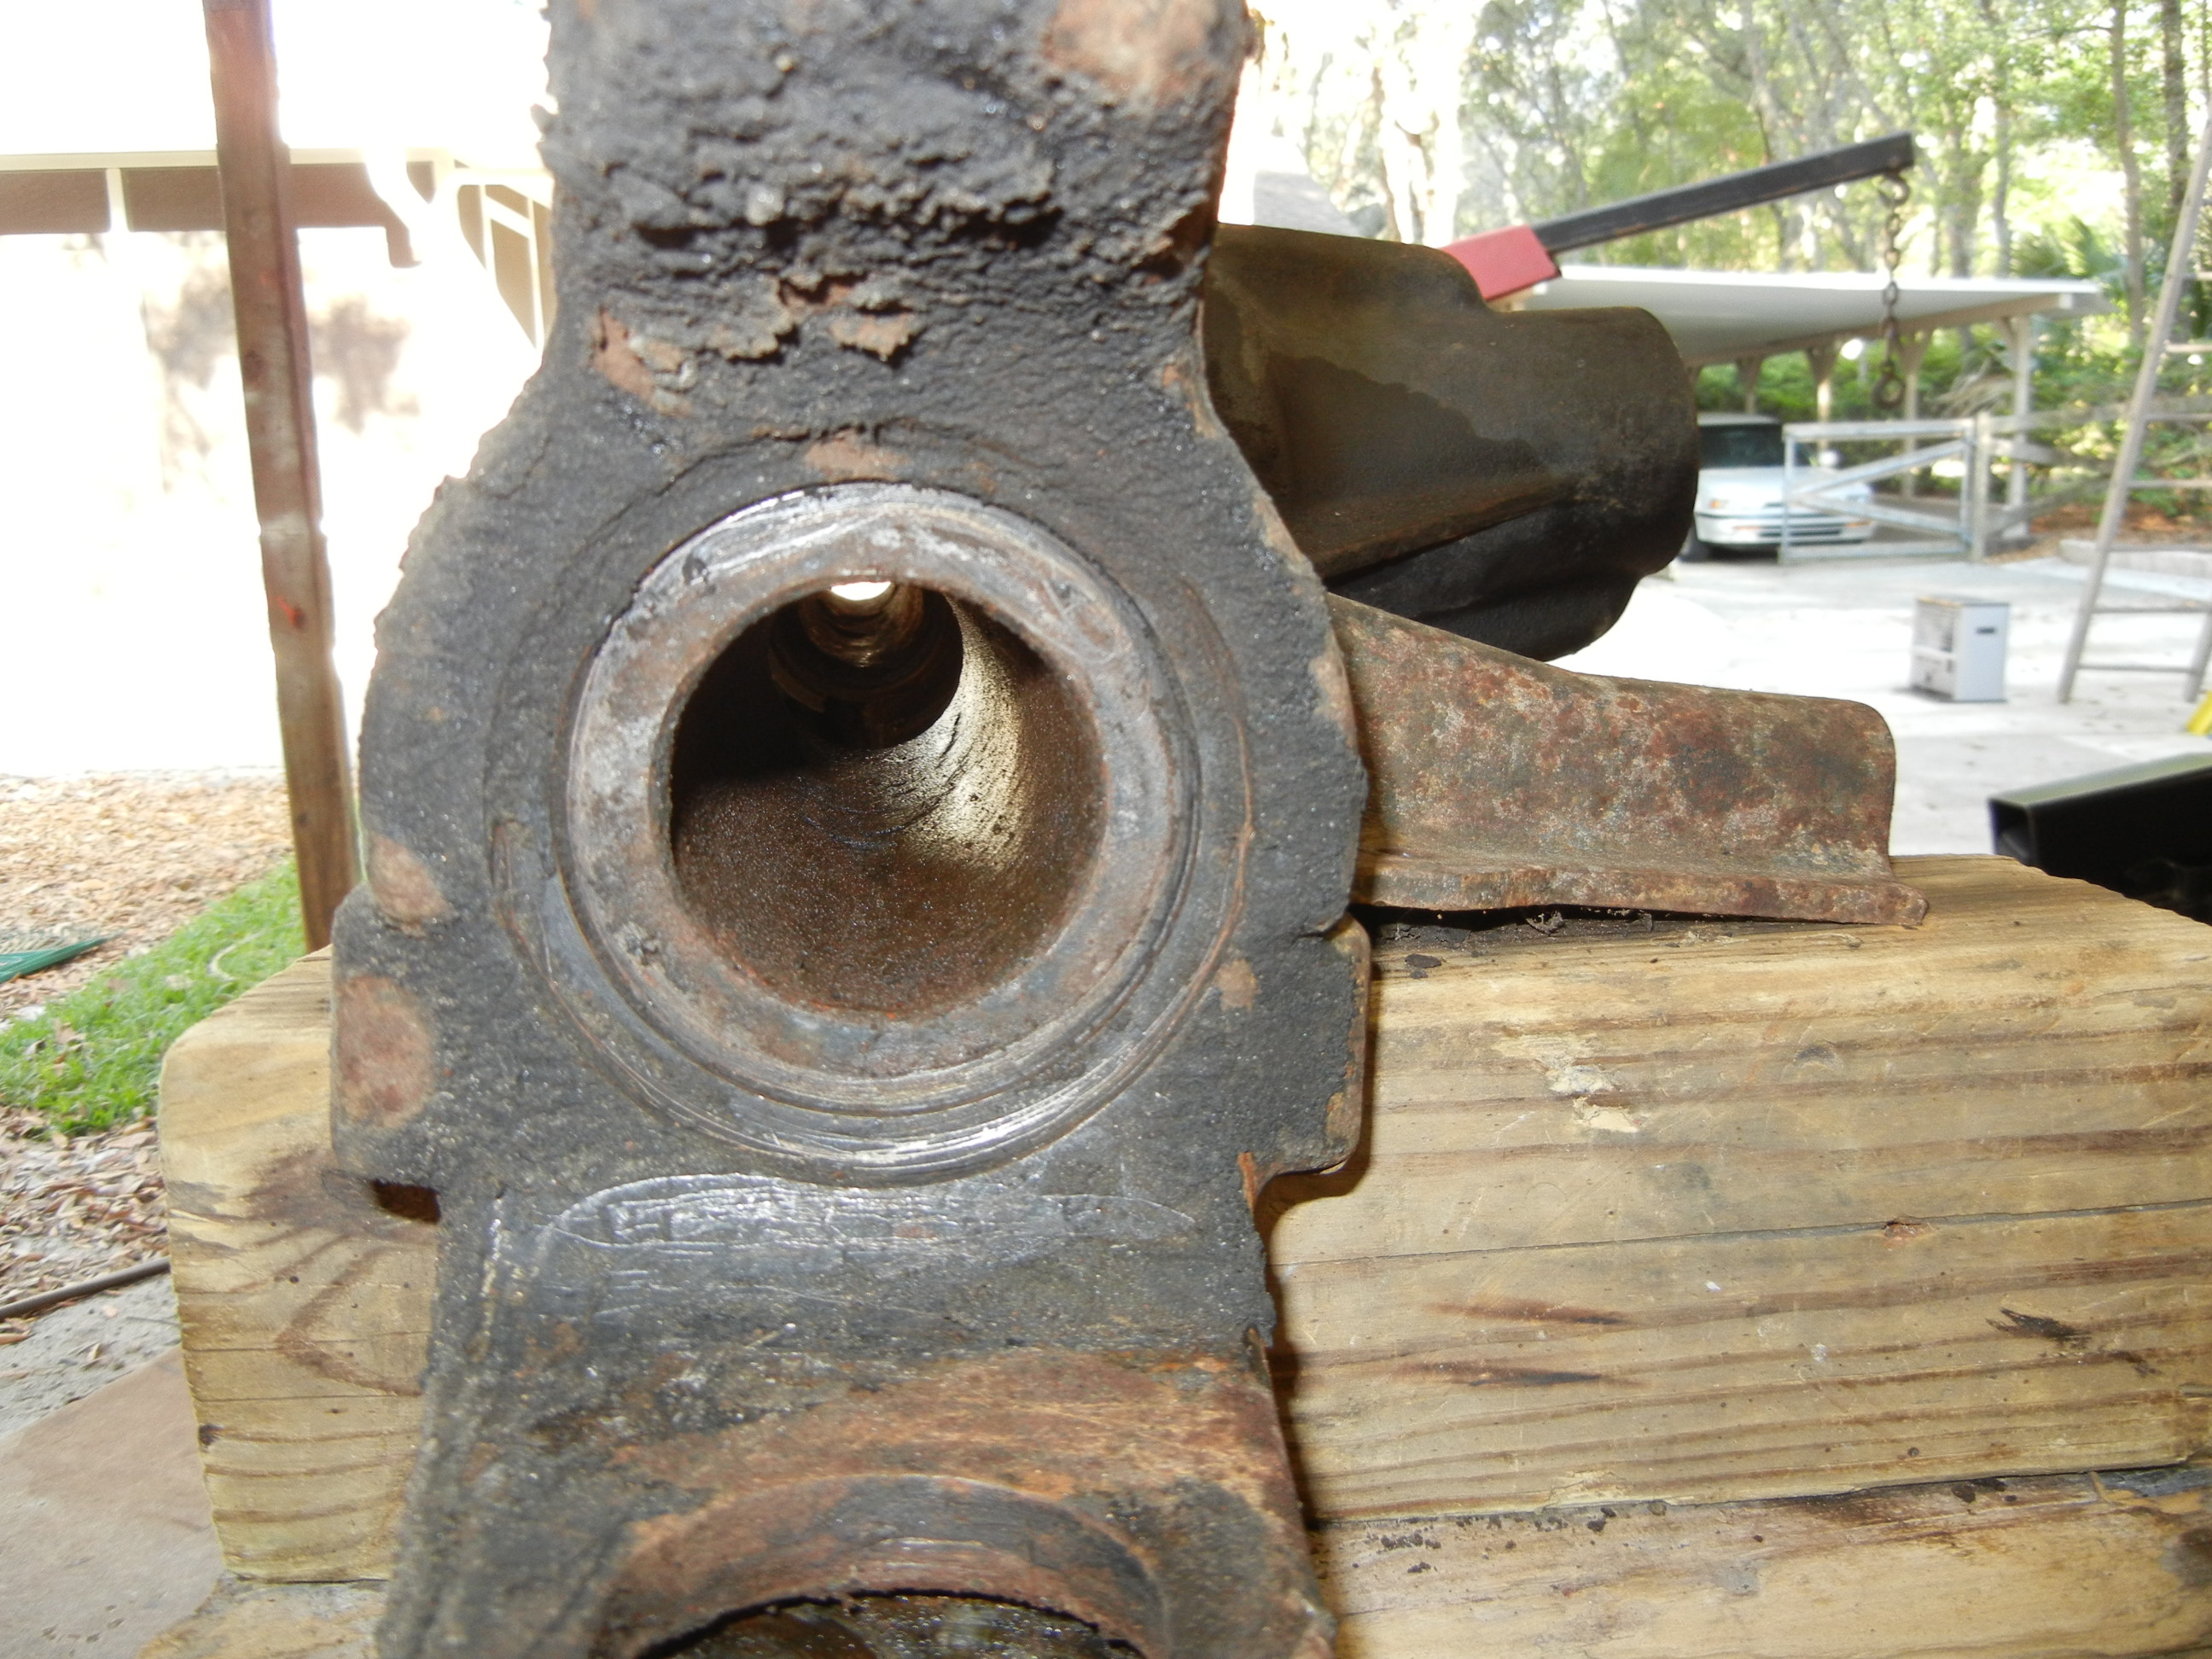
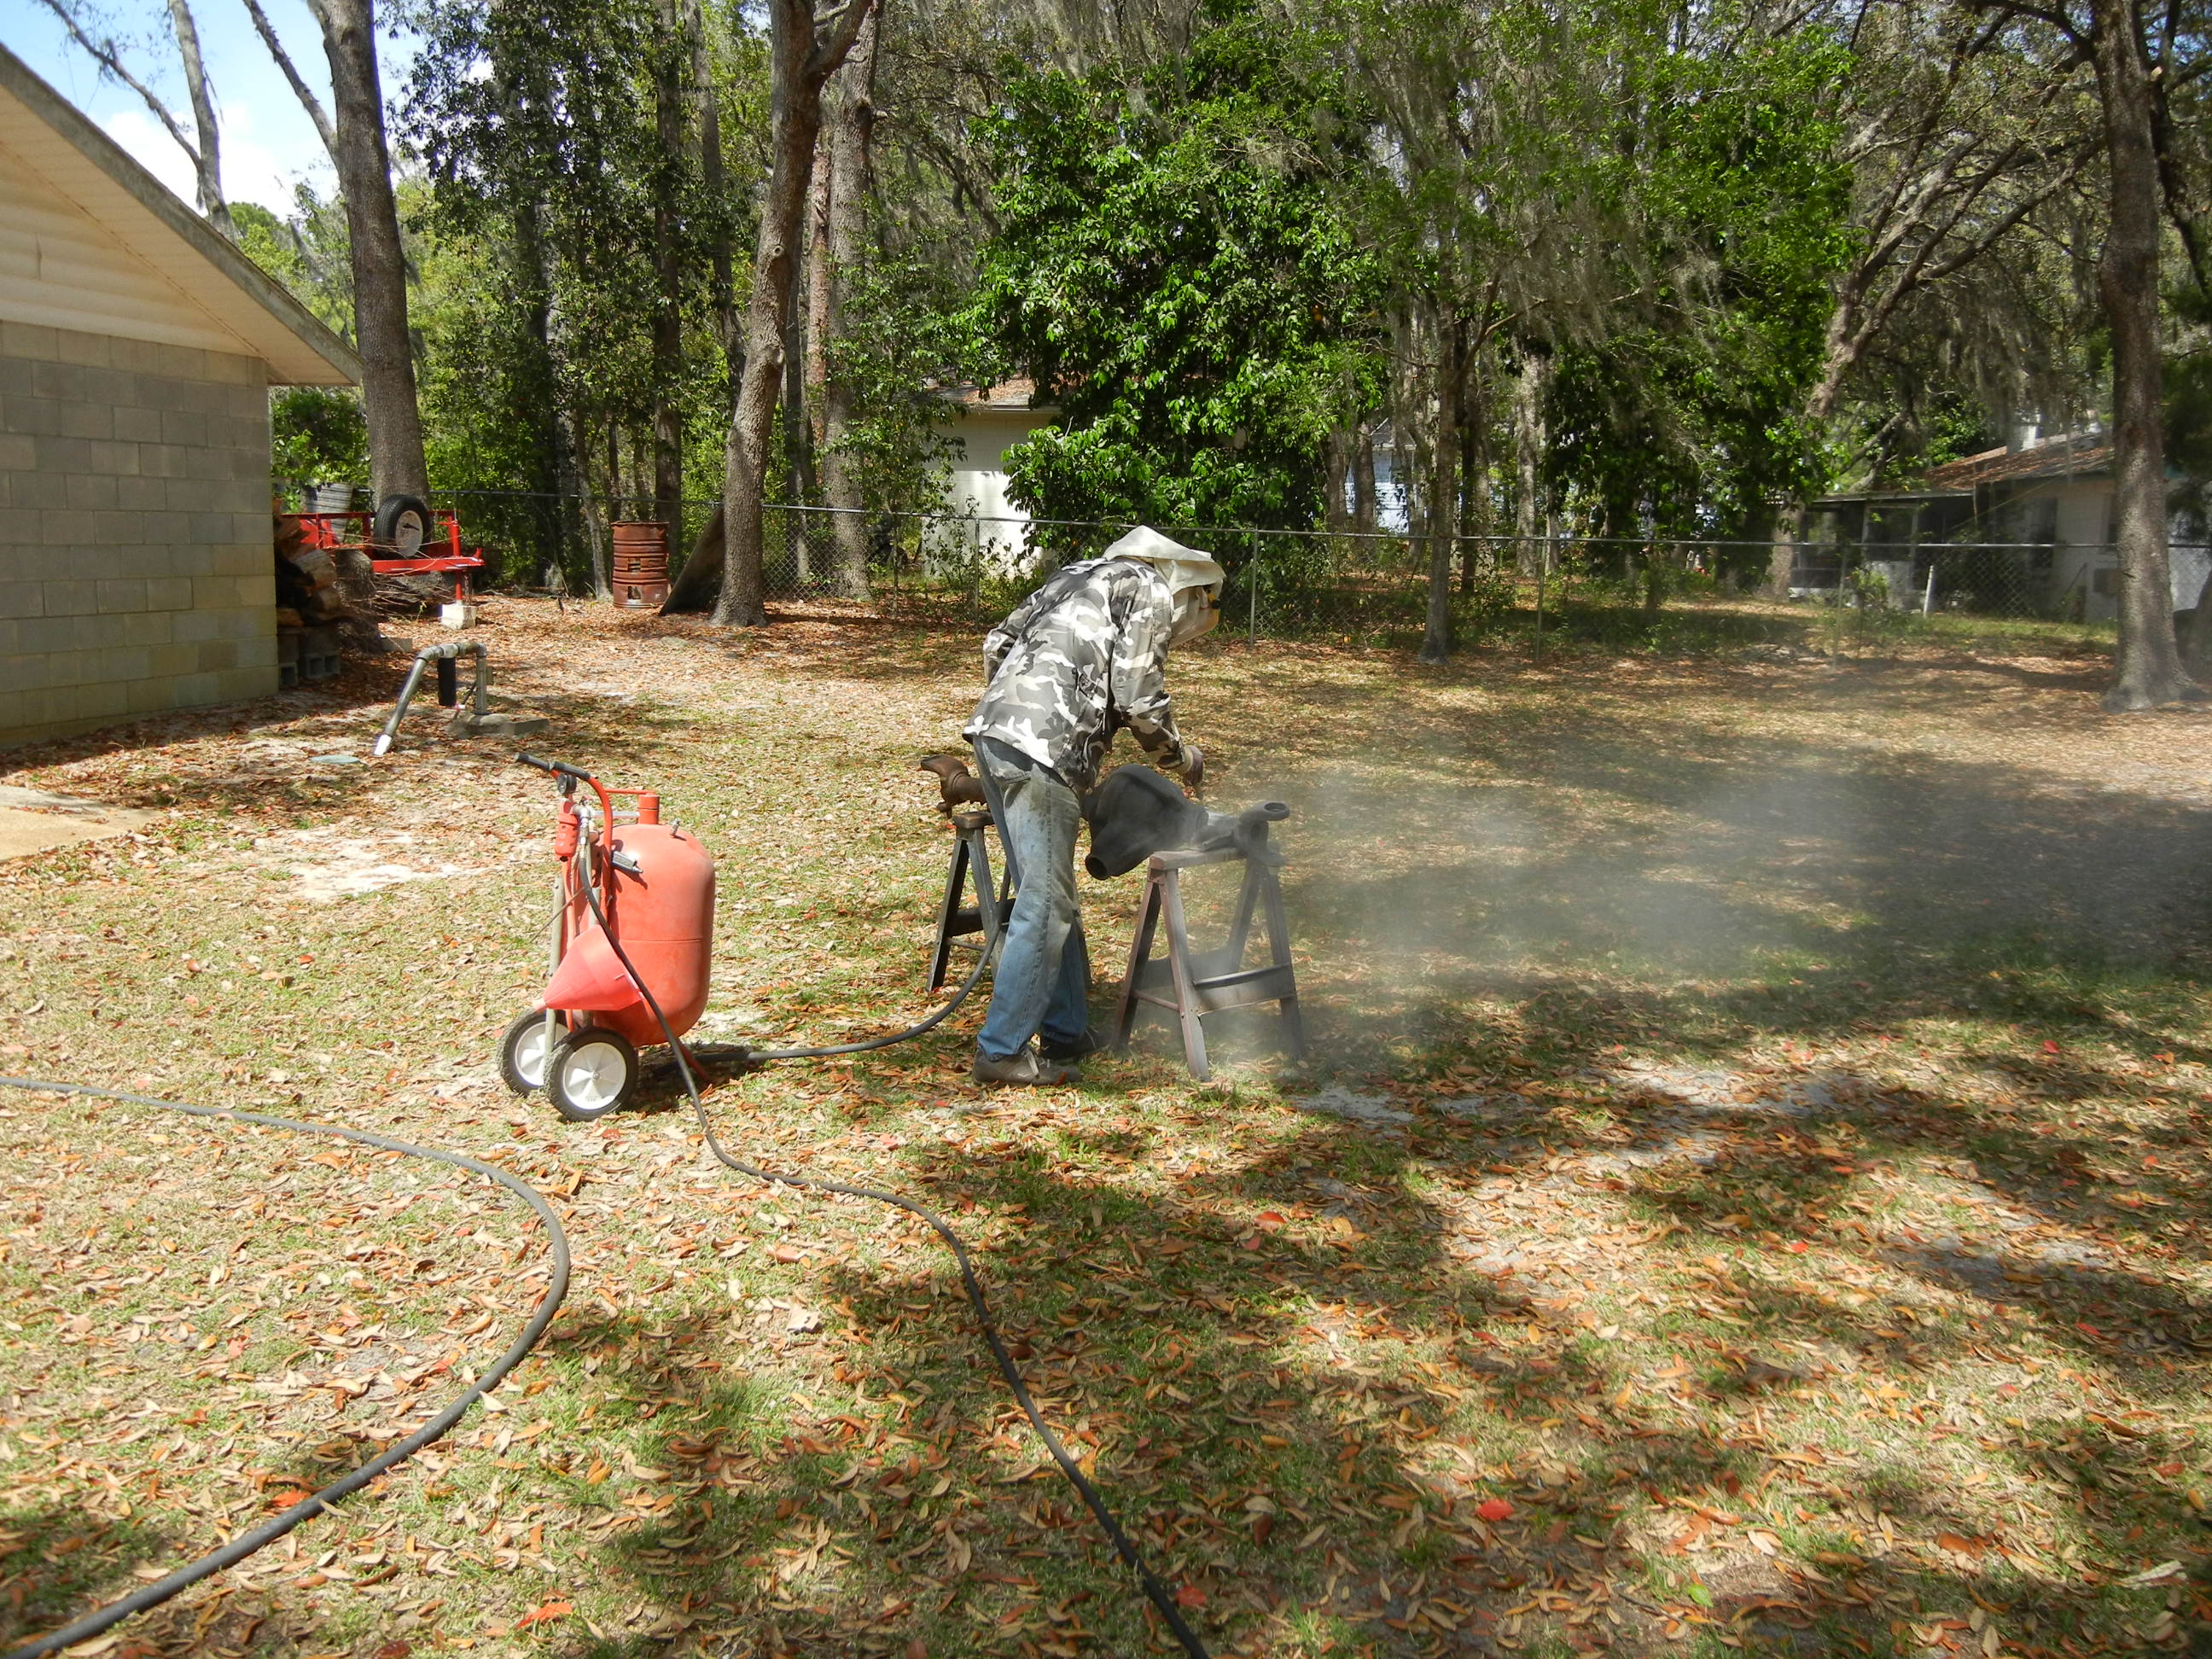
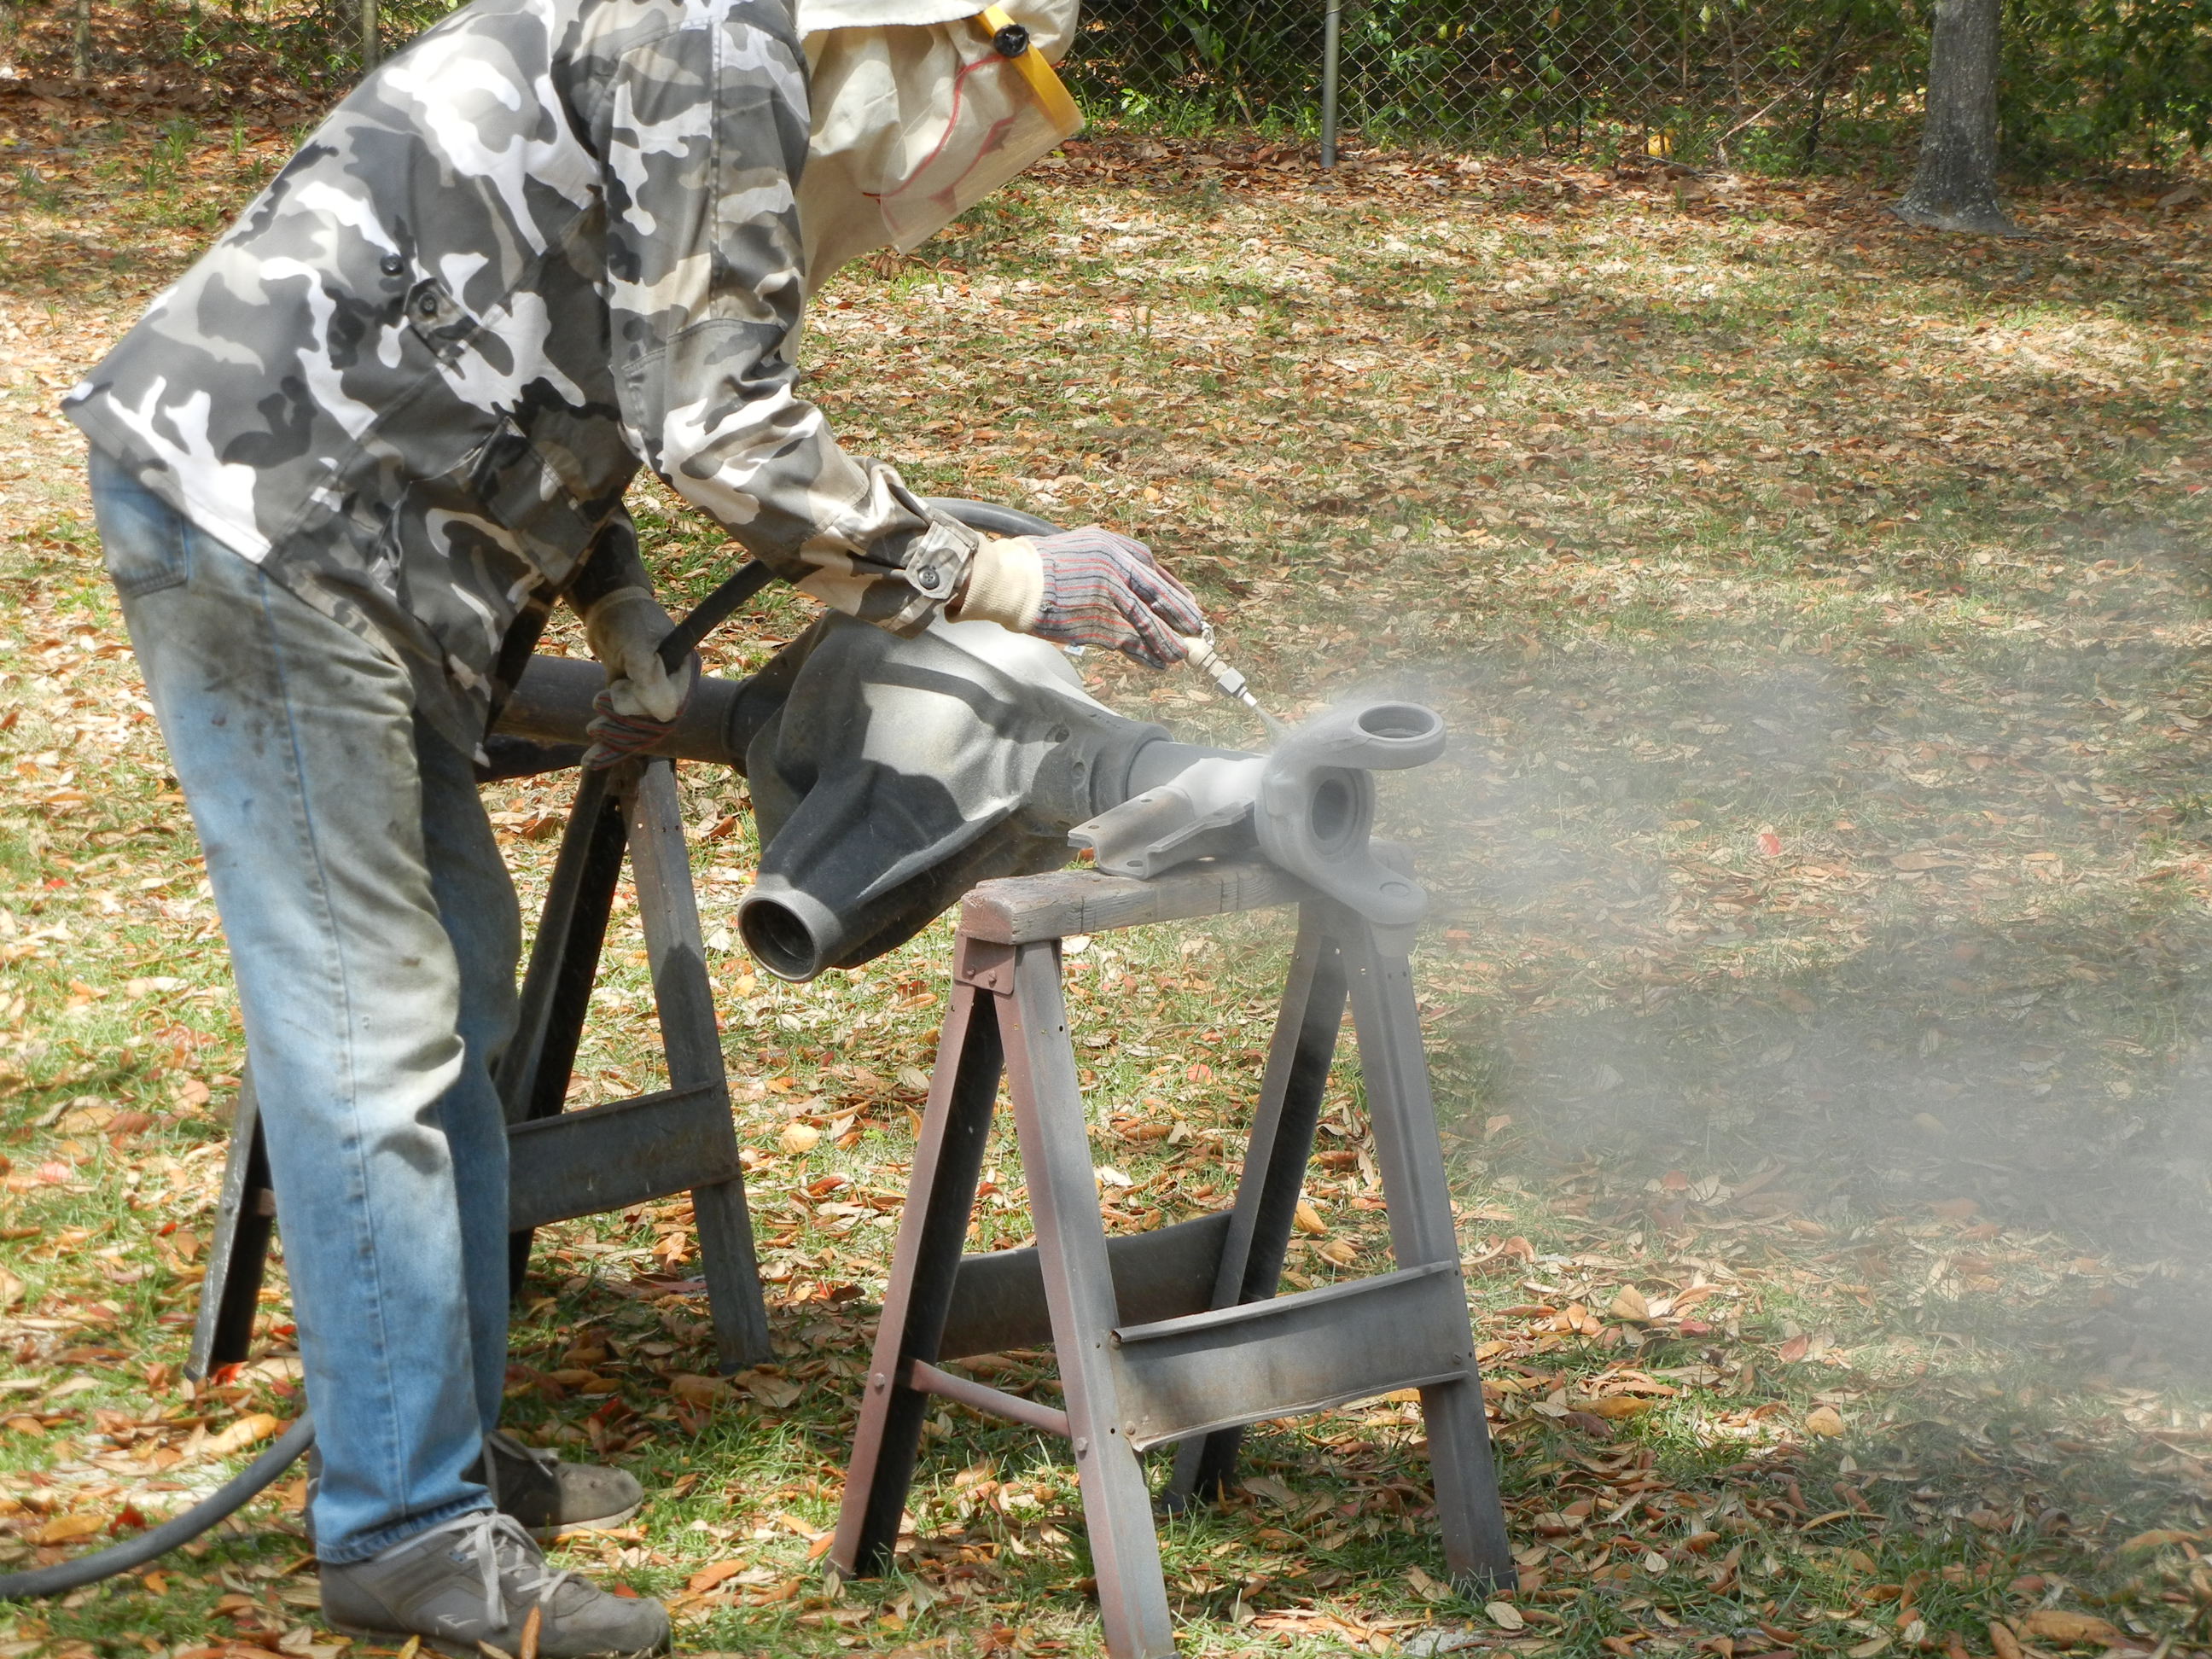
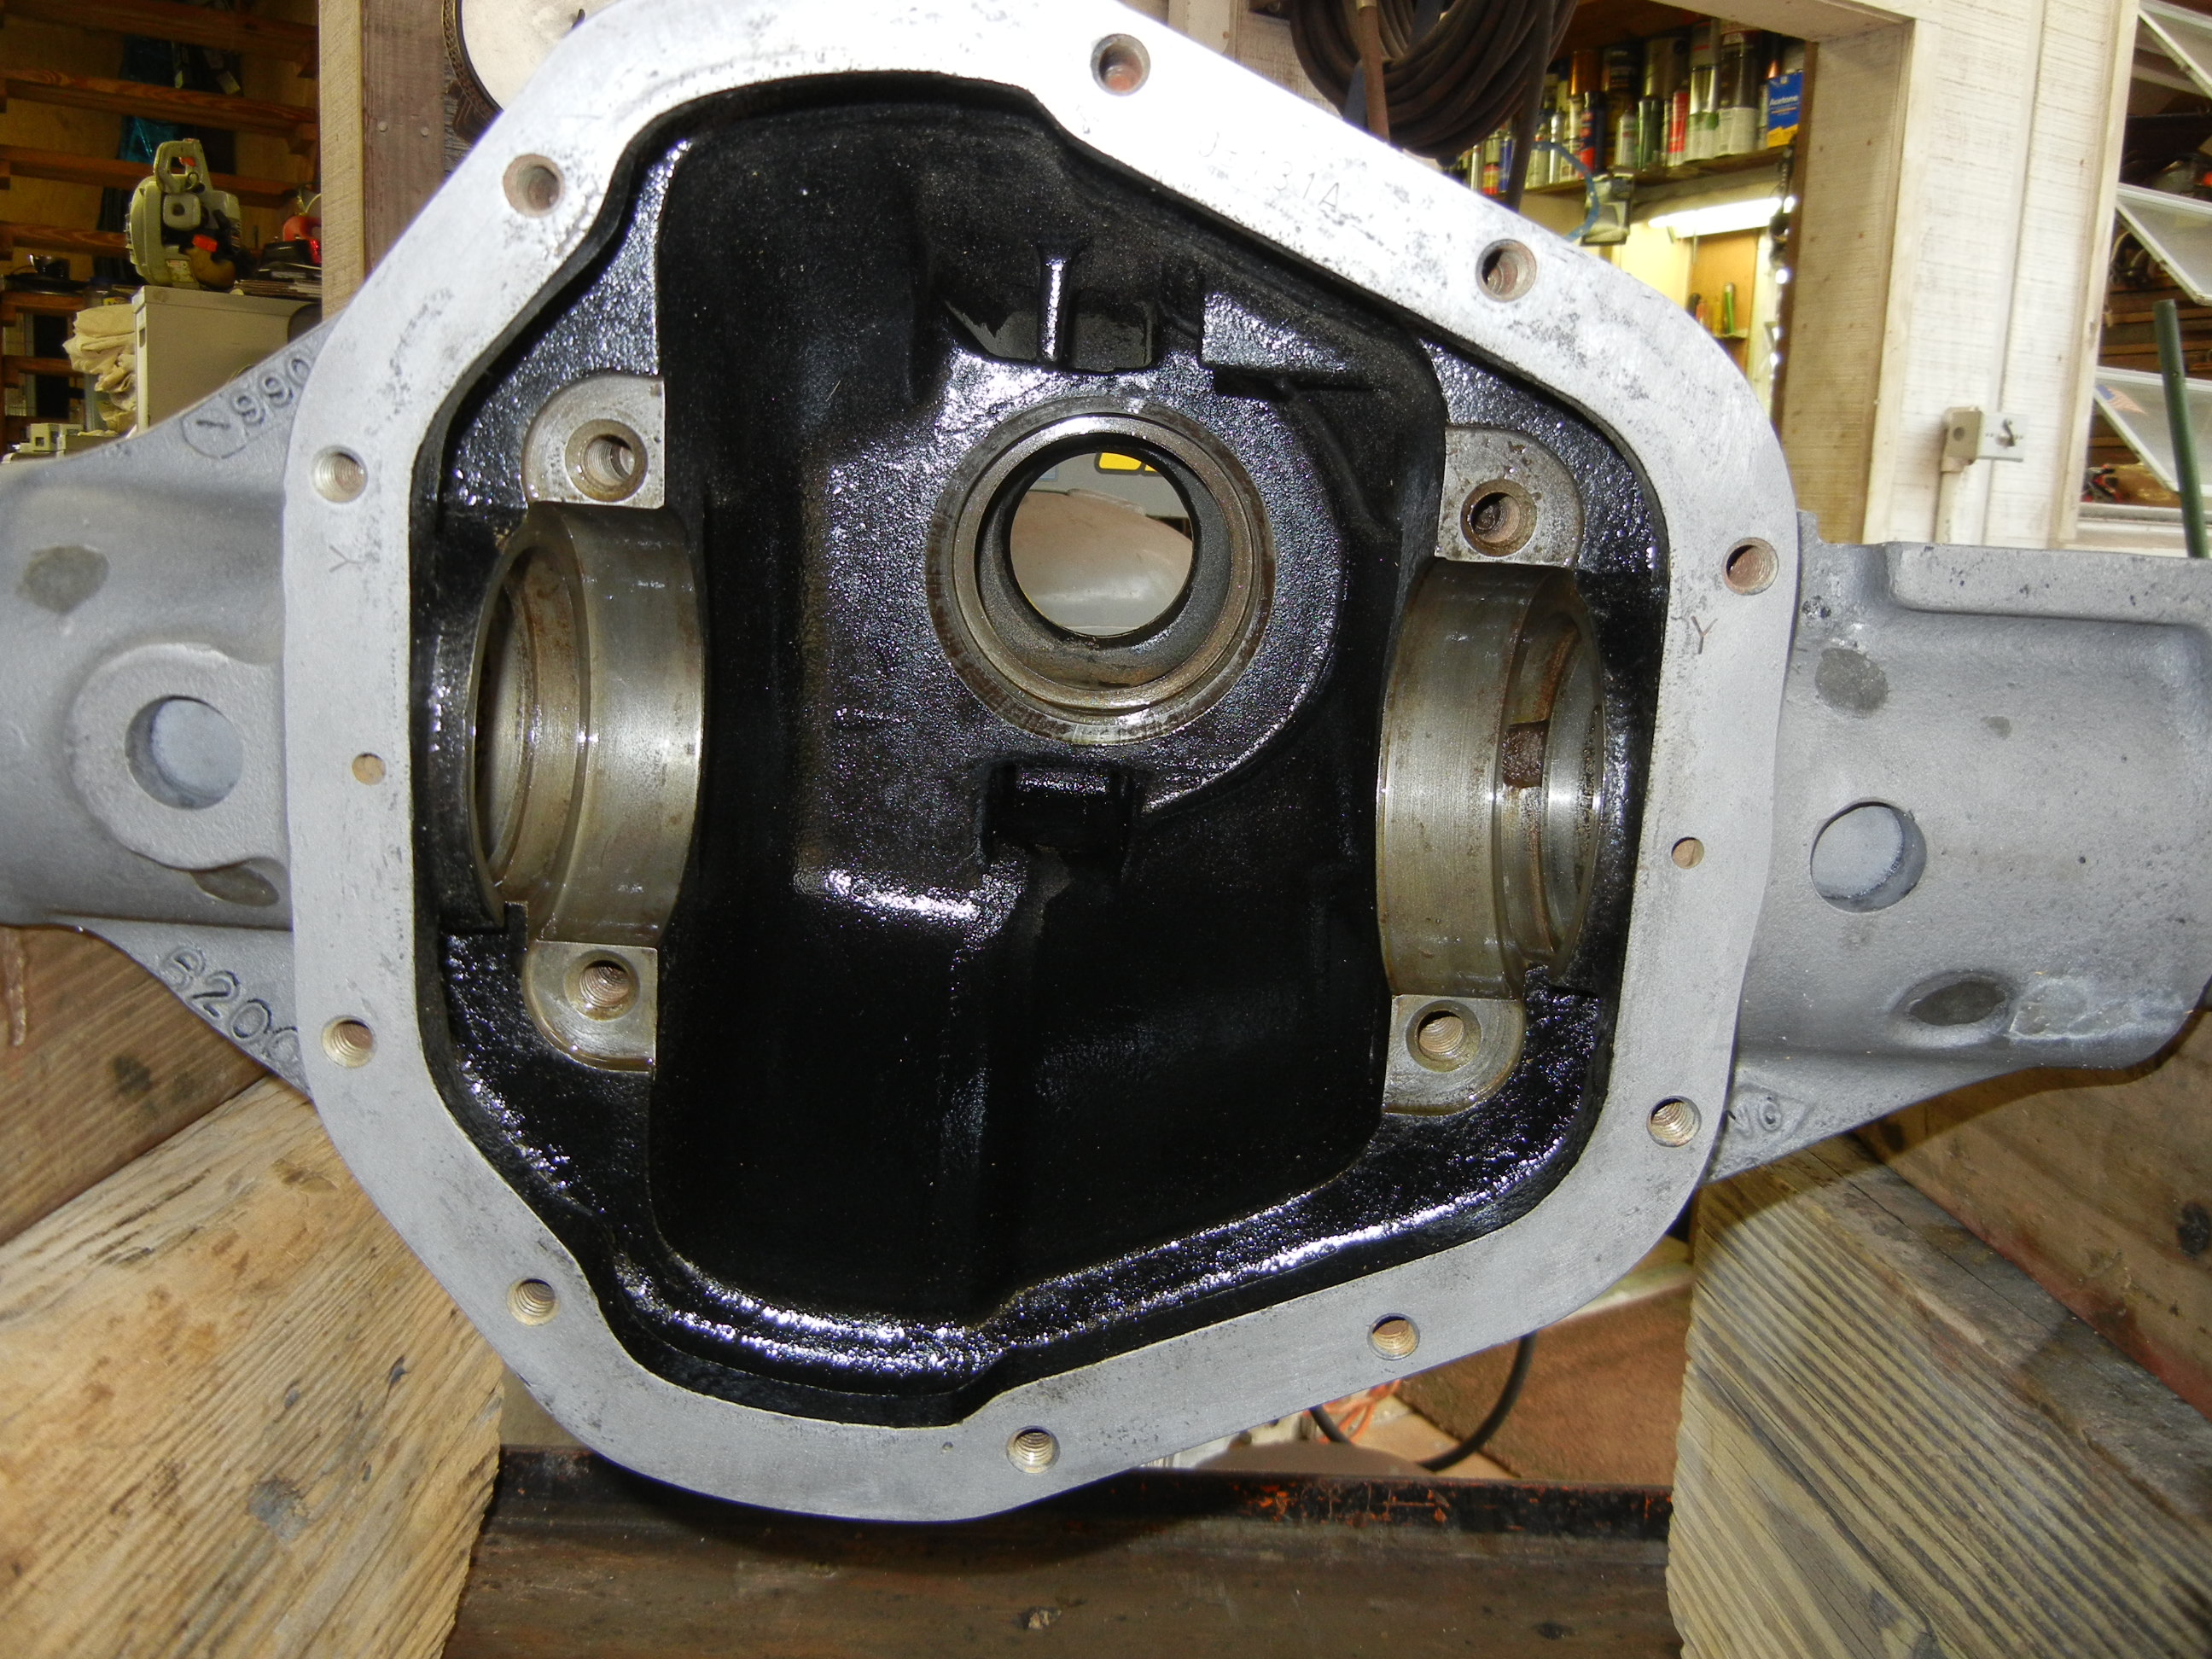
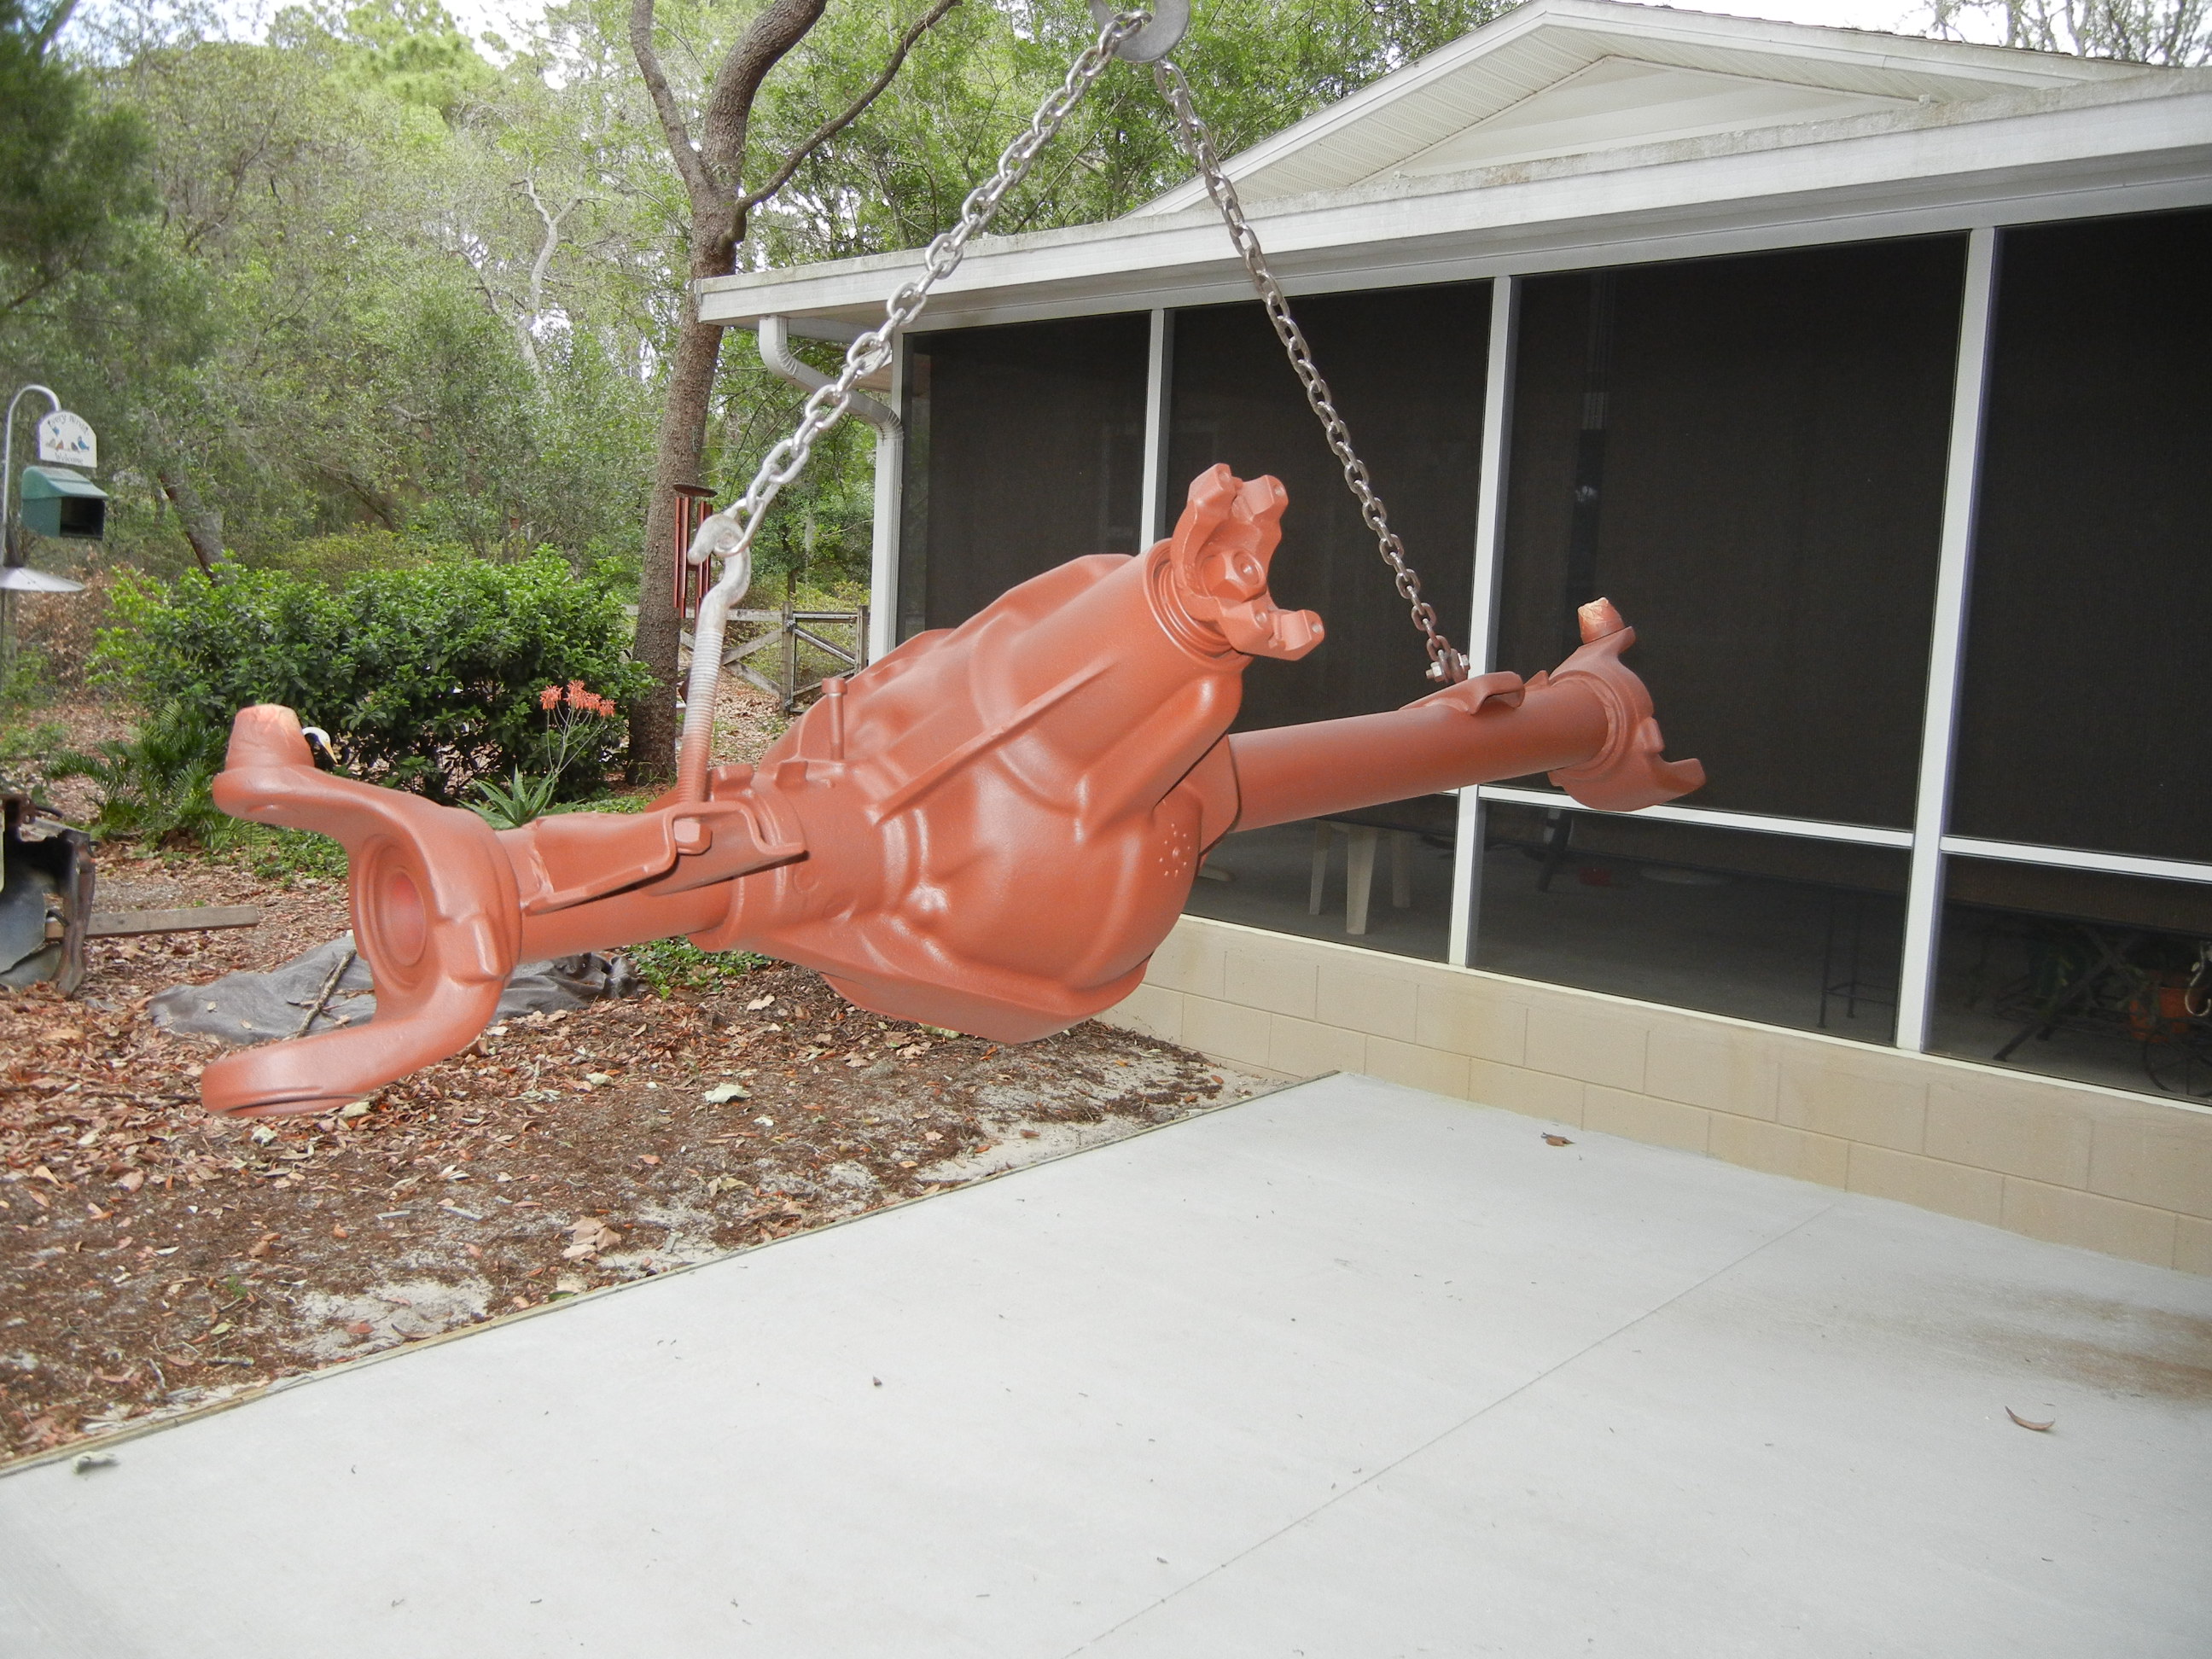
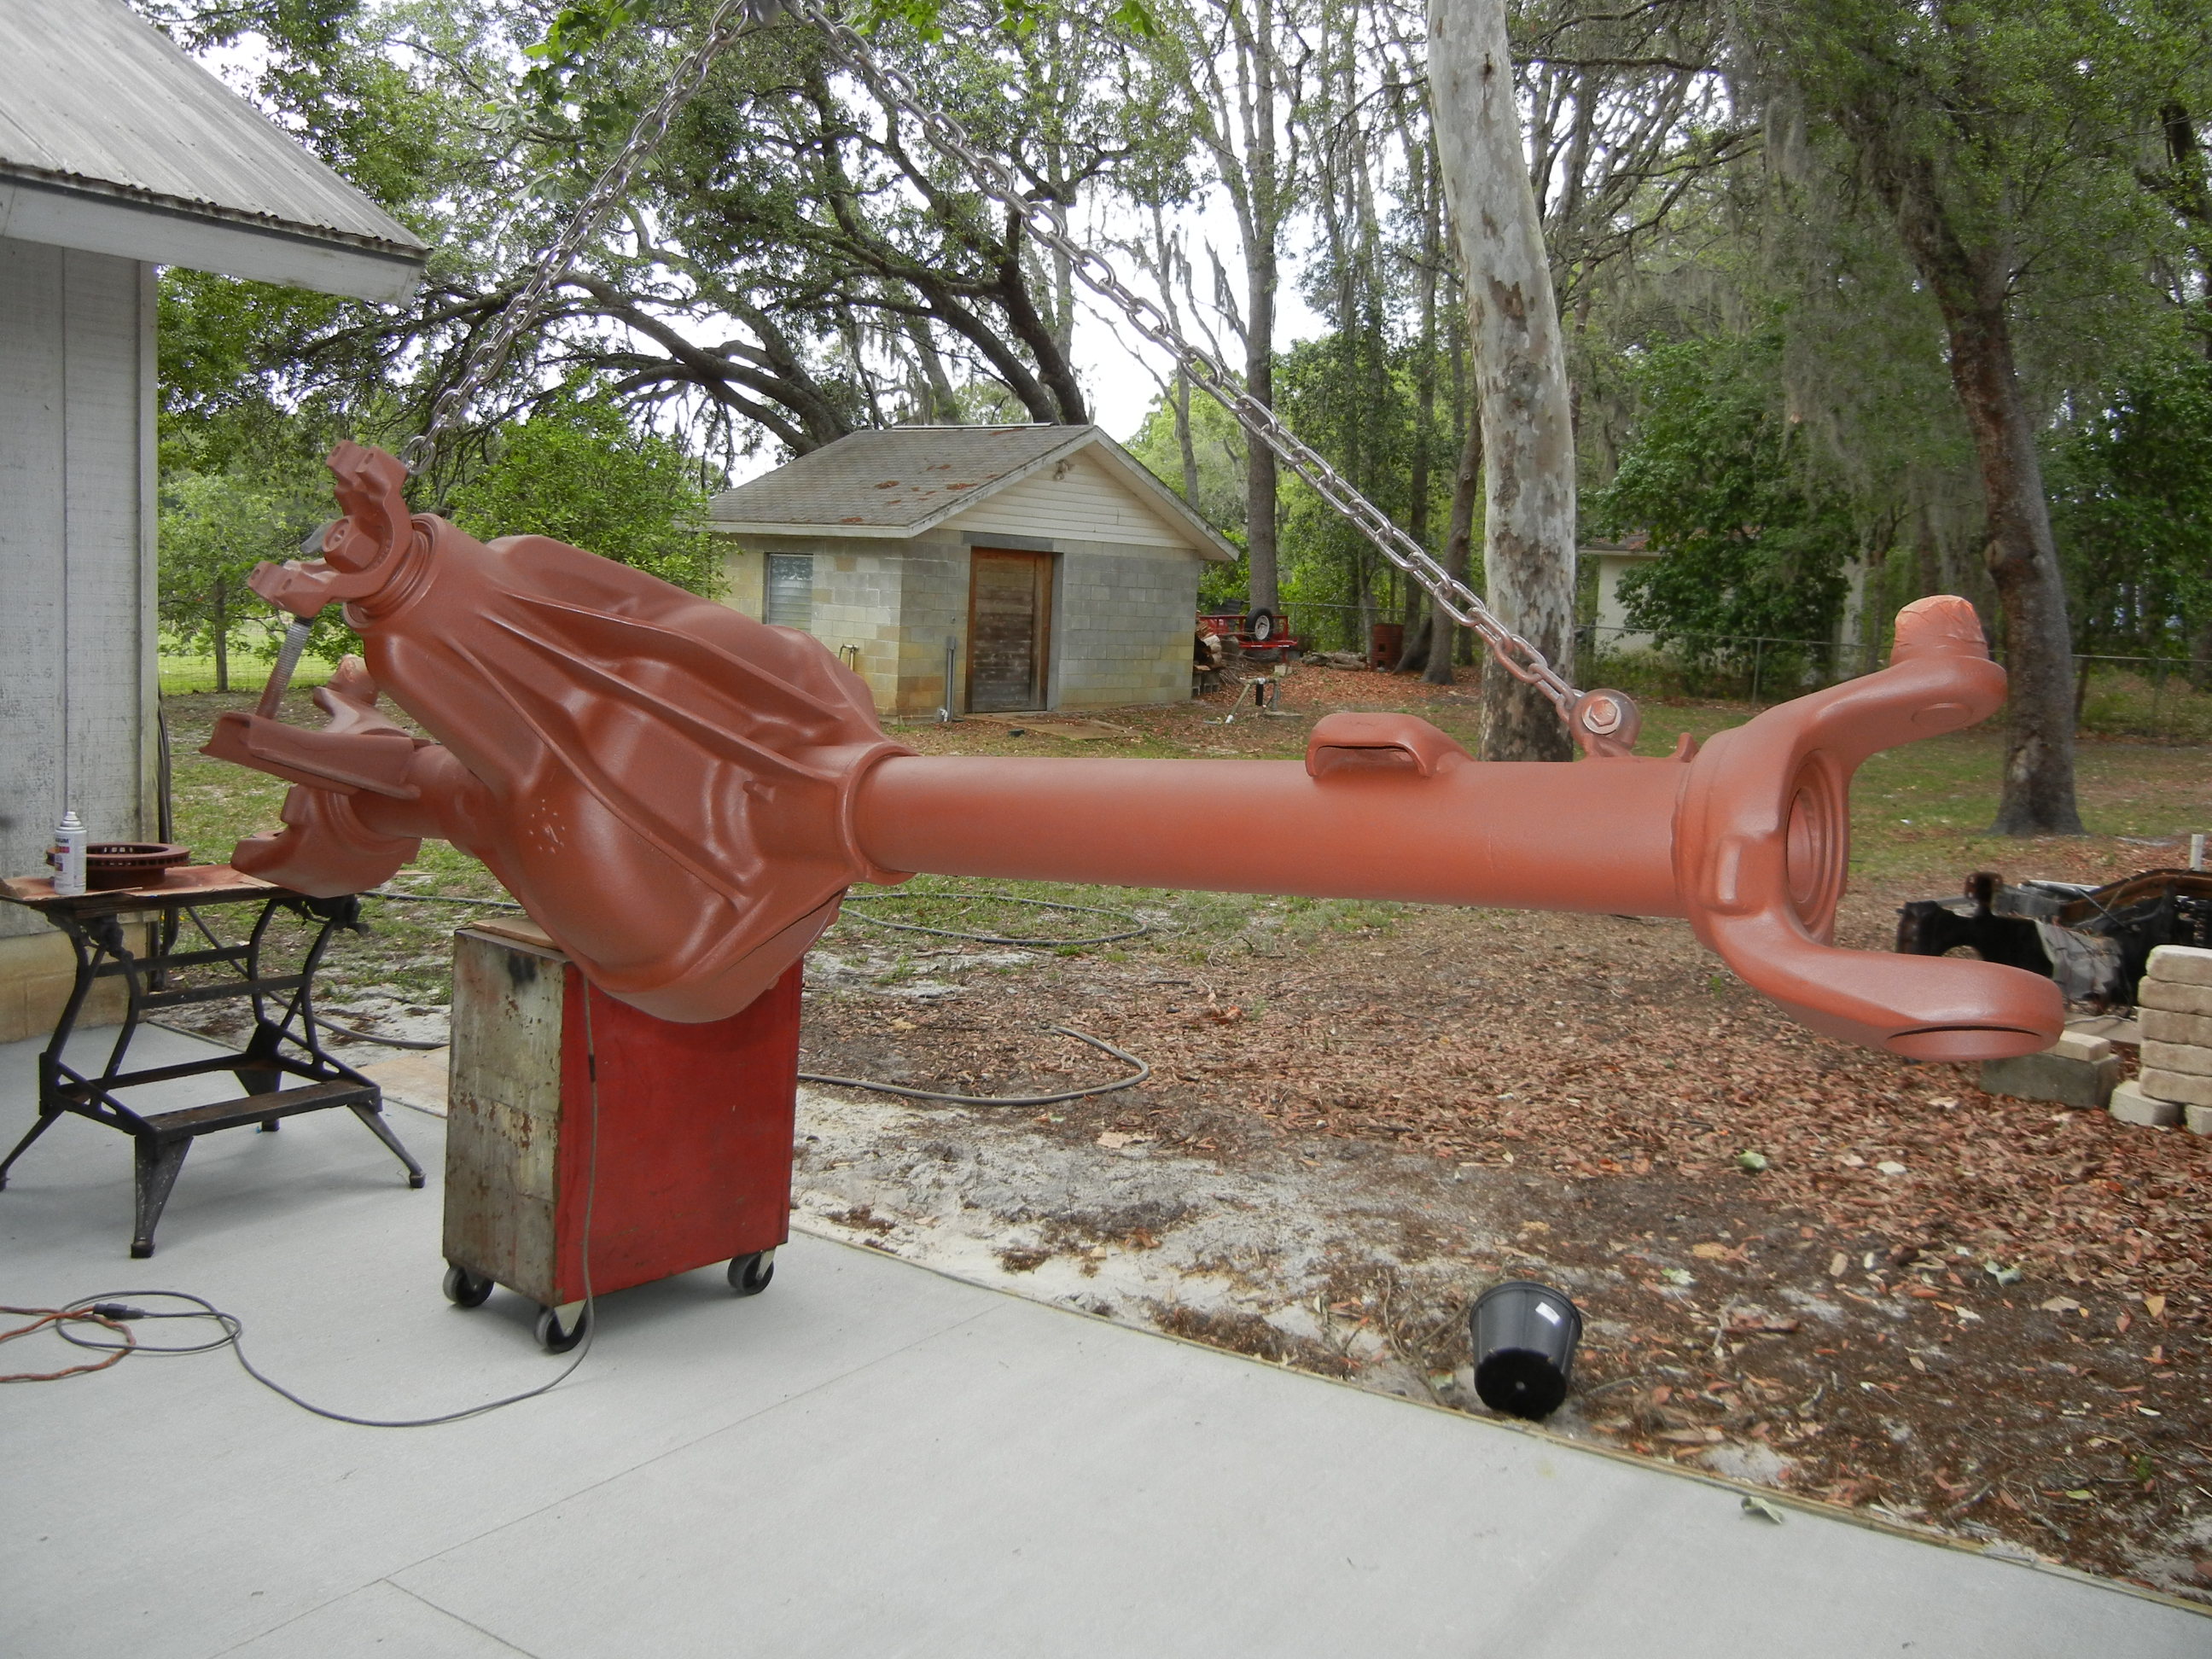
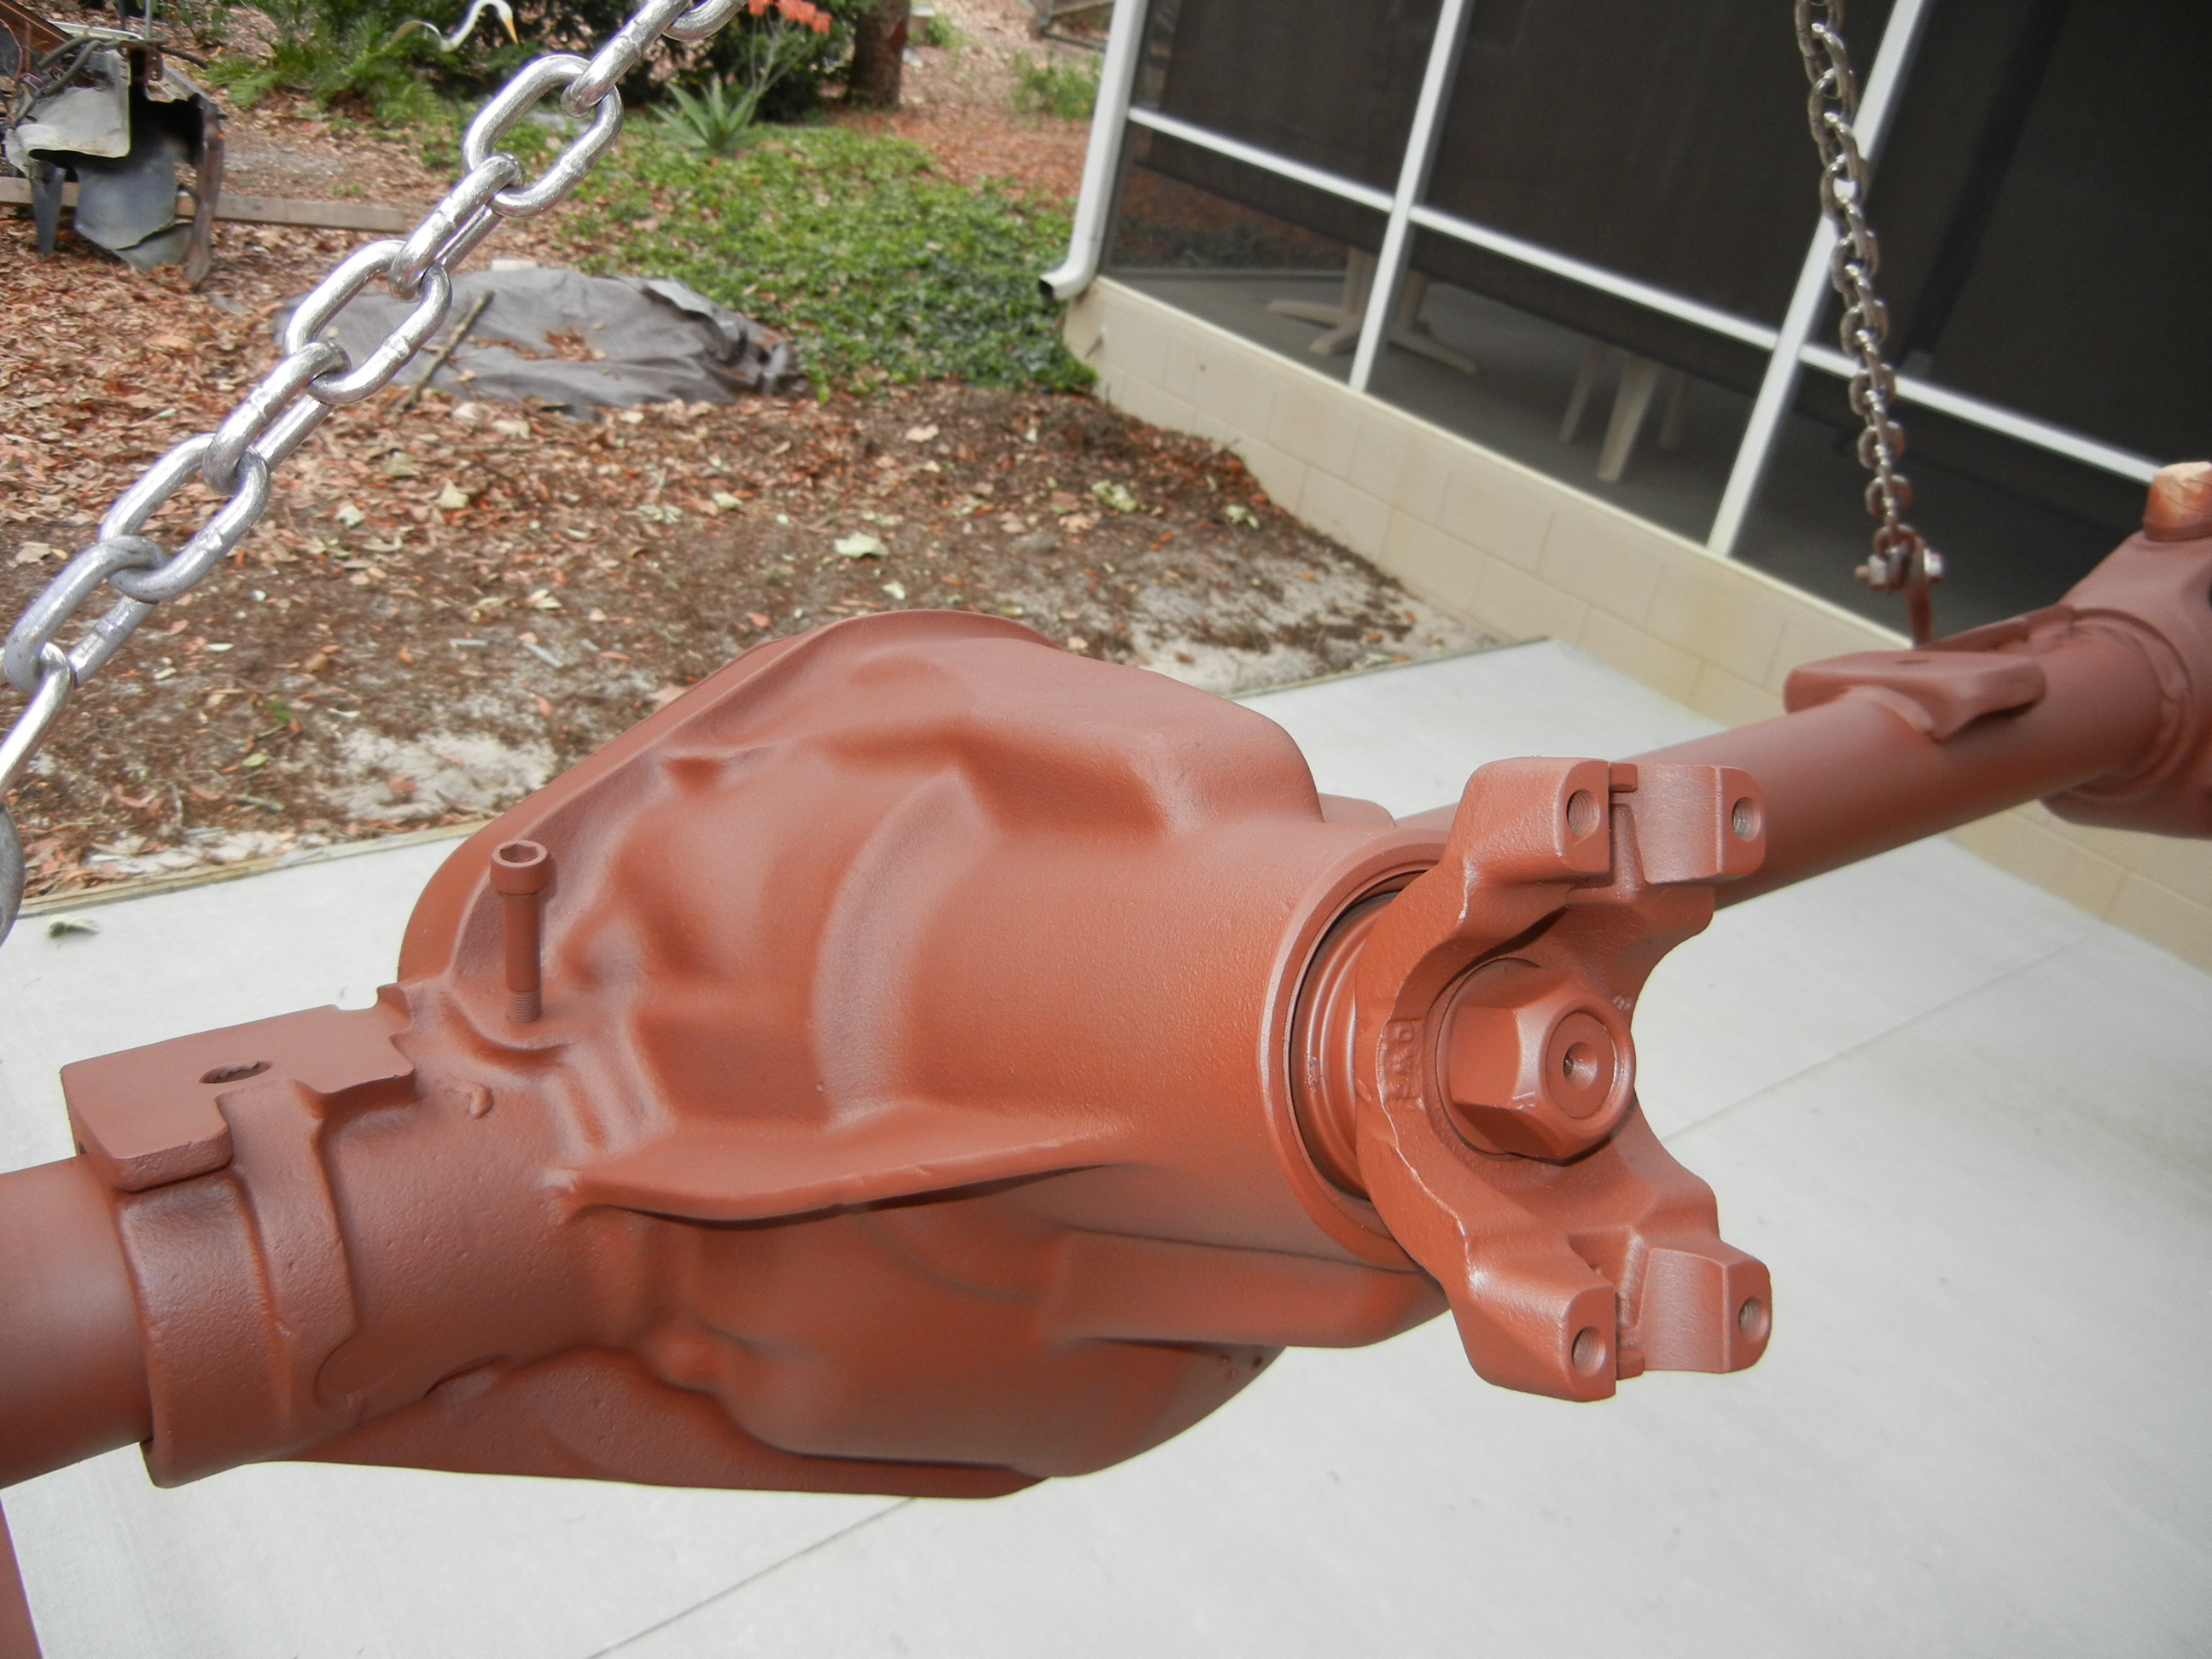
Here the front housing was sandblasted much like the rear. We also coated the inside of the housing with black Rustoleum enamel.
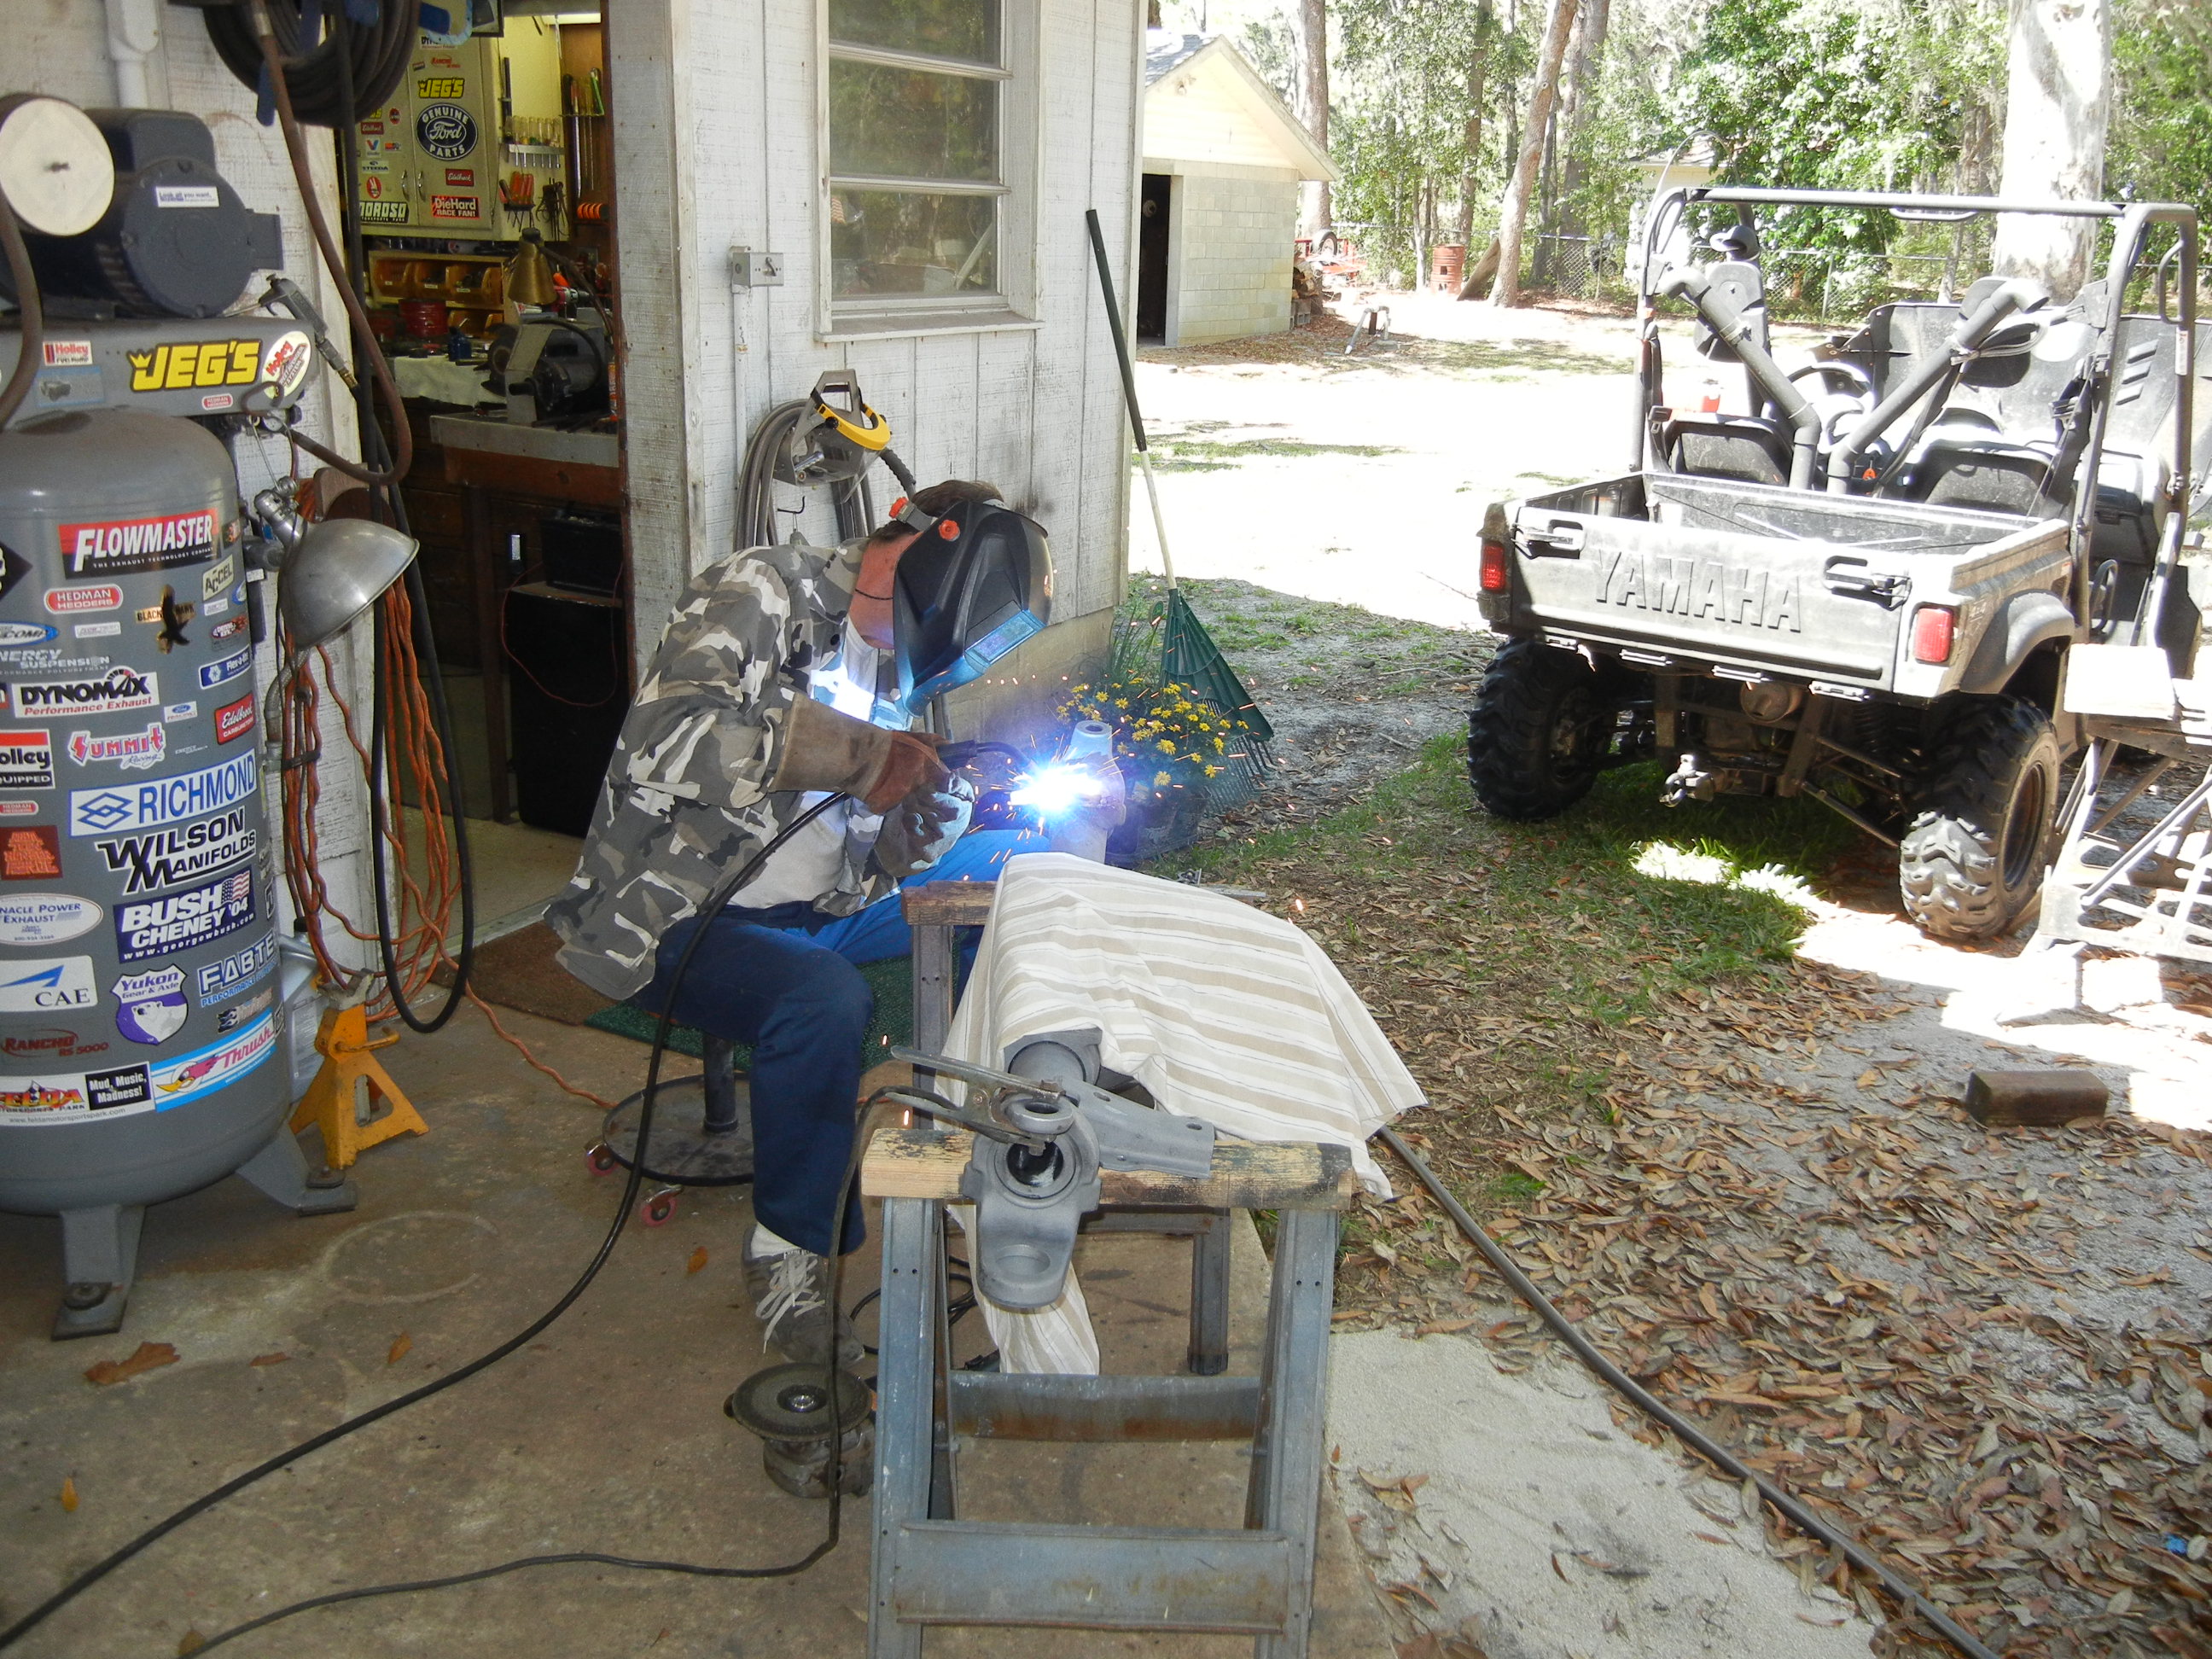
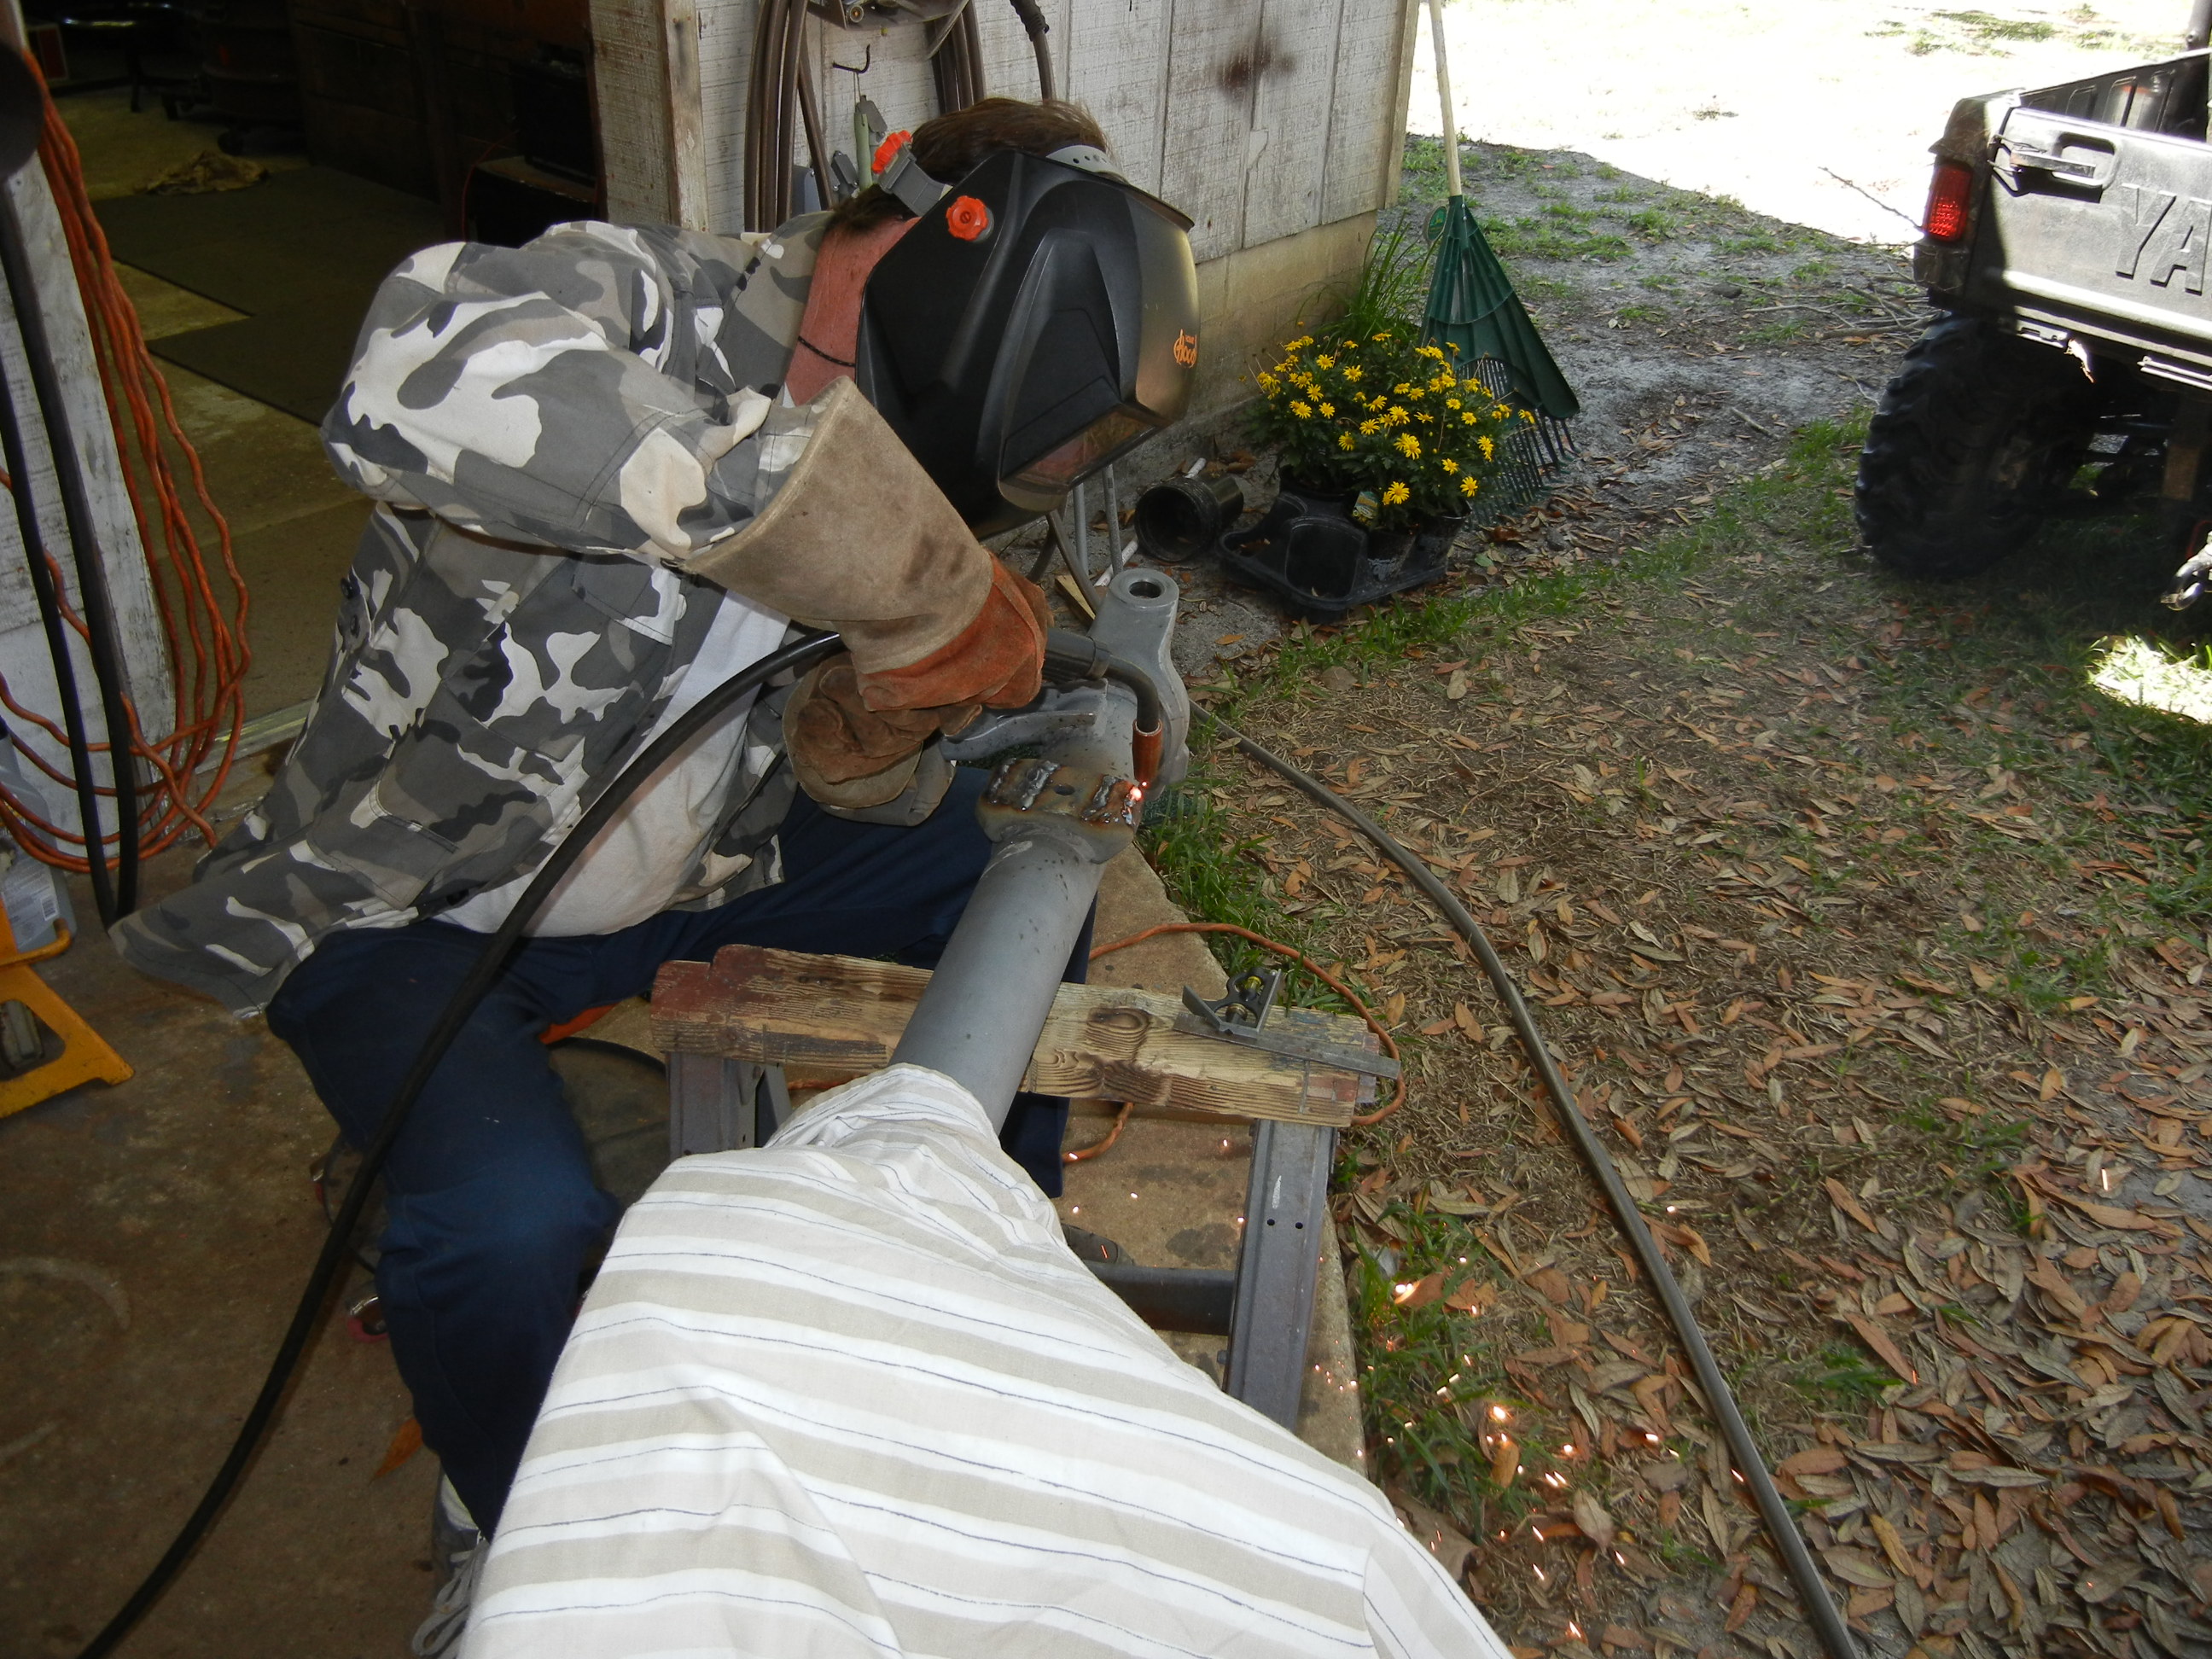
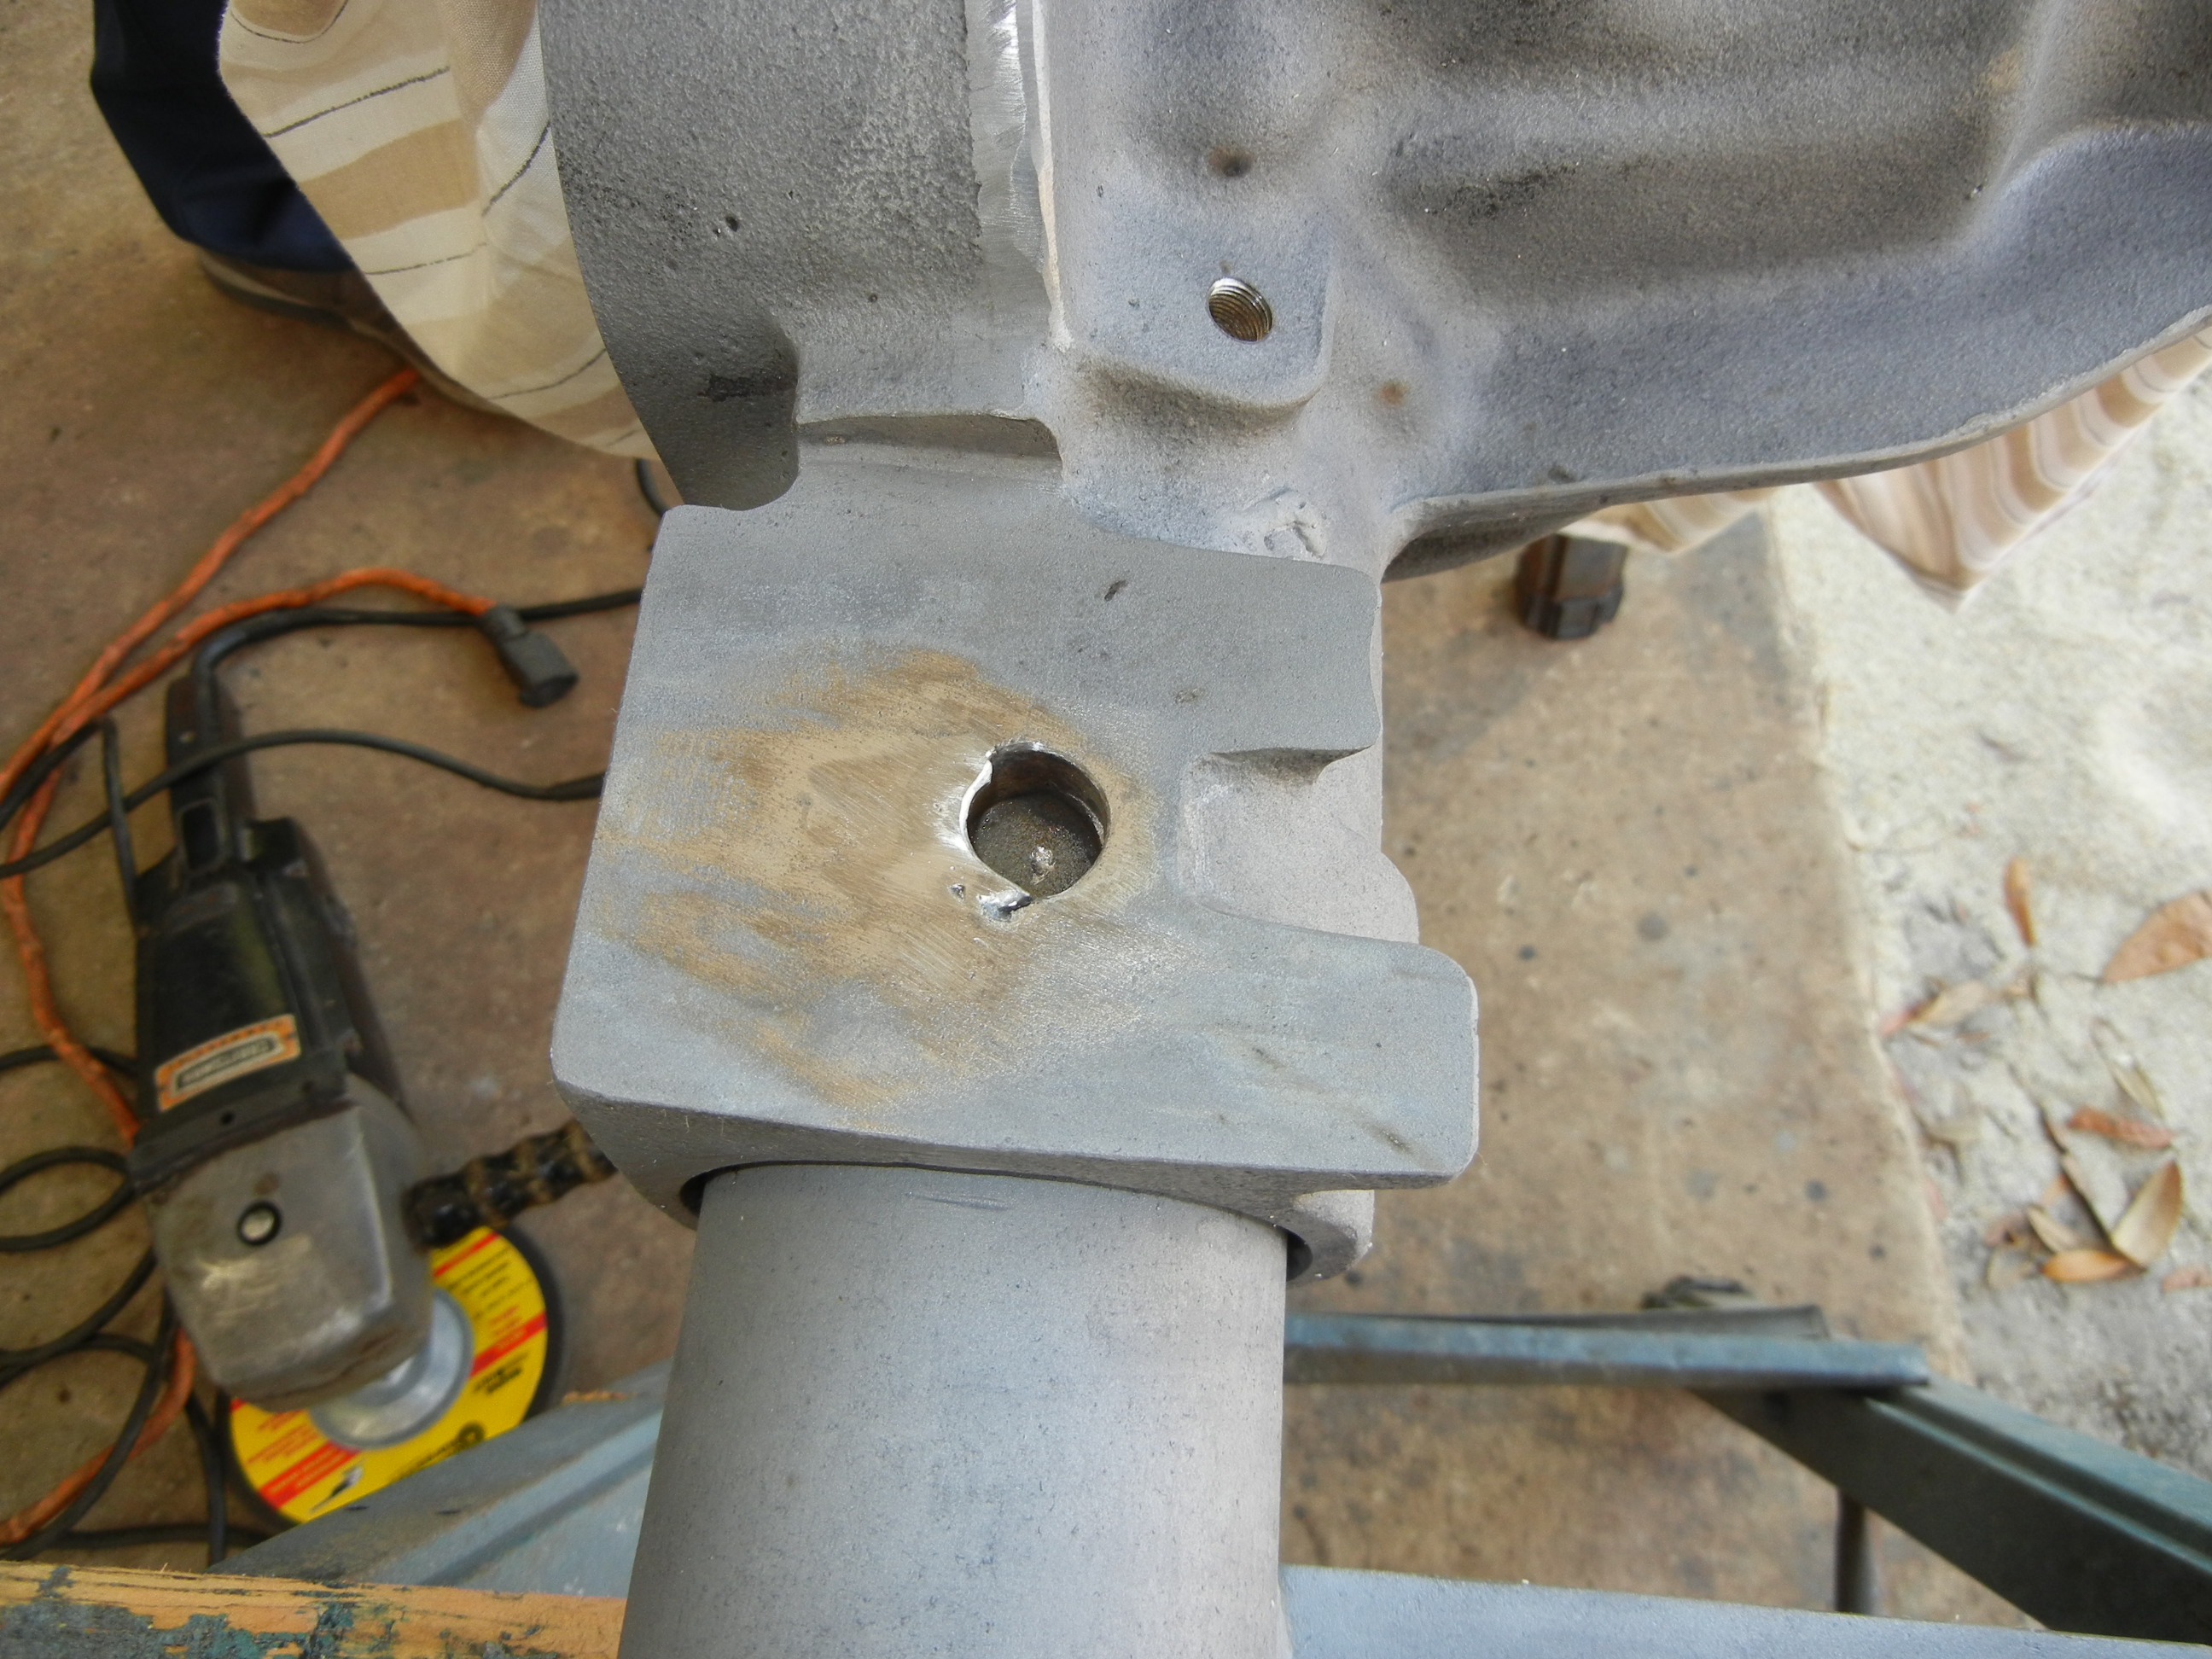
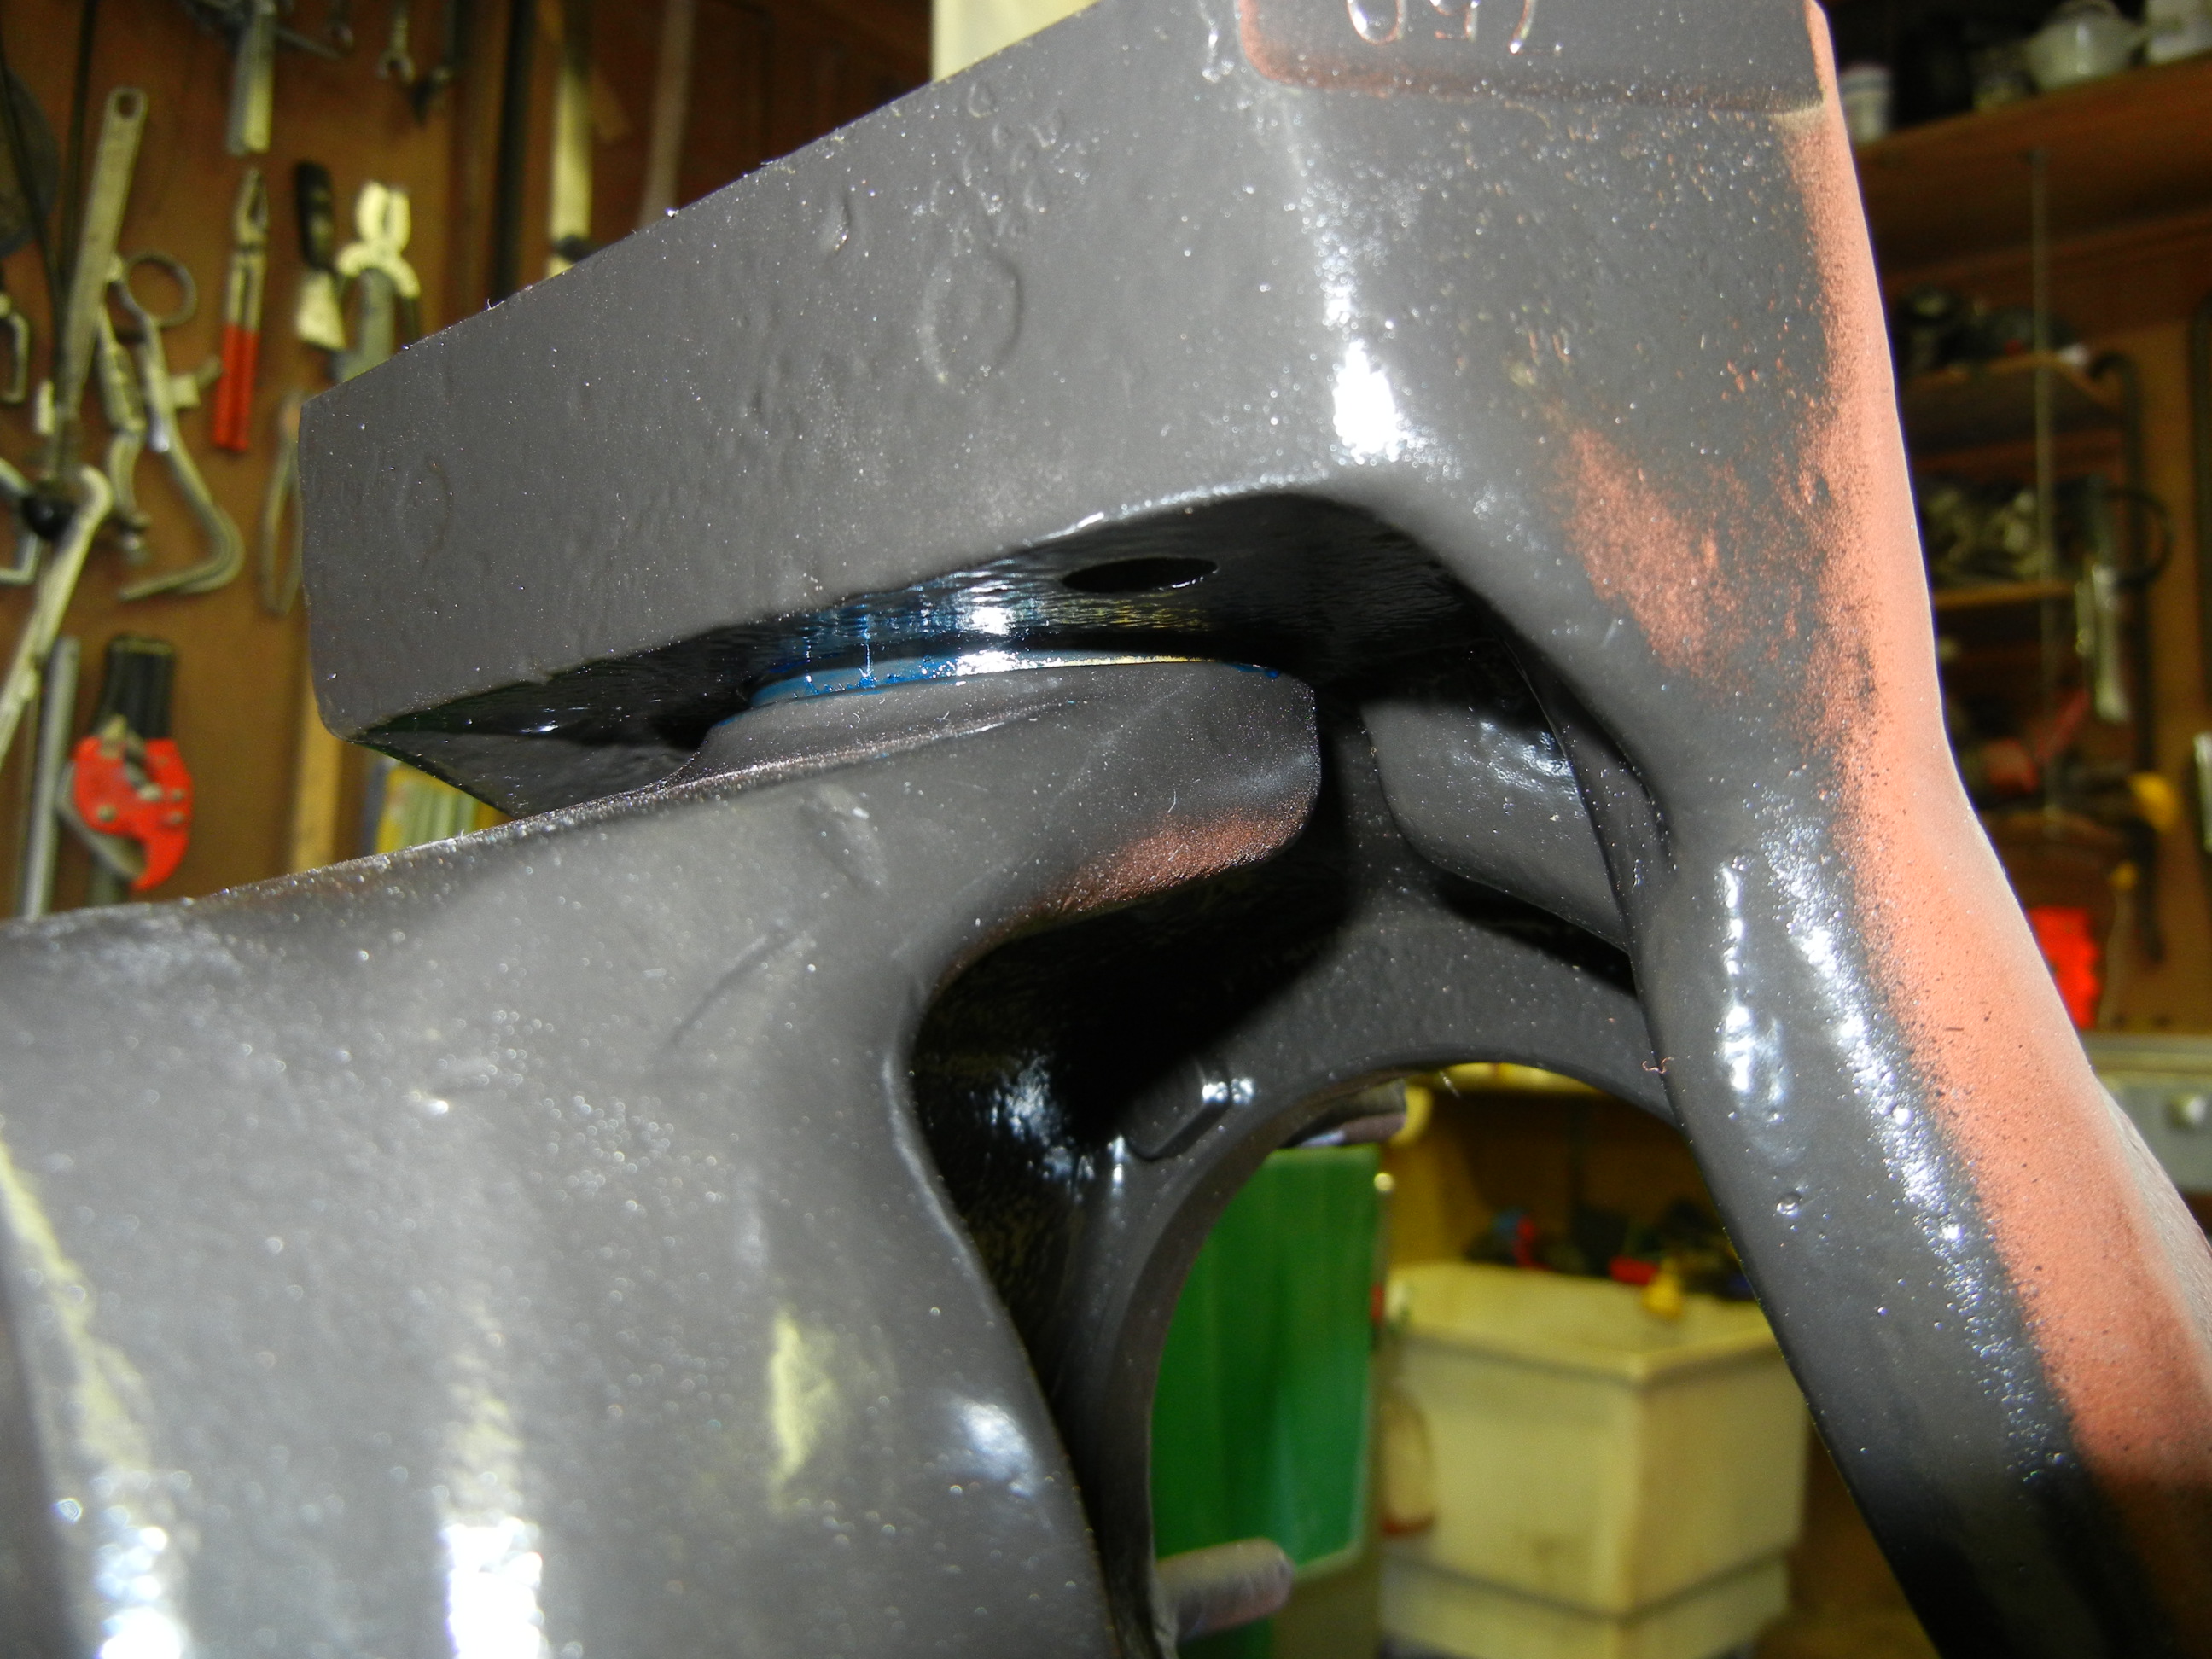
Unfortunately the previous owner wheeled the truck so hard that at some point the axle slid back and was taking a beating by the centering pins in the leaf pack. The passenger side was all smashed while the driver side was wallowed out in the cast perch. The MIG welder and more grinding solved this issue.
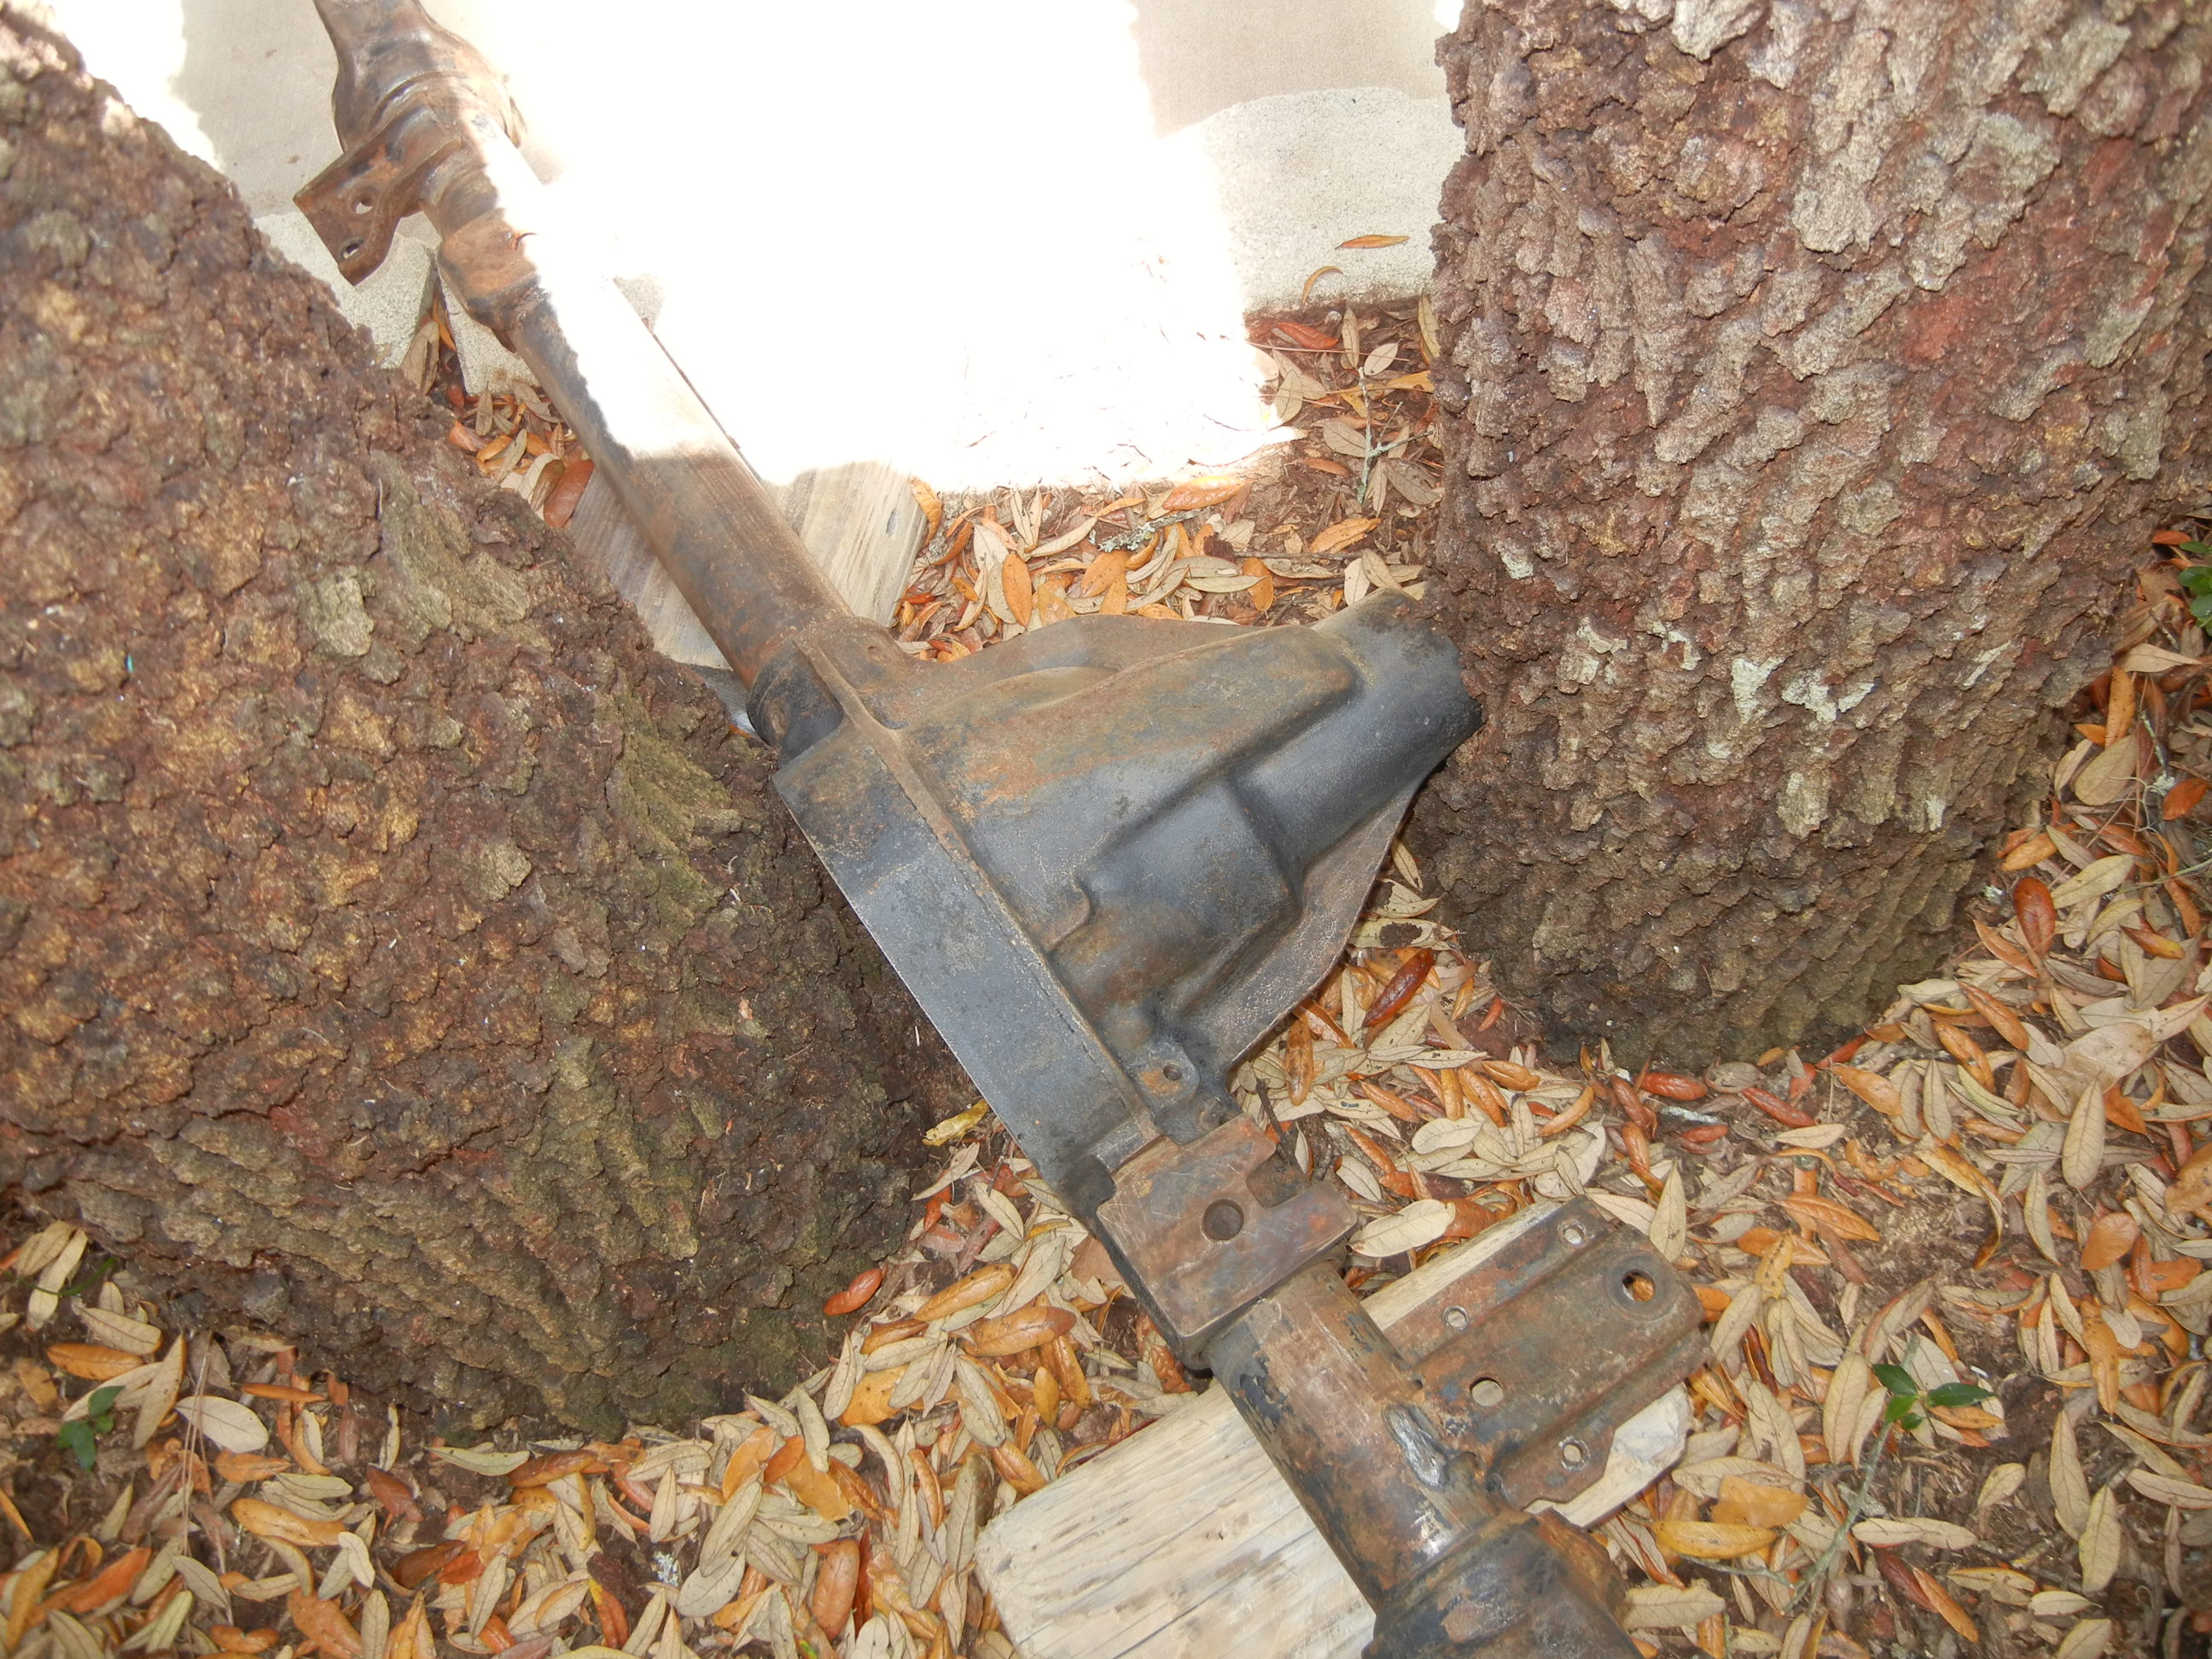
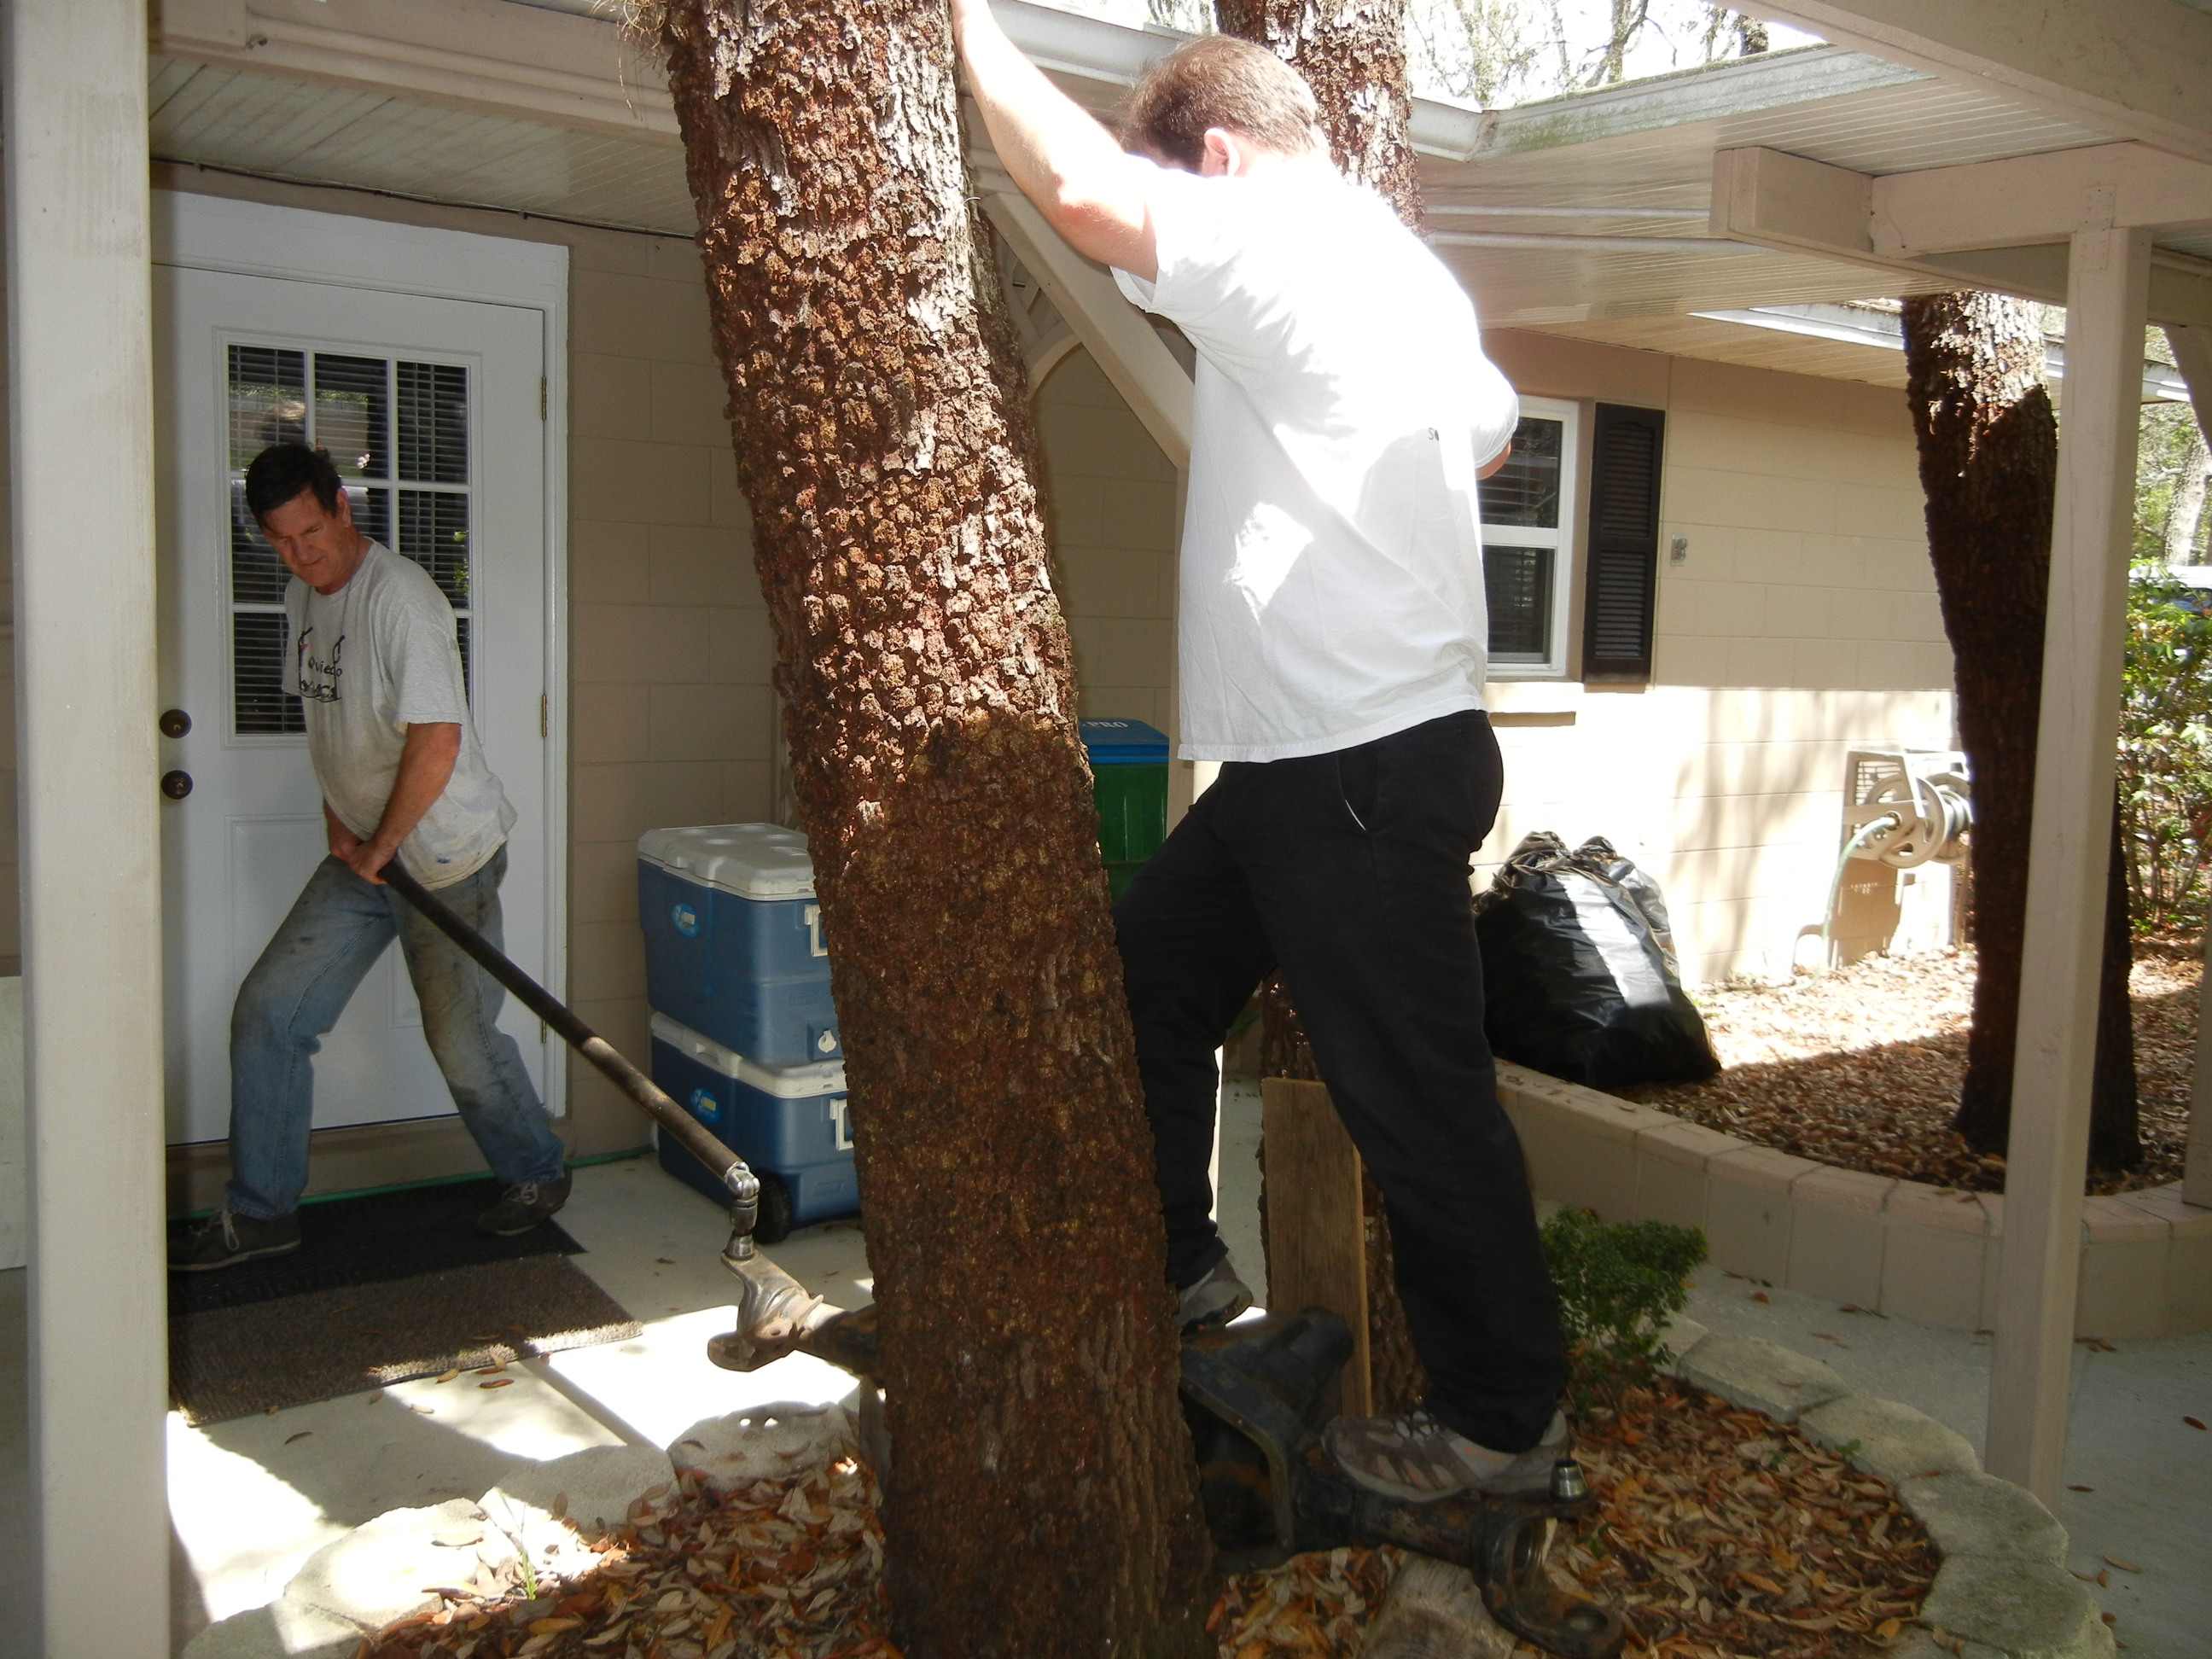
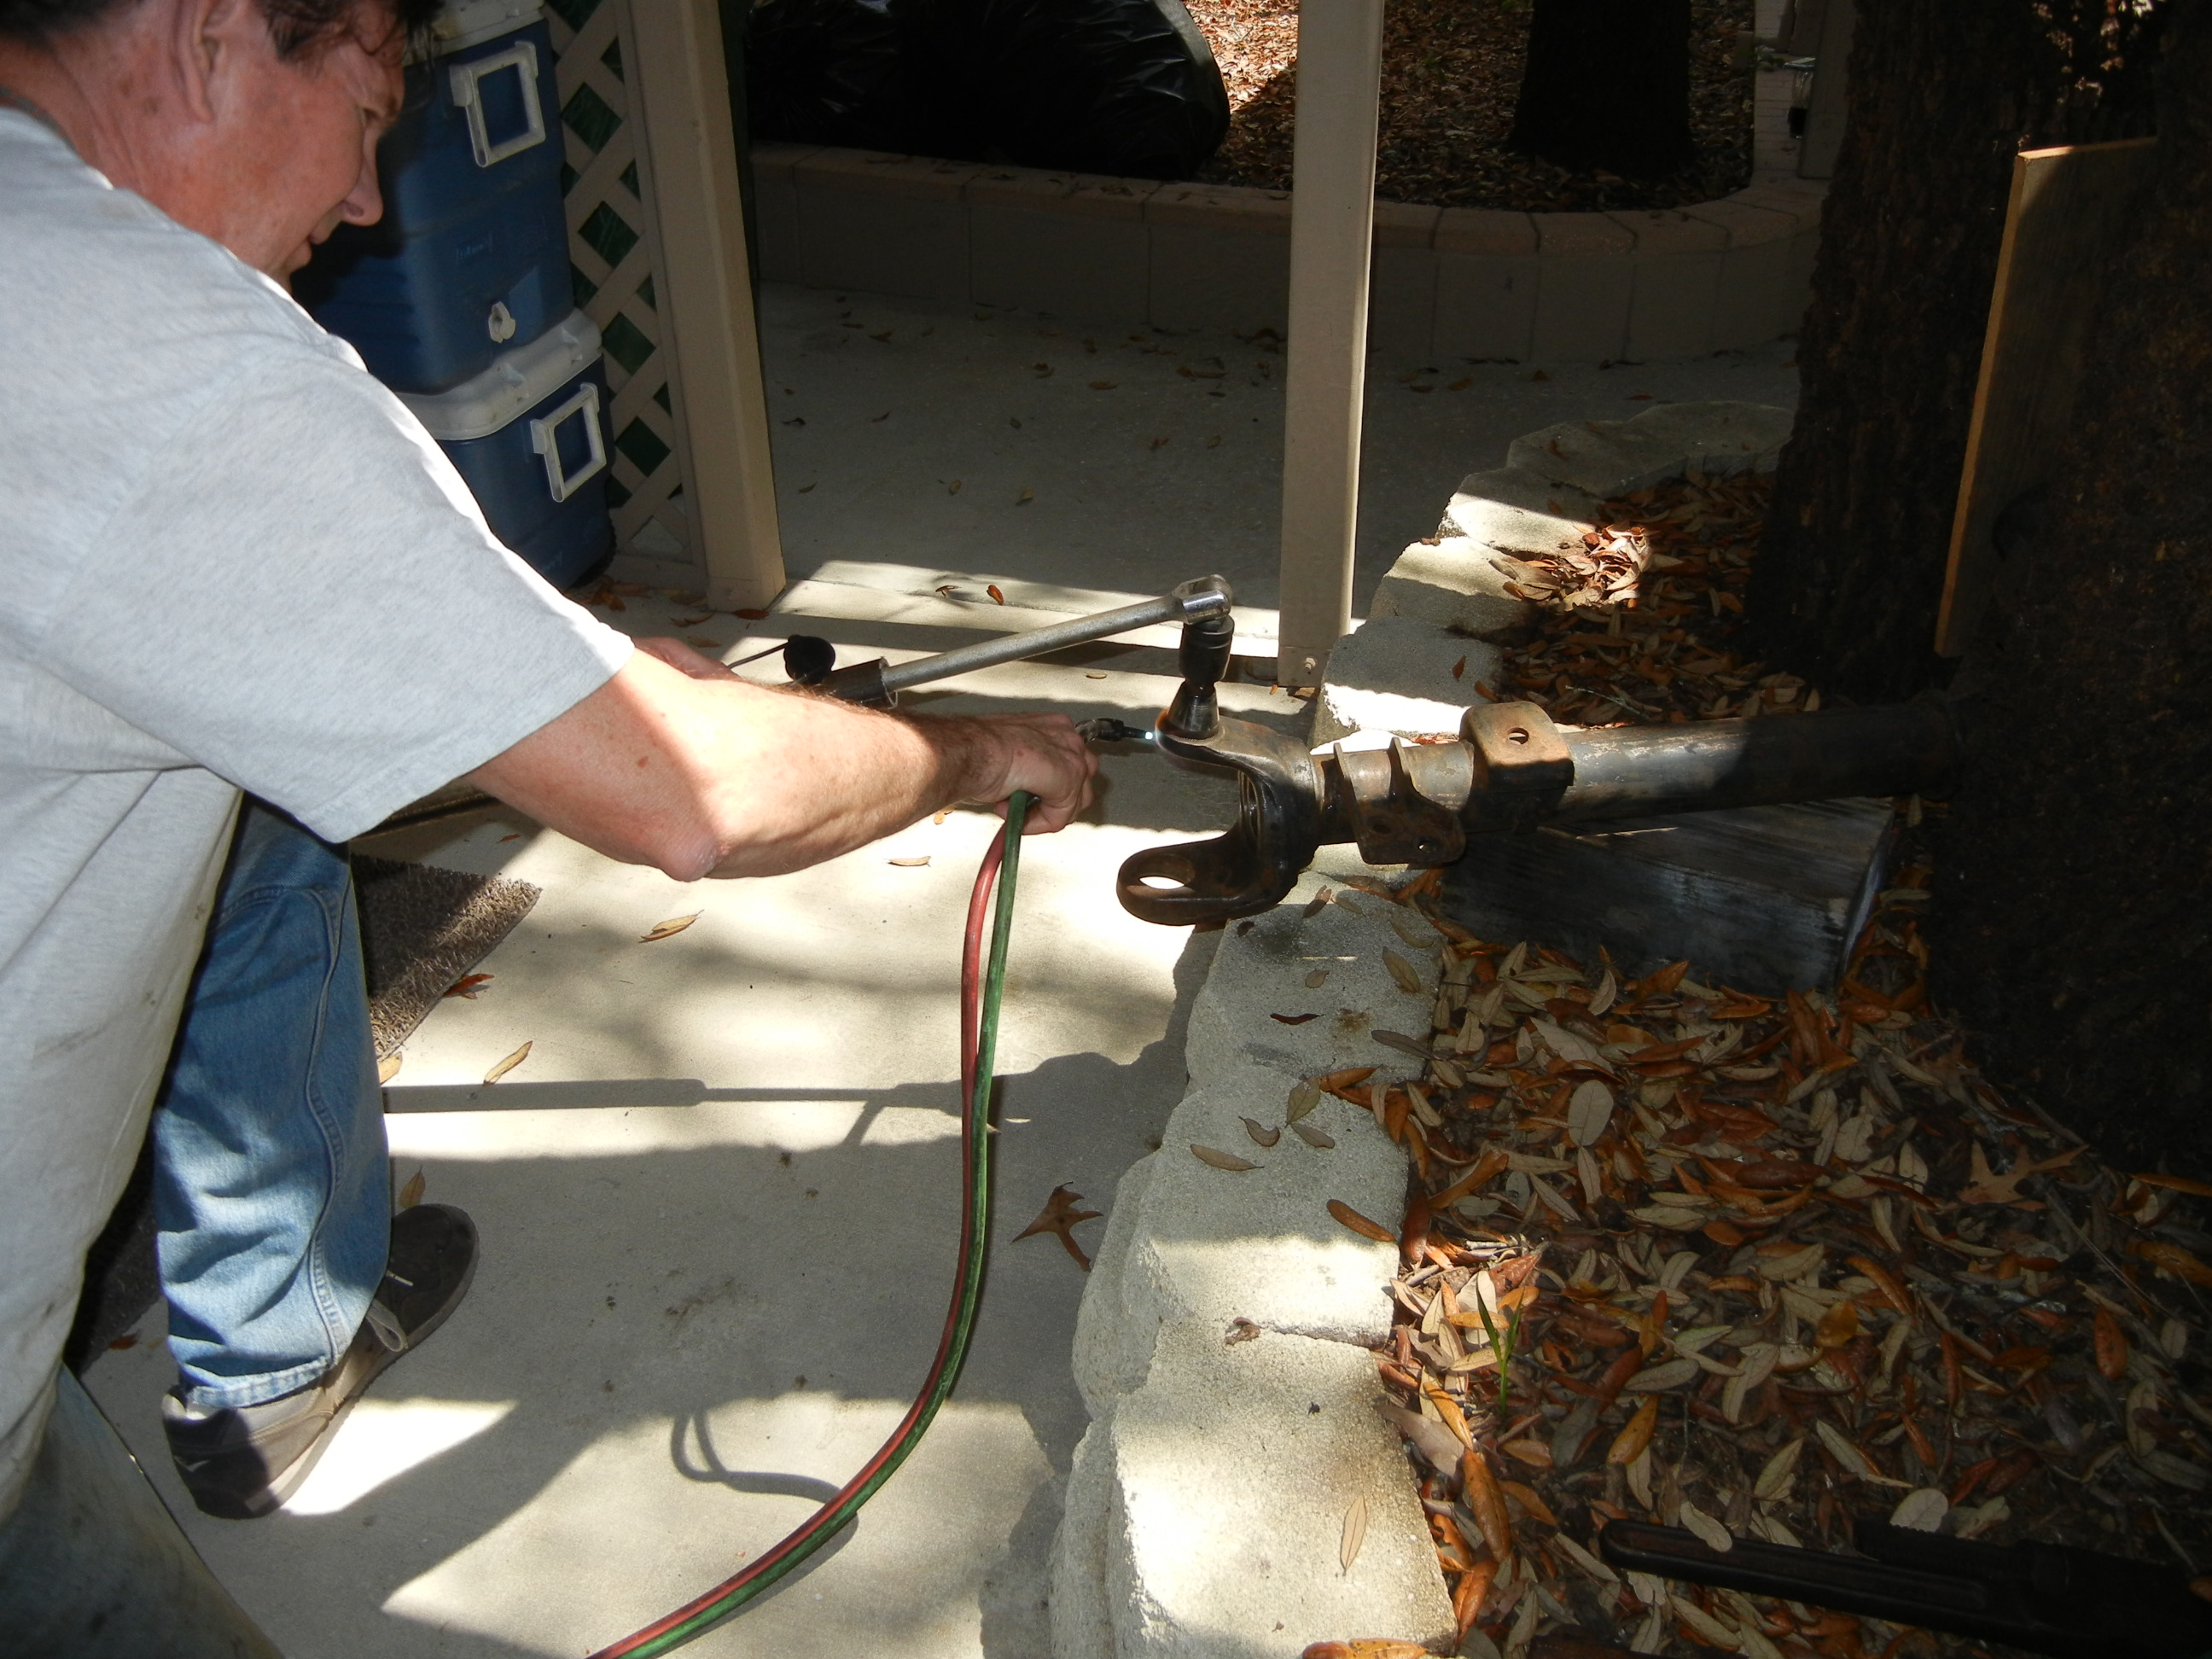
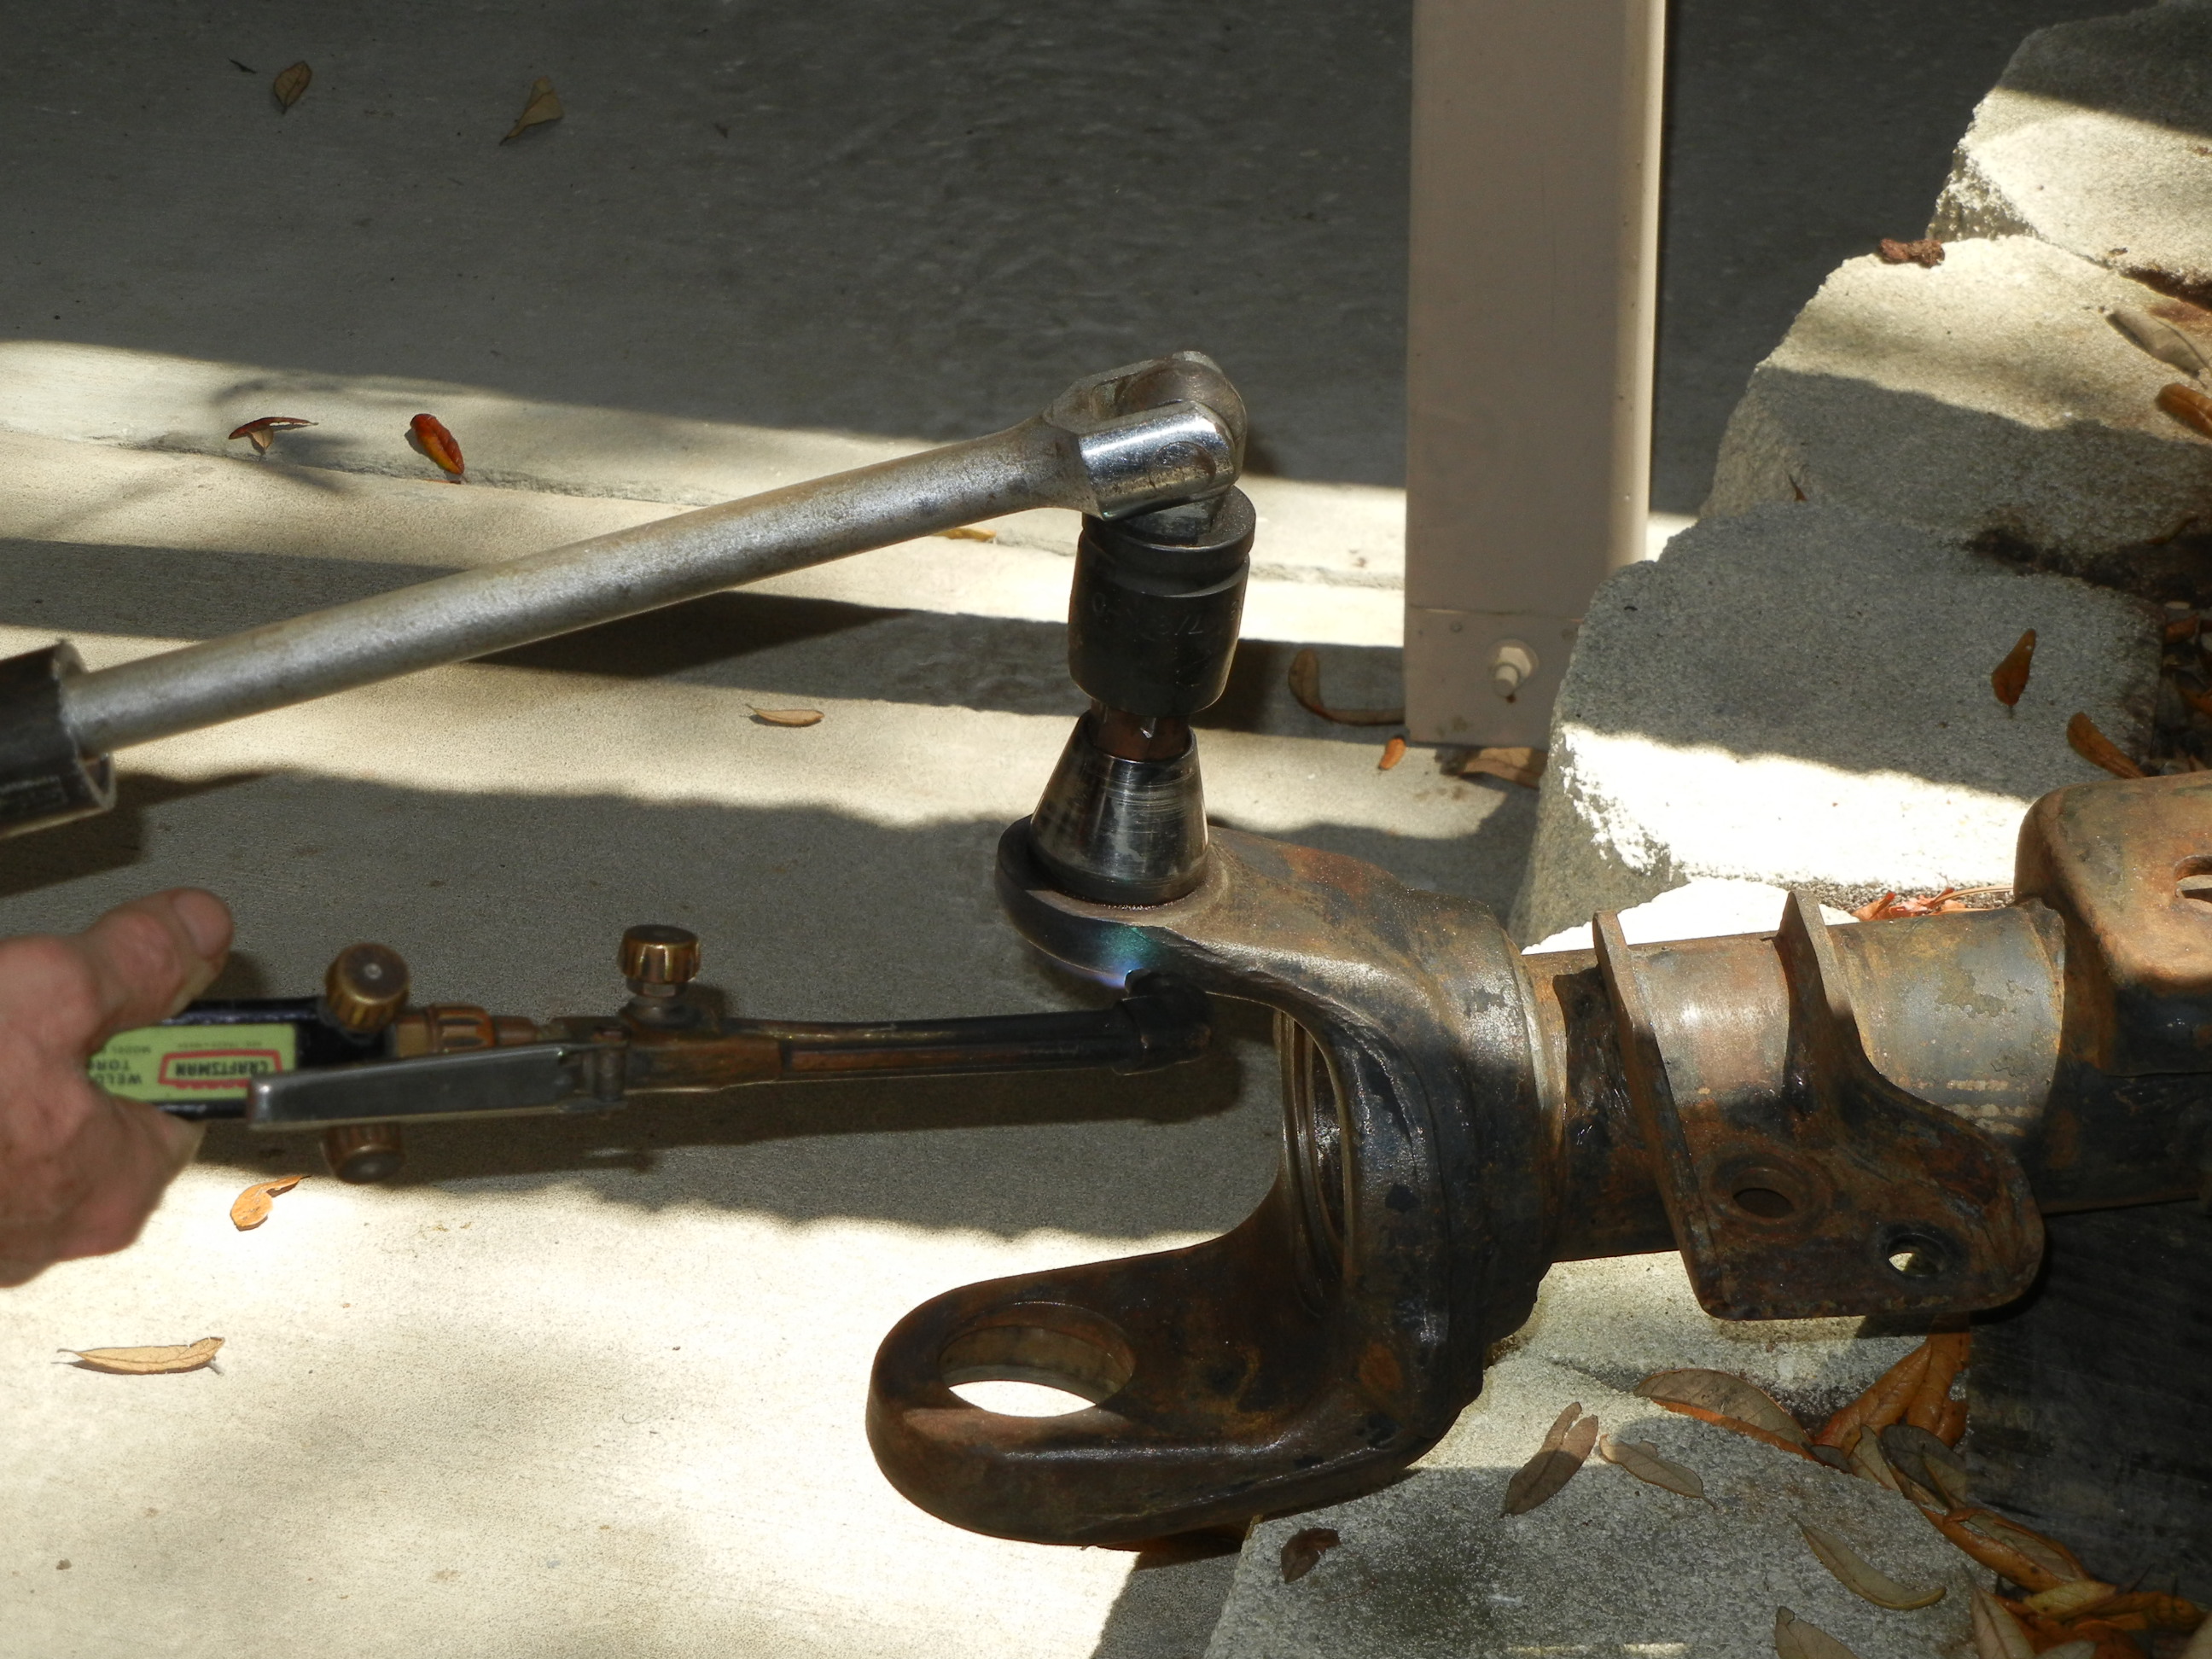
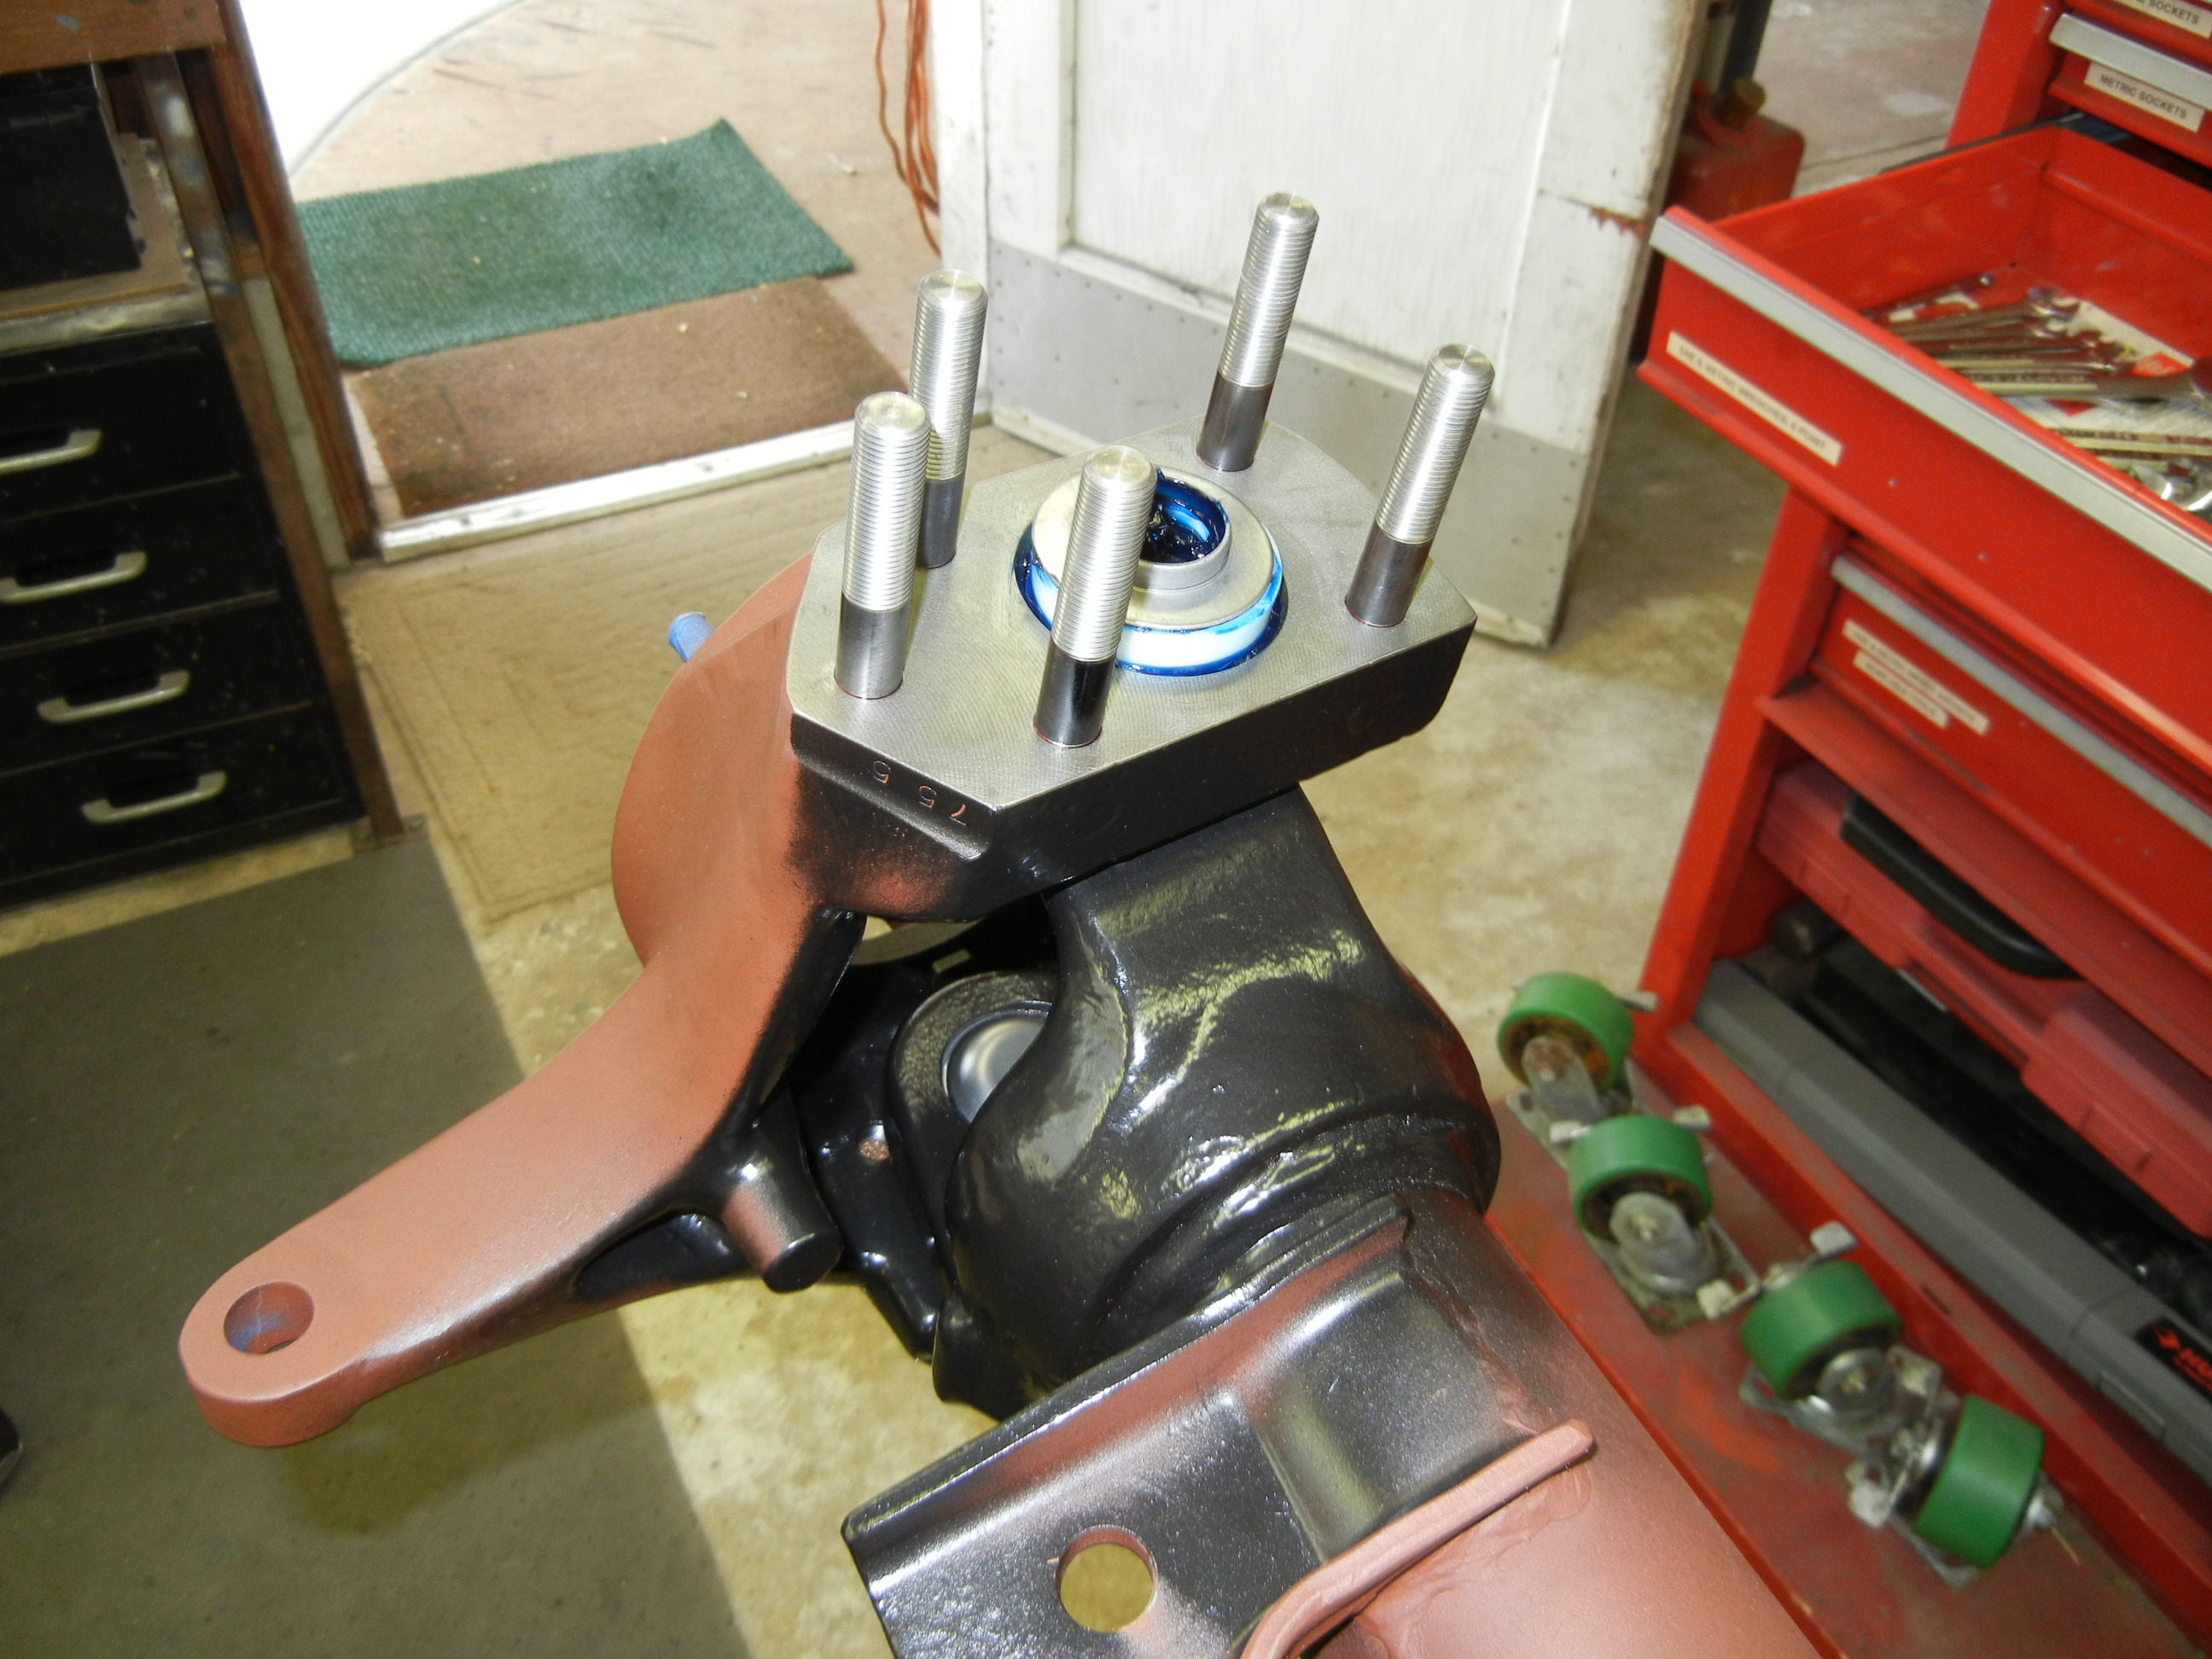
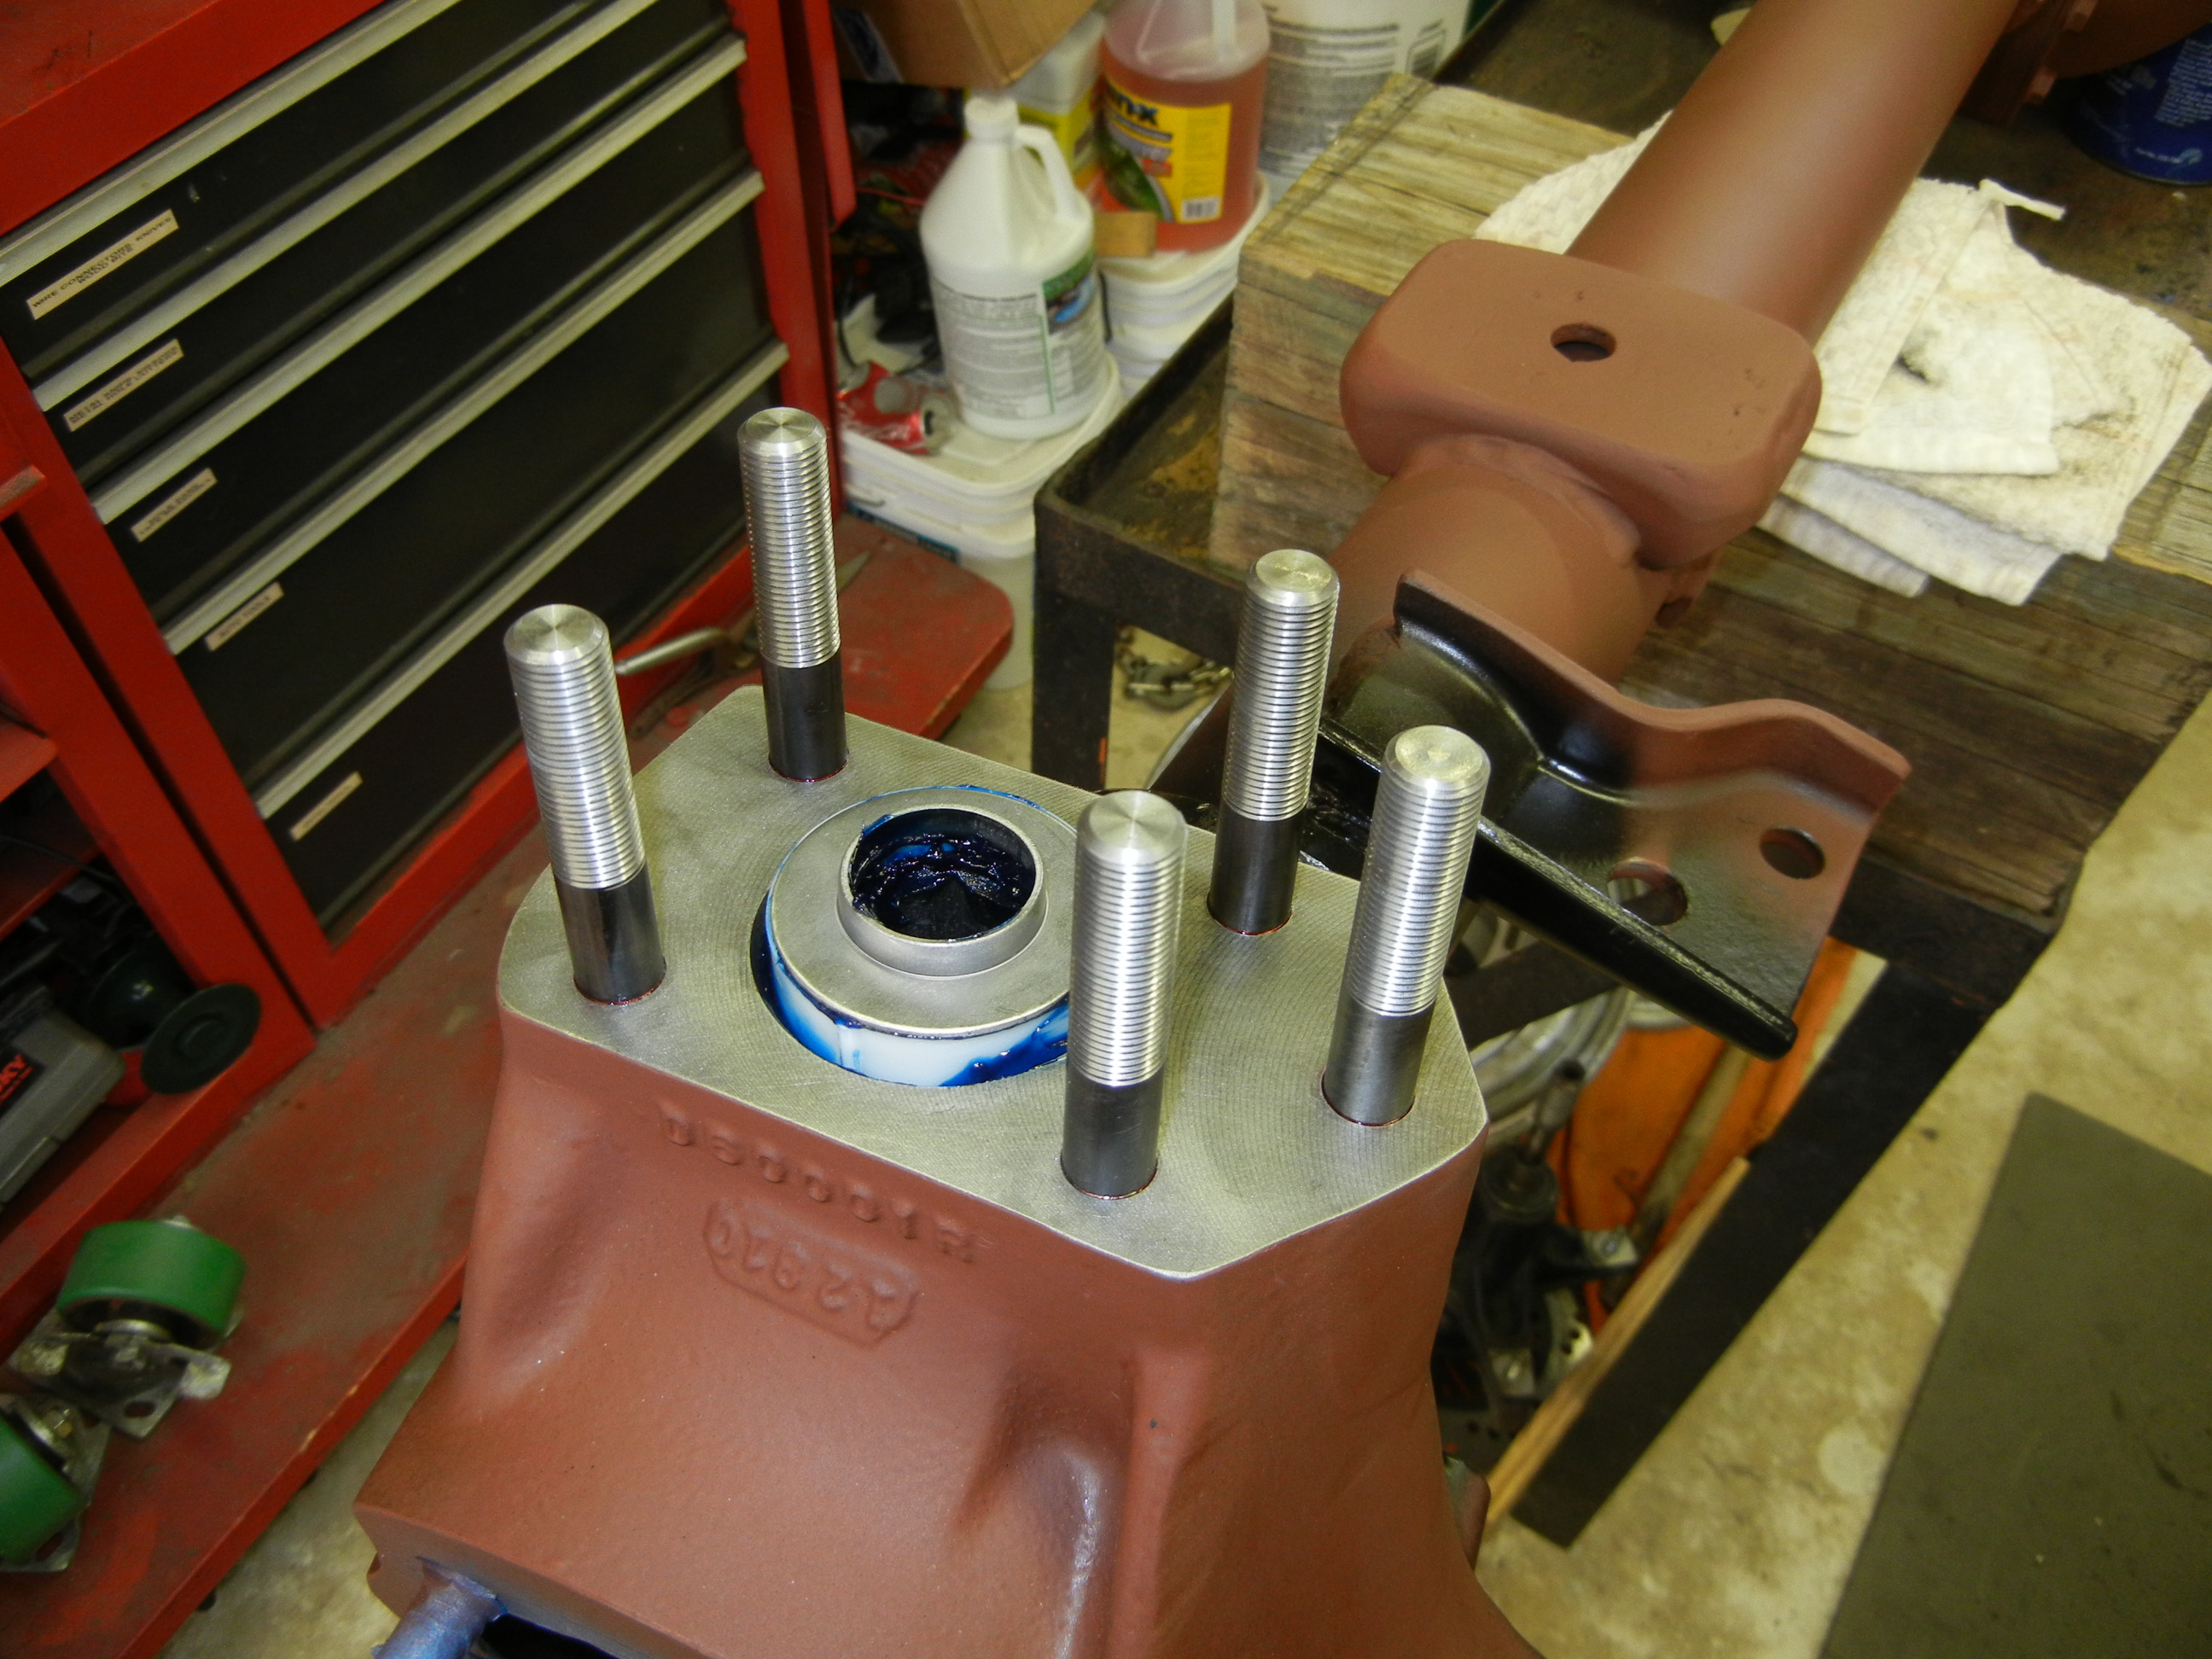
With the axle mods now buttoned up, the same trees were used to torque in the new king pins. The service book says 600 ft.-lbs. so we took advantage of our new torque multiplier. To achieve the 600 pound rating, the torque wrench only needed to be set at 96 ft.-lb! We also coated the insides of the axle tubes with Rustoleum primer to prevent any further scale rust from forming.
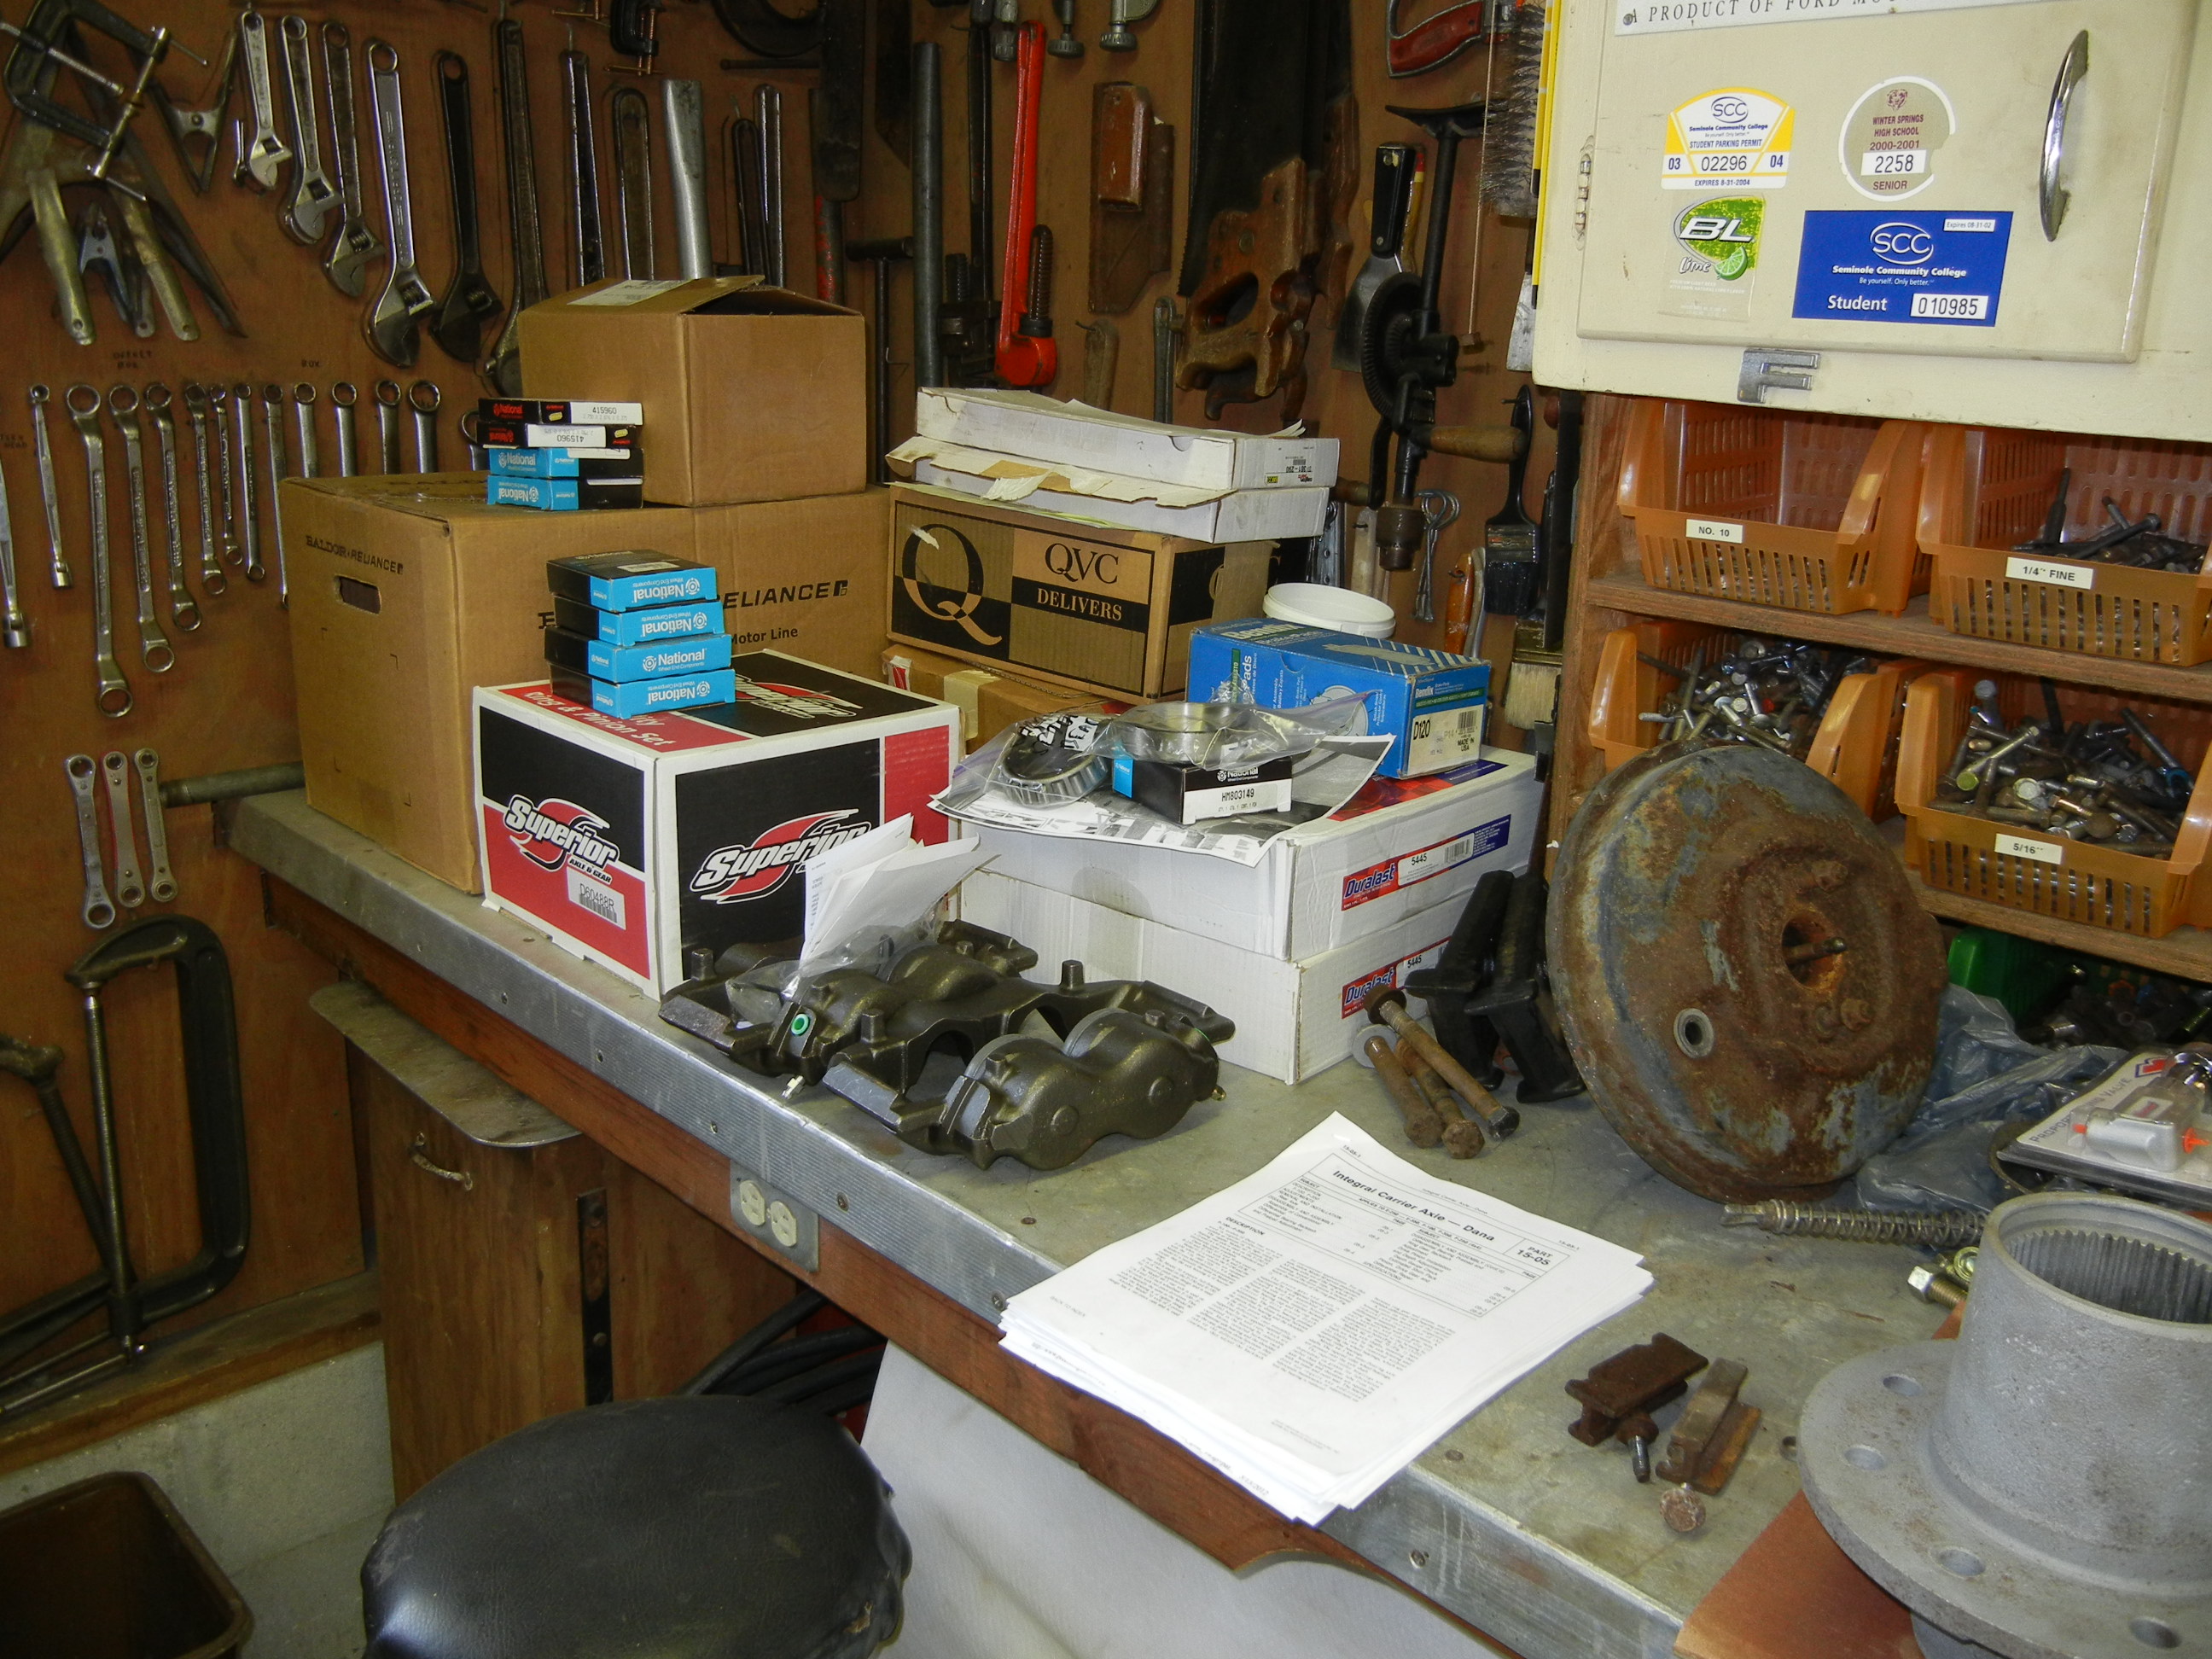
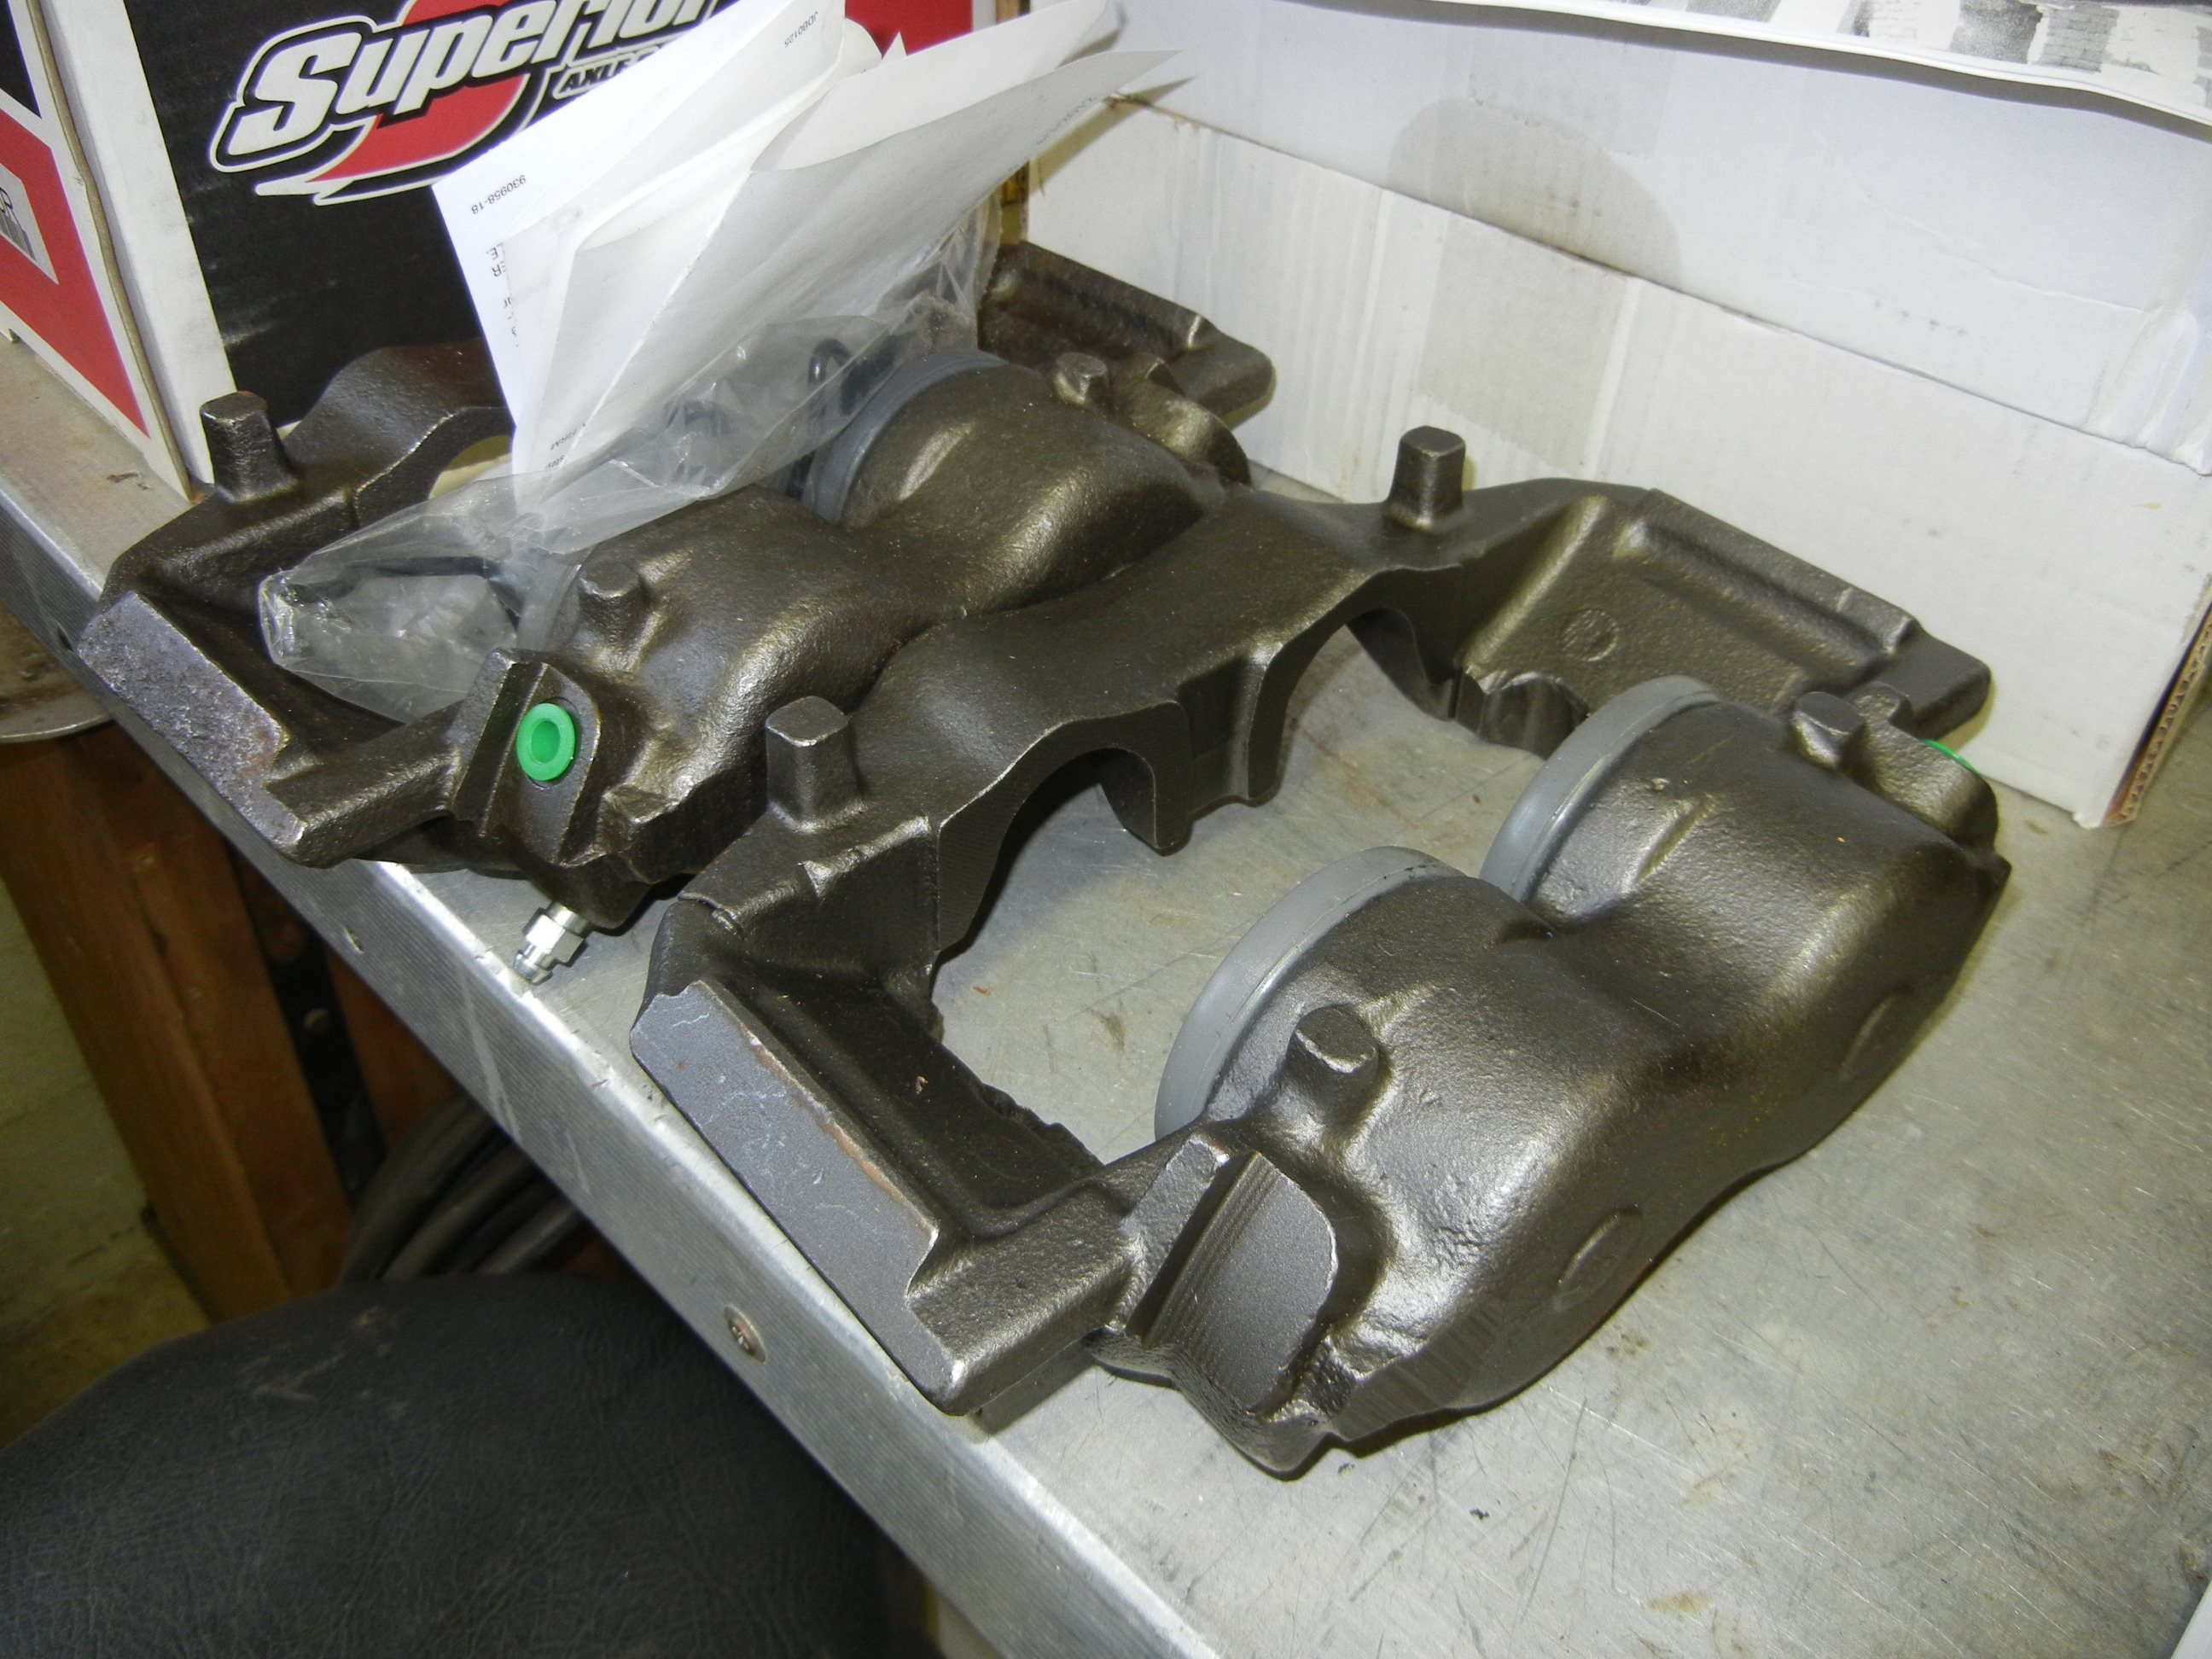
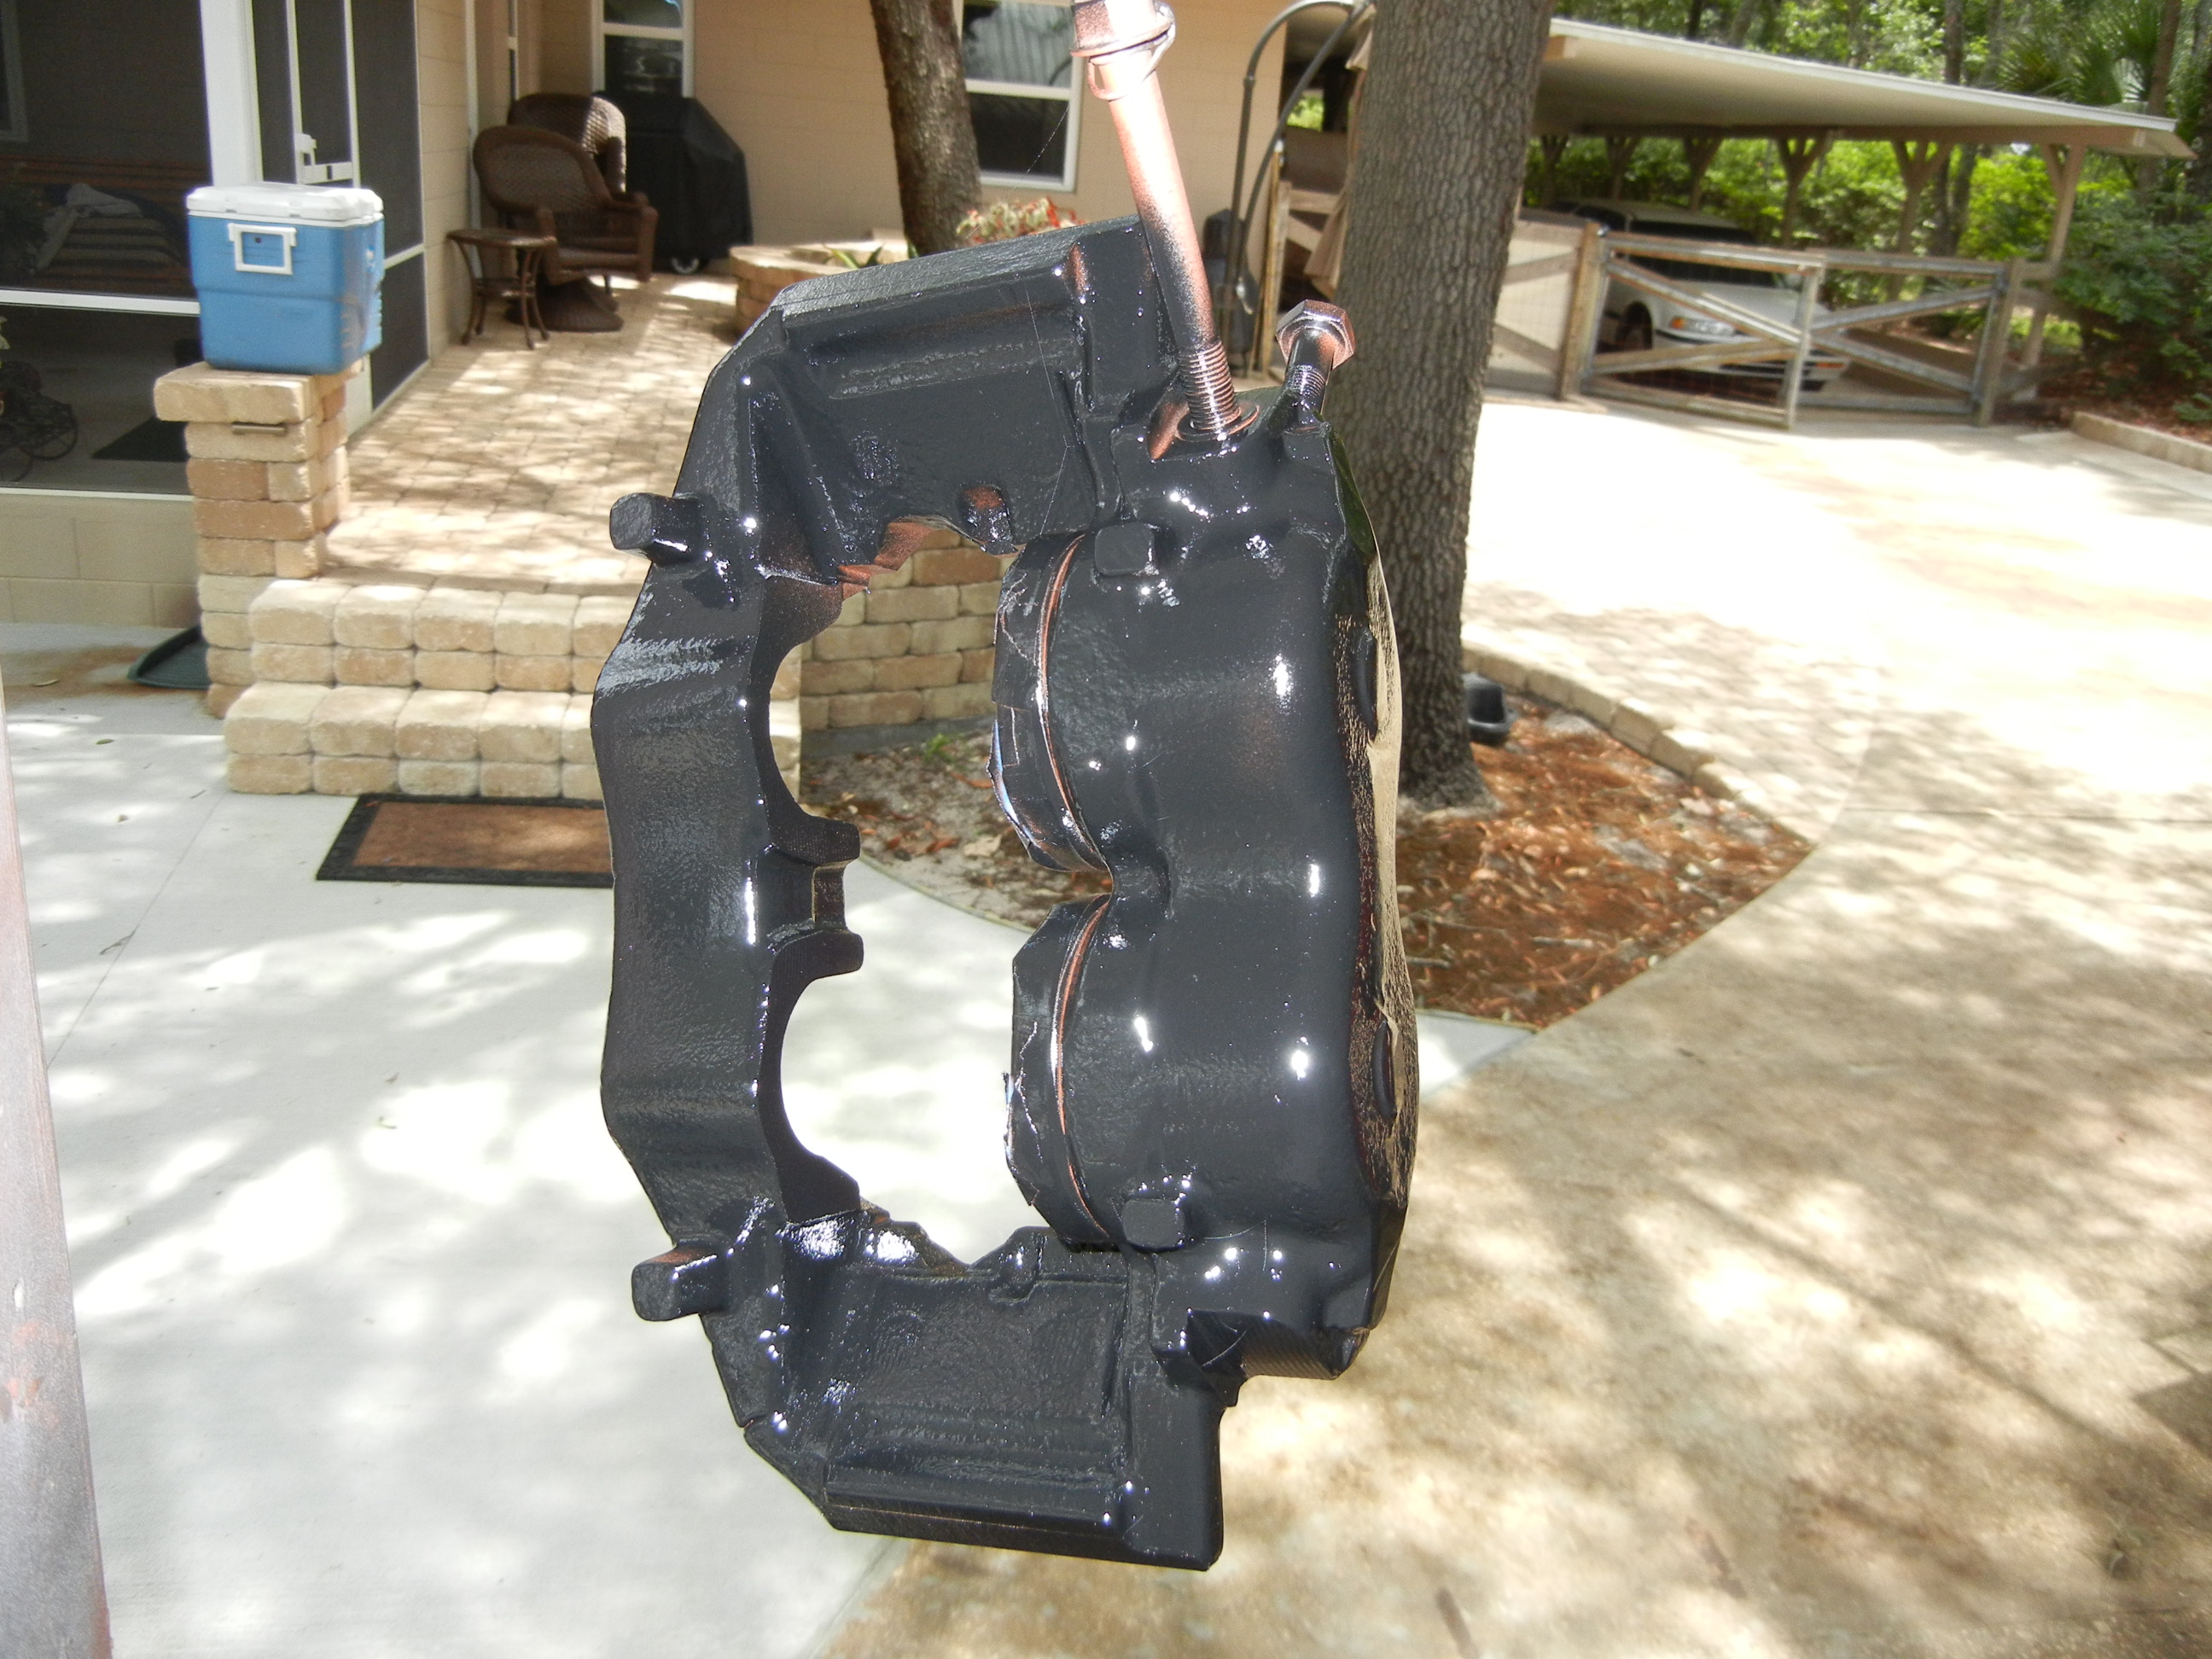
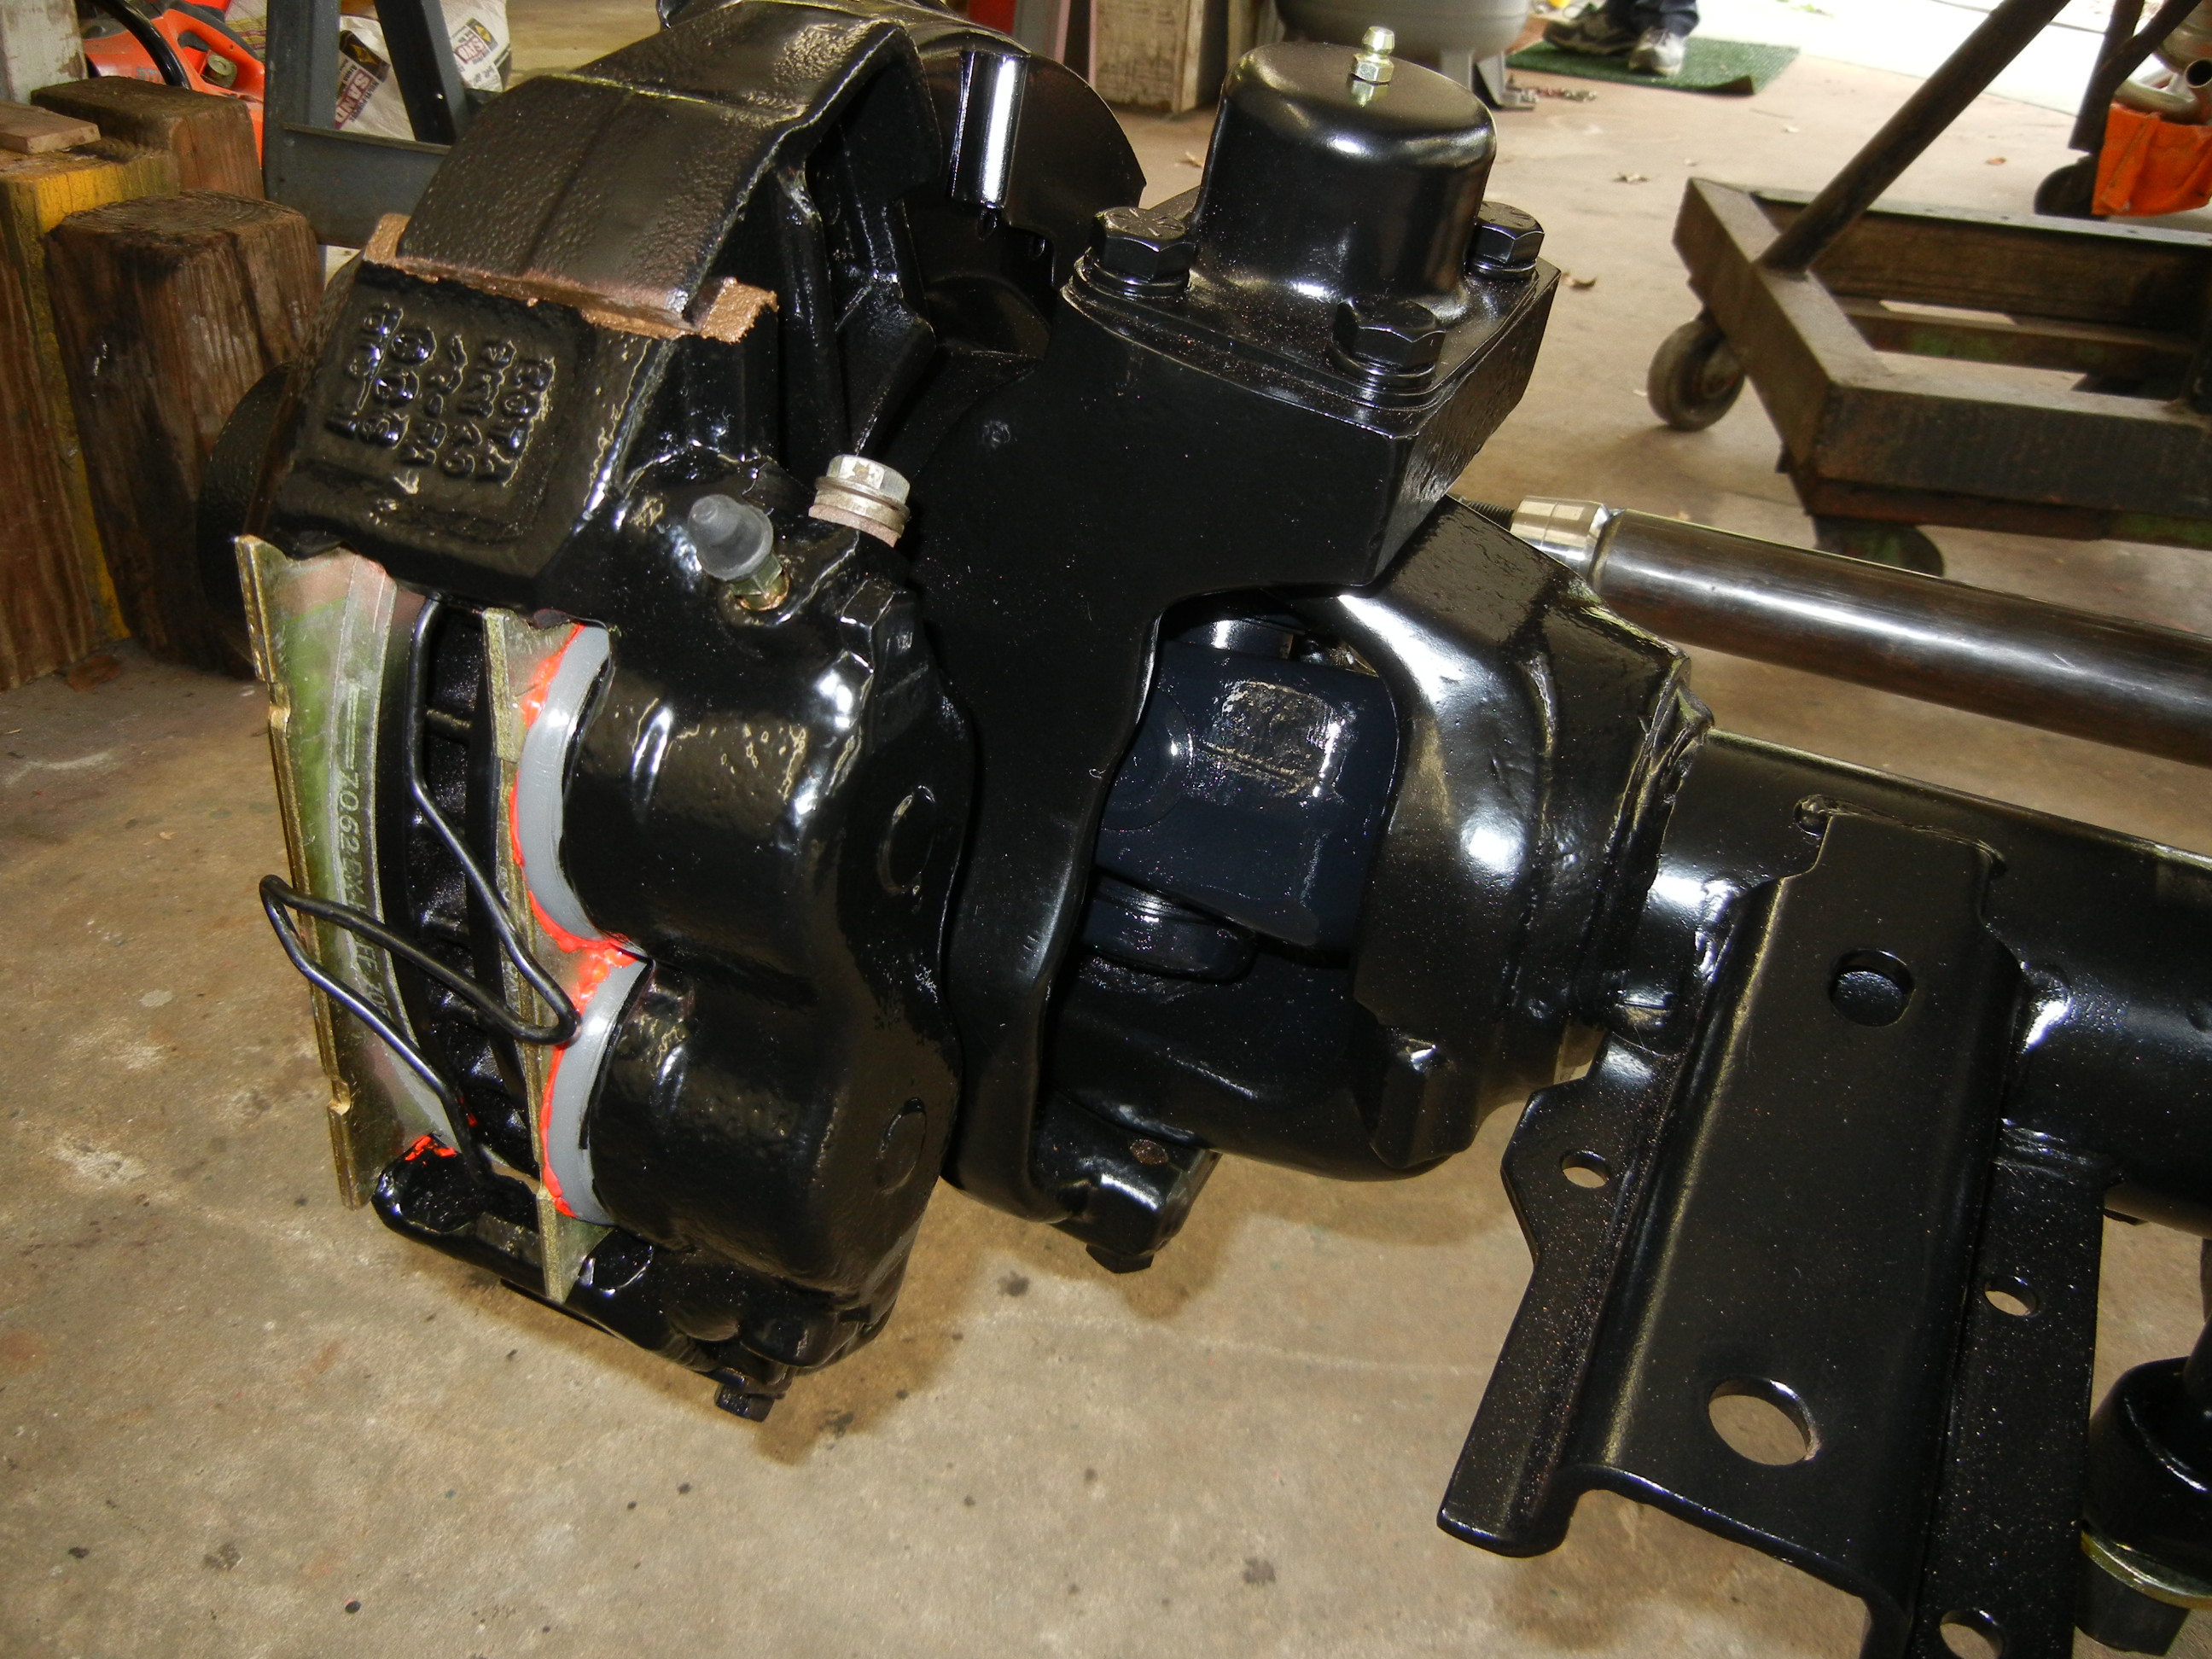
After 3 weeks of not working on the truck, almost all parts finally showed up. The bench has never been this cluttered! Boxes of bearings, seals, gaskets, bushings and other aftermarket parts make getting tools off the wall difficult. Again, Superior 4.88 gears for the front end. These are not the thick gears rather I am using the regular offset since I scored a 4.56 and up carrier from a Dodge D60 front. Also shown on the bench are my new dual piston calipers. I chose to use the one piece design instead of the two piece design of the 70's. I doubt they are any stronger but they were less expensive and they had a cheaper core charge! These units pictured did not fit the '86-'91 axle as those calipers have a different shaped slide rail lock. My calipers actually came from the 1980's E-350 van applications. Since they are Ford calipers (not Bendix or Dayton) my best guess is Ford tried to make as many parts universal as possible.
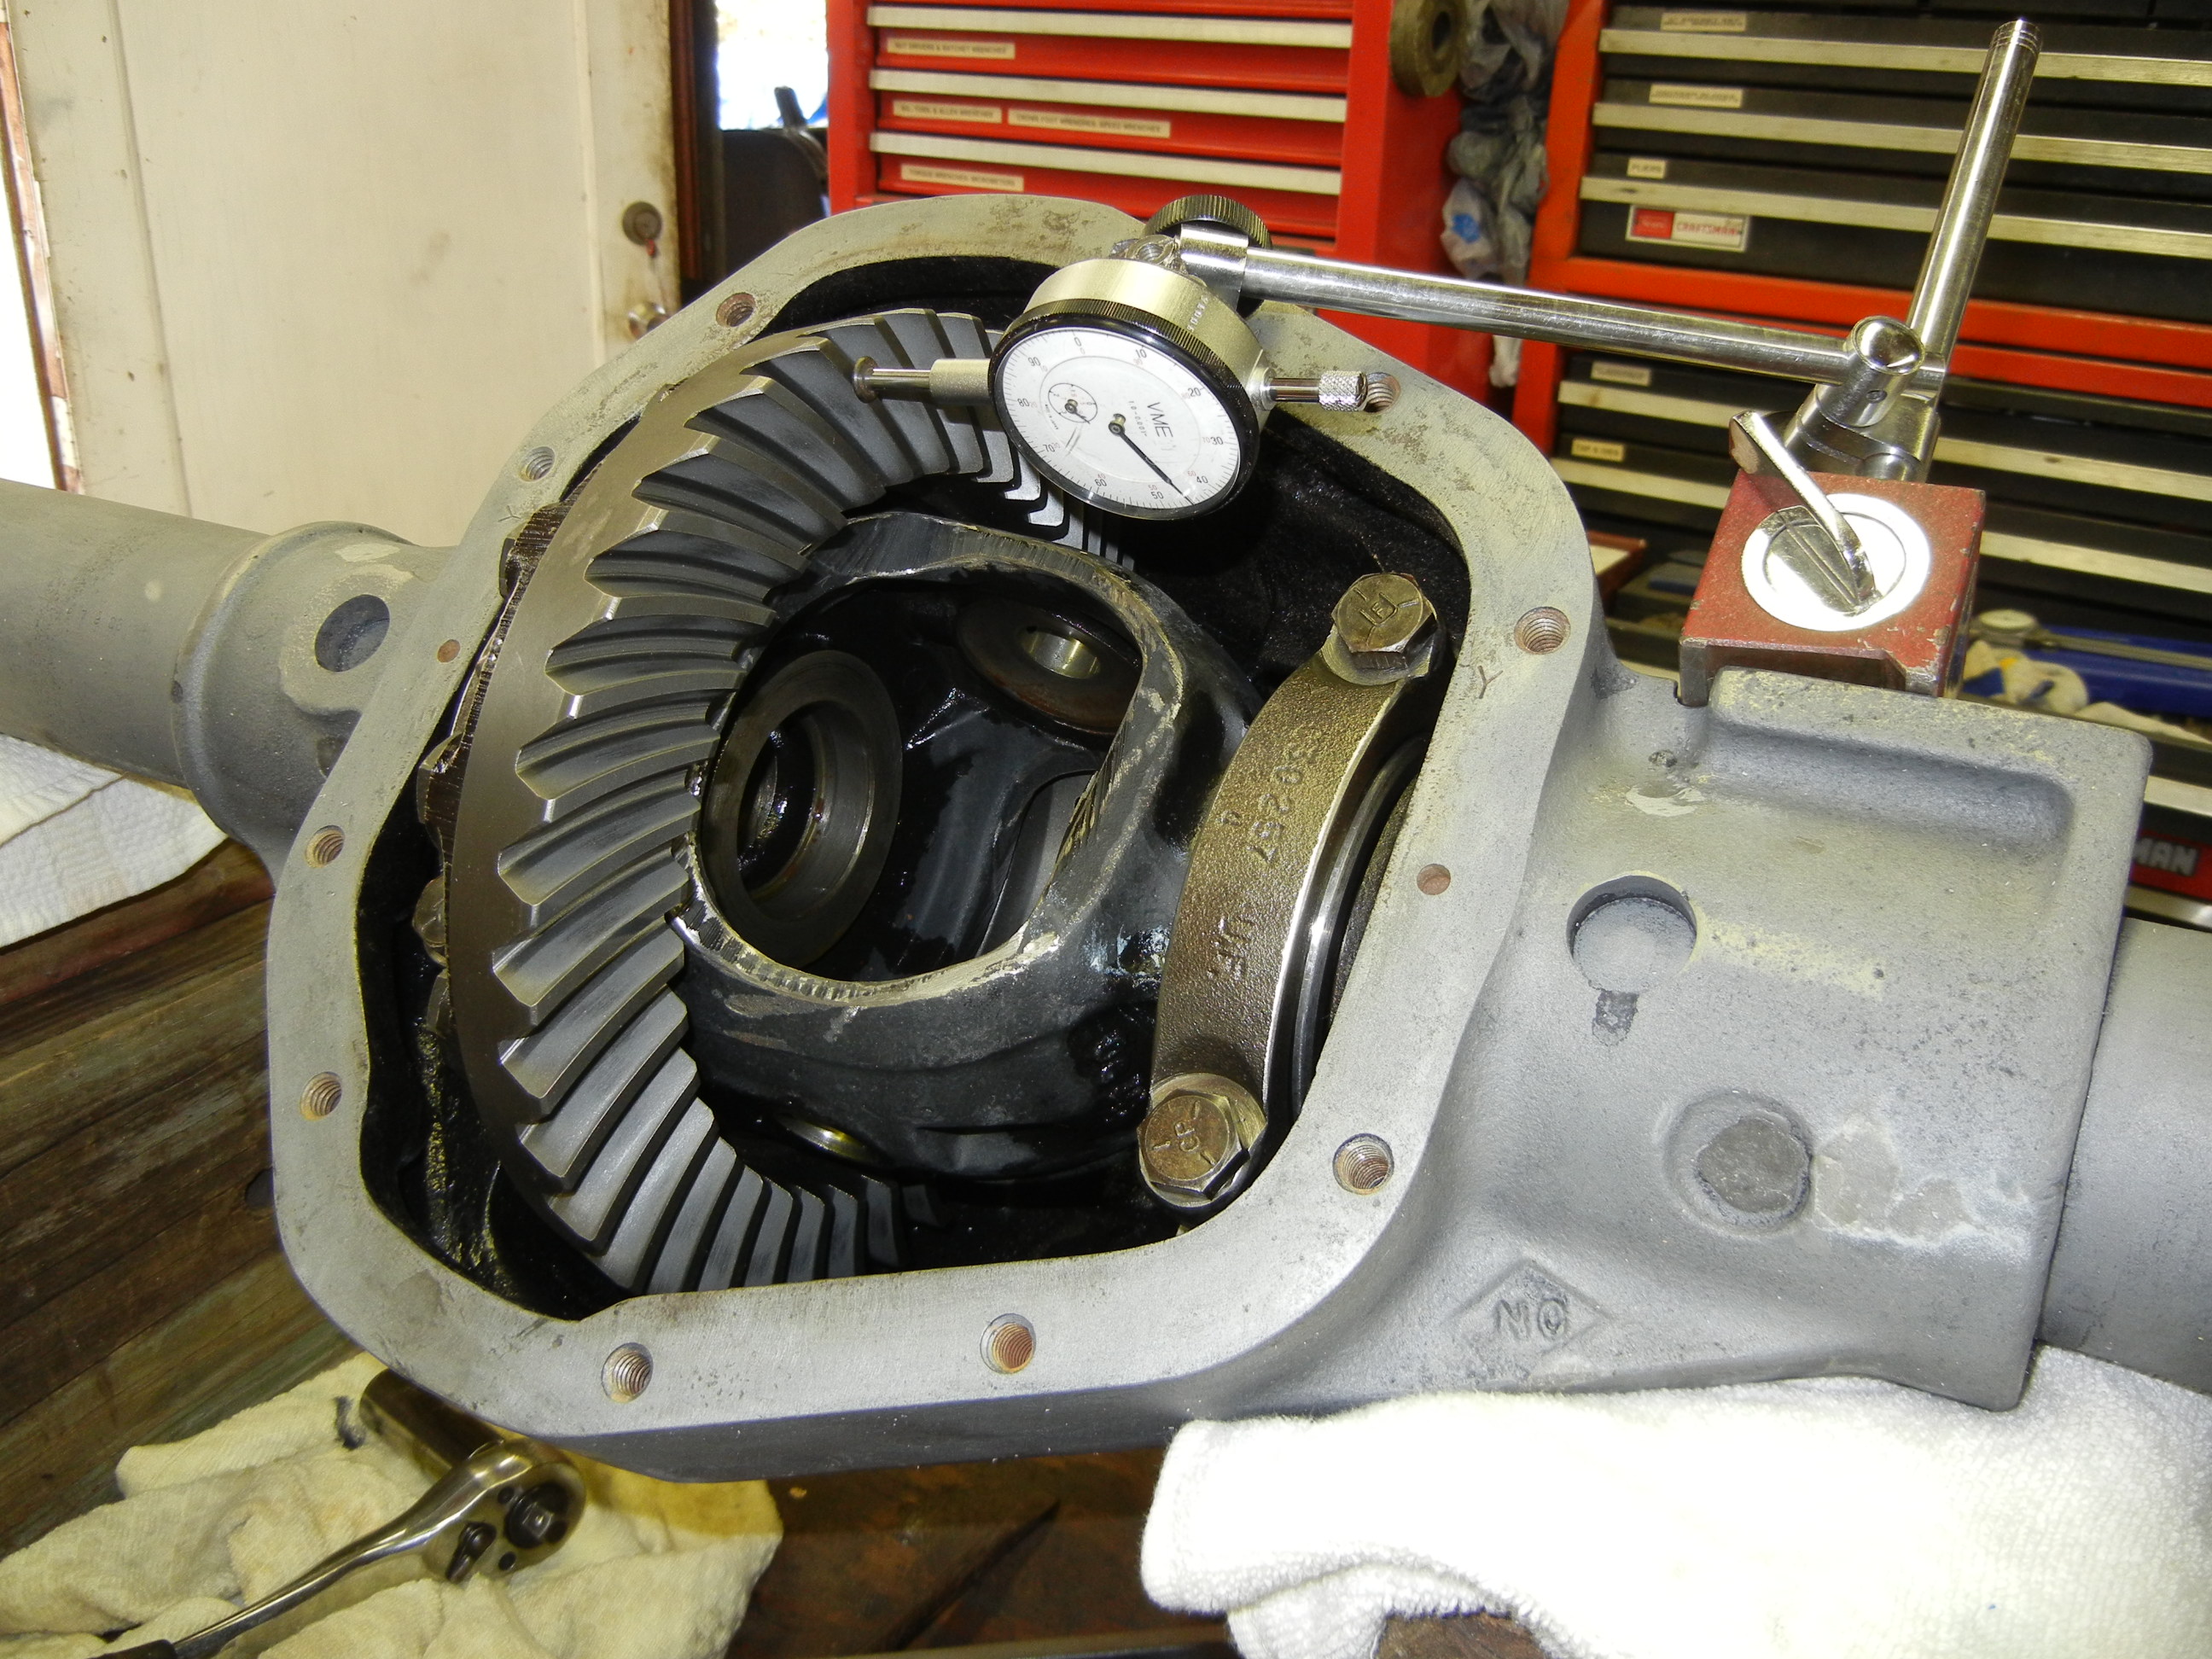
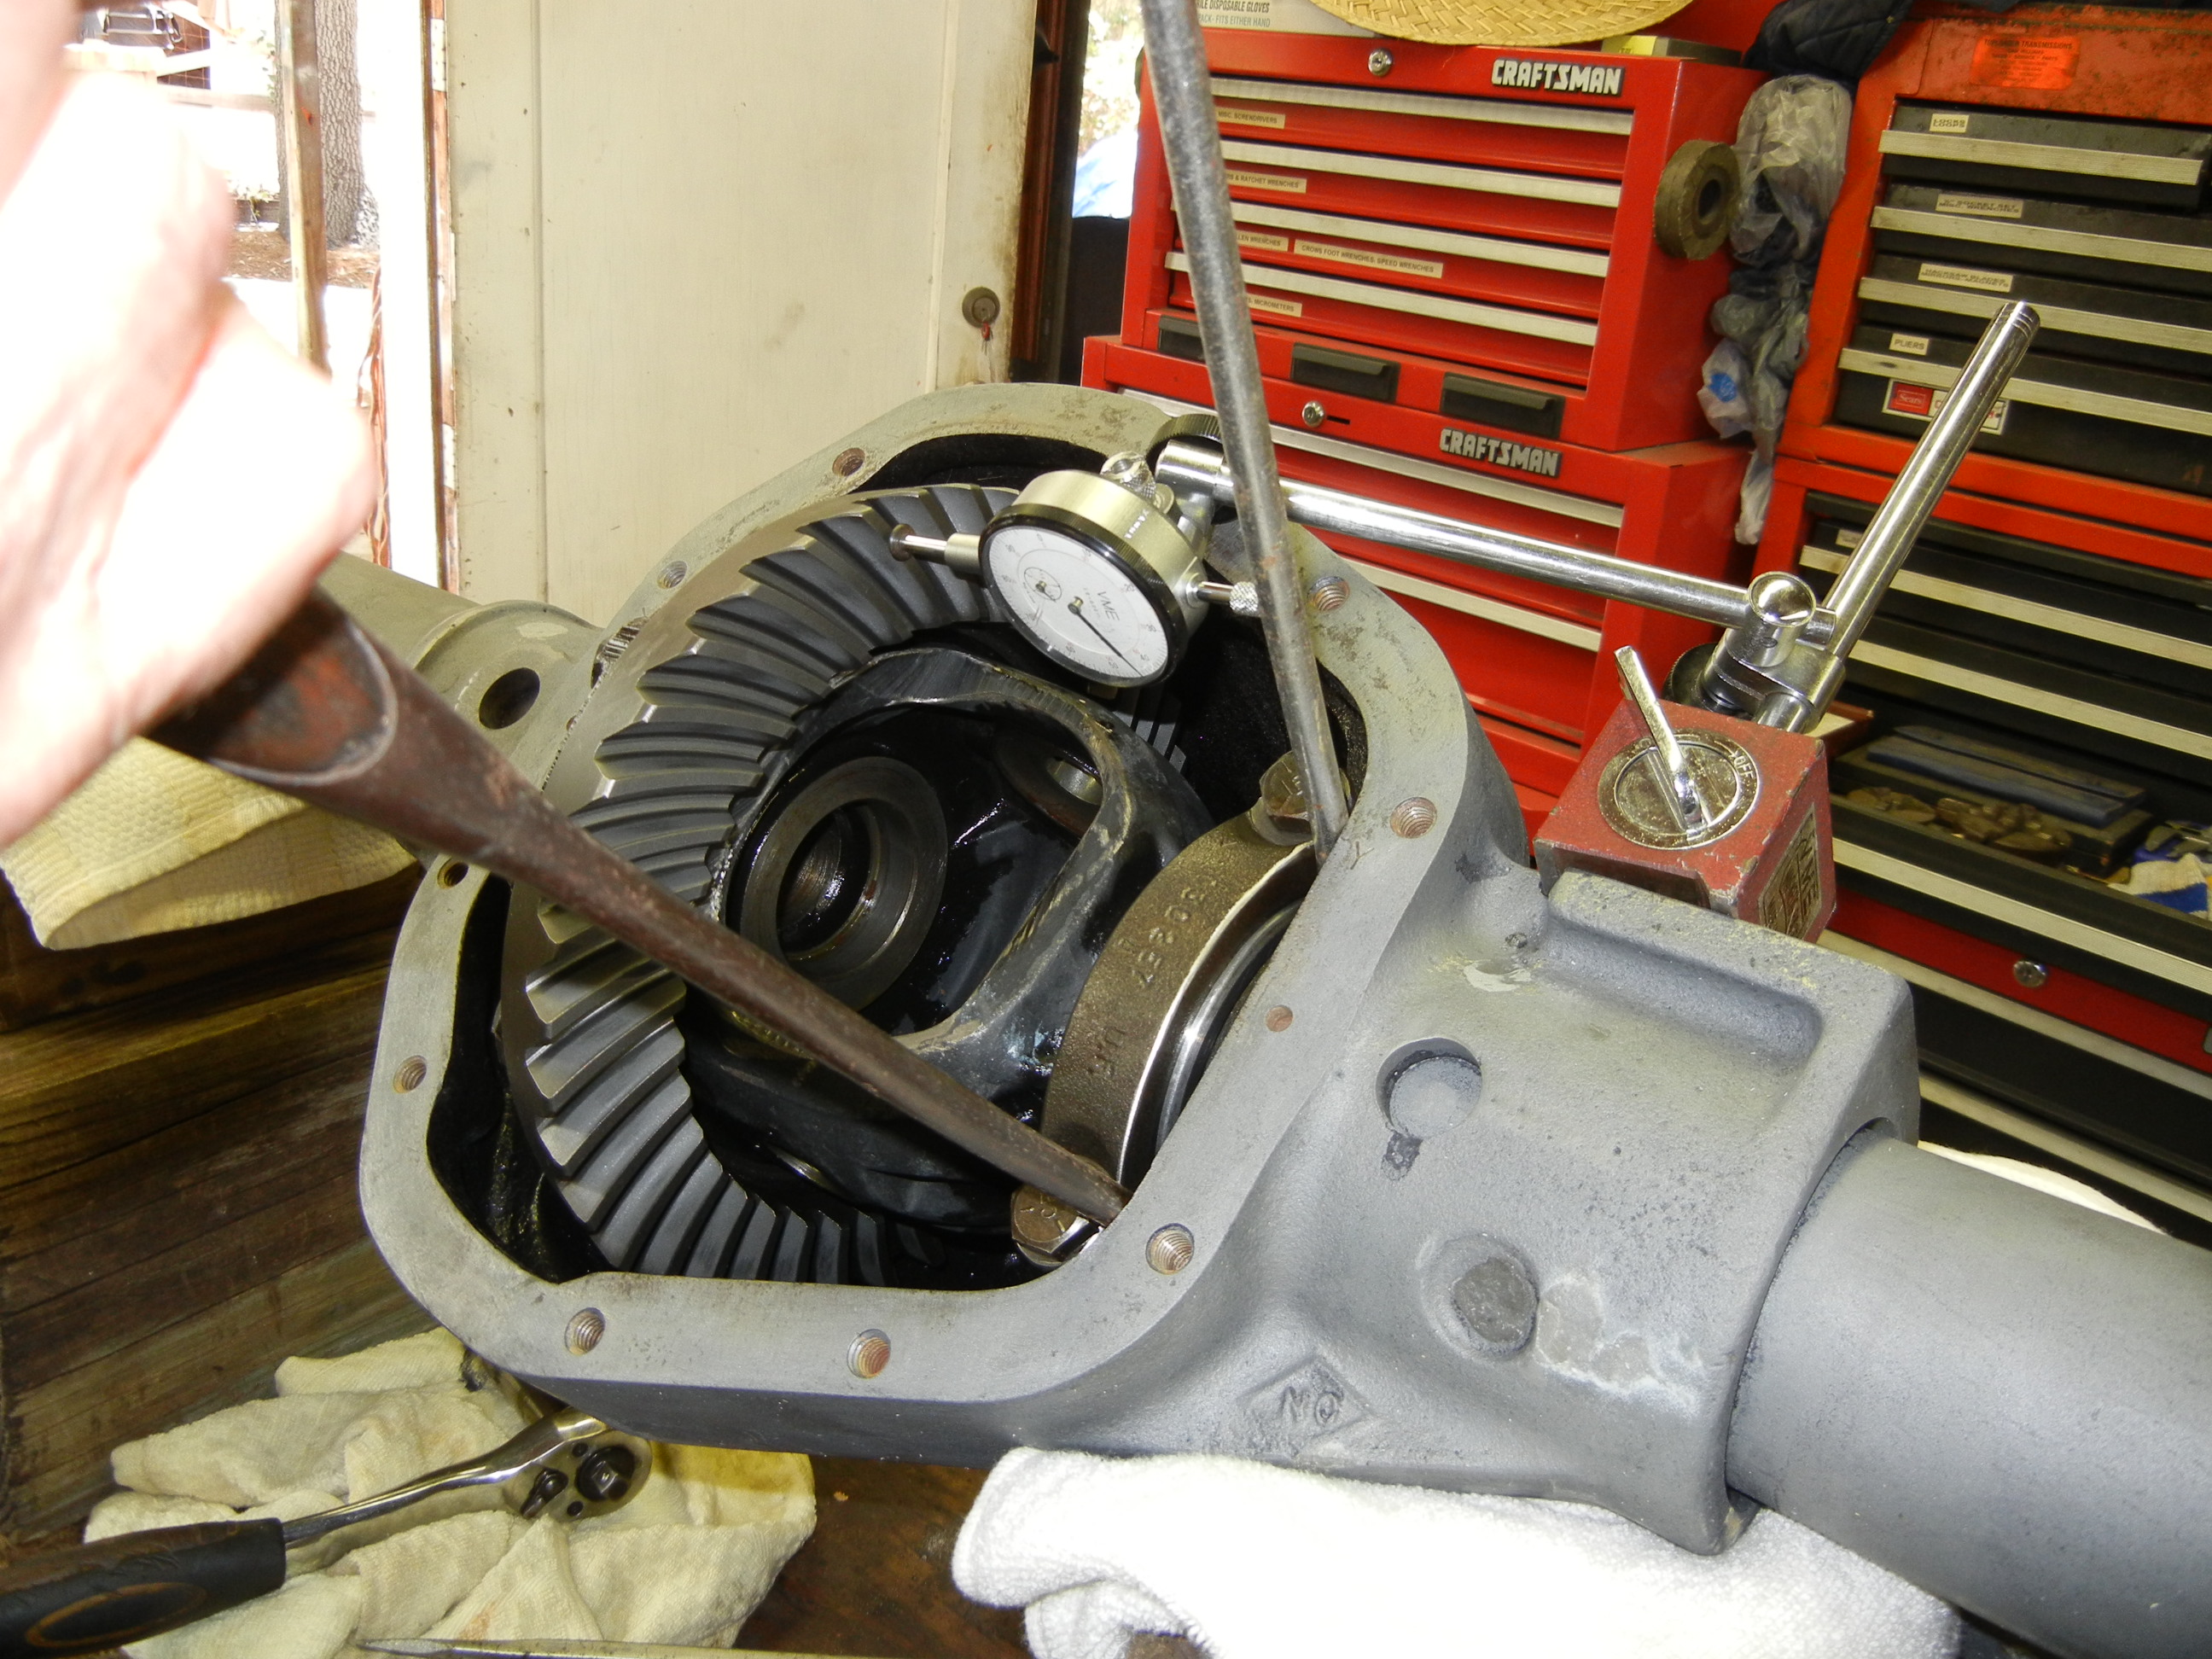
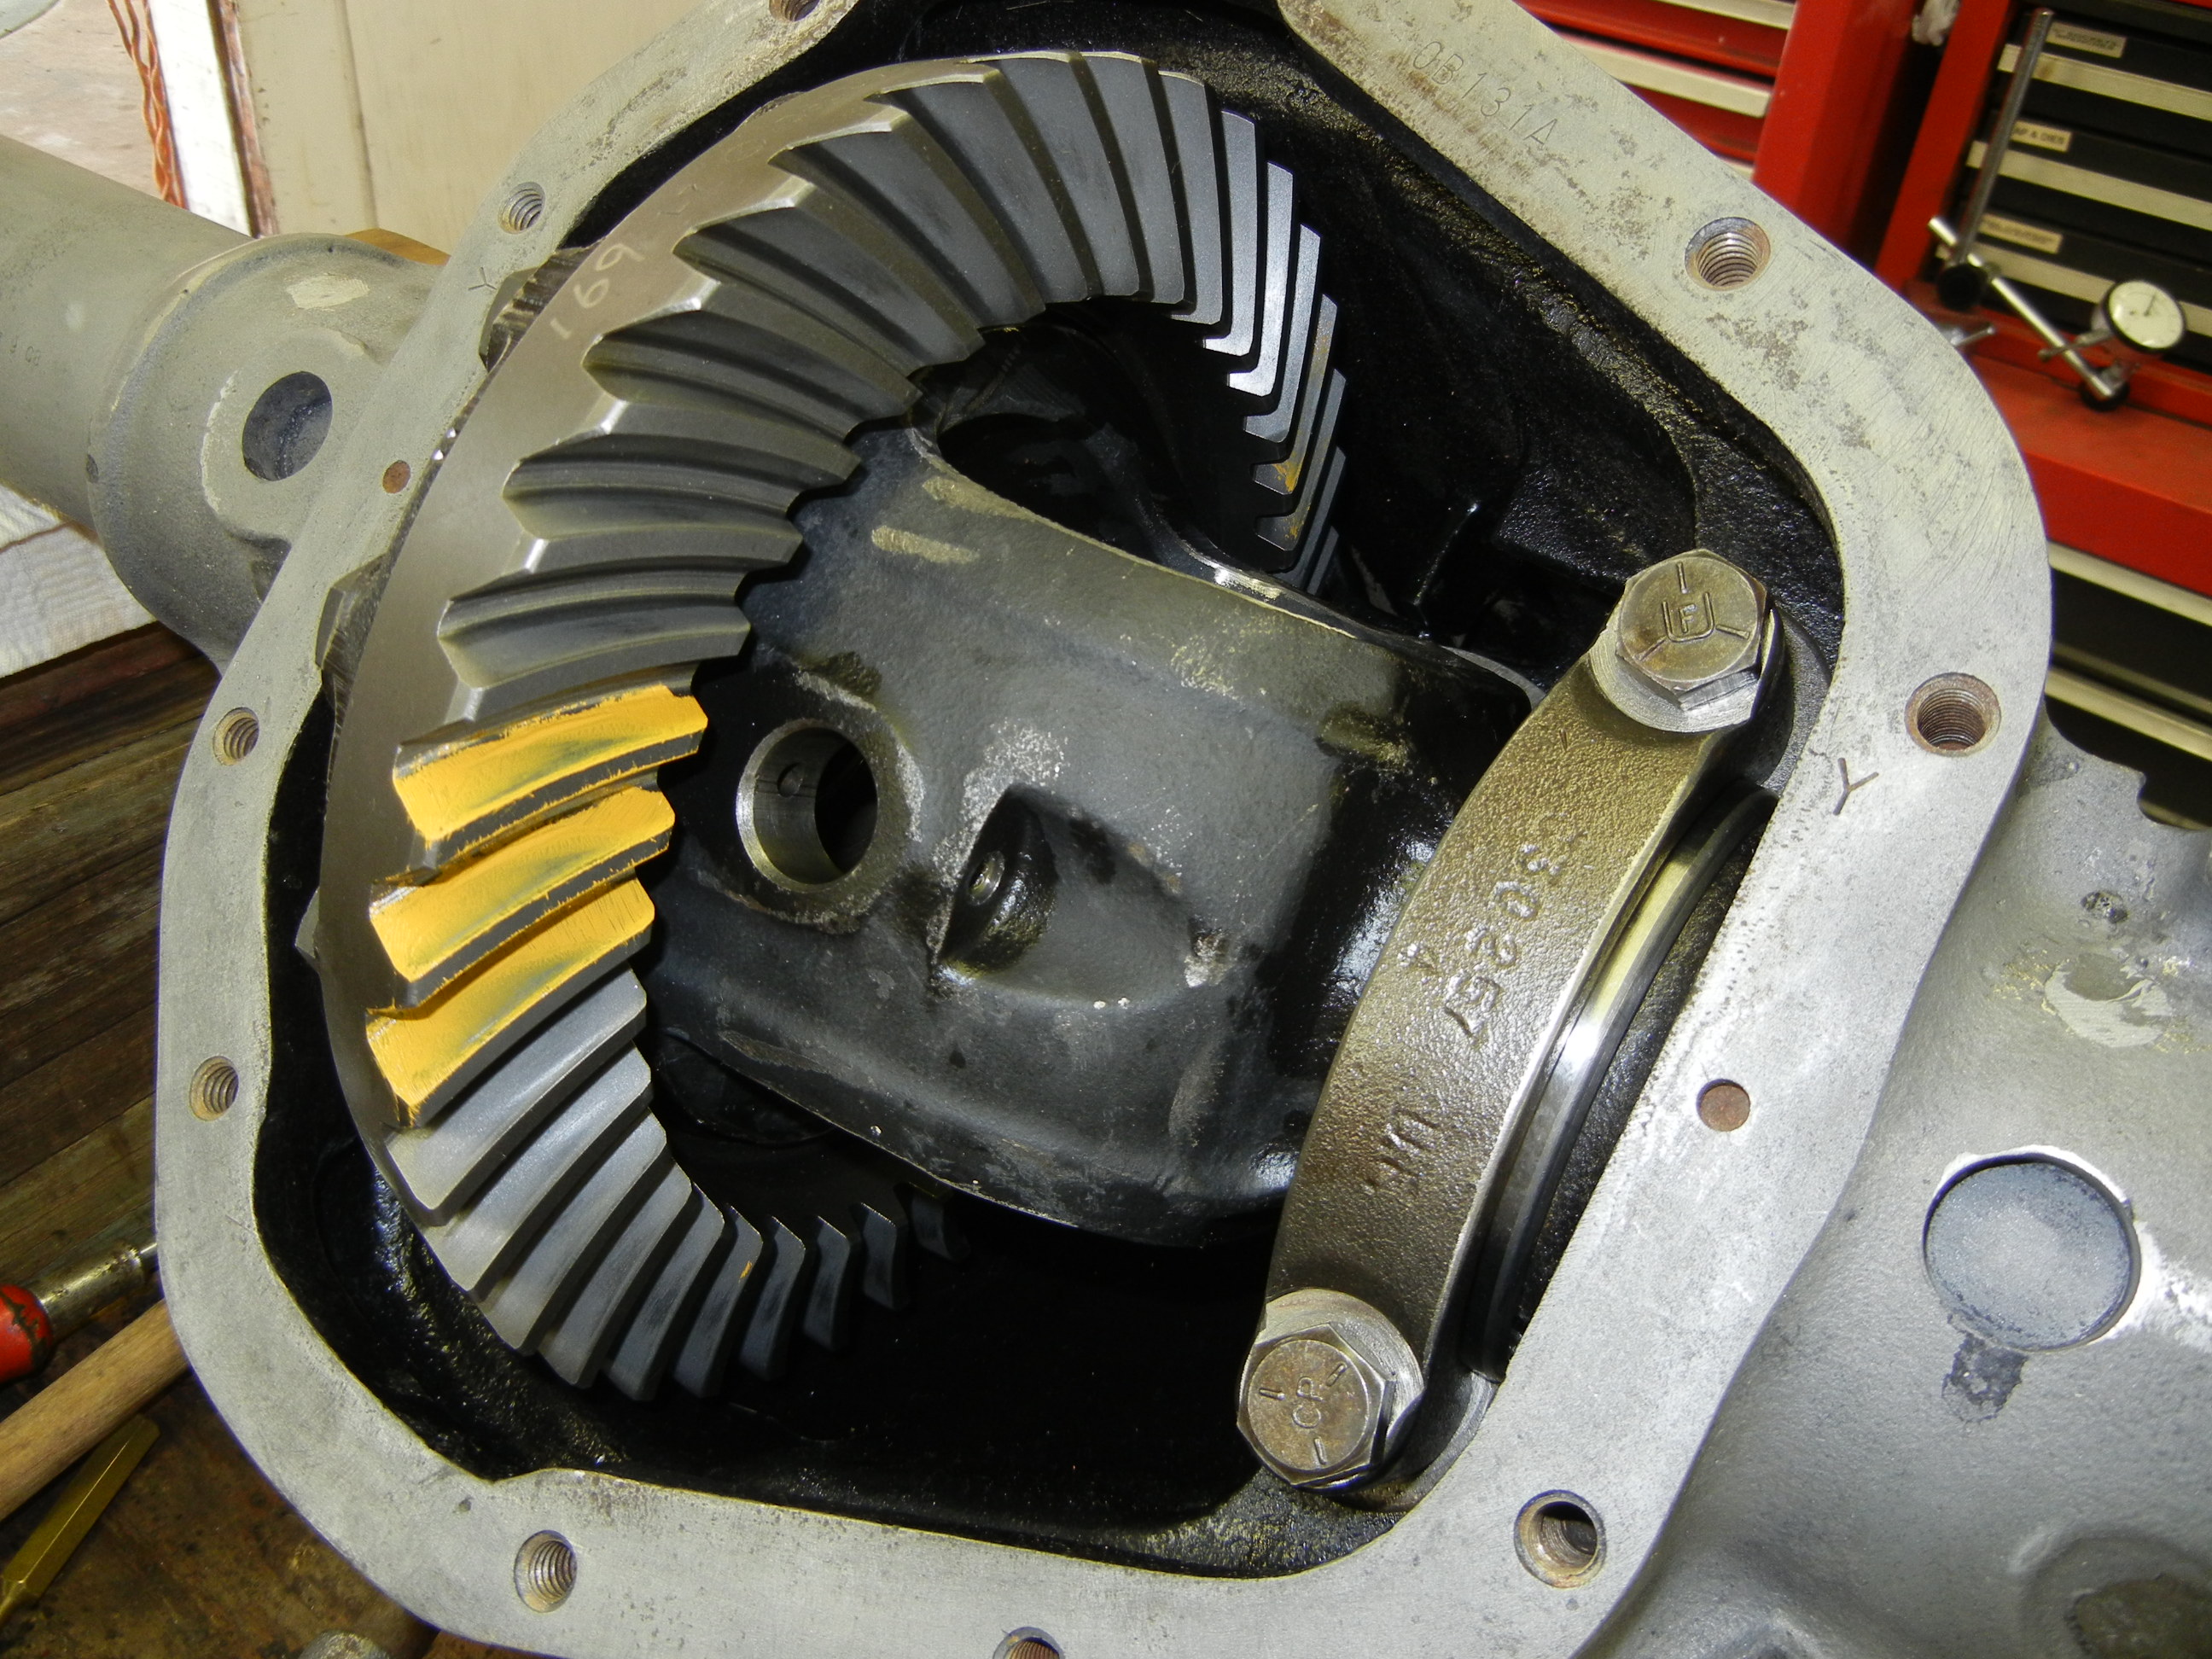
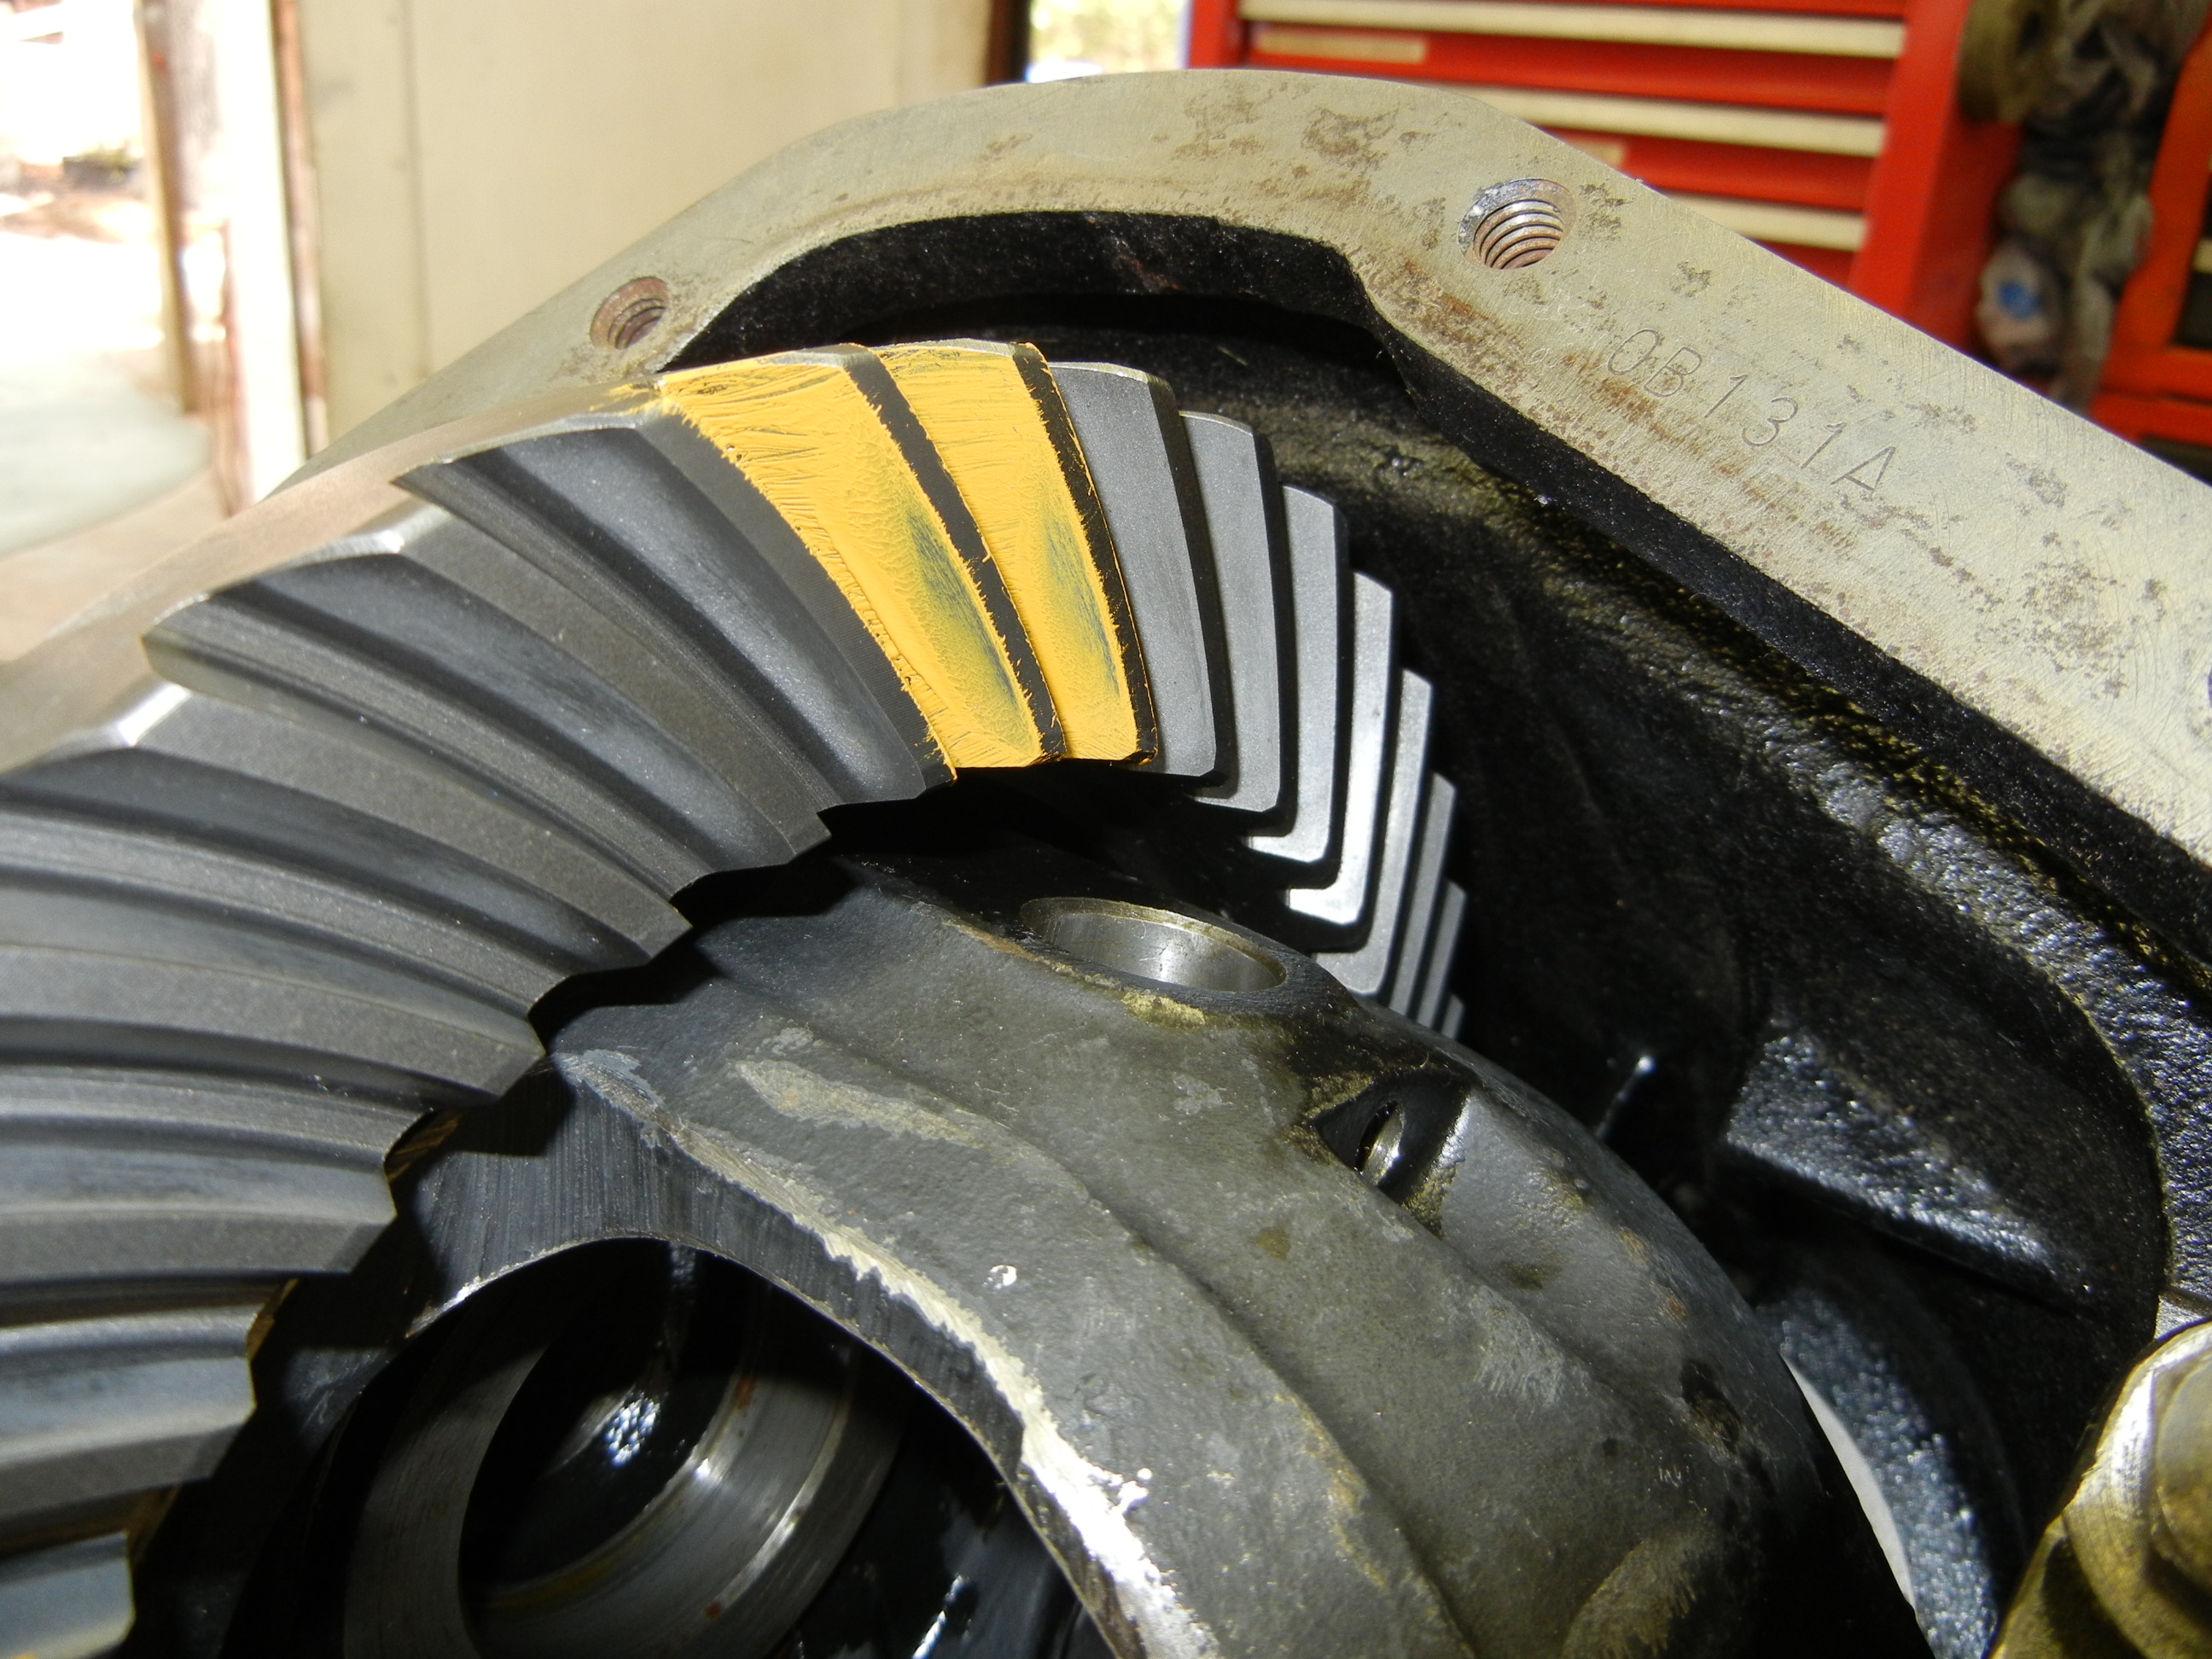
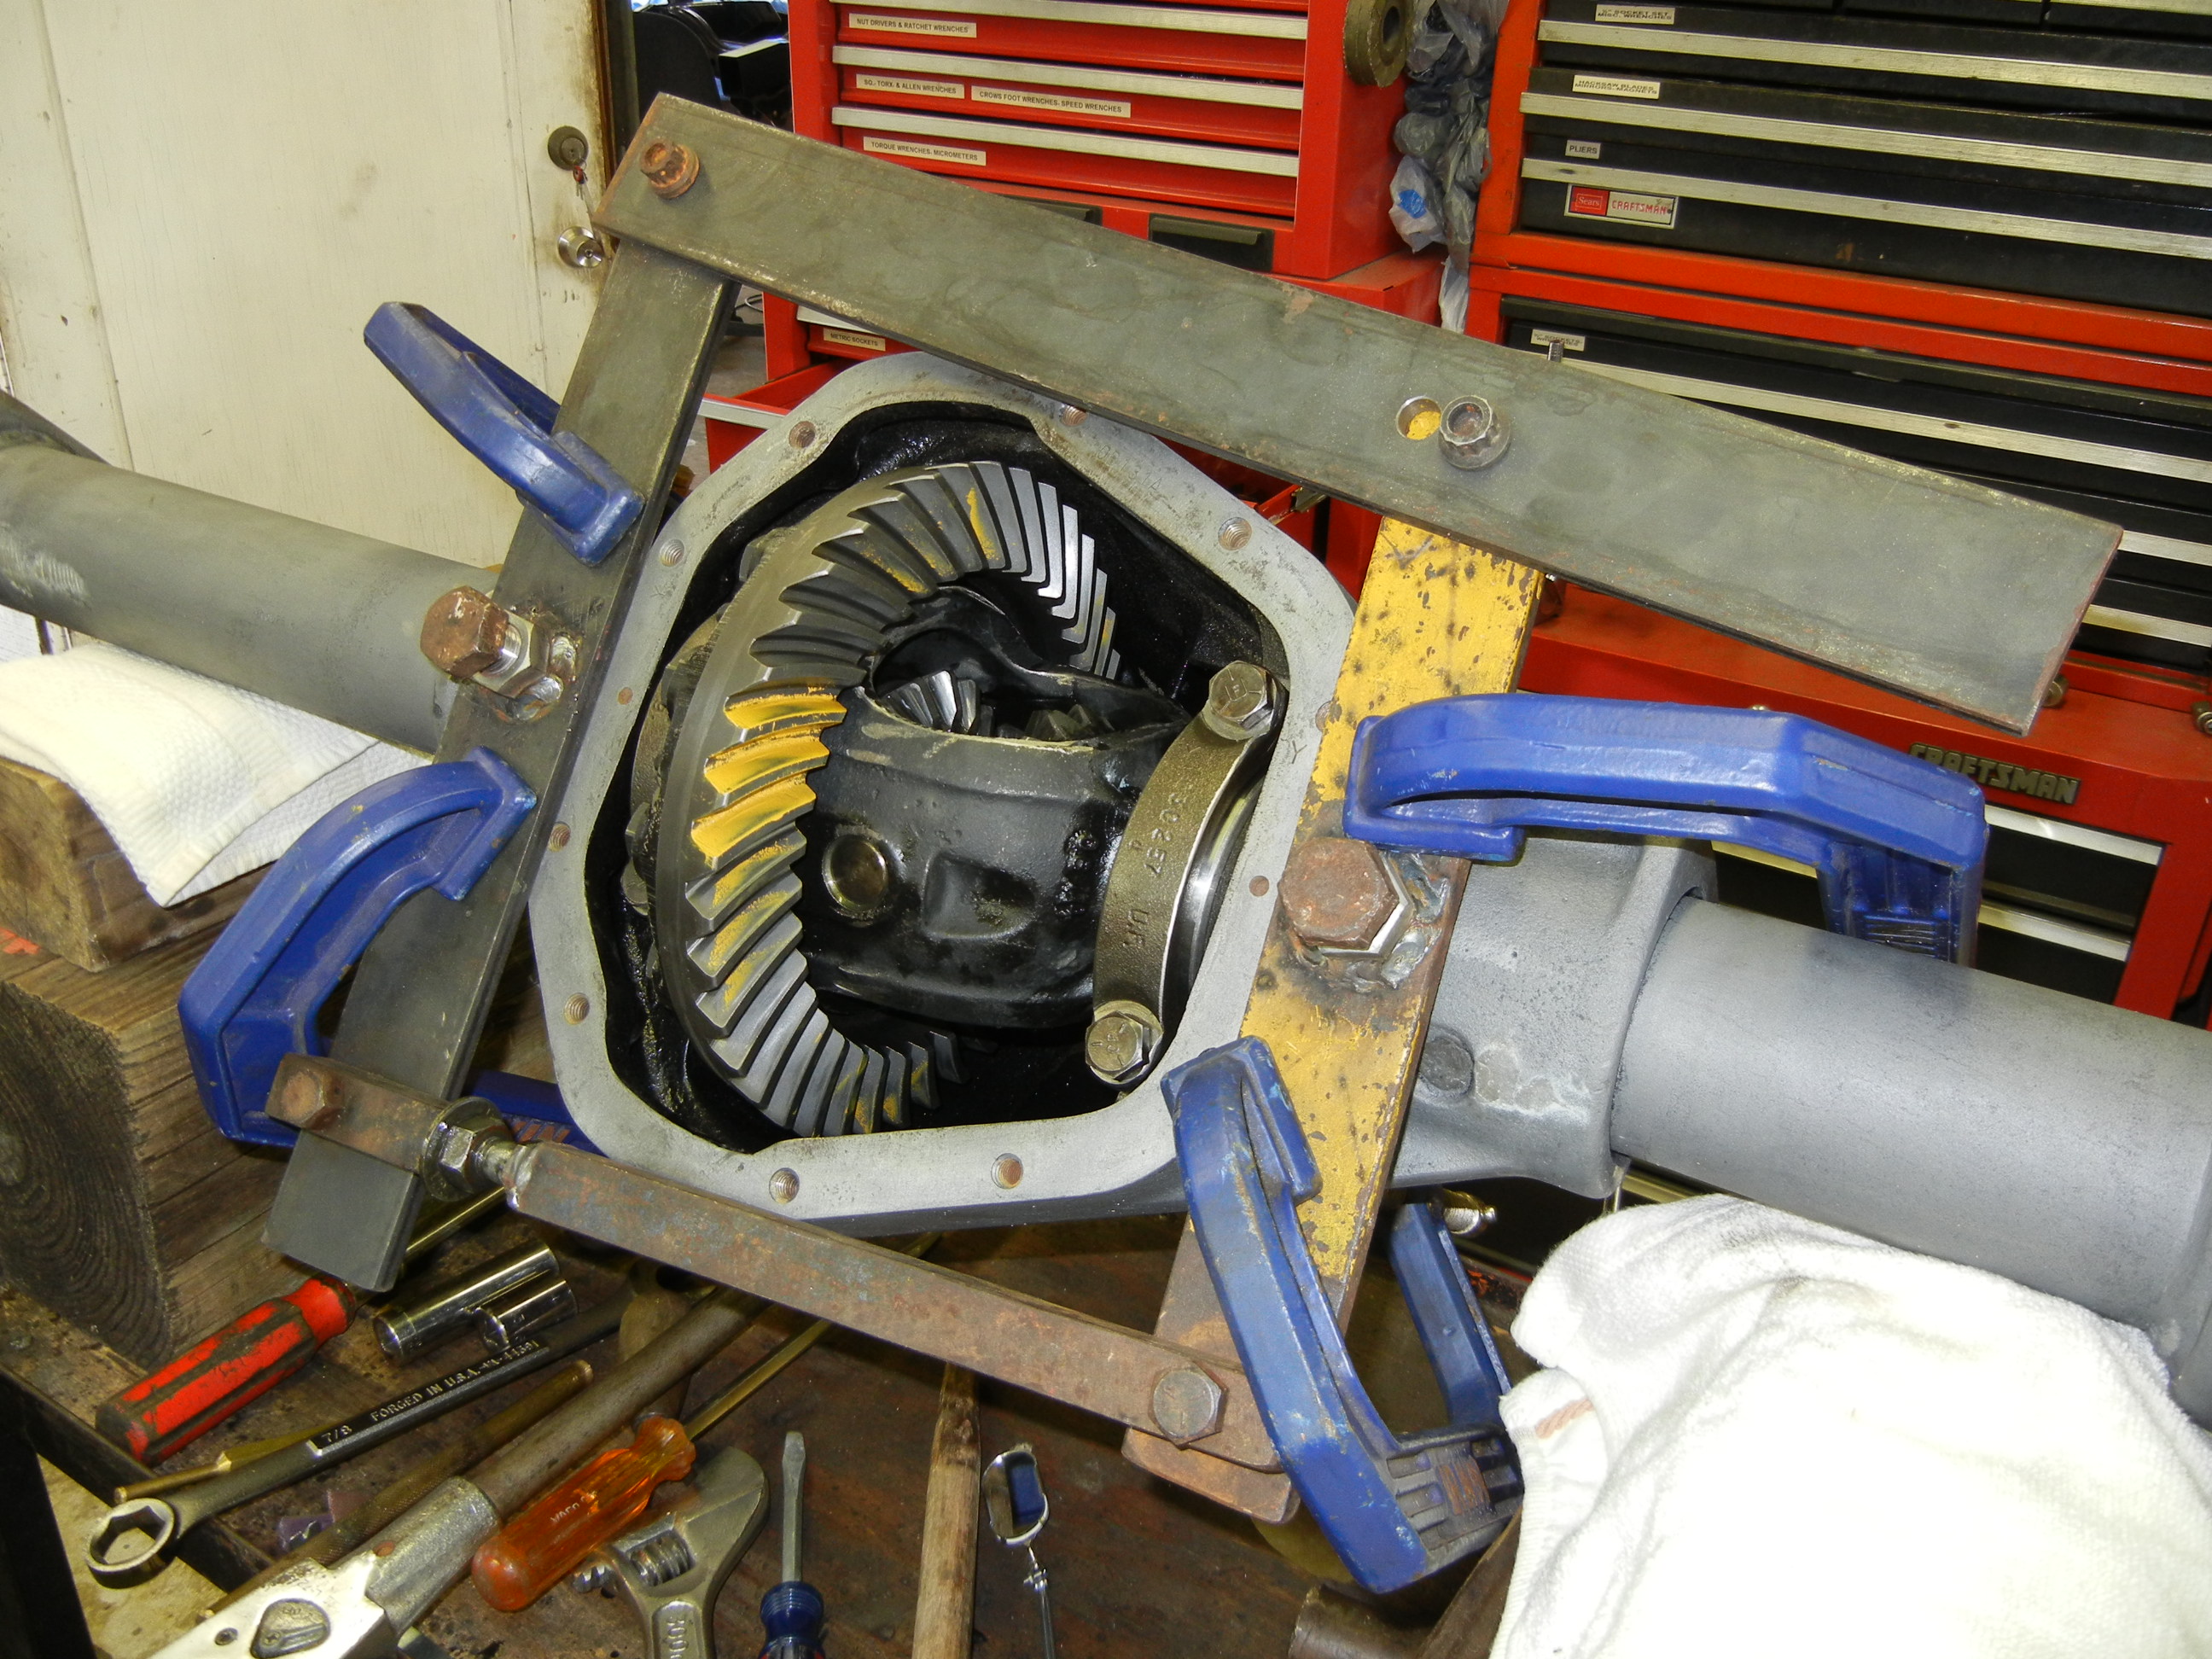
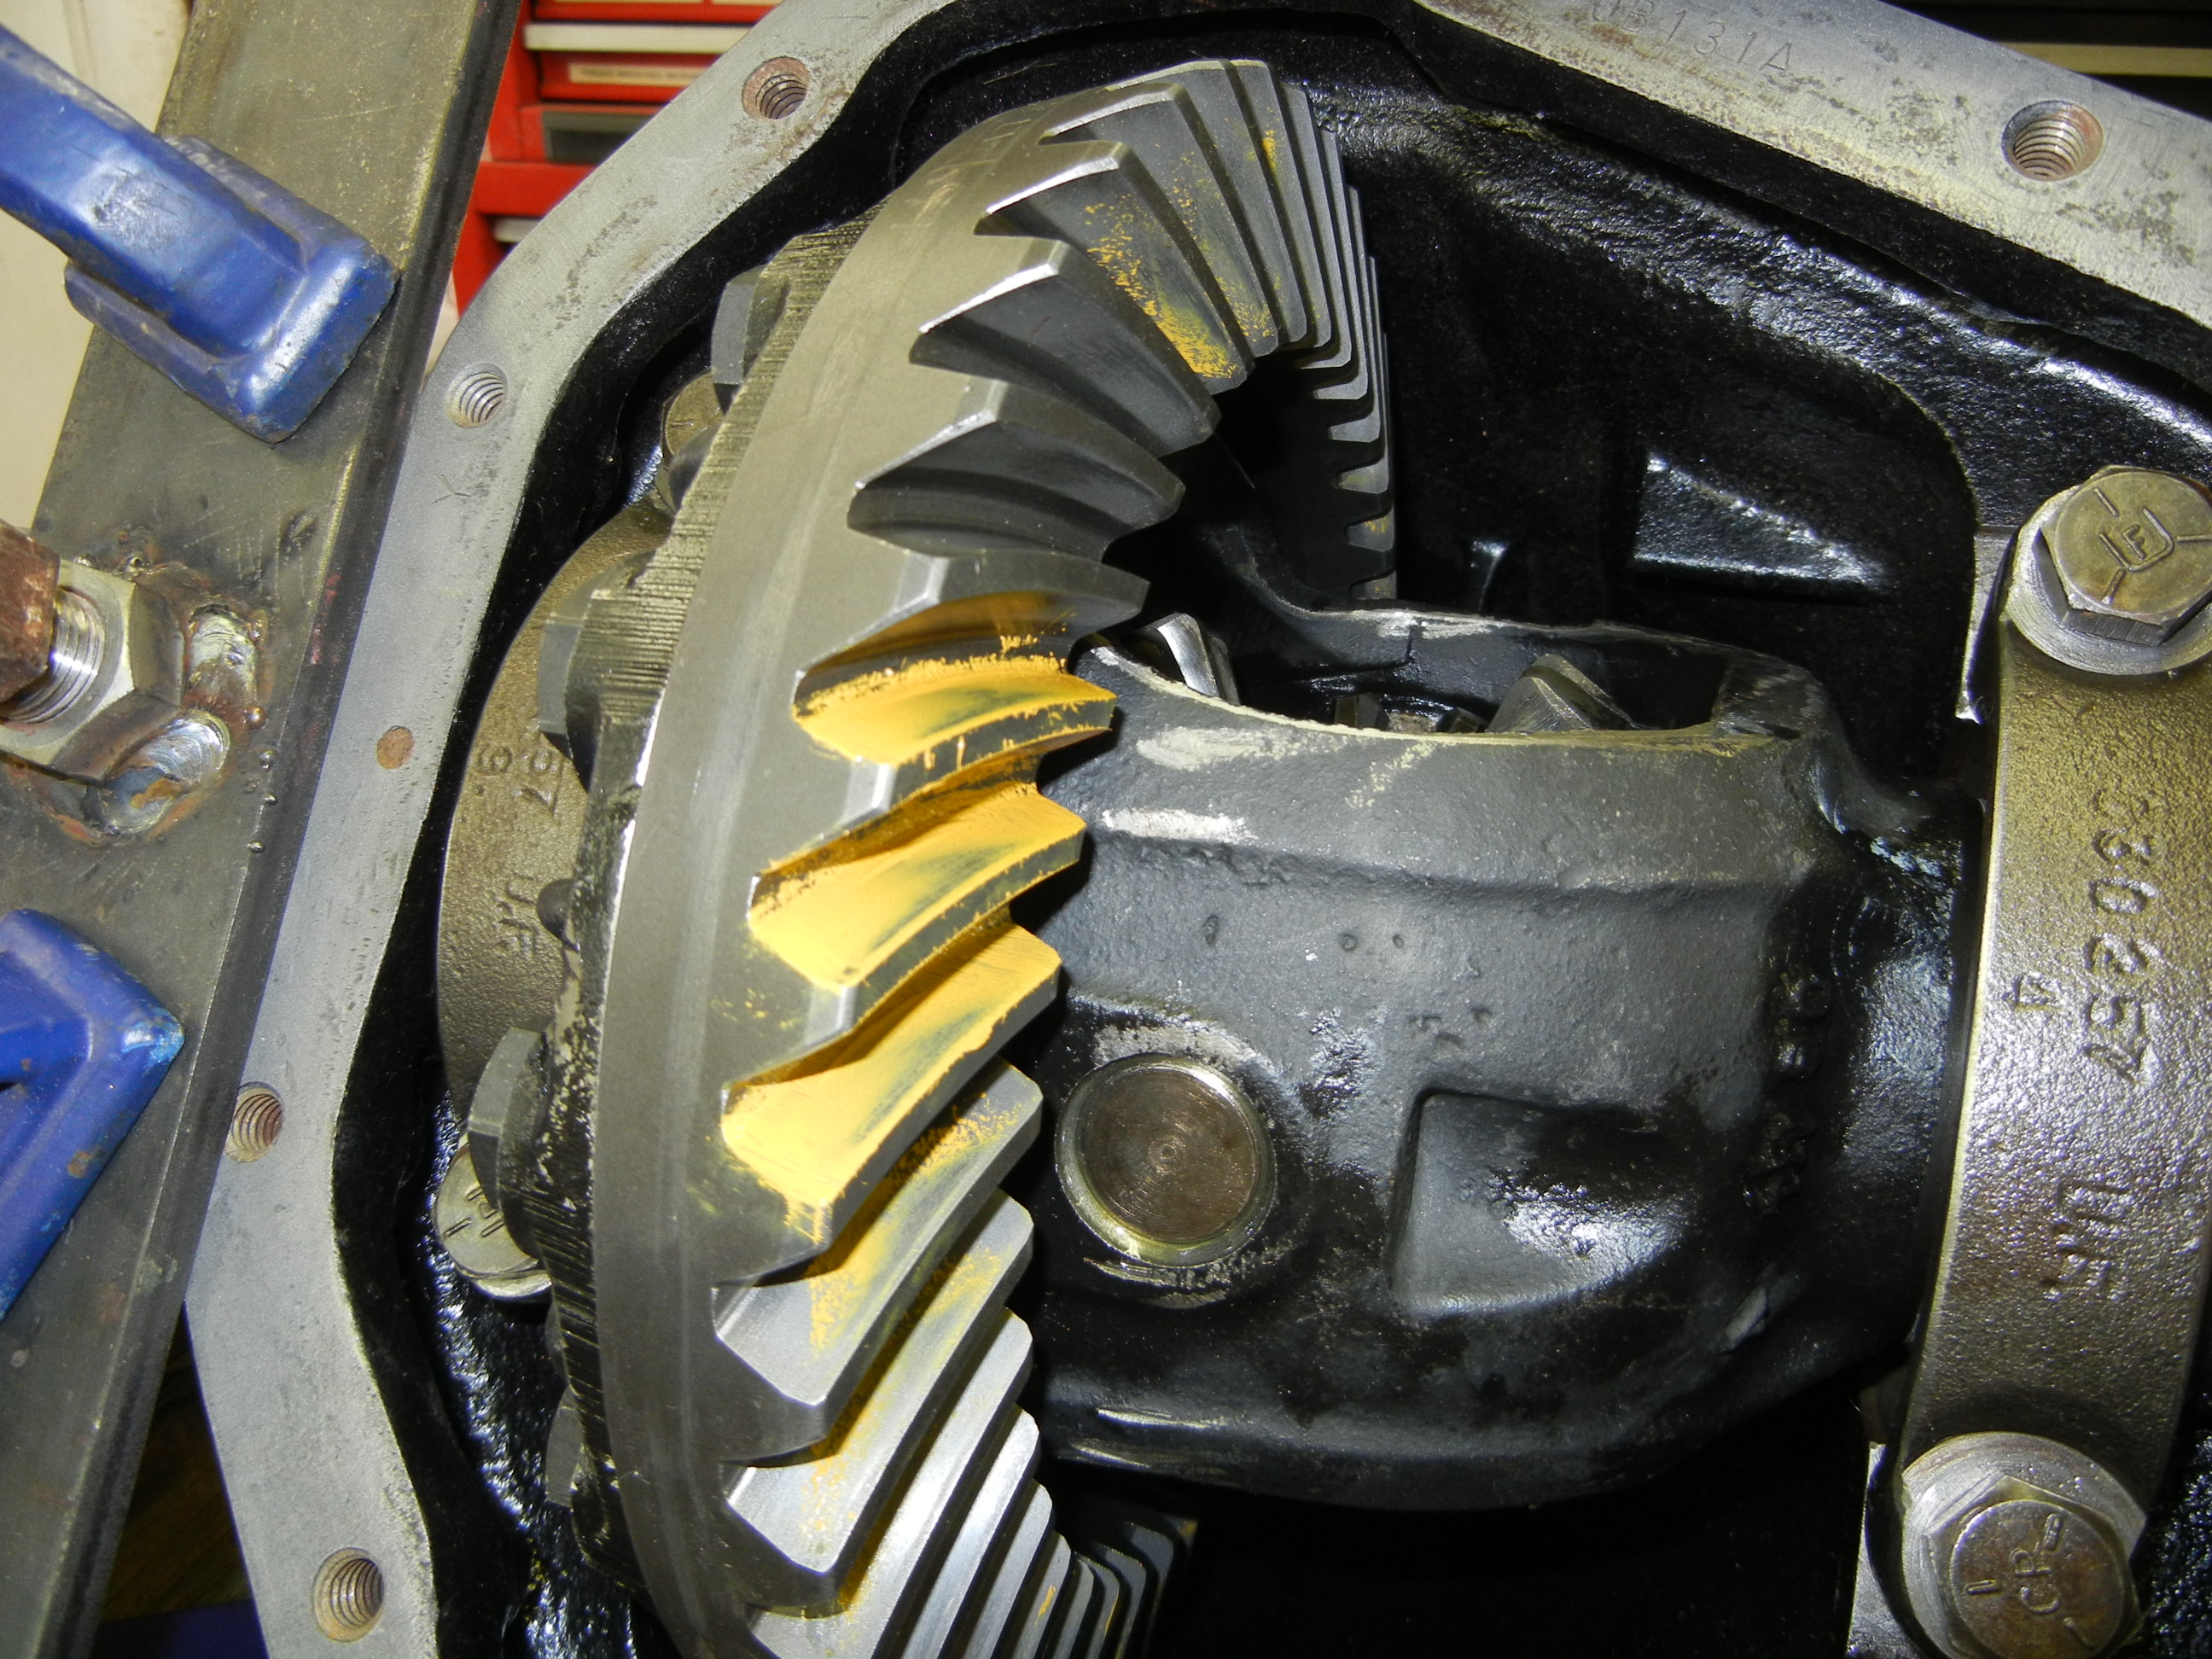
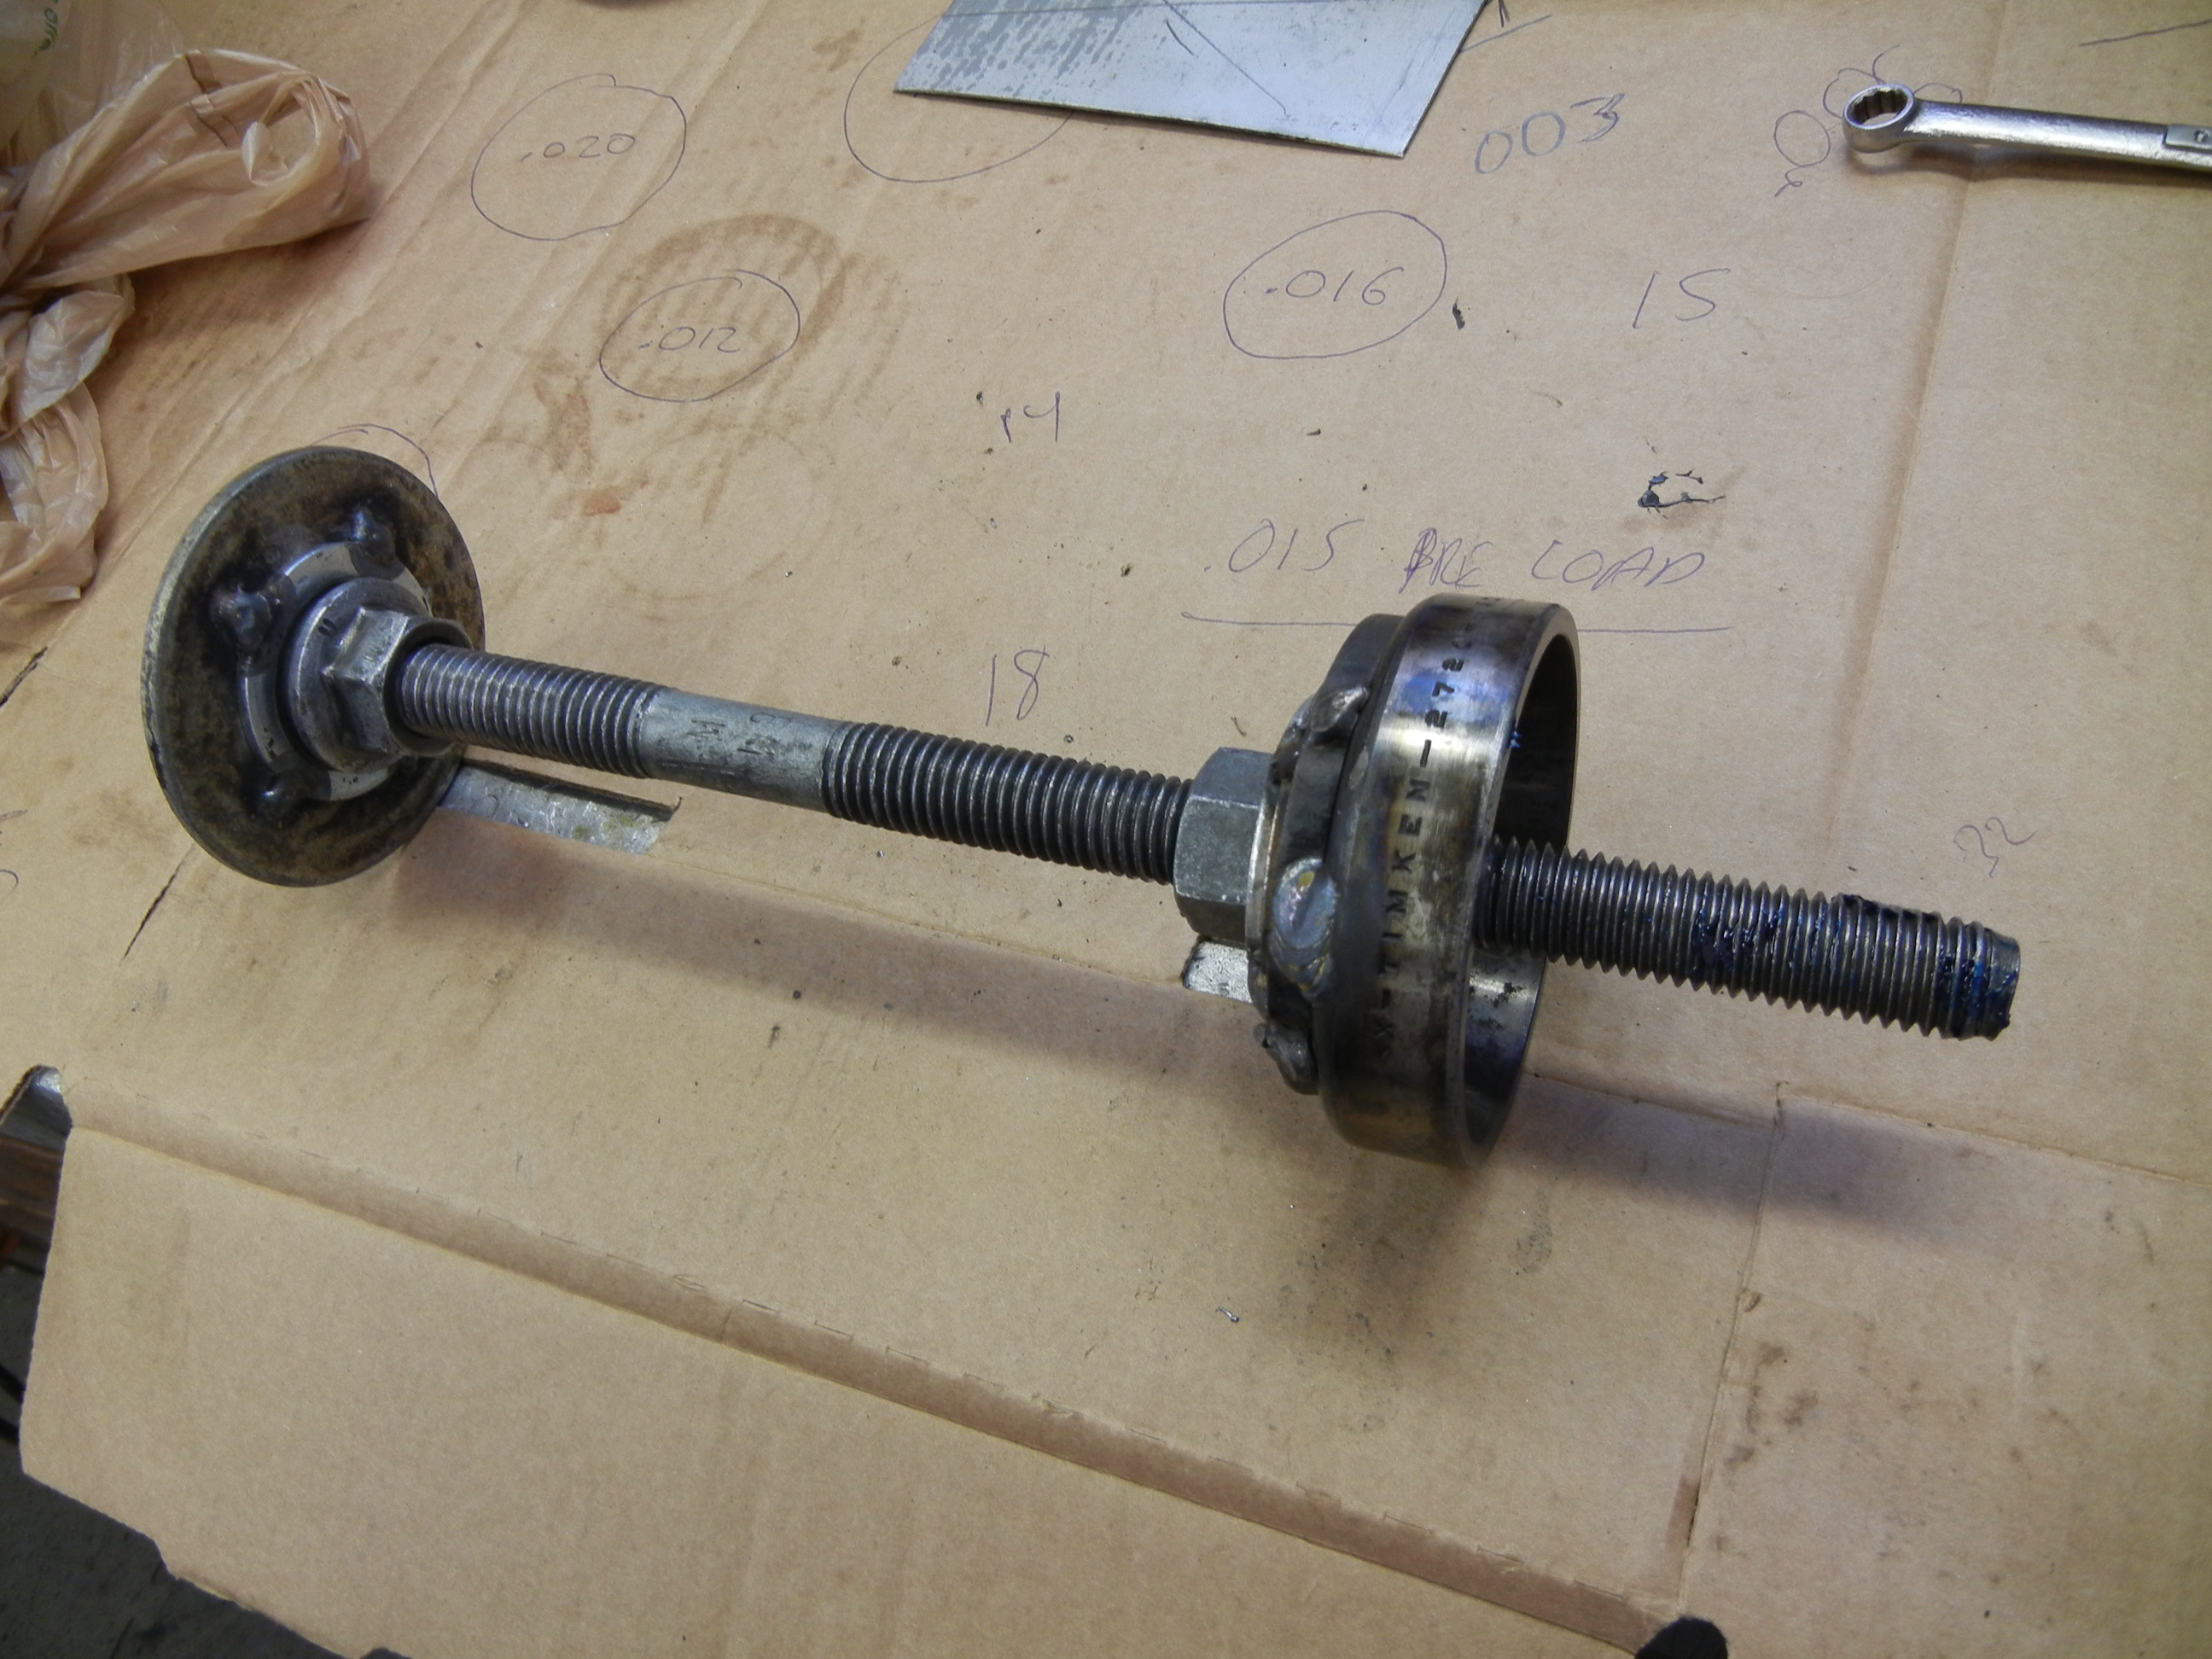
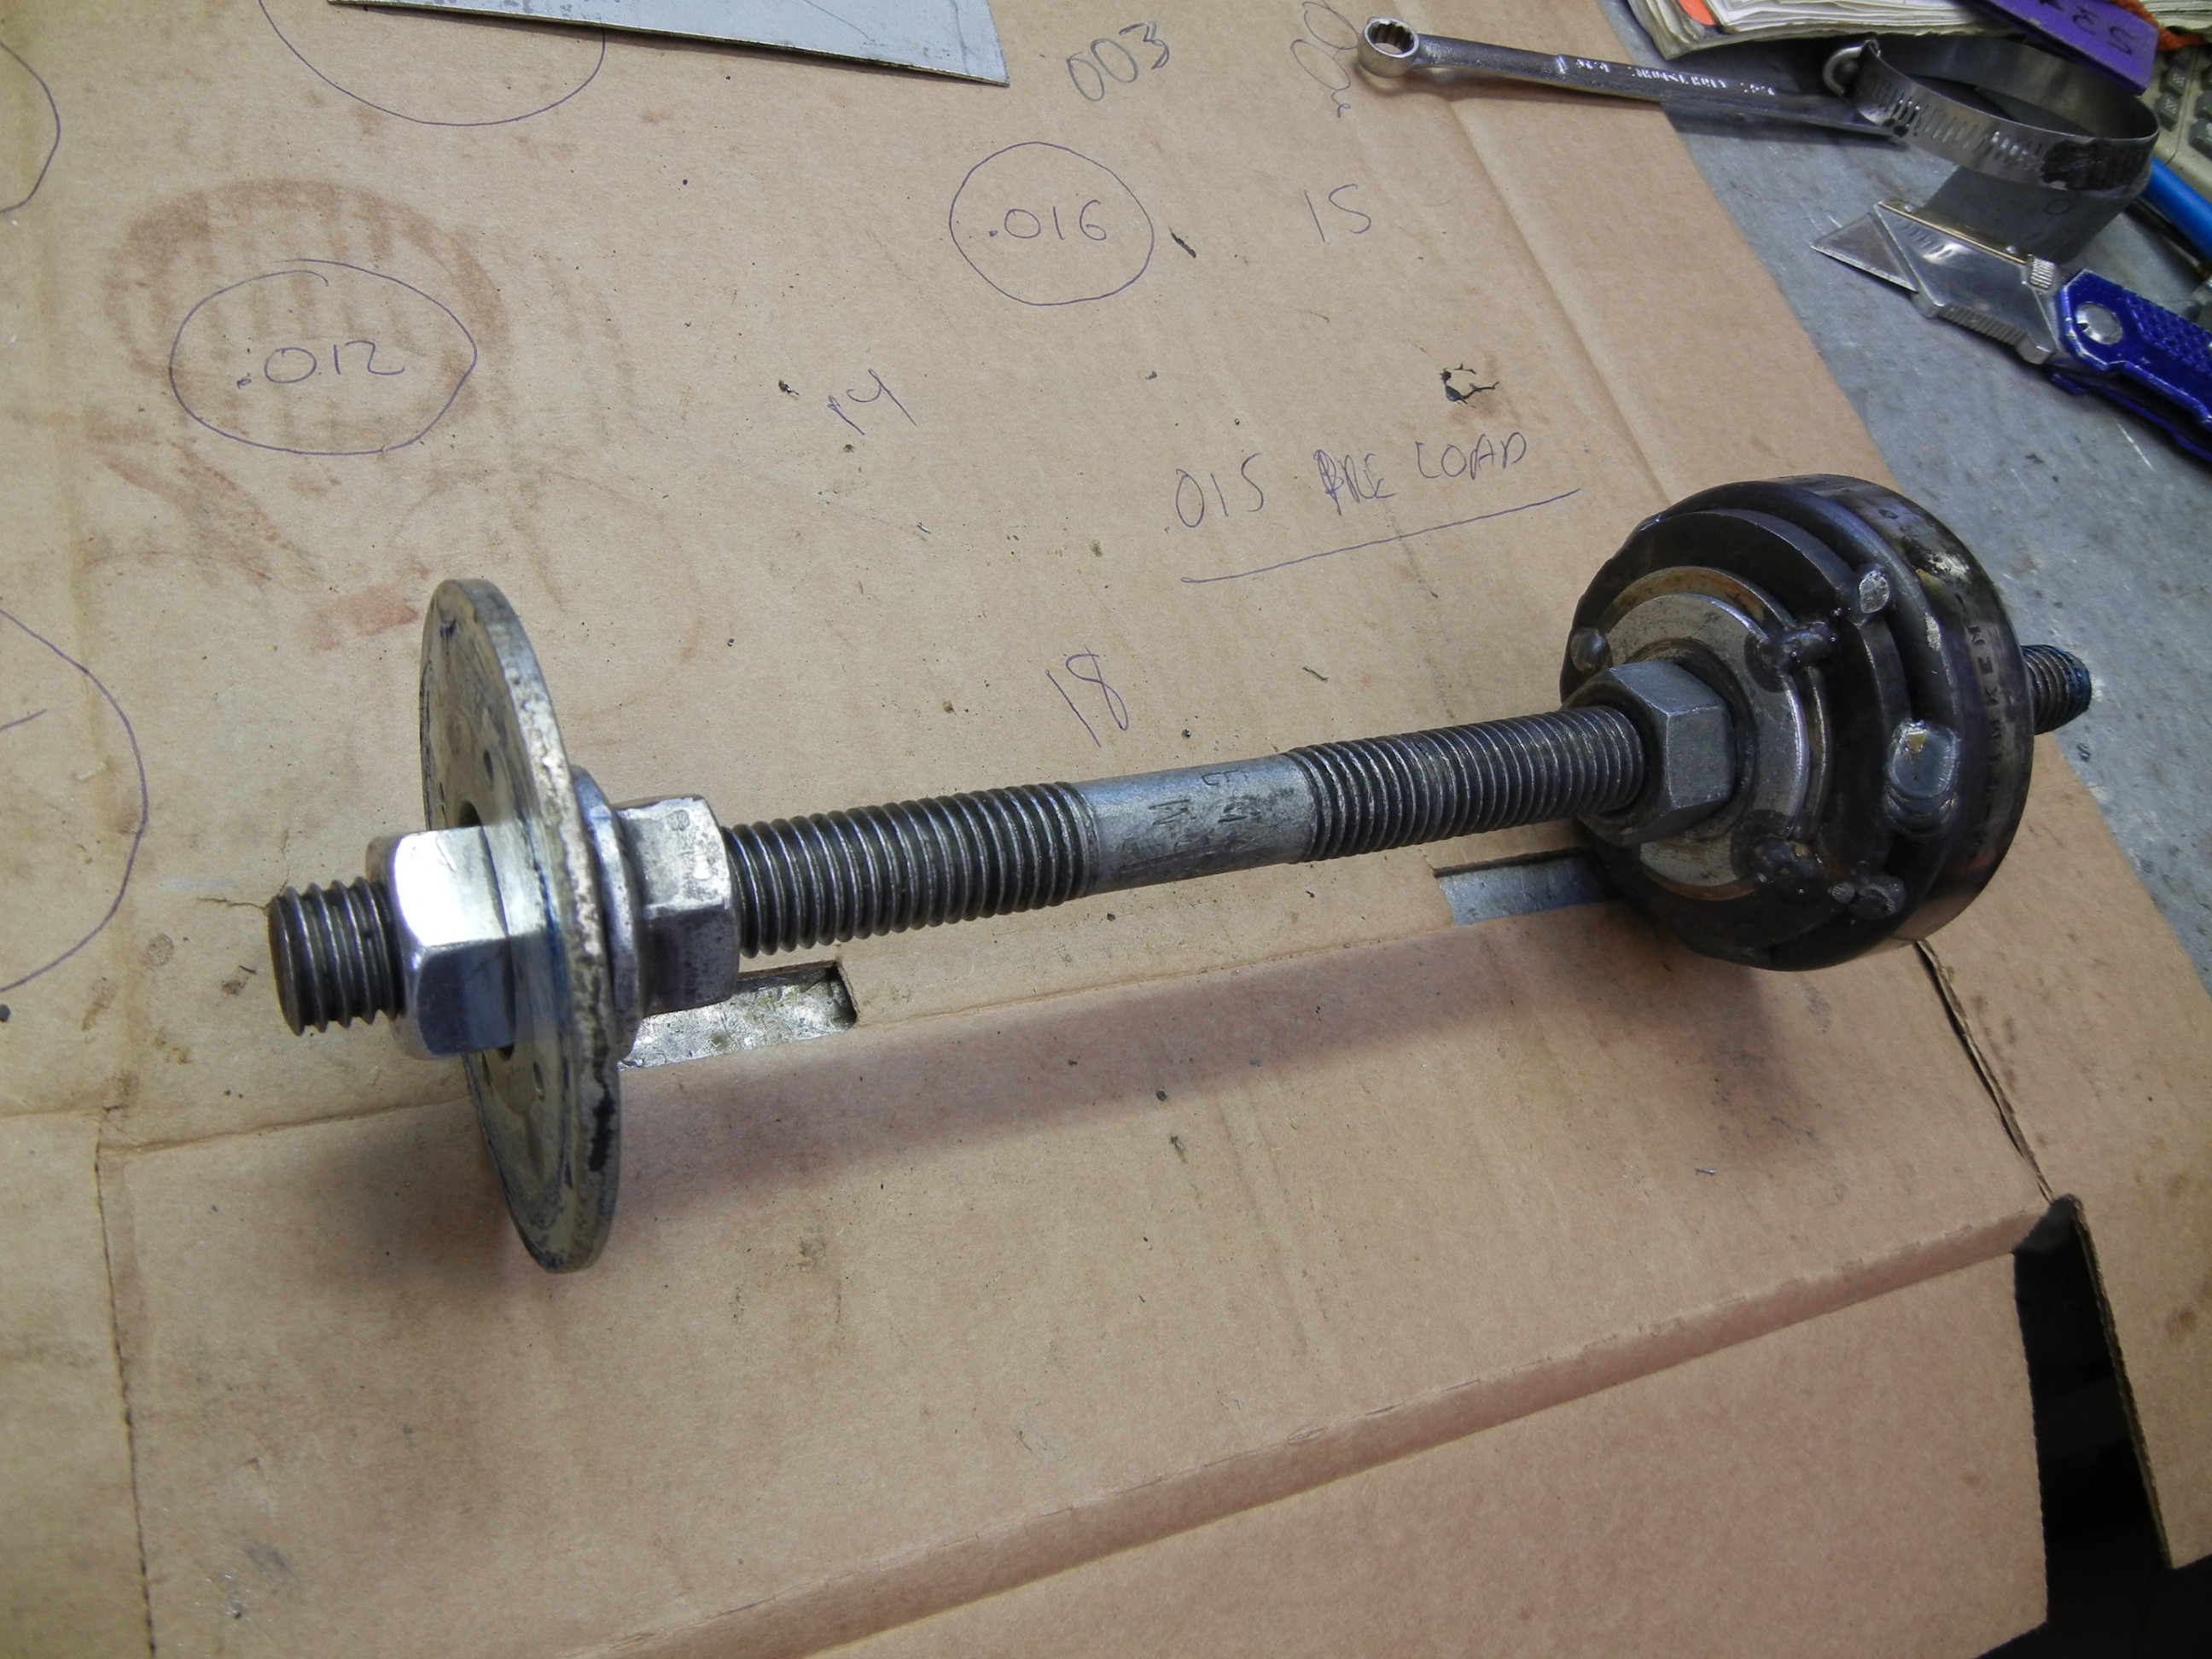
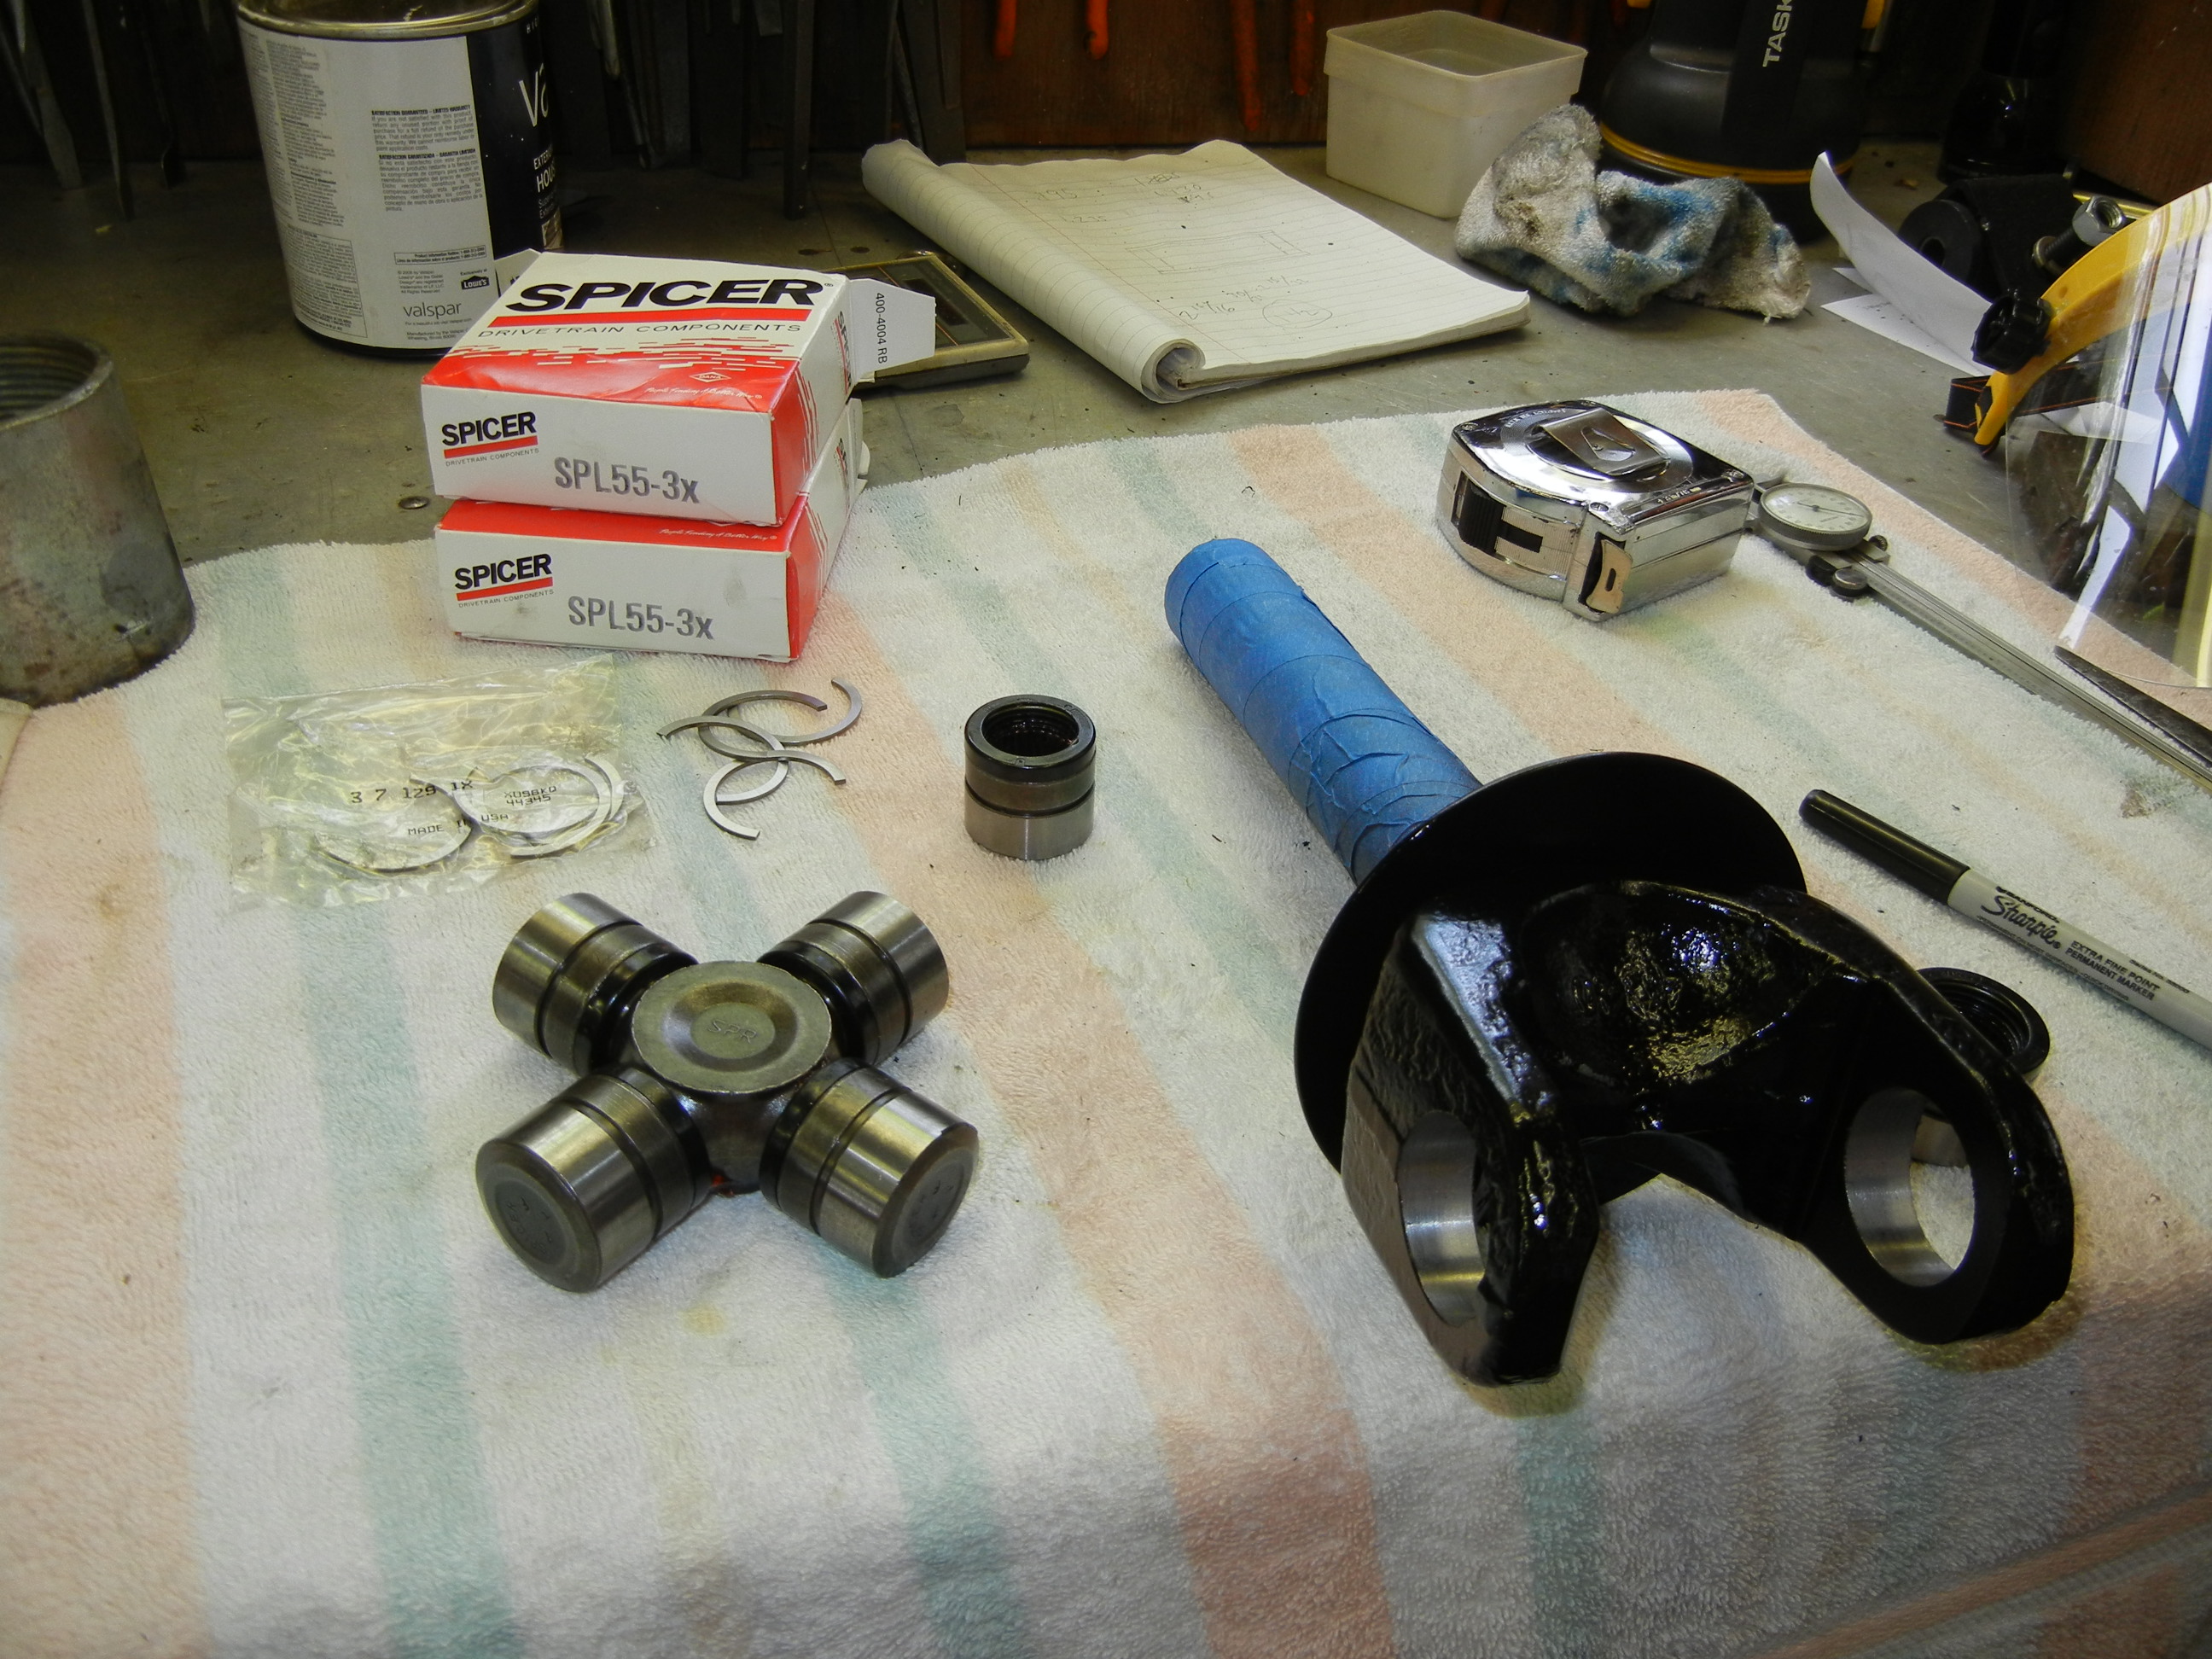
The inner tubes were painted Rustoleum black so hopefully no further rusting will prevail. Now the fun stuff starts to happen. Again we find ourselves performing our own gear setup and amazingly this time it only took us one try at a "perfect" pattern. We got lucky (sort of) as the gear pattern and backlash were perfect on the first try but then took ~10 tries before the pinion preload was dialed in. I could not believe all the difference 0.001" makes when checking the pinion rotation torque! The backlash checked in at 0.005" after the carrier preload was set. The case spreader worked like a charm to keep from fighting the carrier in and out of the hosing.
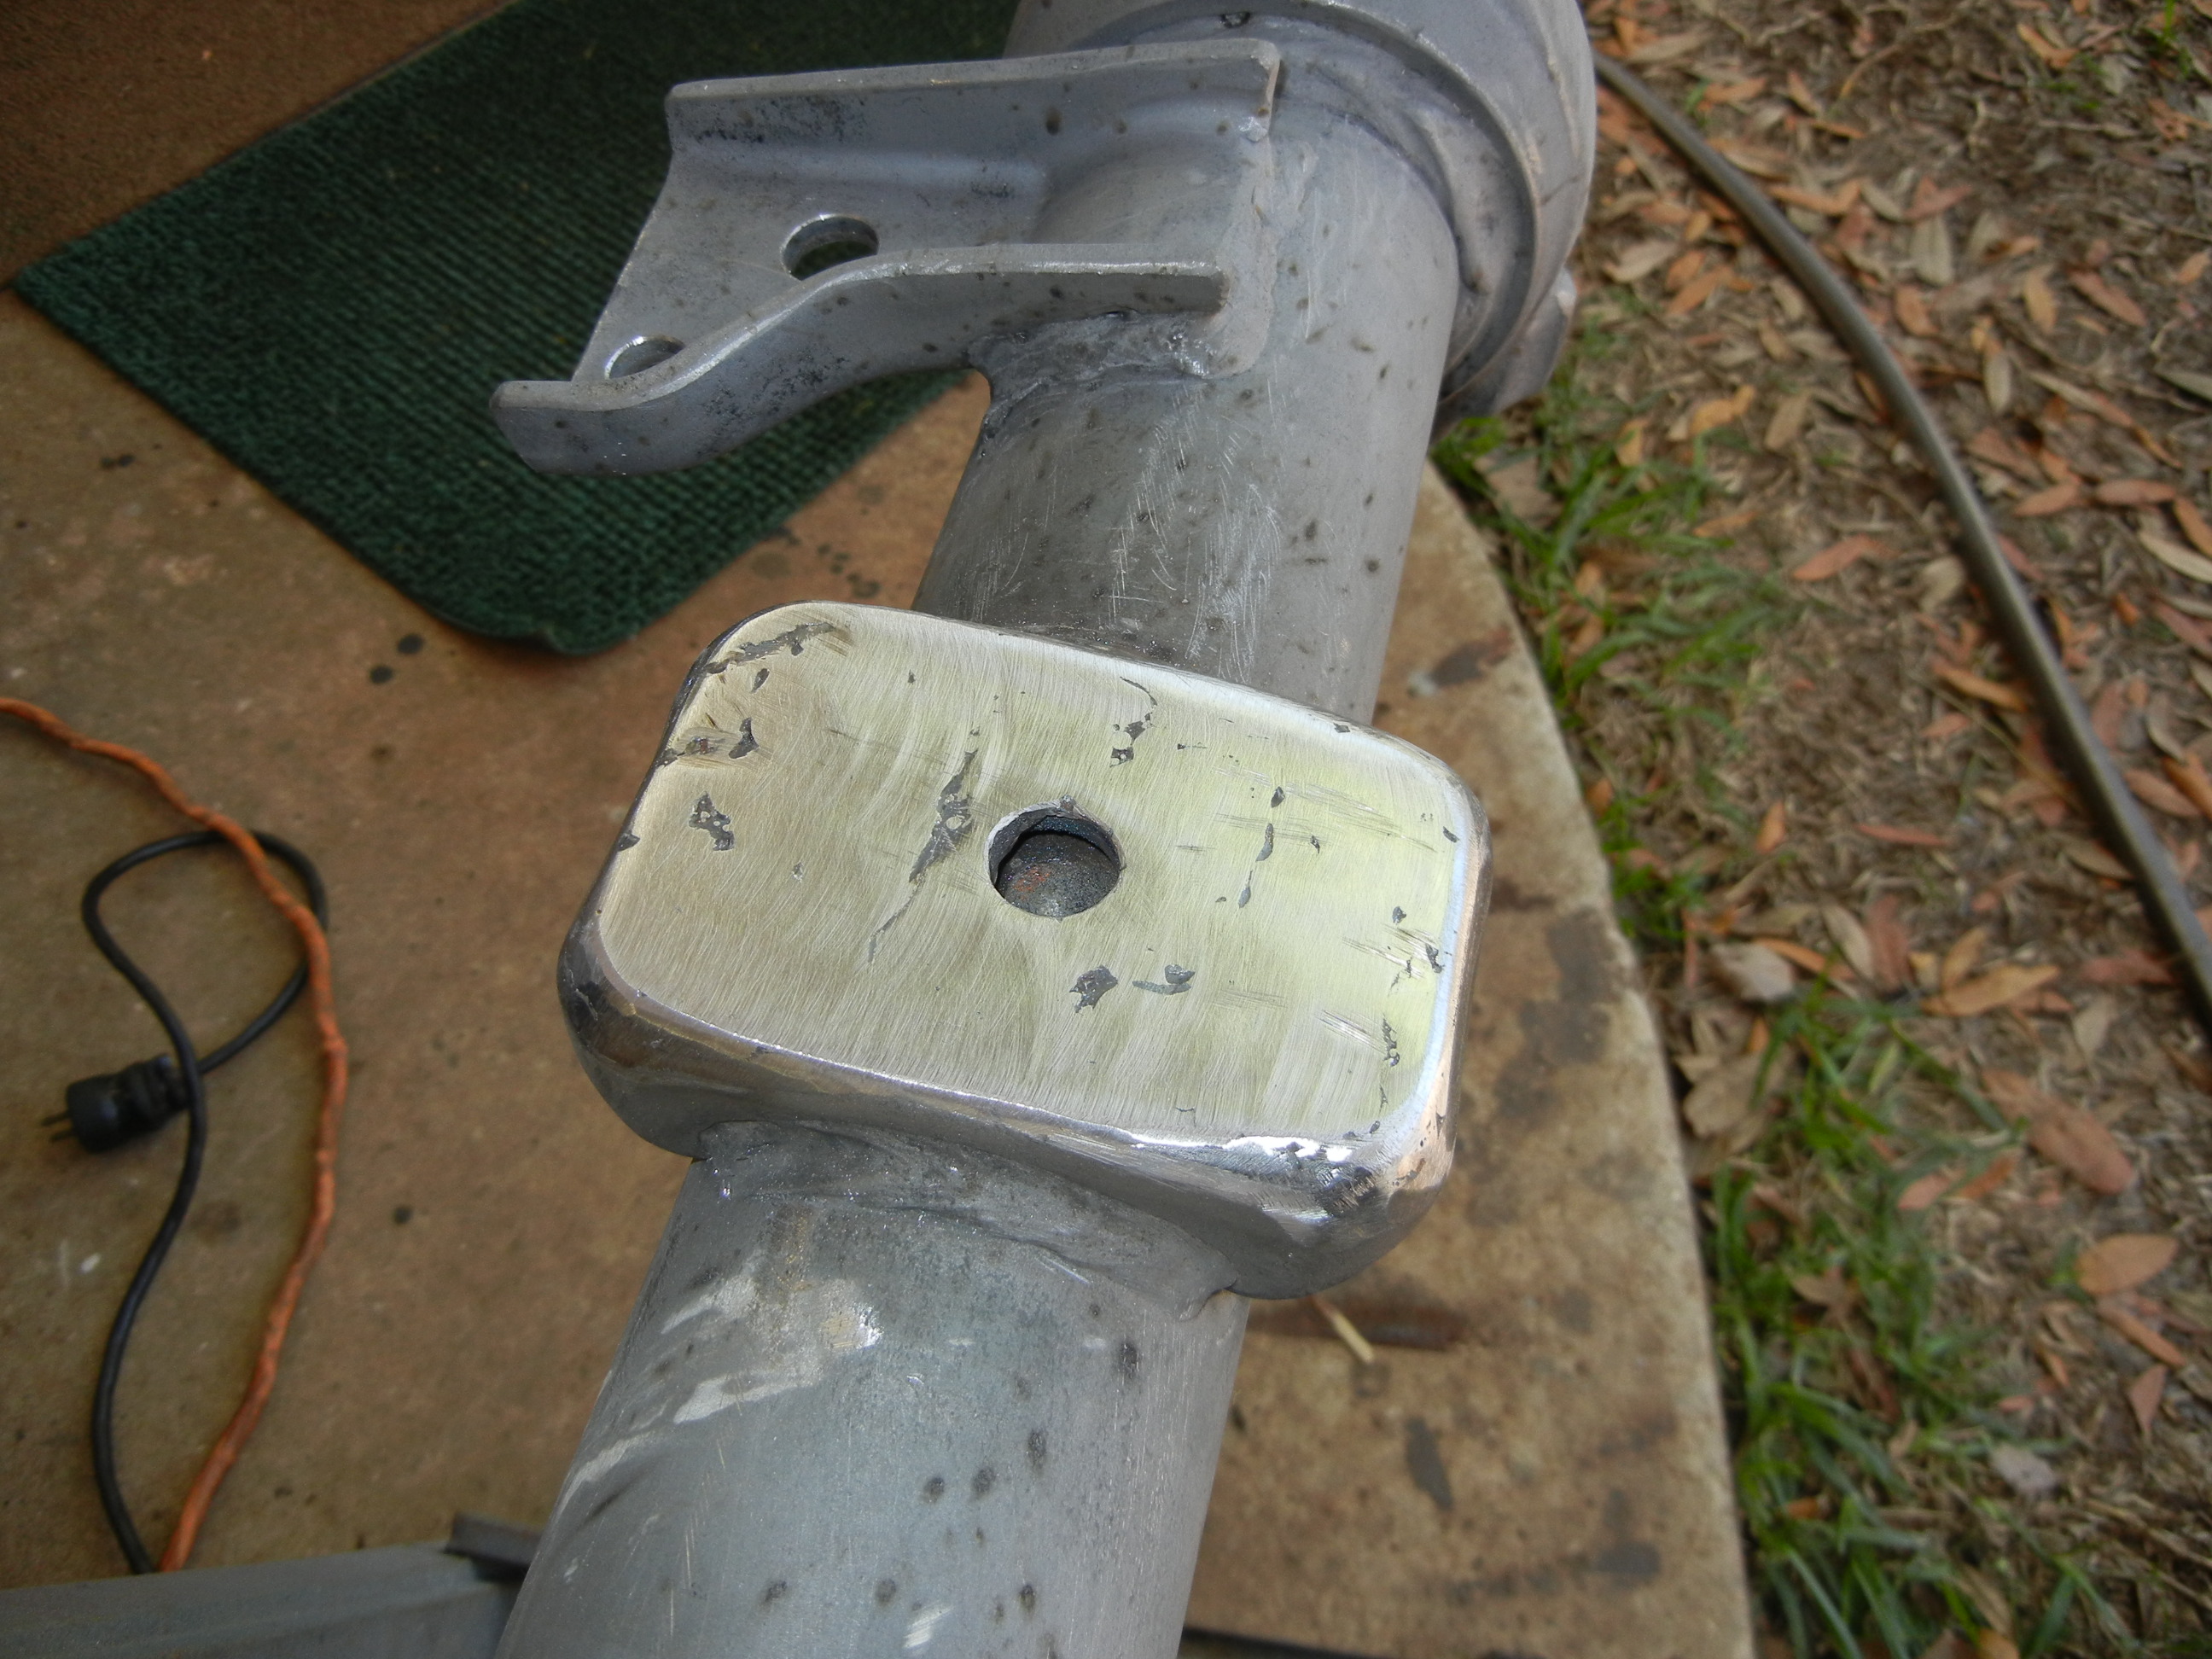
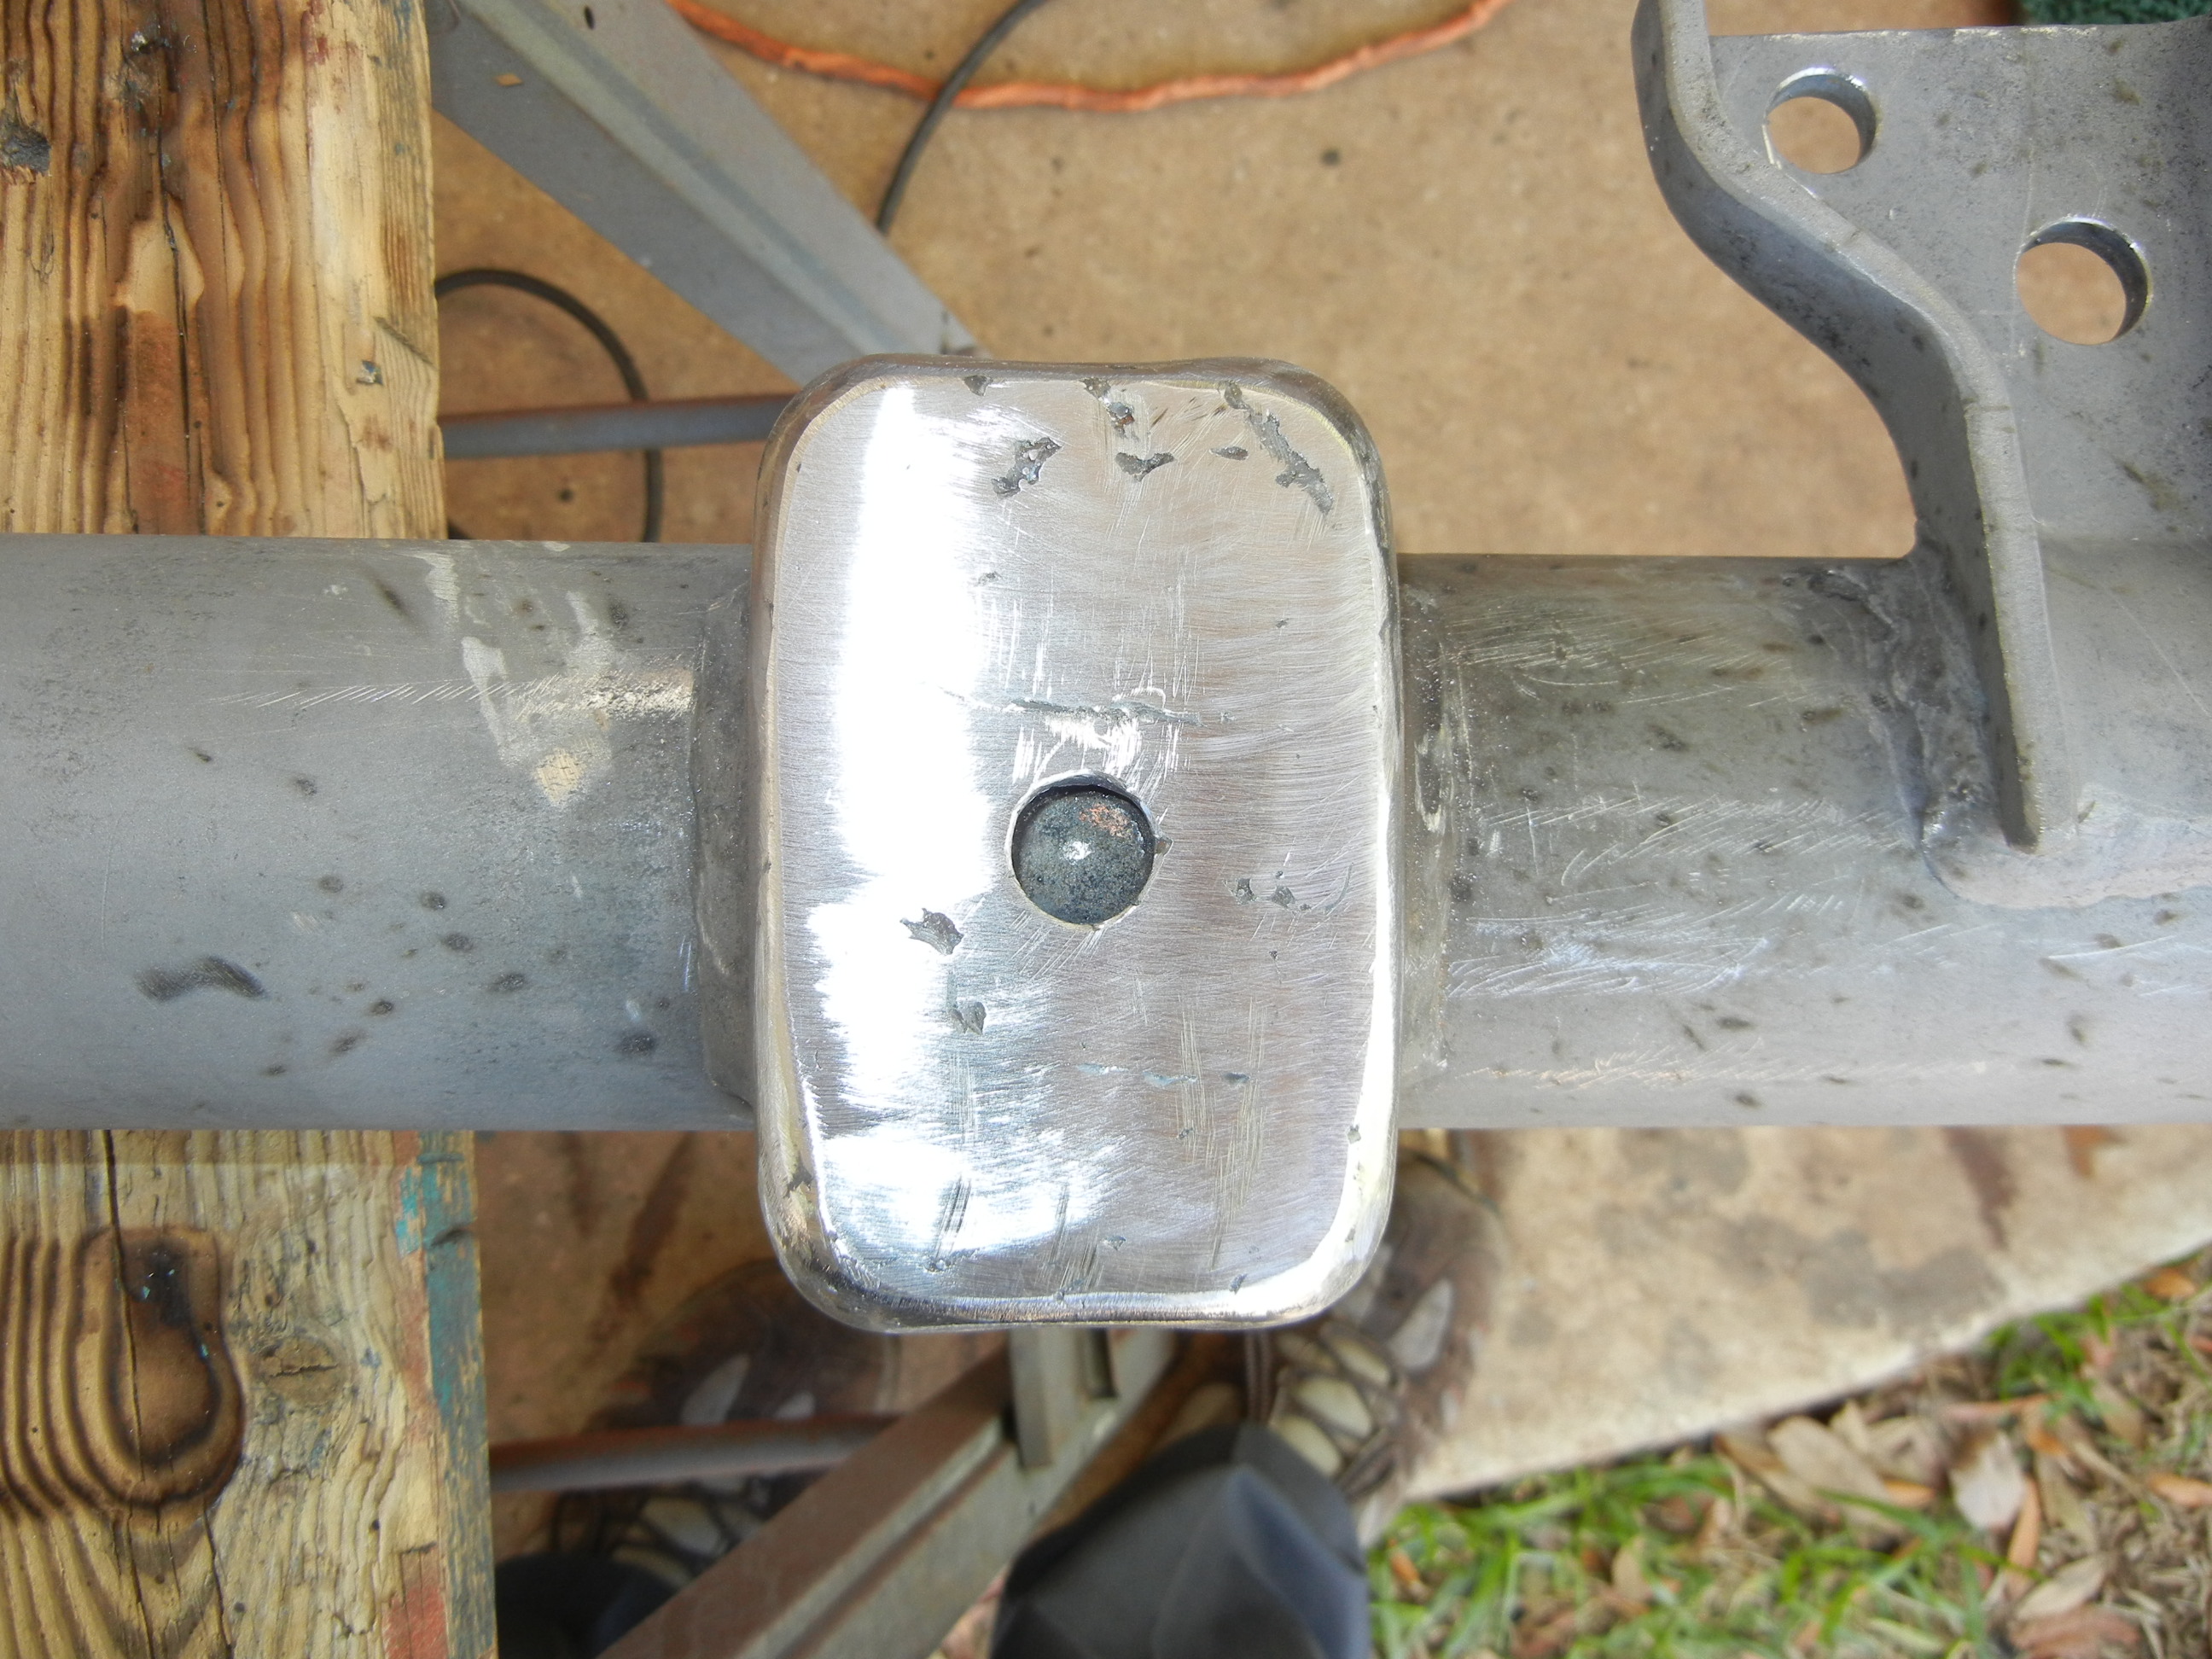
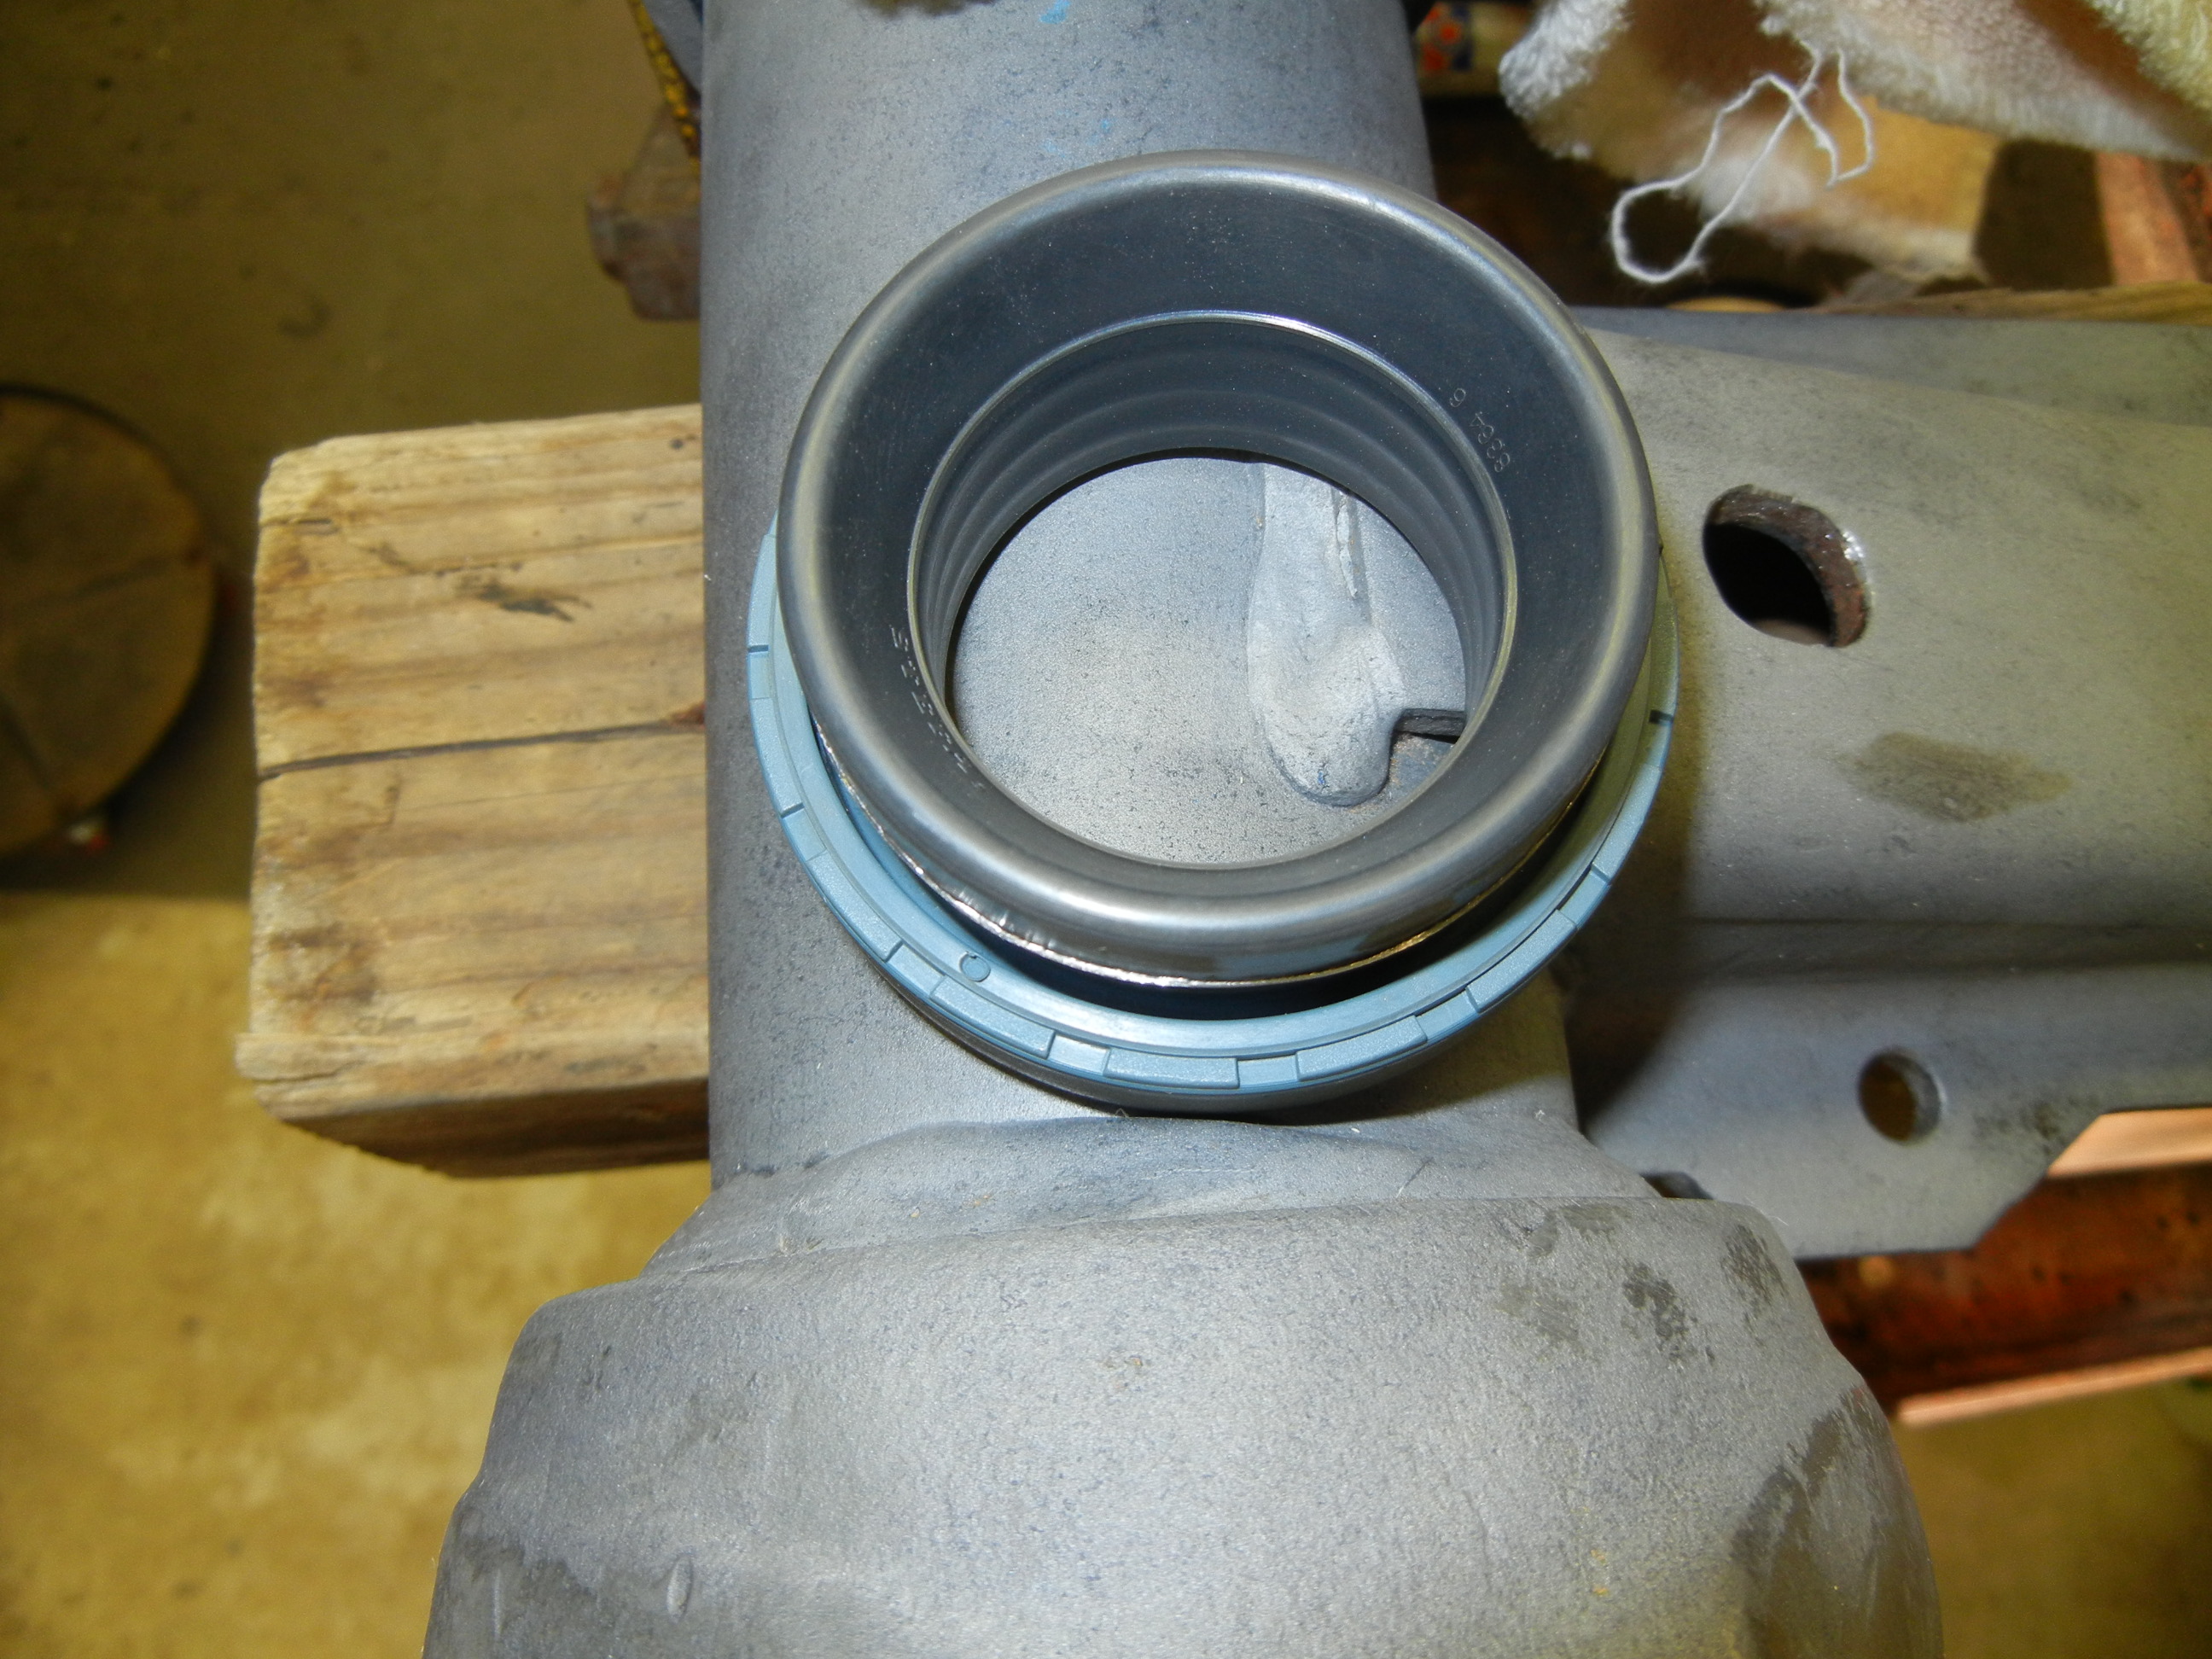
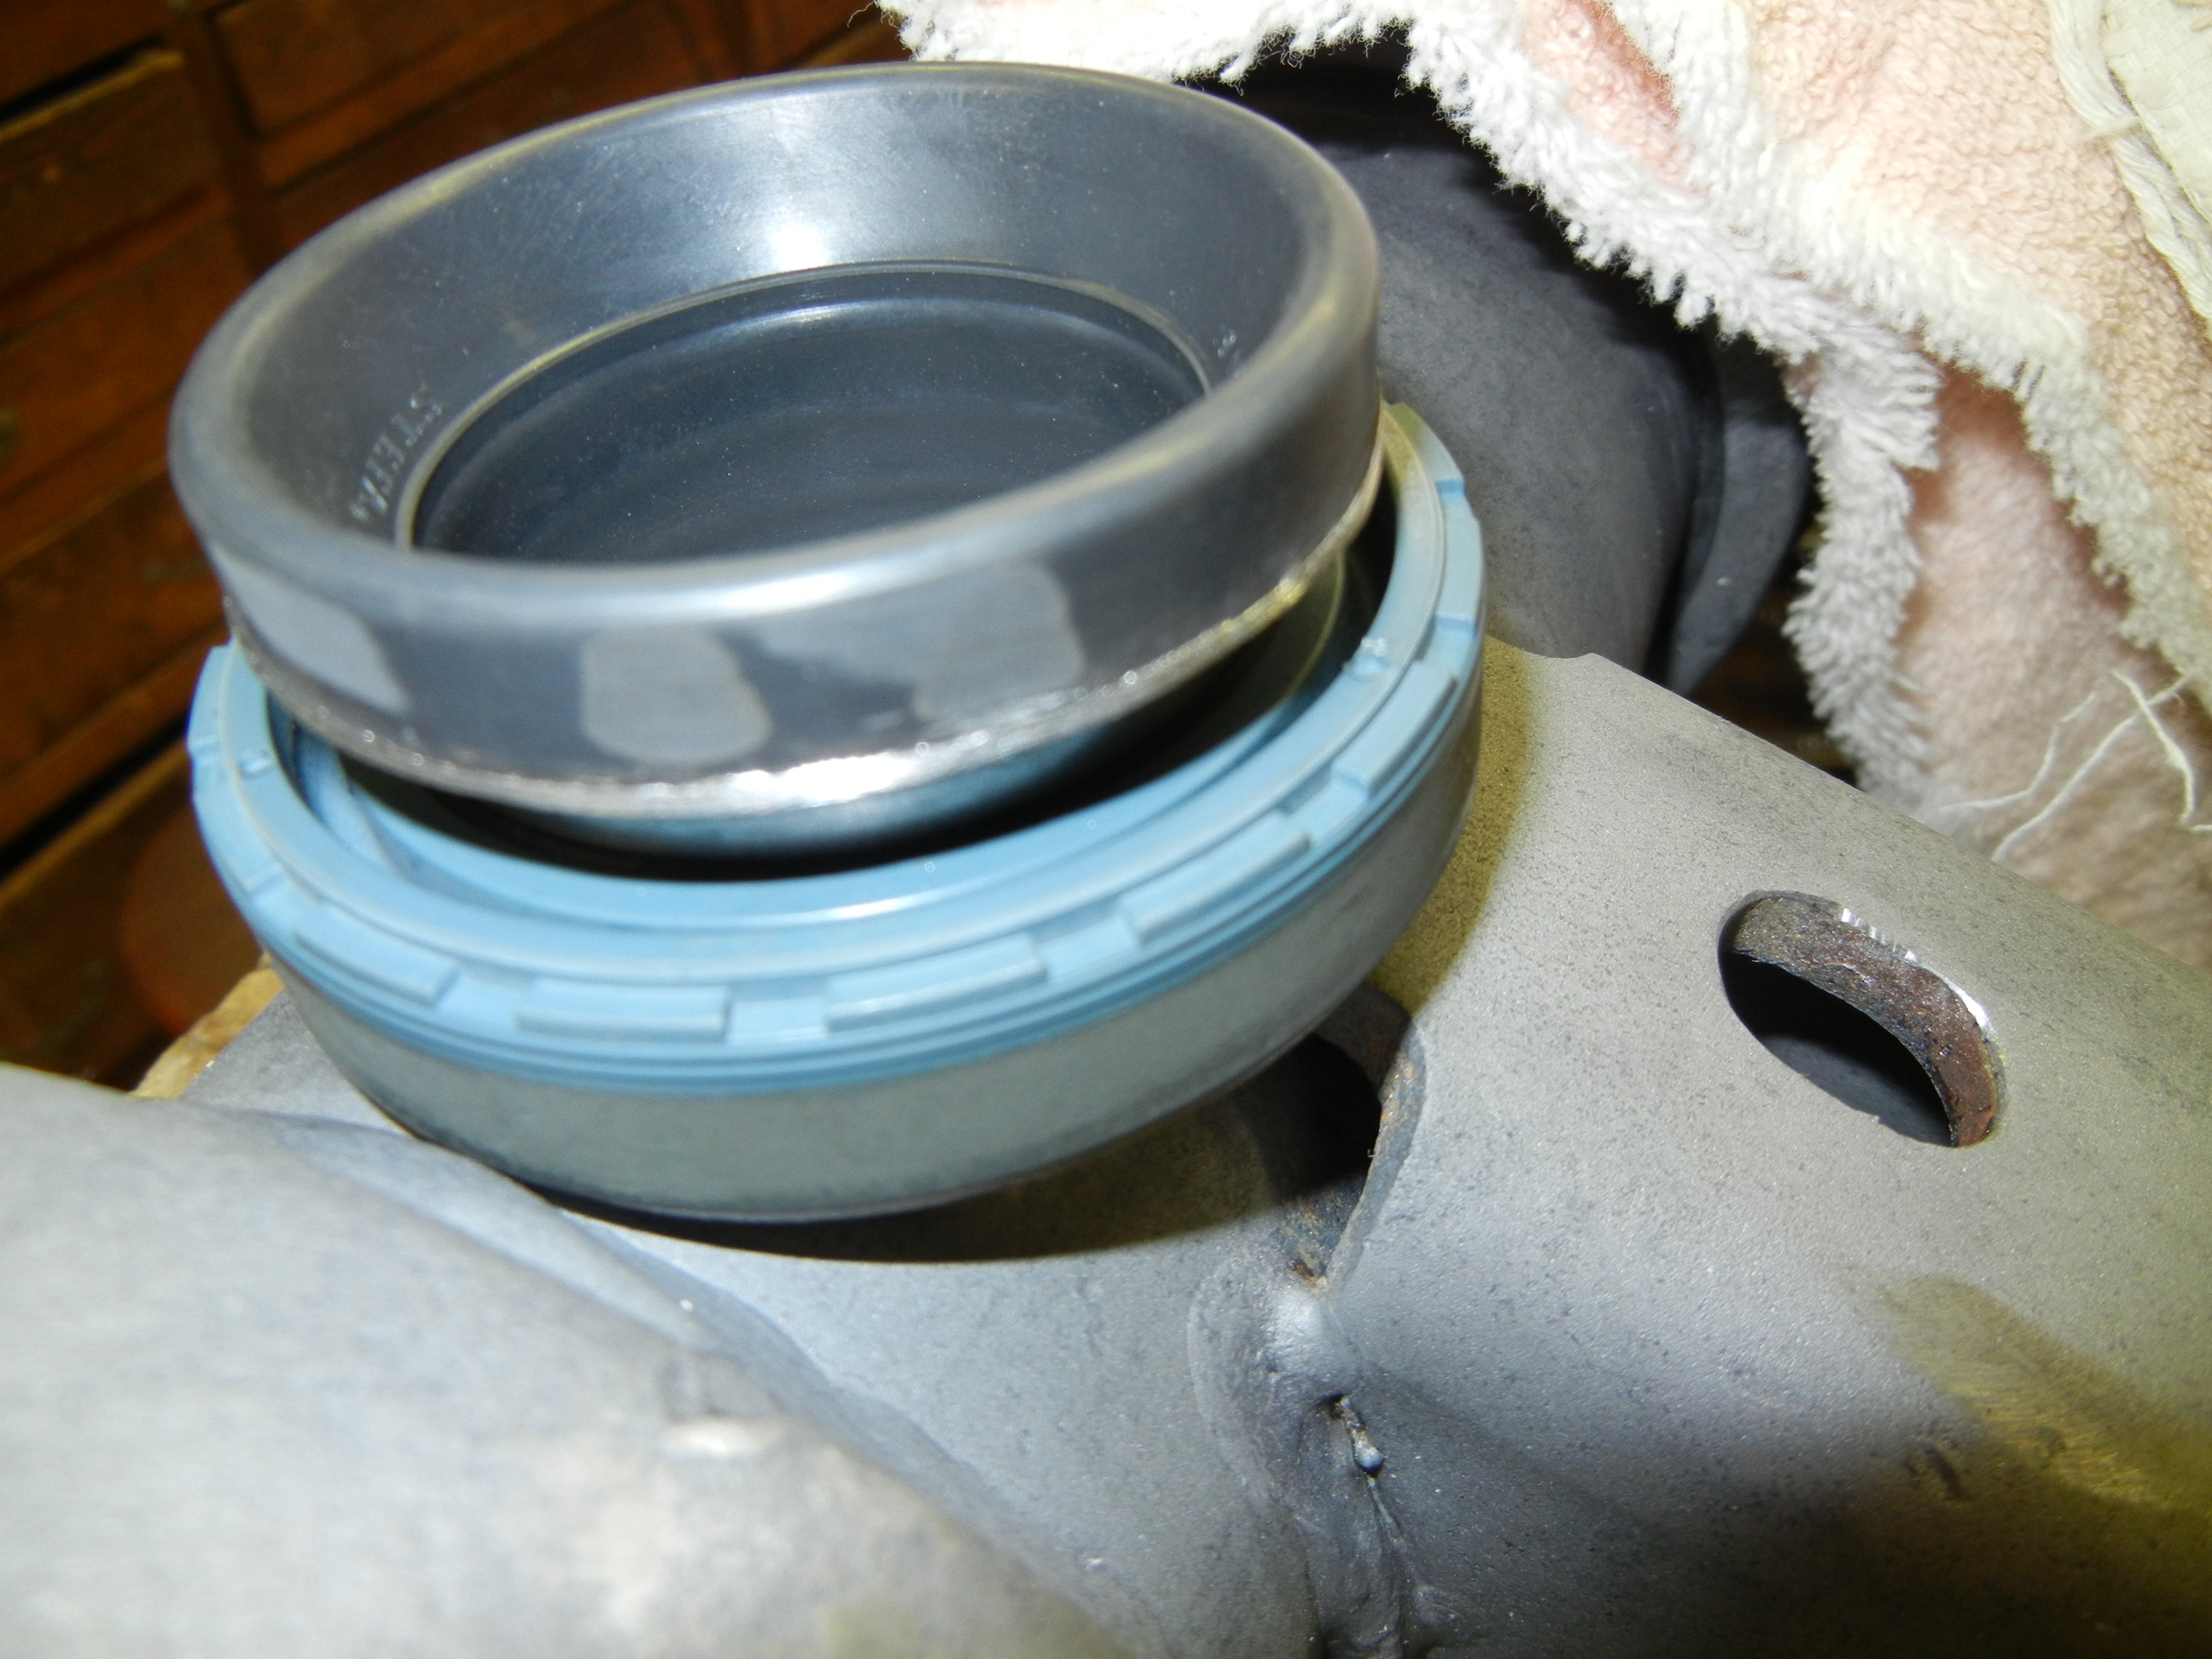
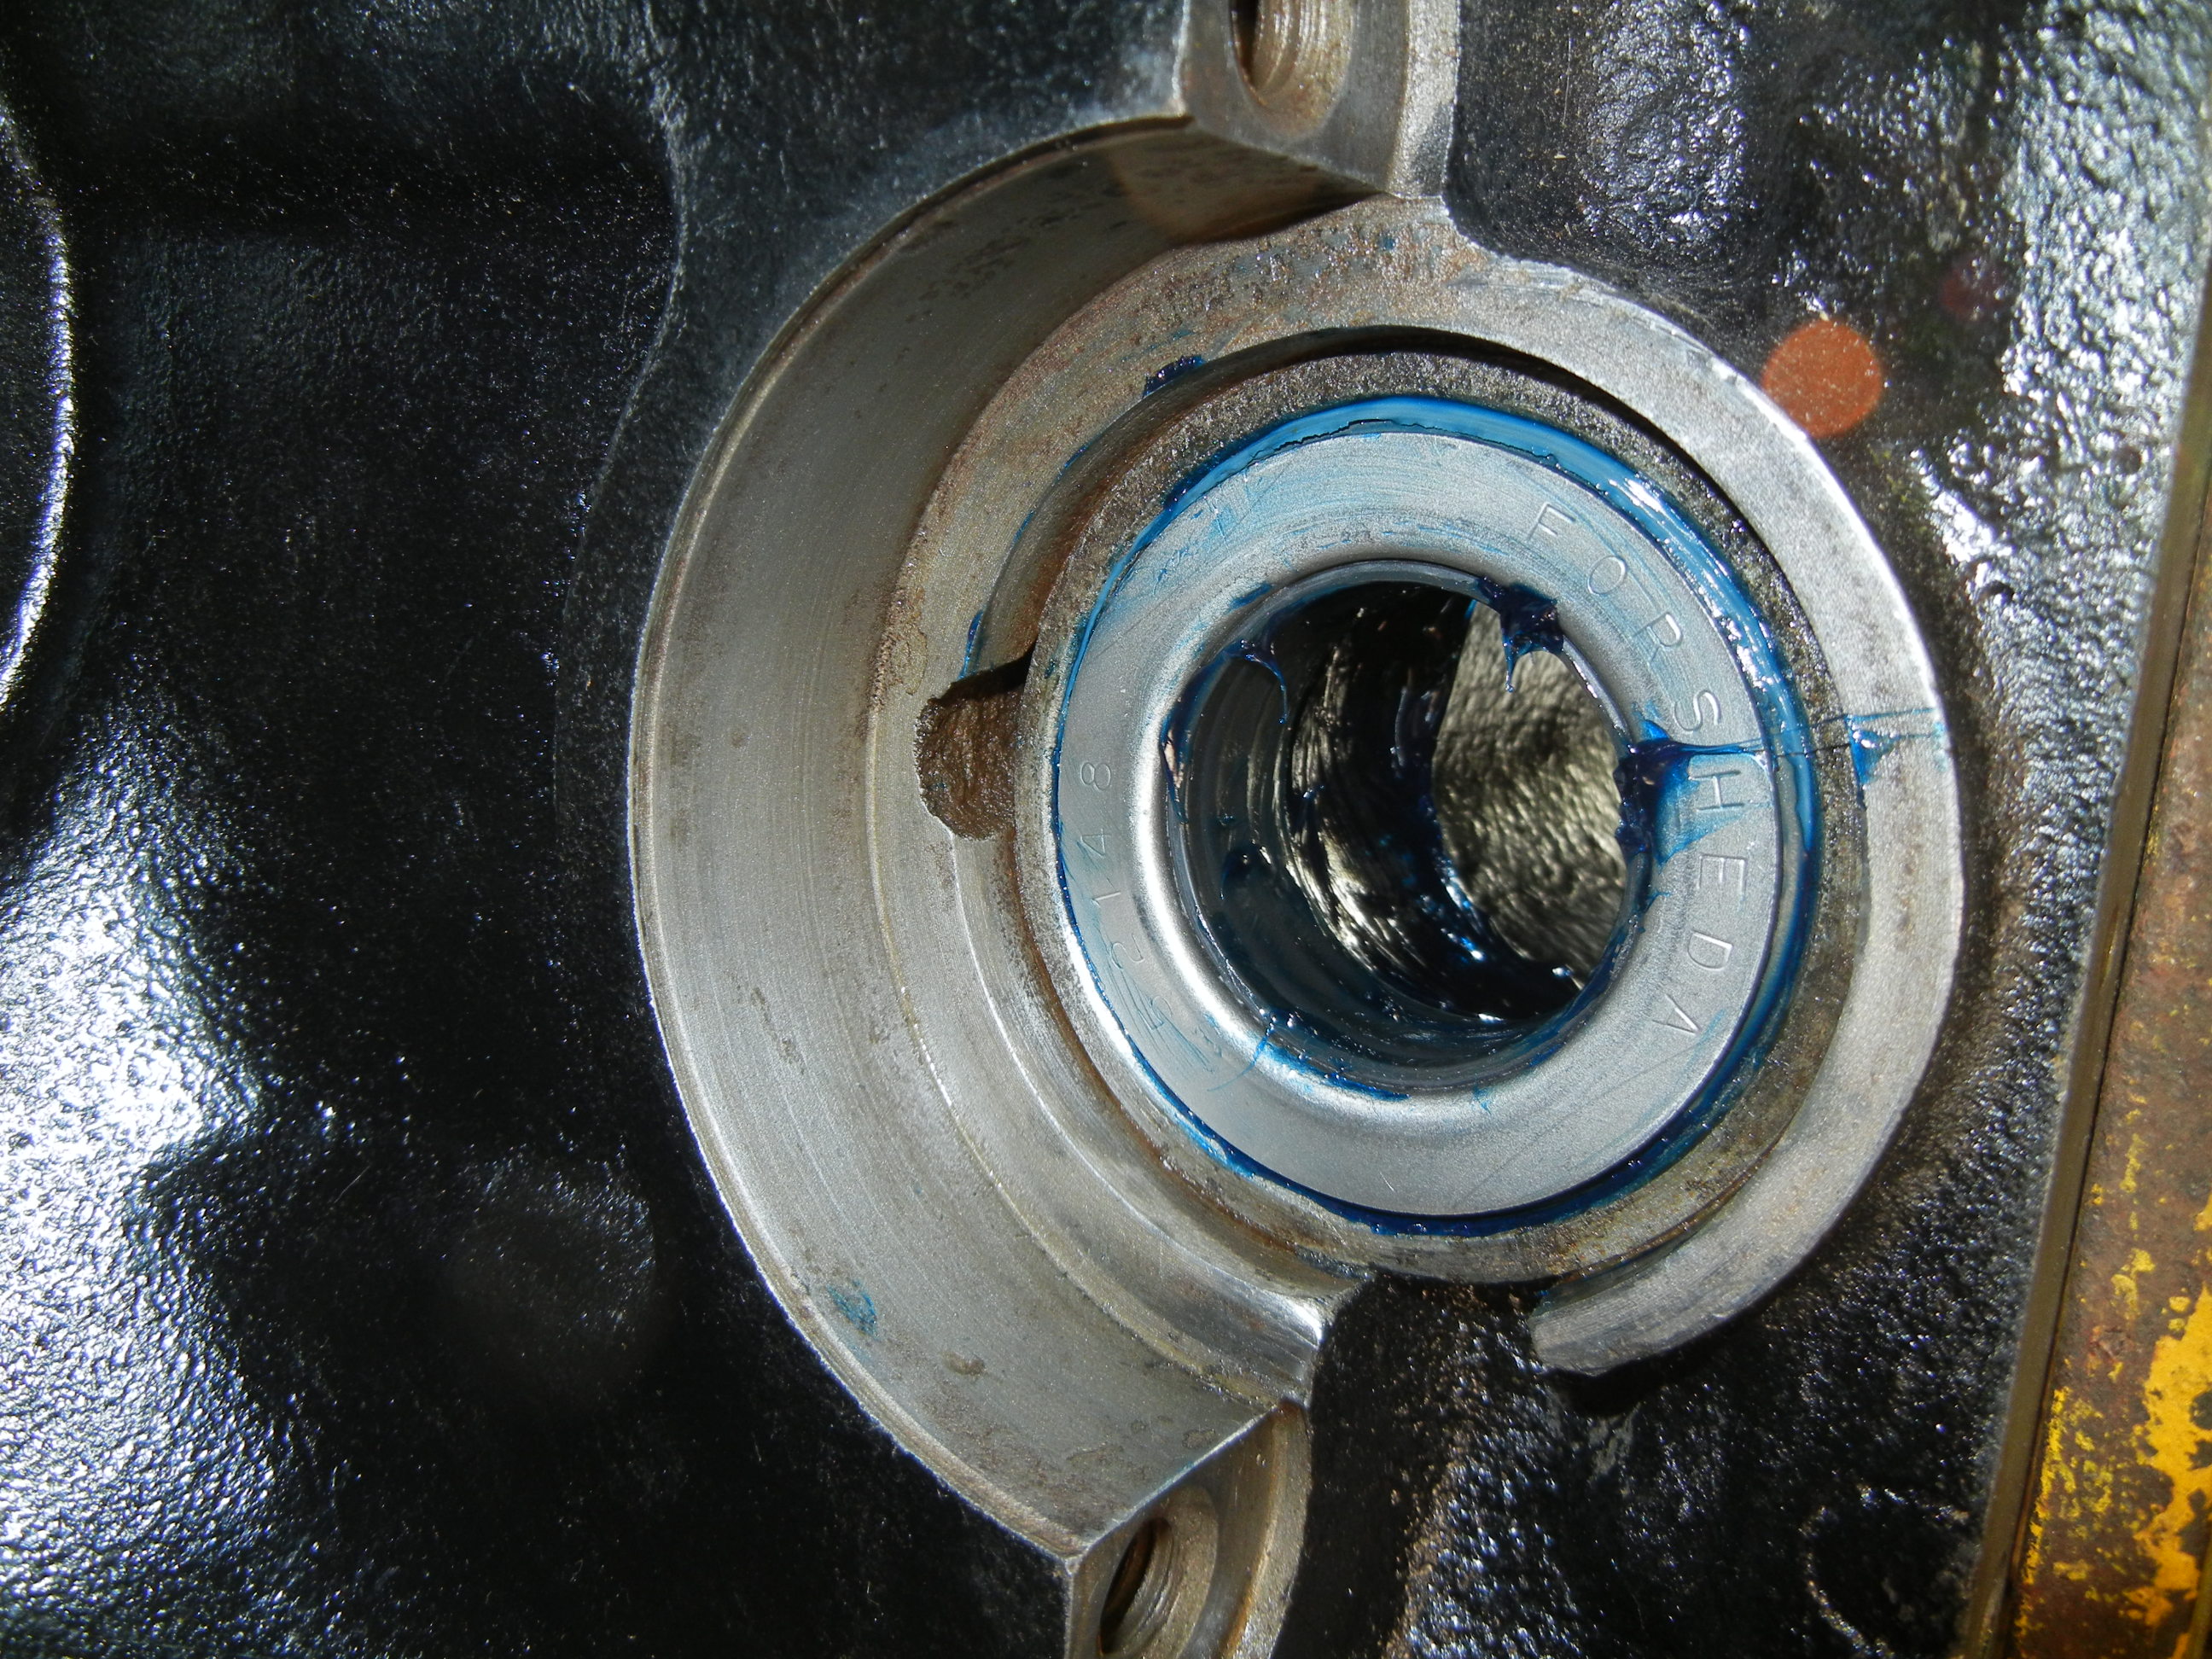
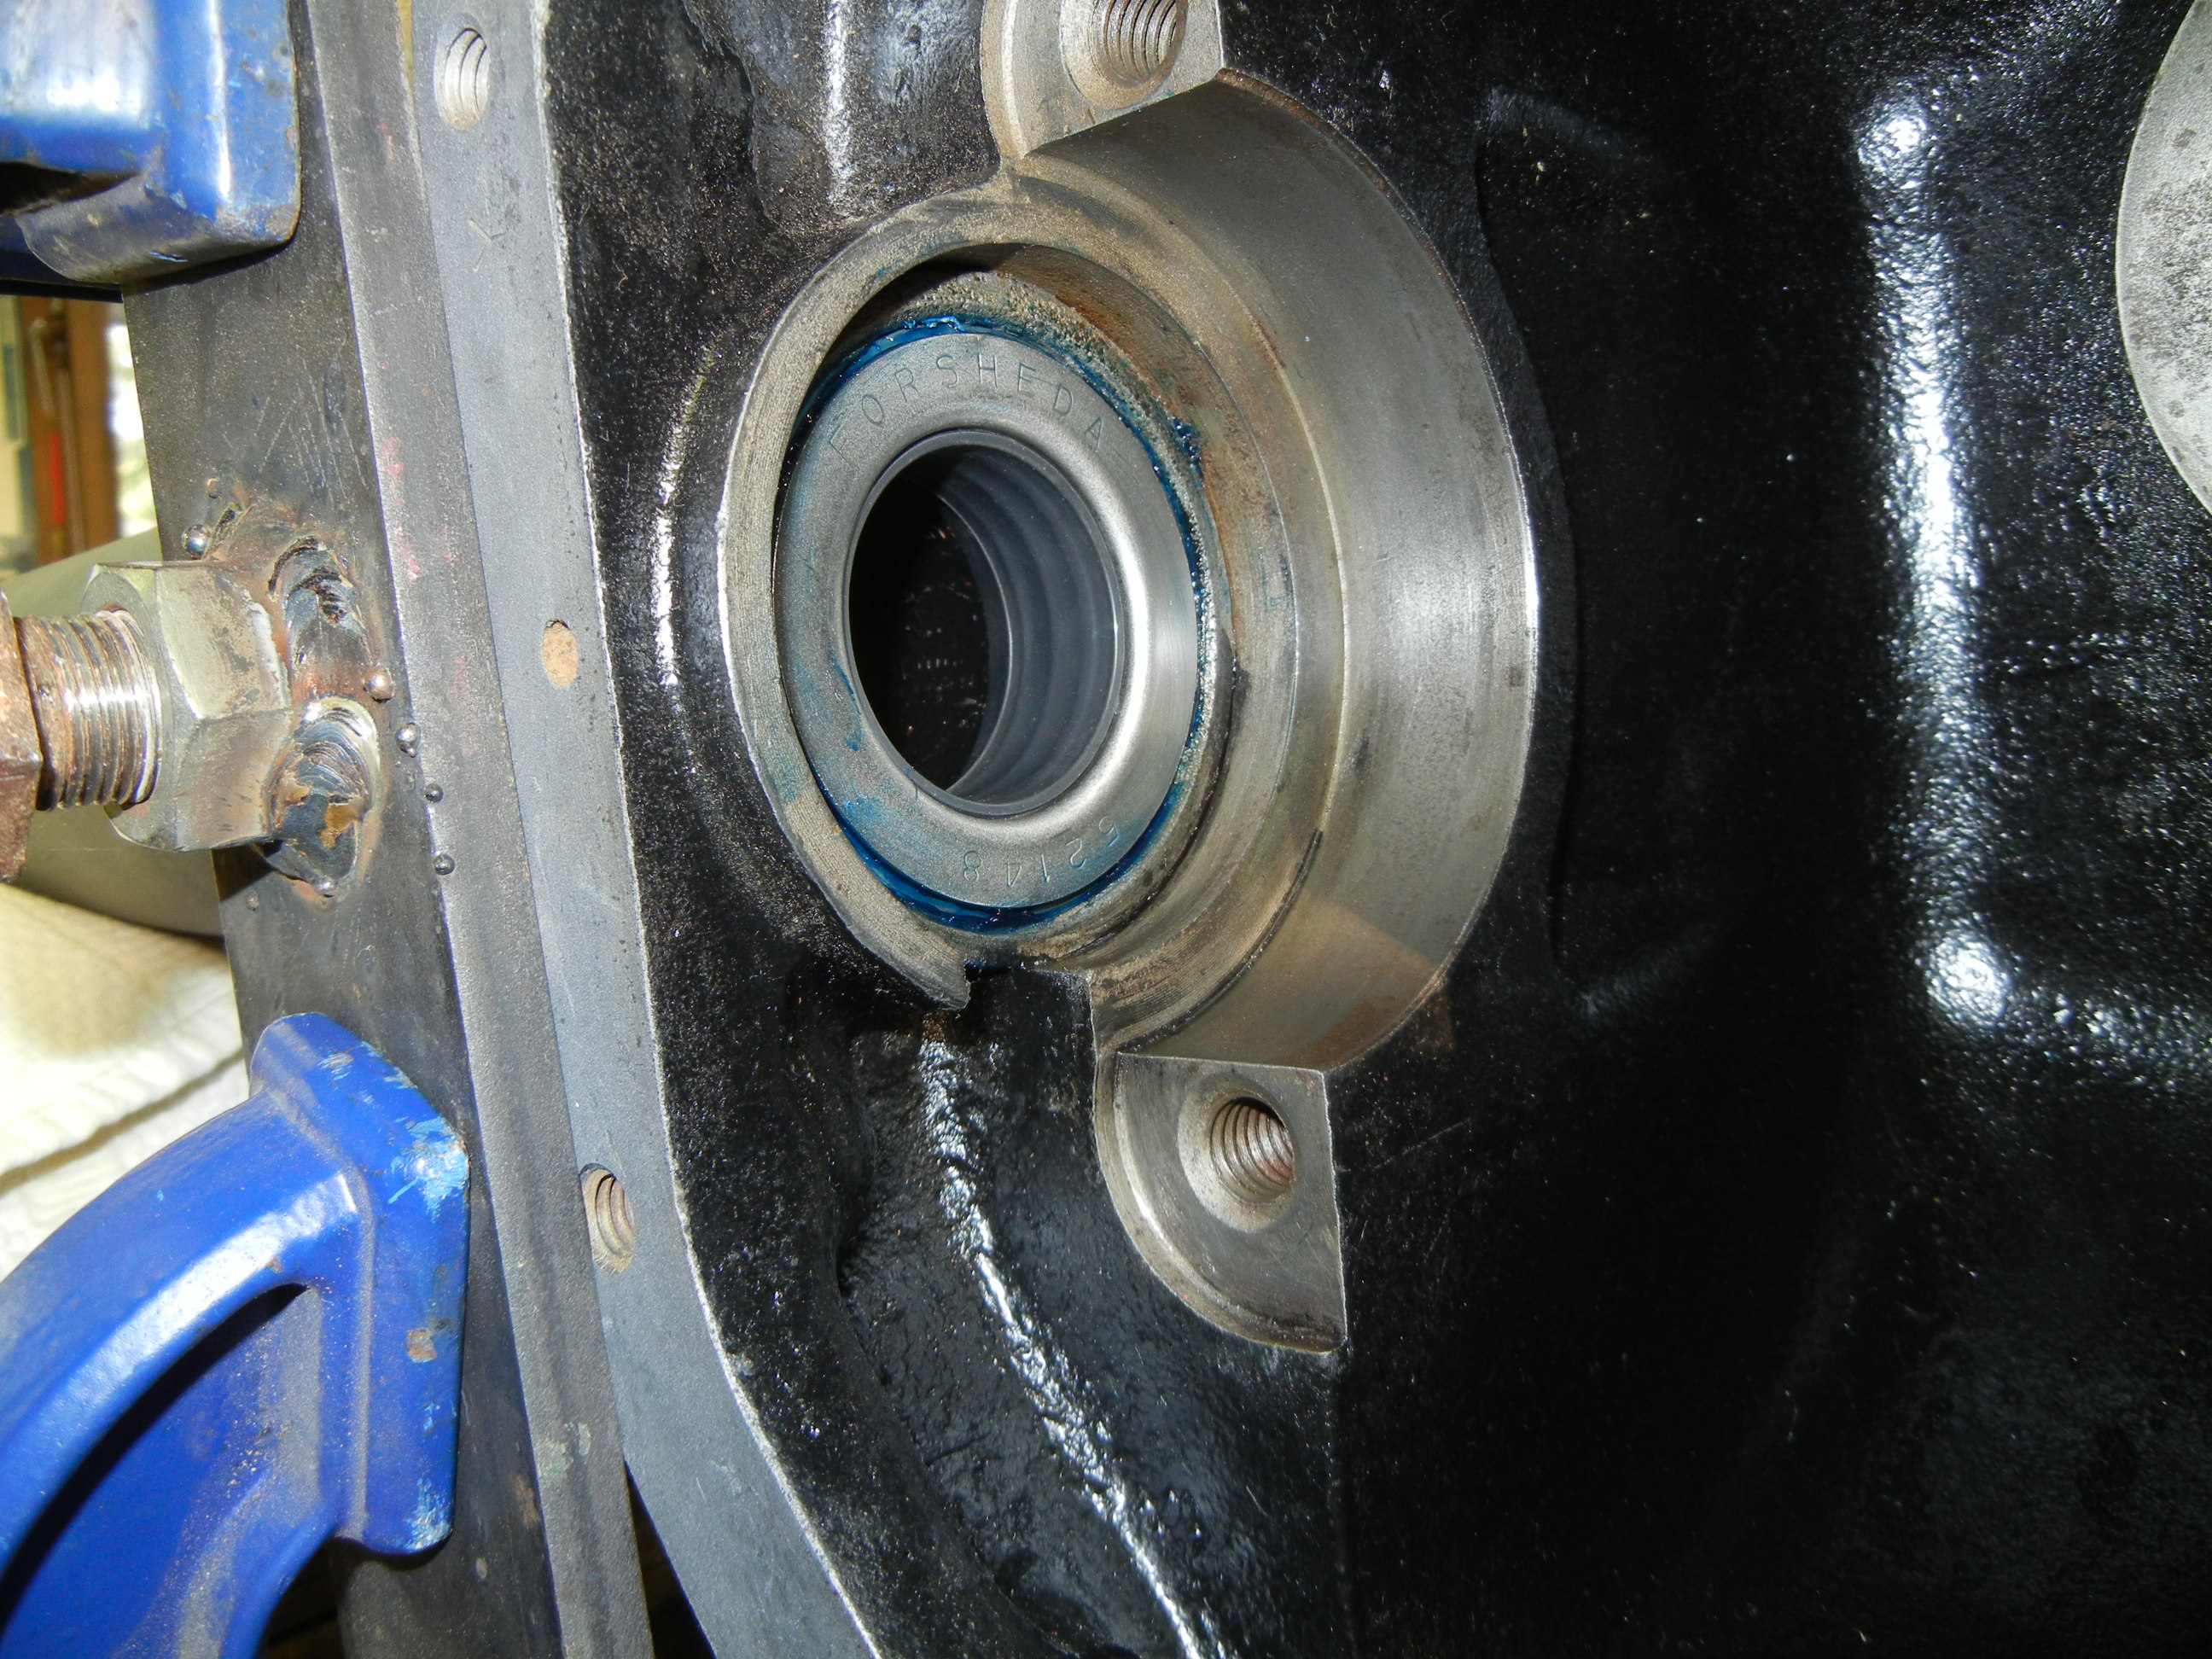
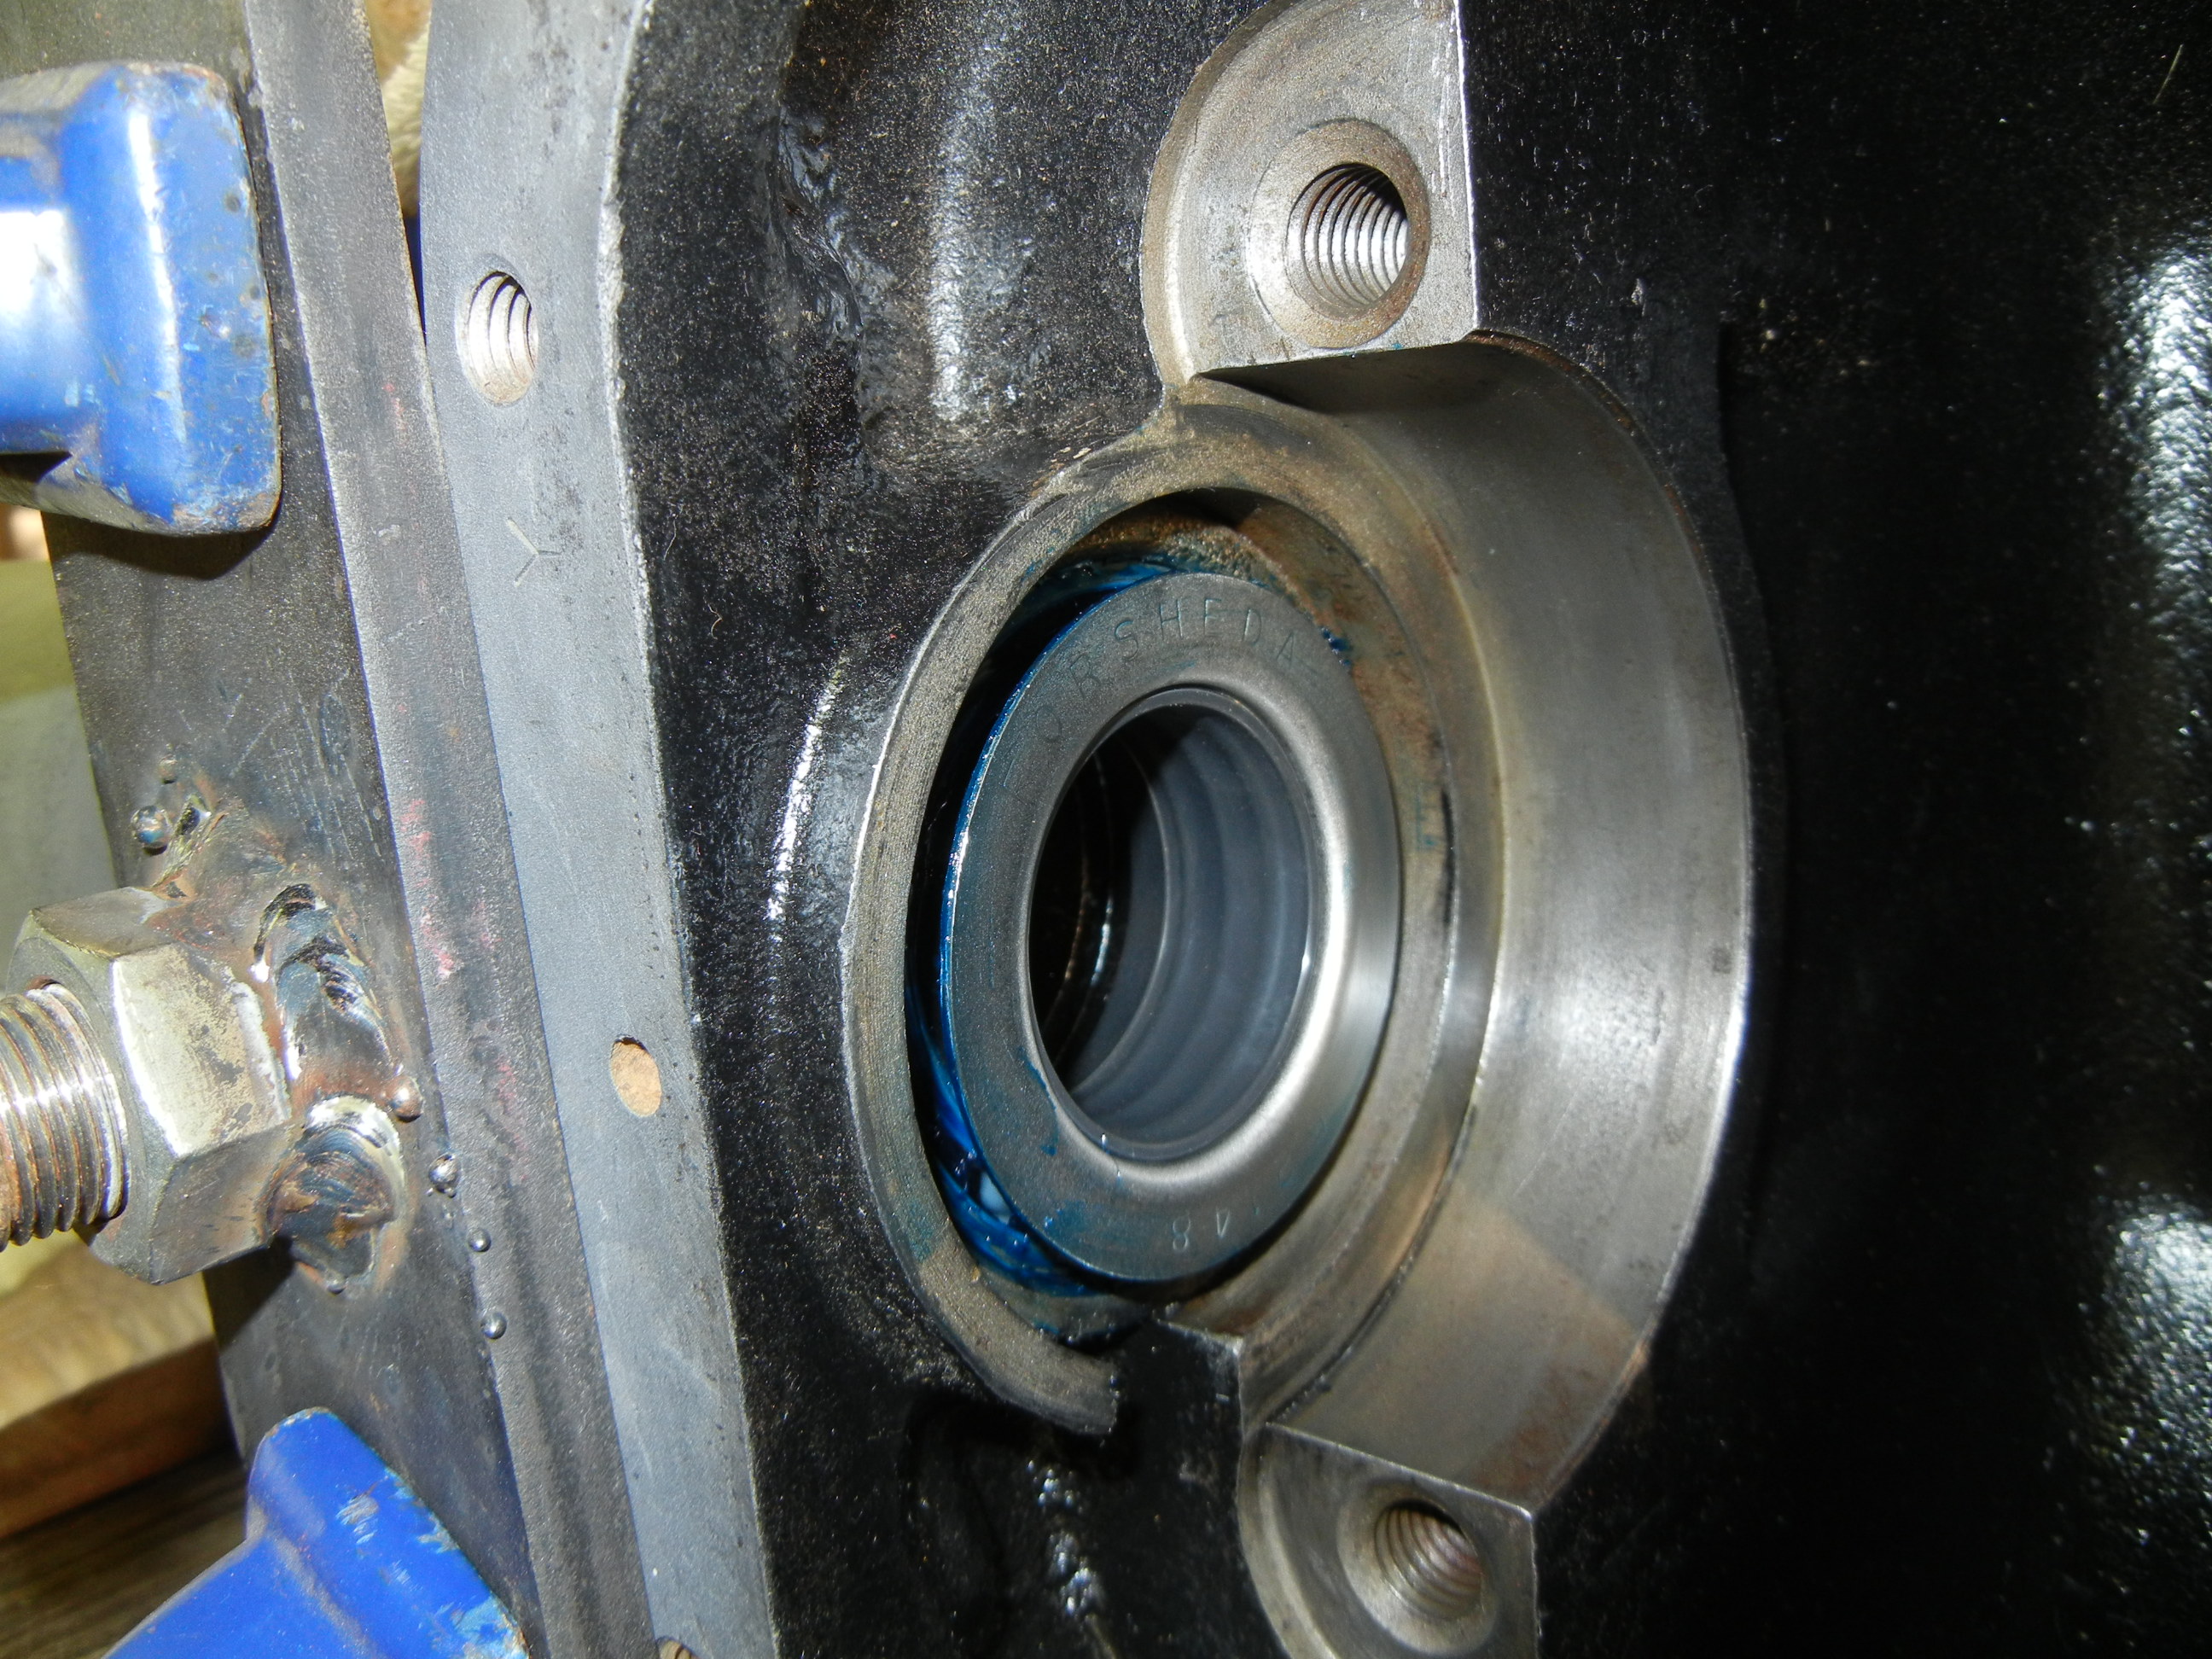
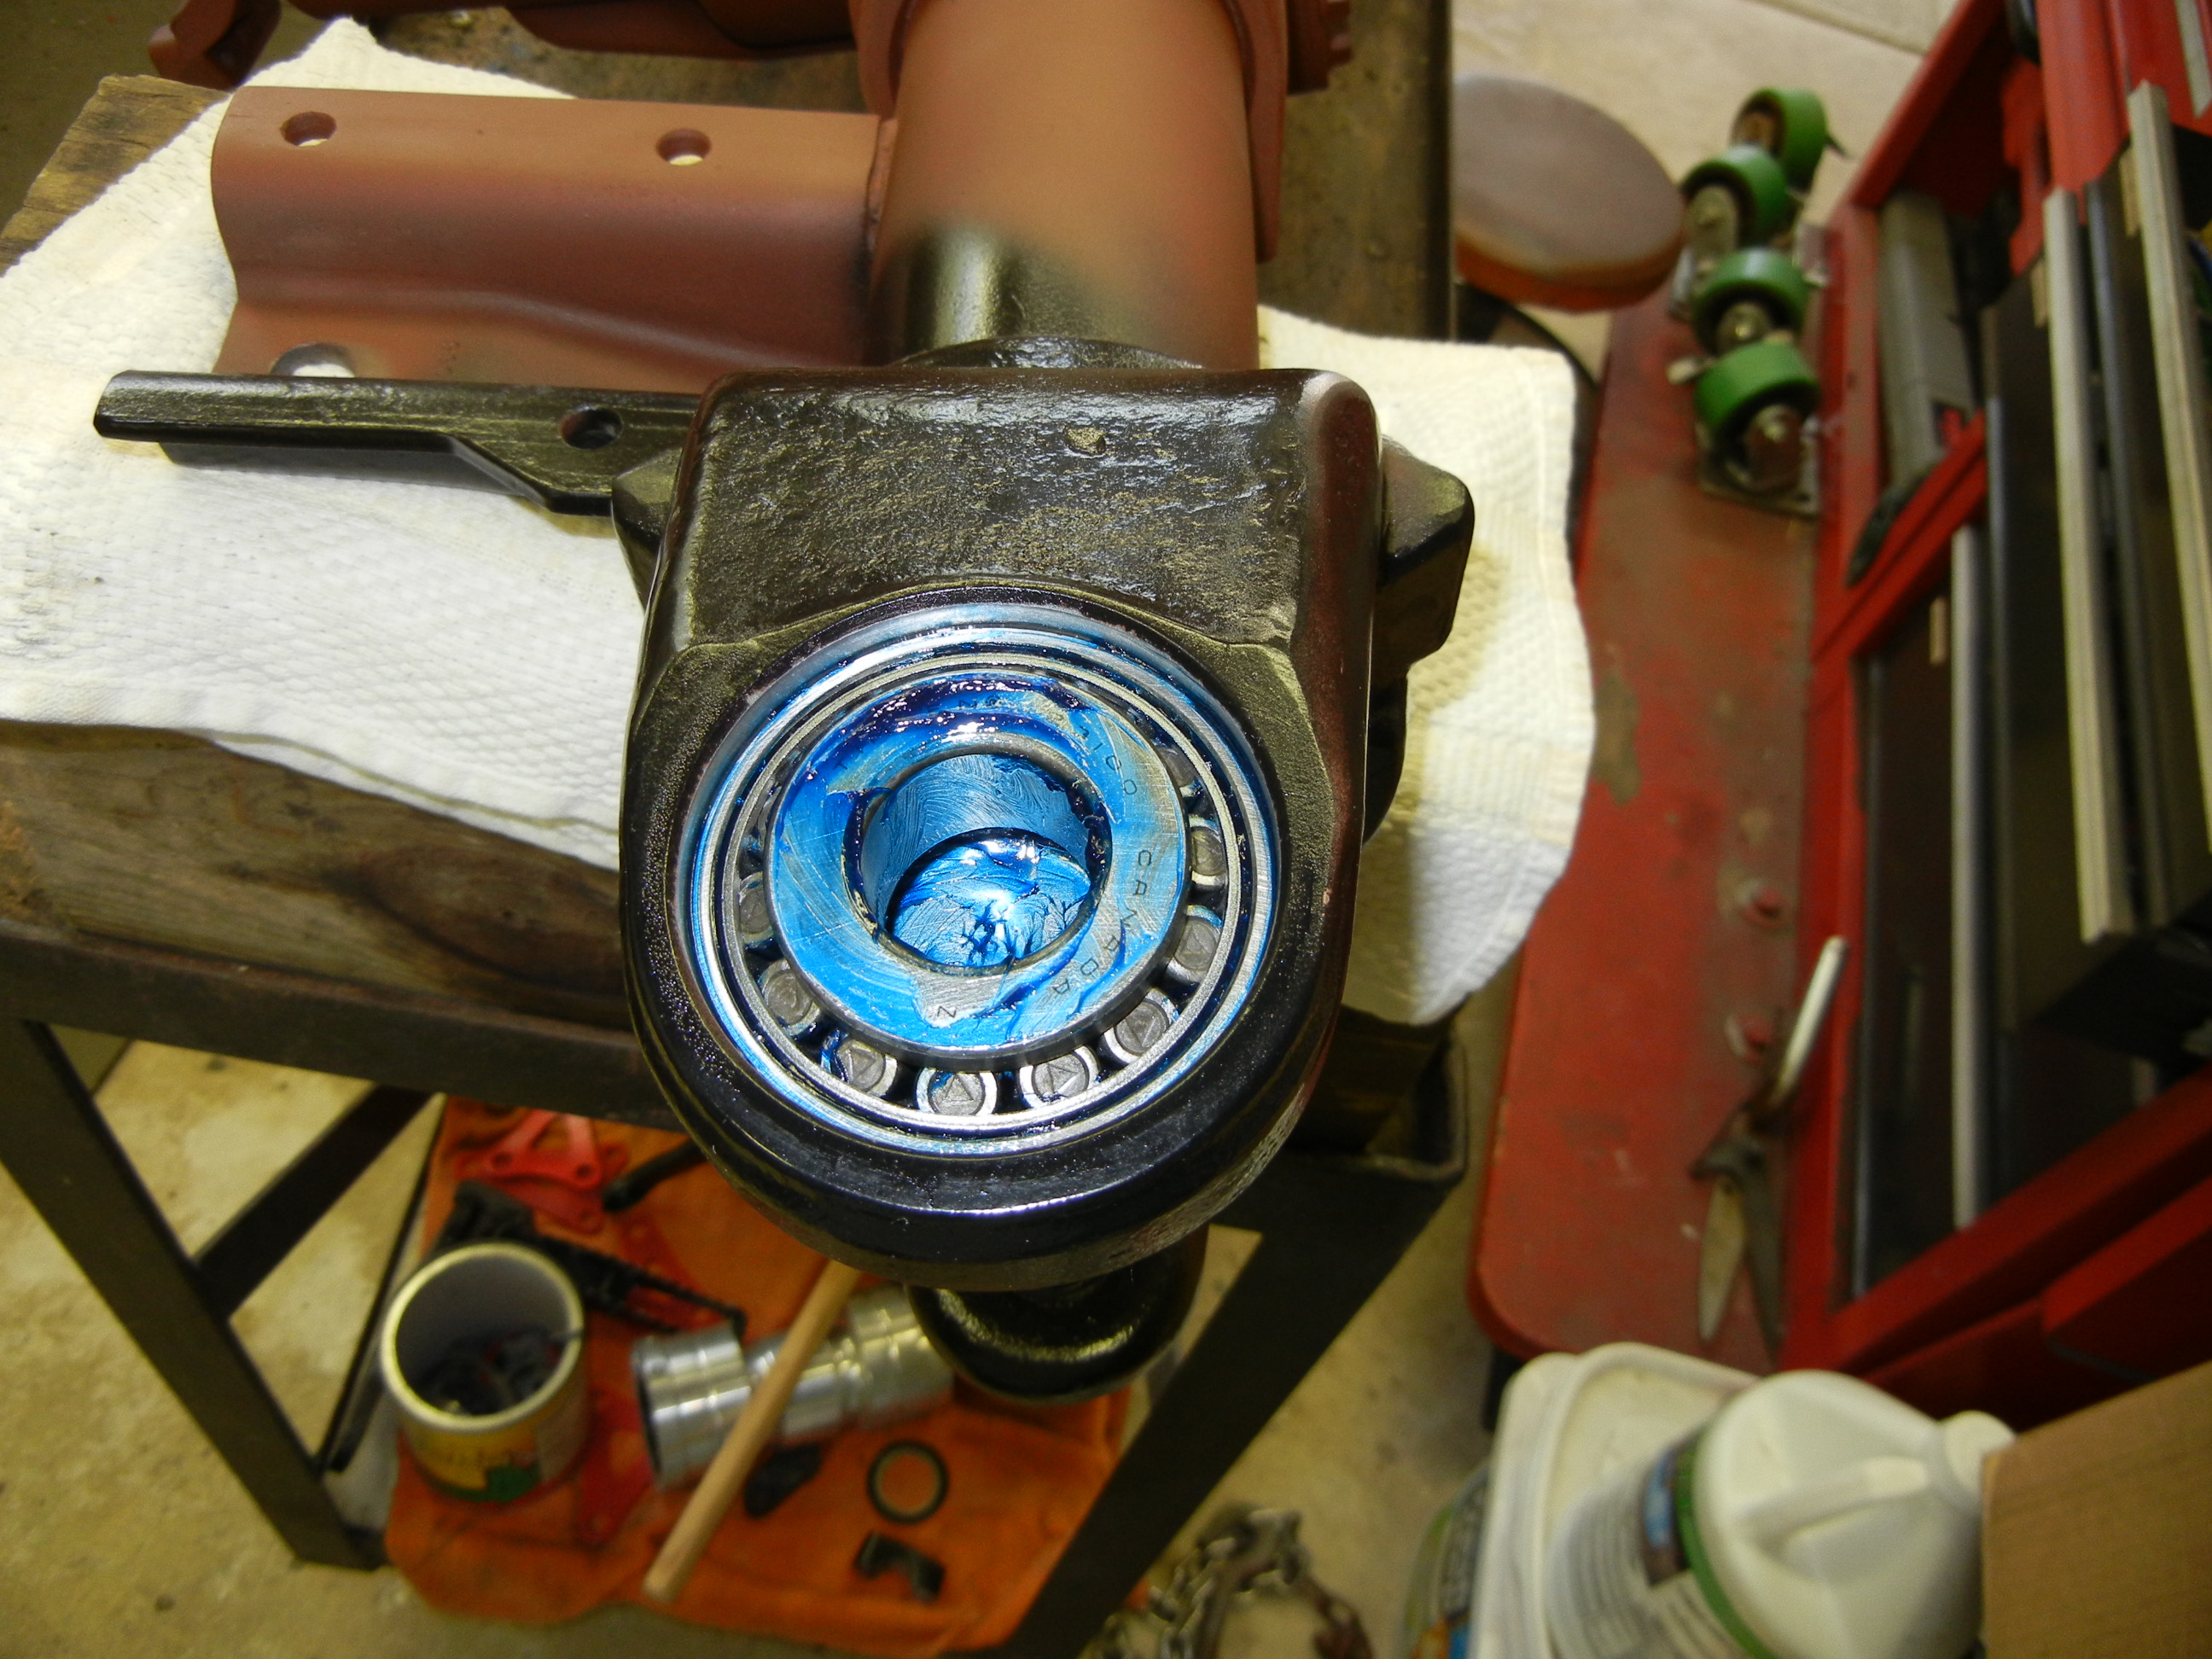
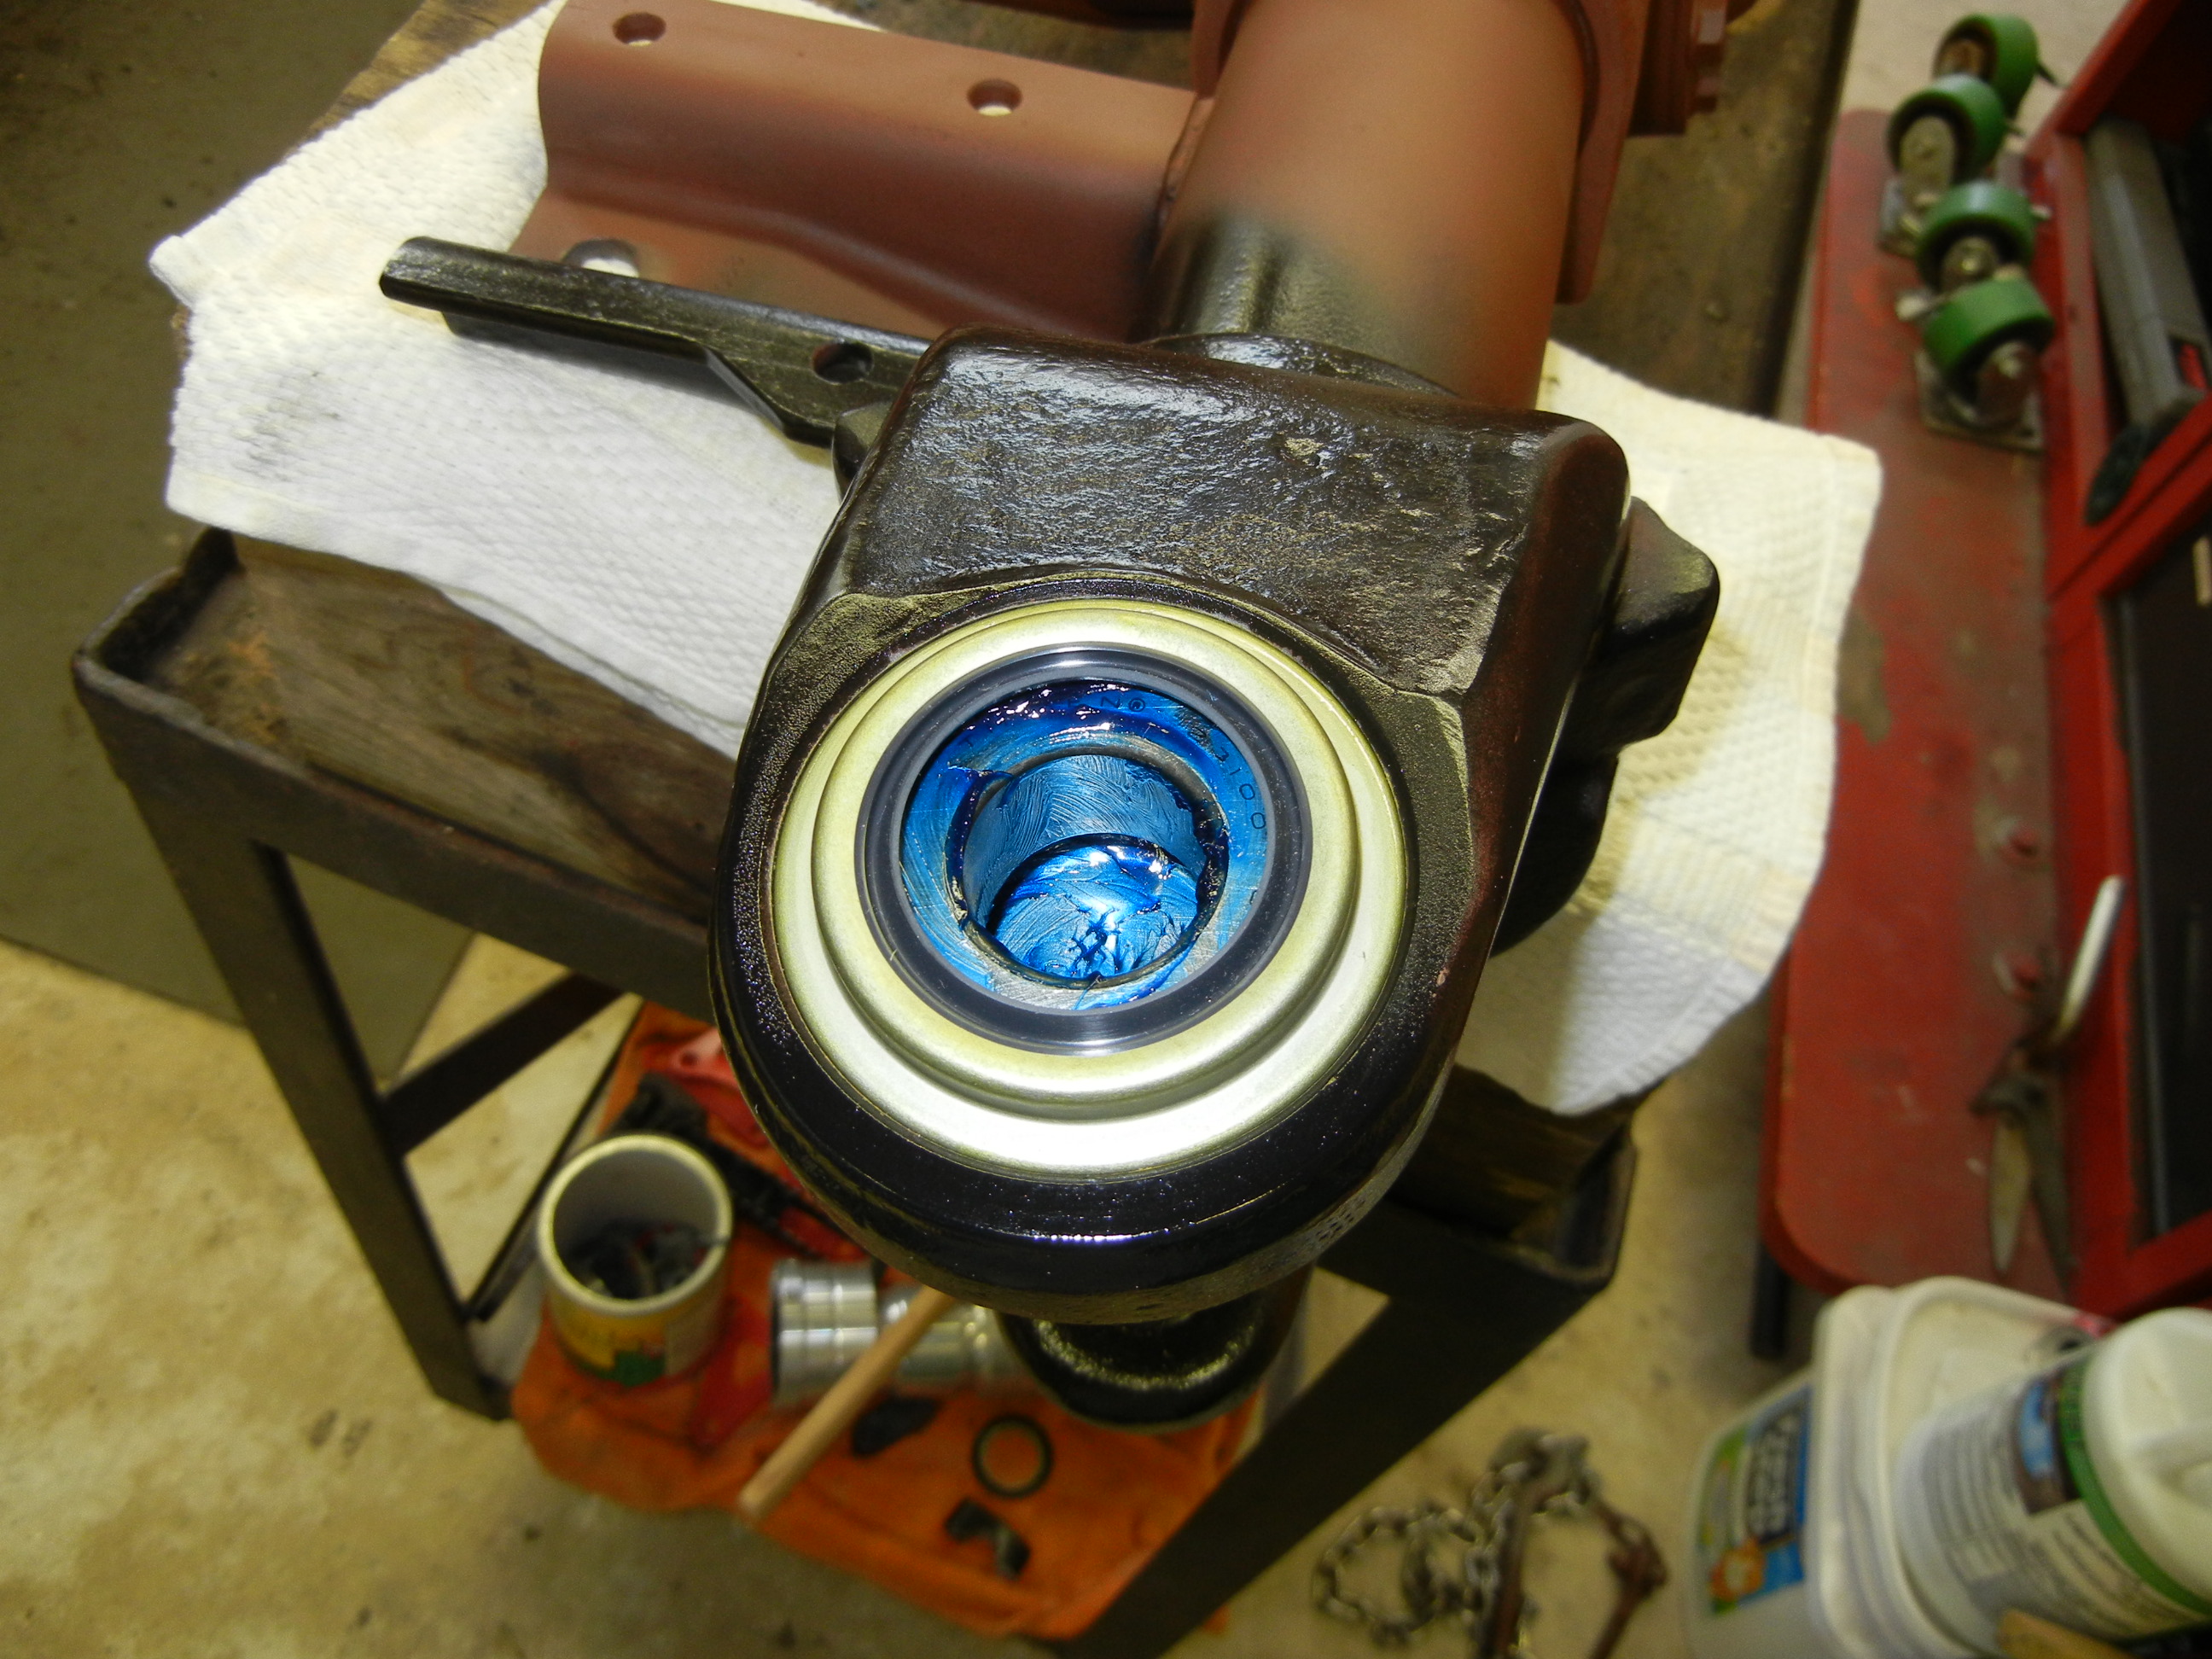
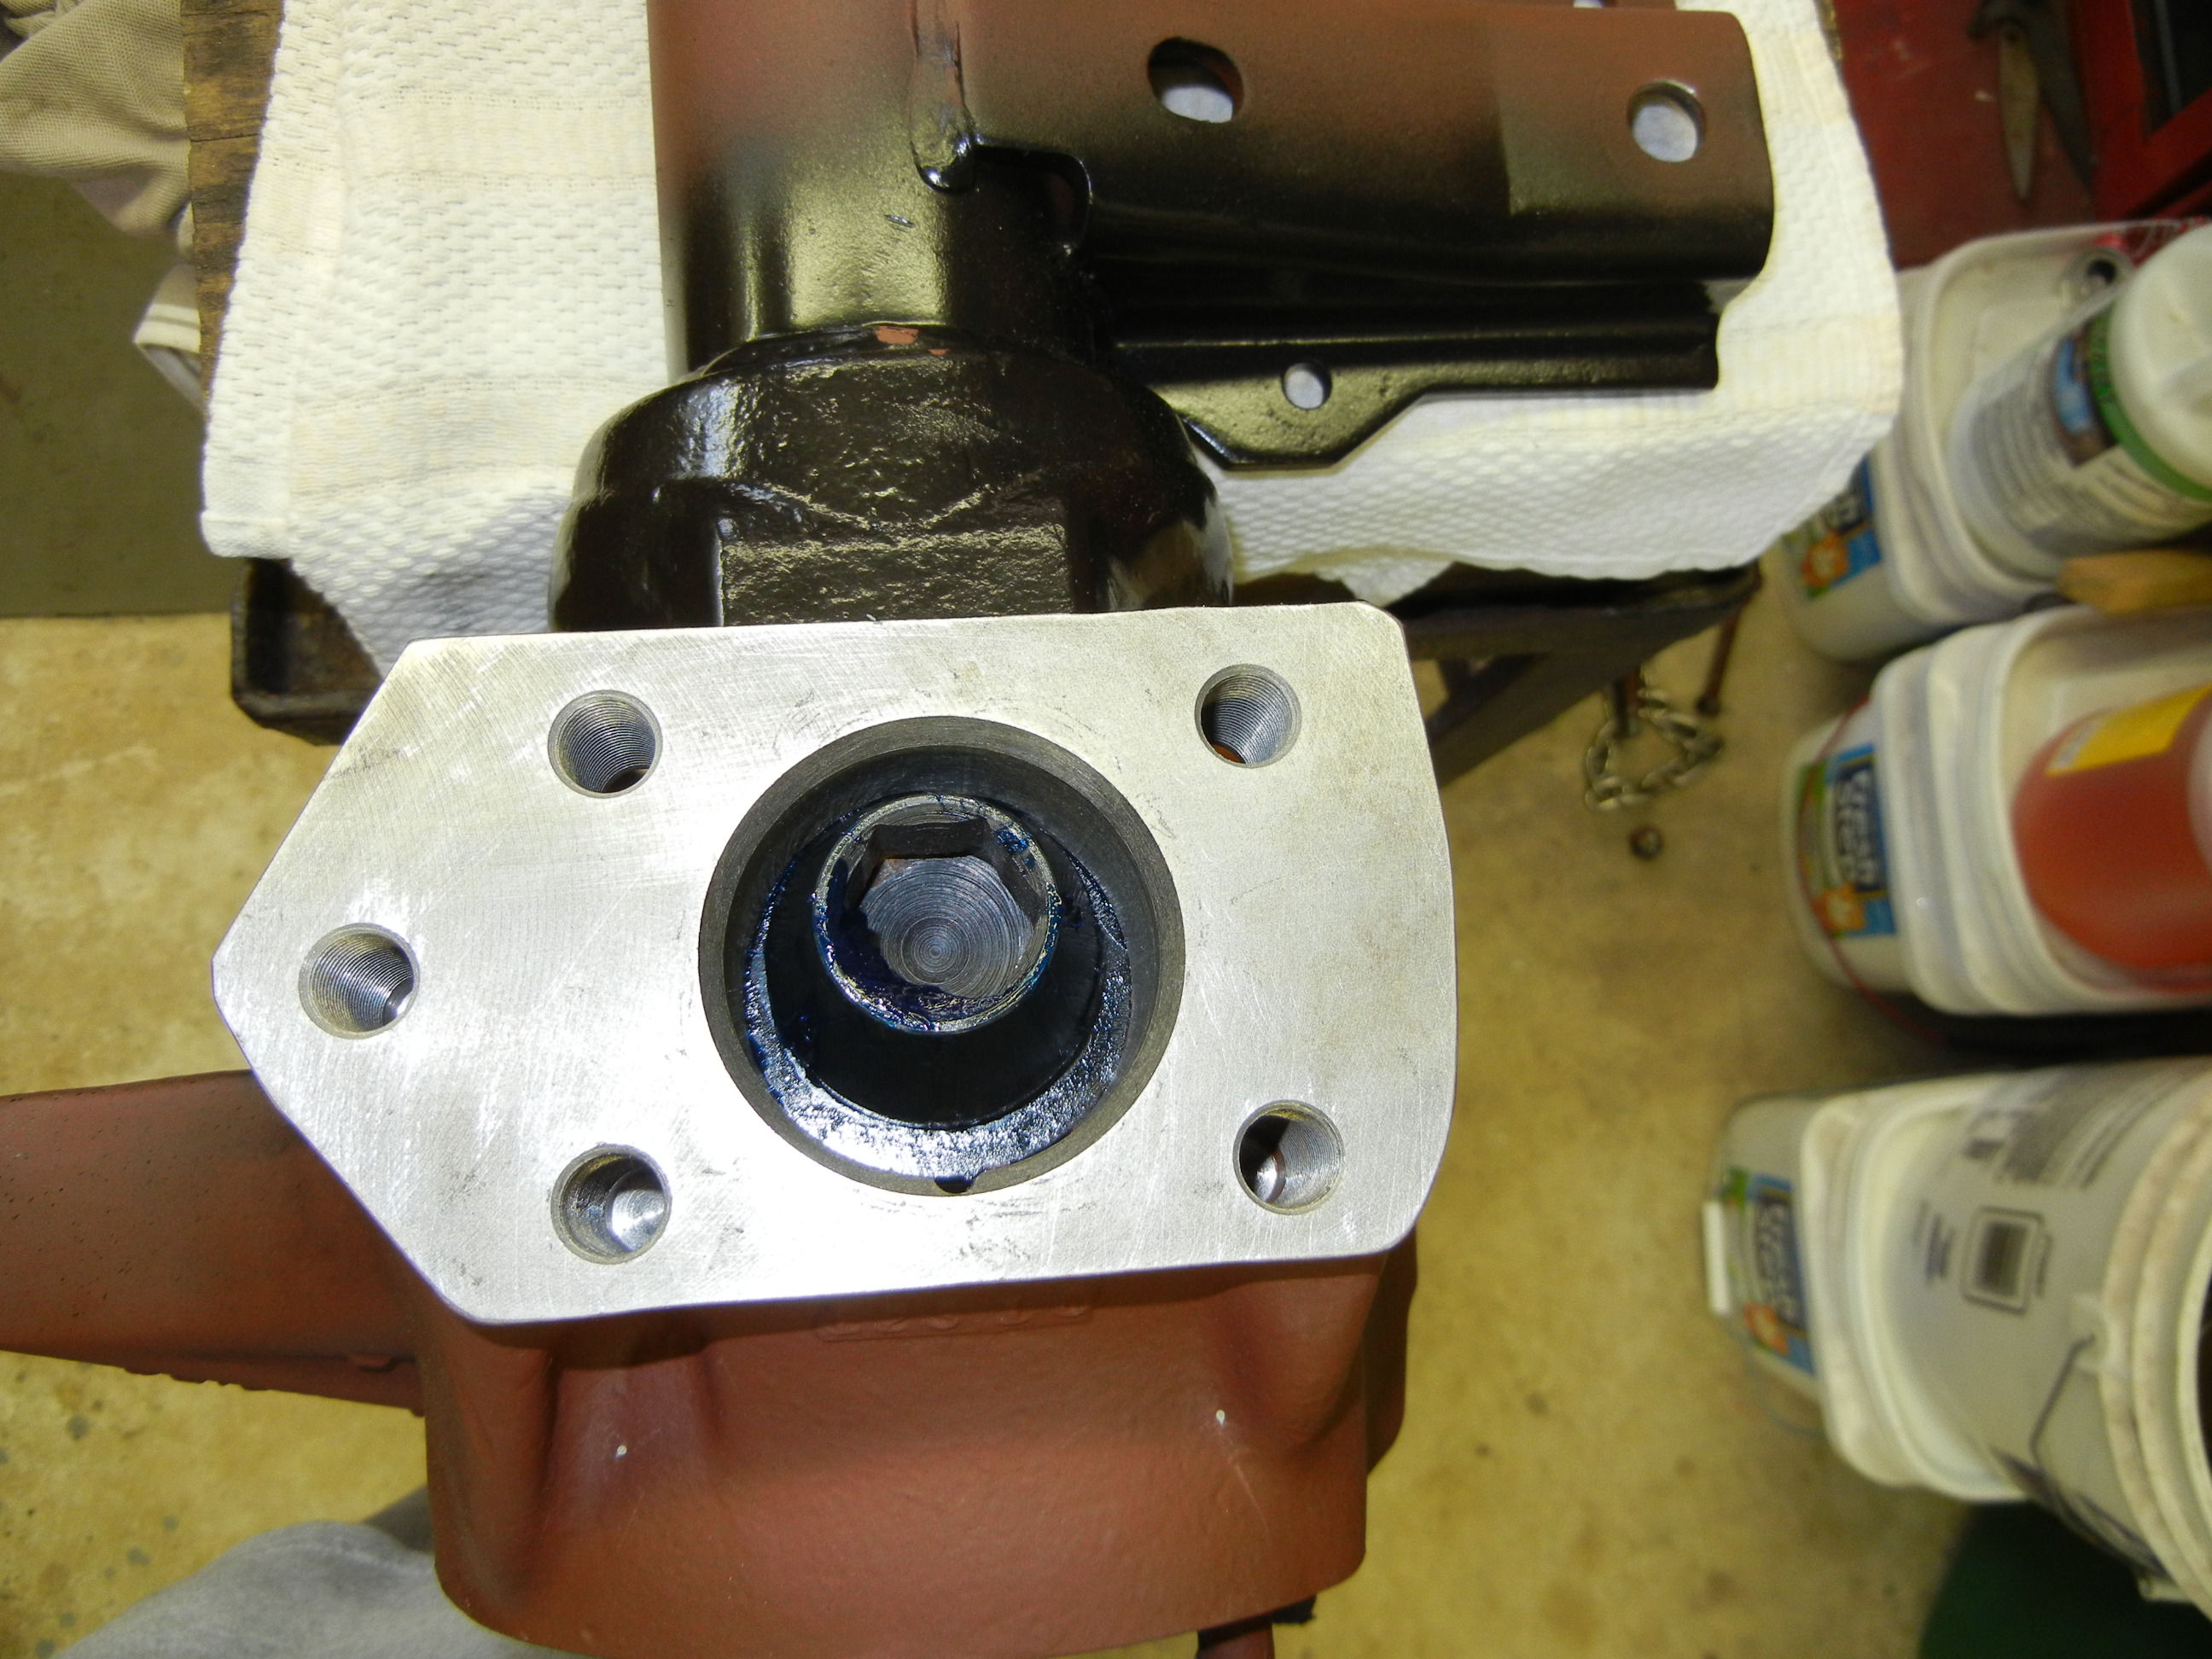
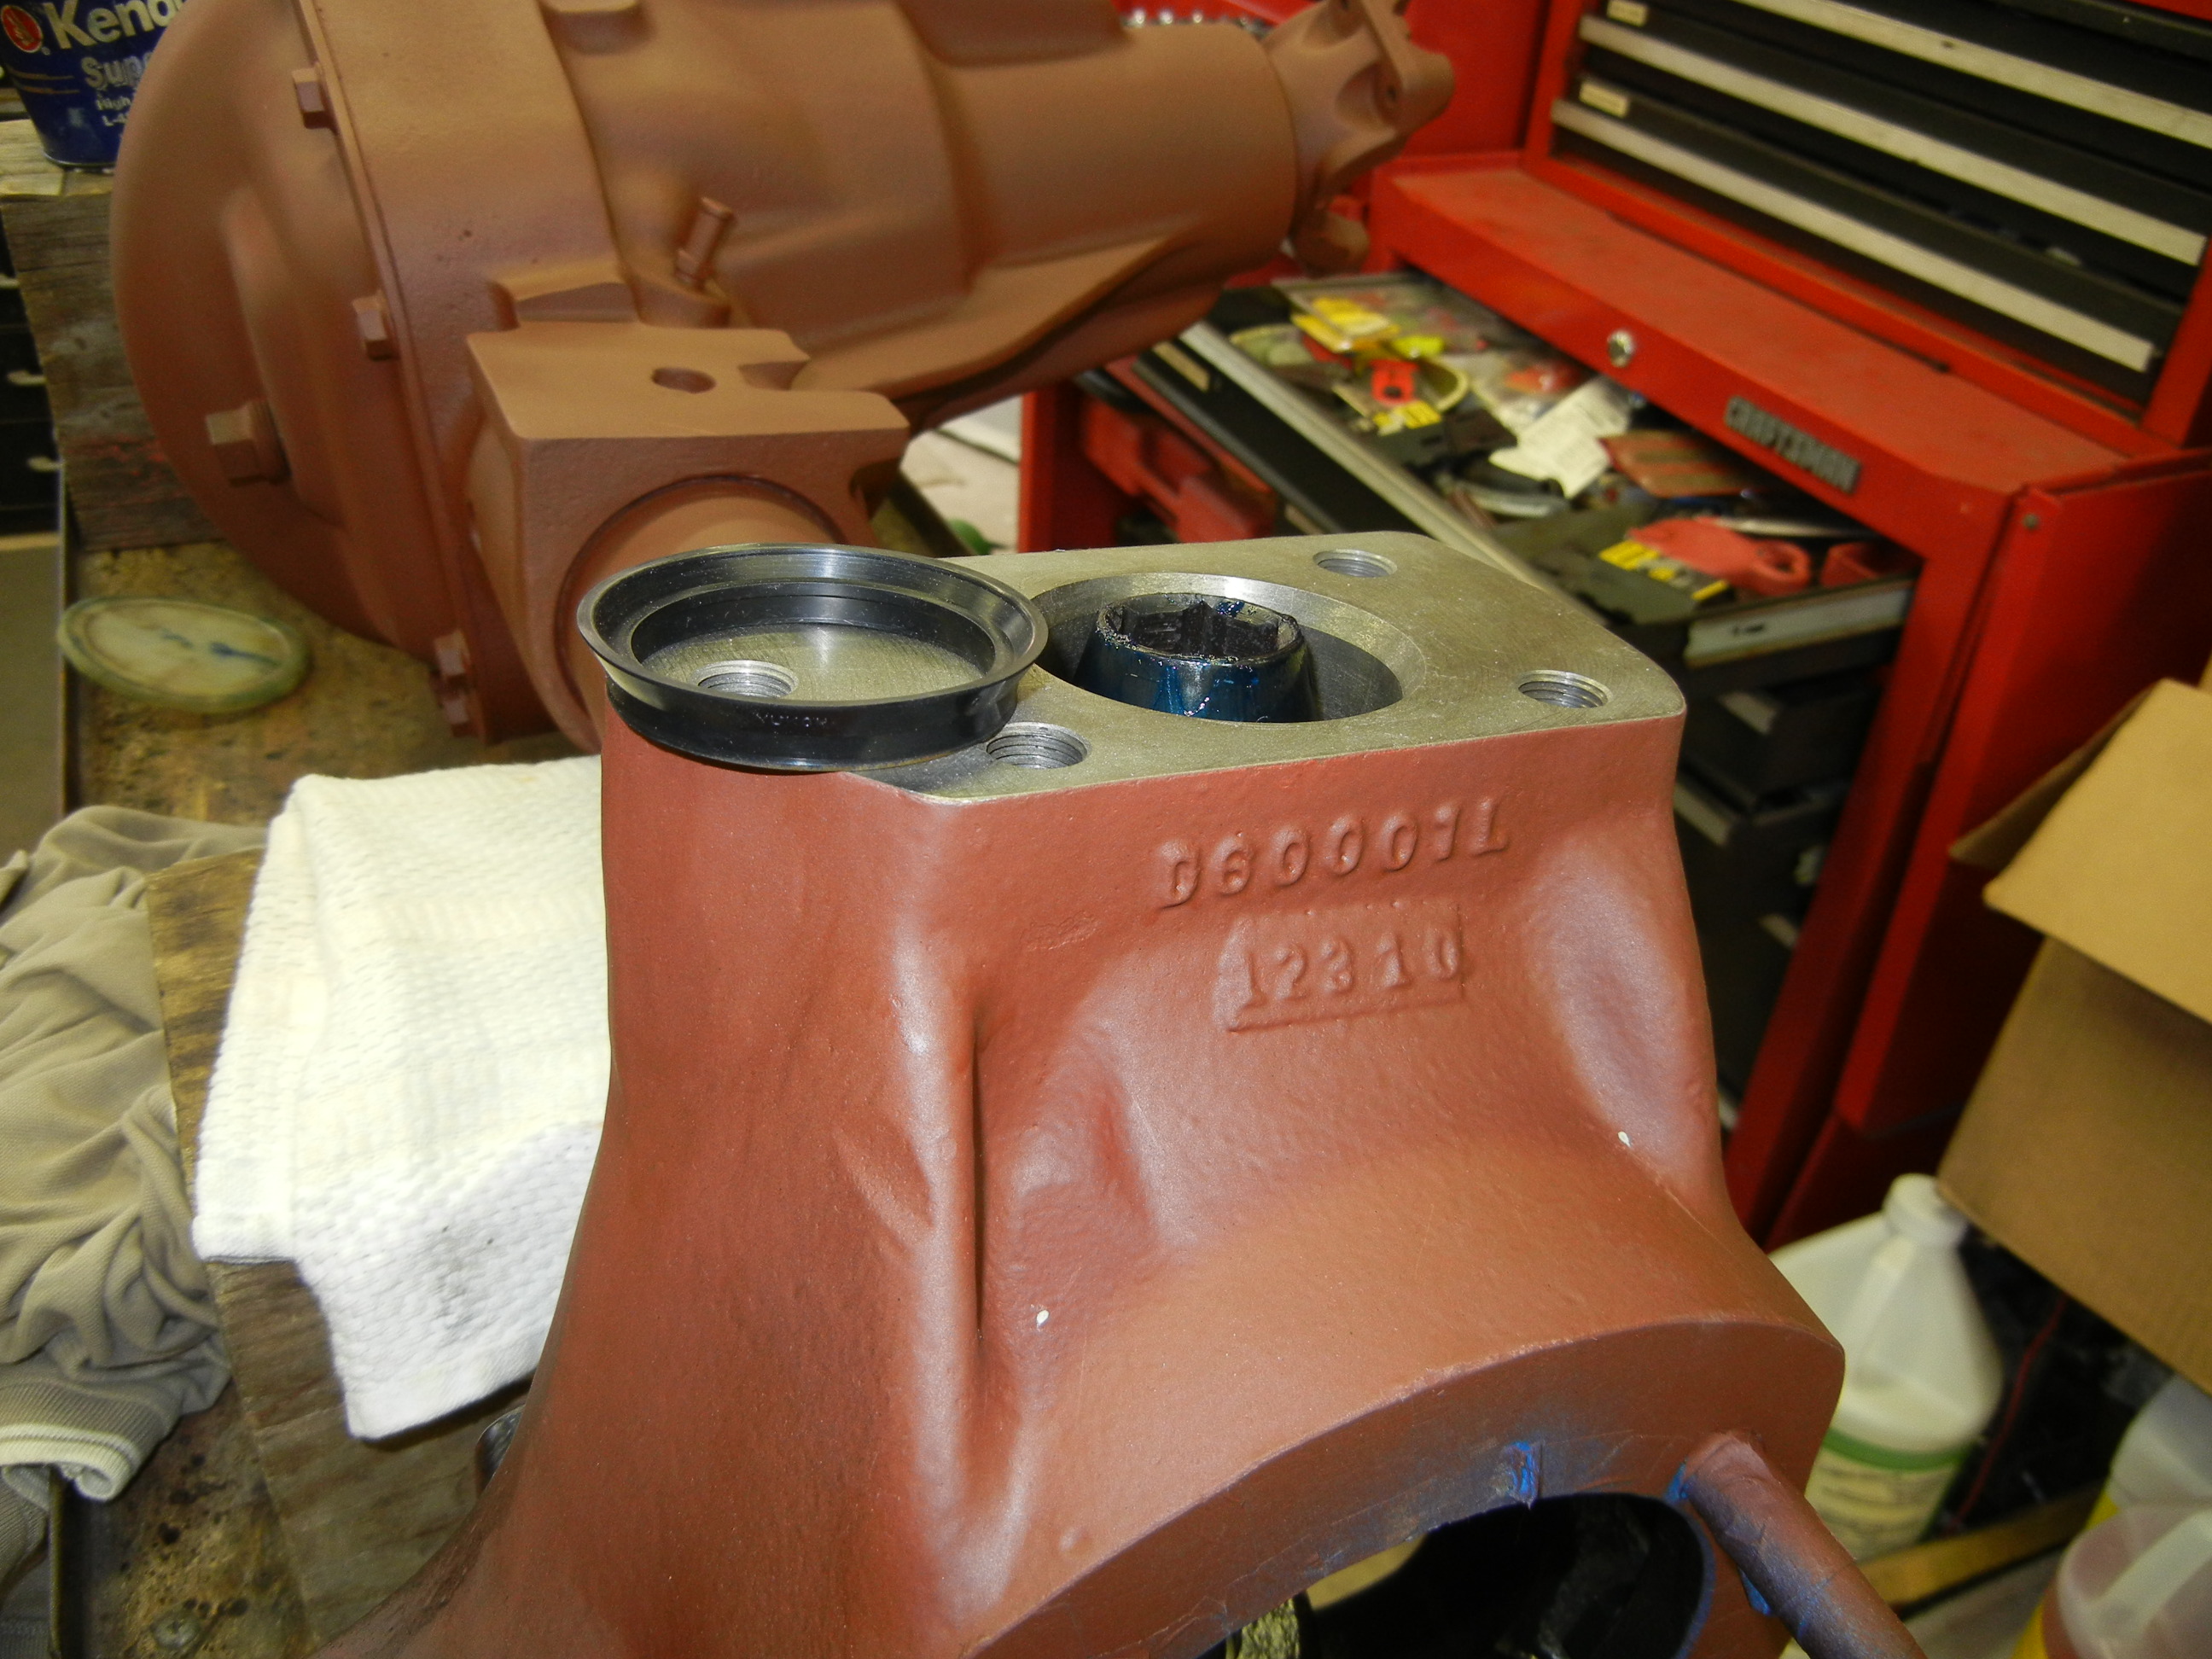
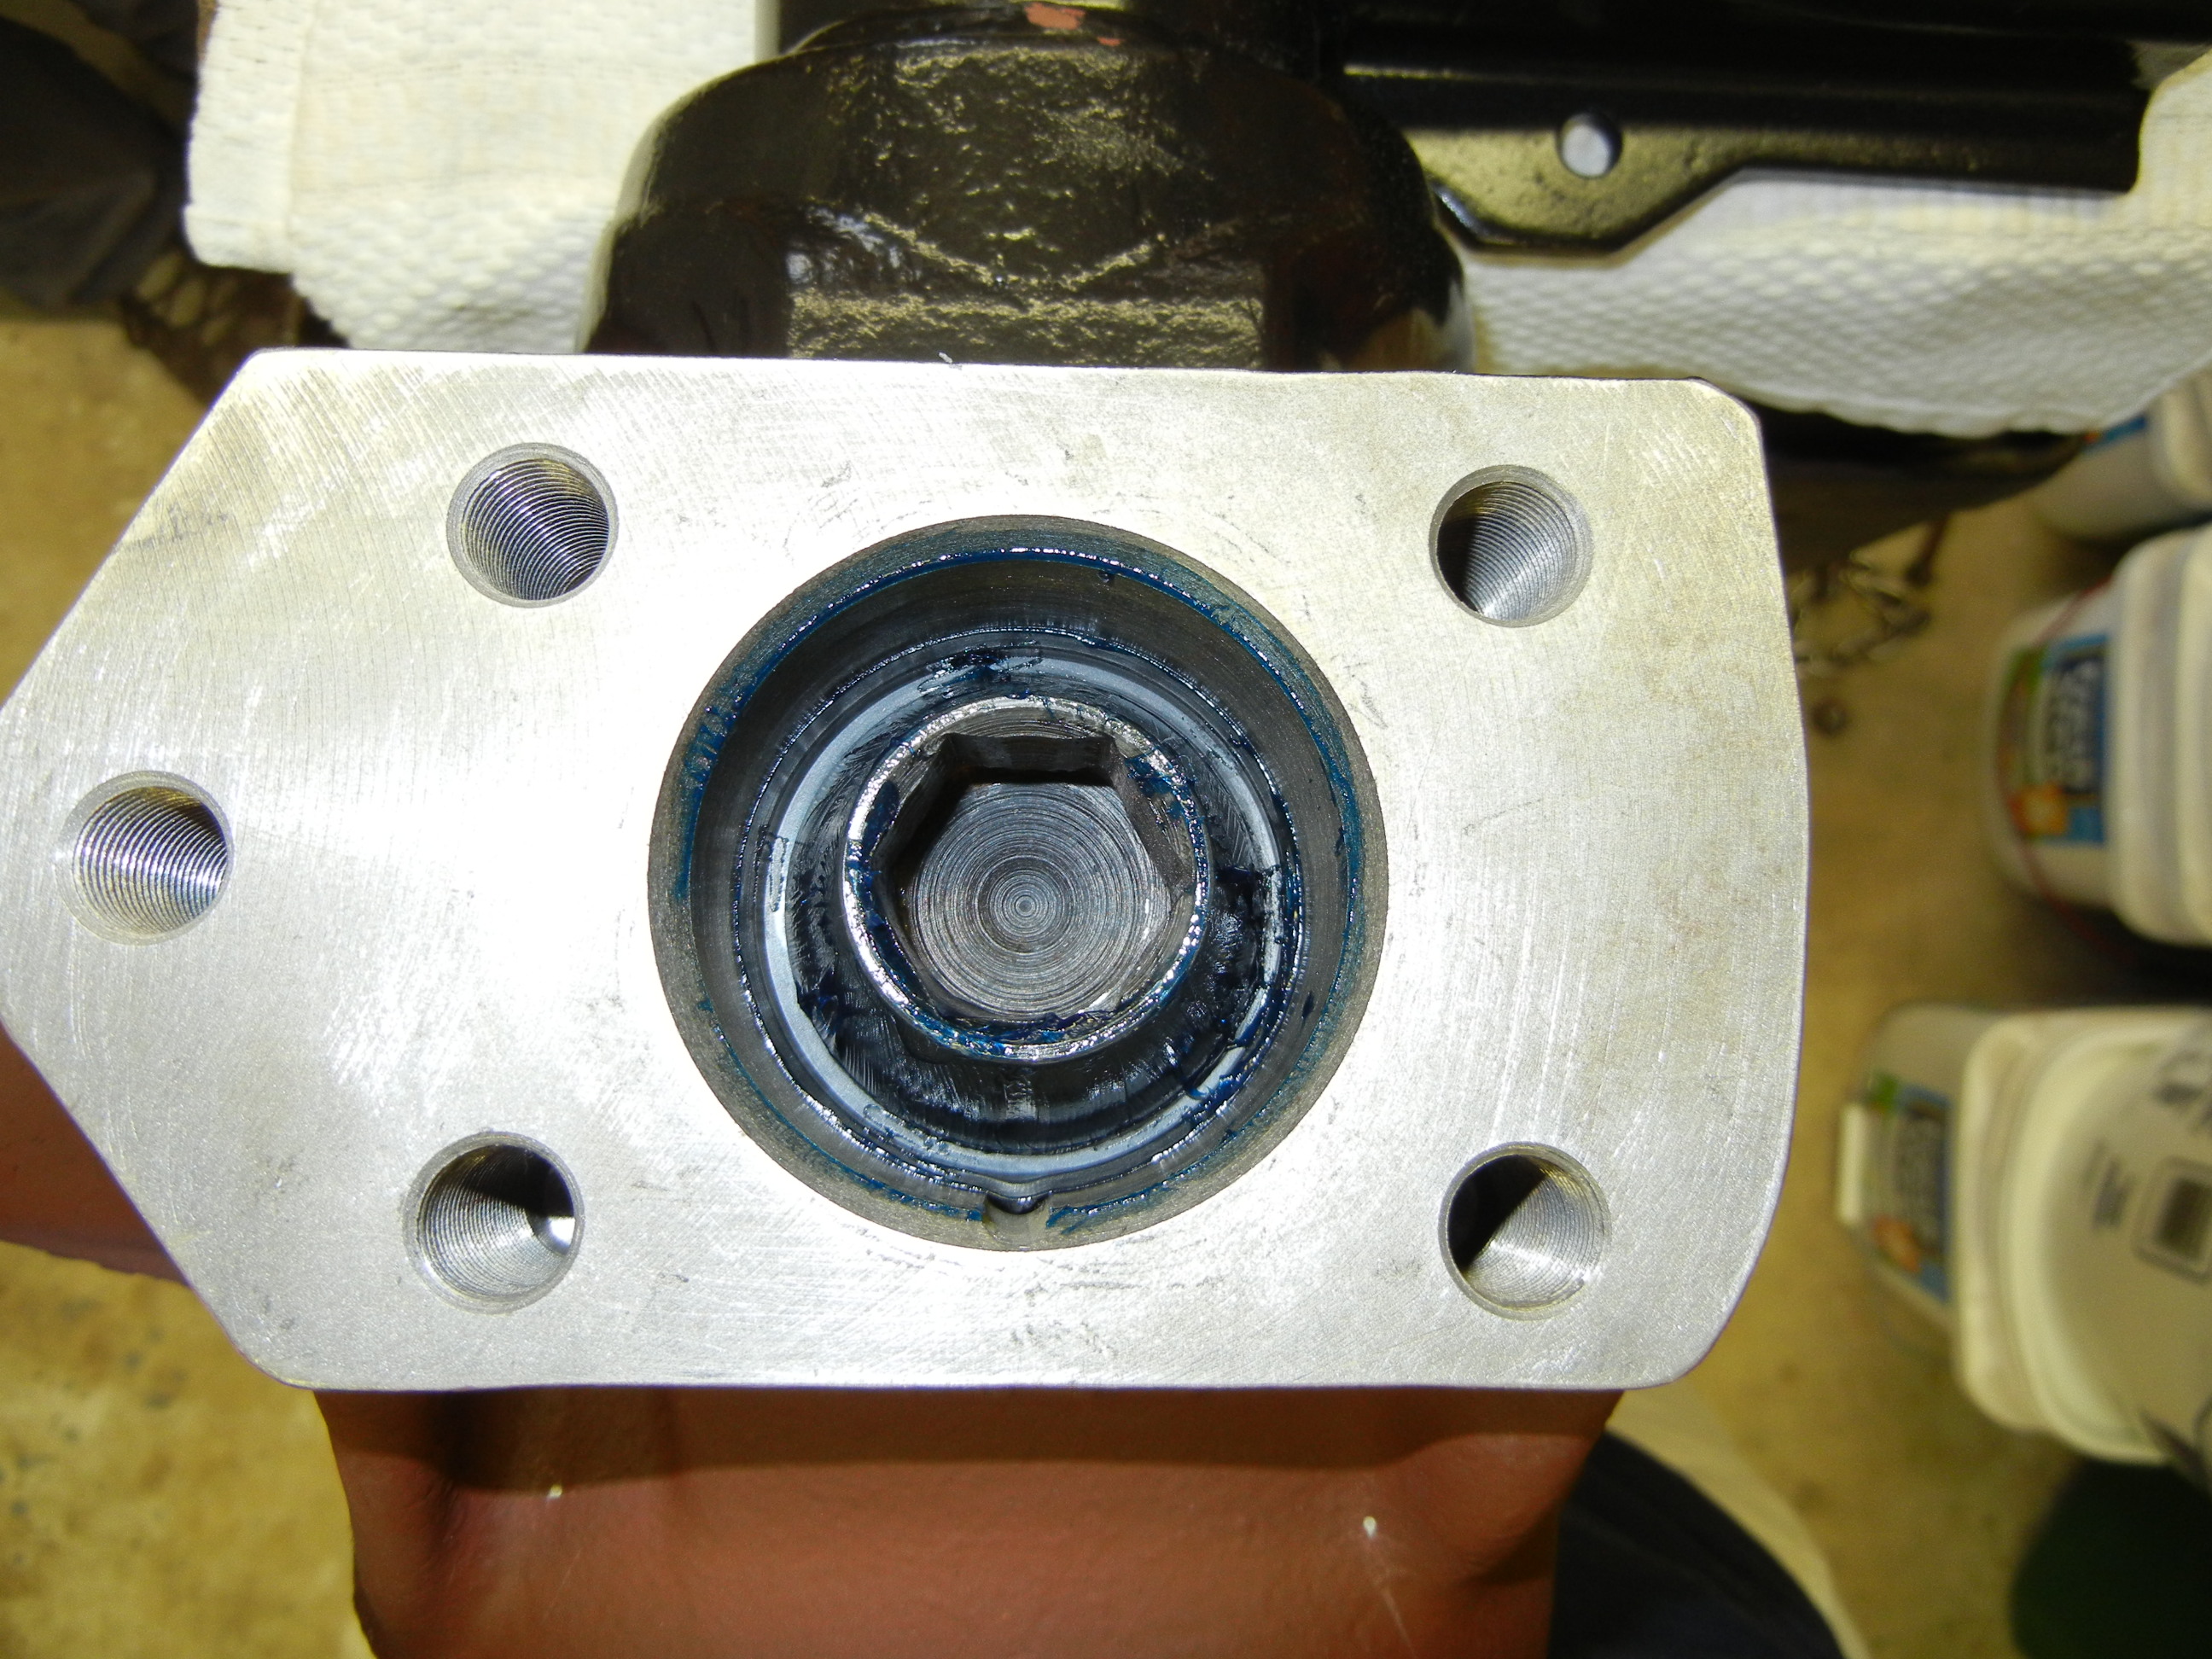
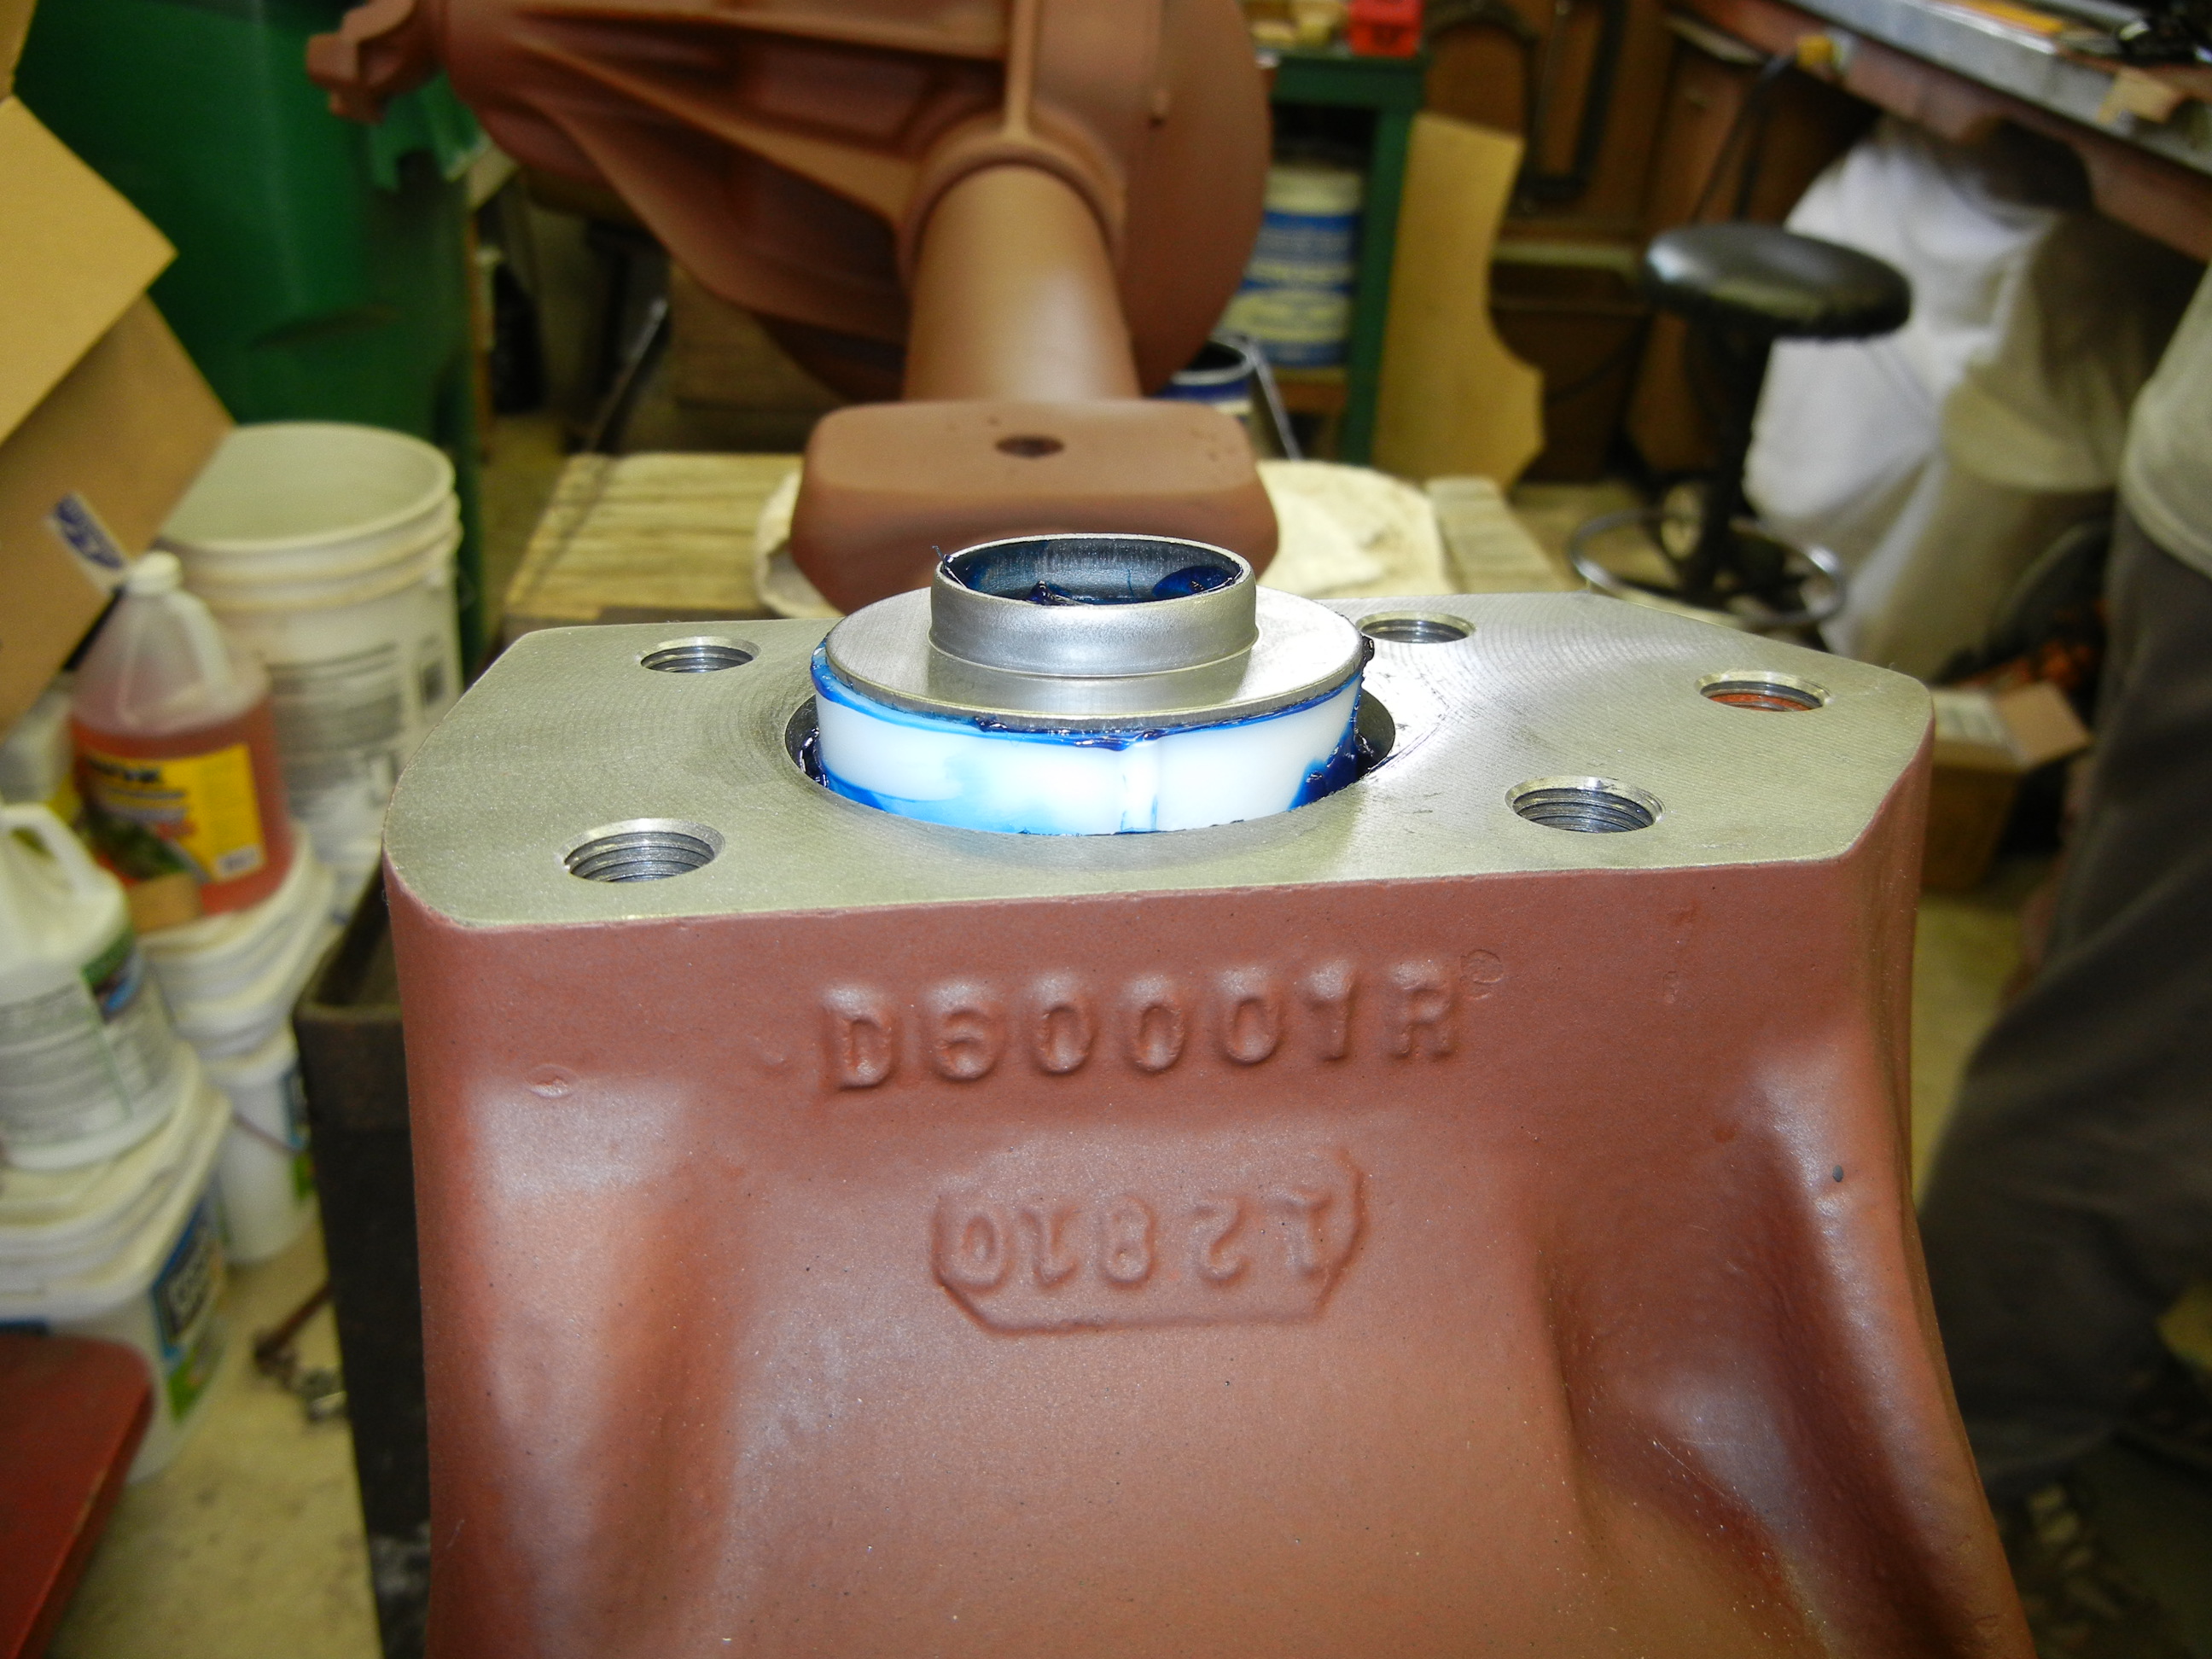
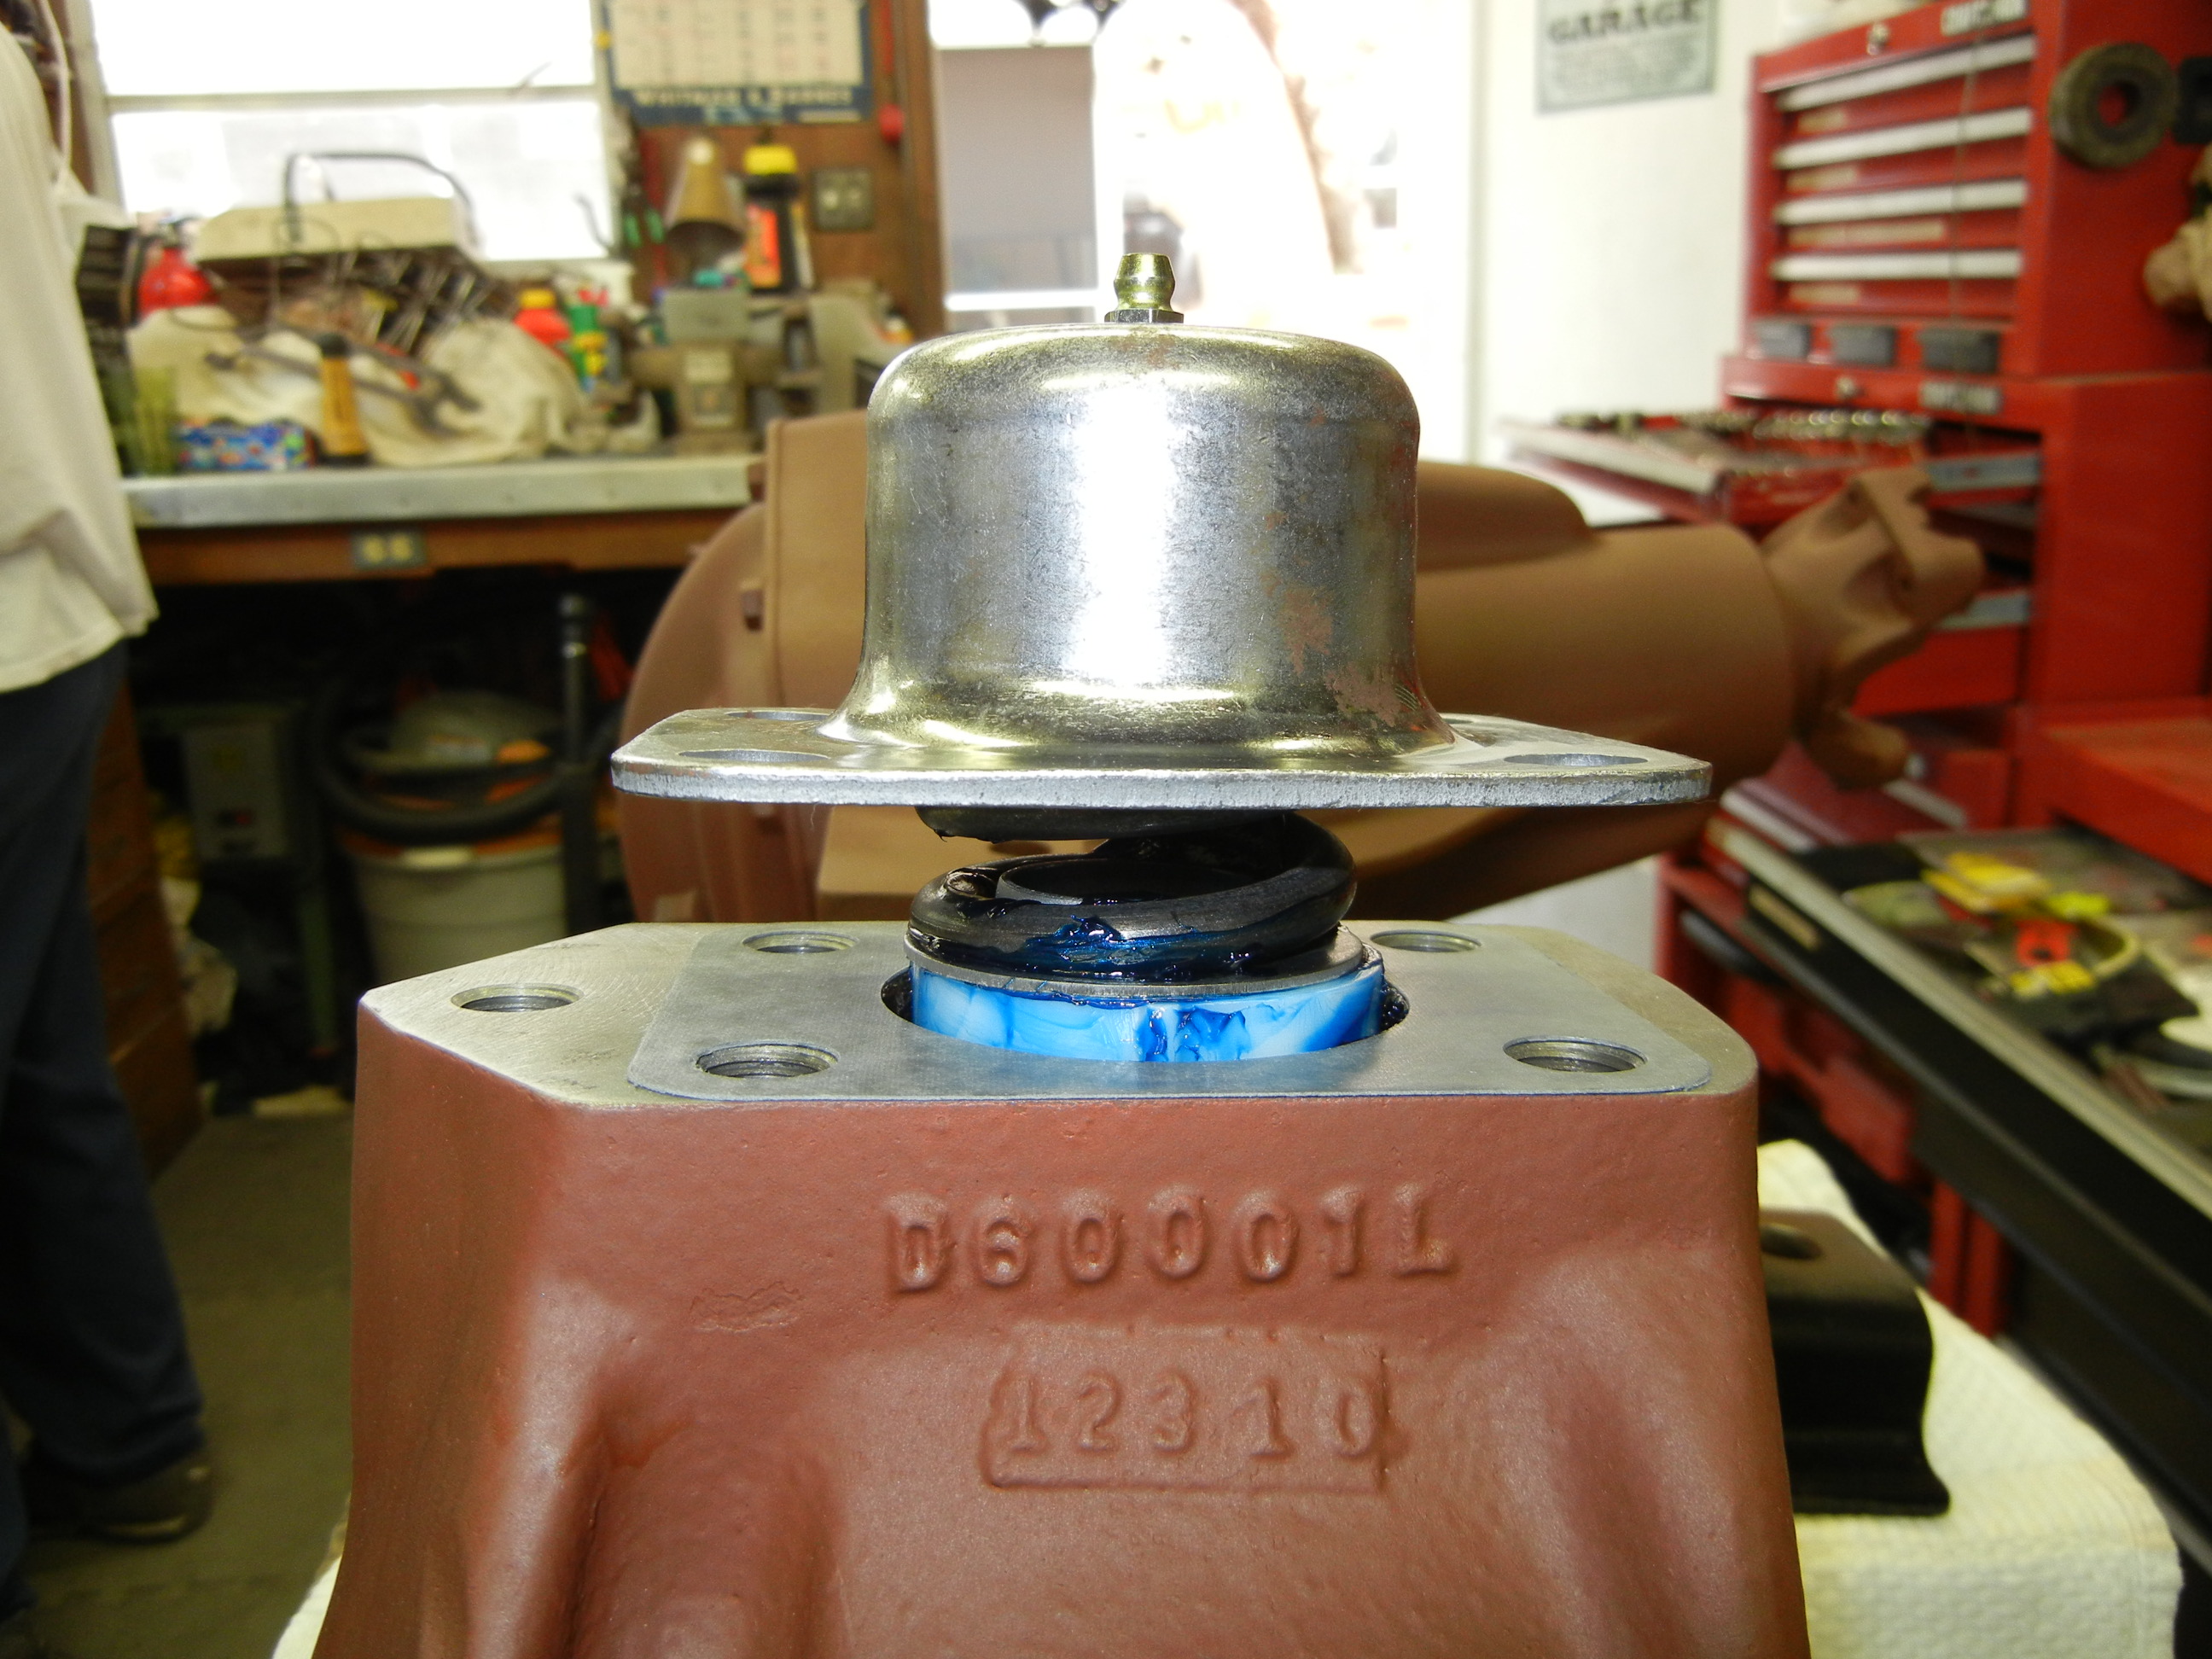
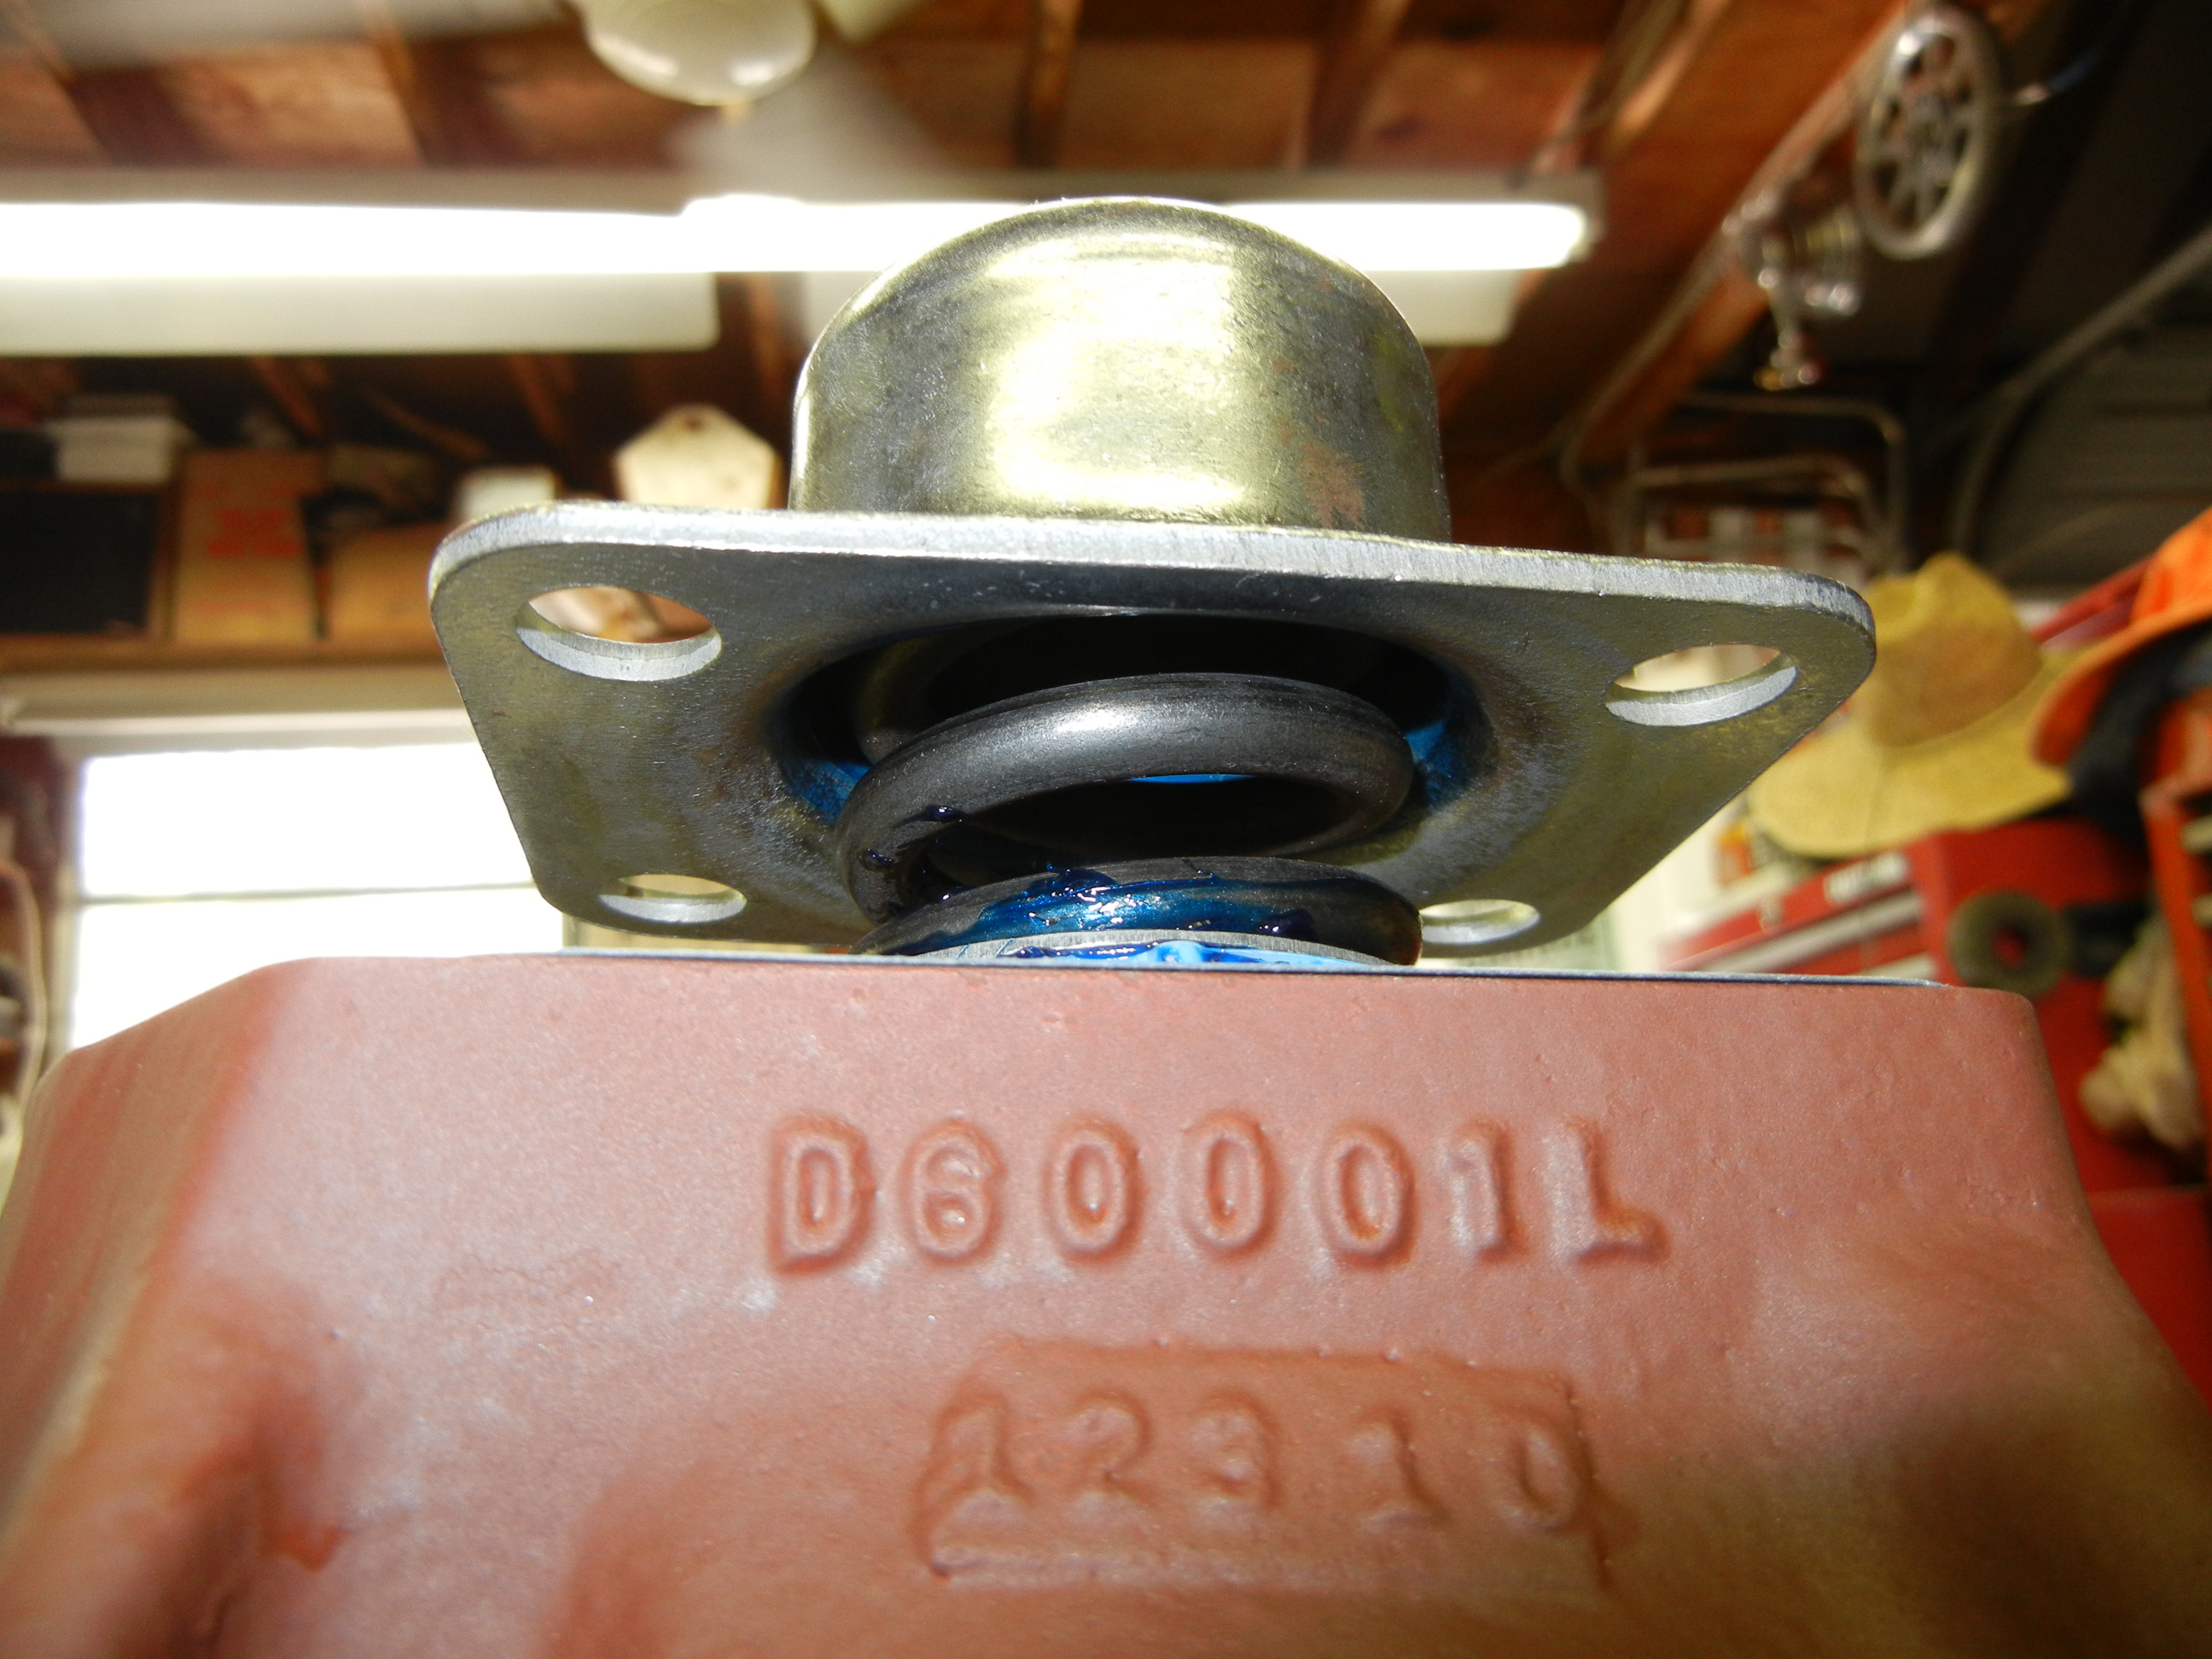
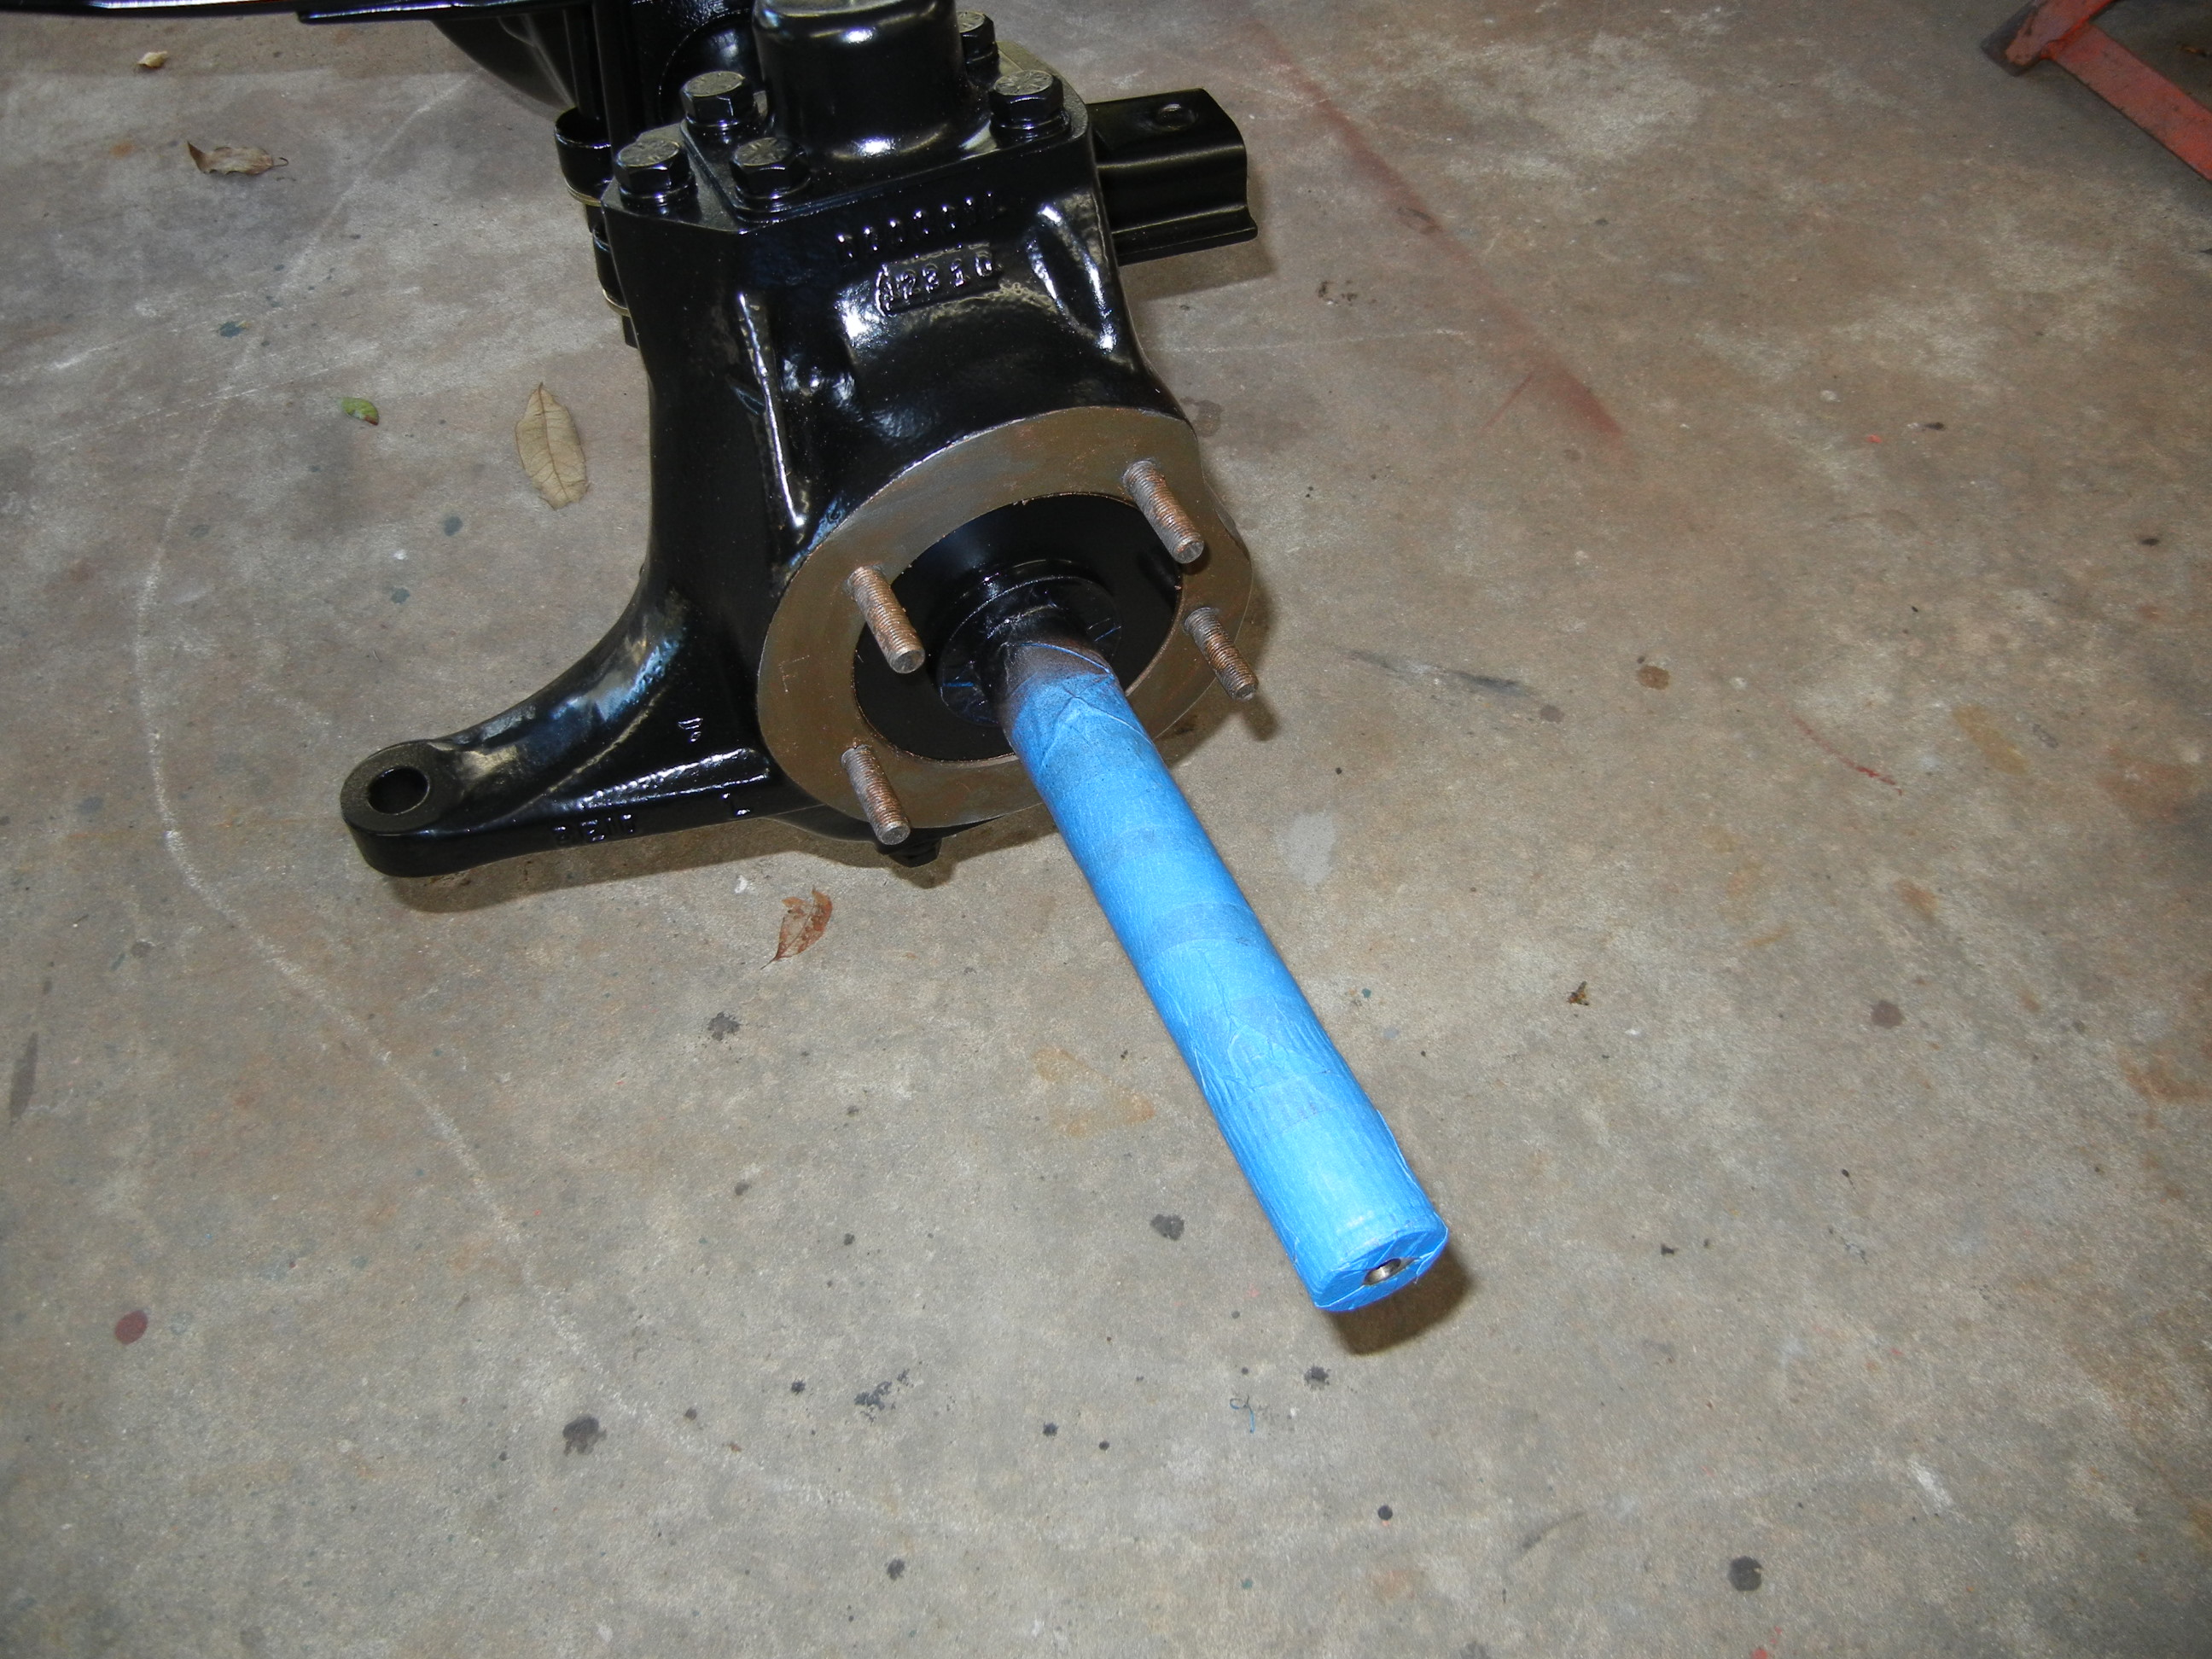
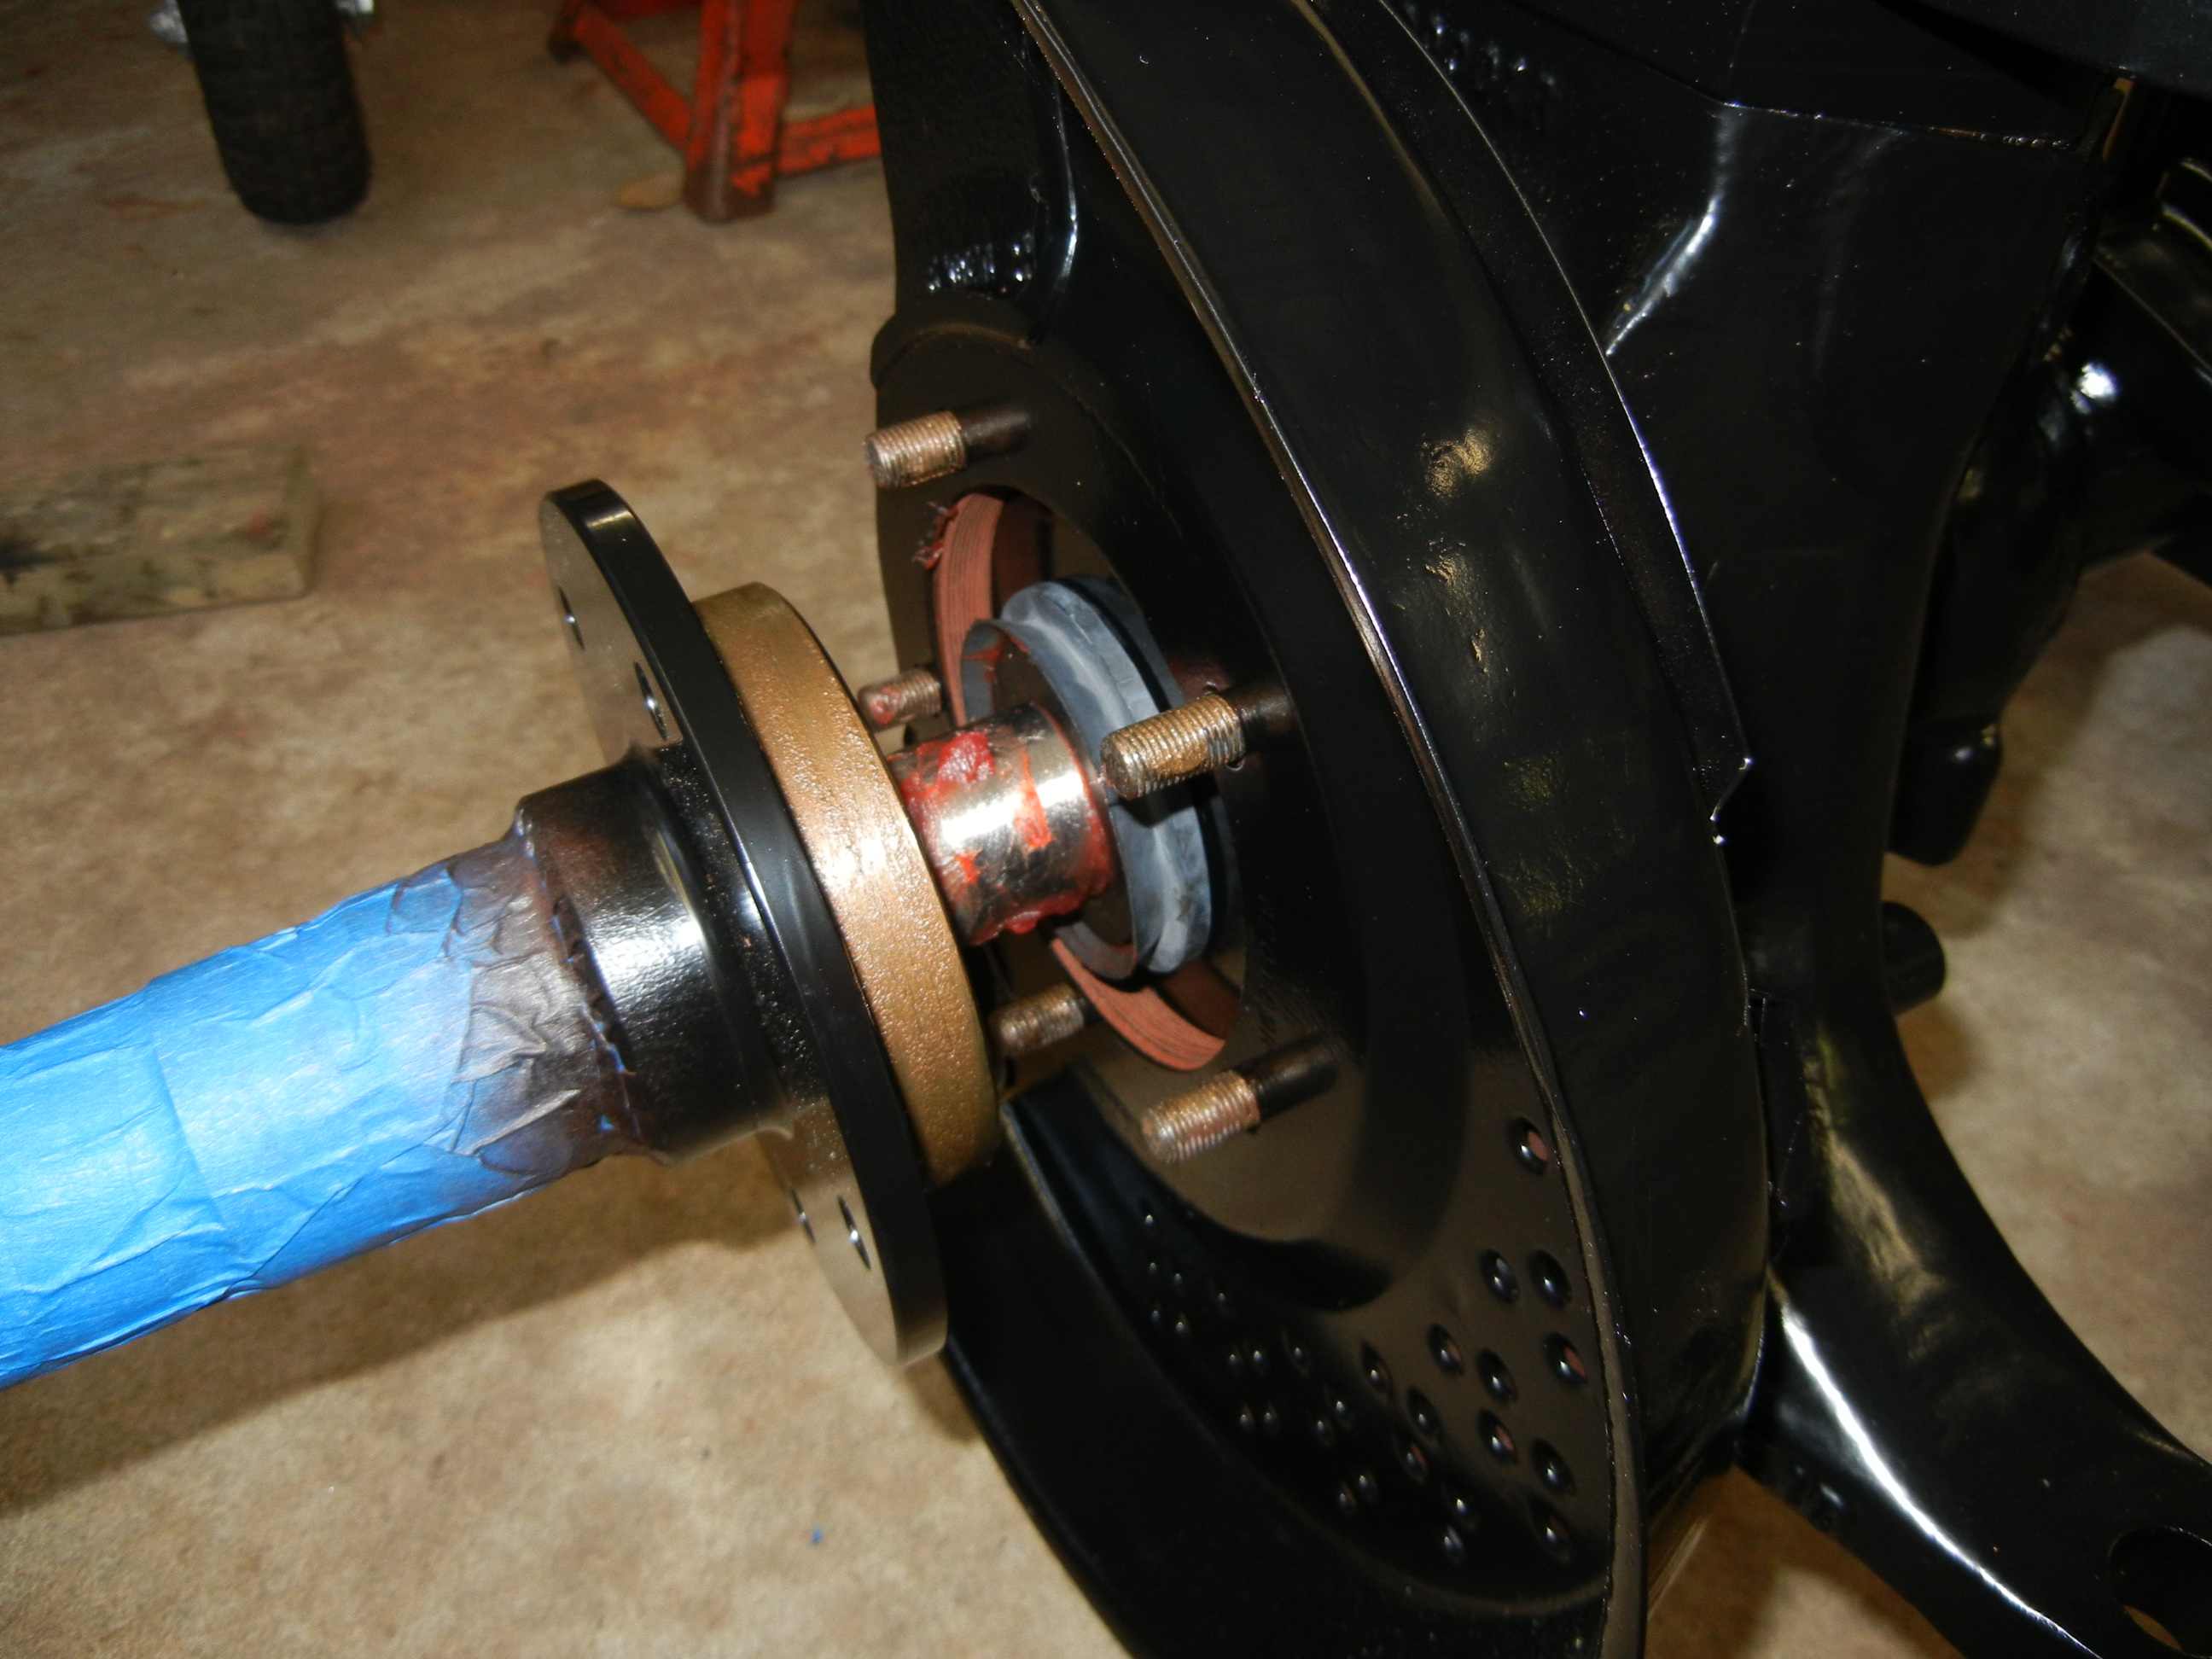
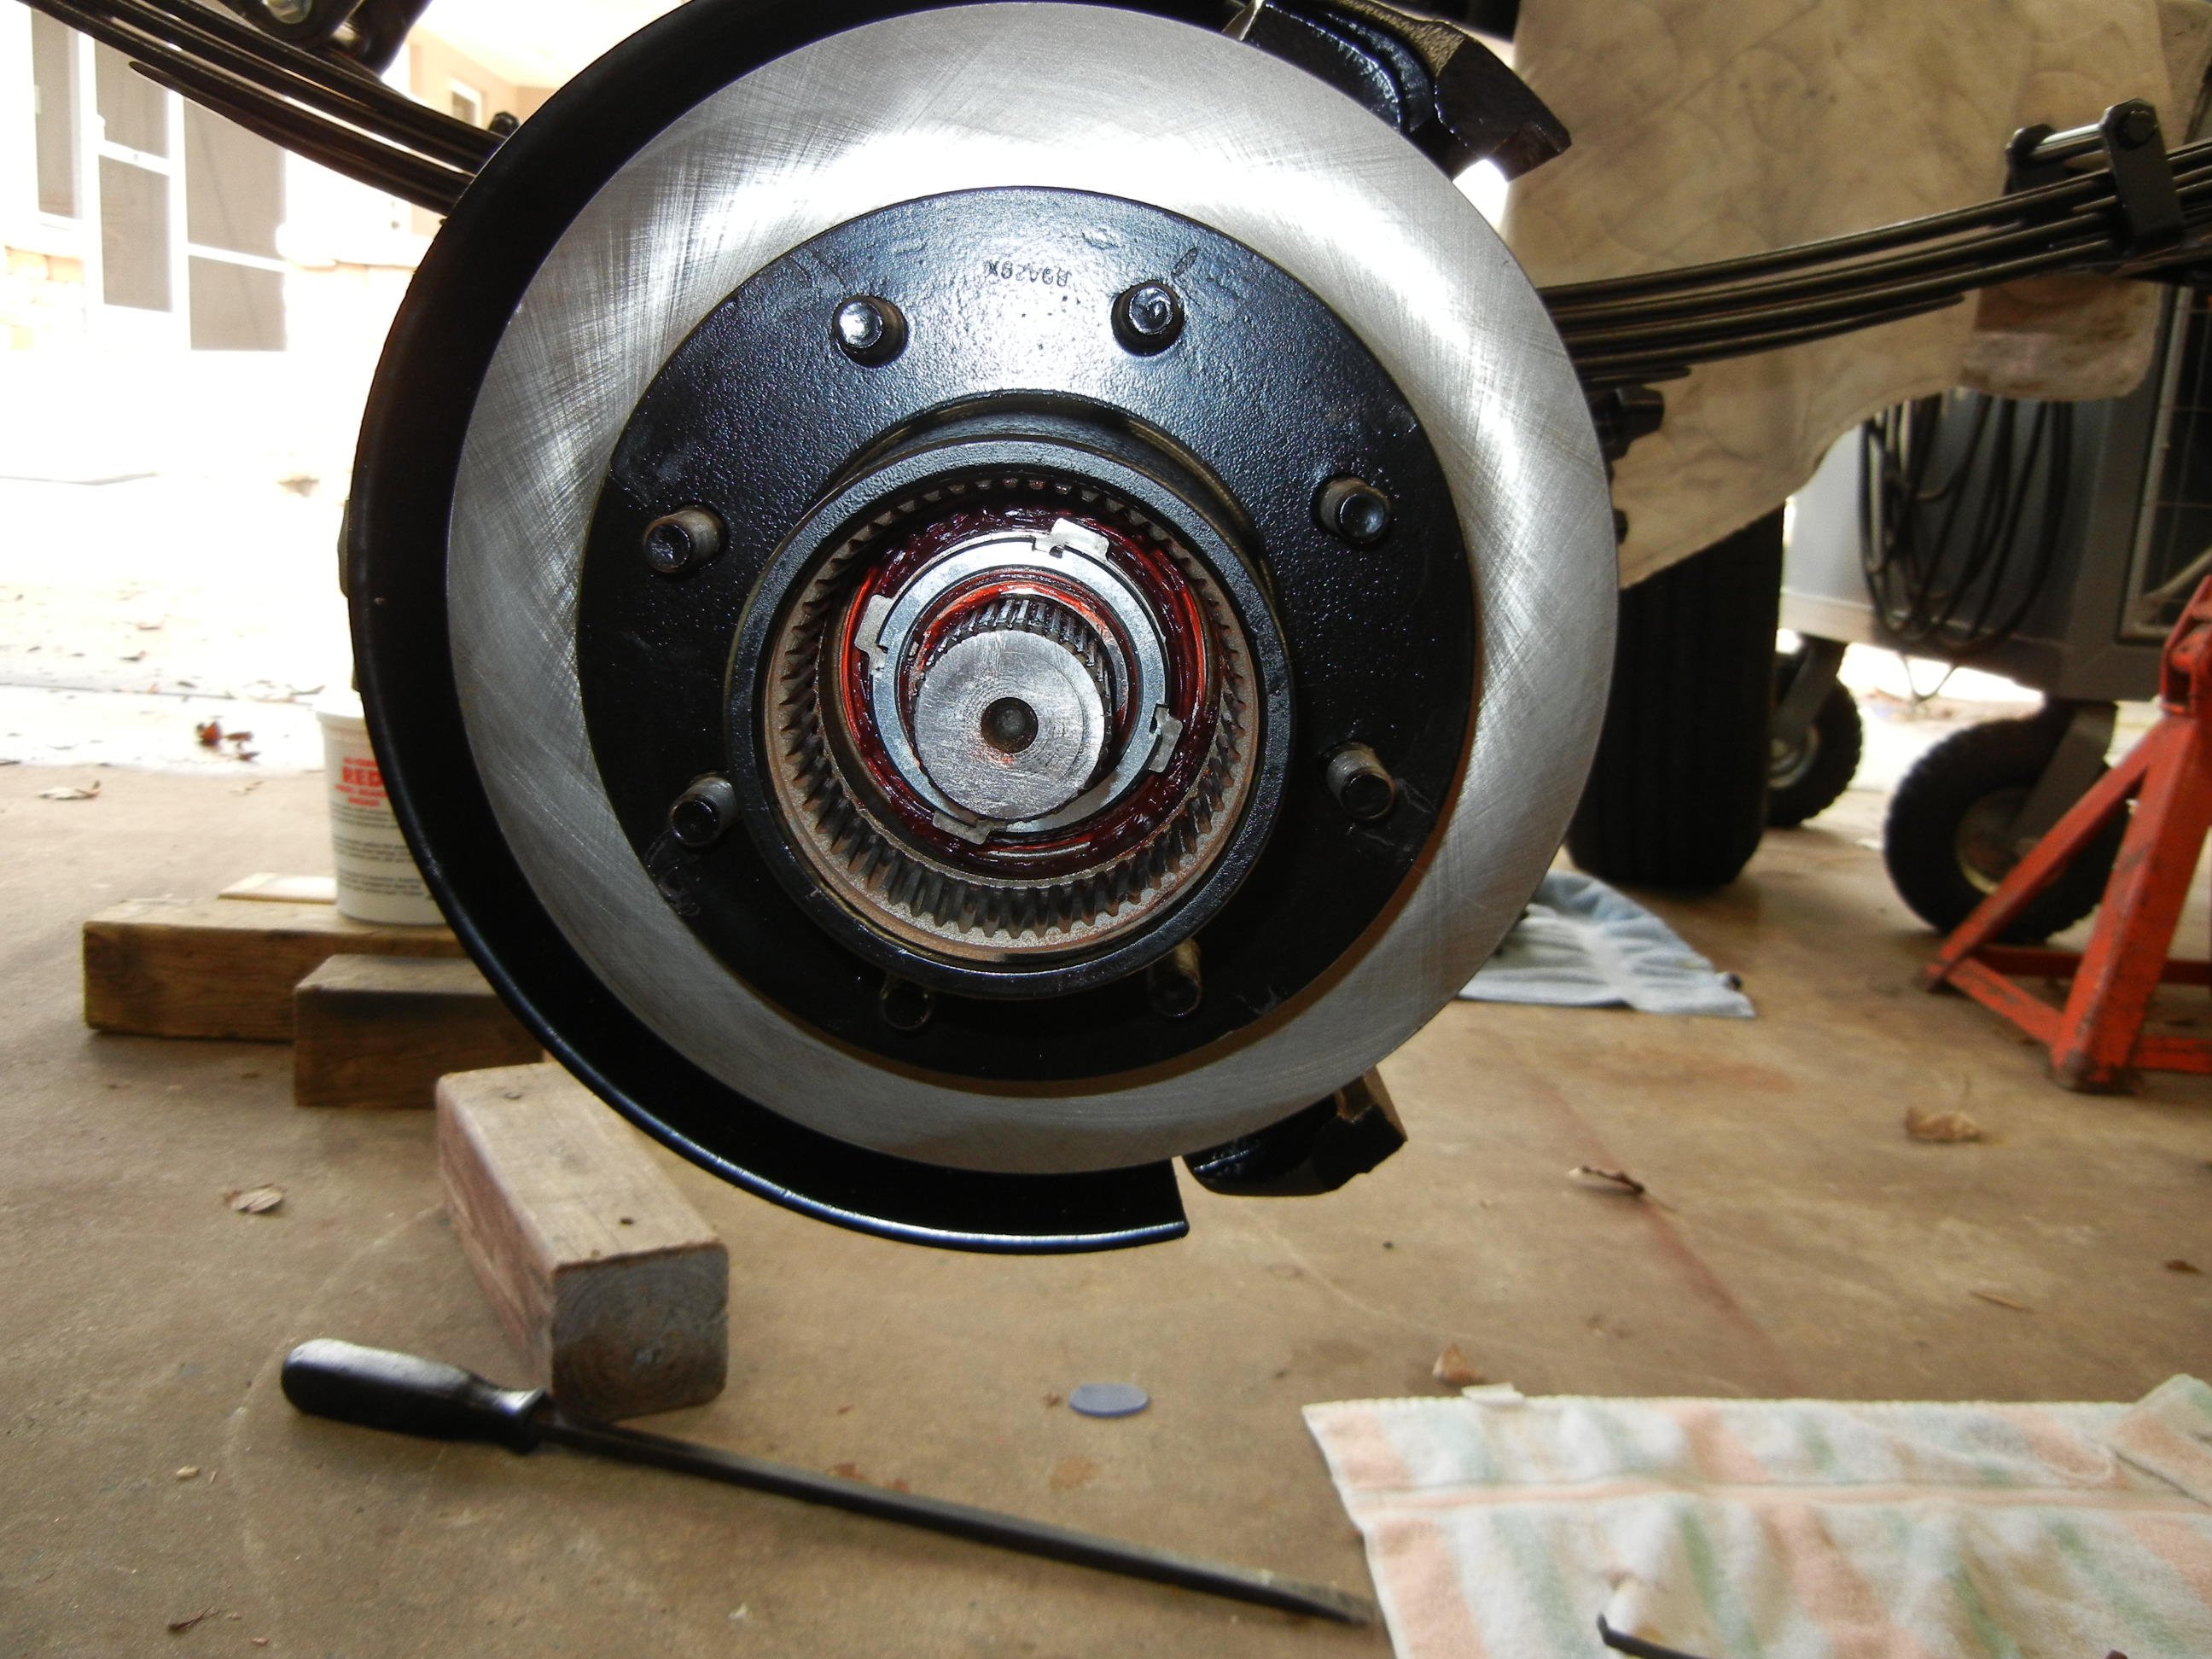
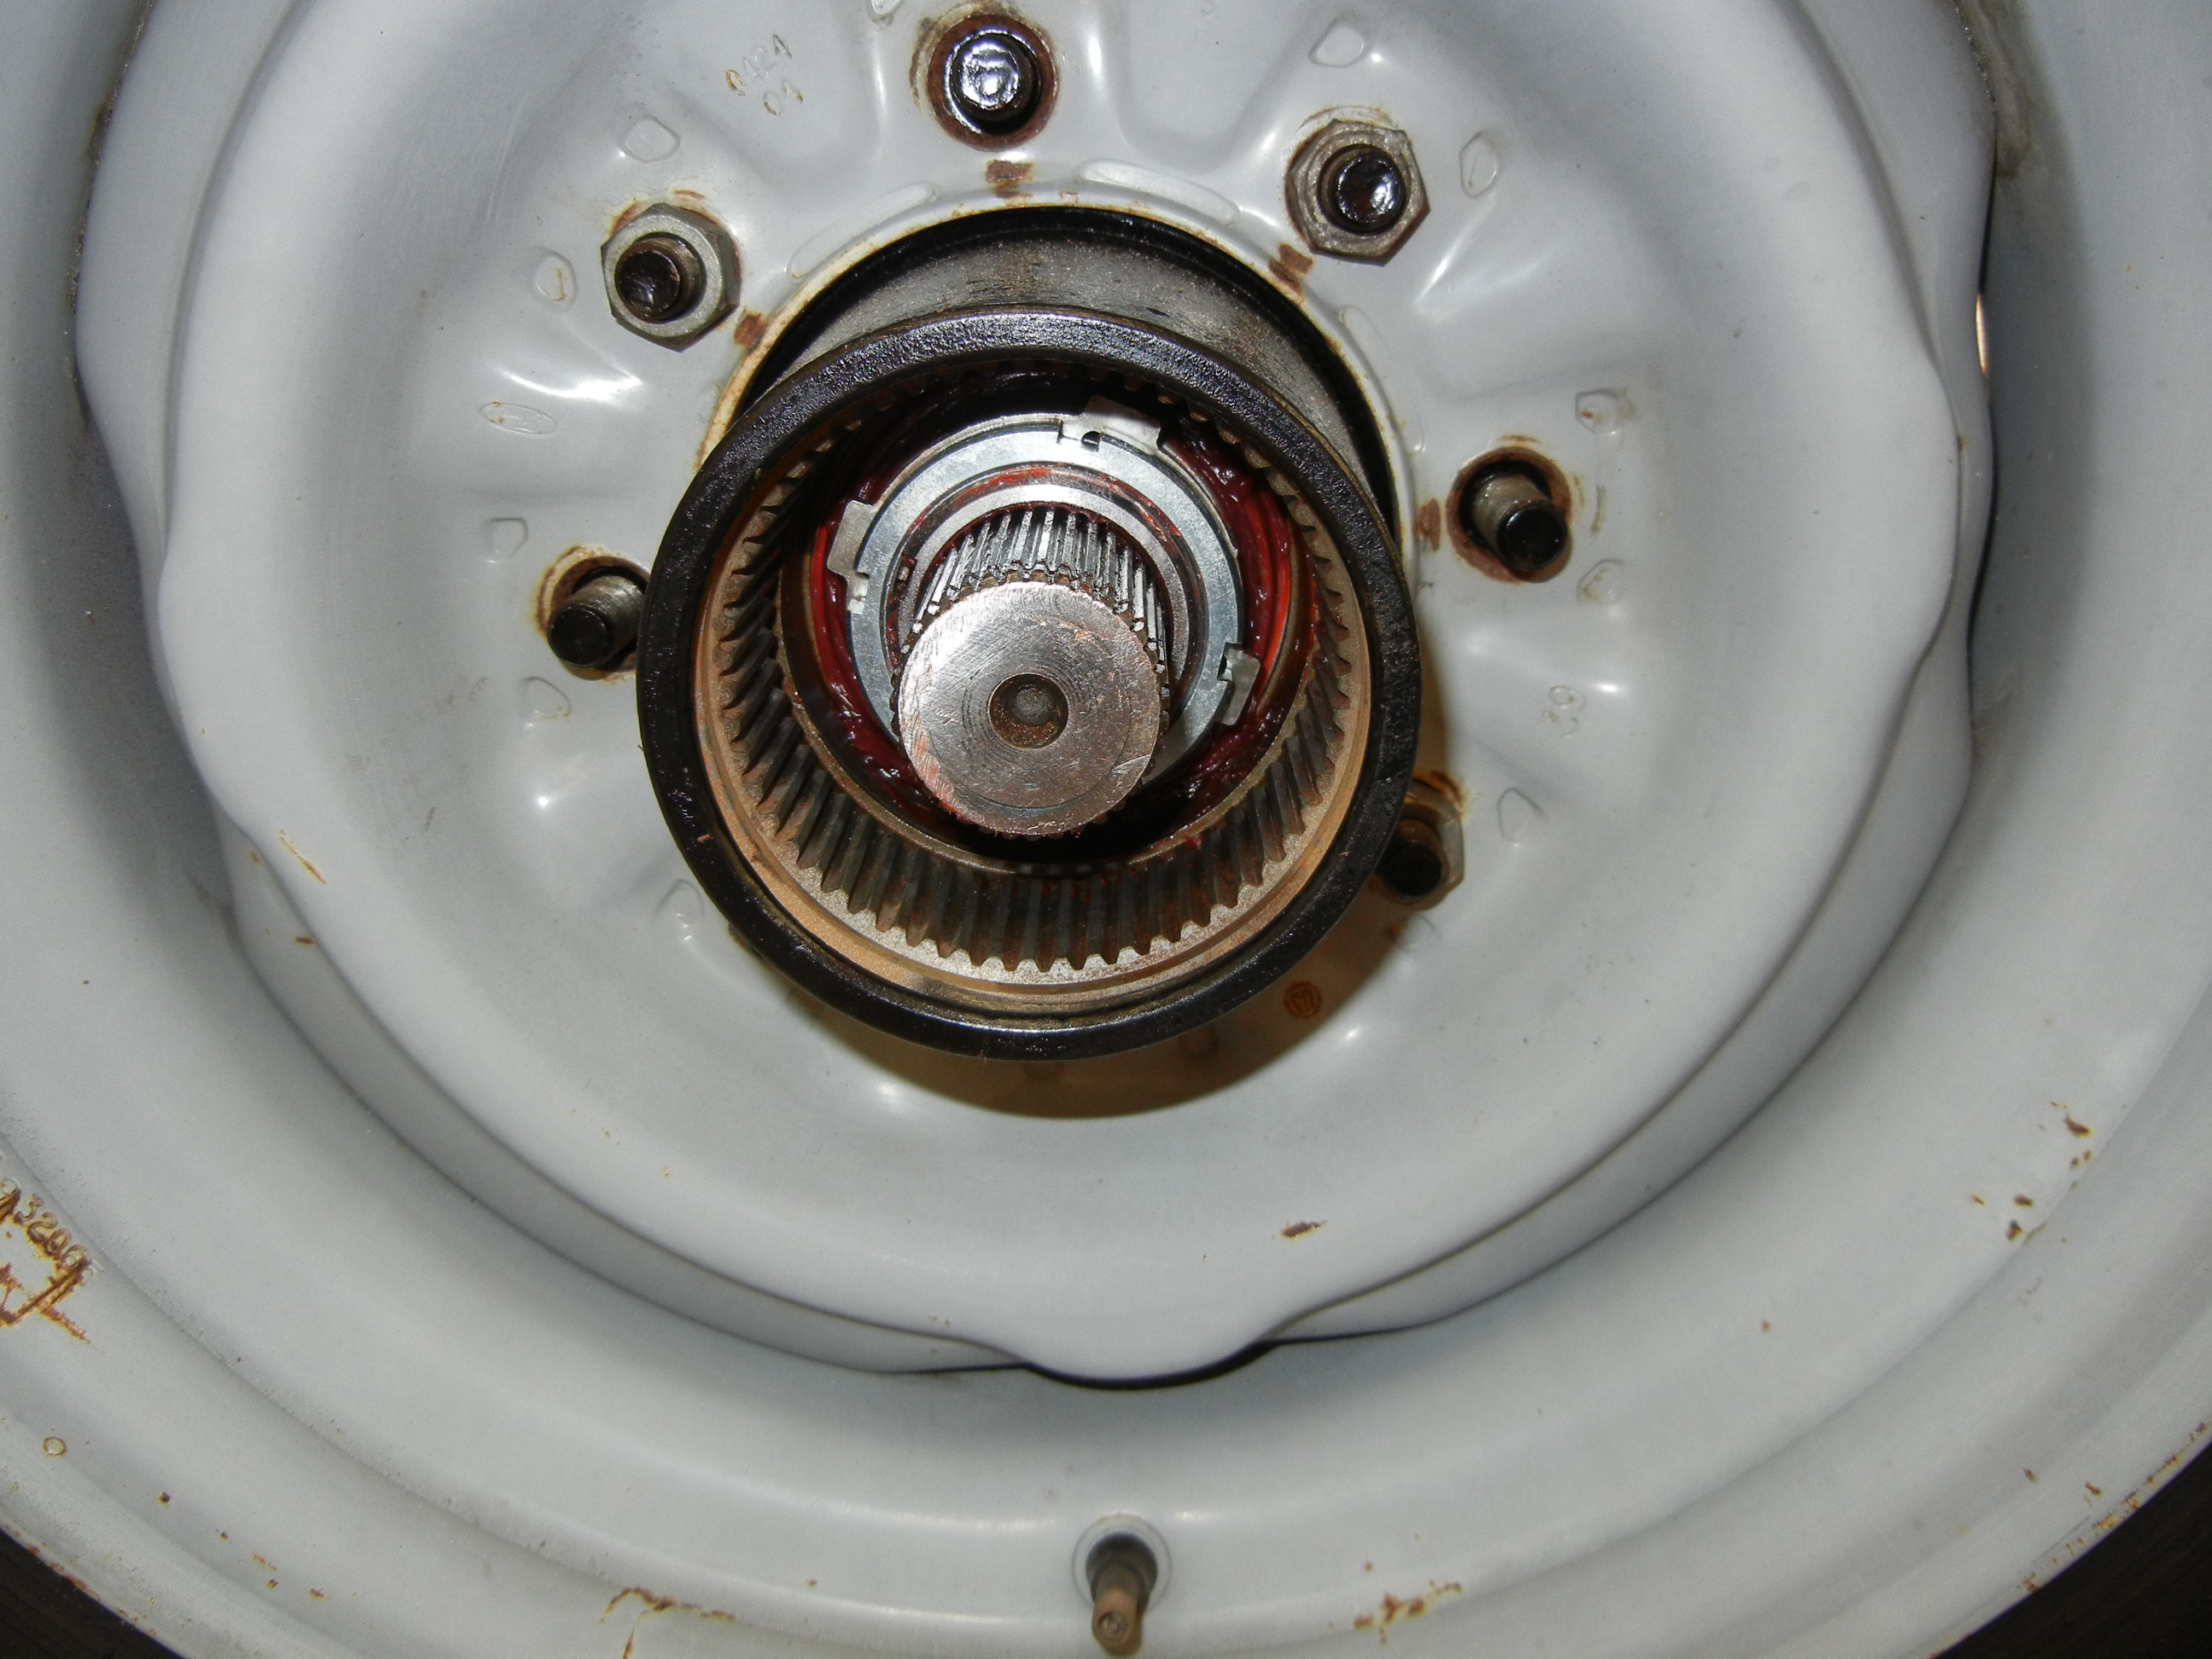
The 1999-up Superduty front axles (D50 and D60) came equipped with a neat cartridge tube seal design. This design has the outer seal riding on an inner seal portion instead of the axle shaft directly. This will prevent the common "seal gouging" on axle shafts when subjected to water/sand/mud. So far I have not seen anyone on the WWW install these seals inside older axles as of this writing (4/2012), it has only been talked about with many questions circling. So here is how we made it work: we simply ground down the outer metal ring until it fit snug inside the tube. Once the axle shaft is inserted, the inner seal is allowed to "float" within the outer seal. The bottom left two pics show the inner seal furthest outward and then furthest inward. There is about 1/4" total movement. Also shown is our handy seal install tool.
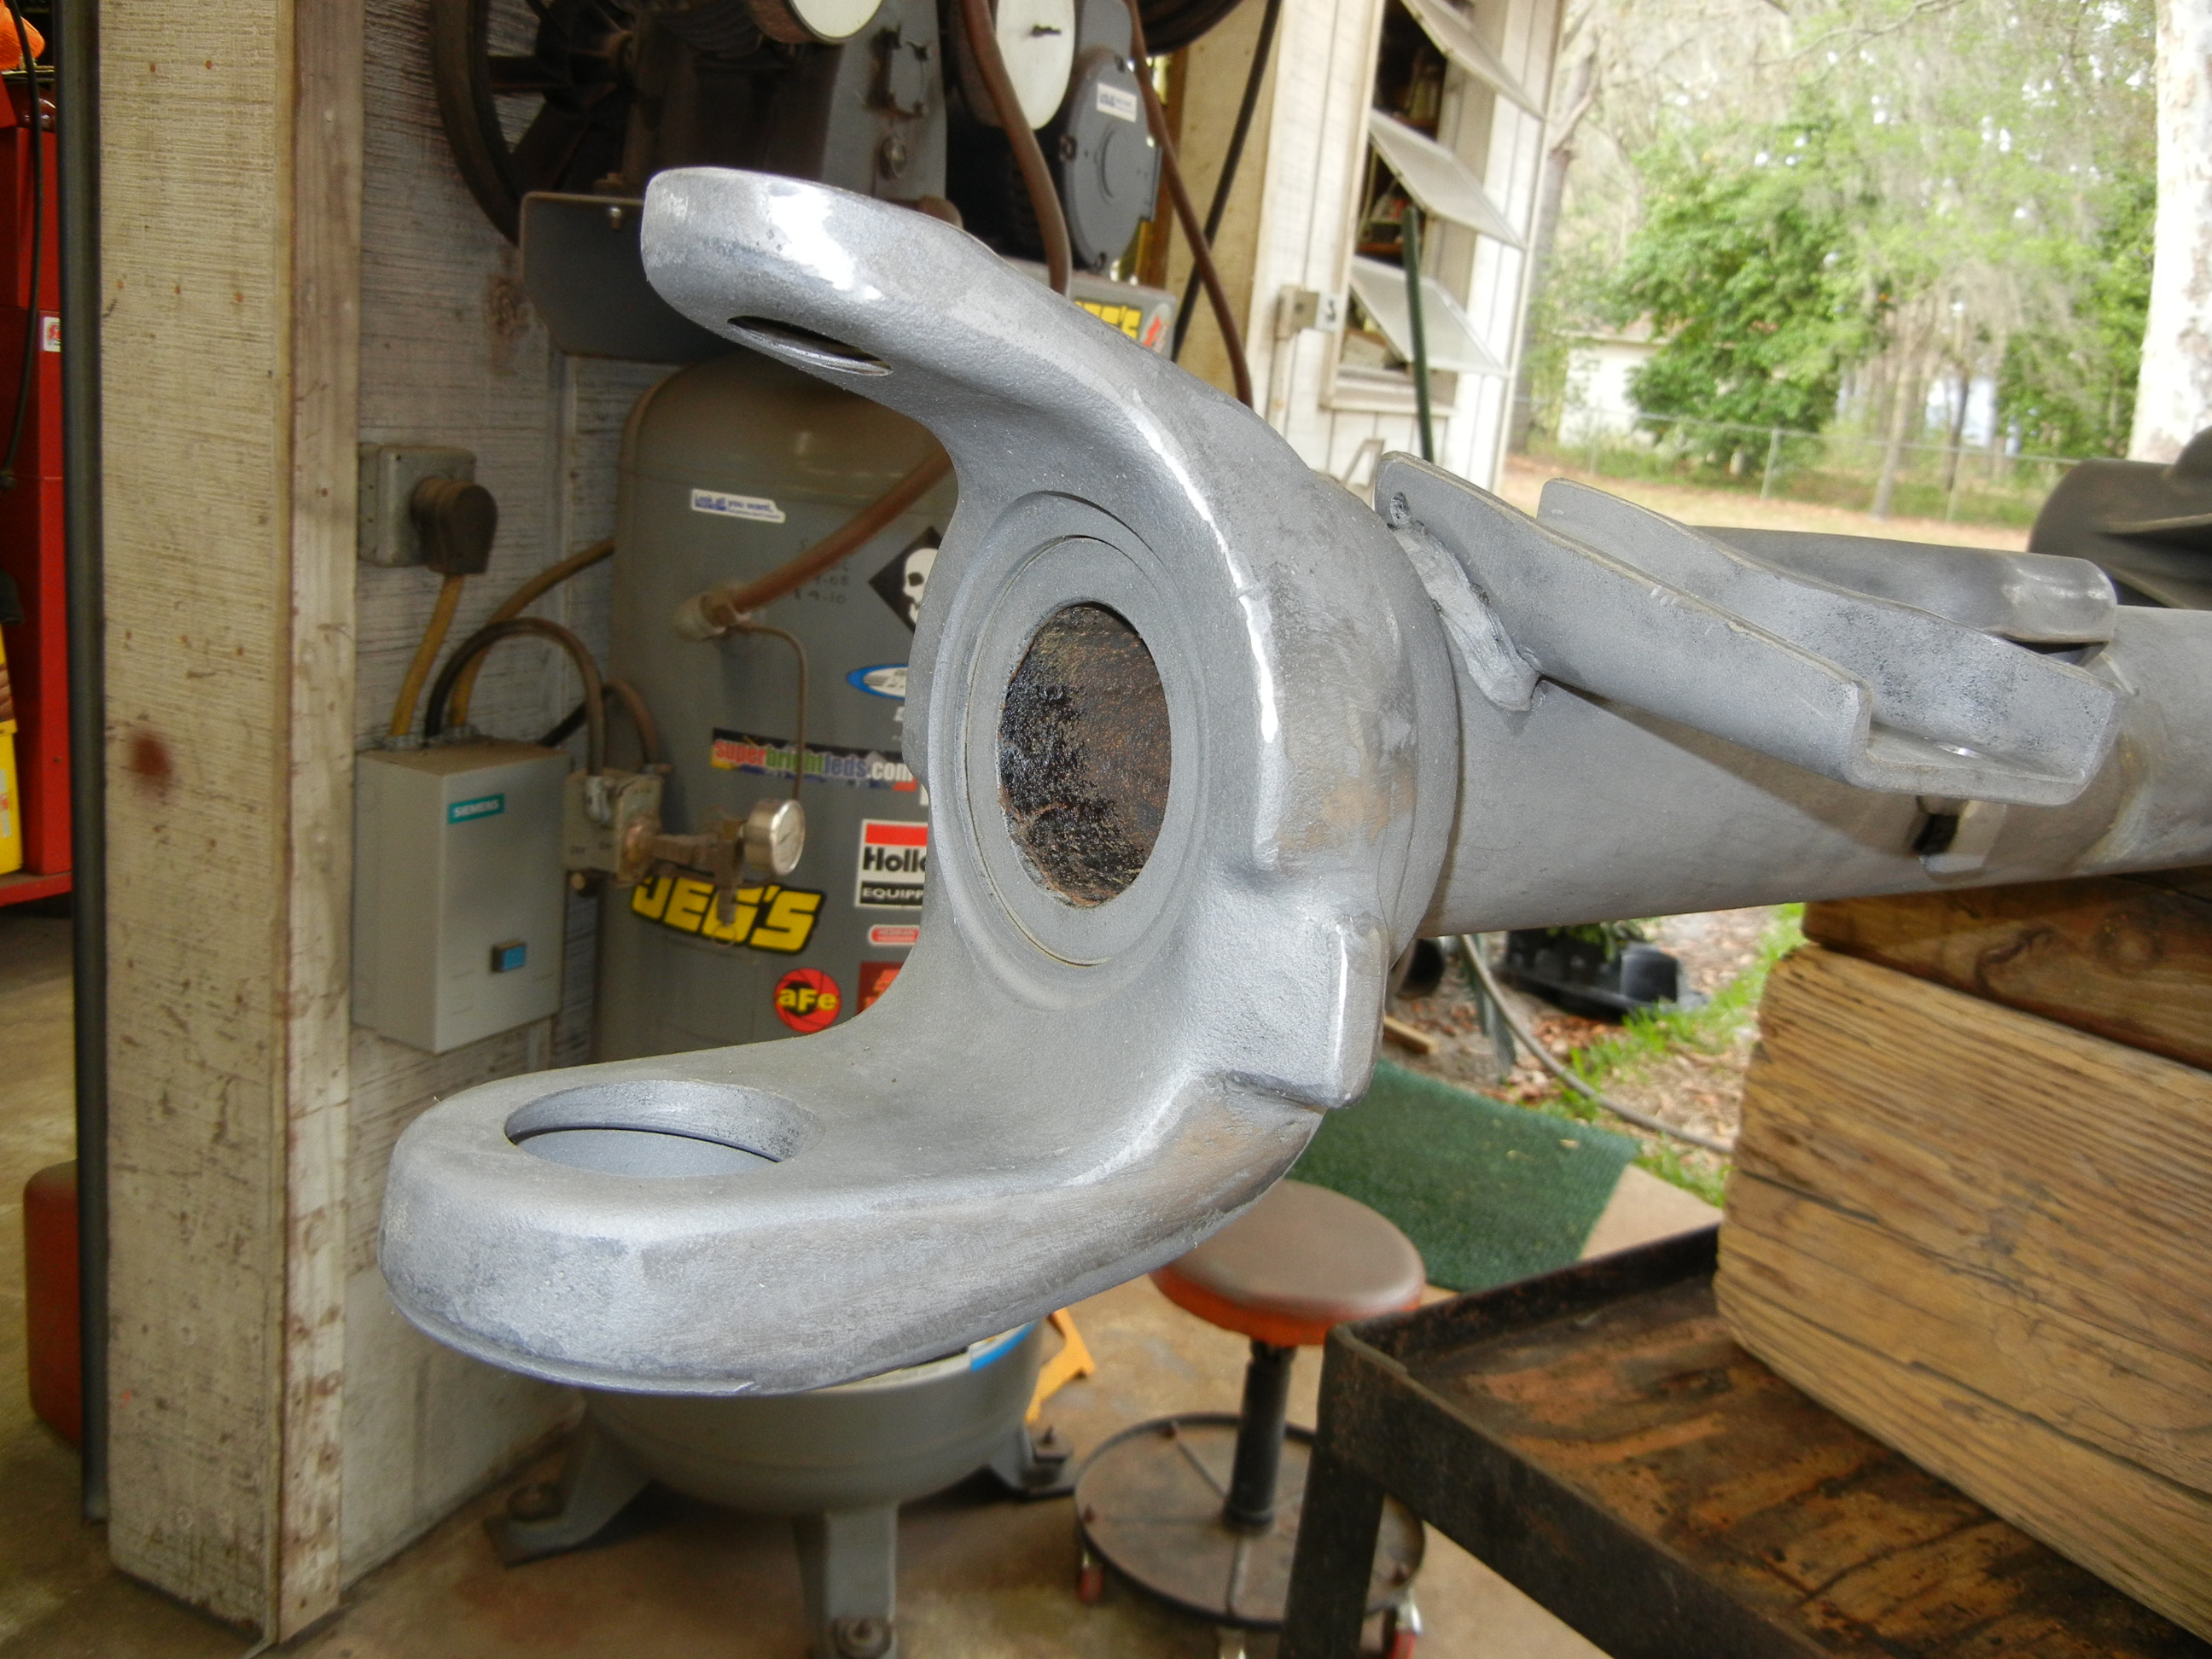
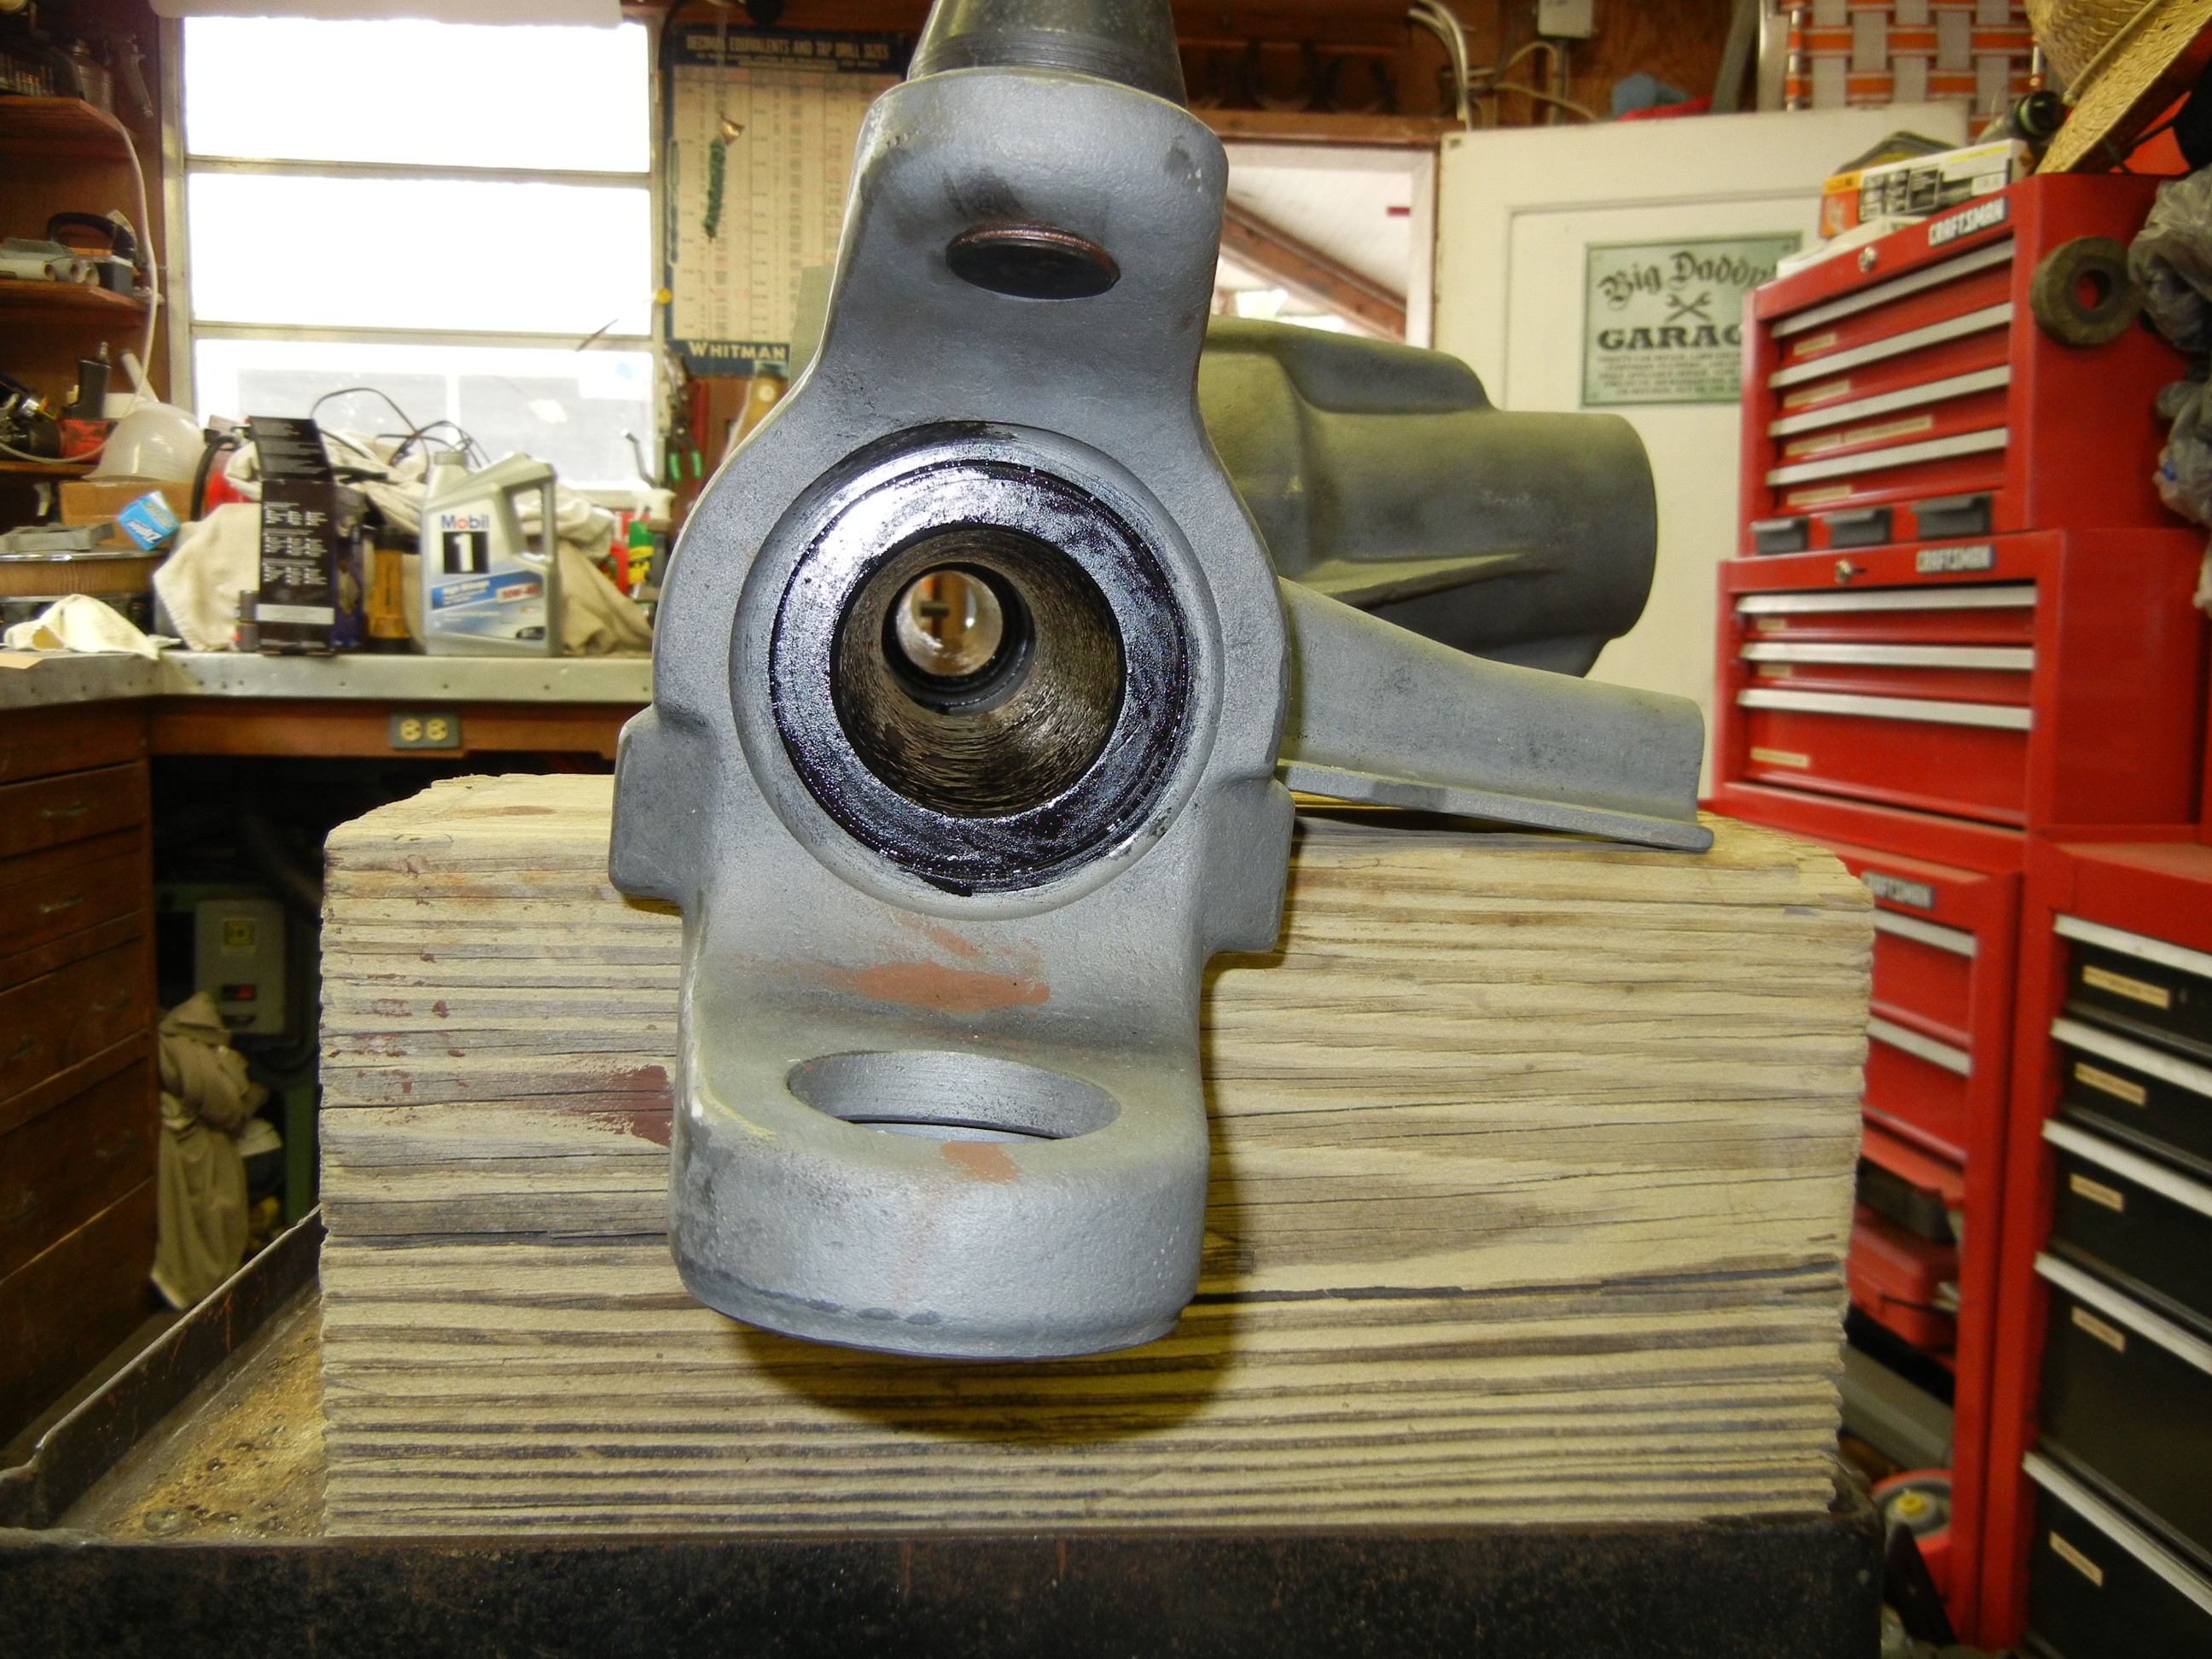
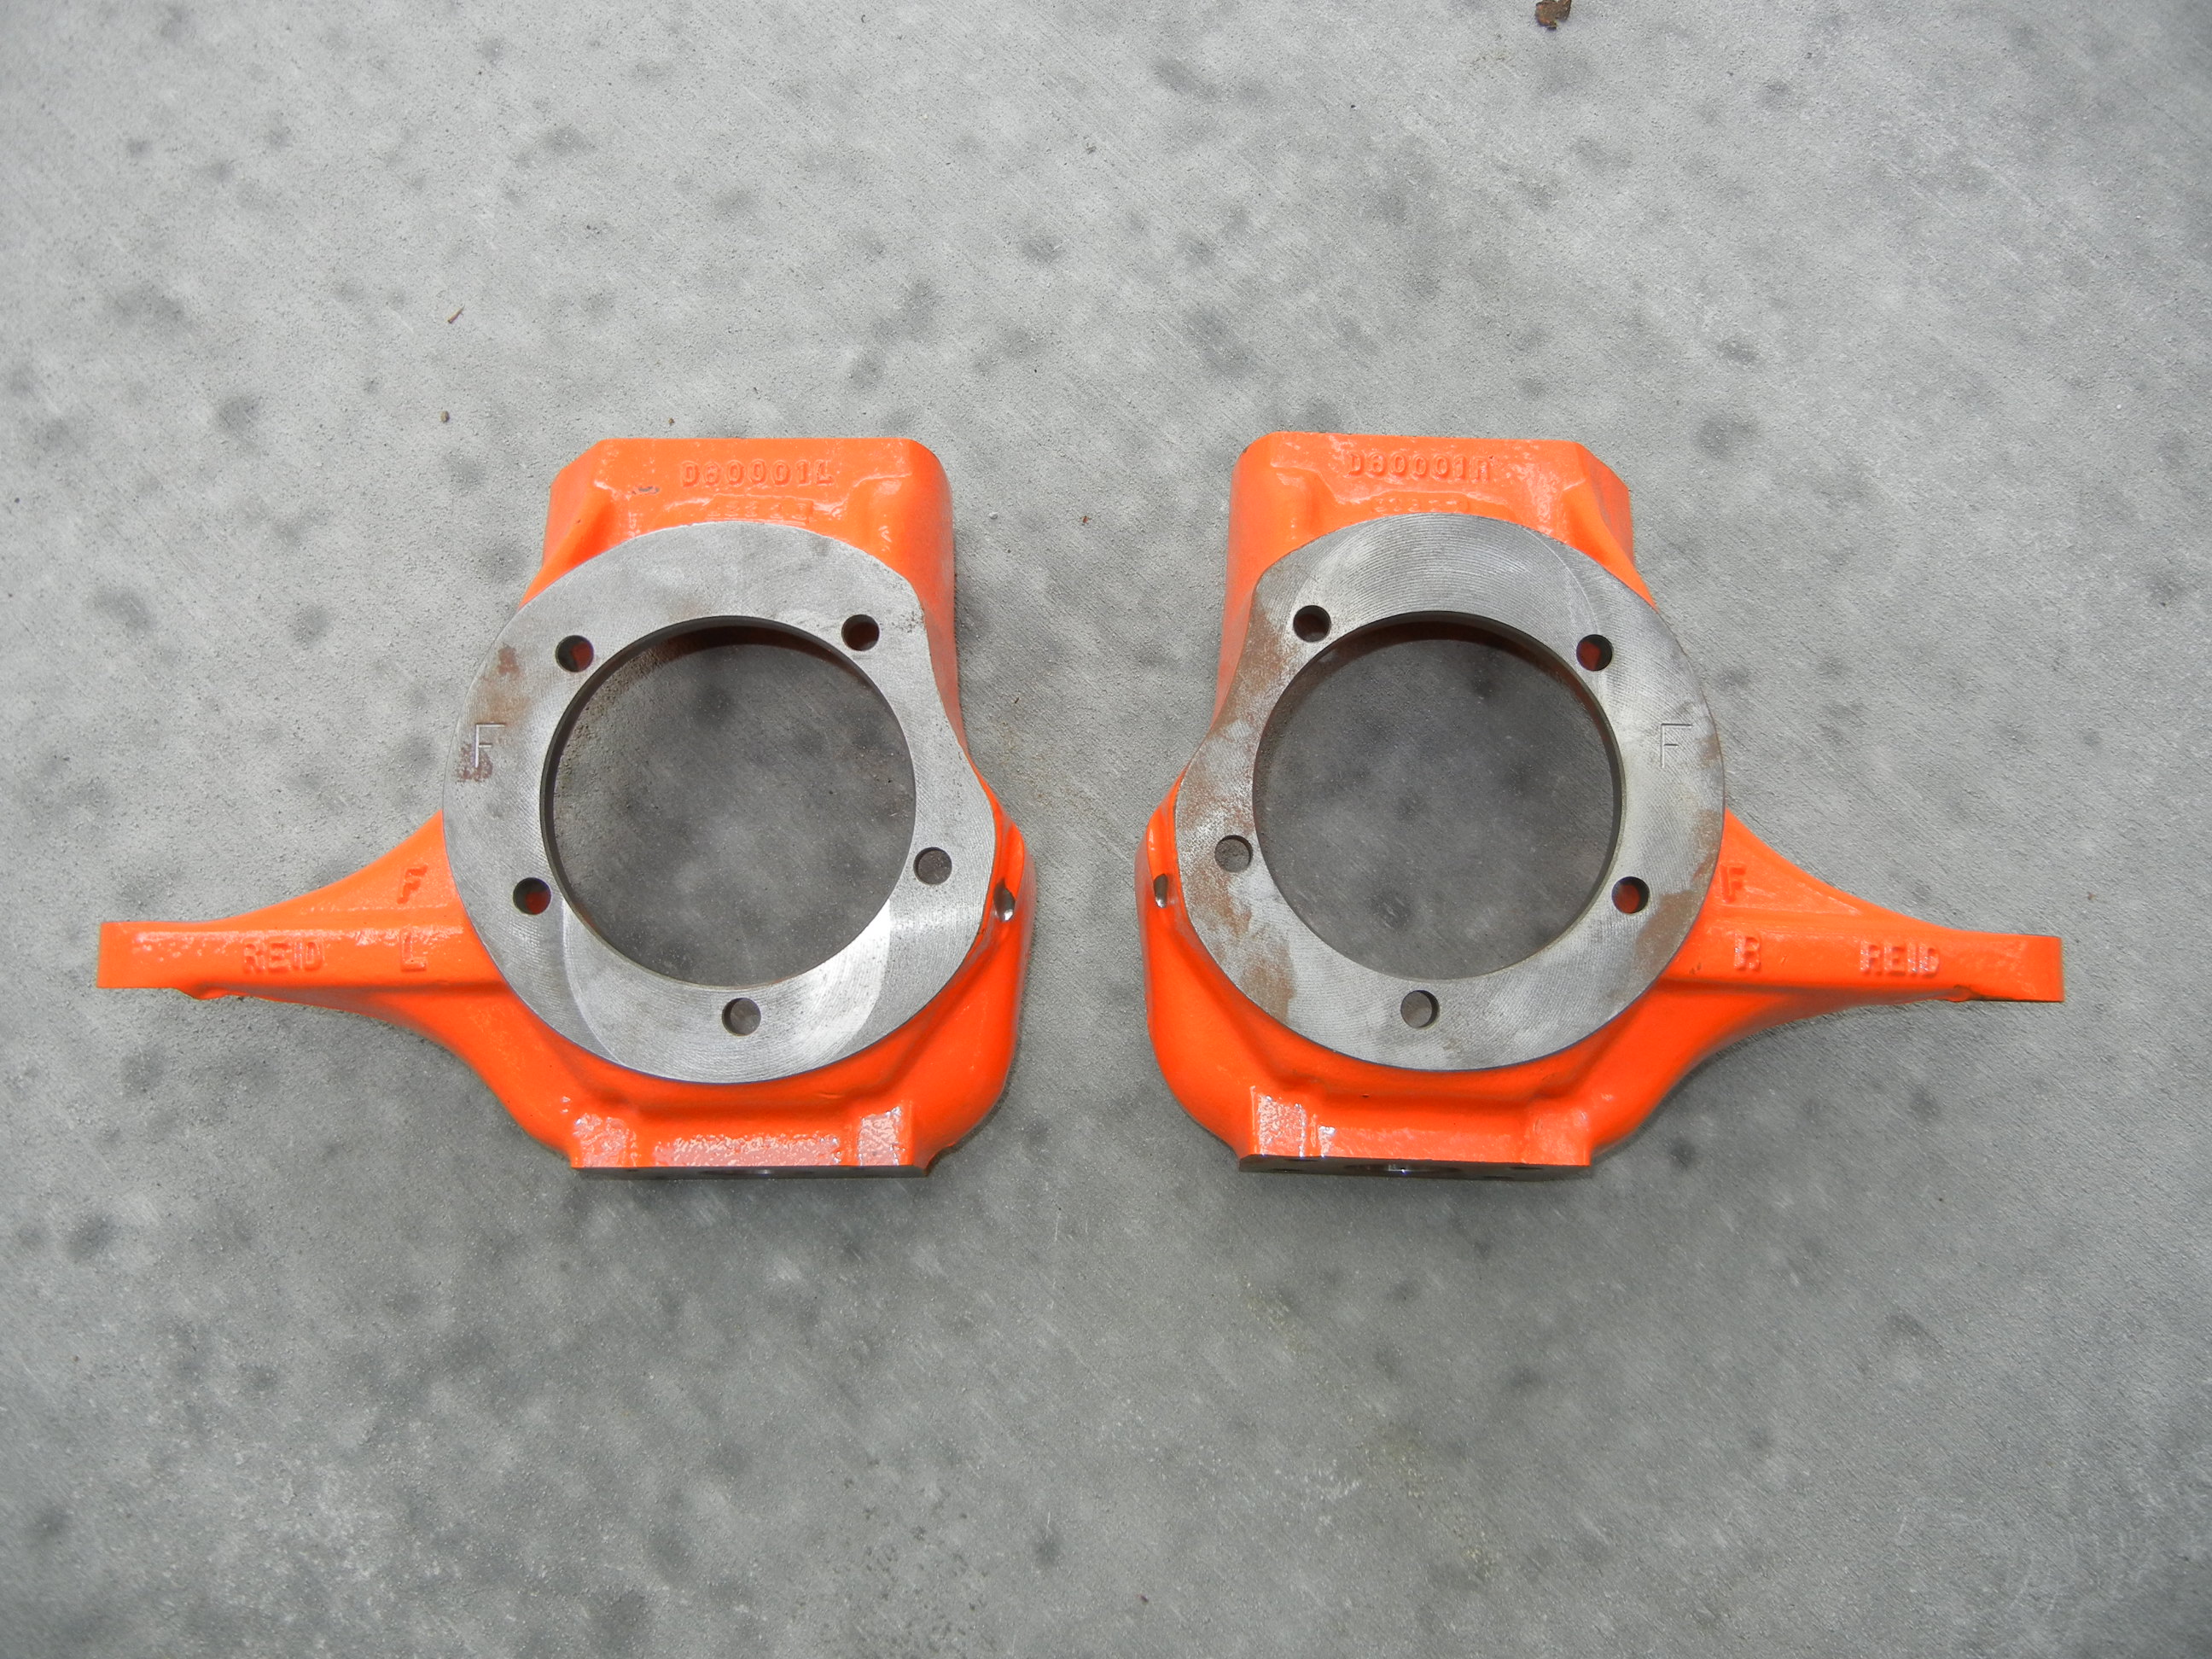
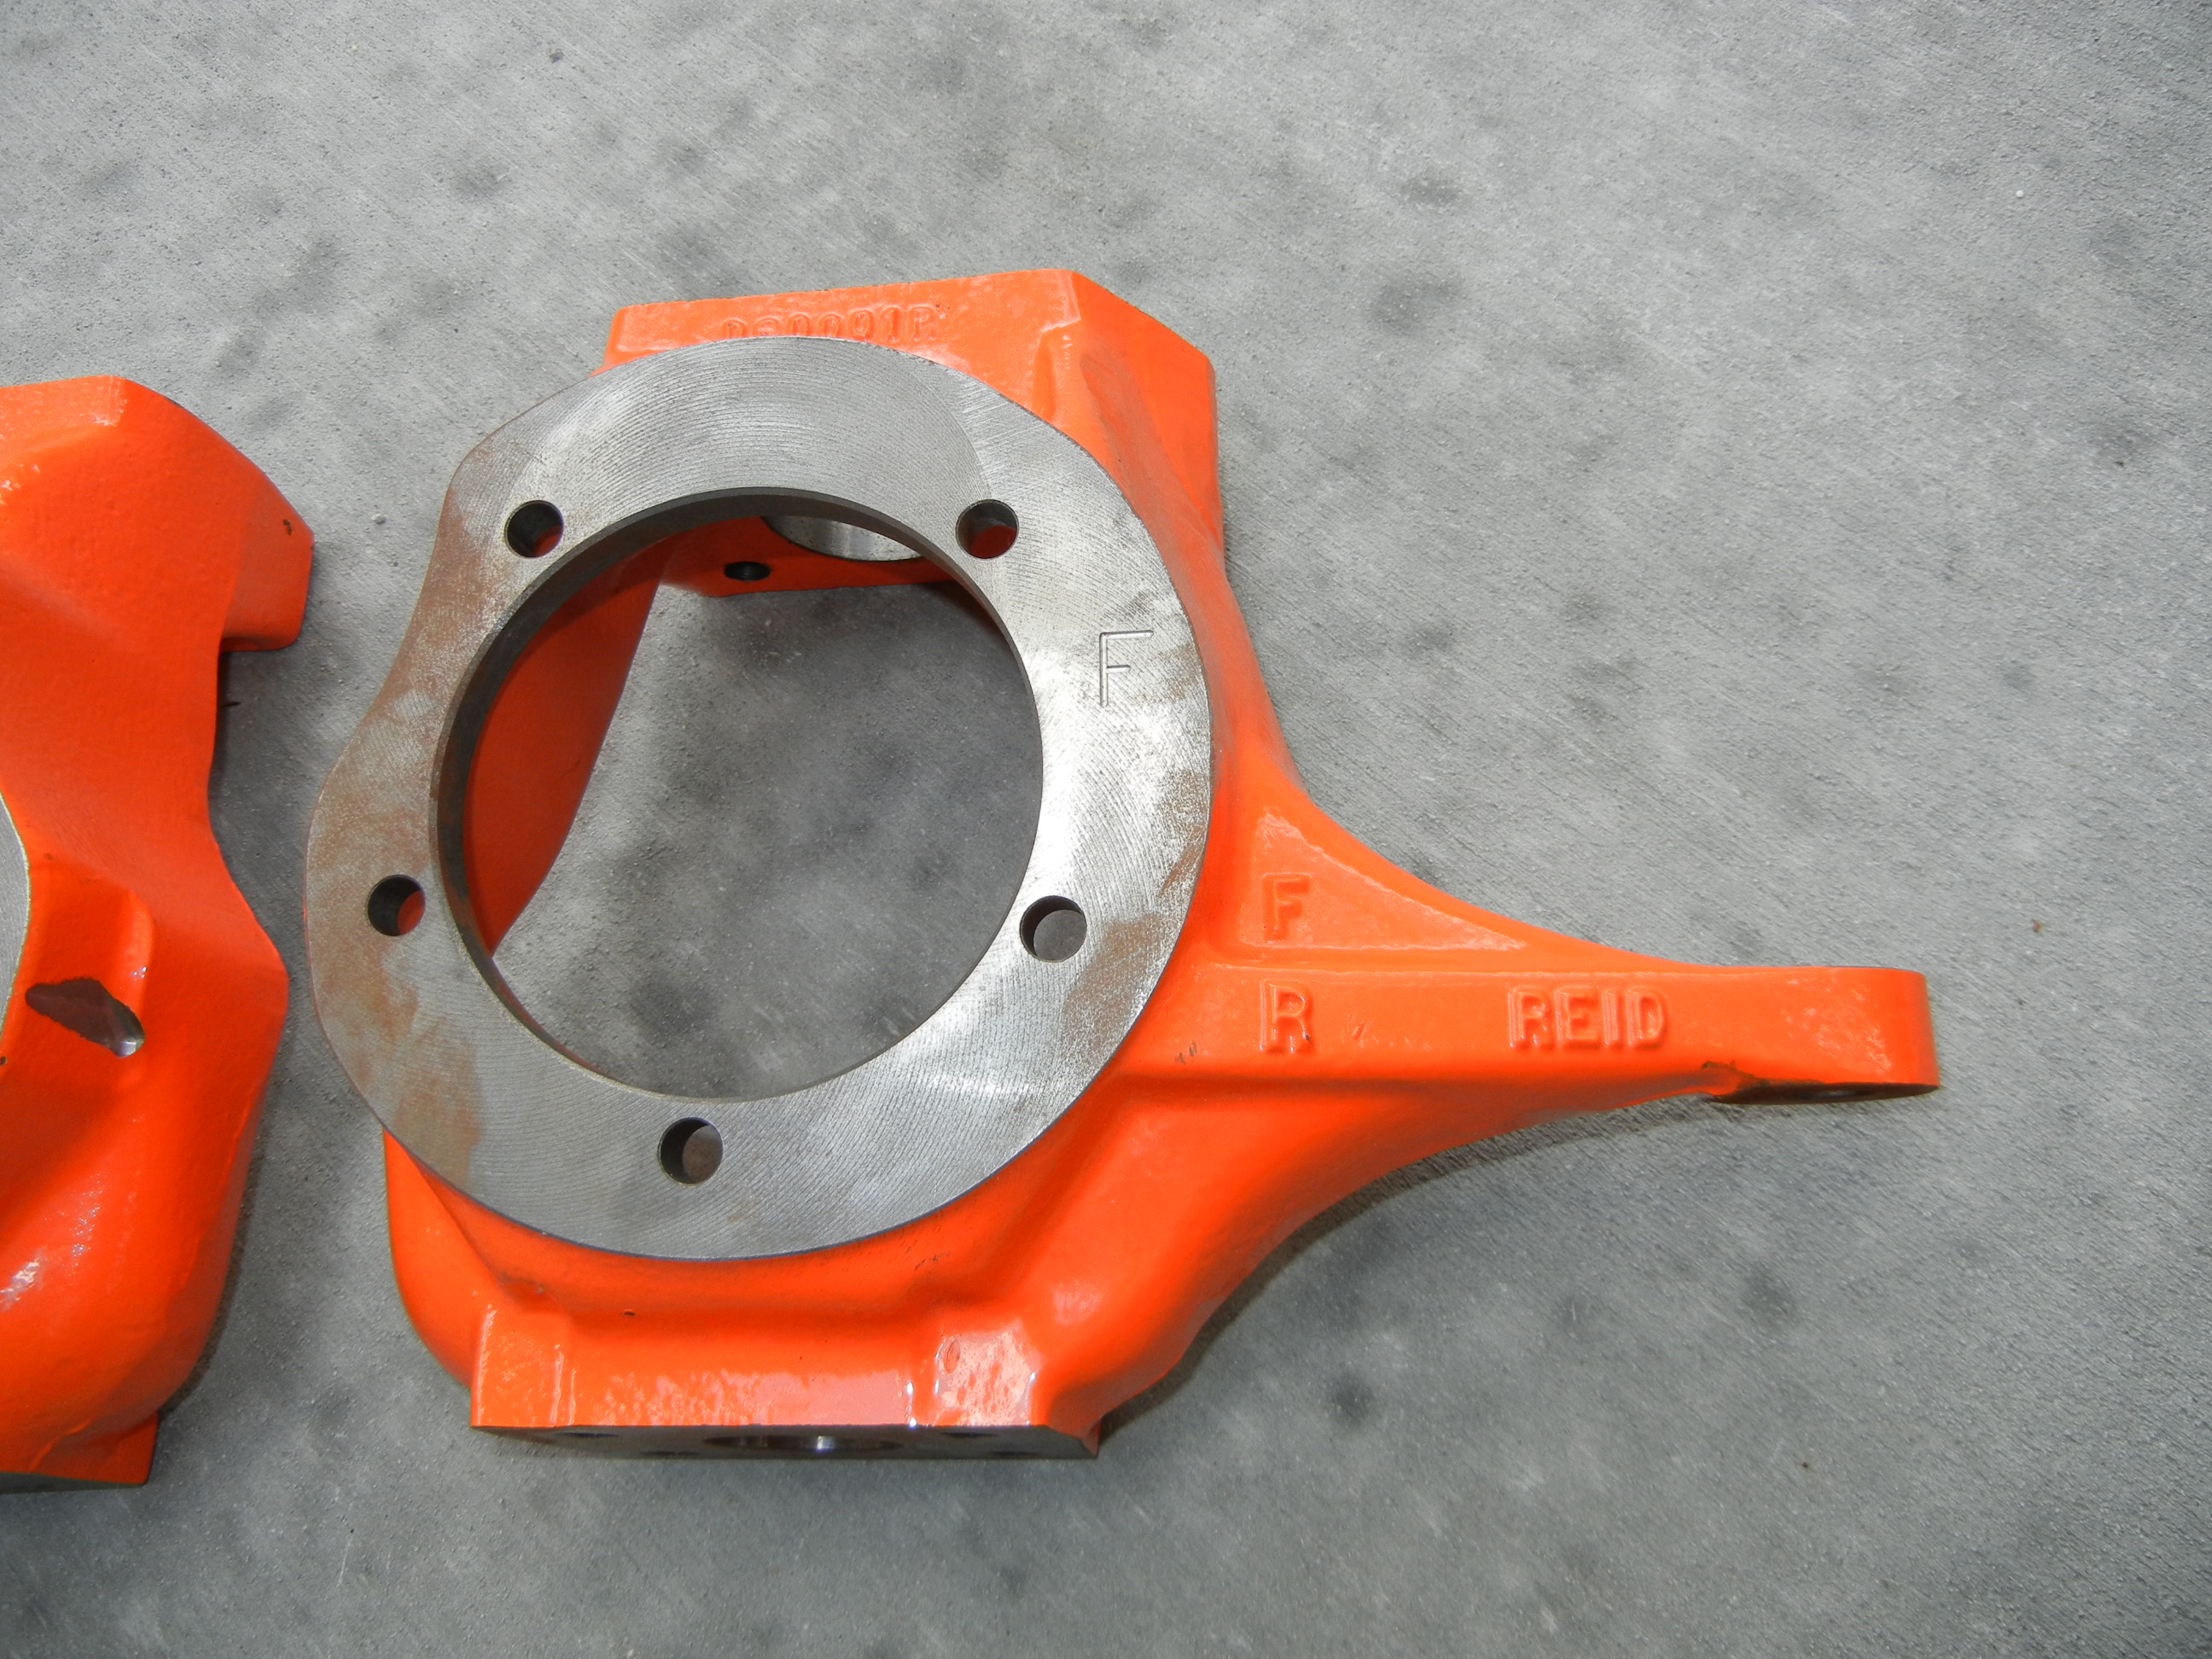
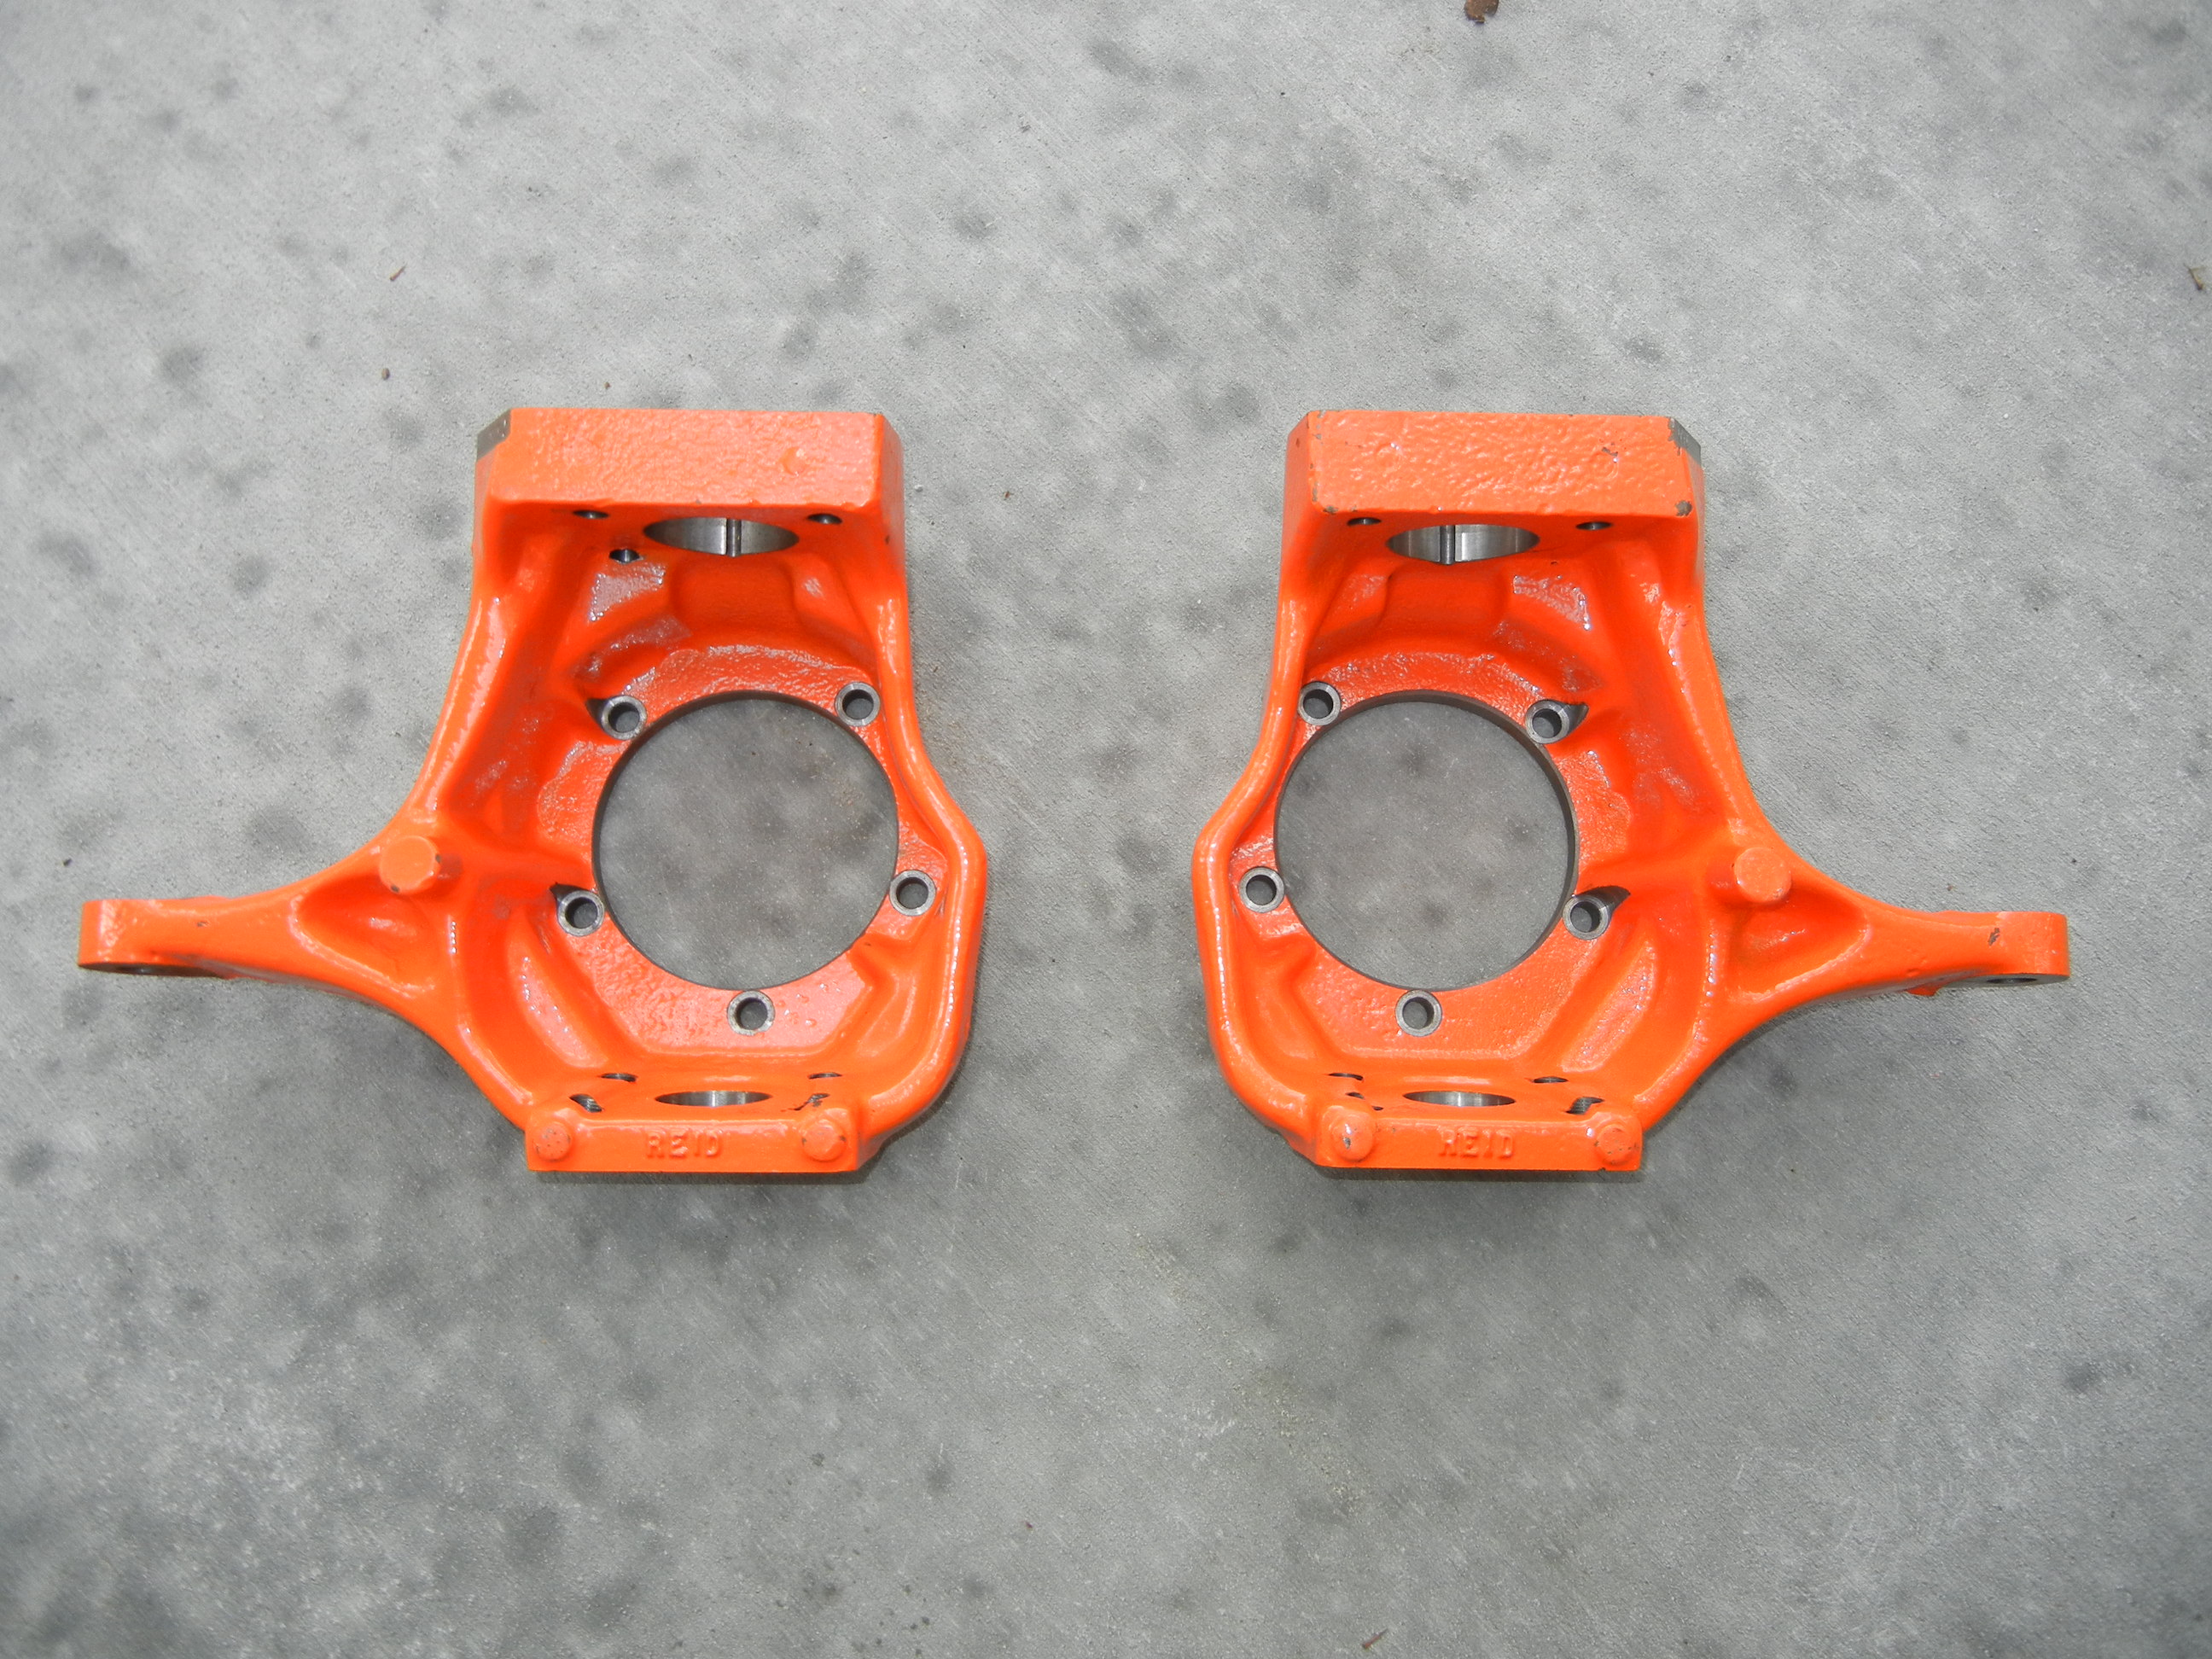
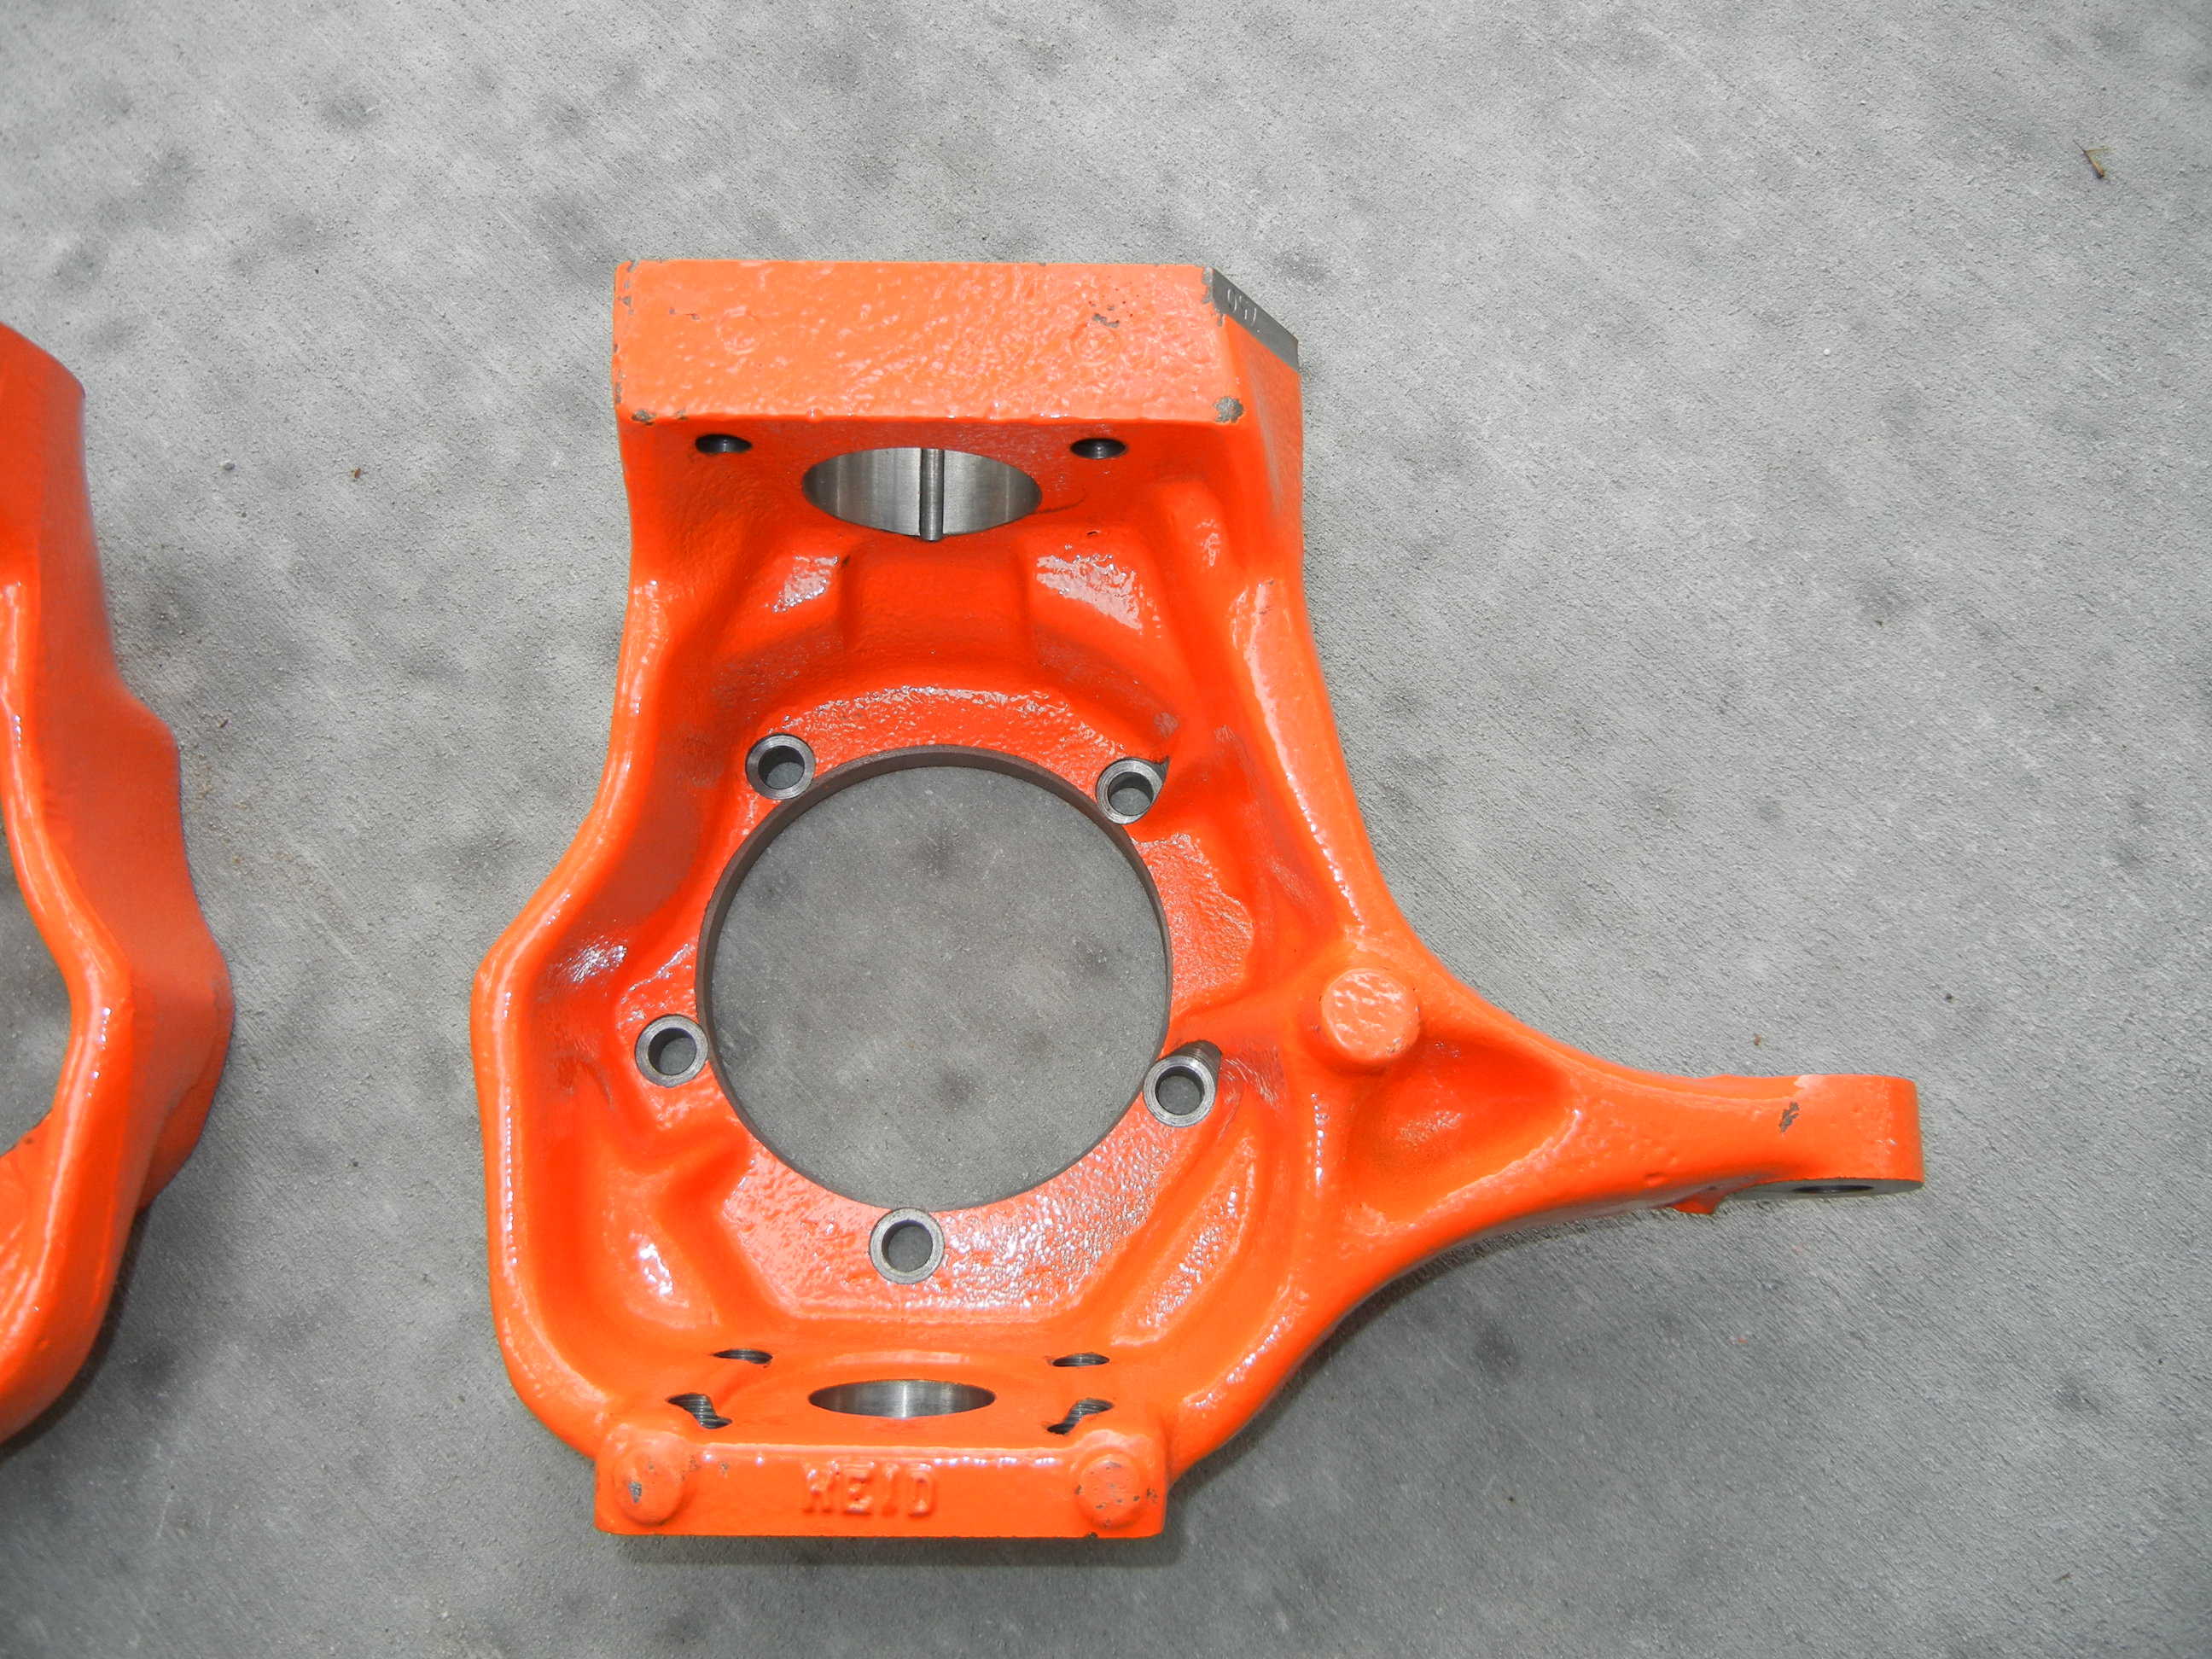
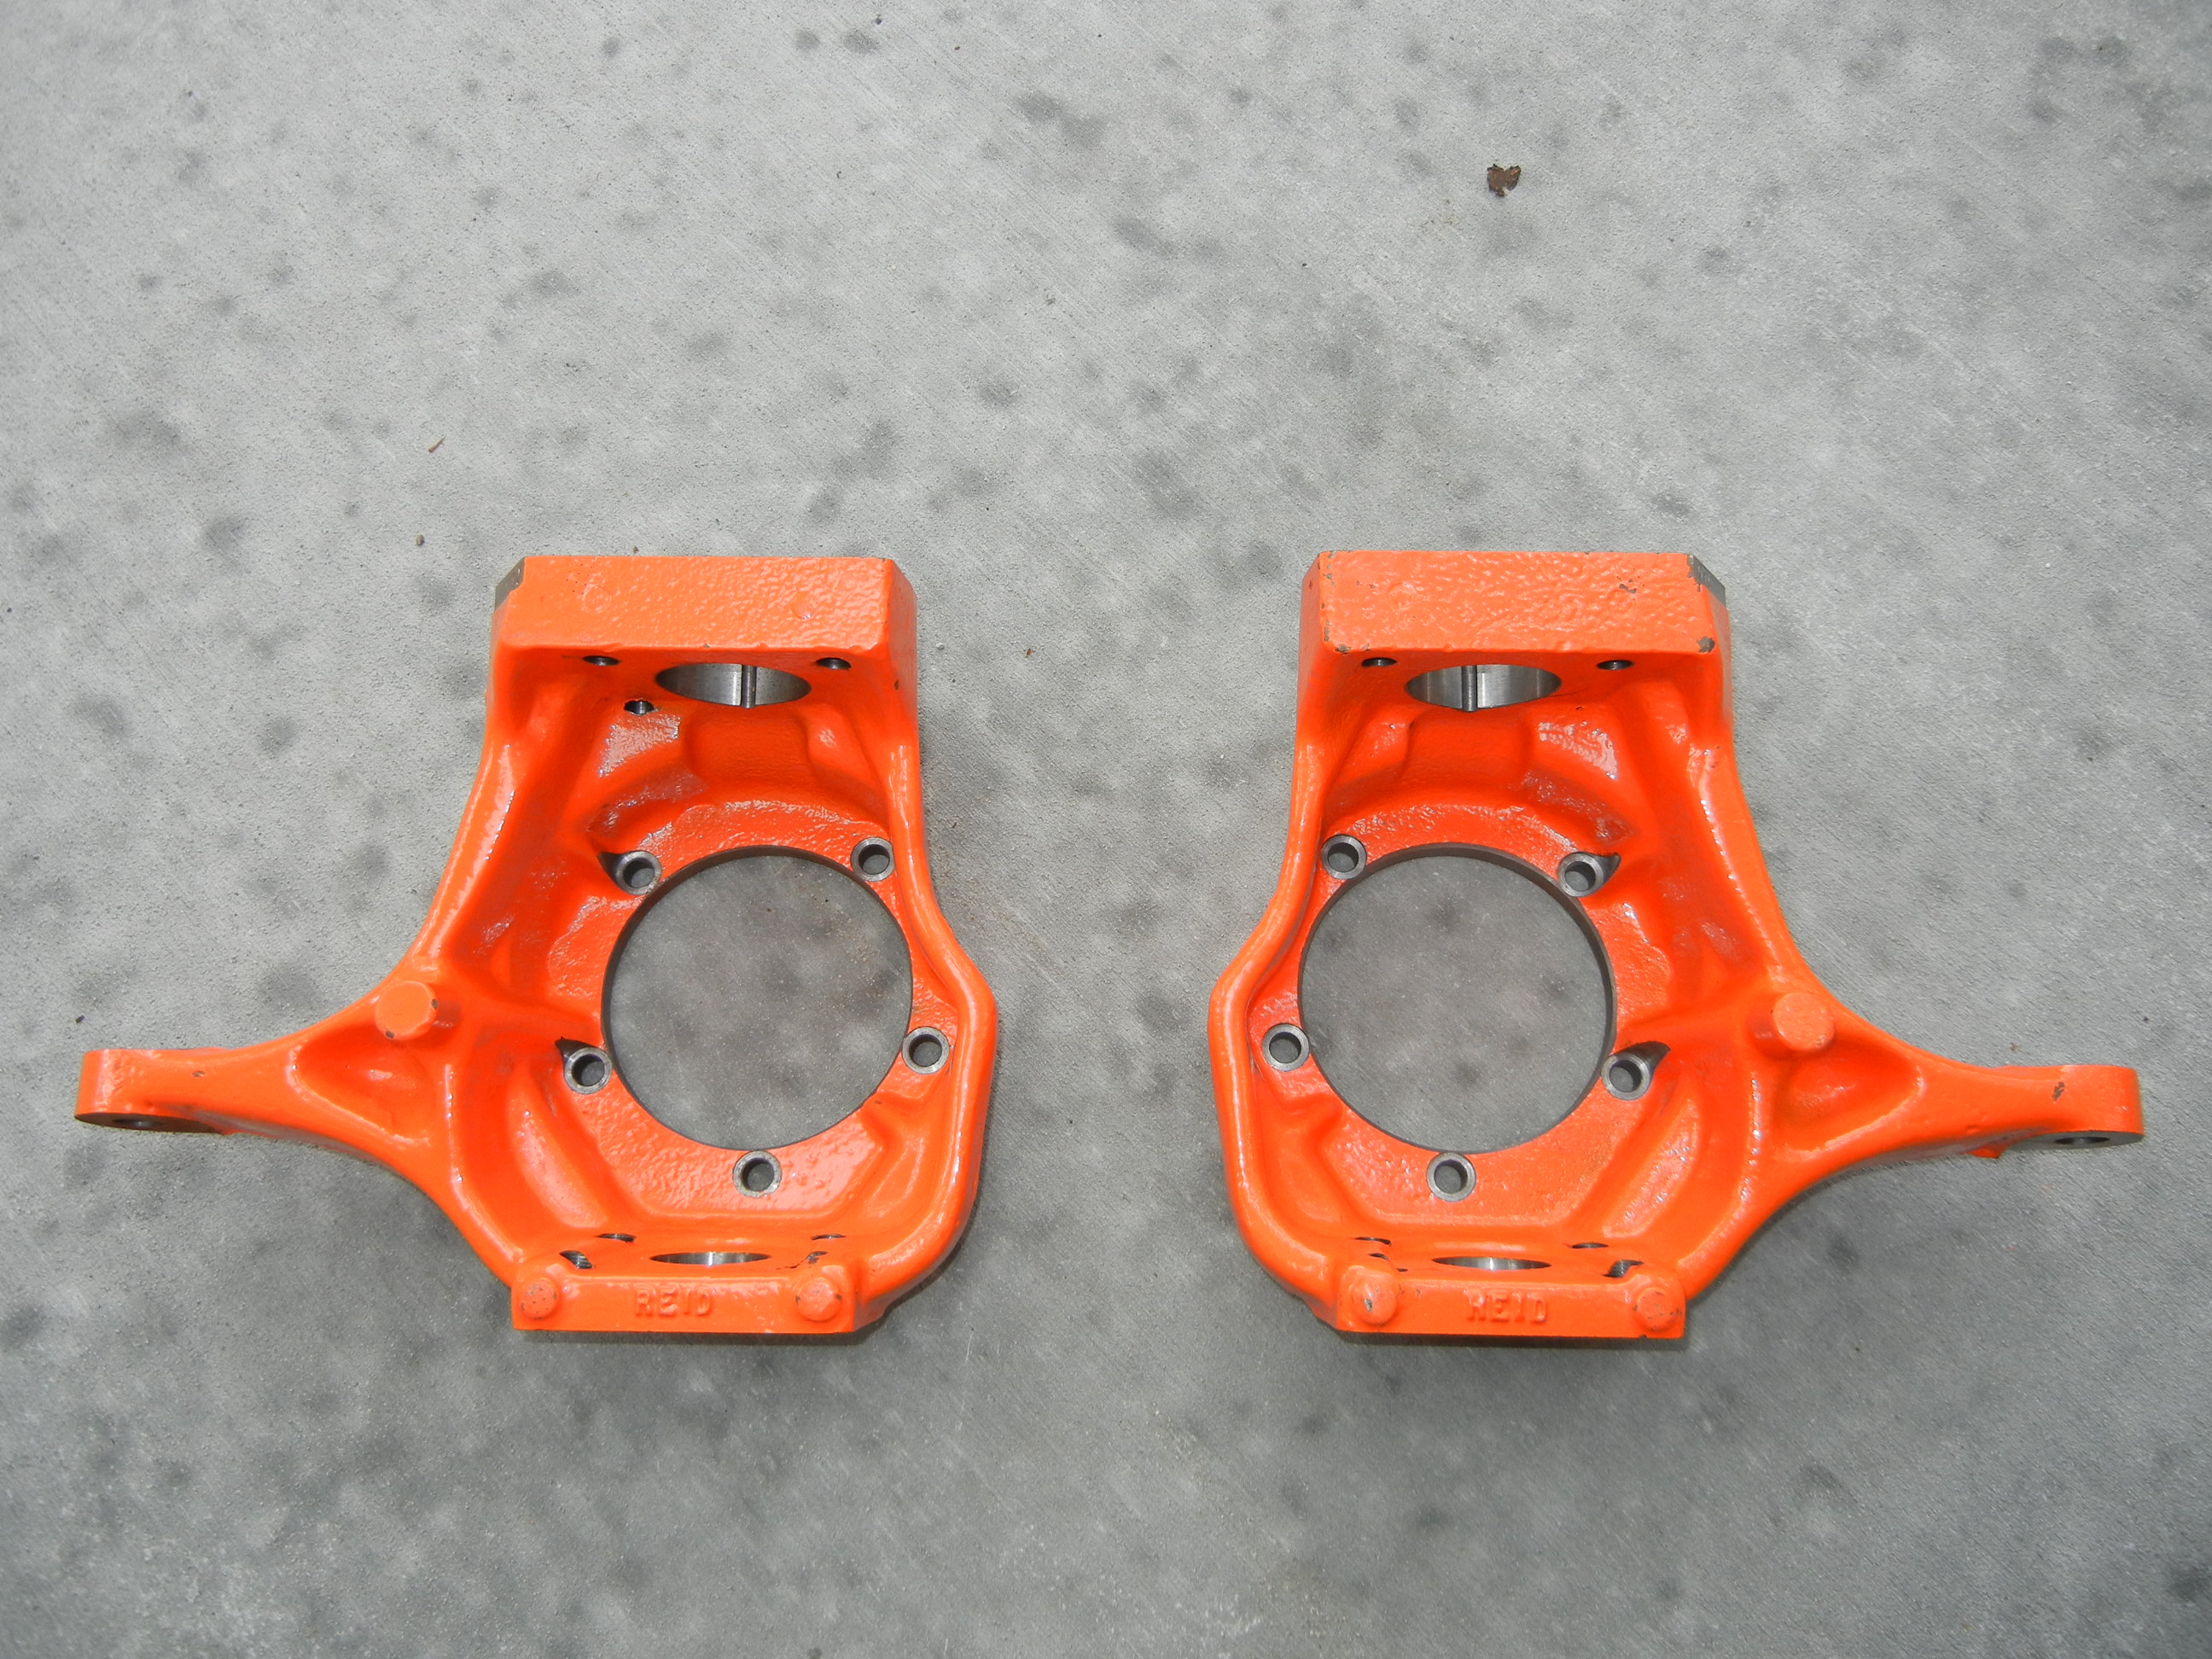
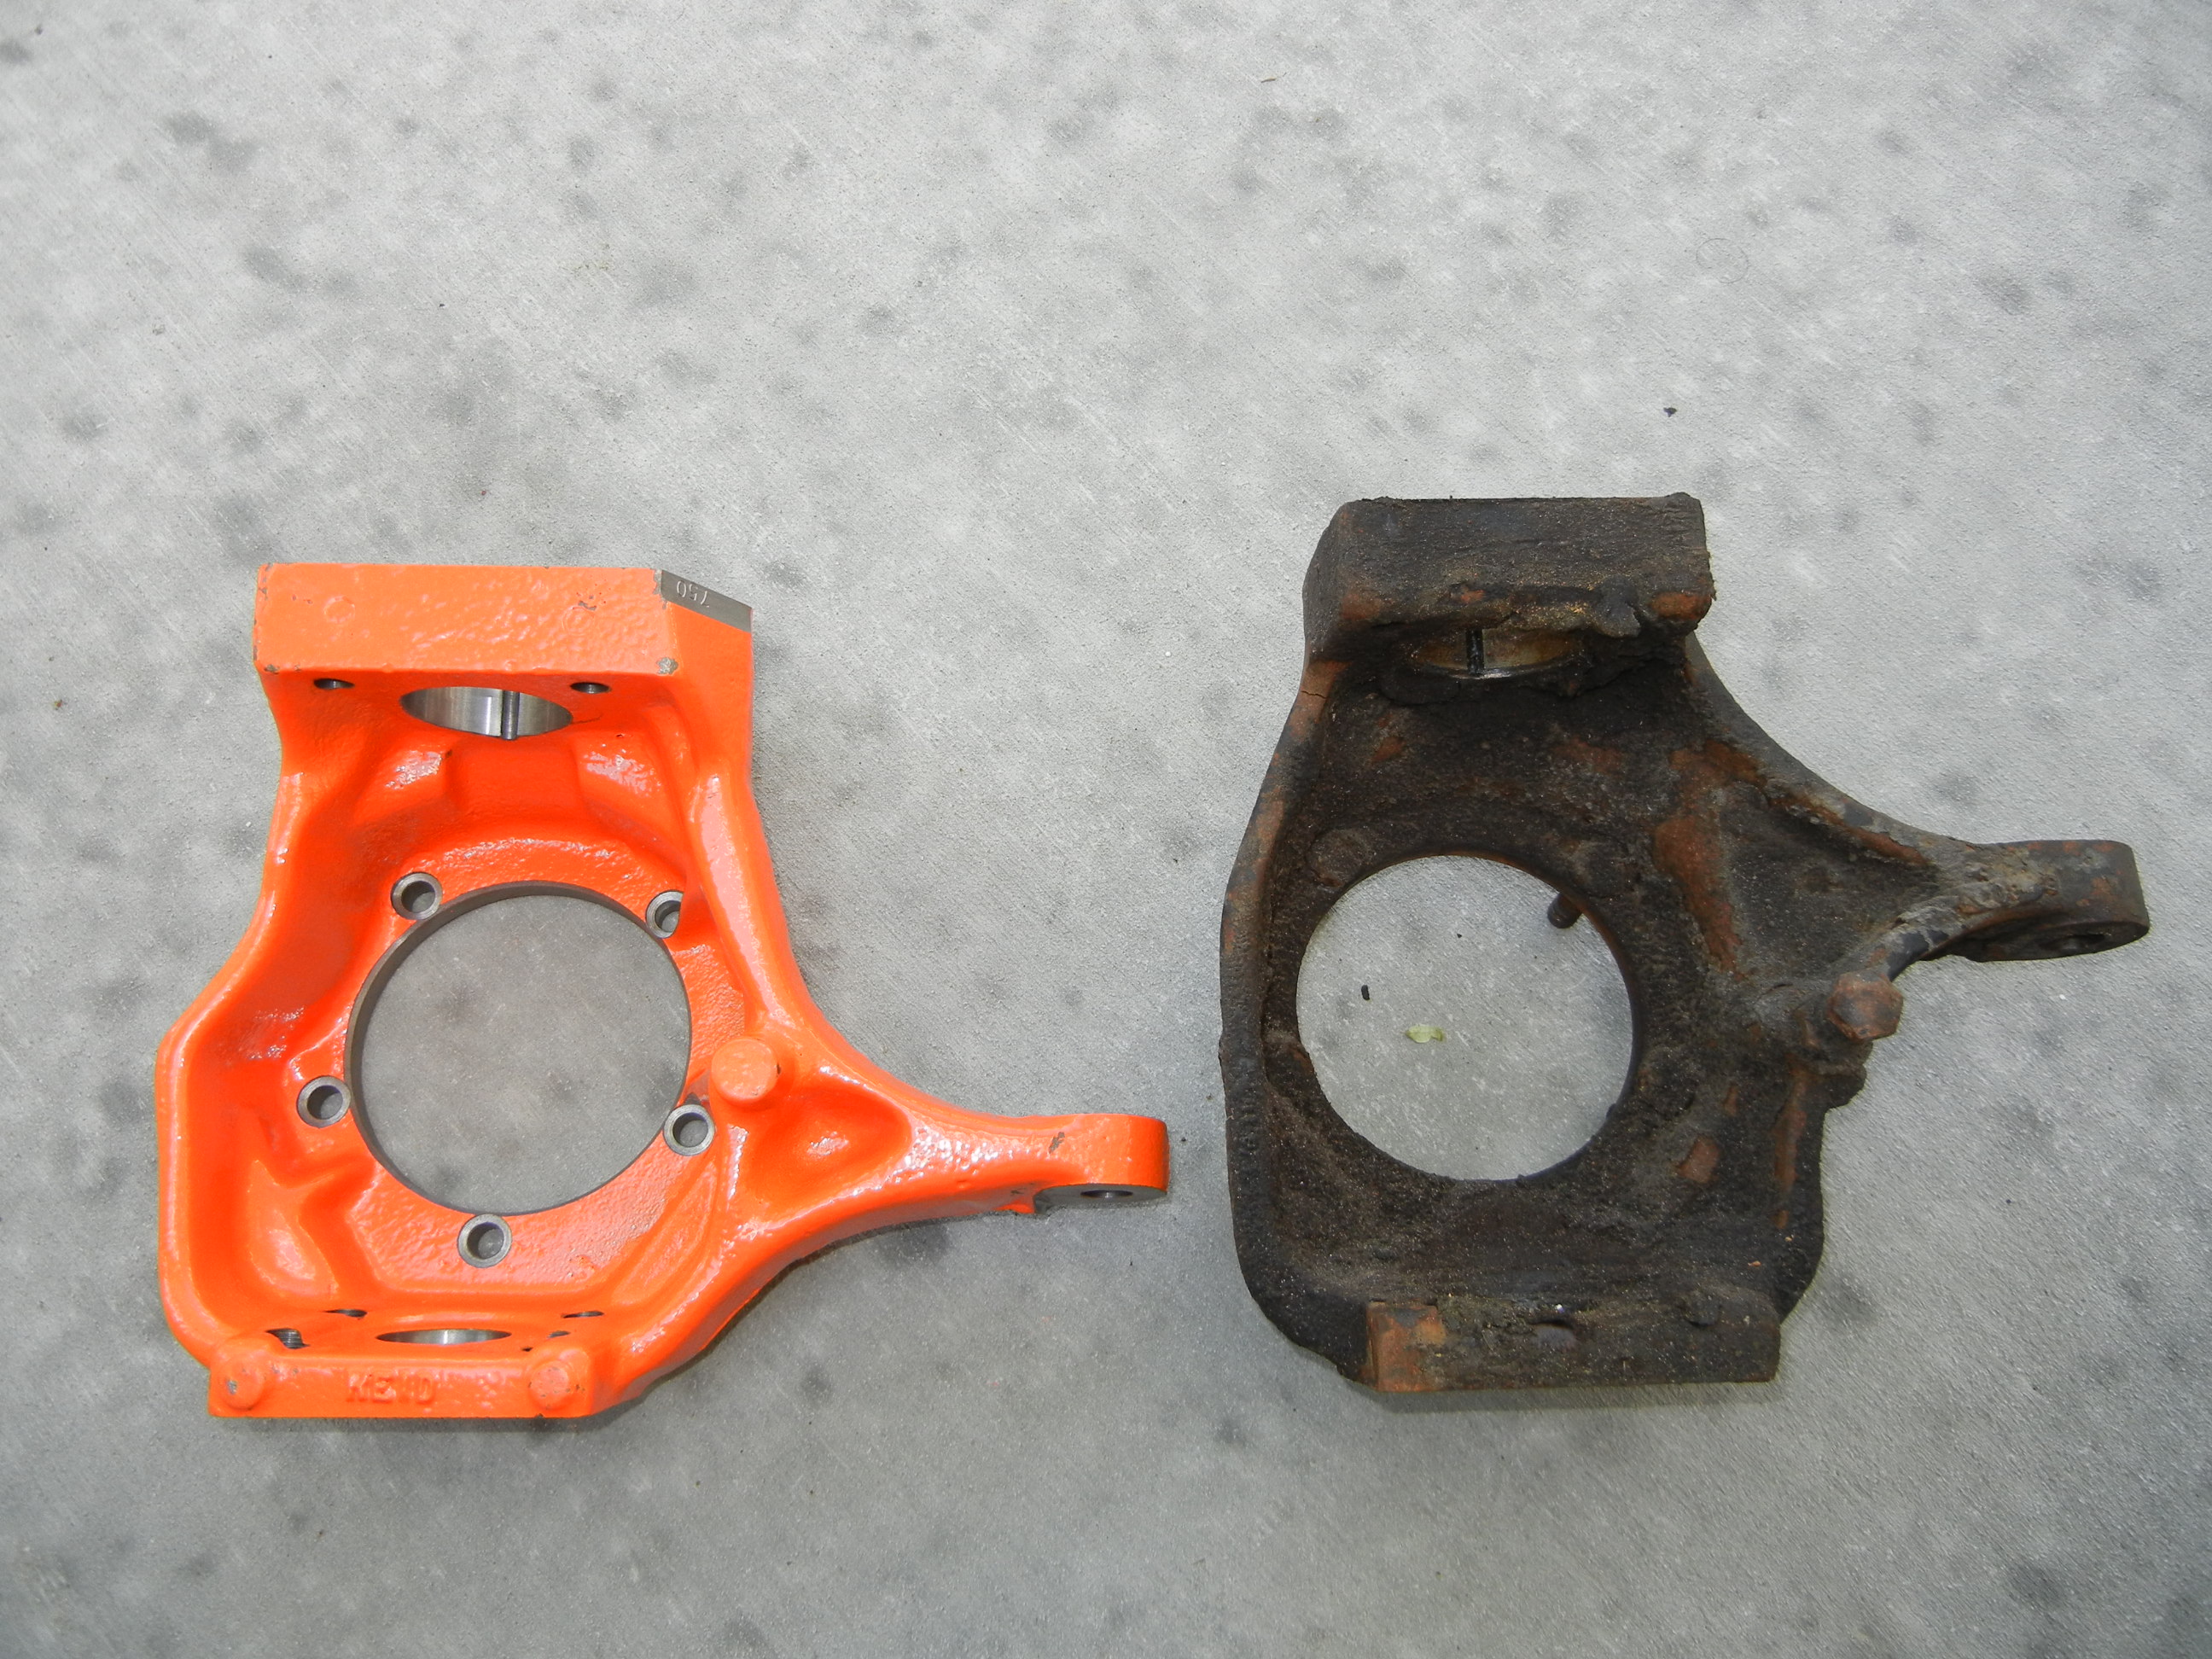
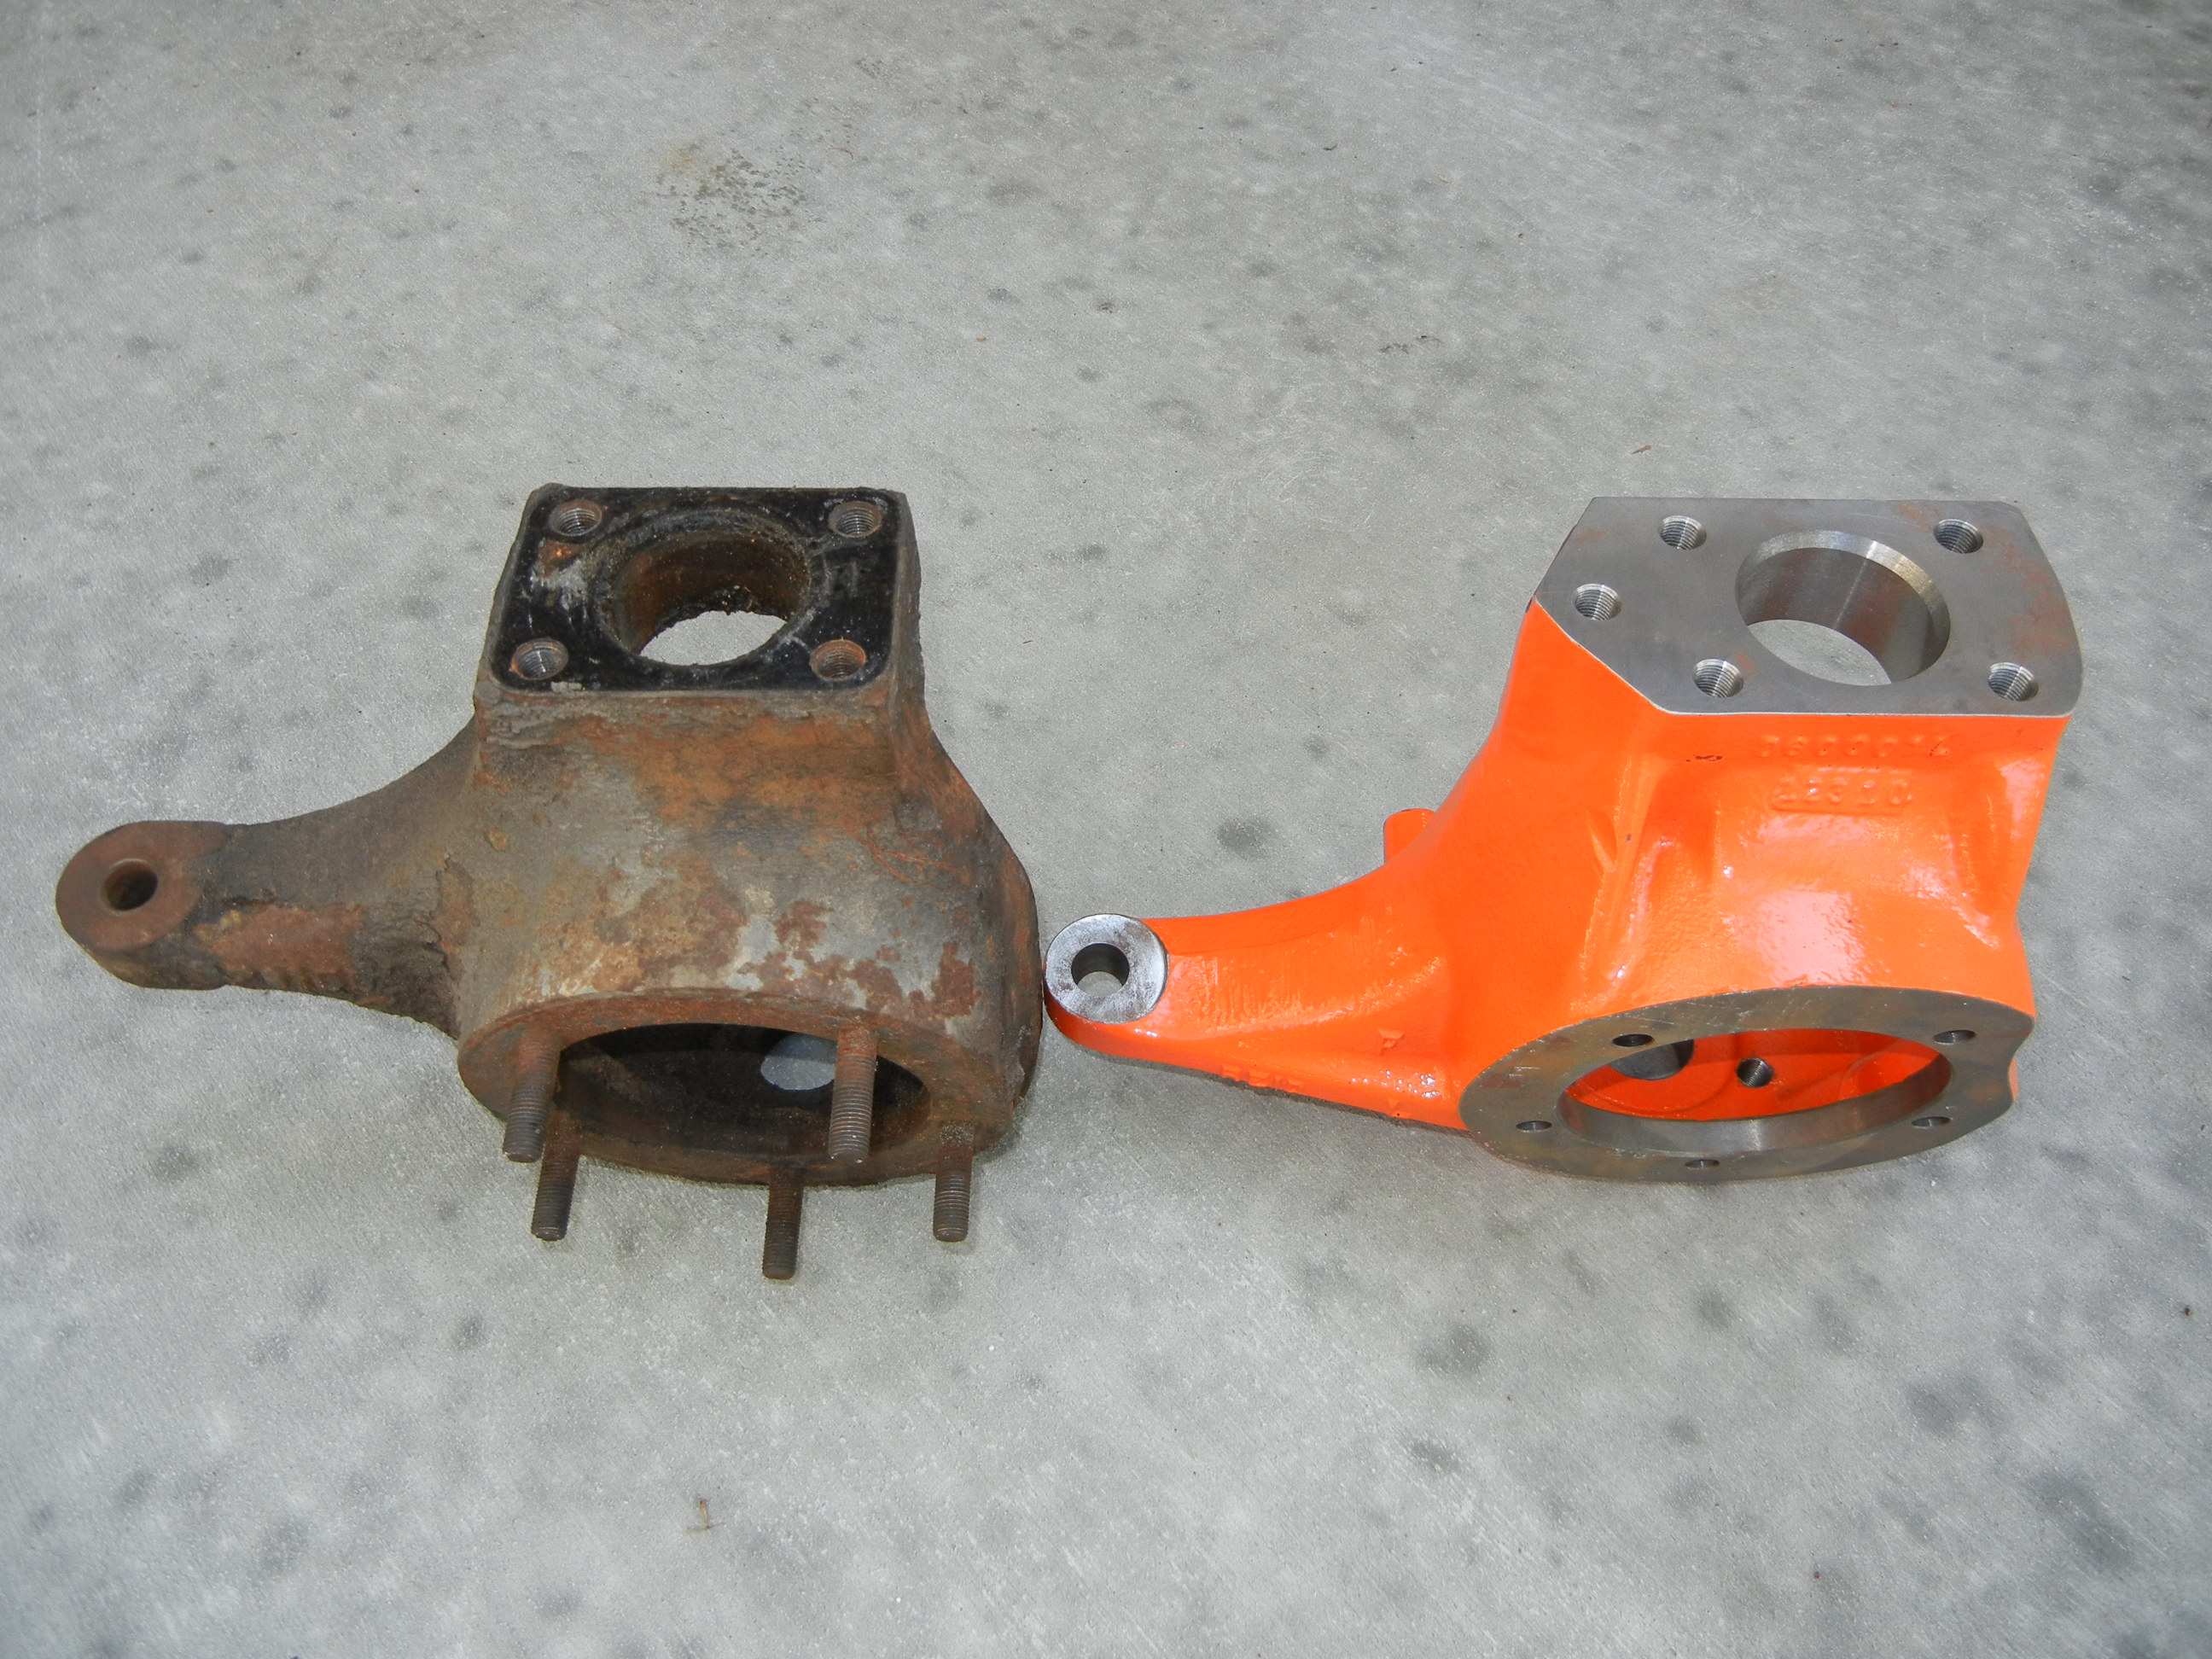
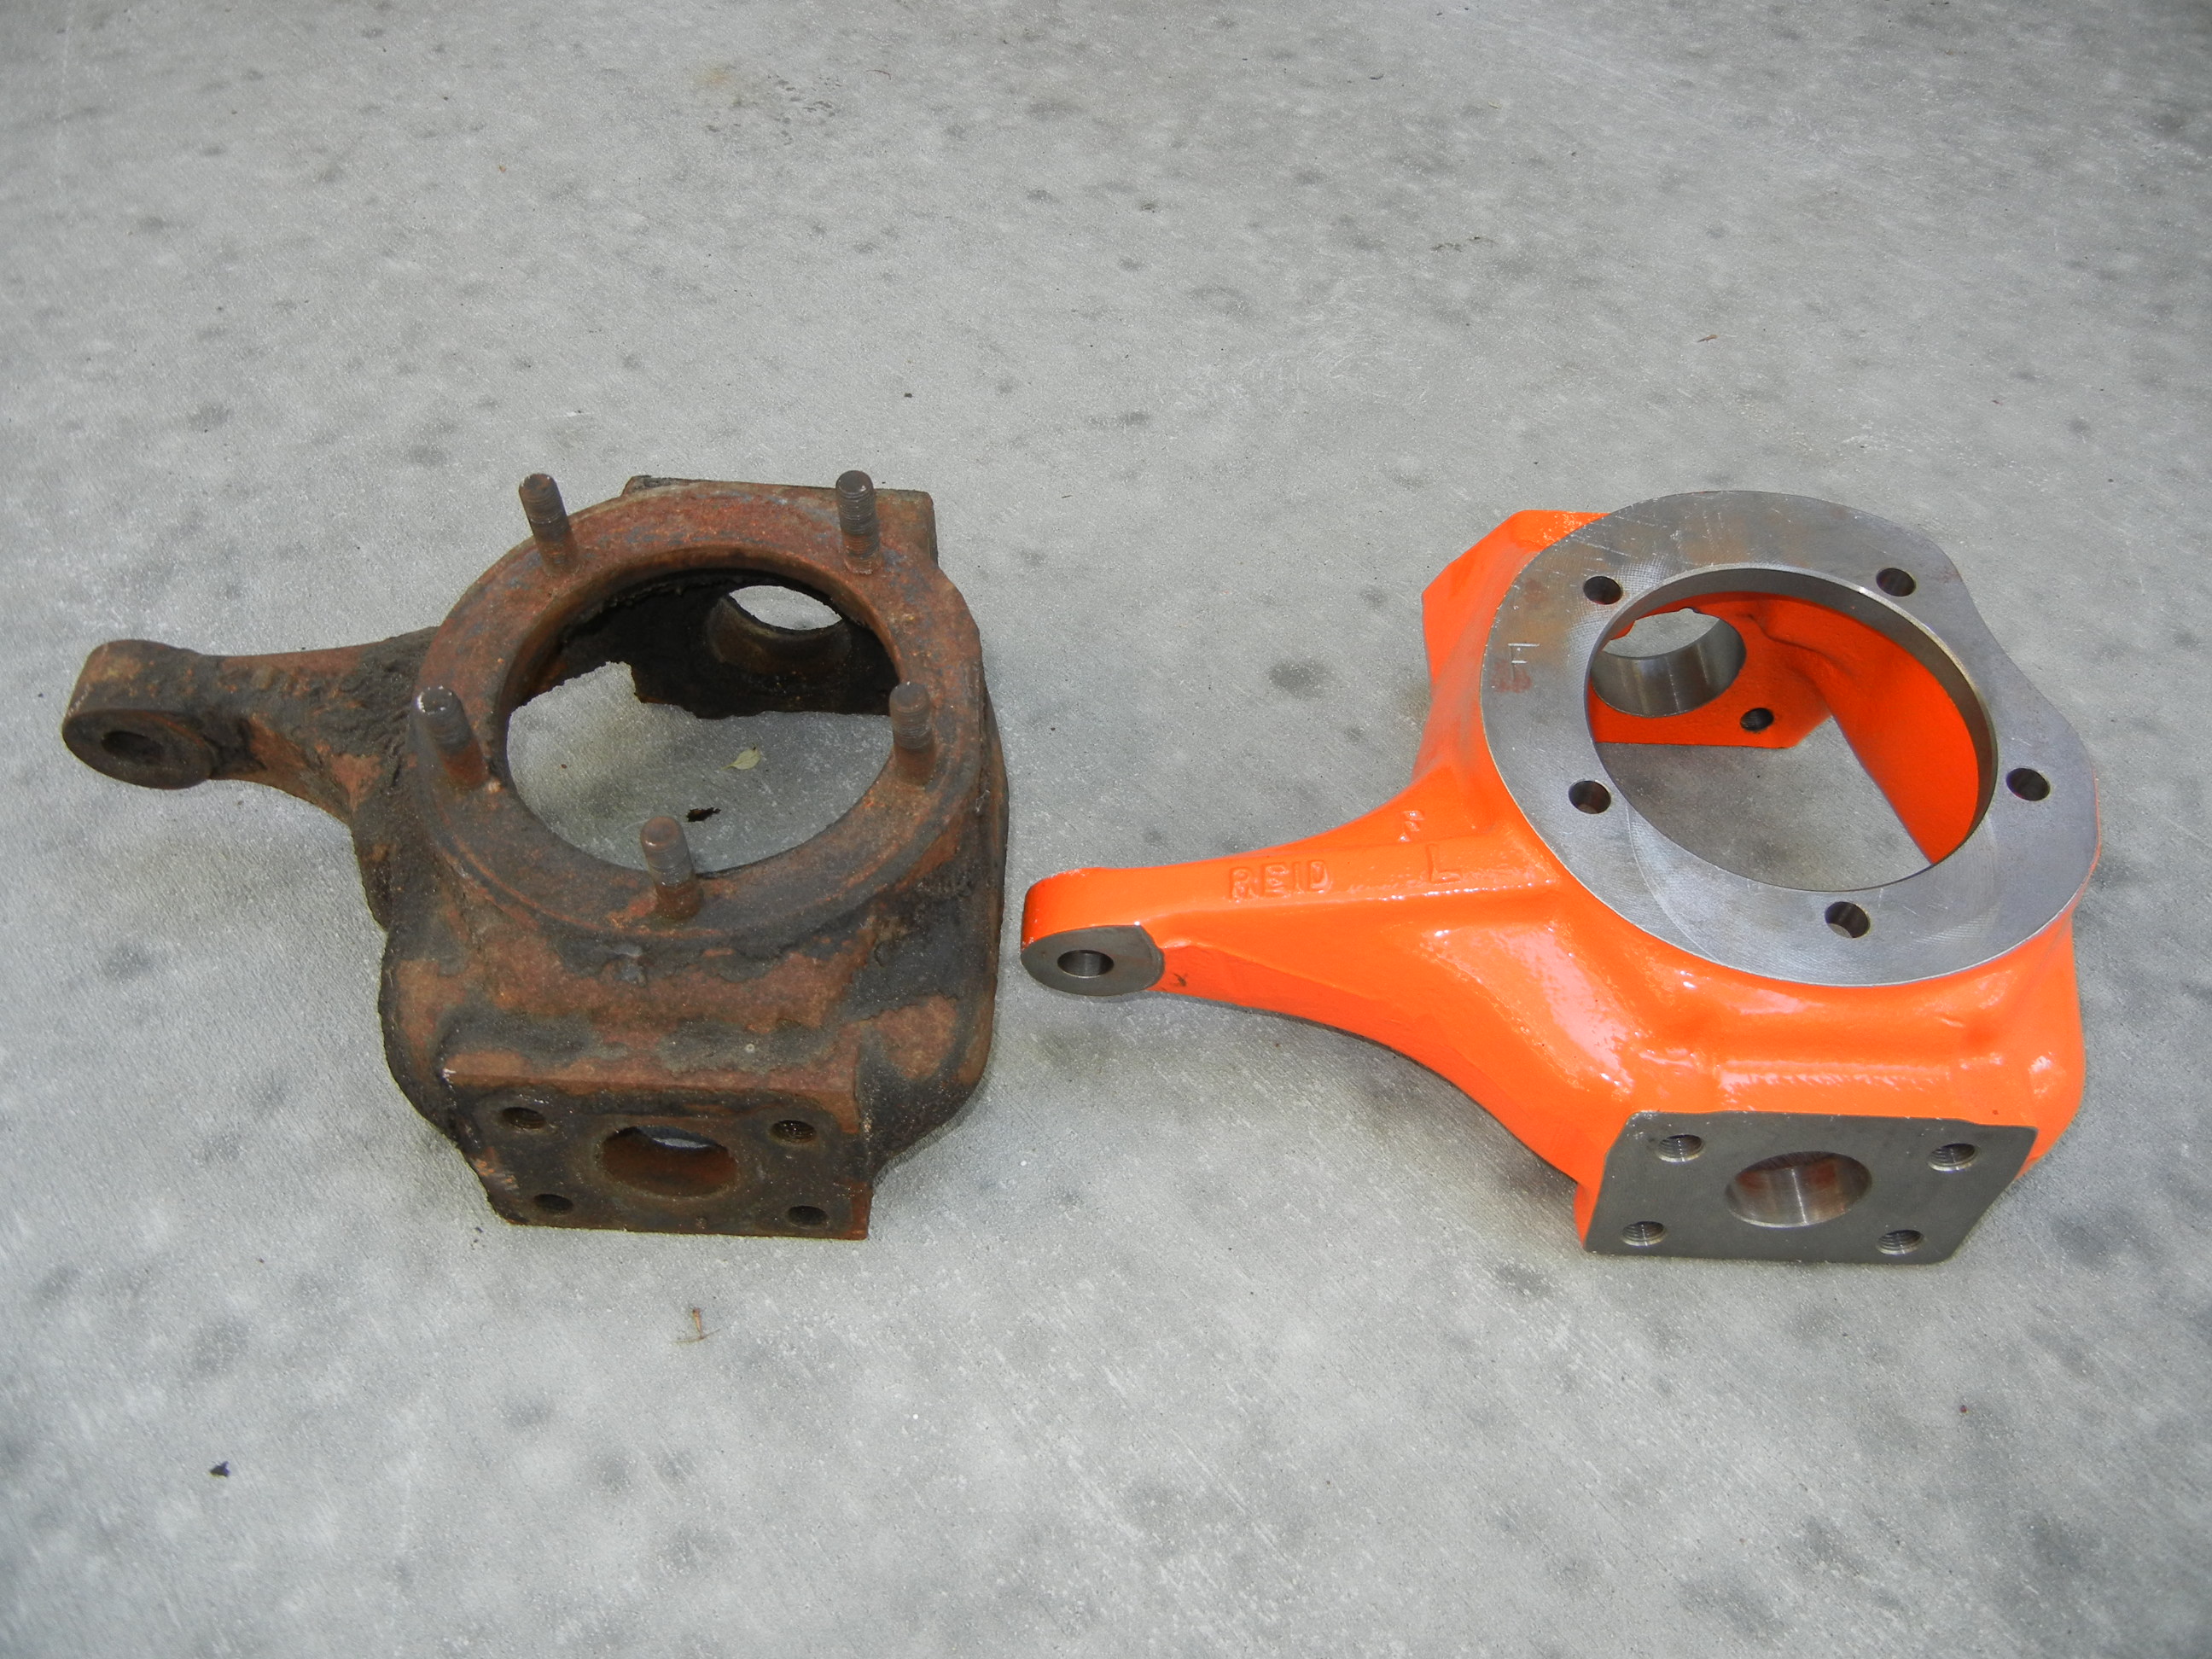
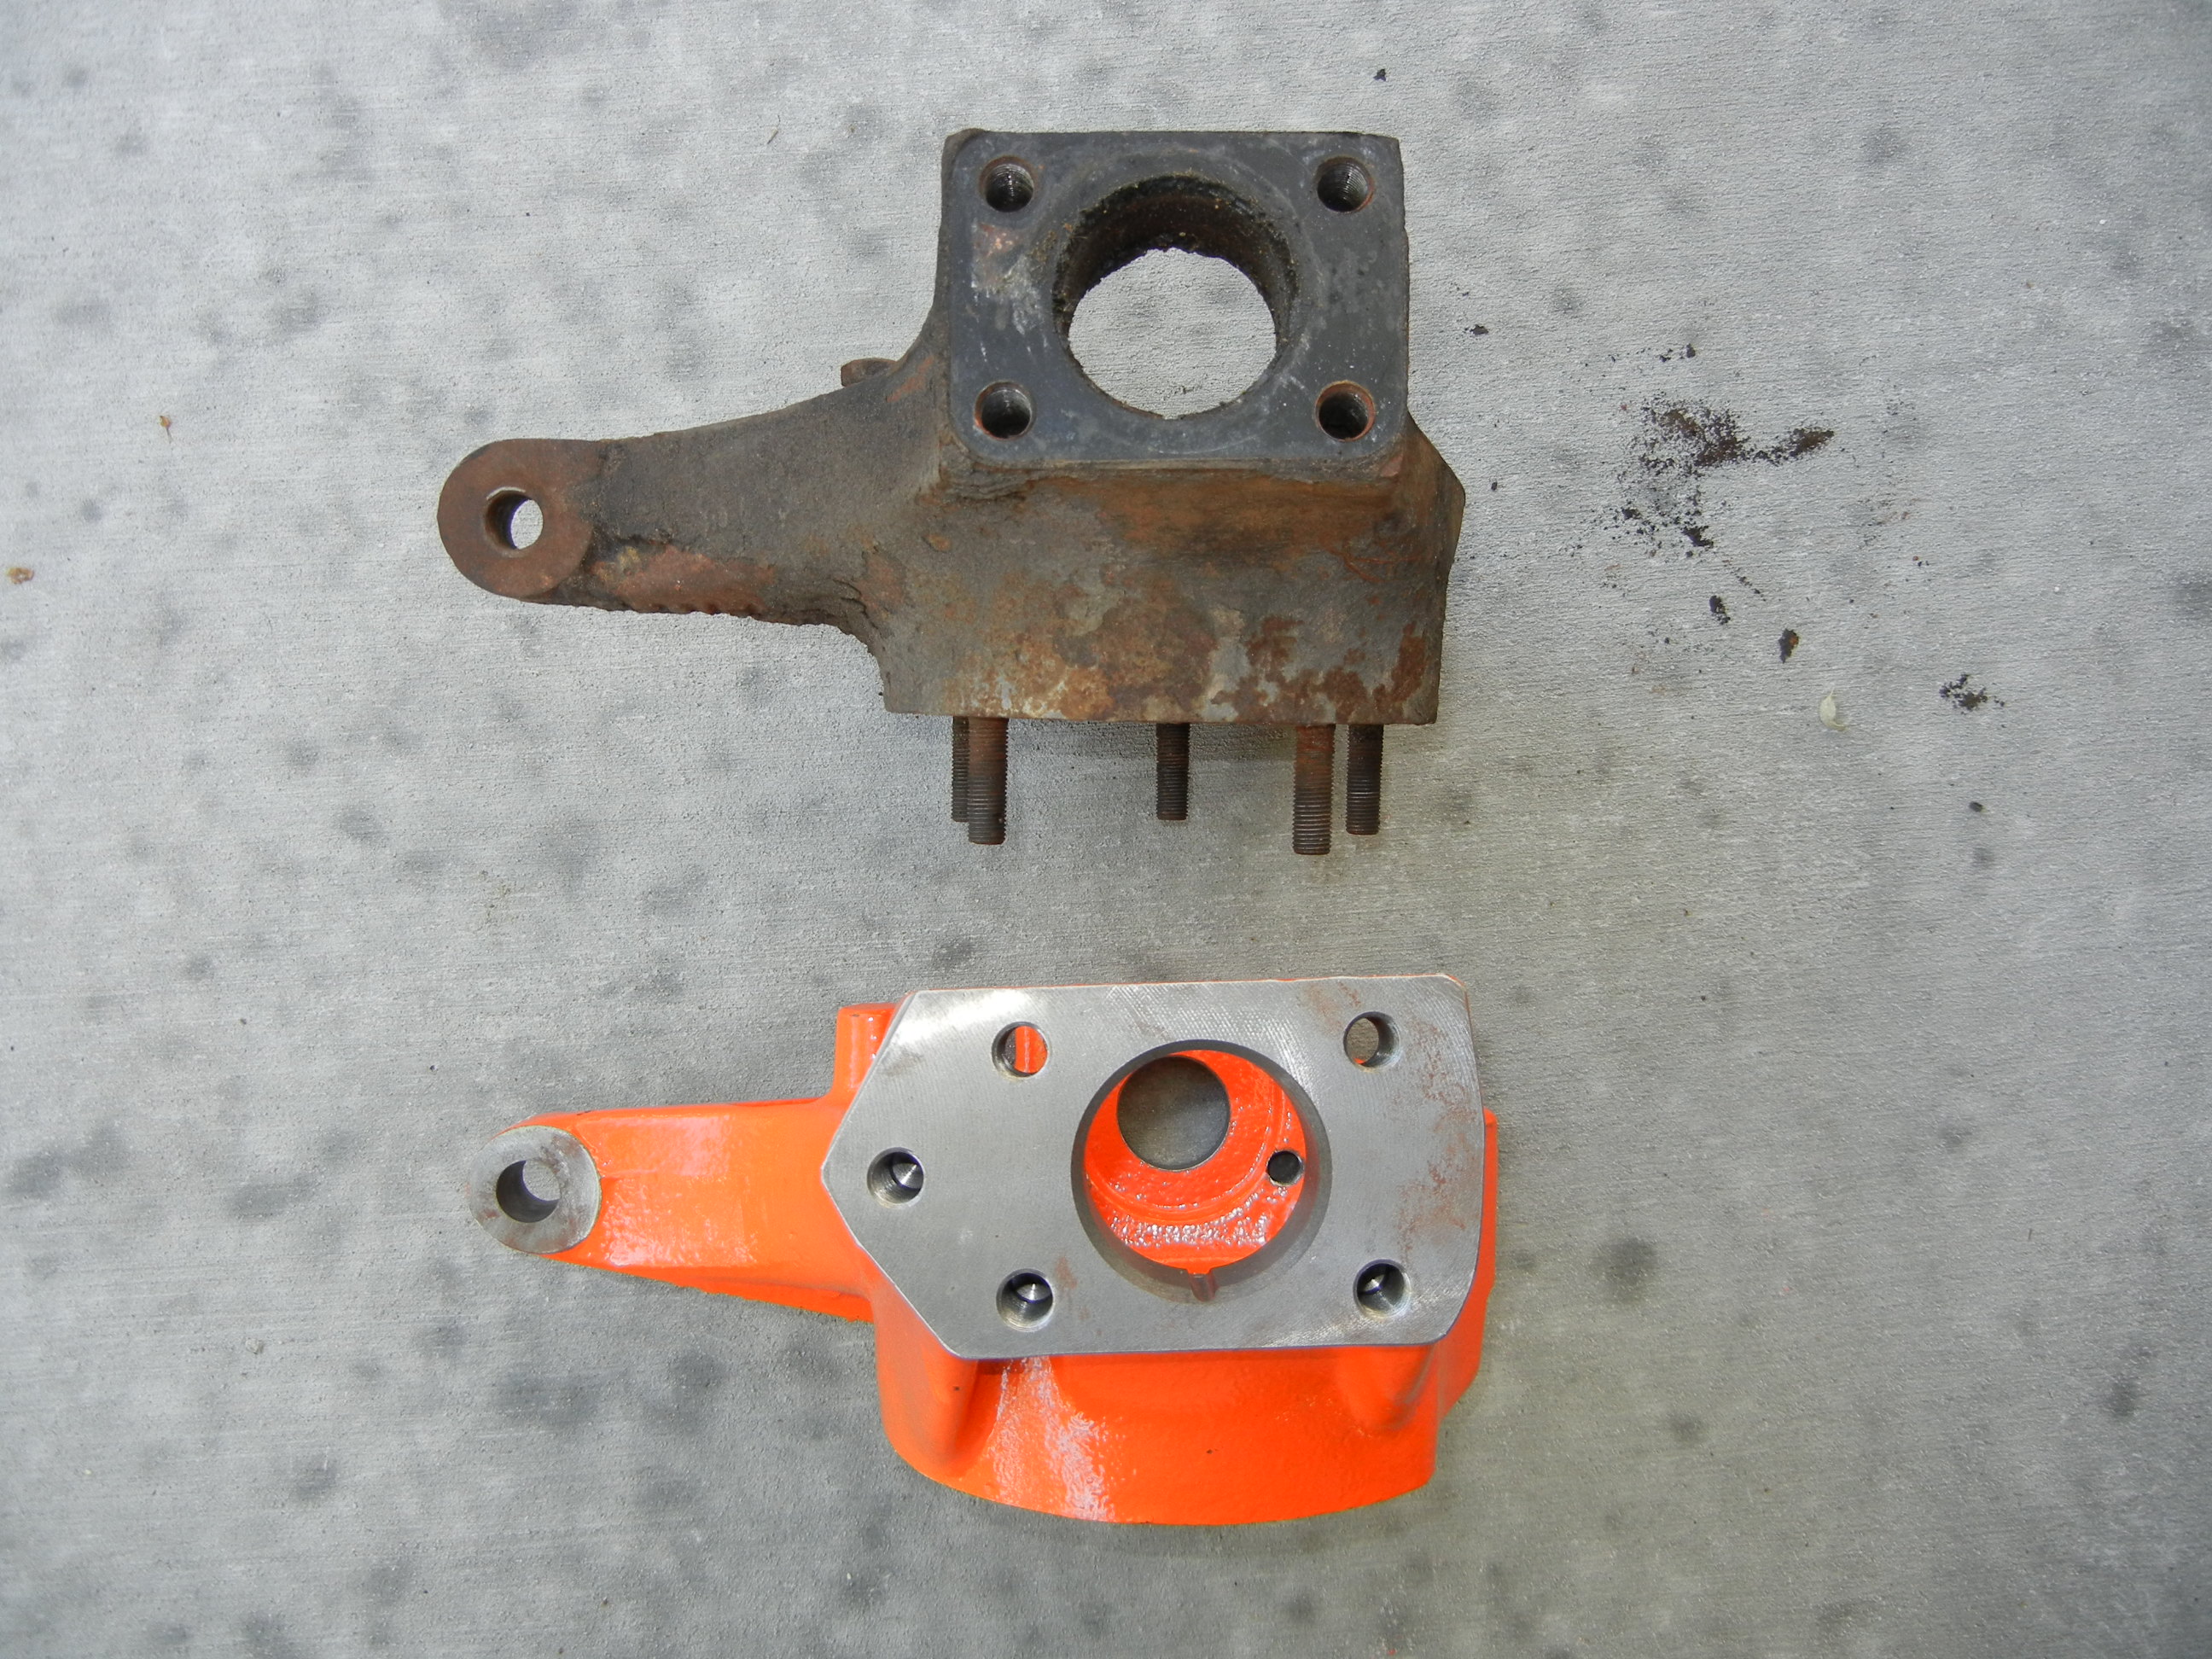
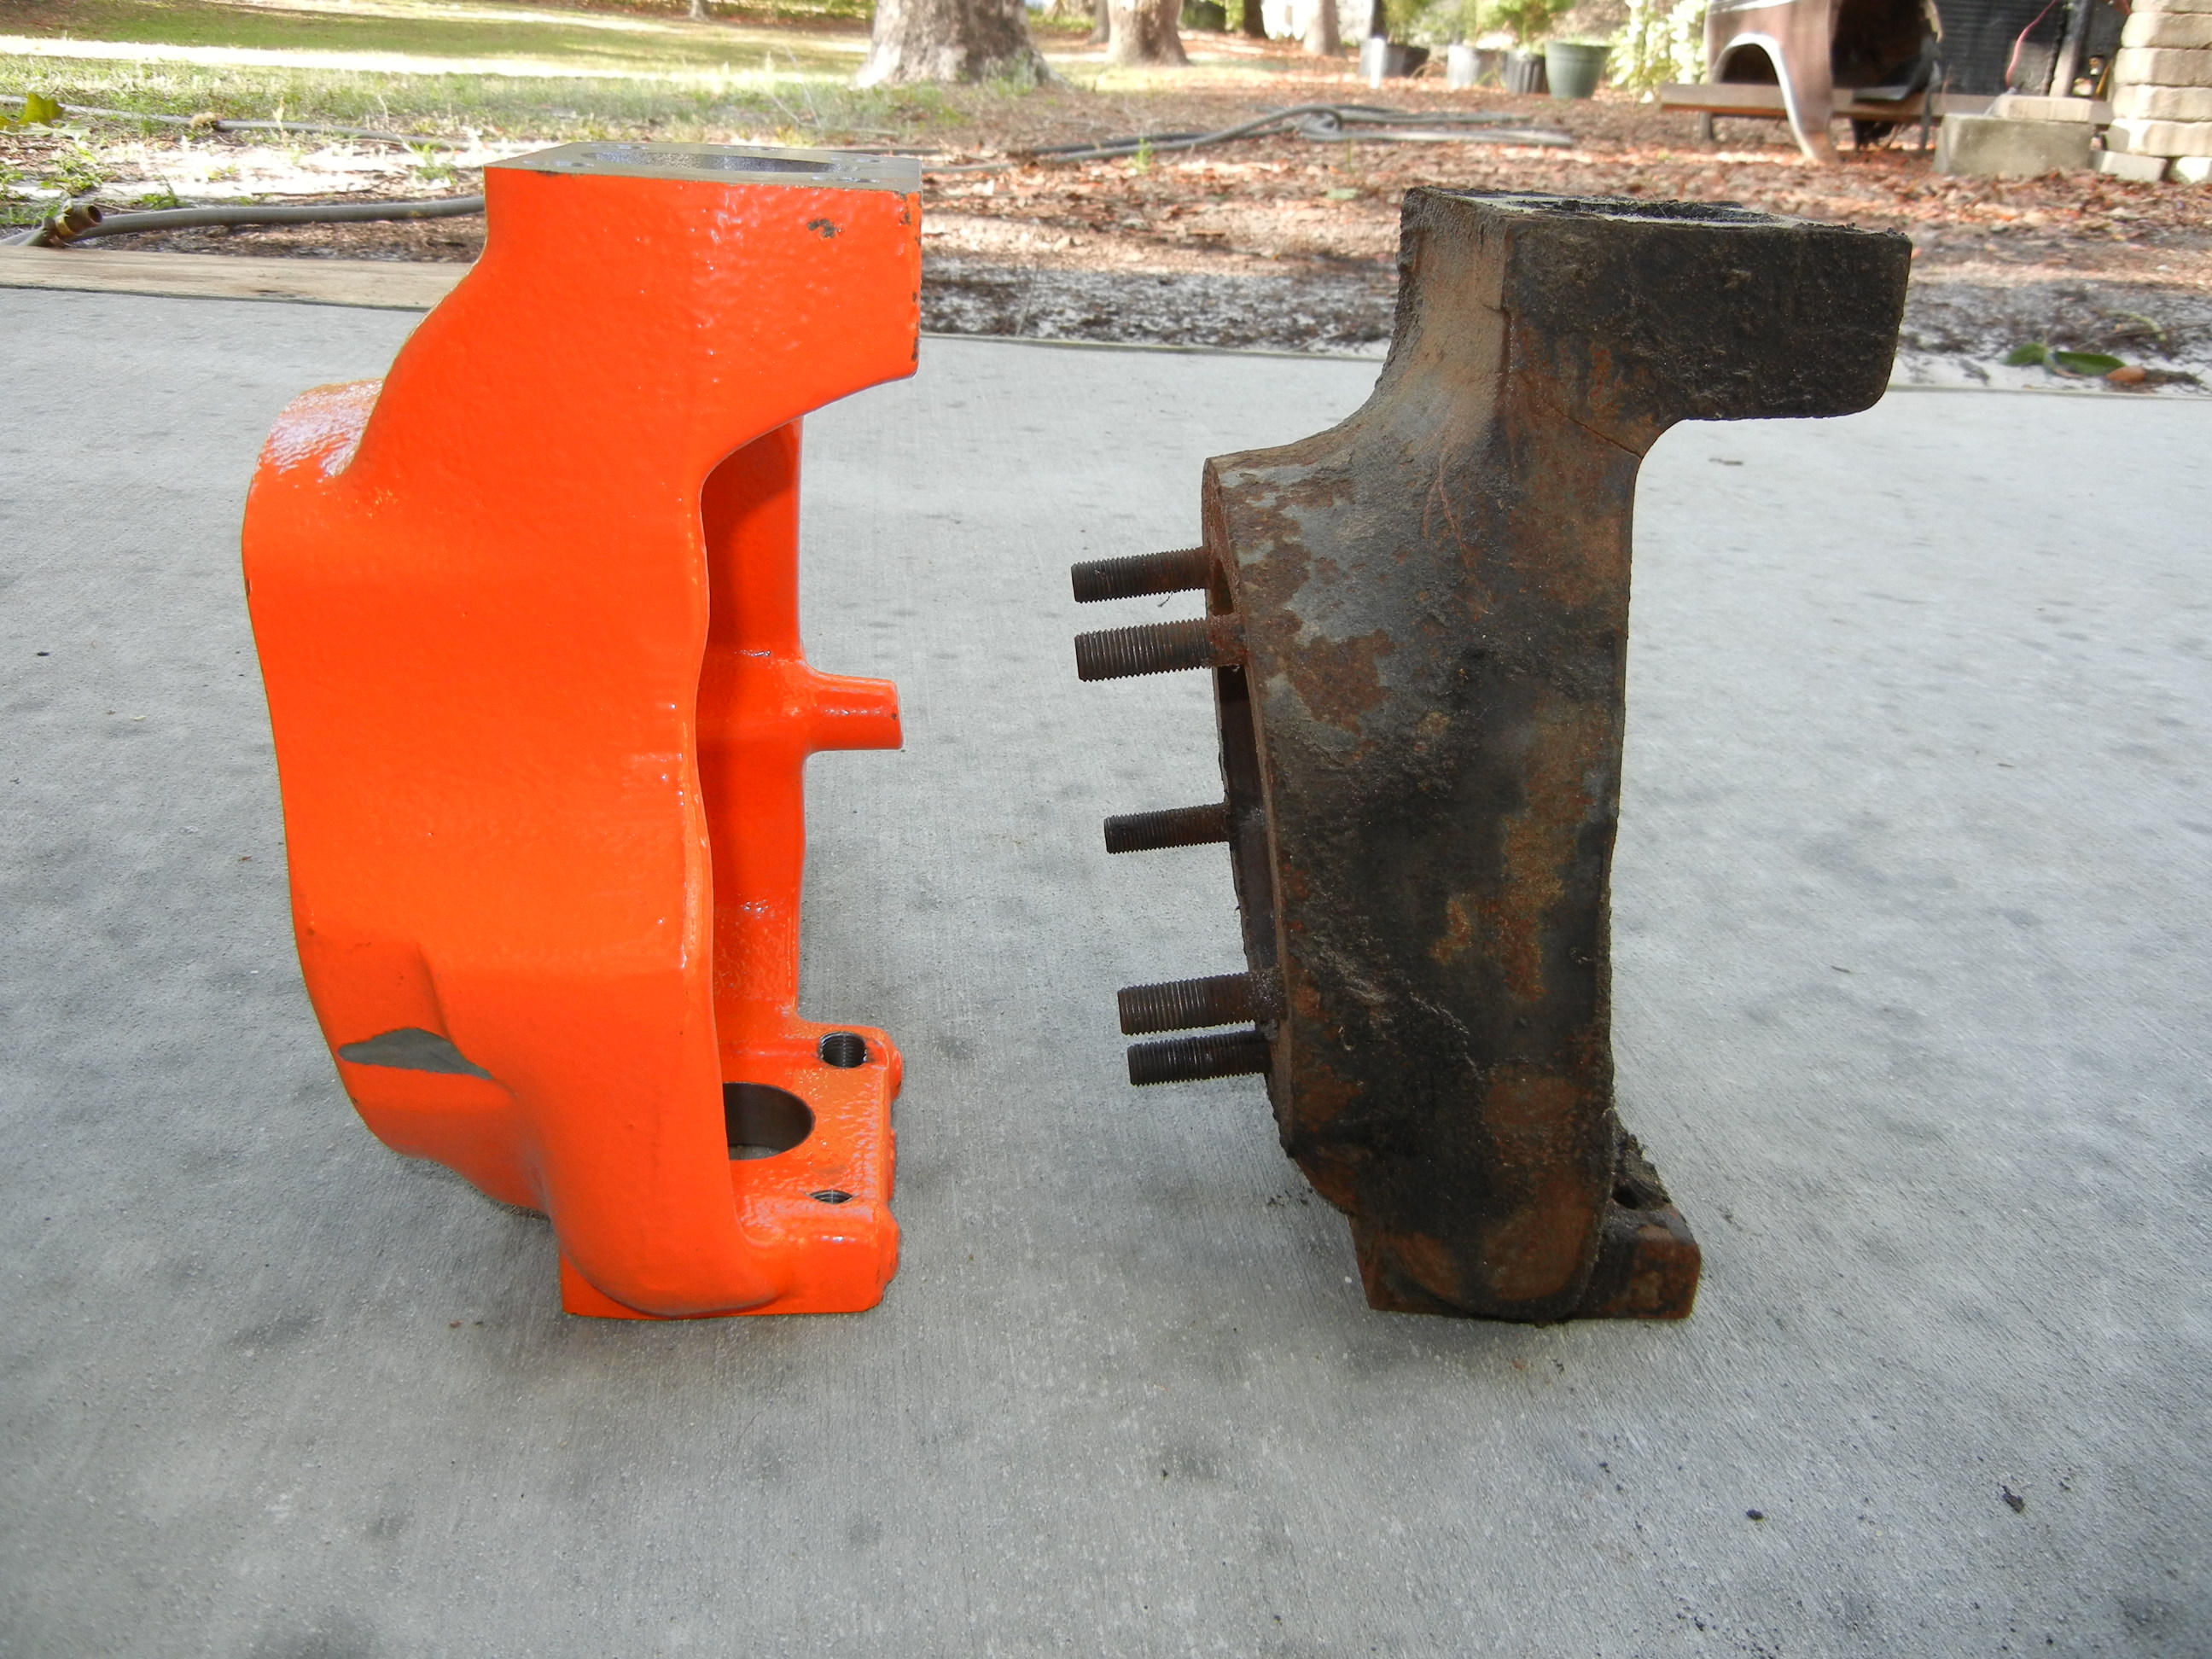
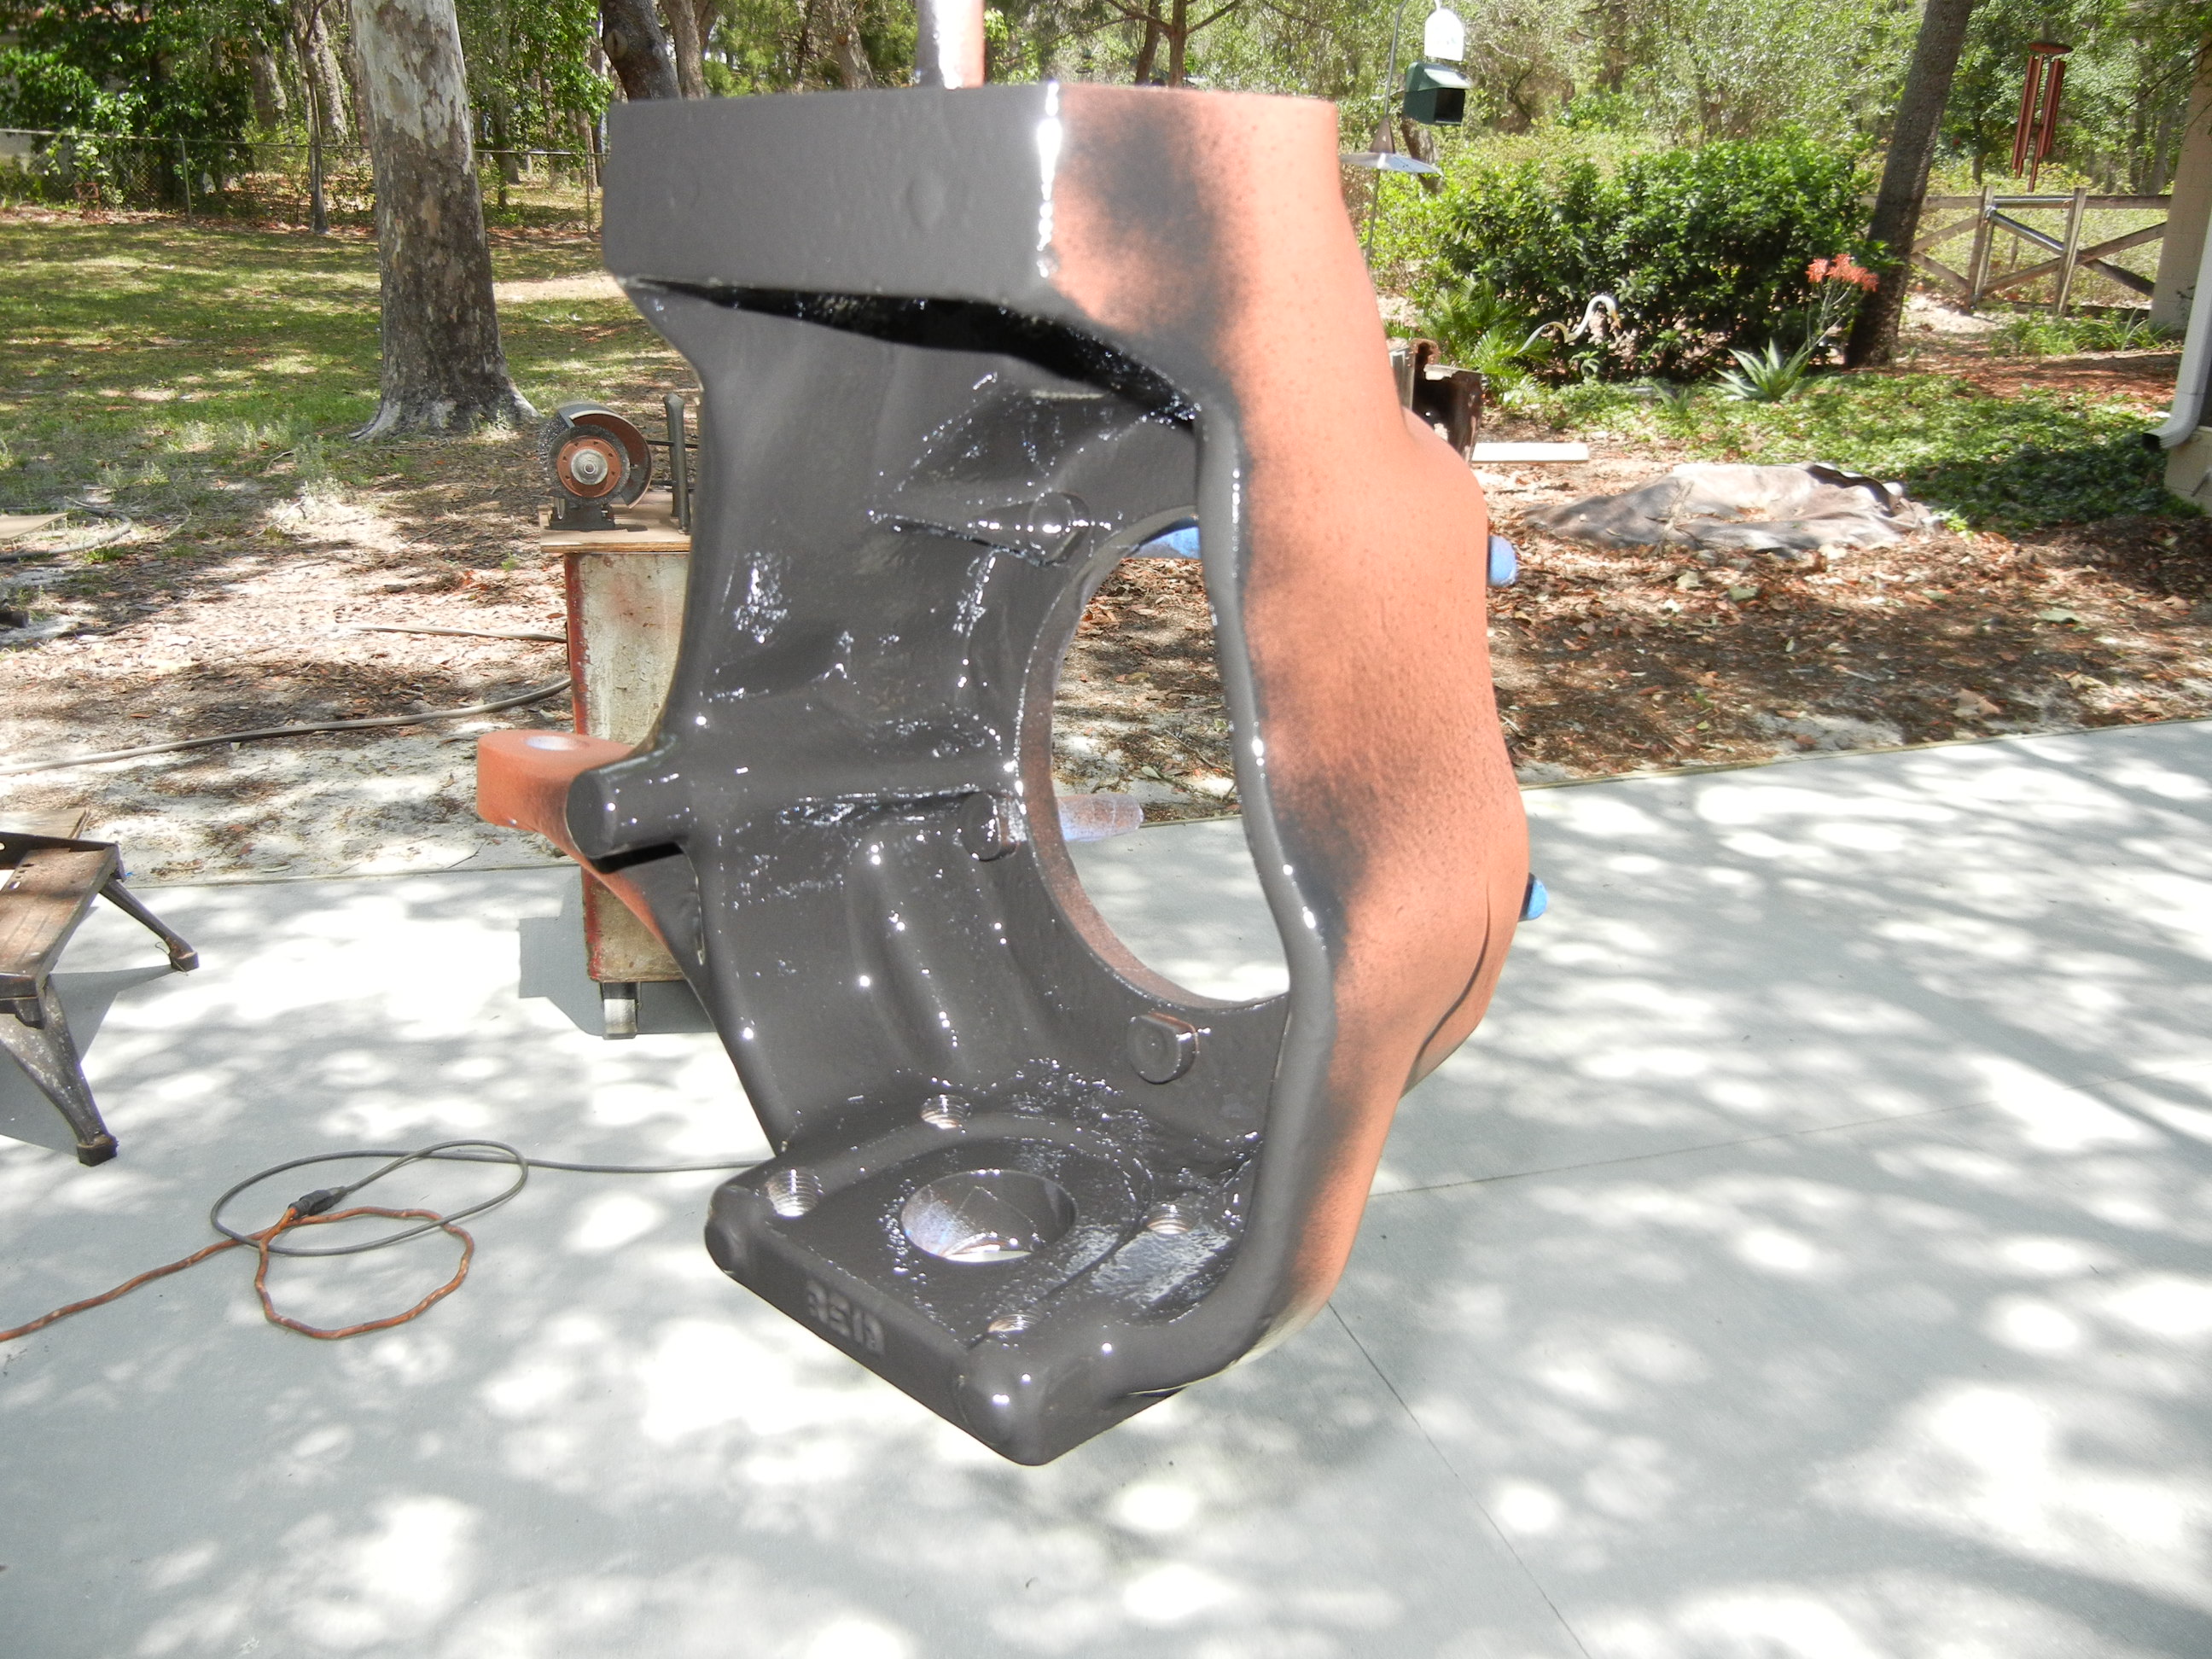
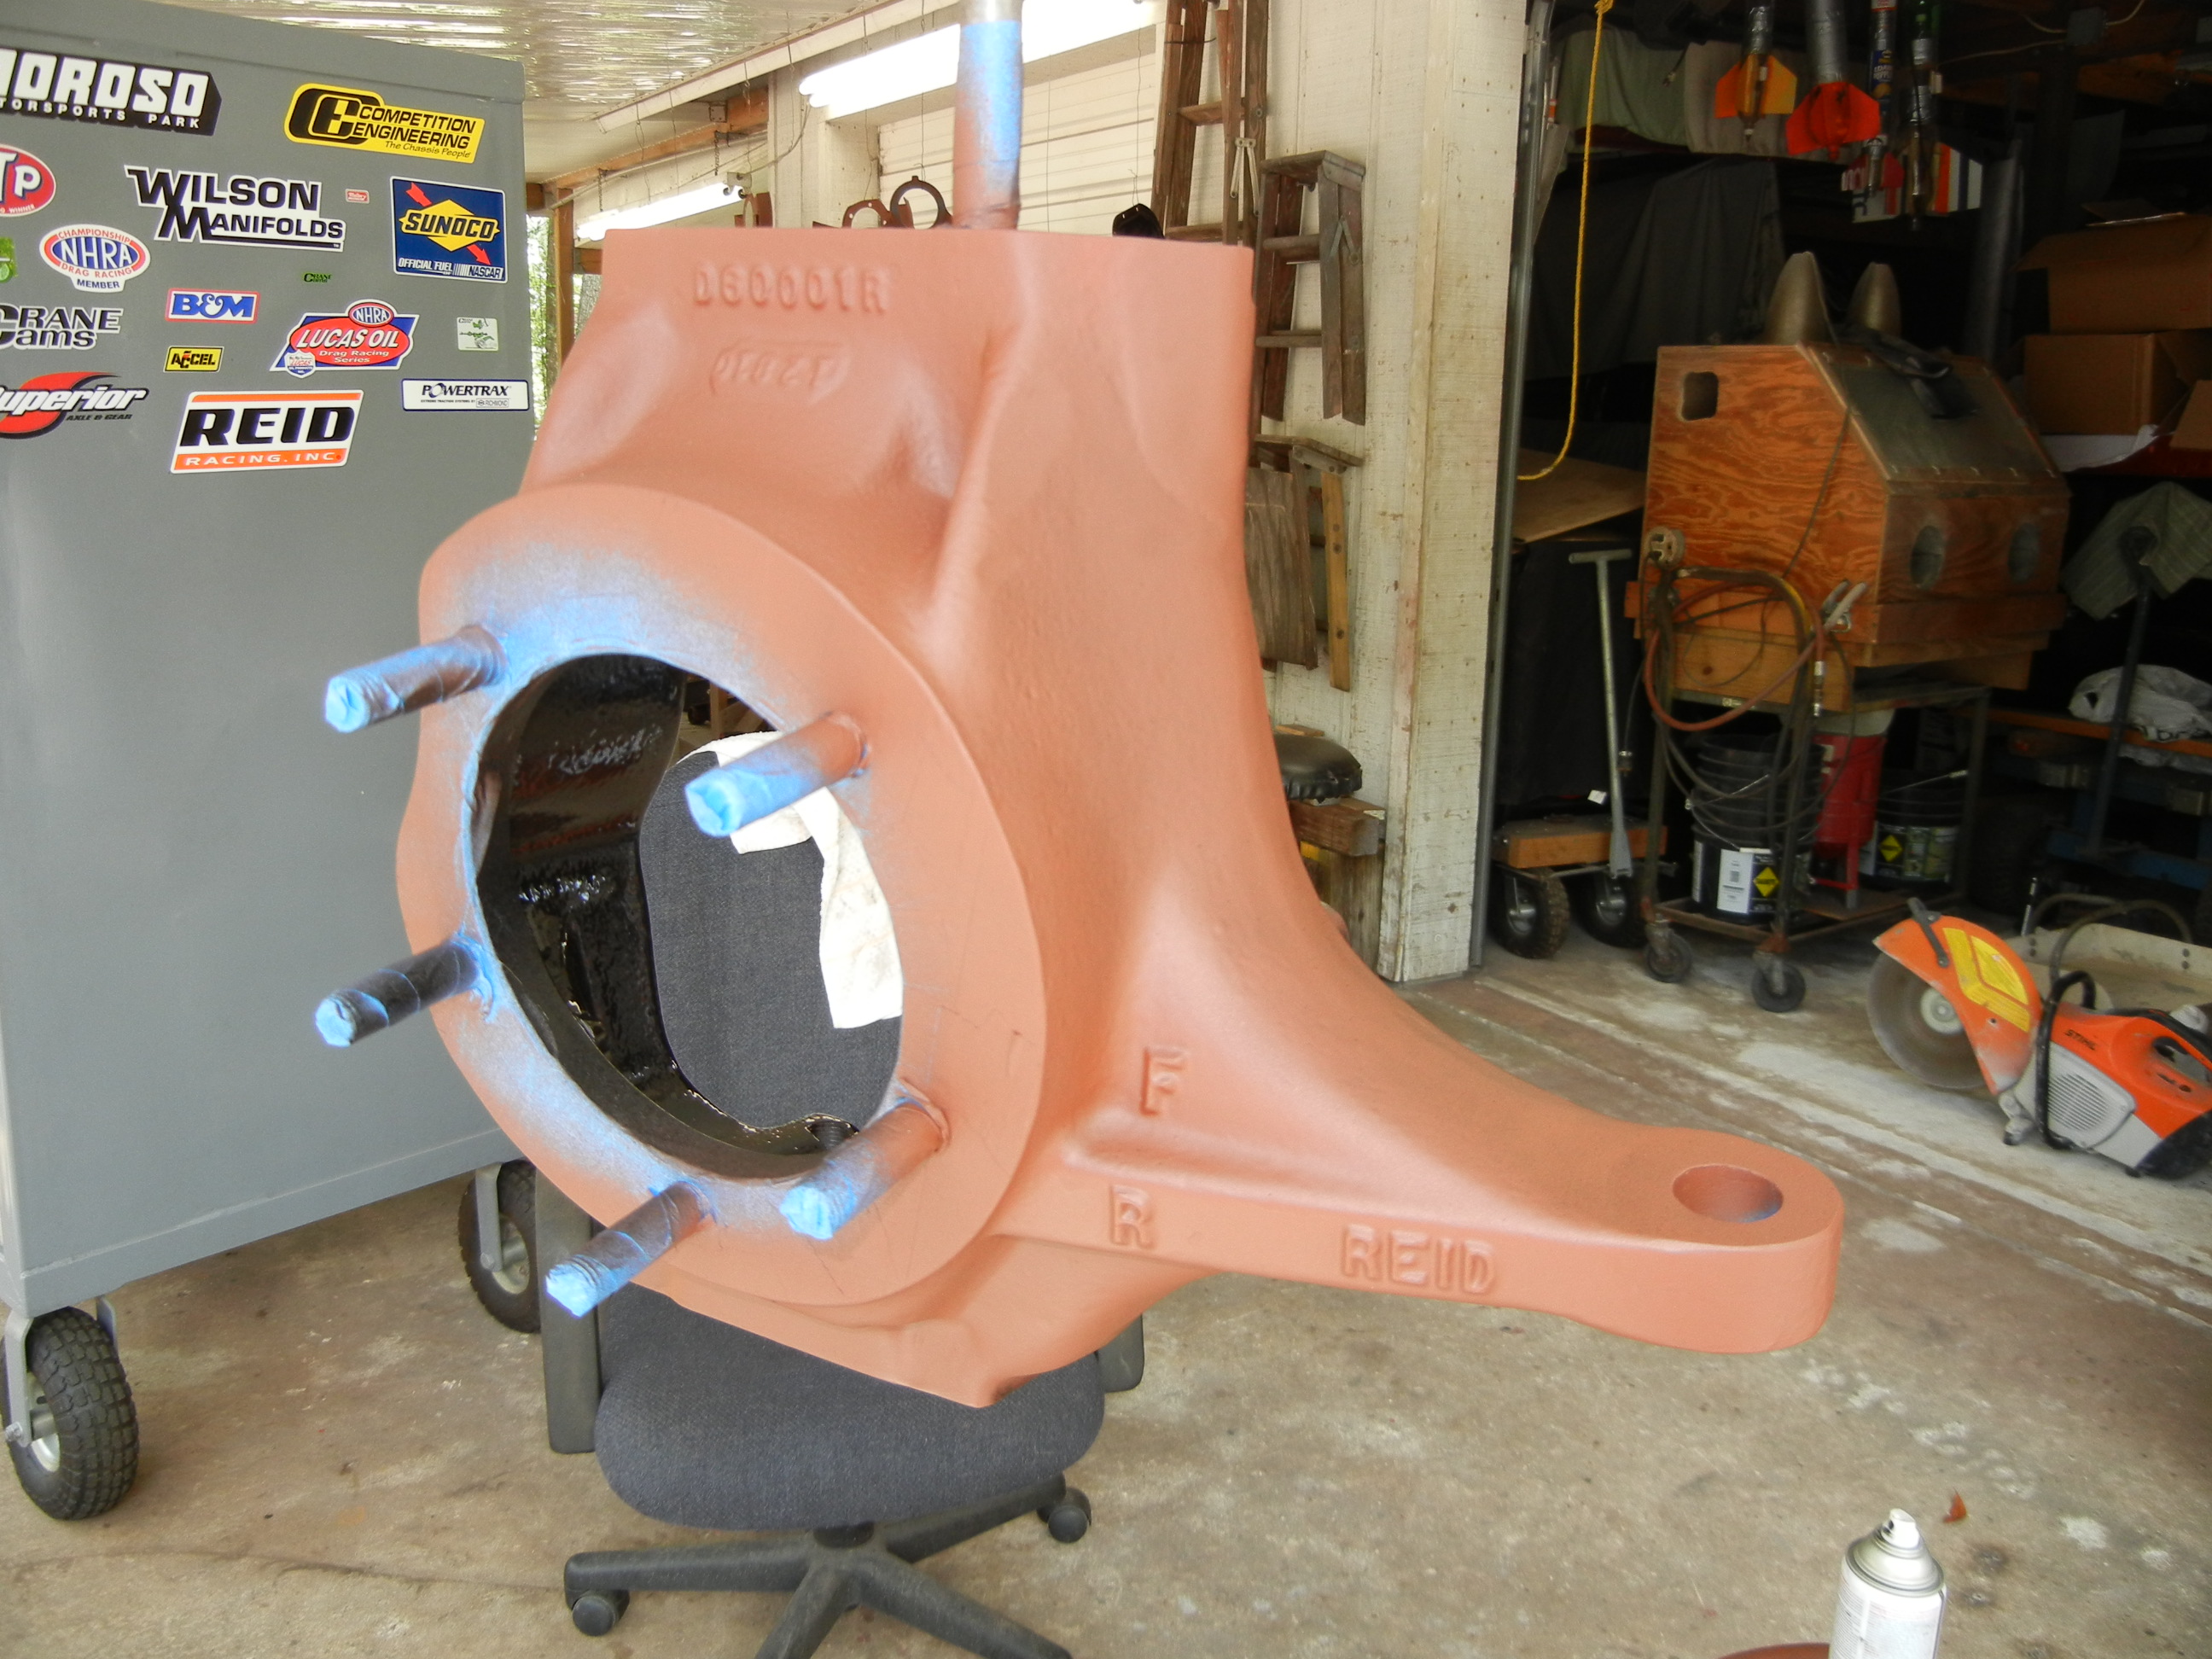
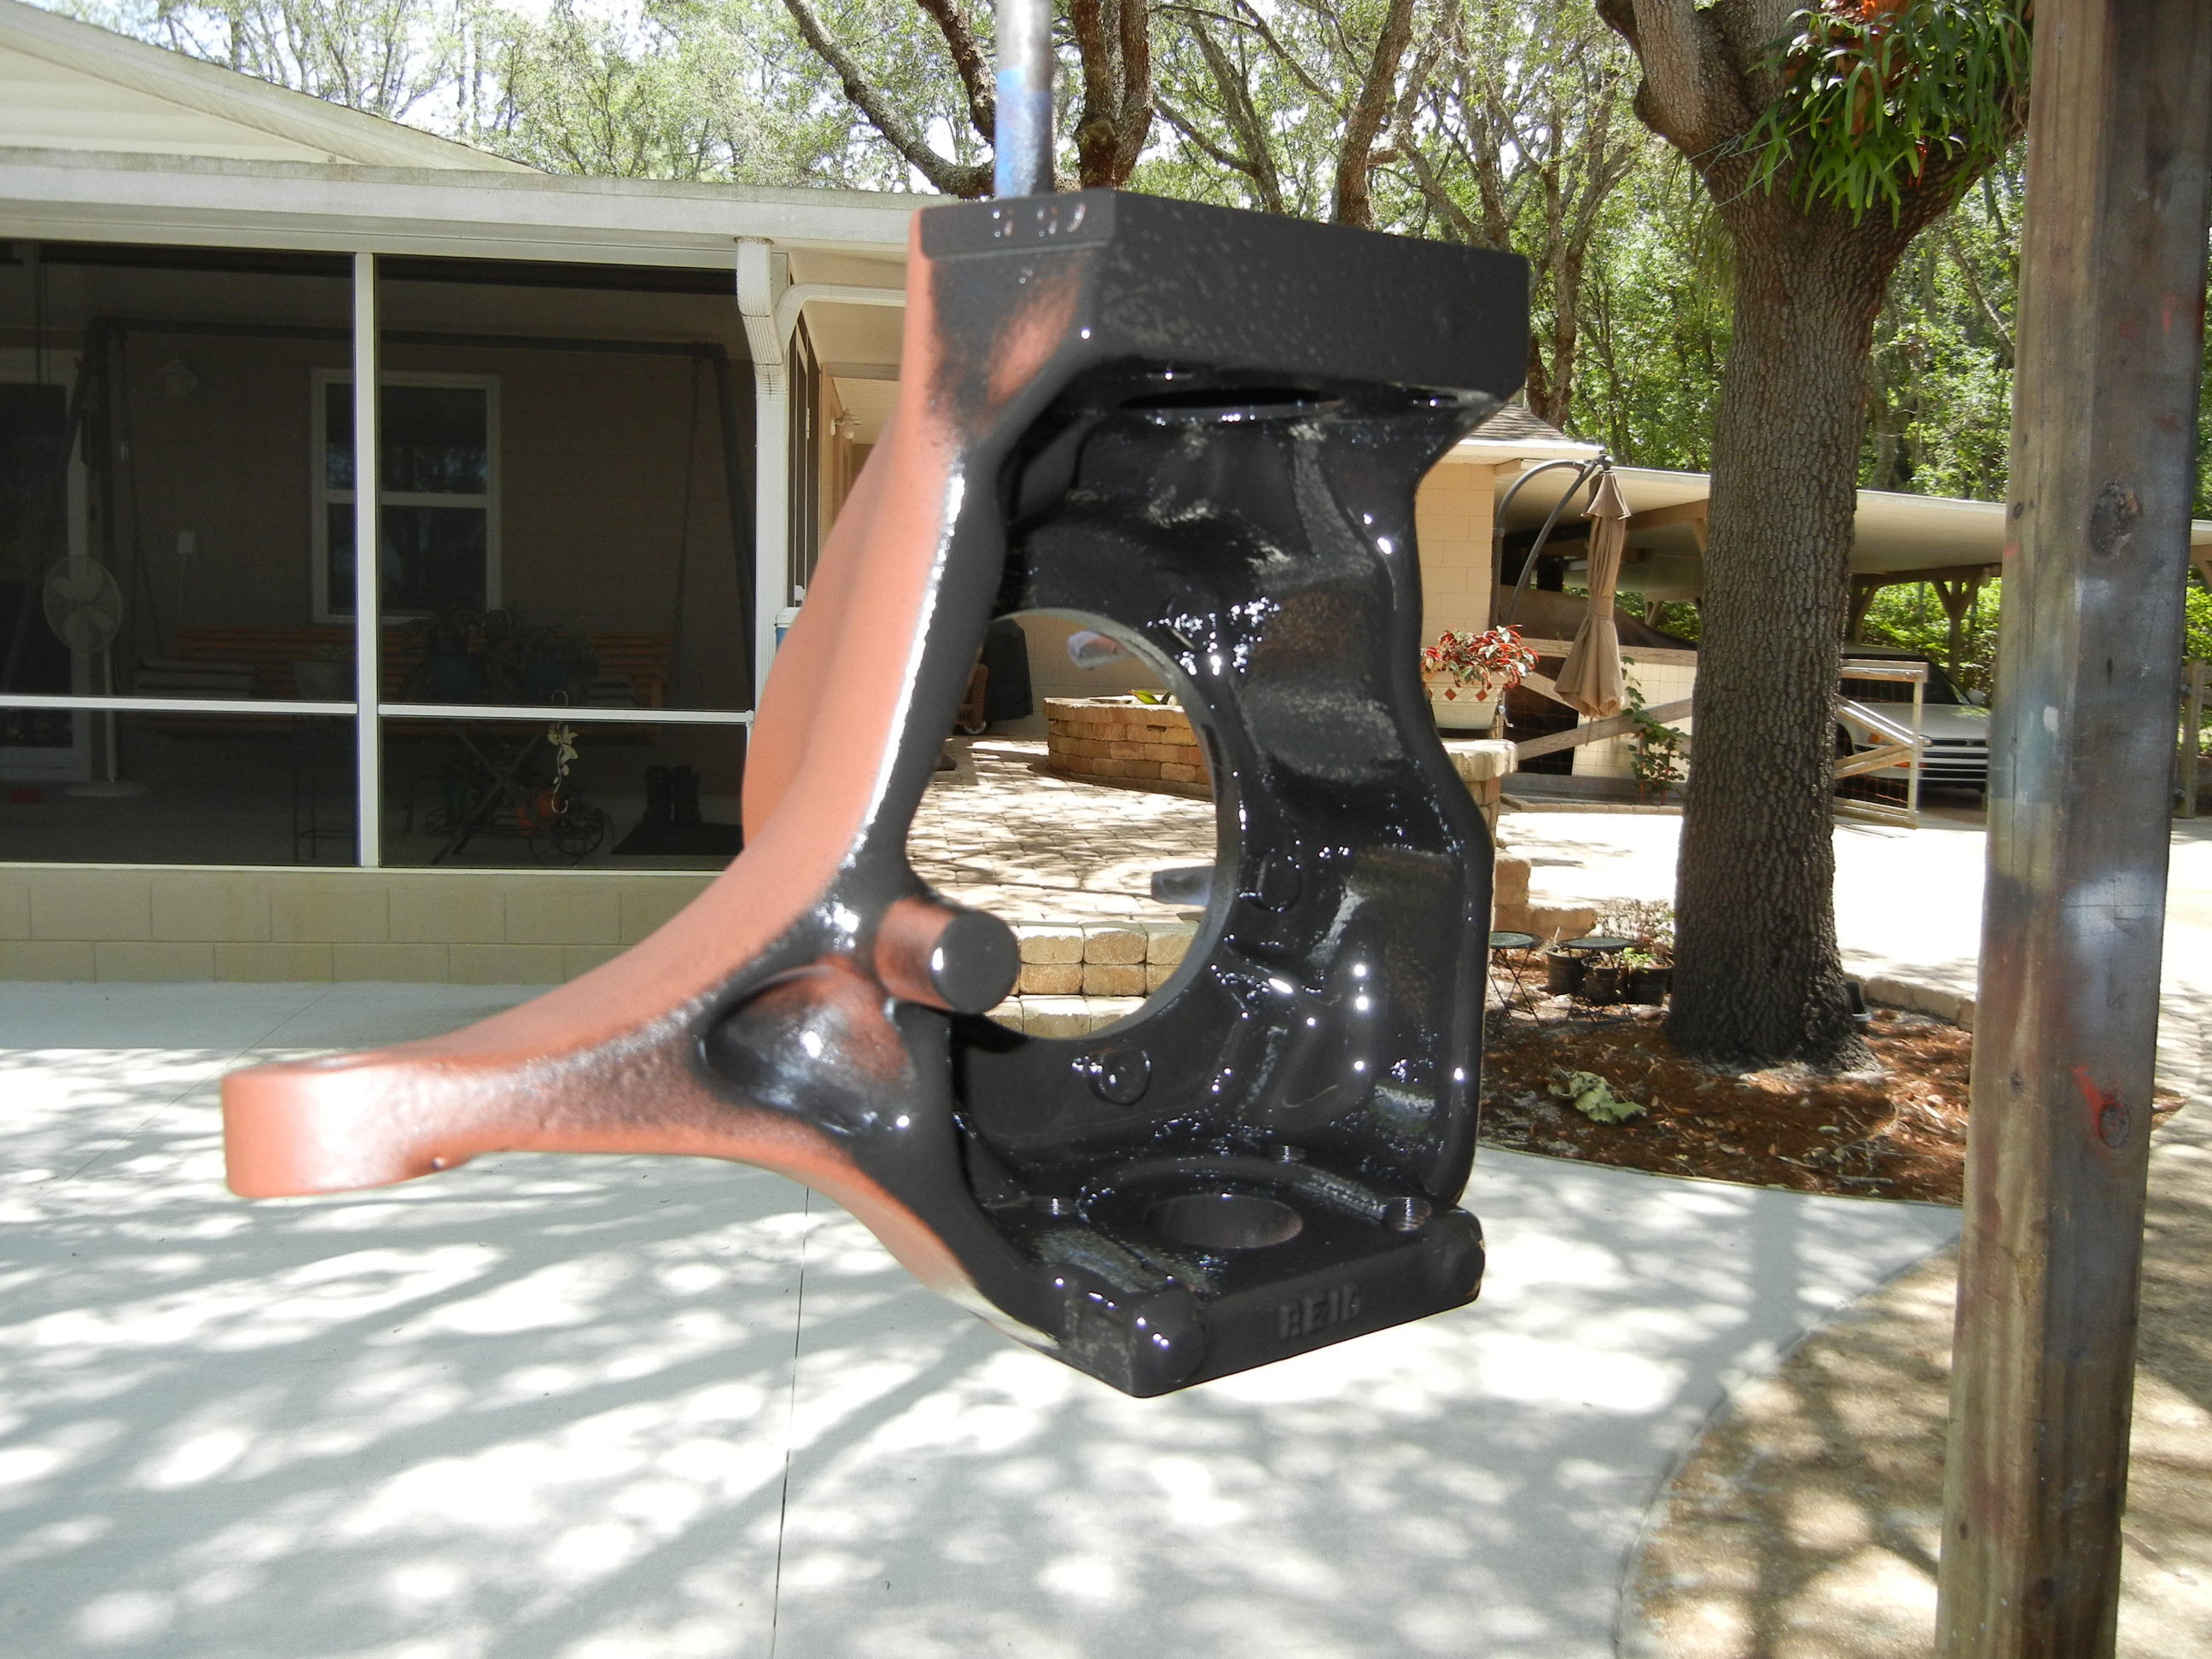
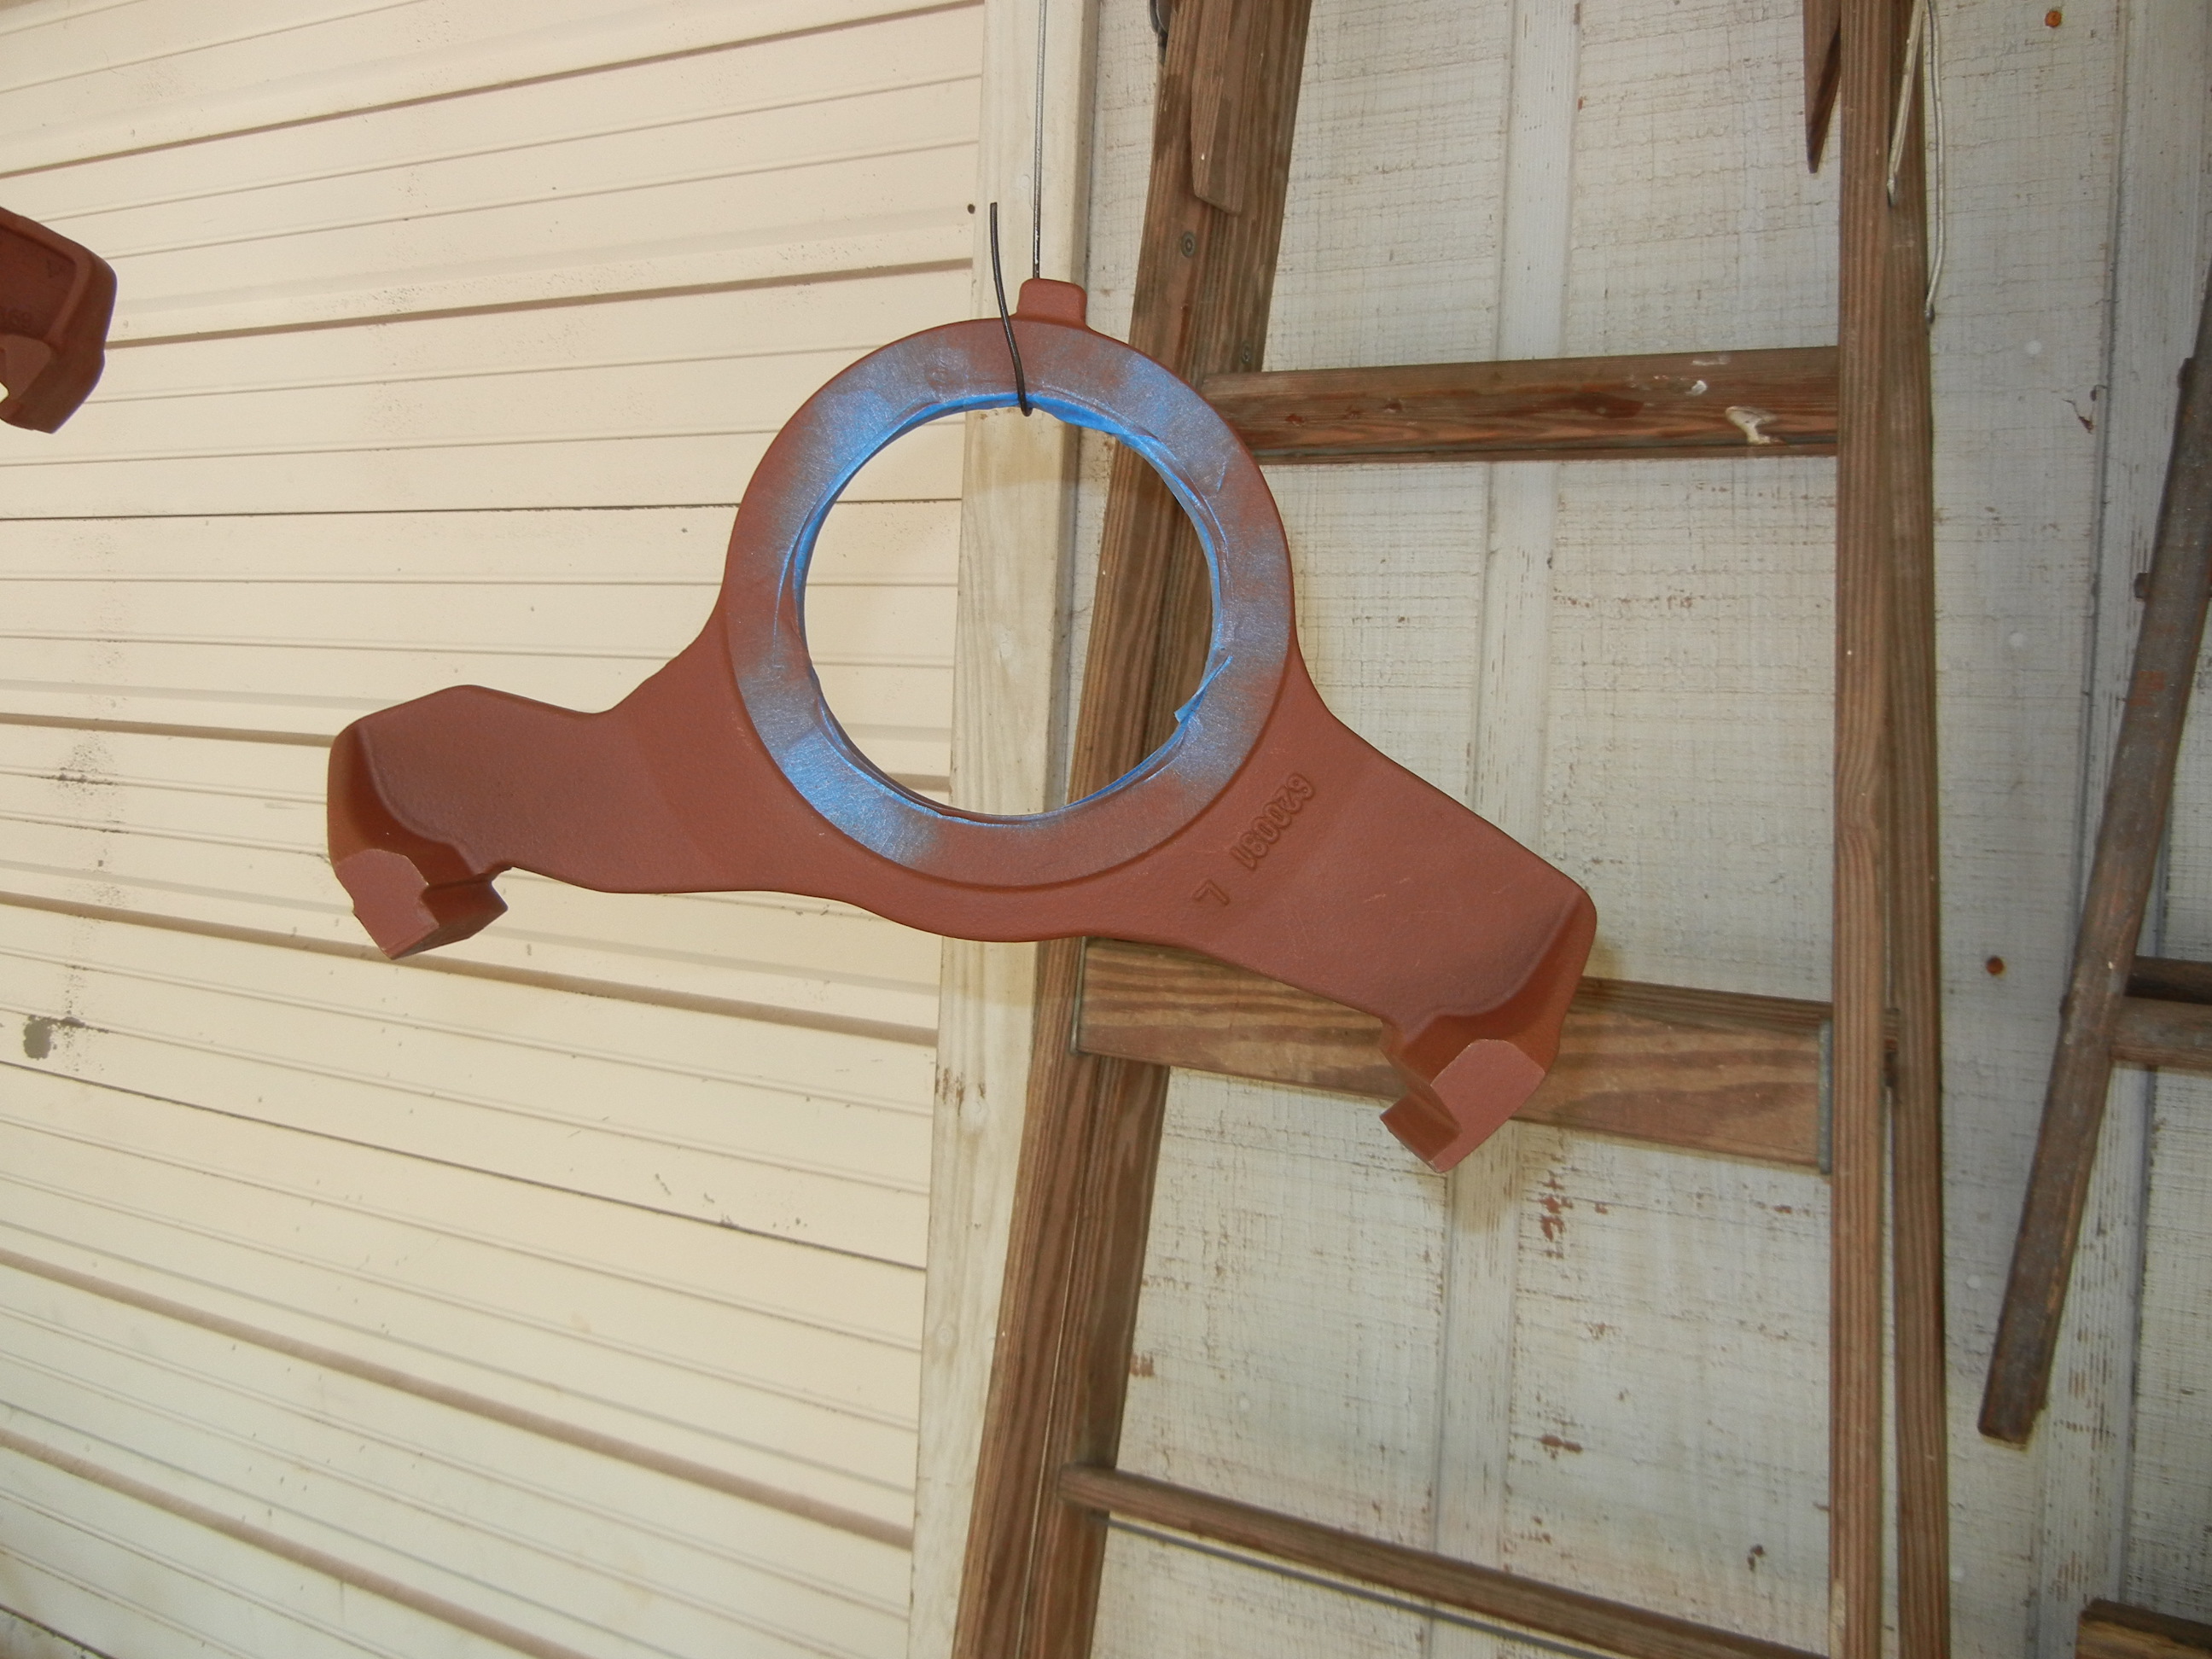
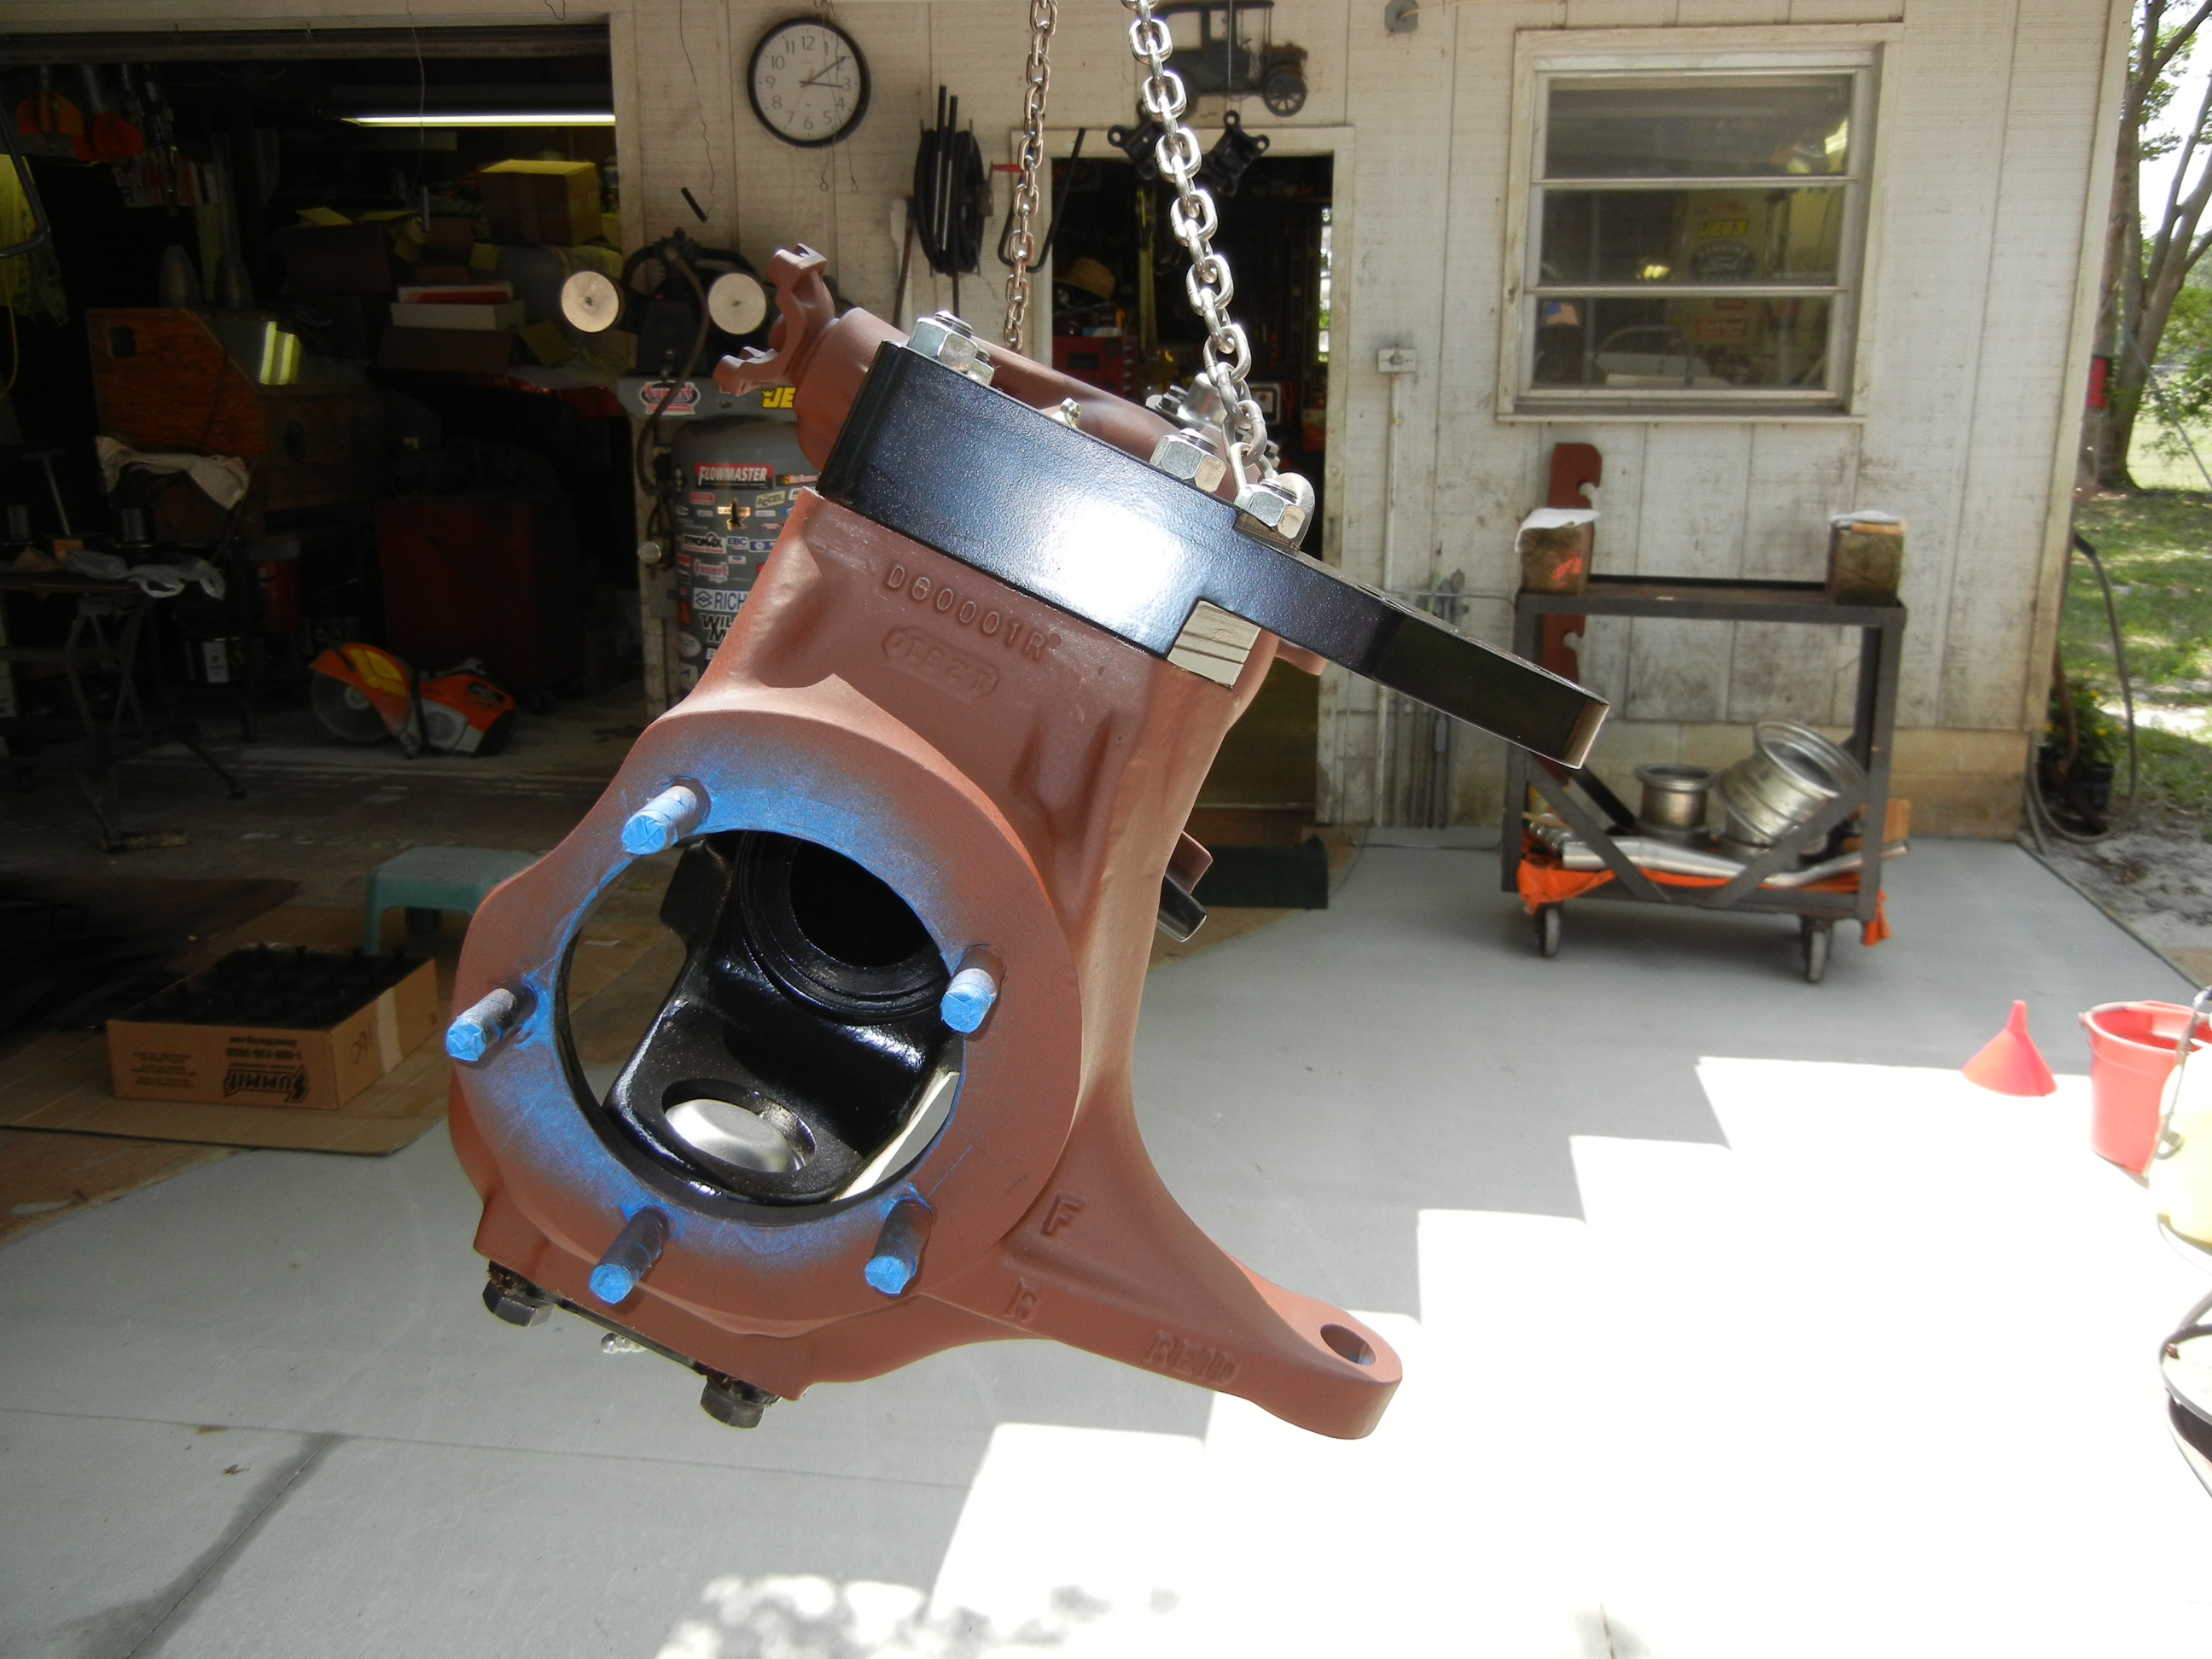
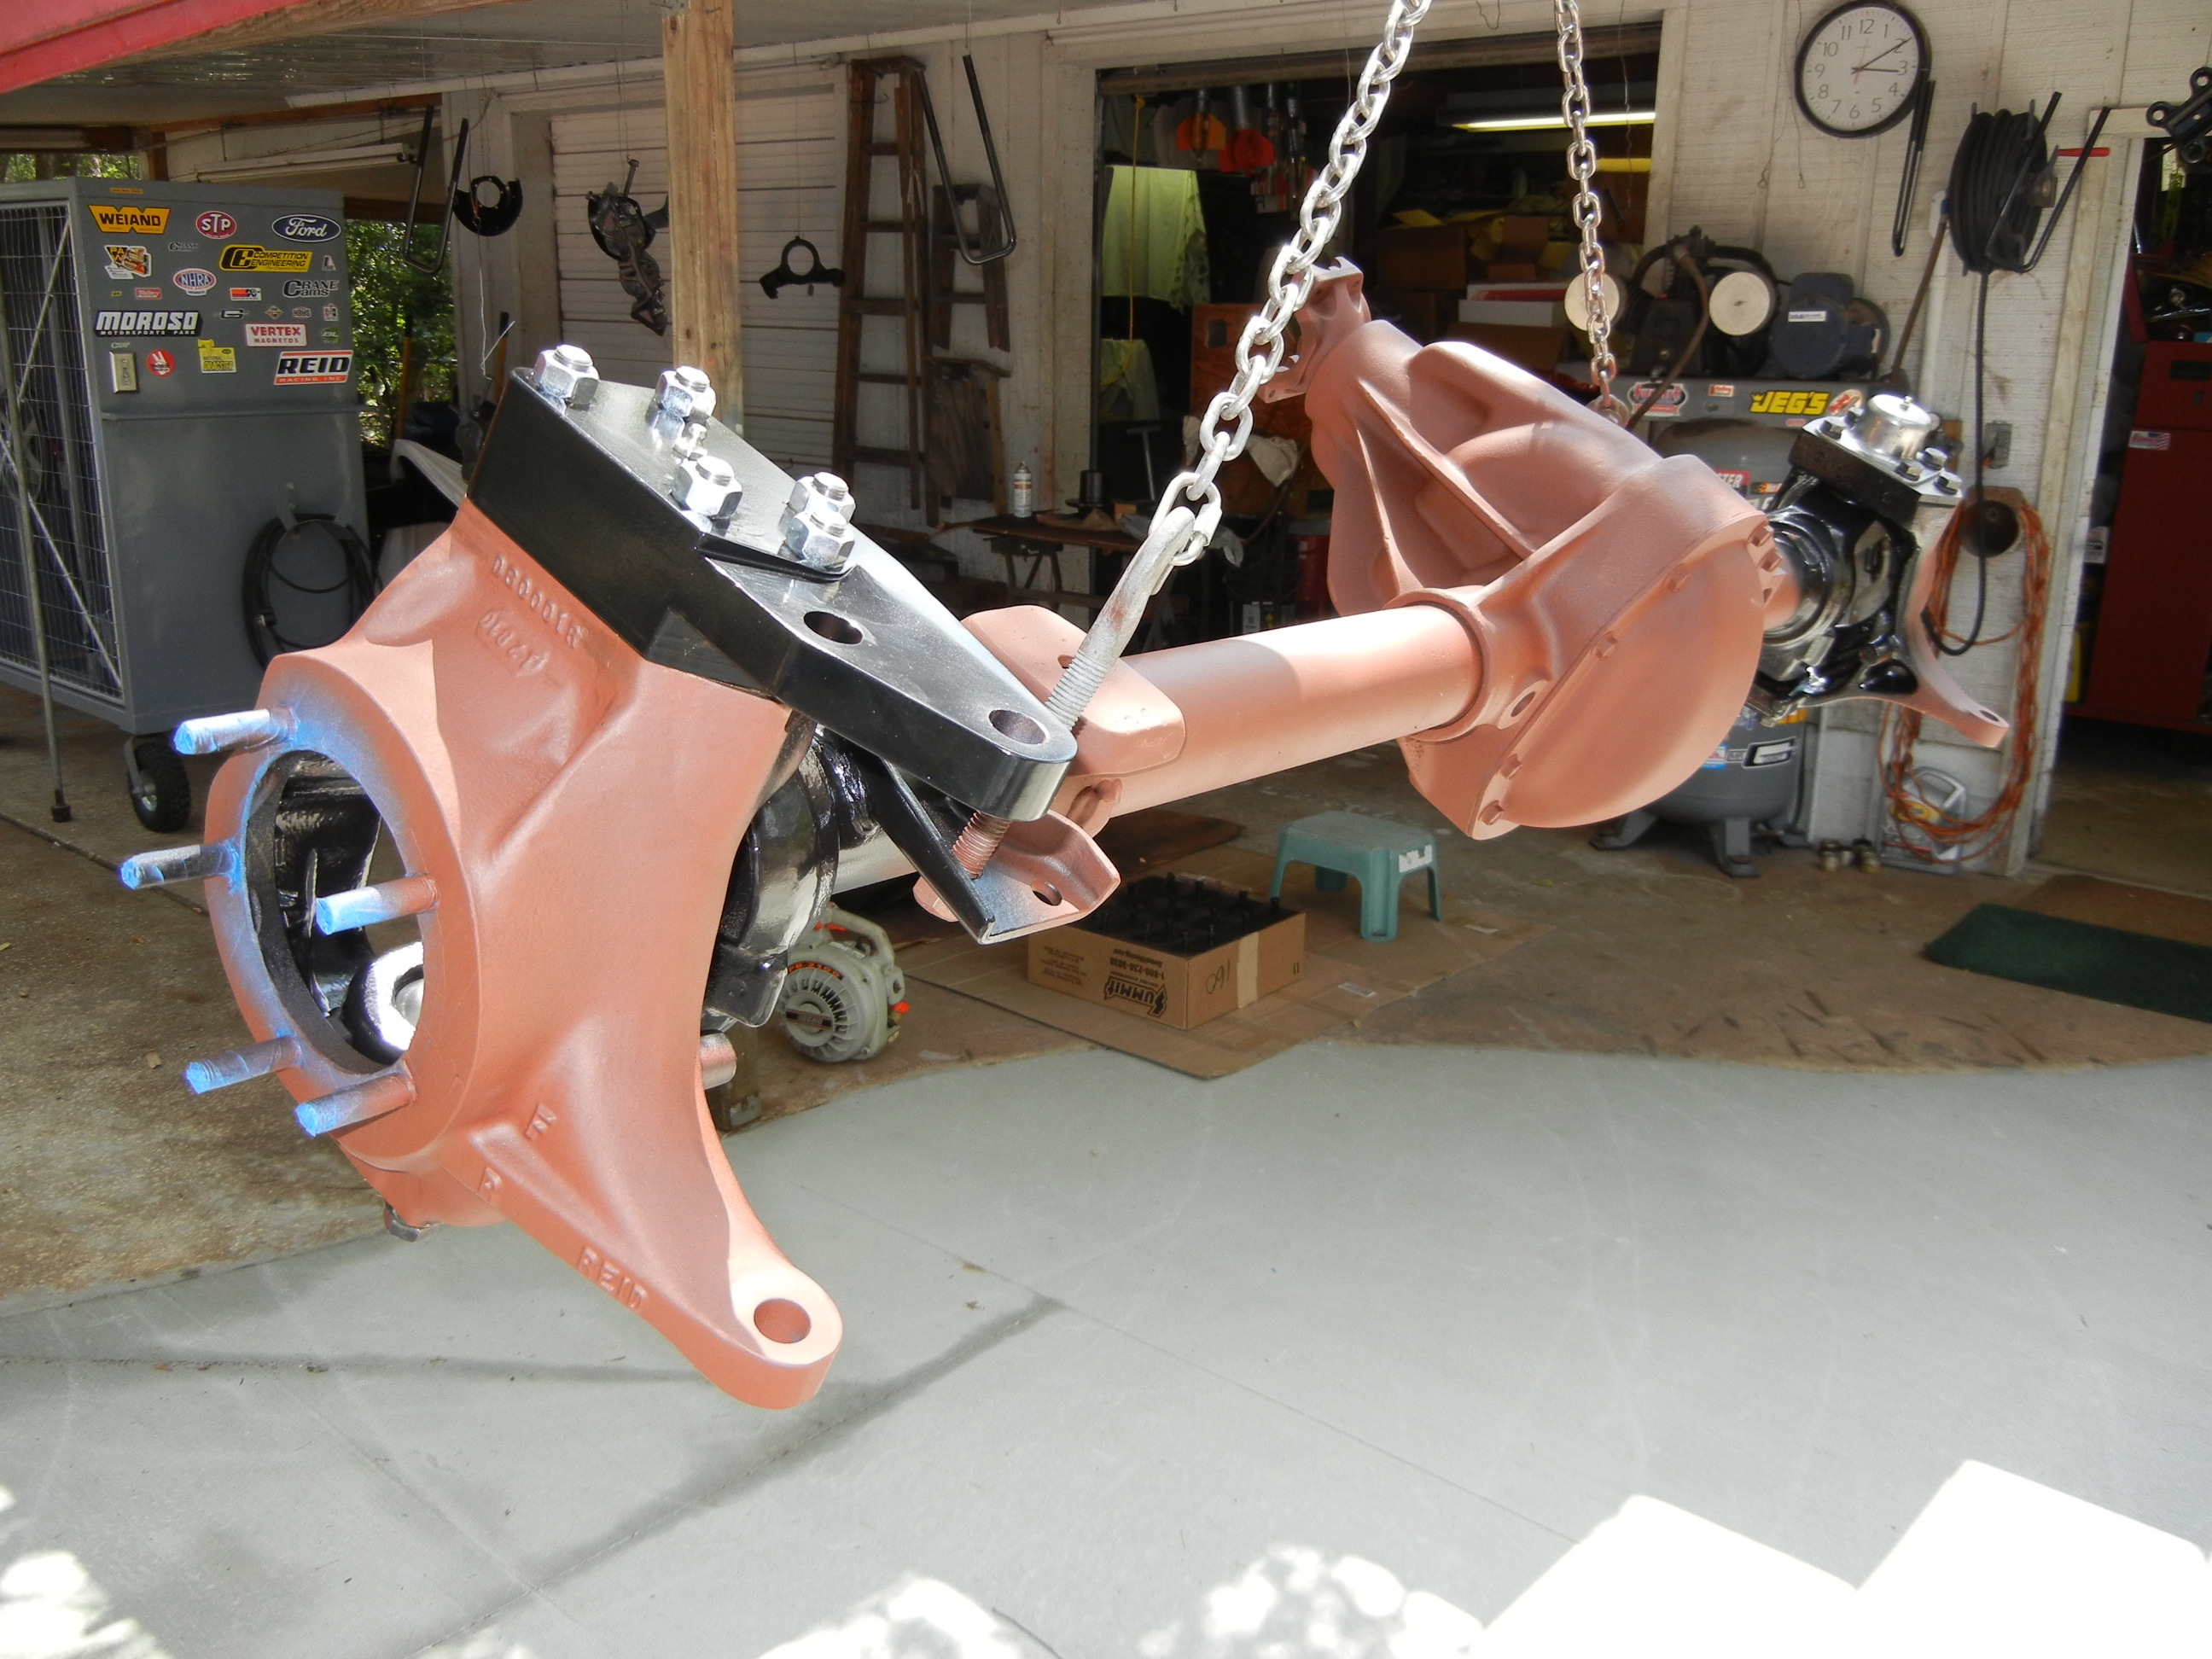
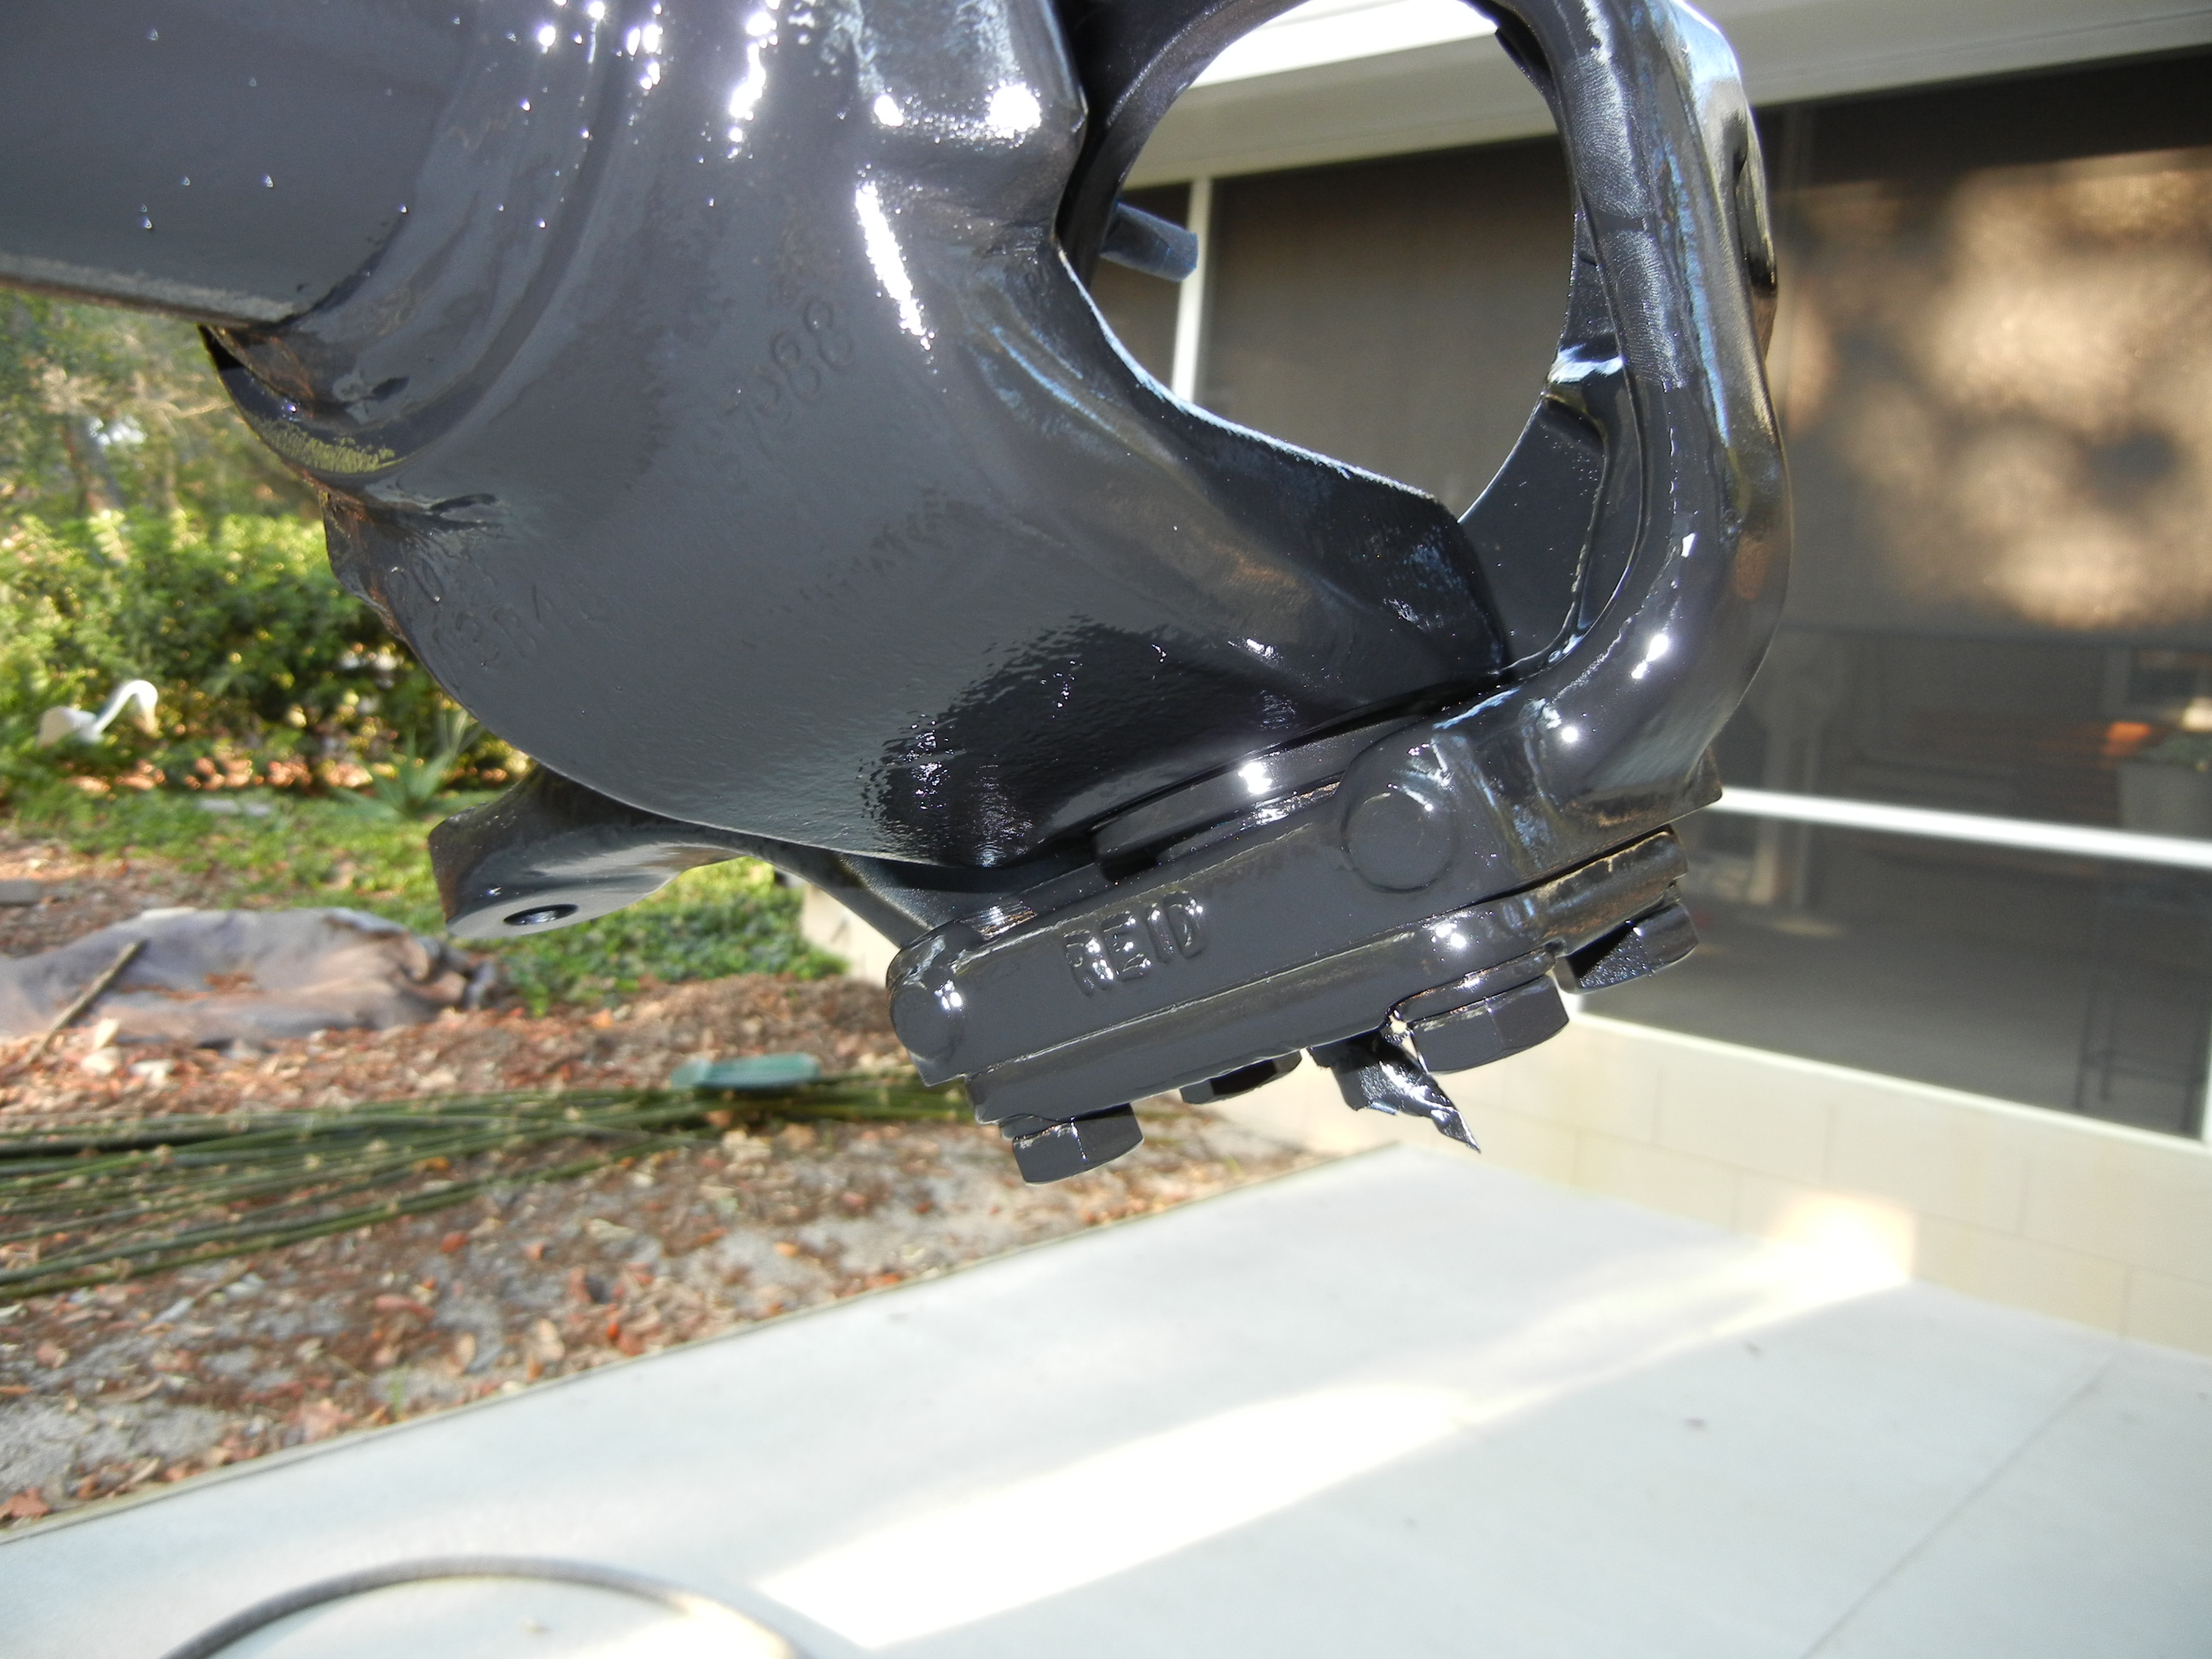
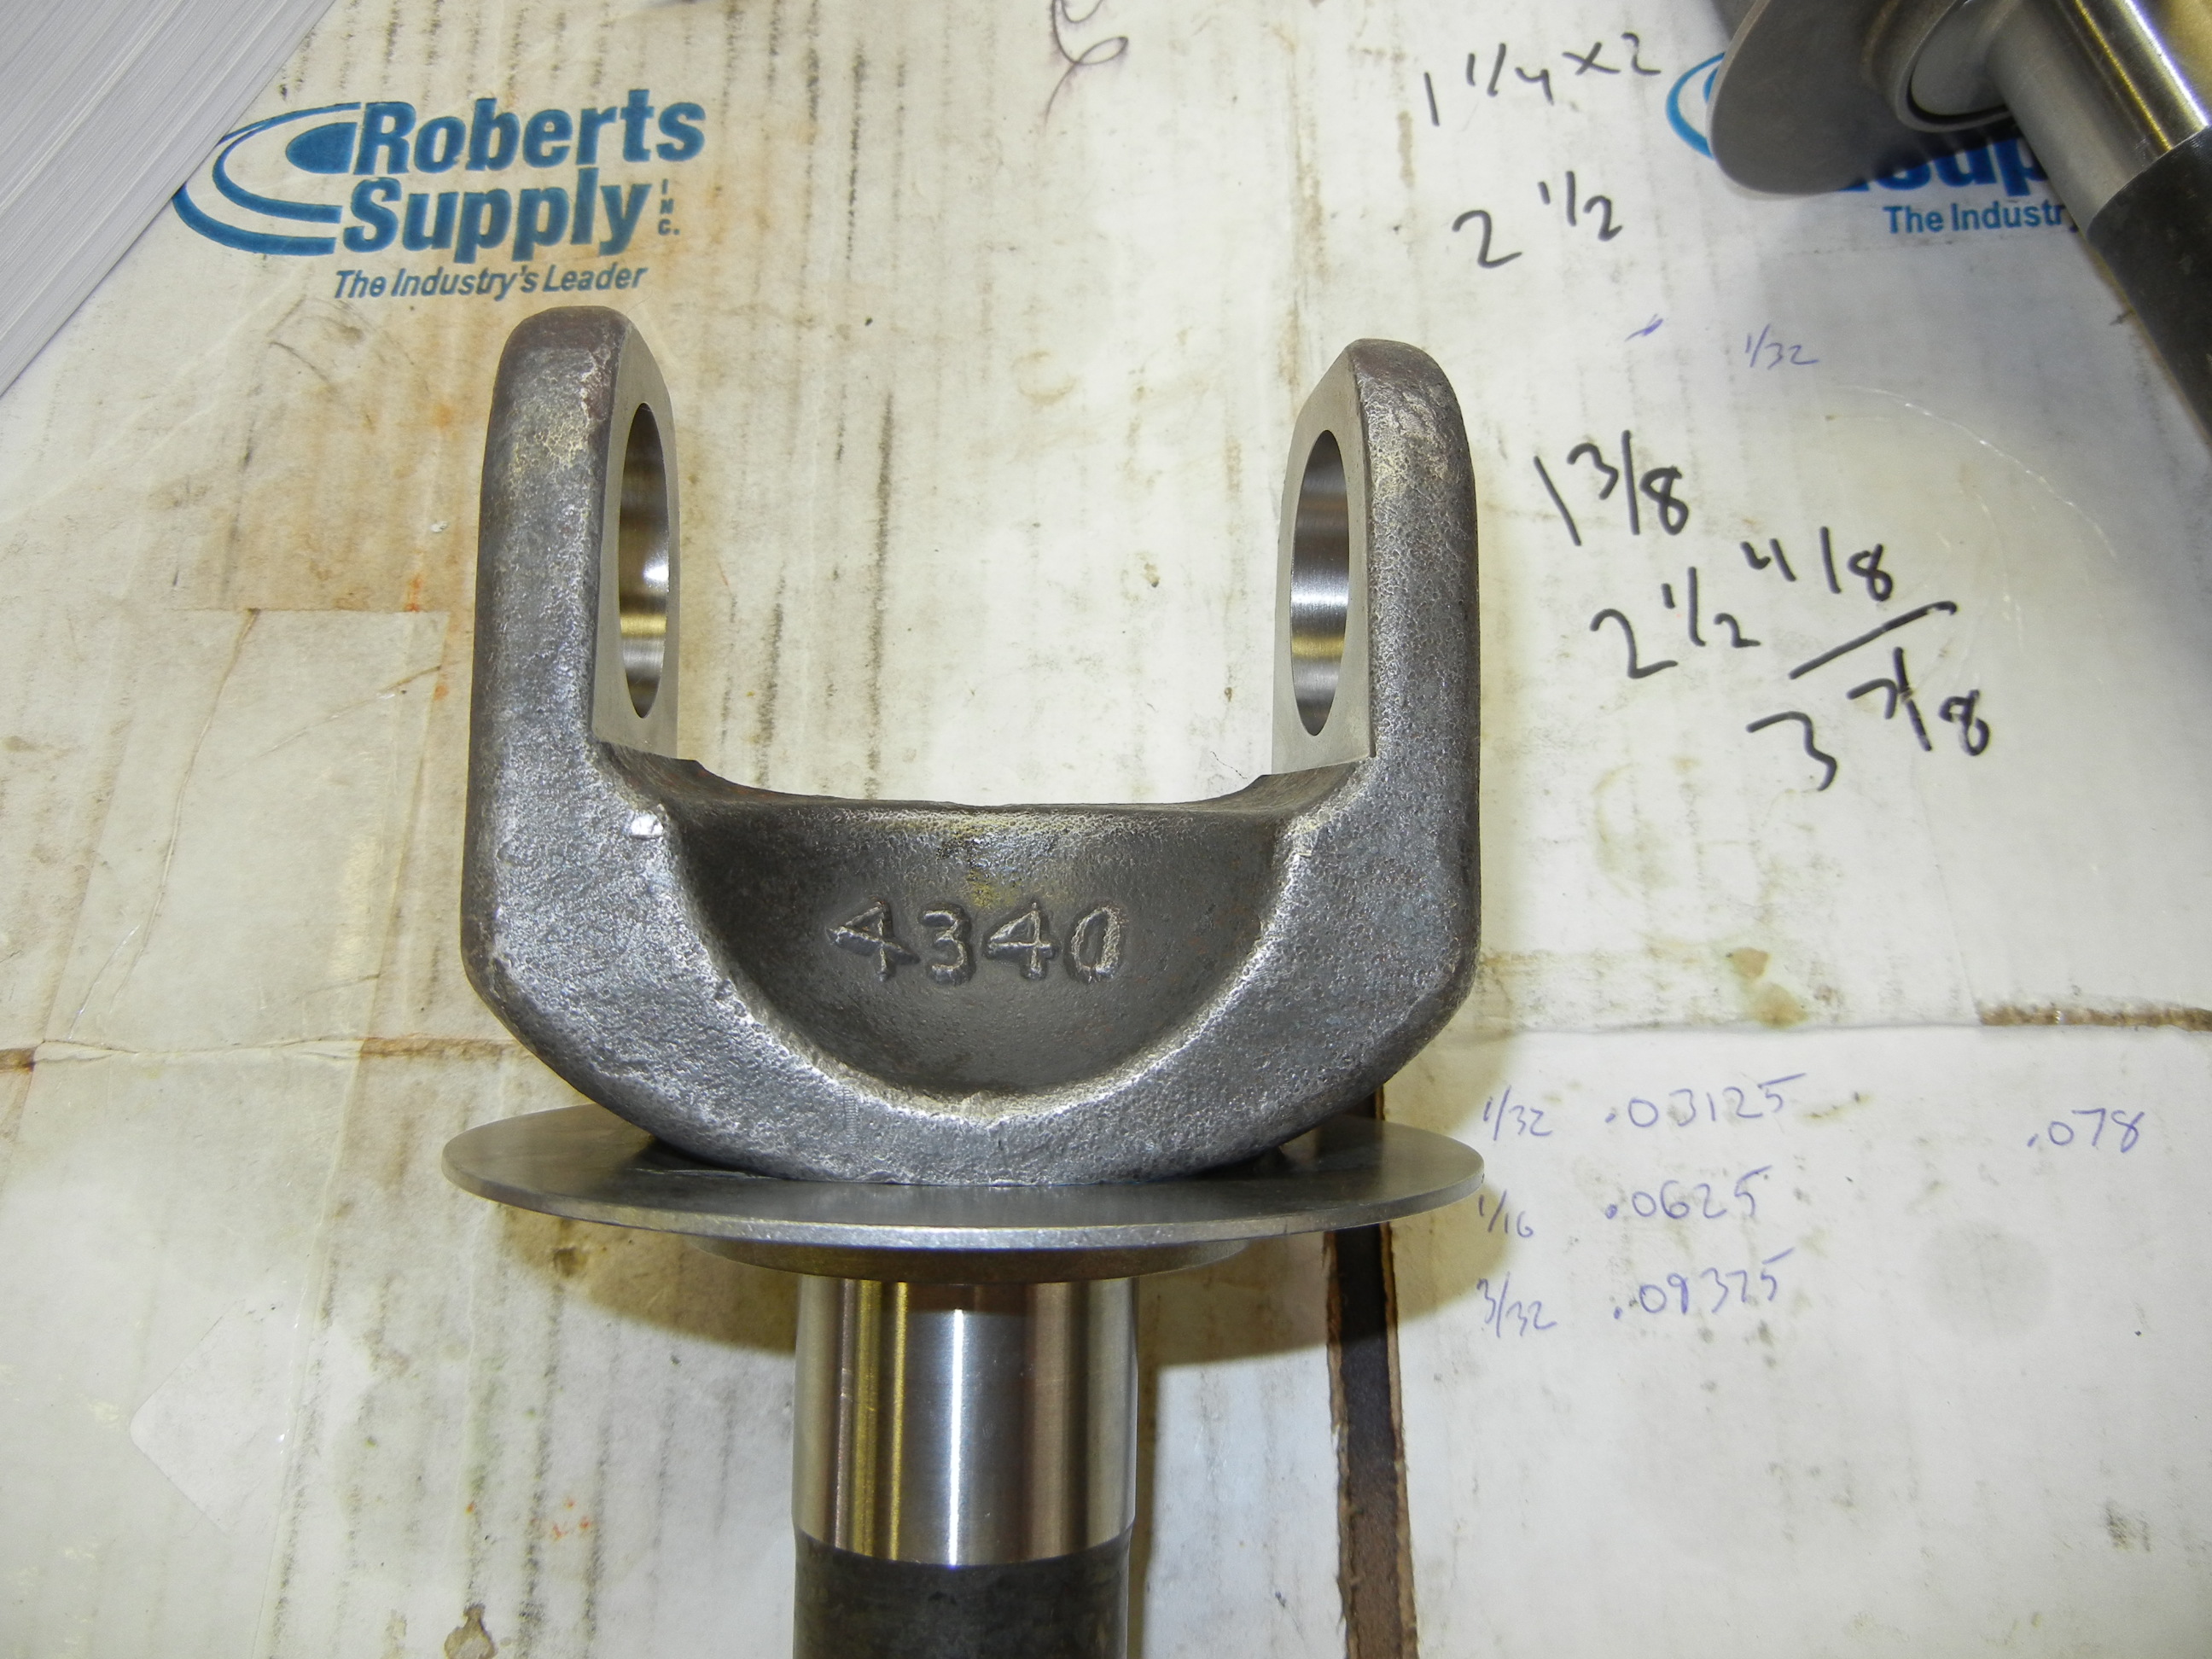
Finally, here are the beauties that have been in storage since the first days of the build. Once I found the crack in the original knuckle, I knew I needed a set of Reid Racing/Dedenbear knuckles. They really are works of art as compared to the original castings. However I do not much care for the bright orange color scheme. This will be changing very shortly!
I really do not understand why people go through all of the headache to plate
their original knuckles. By the time one spends on the plate kit and the time
prepping/welding/polishing the original knuckles, it would have been cheaper and
easier to just buy aftermarket and be done.
Here they are compared to the cracked original. The passenger side was fine but
will most likely join the driver side in the scrap yard.
Here are the Reid knuckles after being sand blasted to rough up the orange powder coating. New spindle studs were also pressed in. A small price to pay for peace of mind indeed! Red primer and gloss black were then sprayed on from a rattle can. We will paint the outside once the knuckles are mounted to the housing.
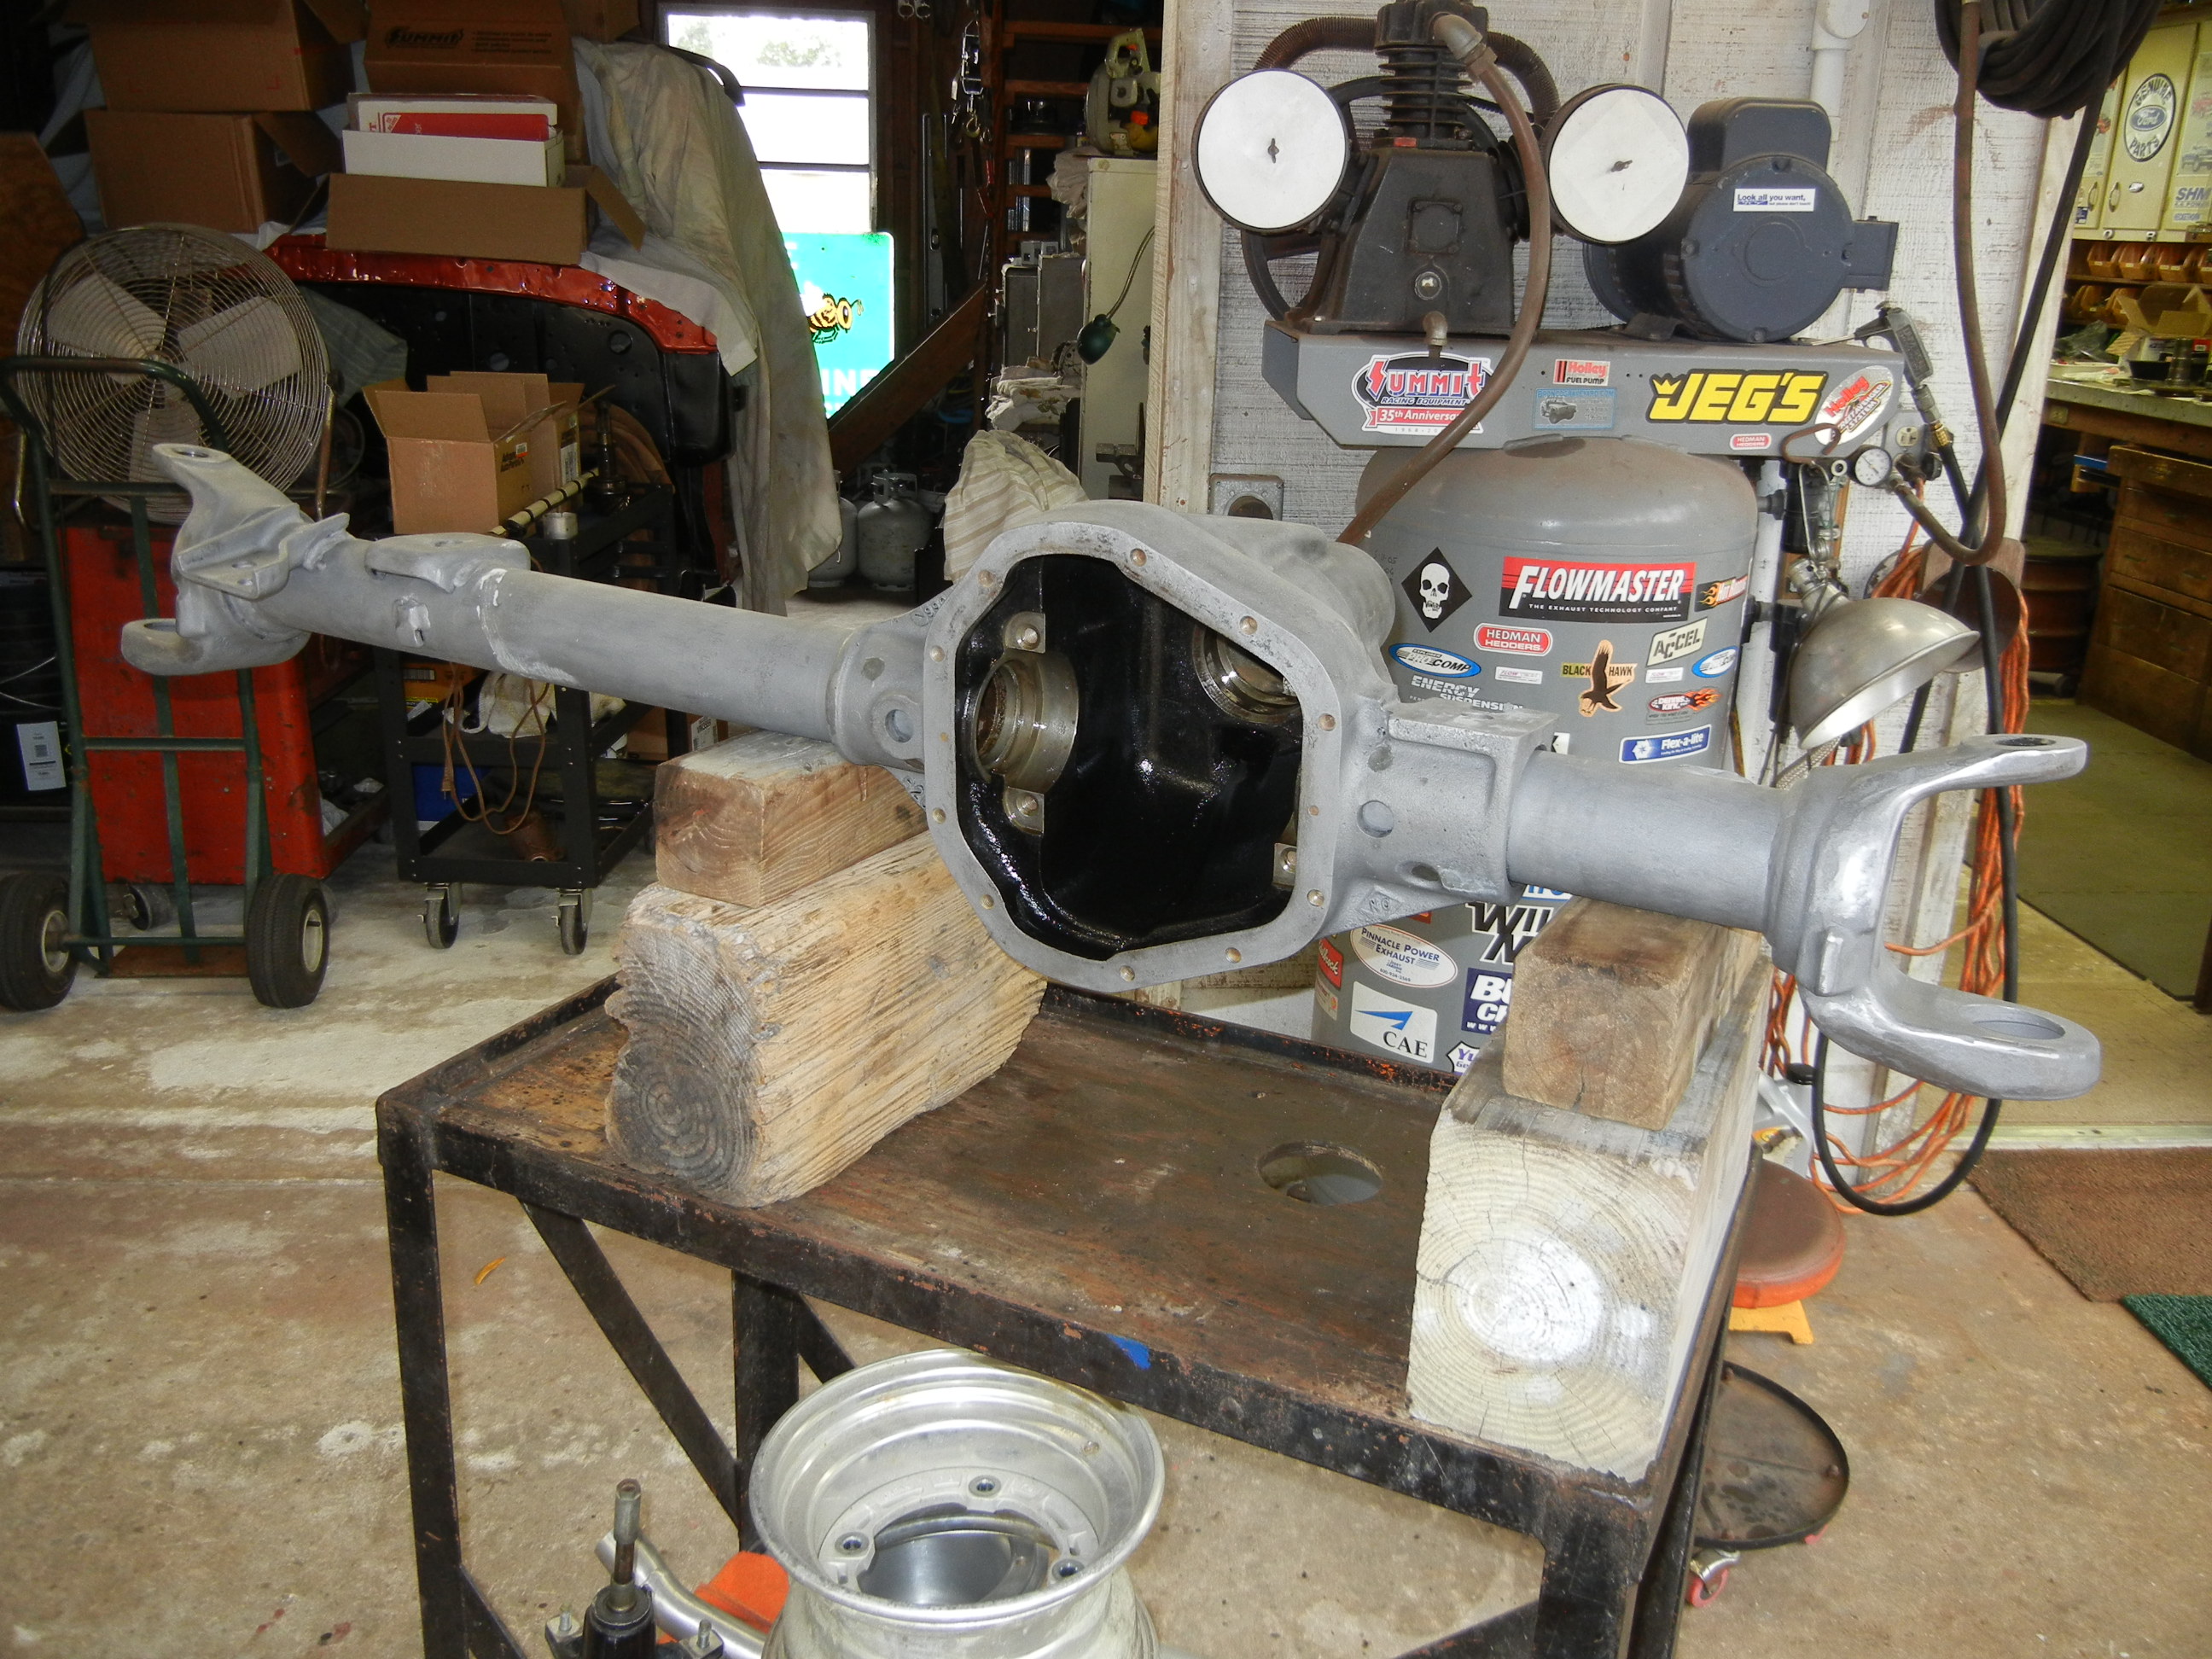
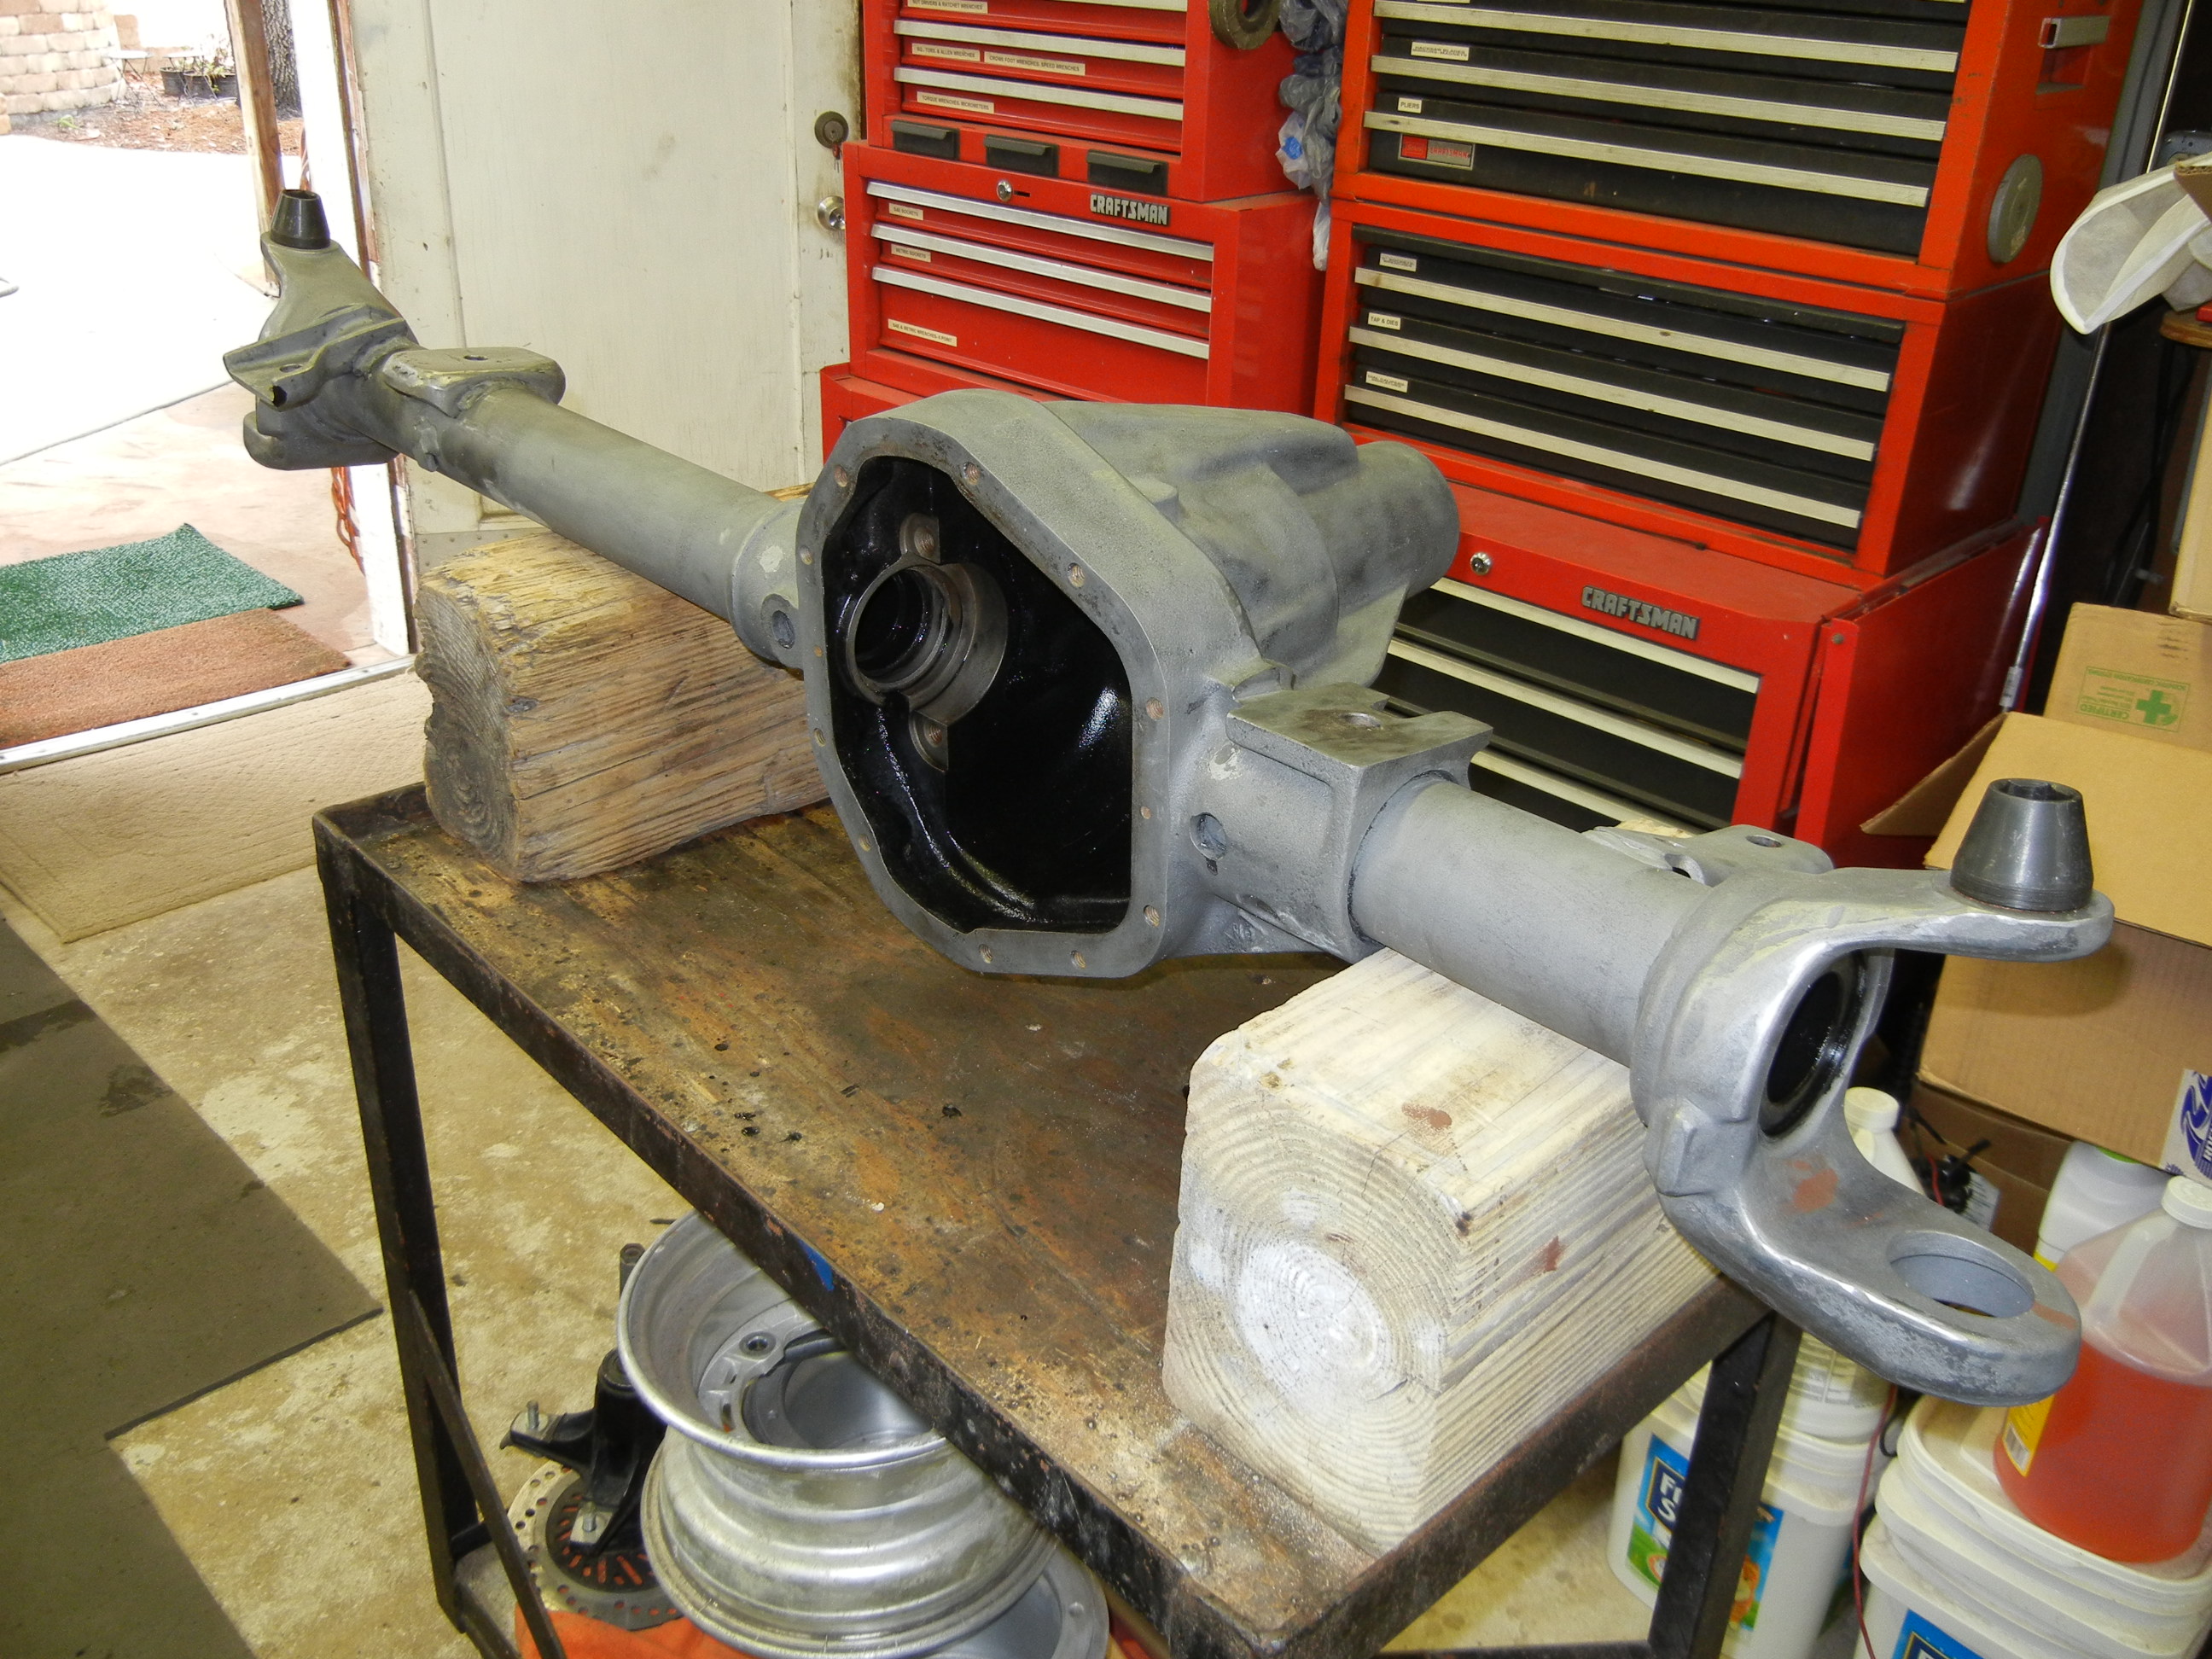
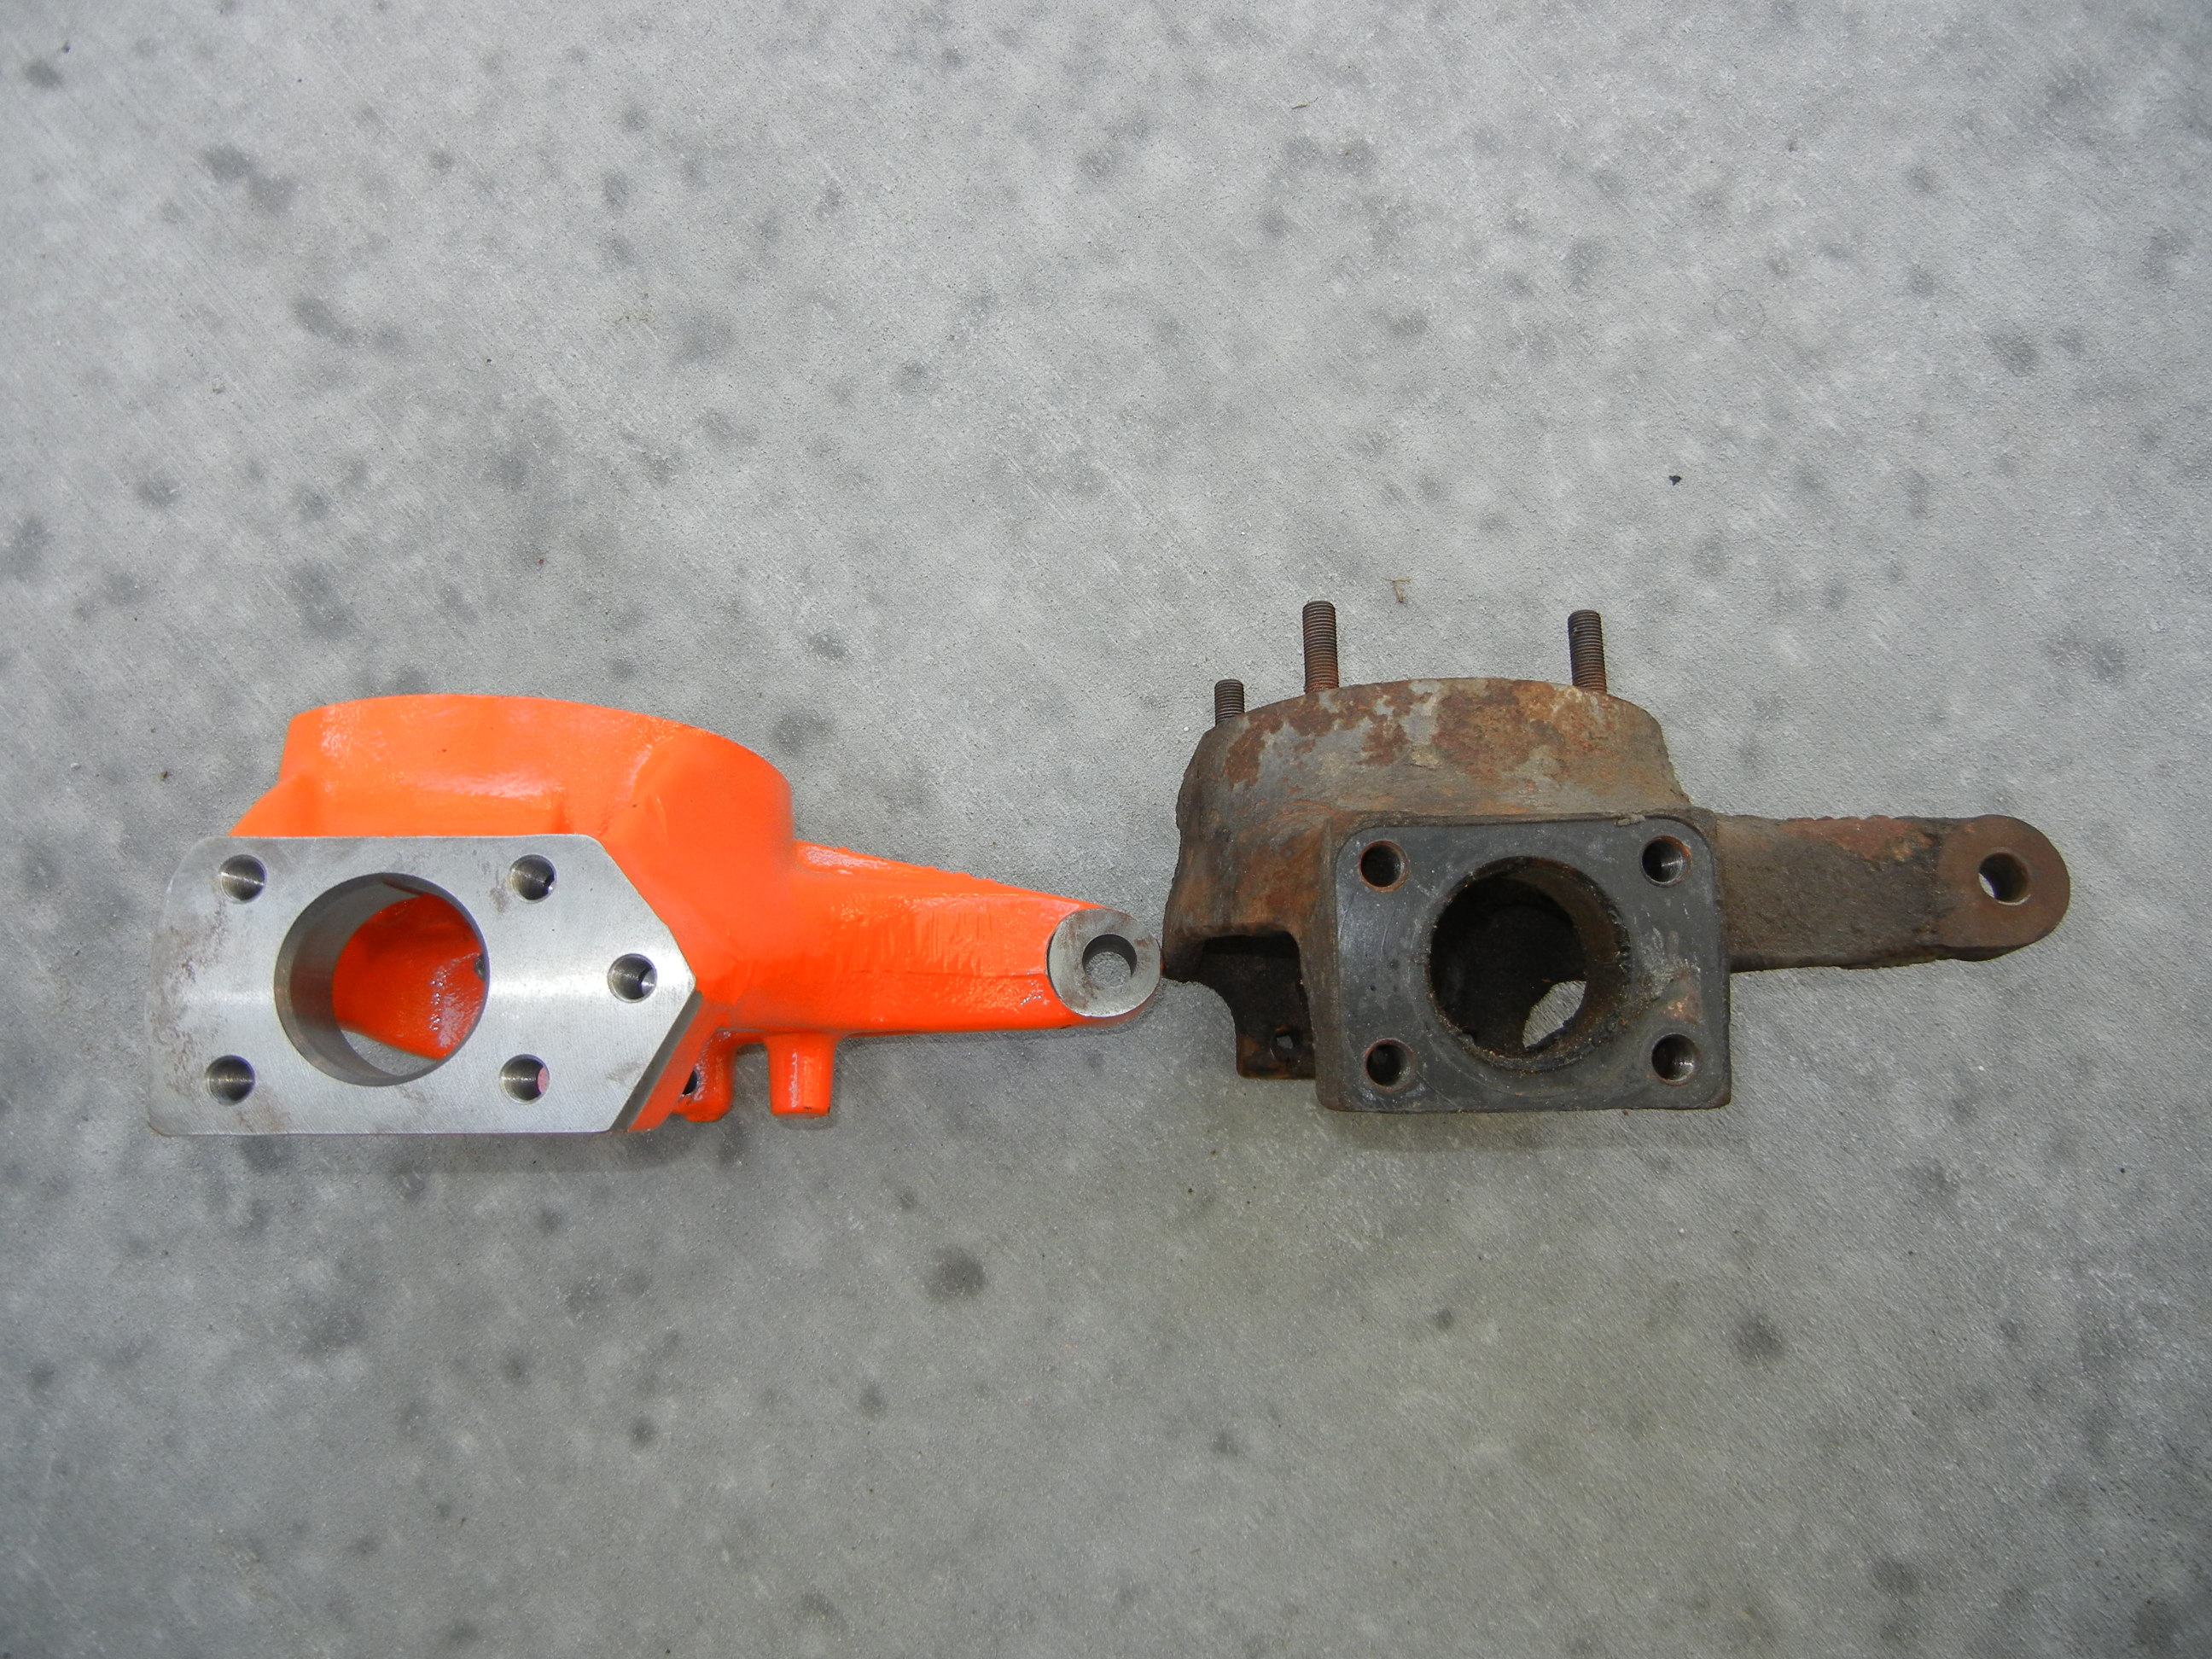
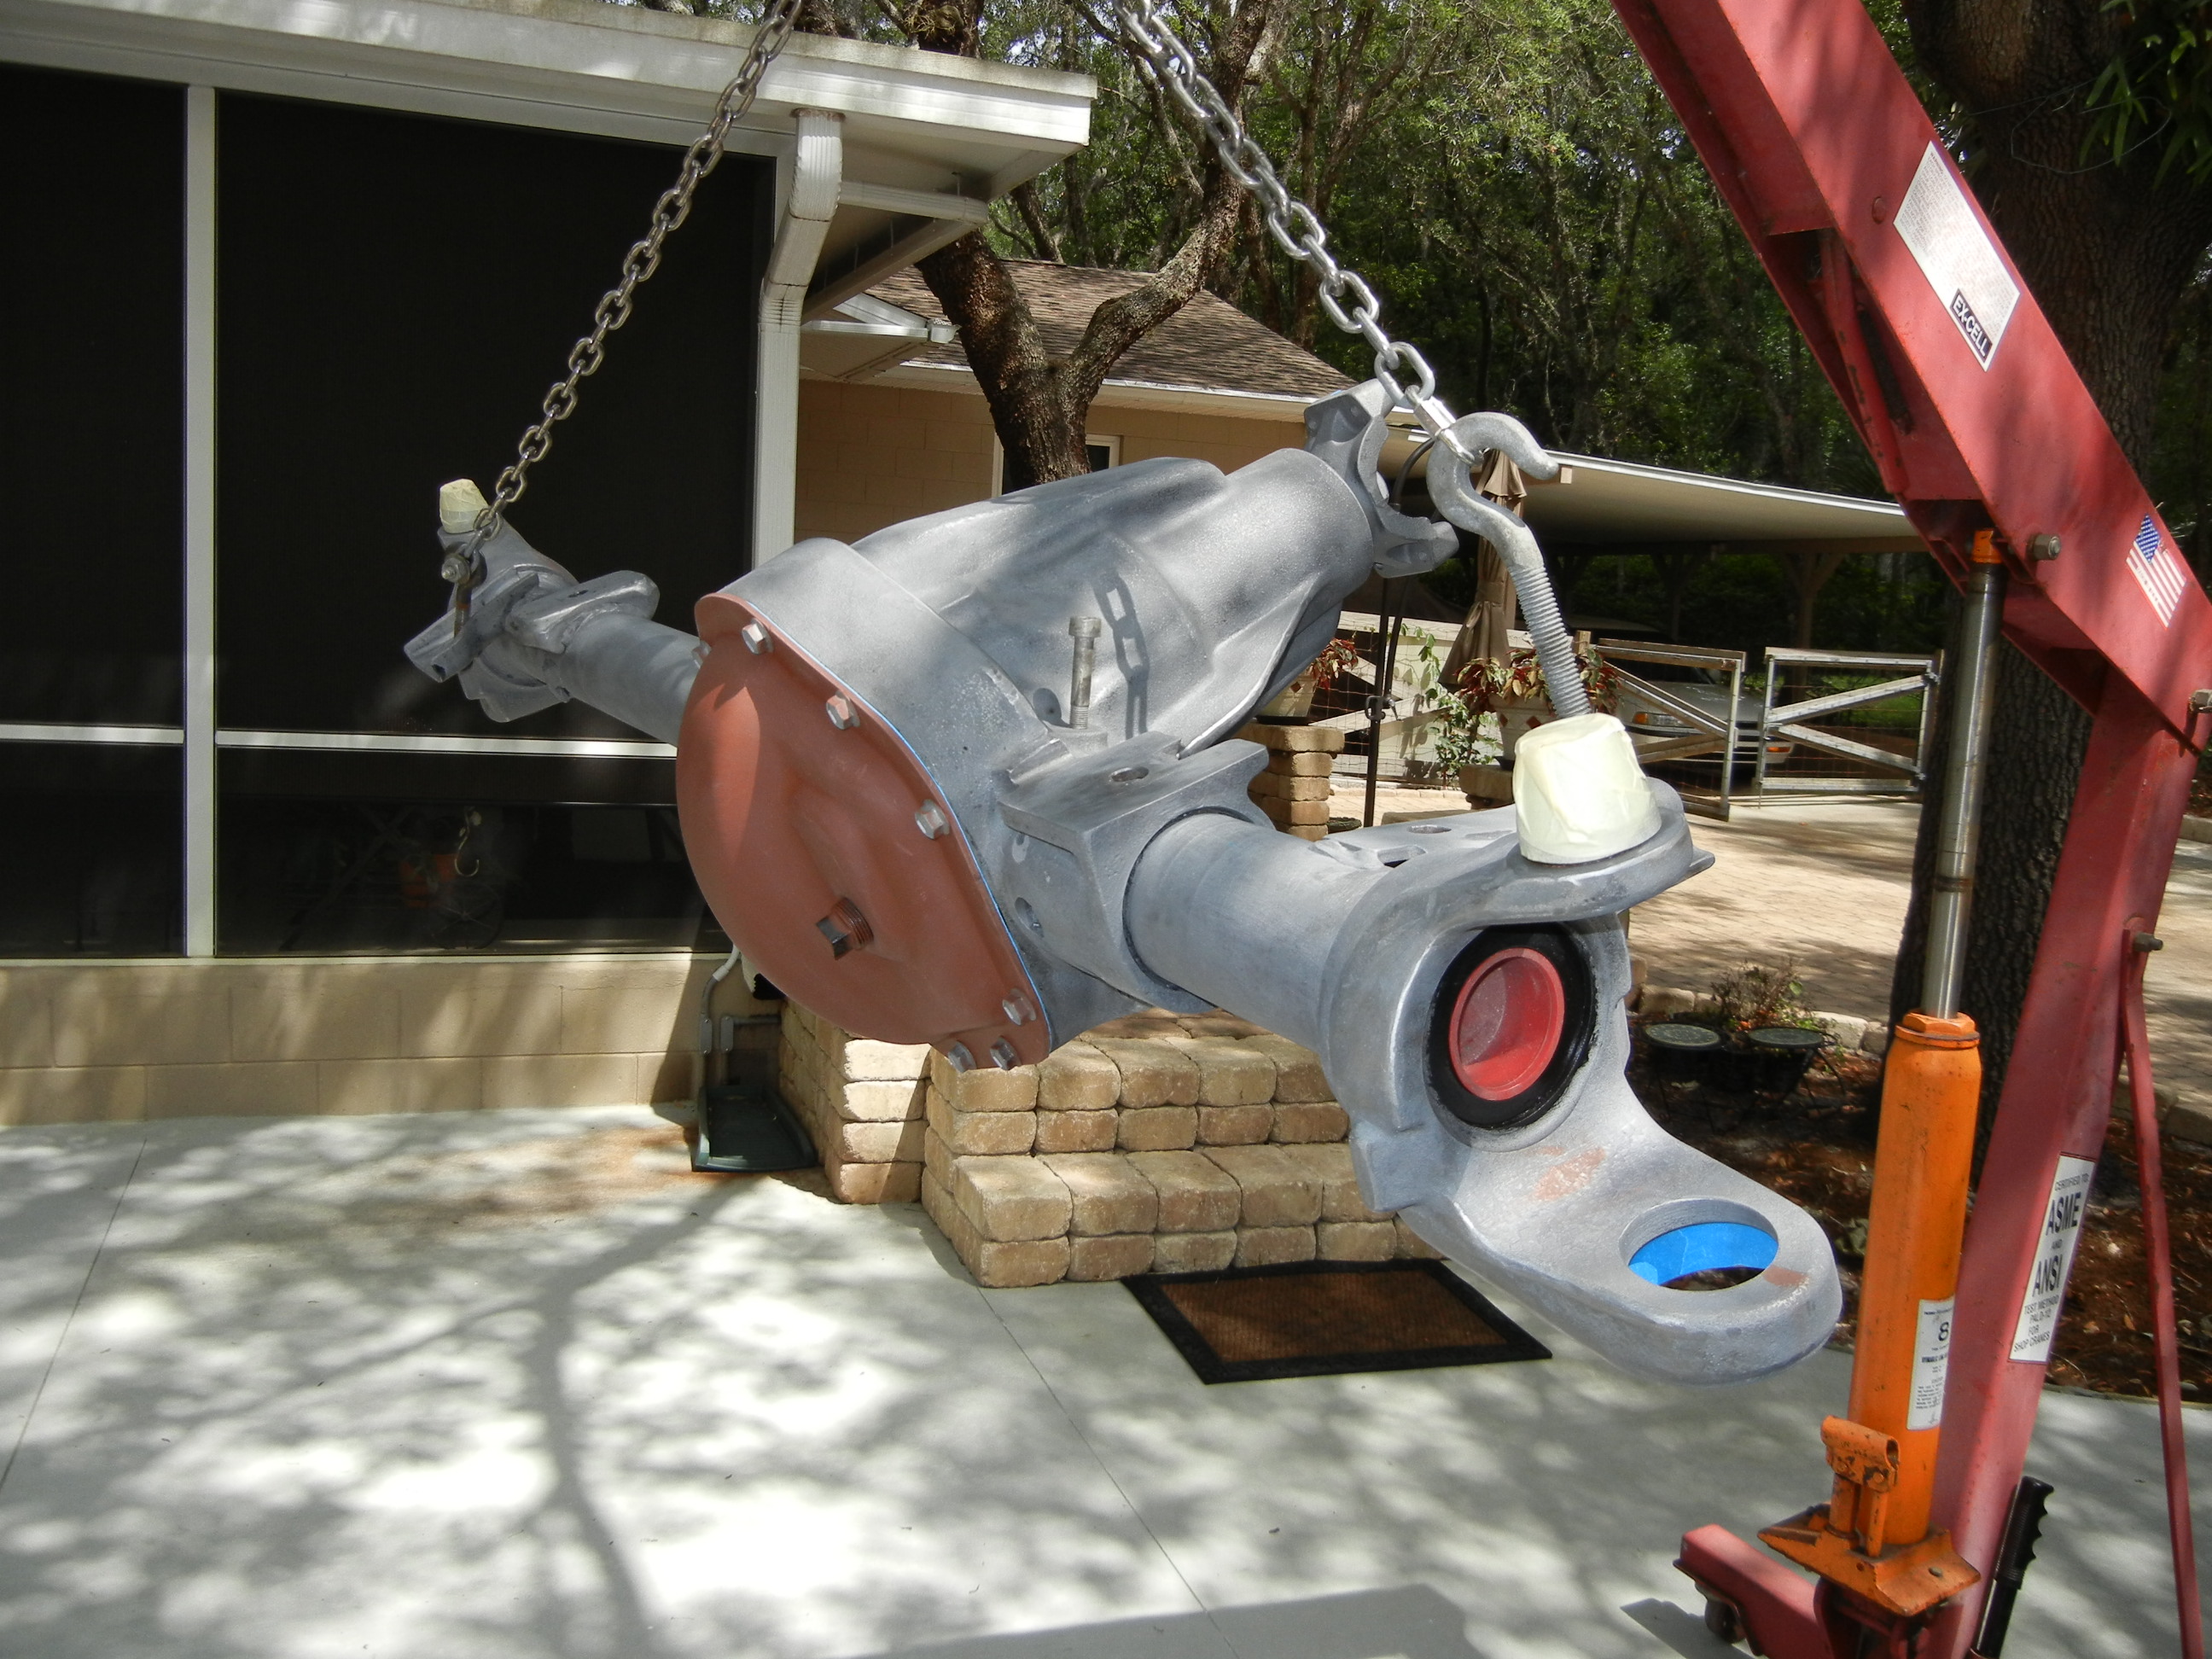
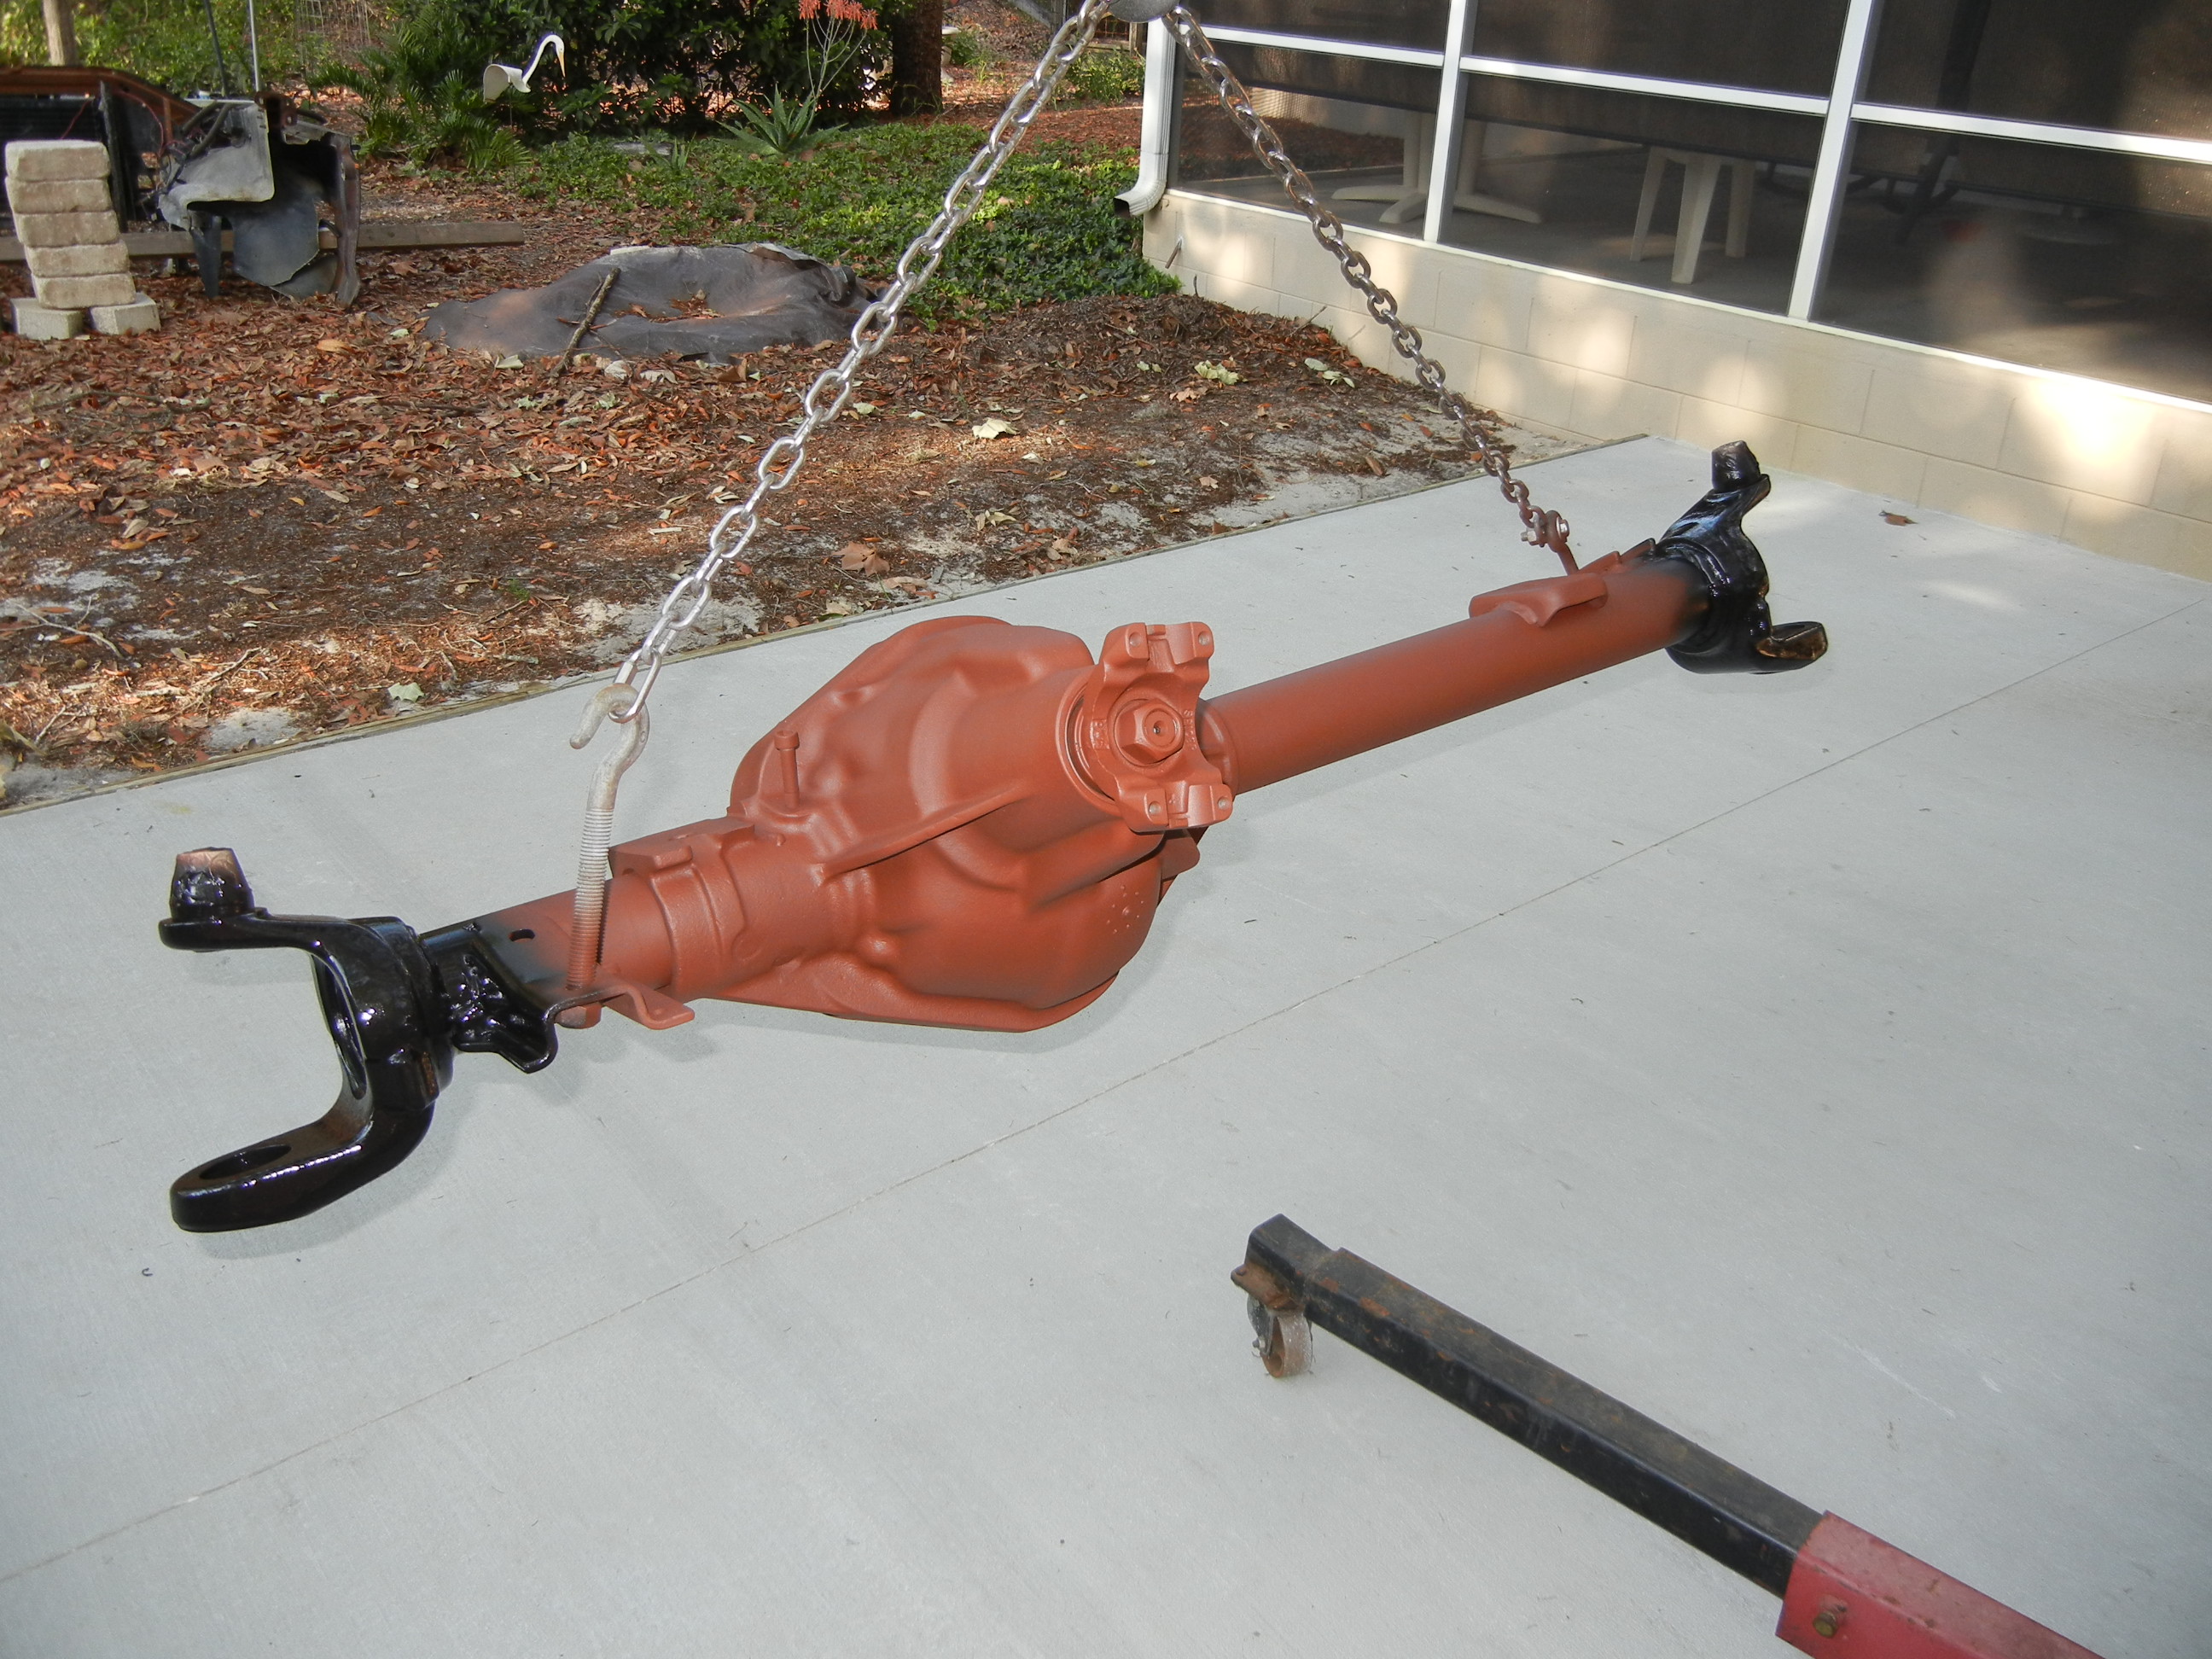
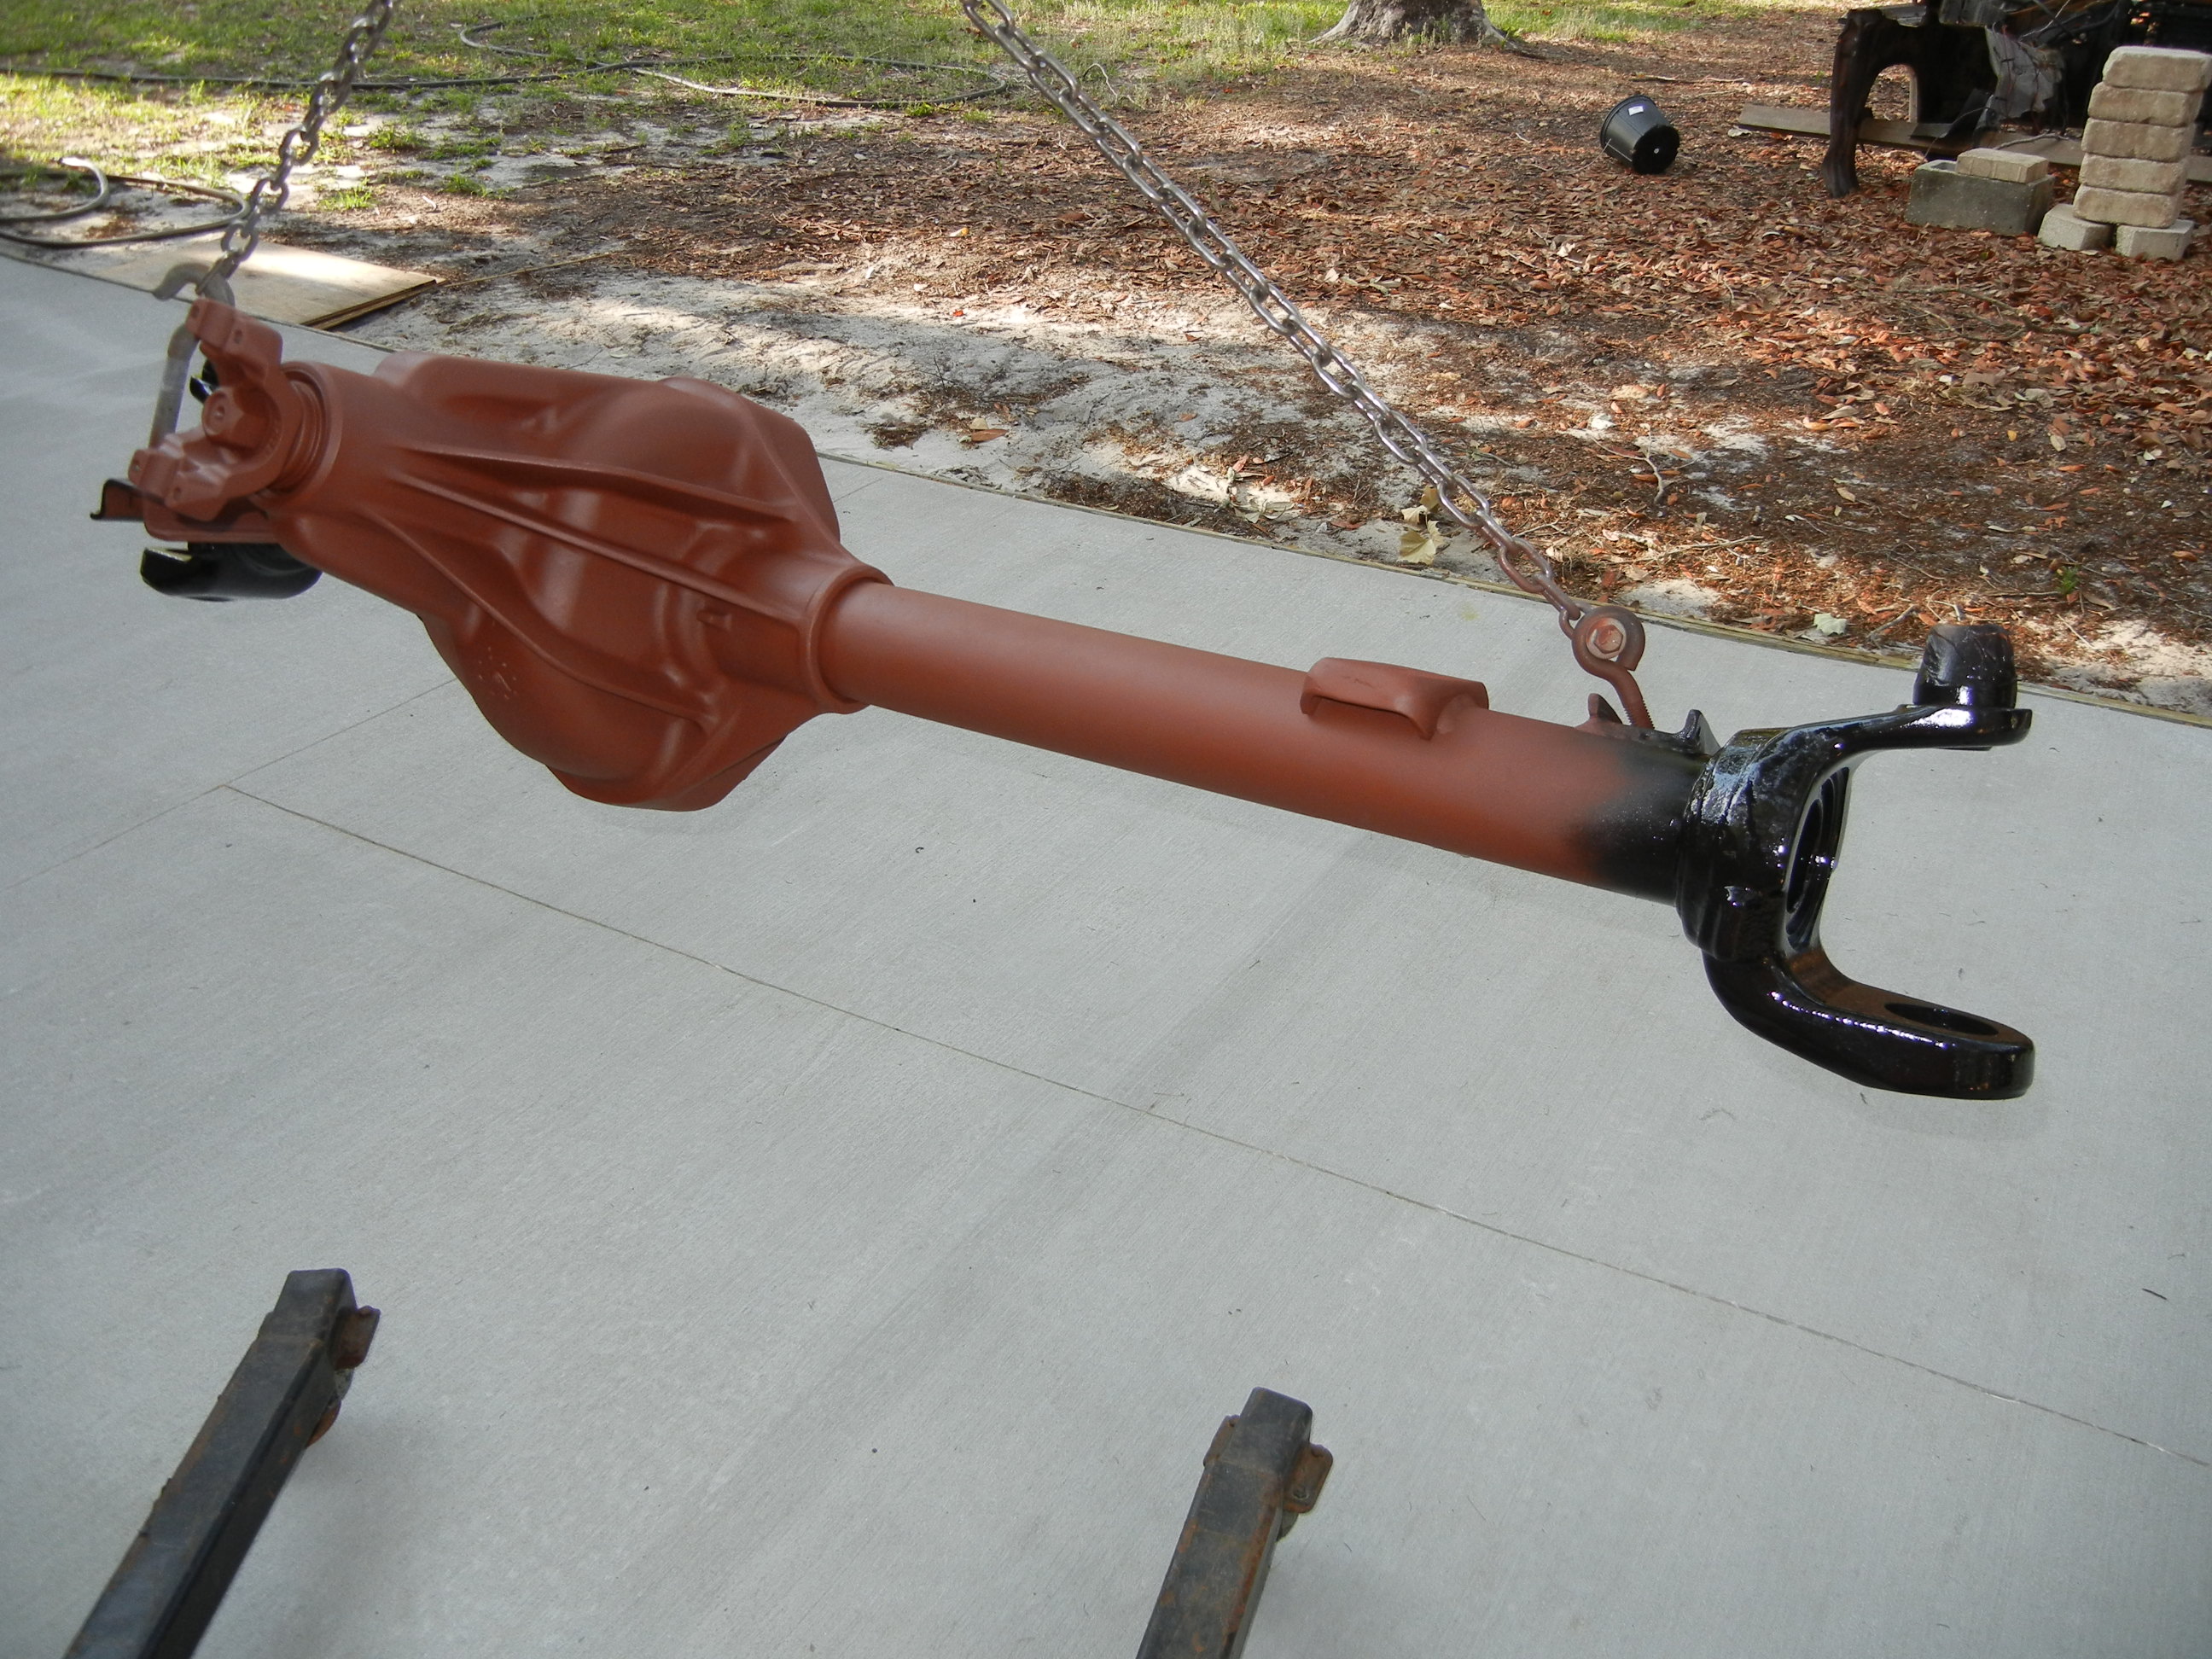
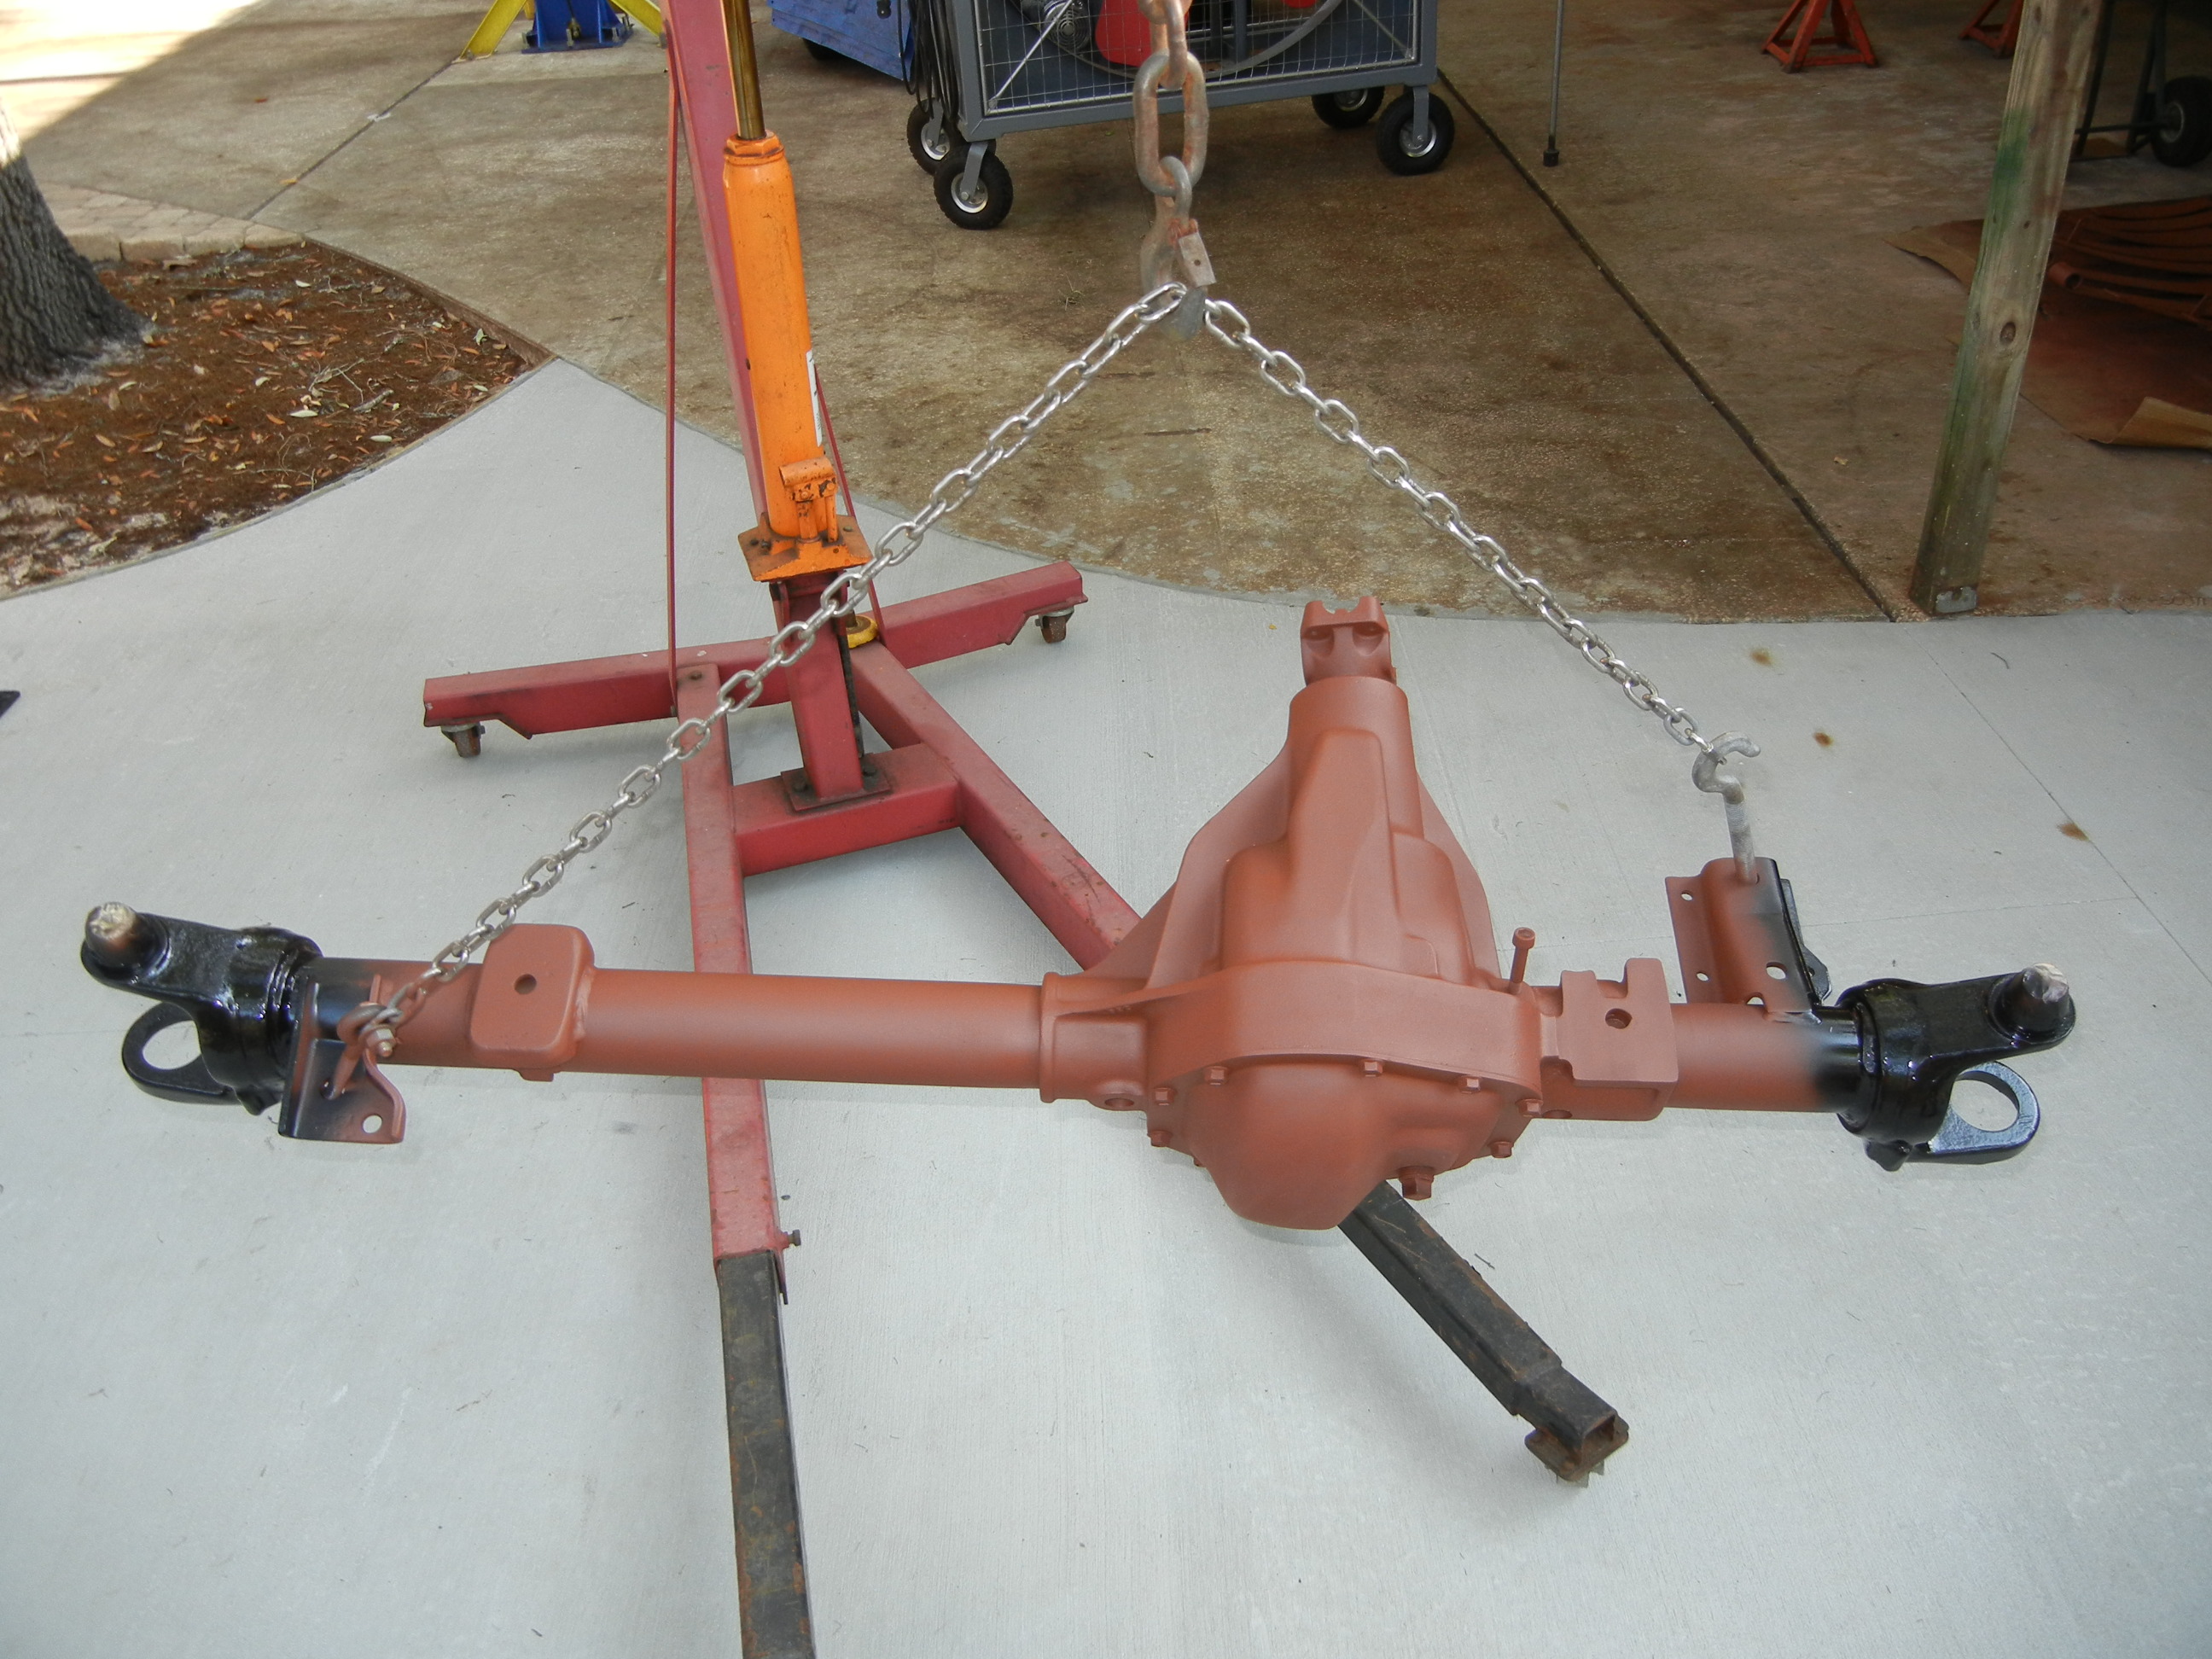
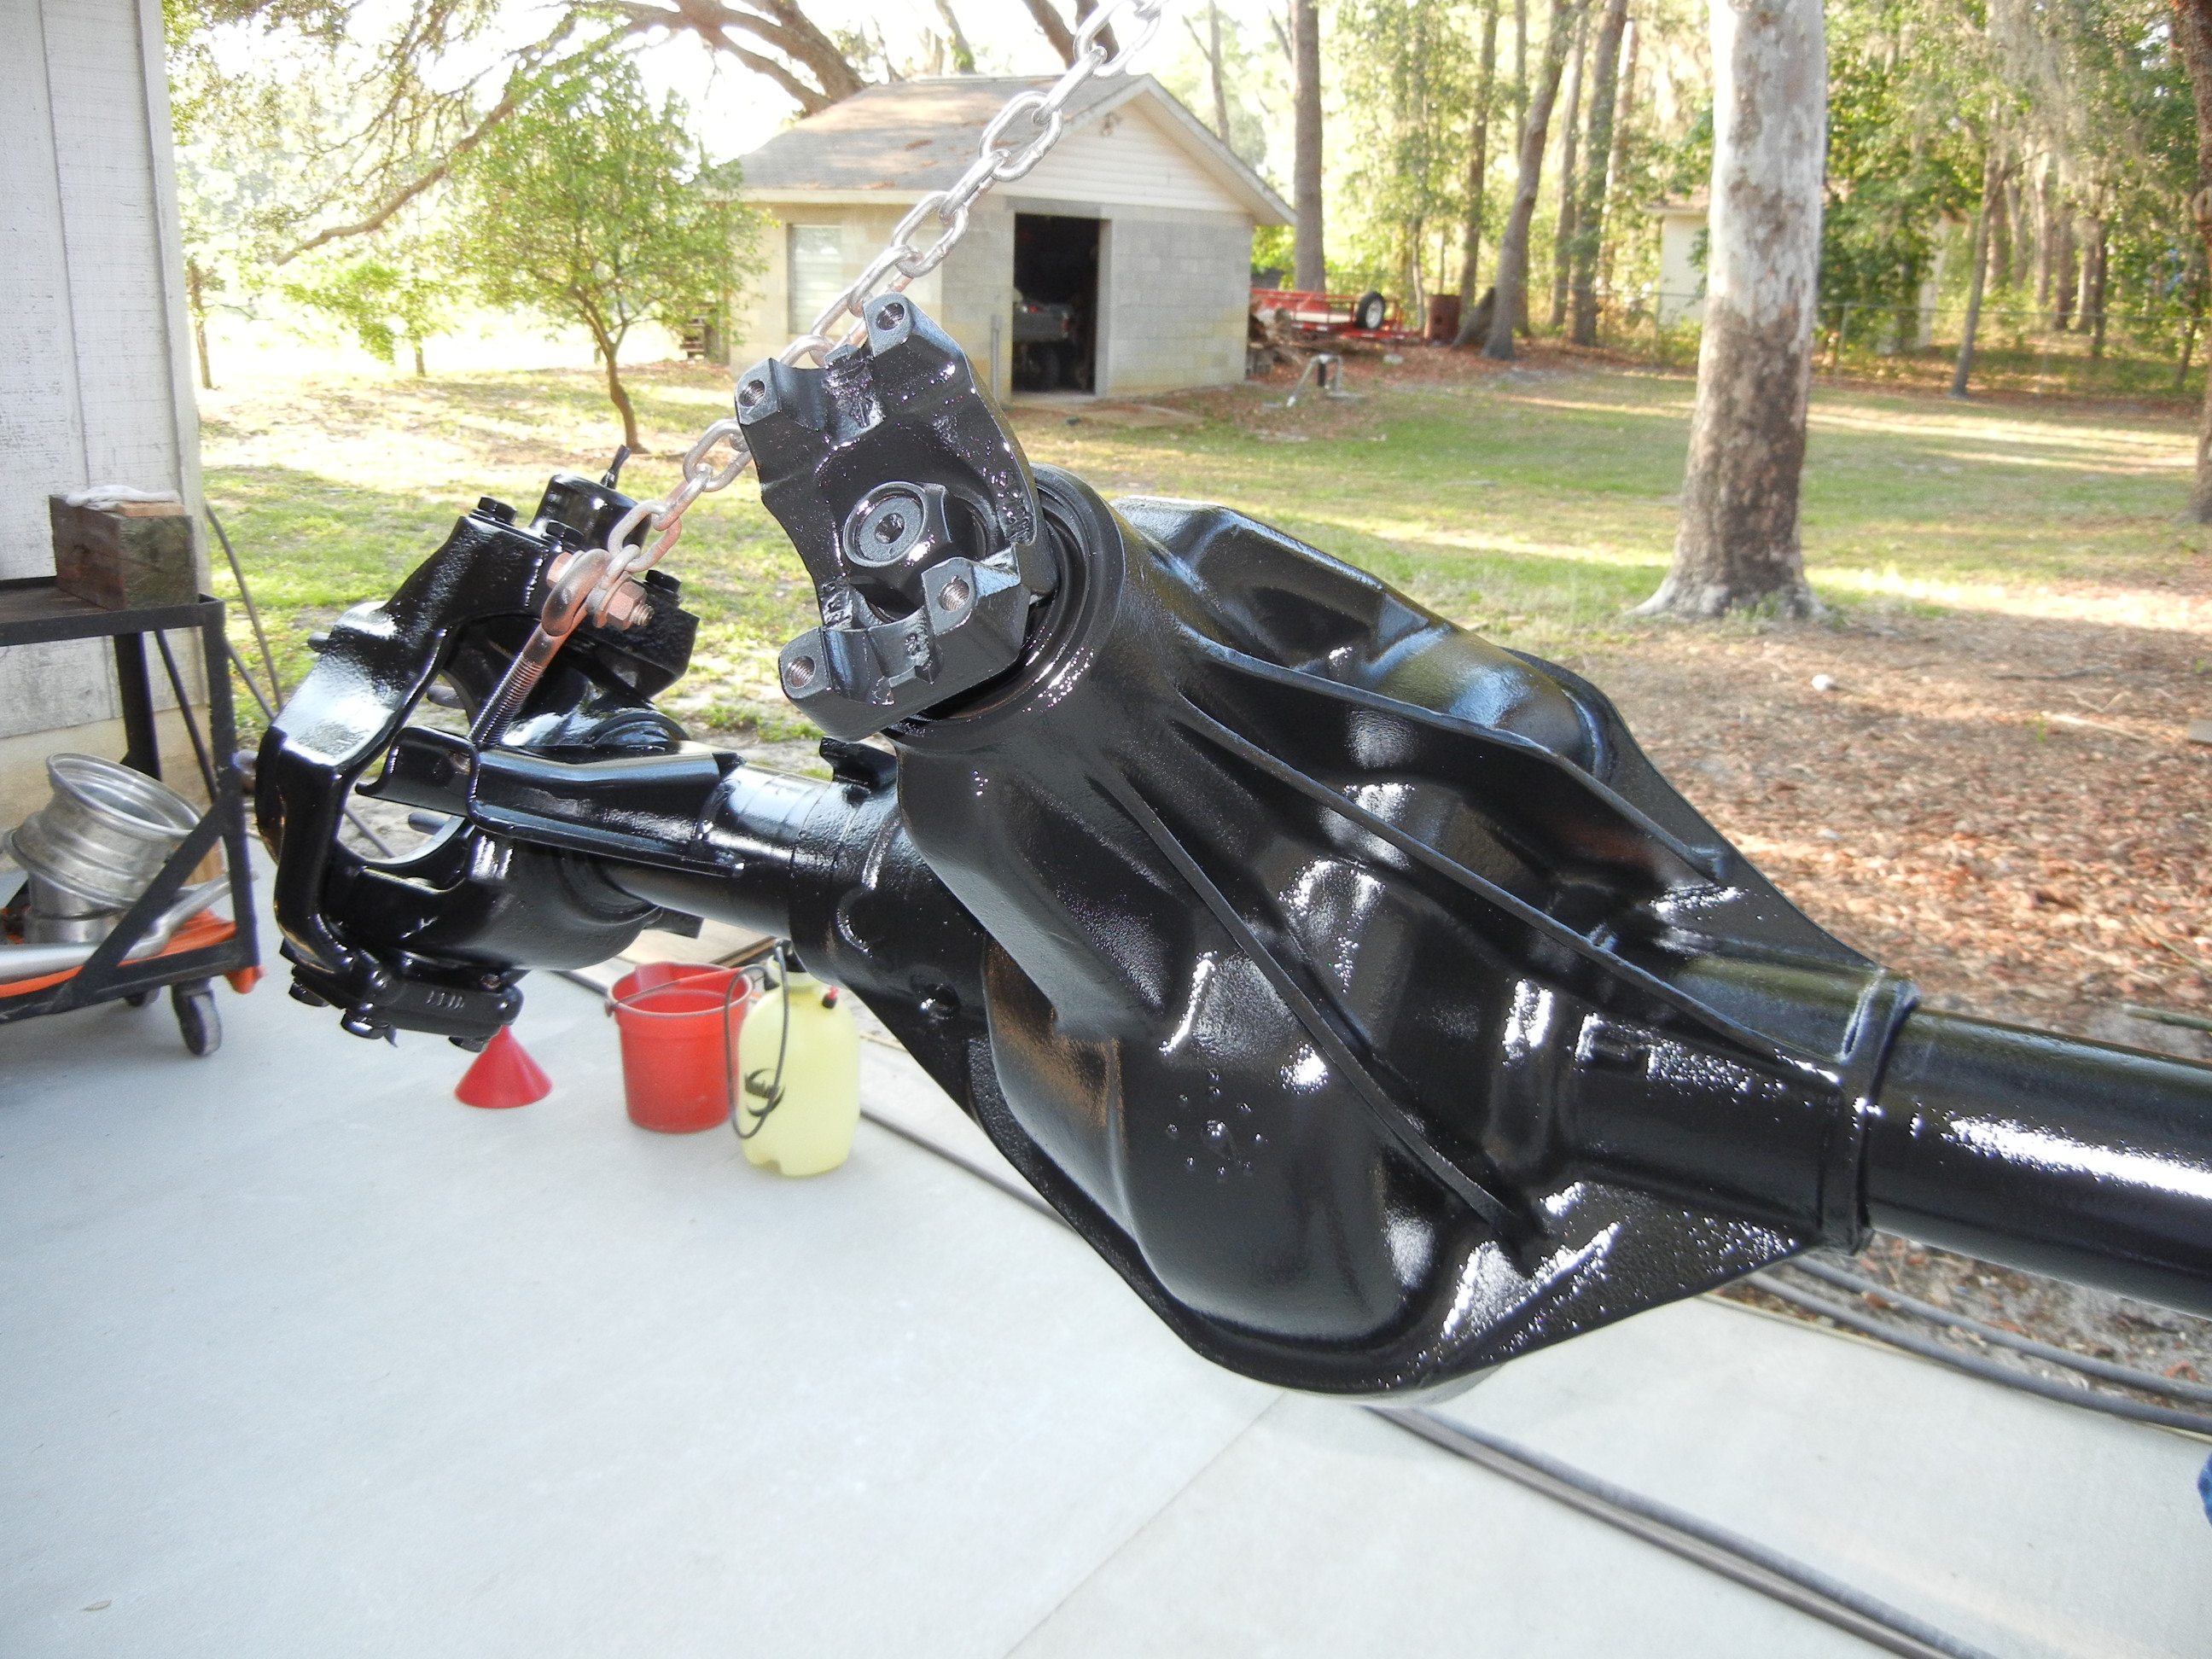
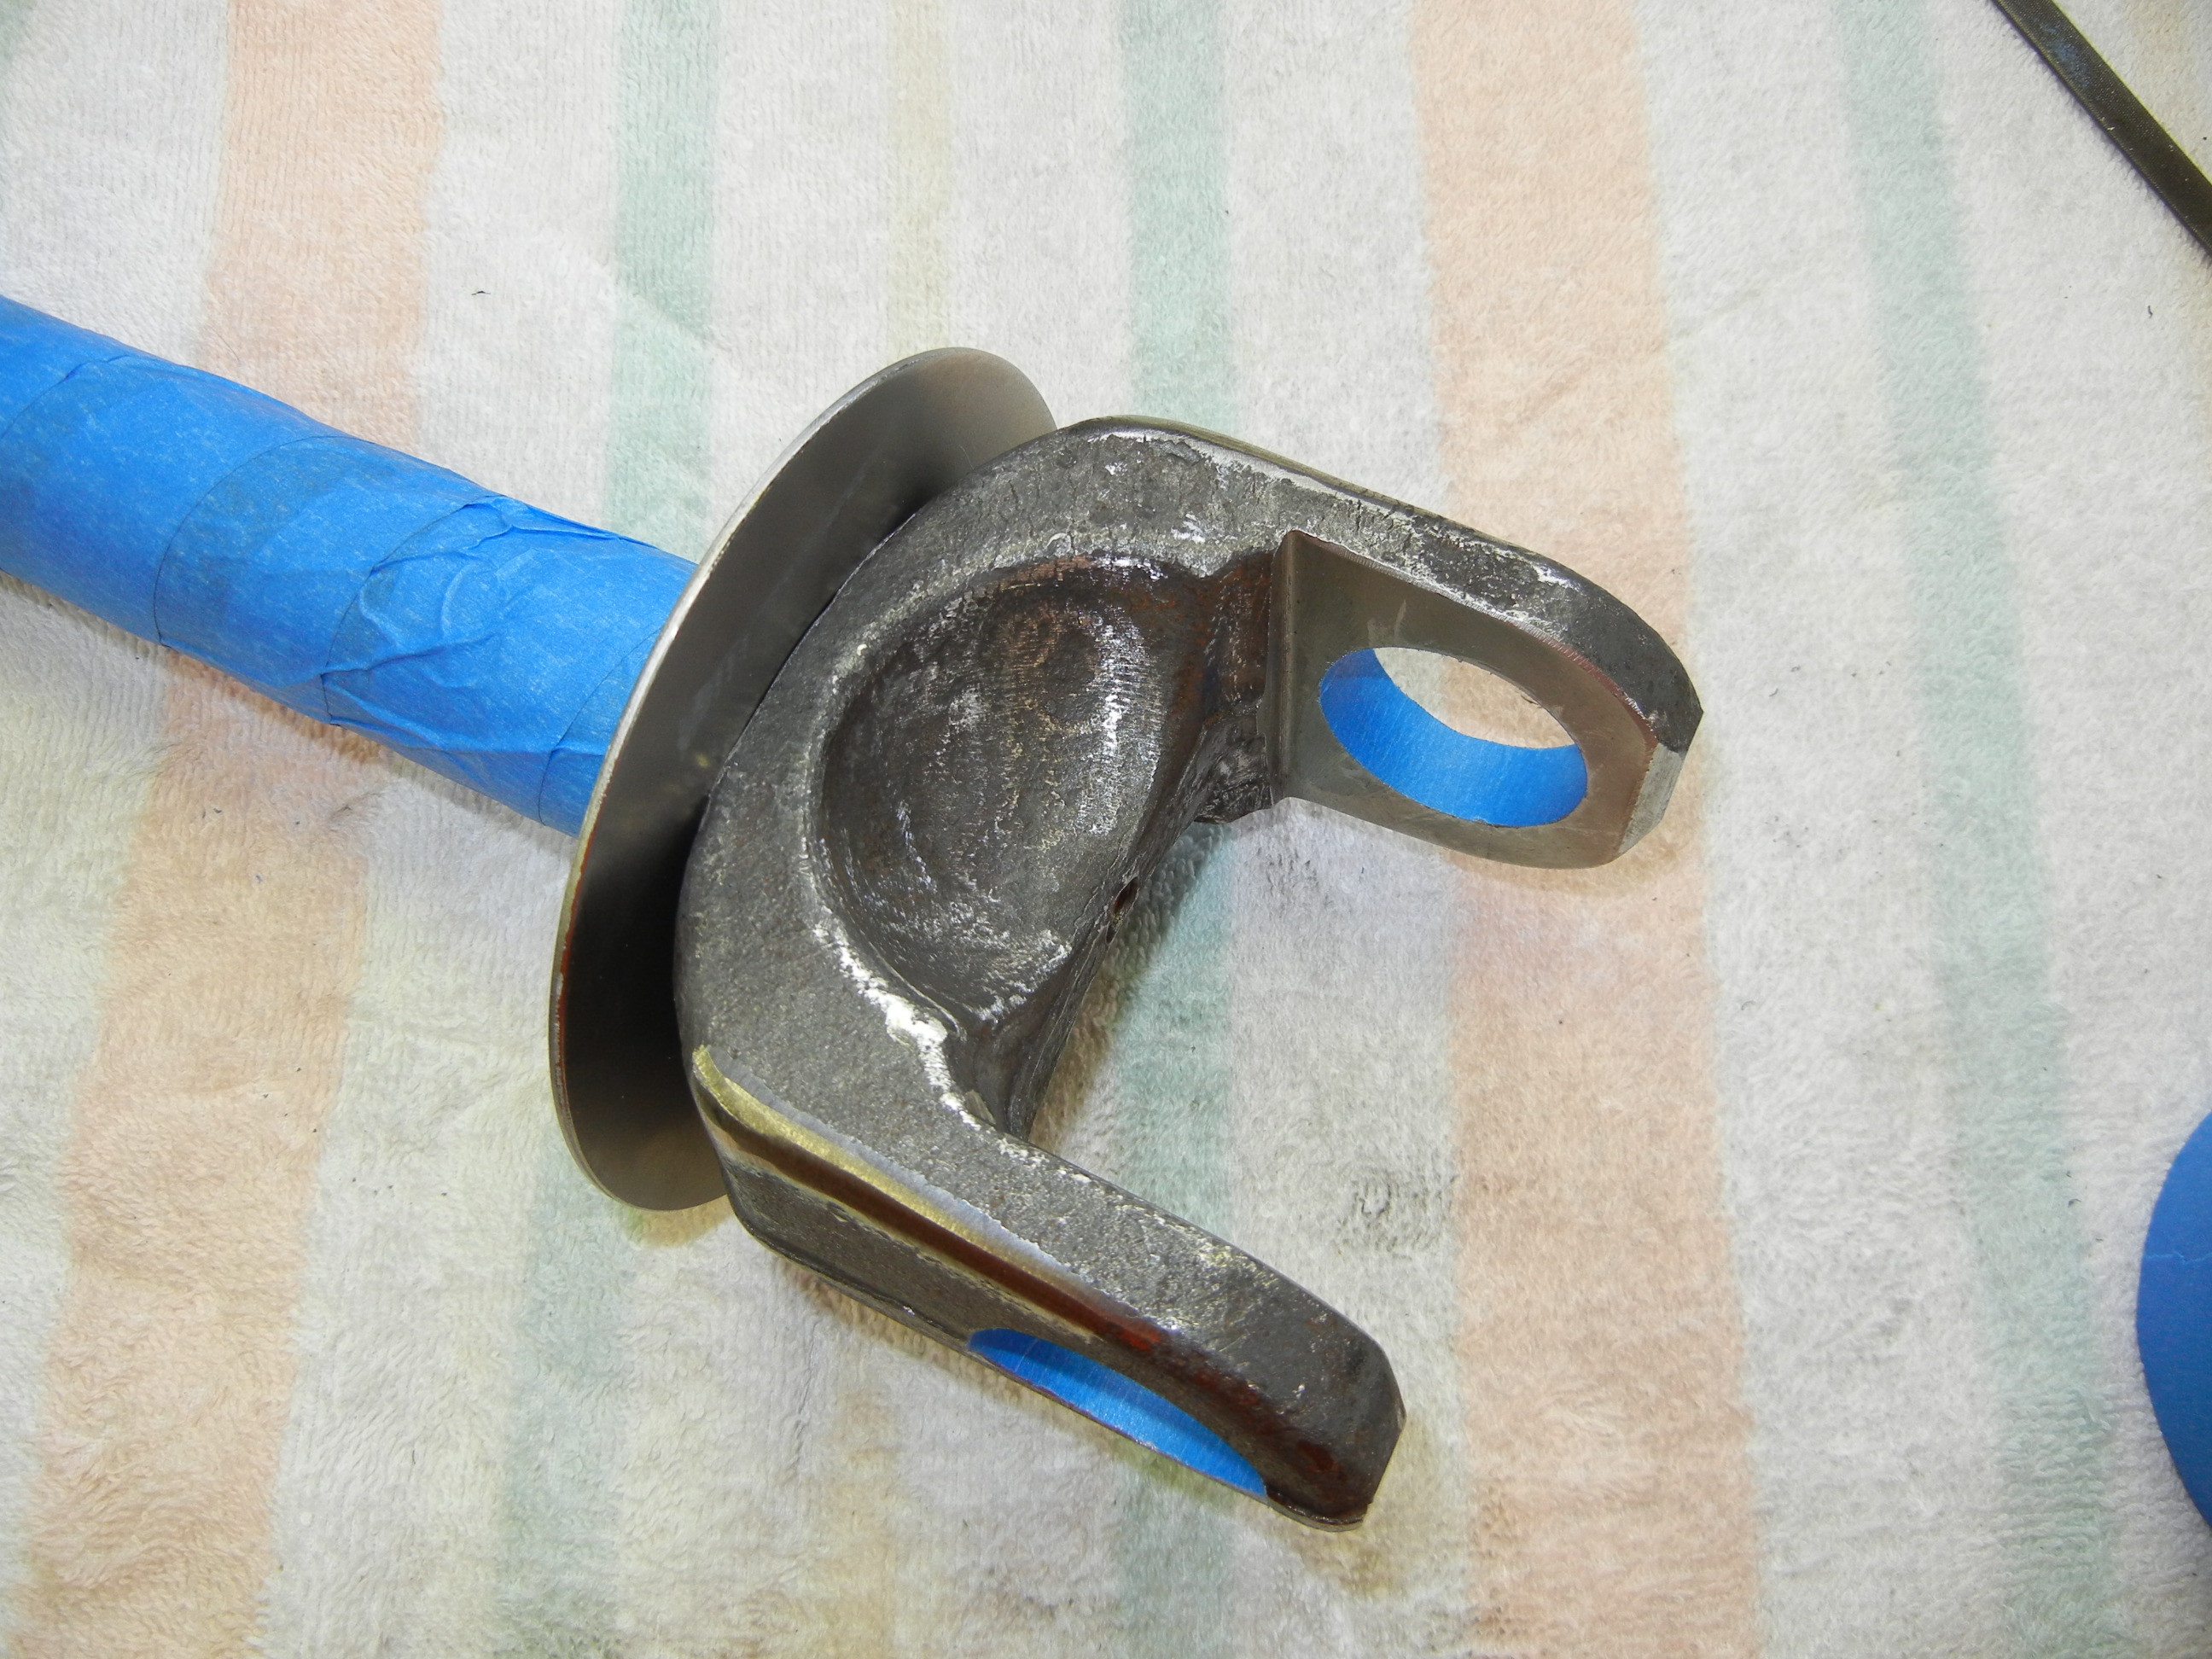
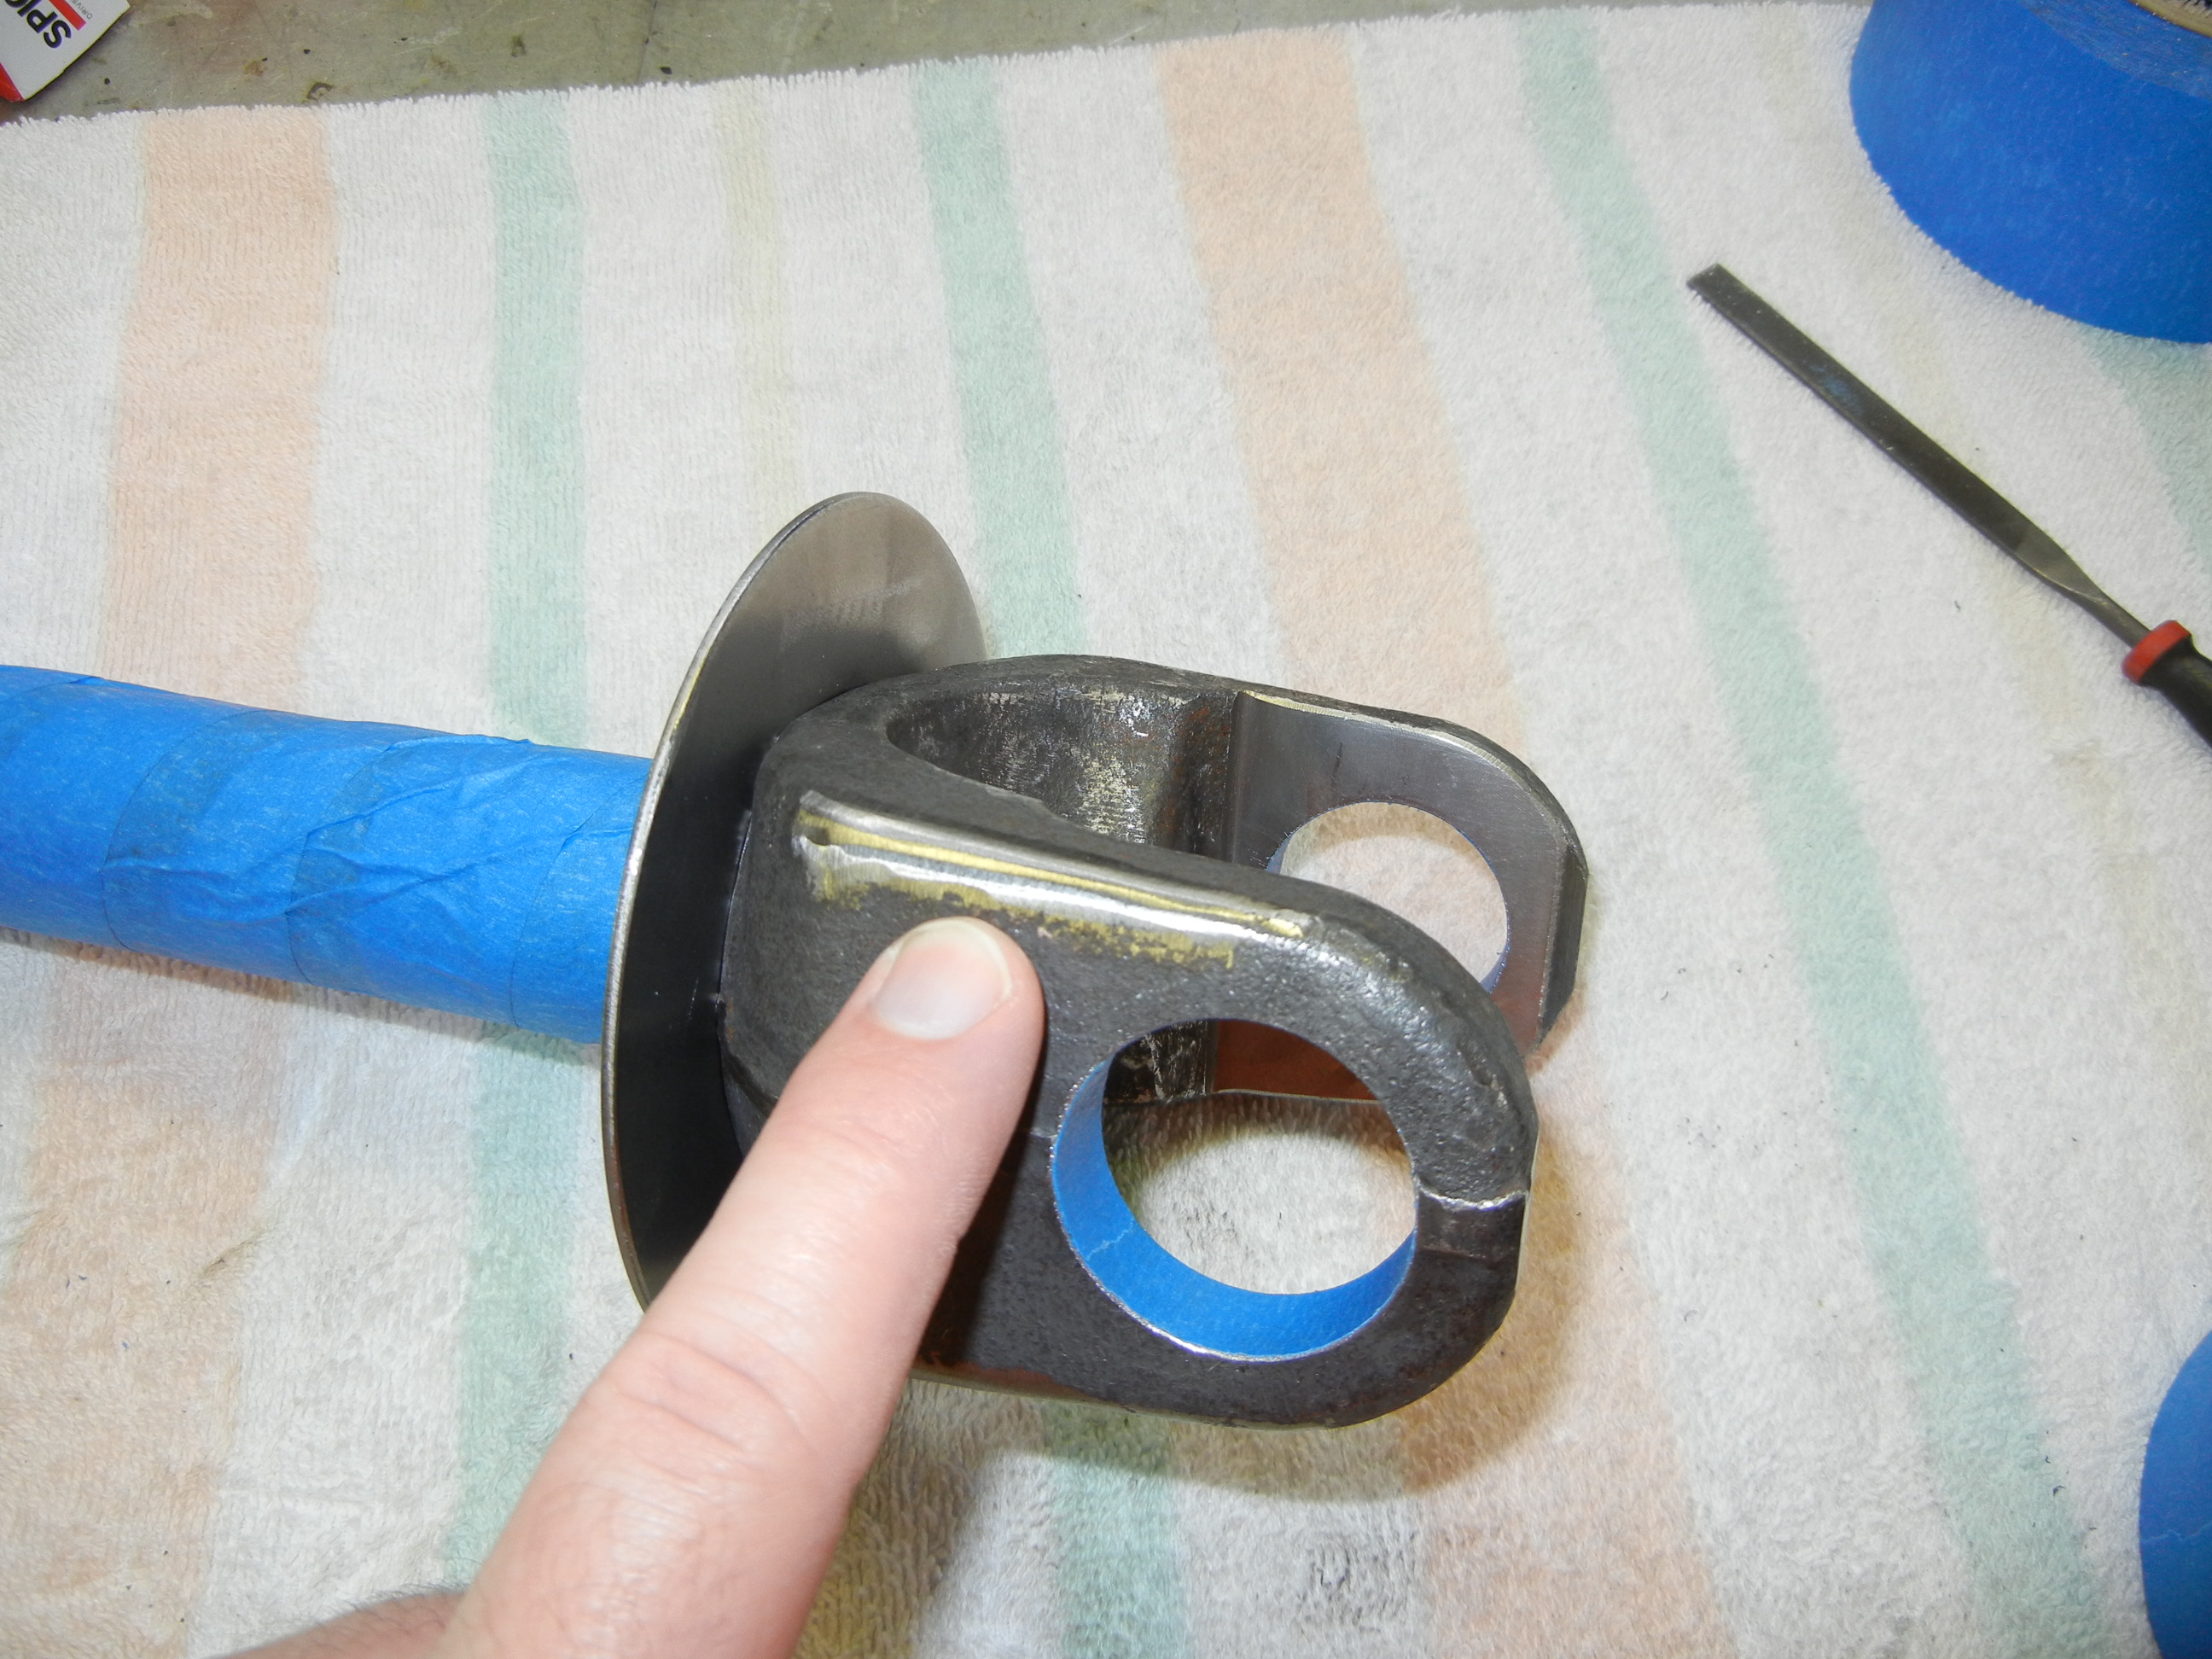
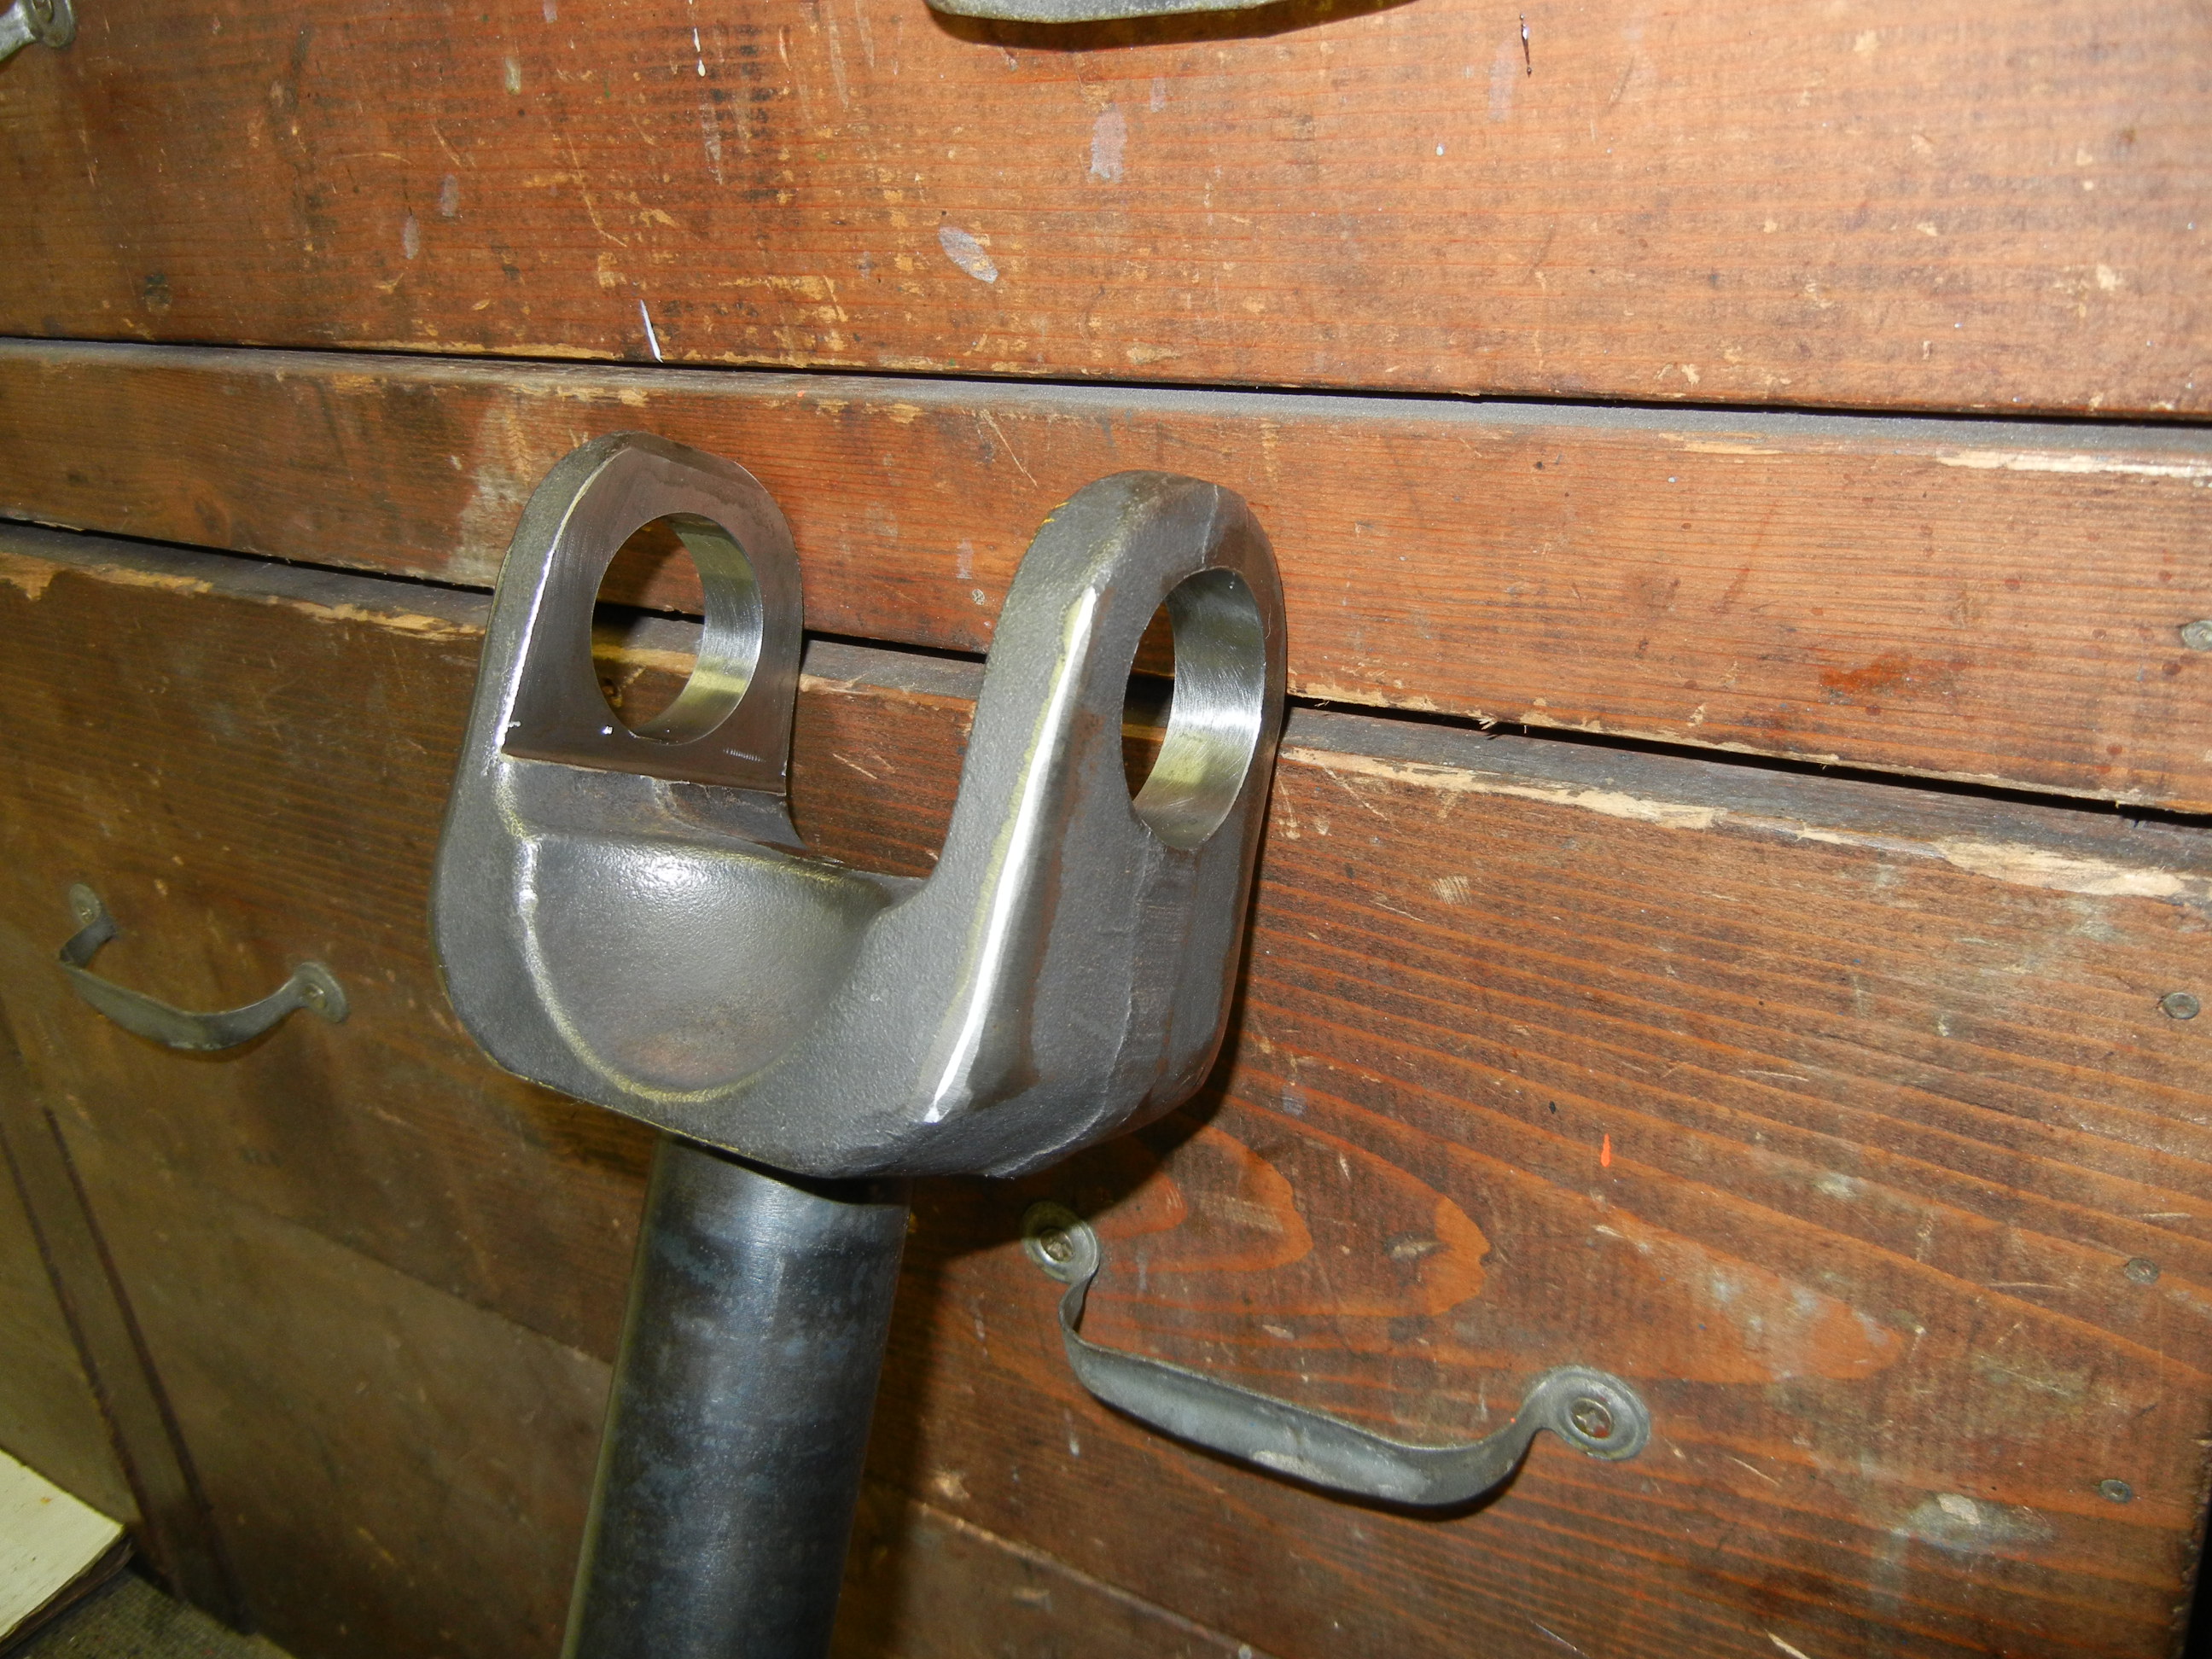
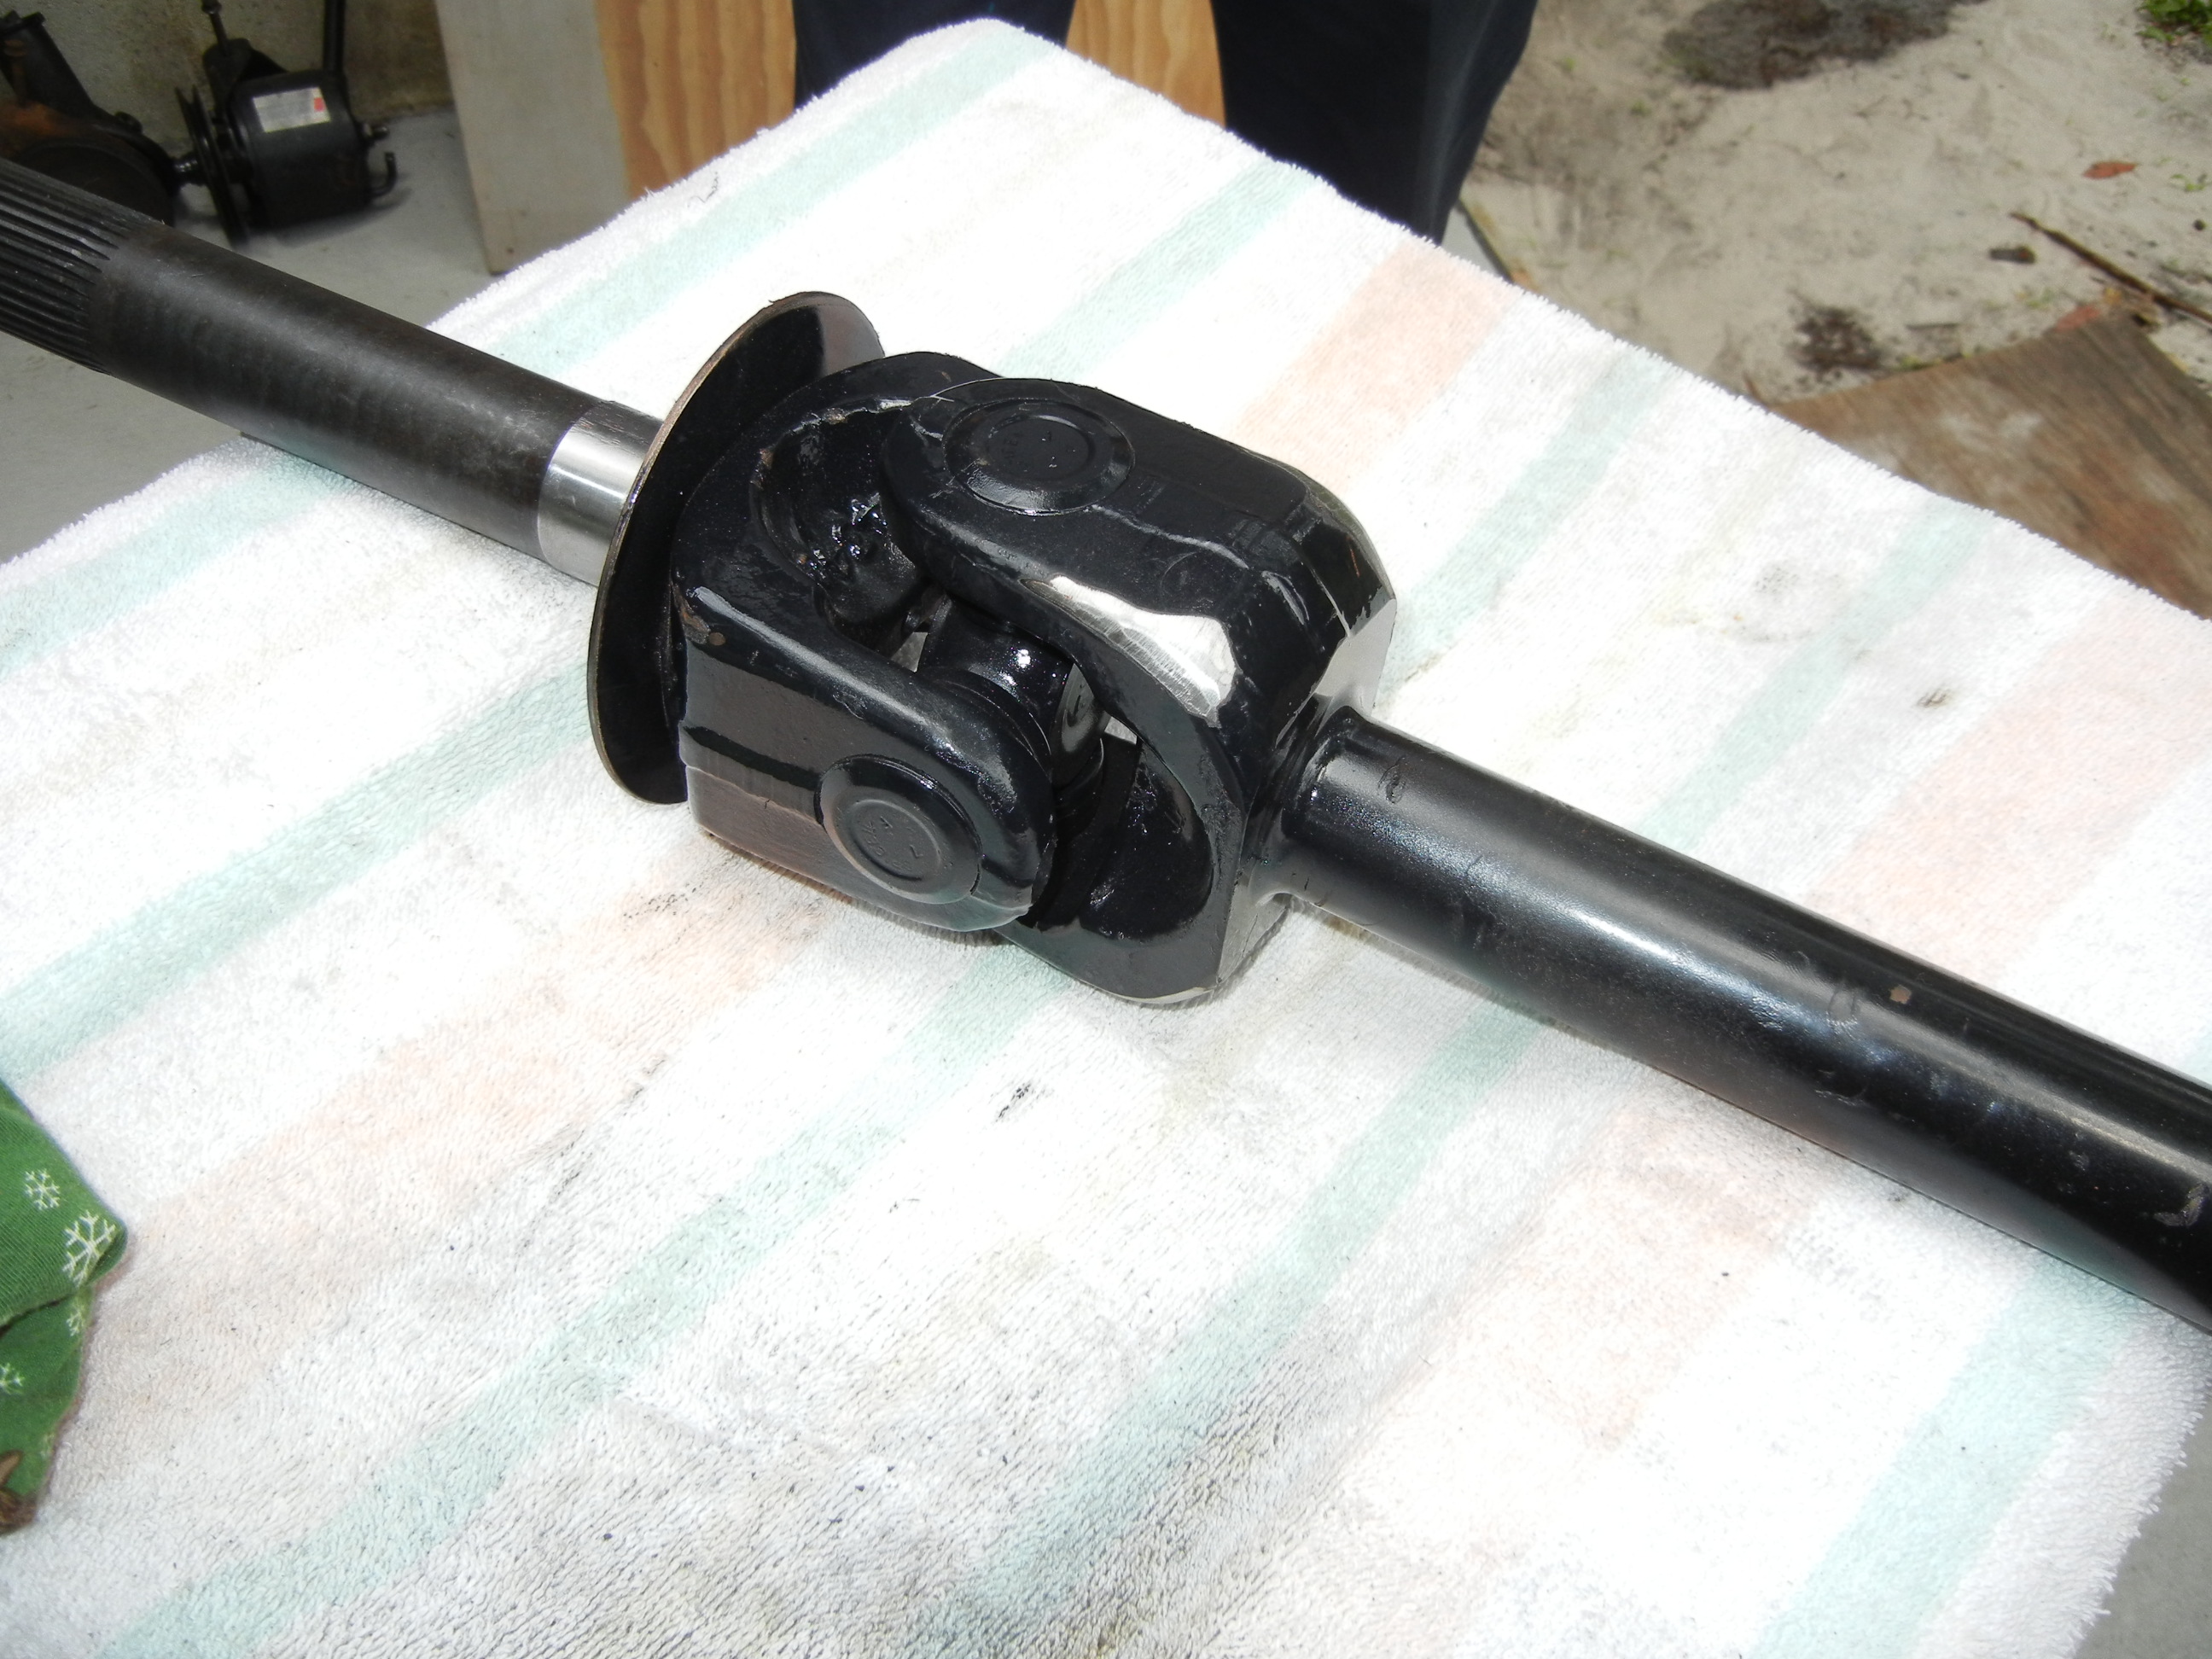
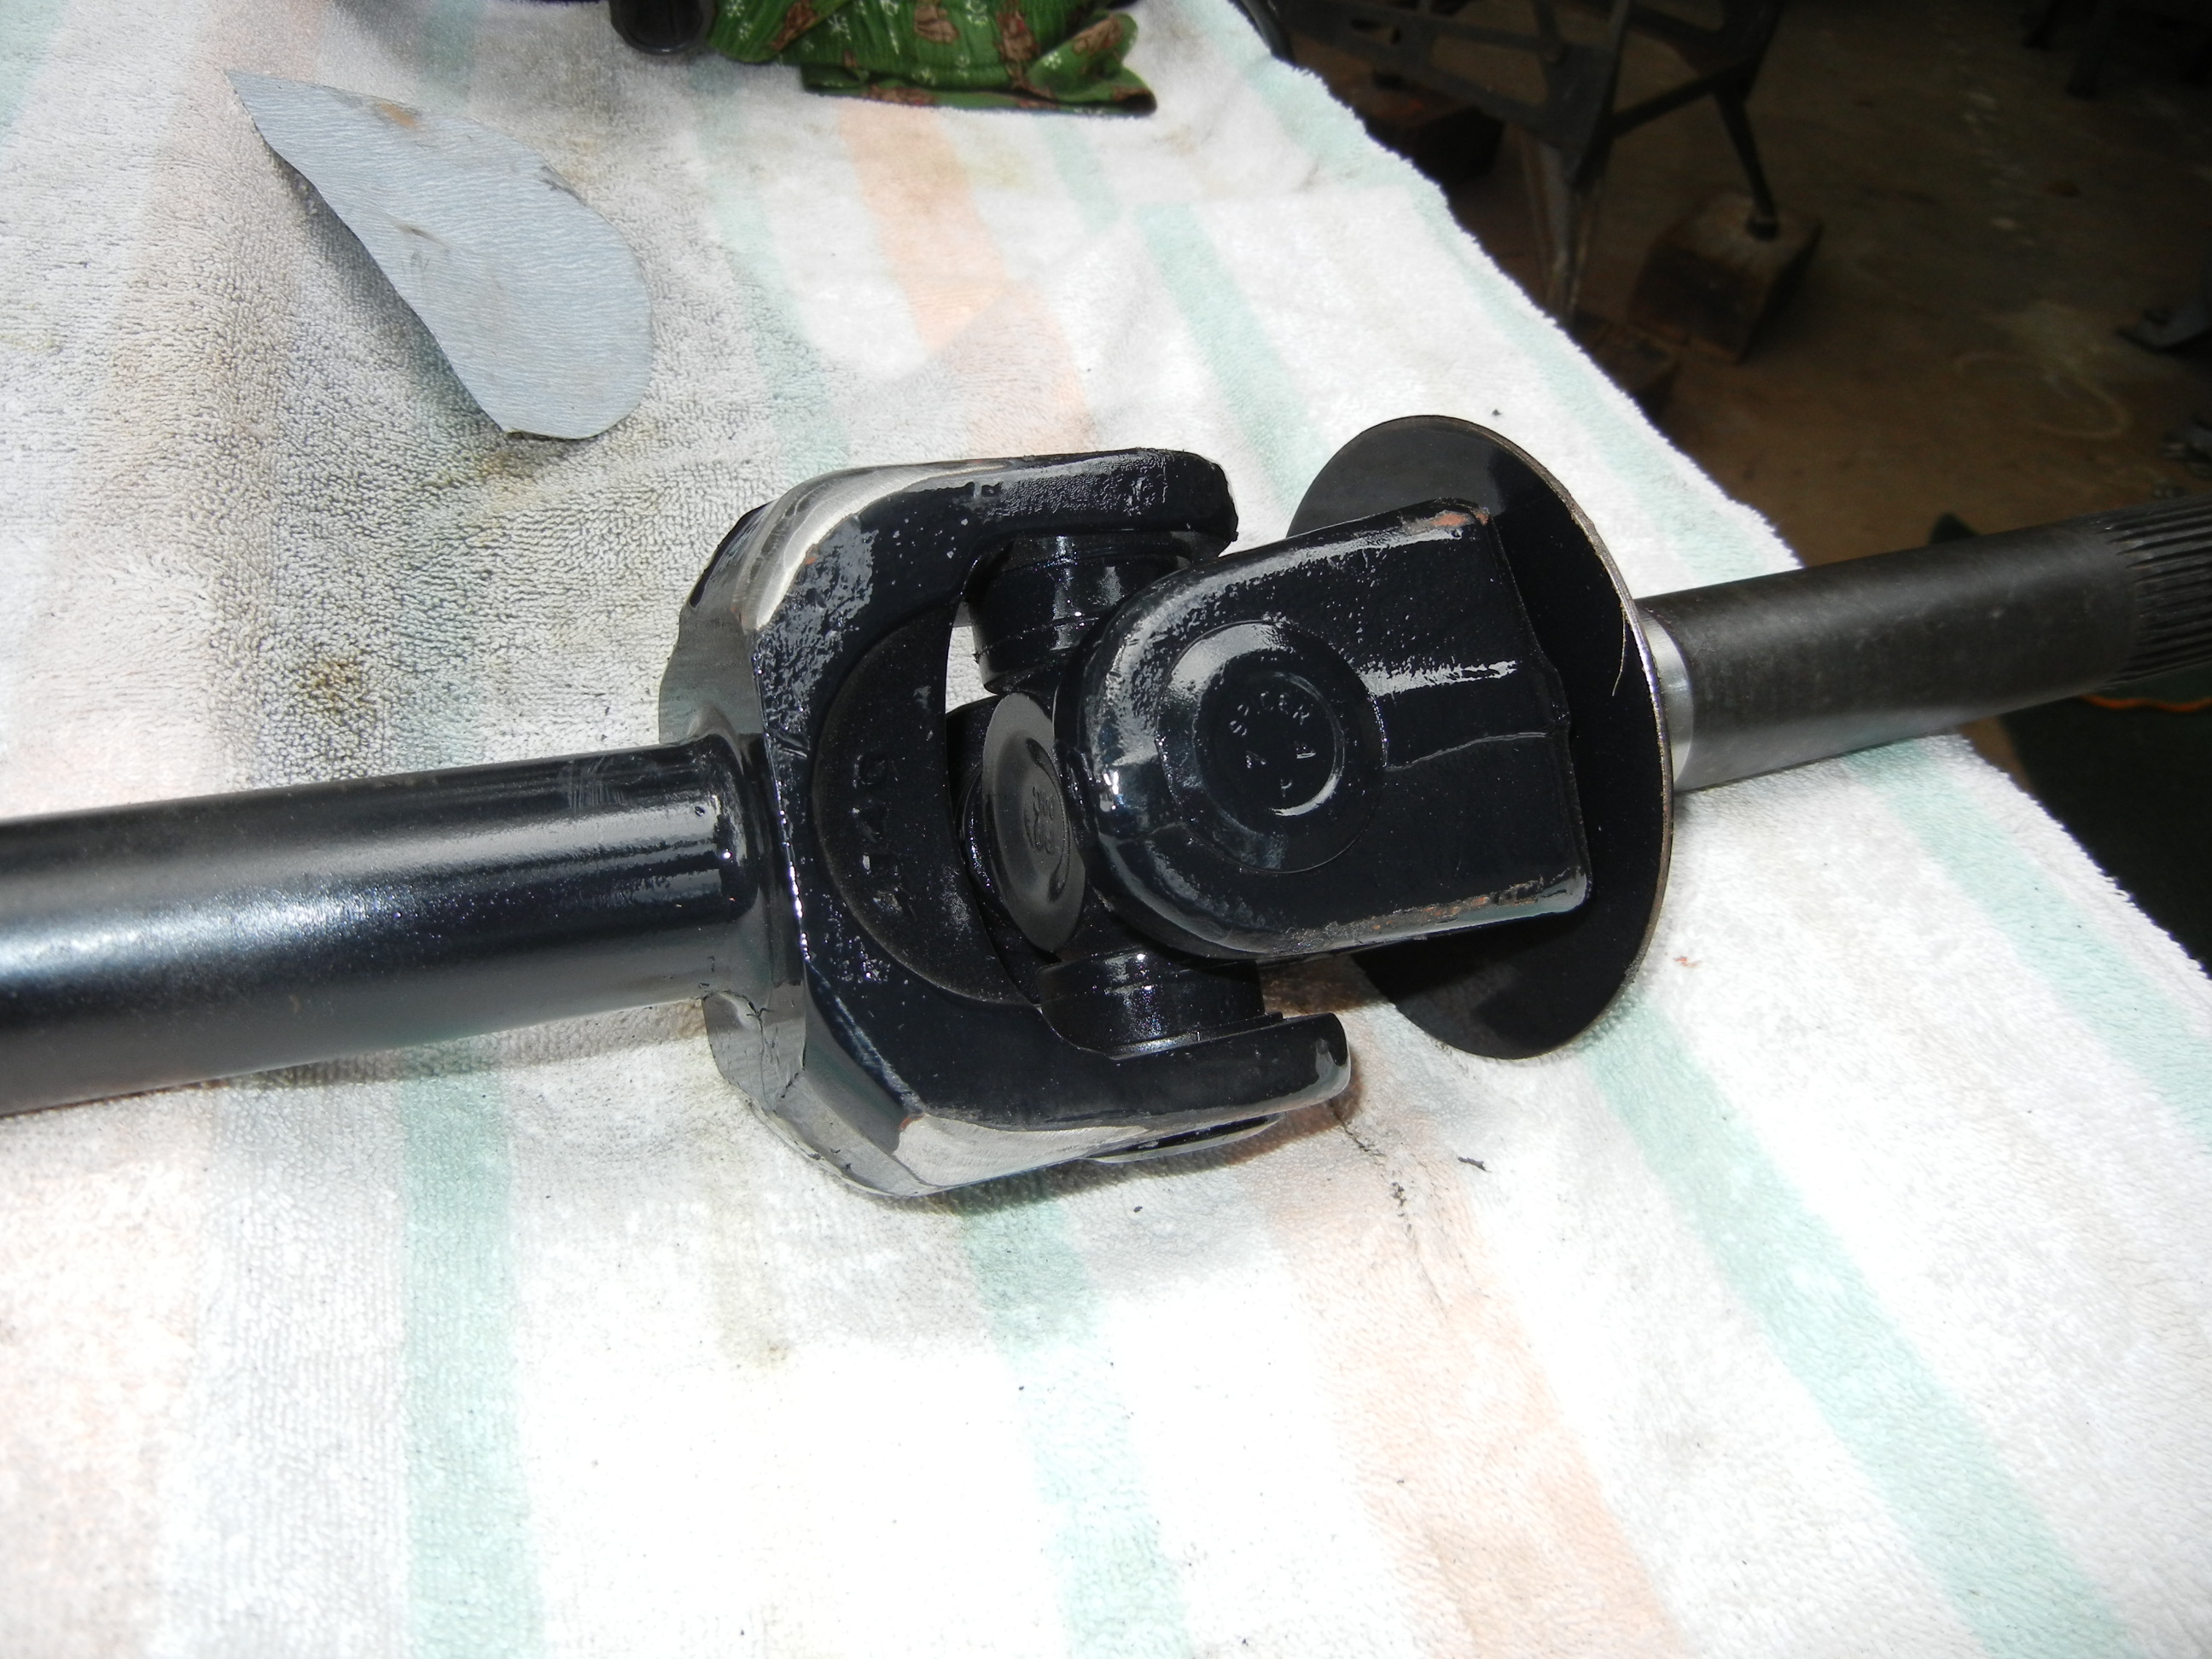
The housing was finally prepped and primed as well. The stock "thick" cover was reused due to it being in good condition. Yes, that is a Spicer 1410 yoke!
Once the primer cured we painted the inner C's so they could cure before we install the "Reidenbear" knuckles. After the knuckle is installed there is no way to get up inside and paint so this must be done before assembly. When everything else is bolted on the whole unit will get sprayed black.
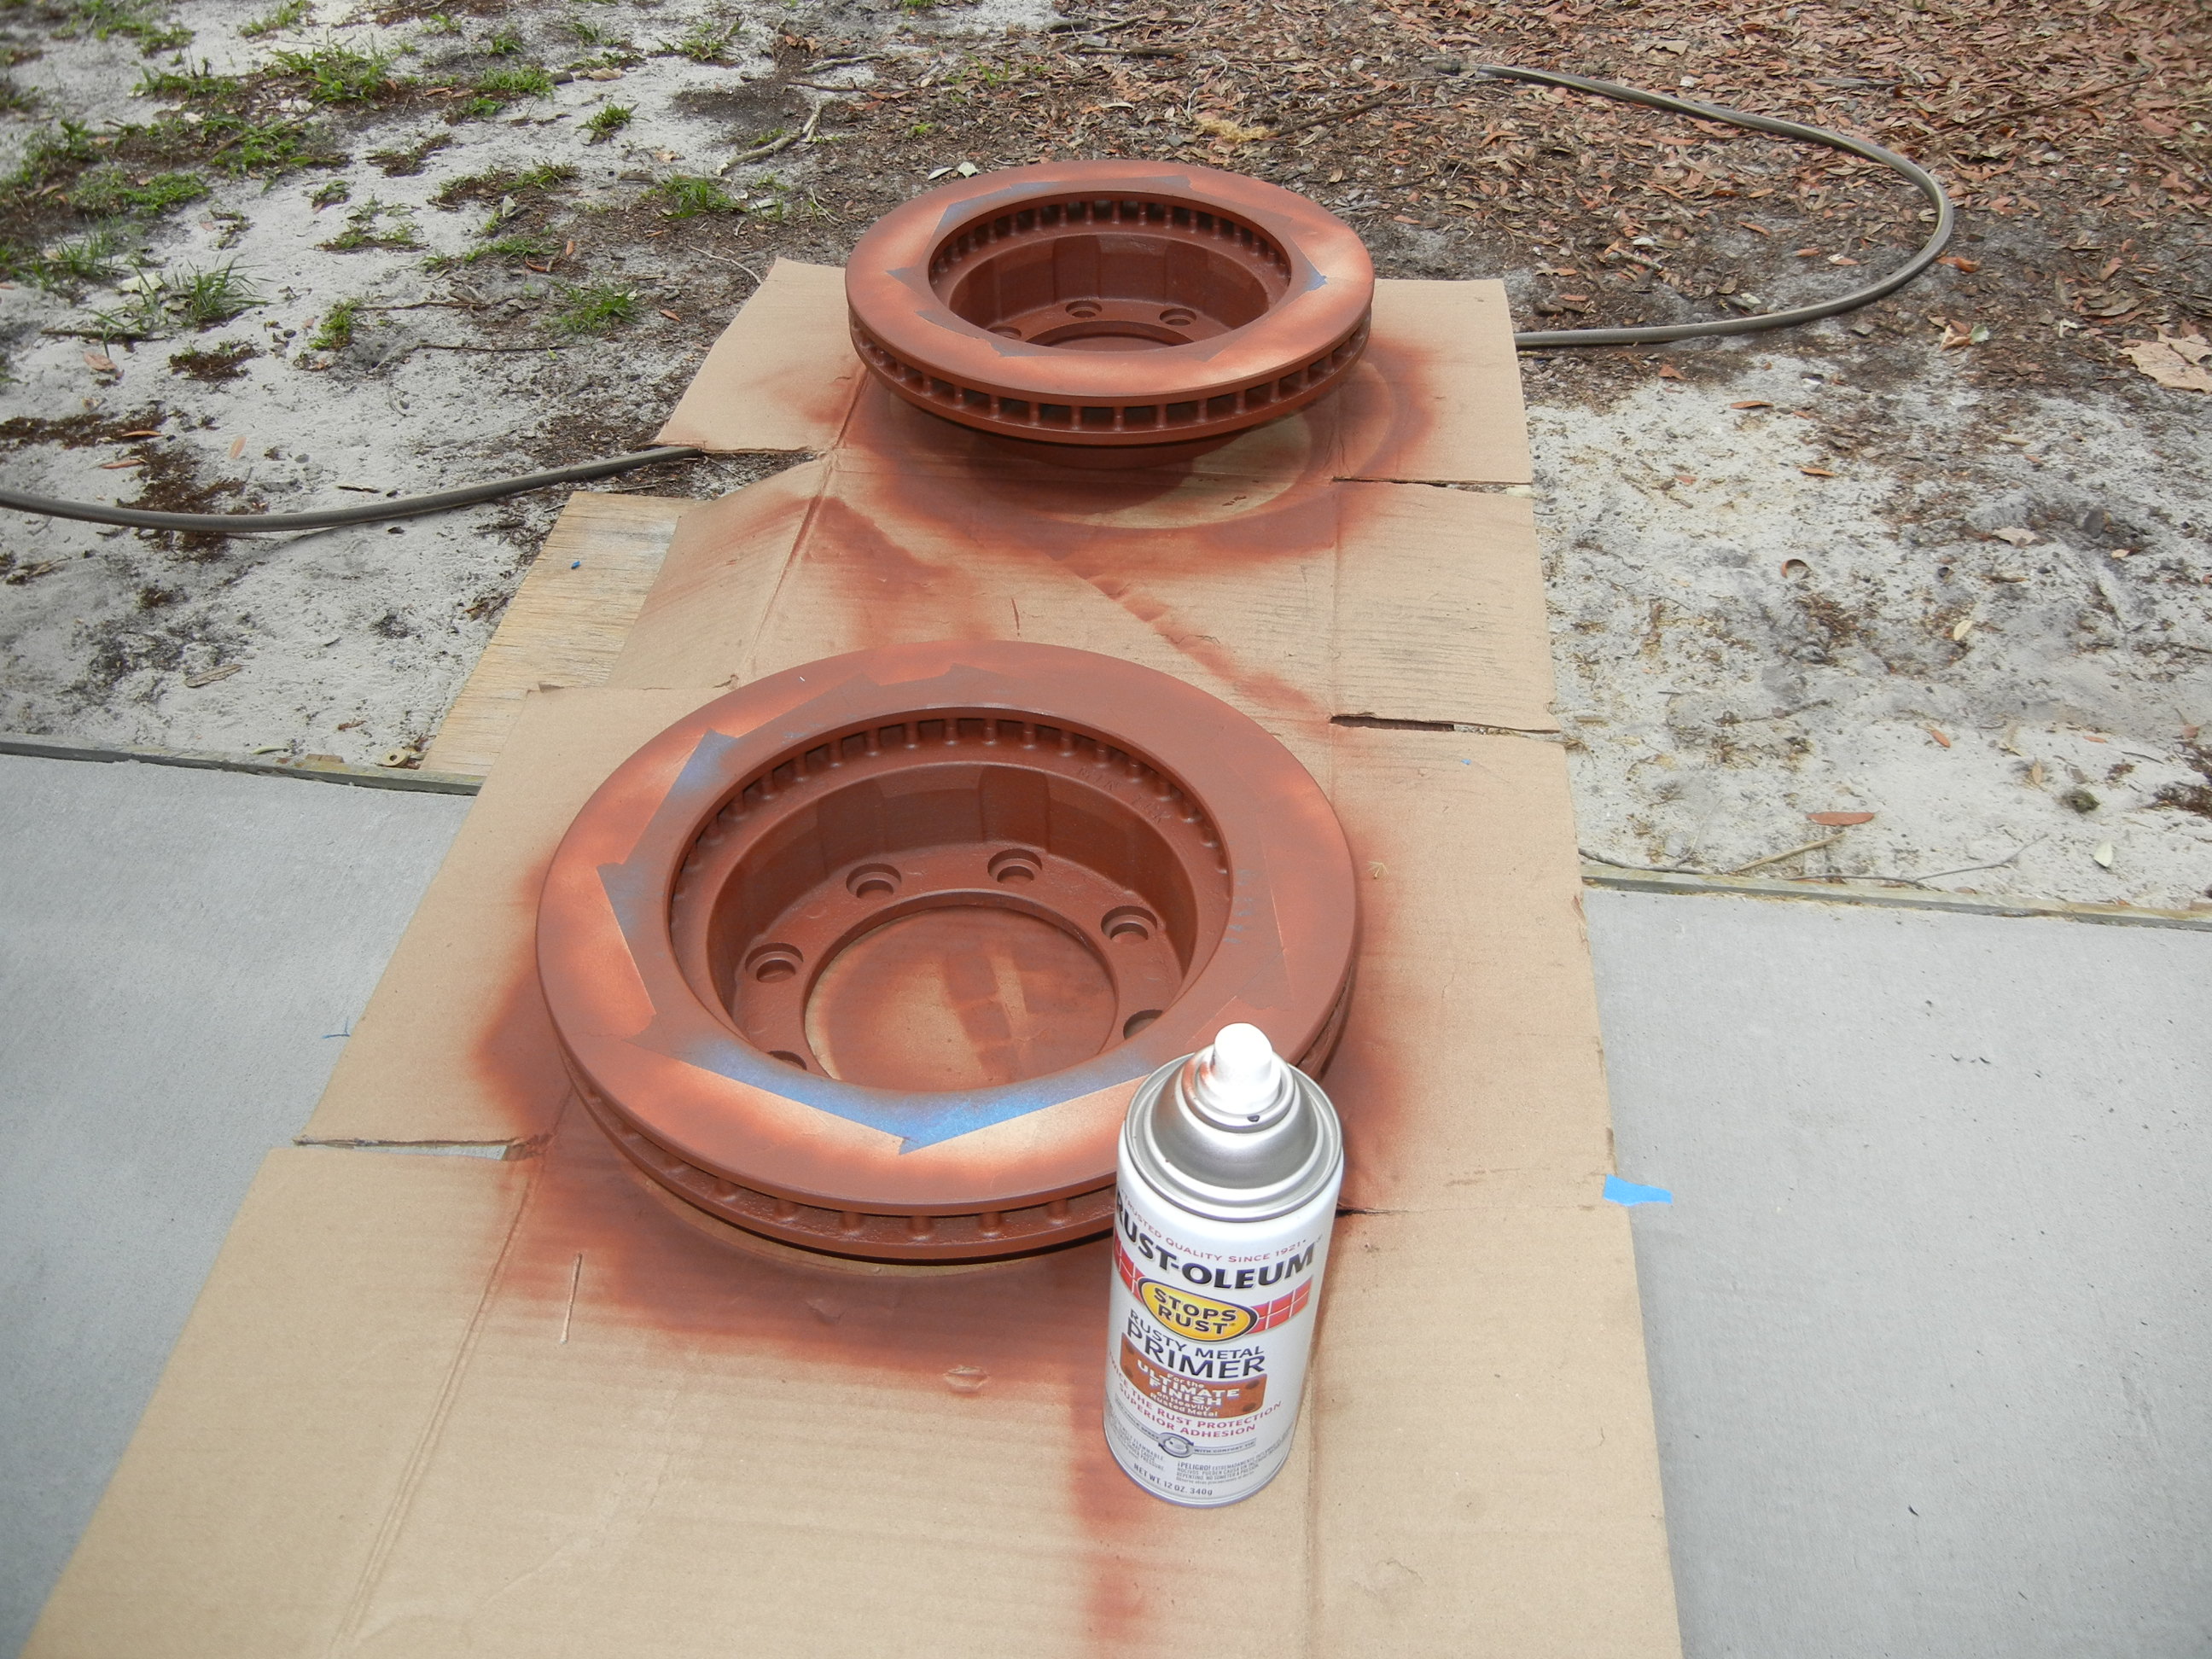
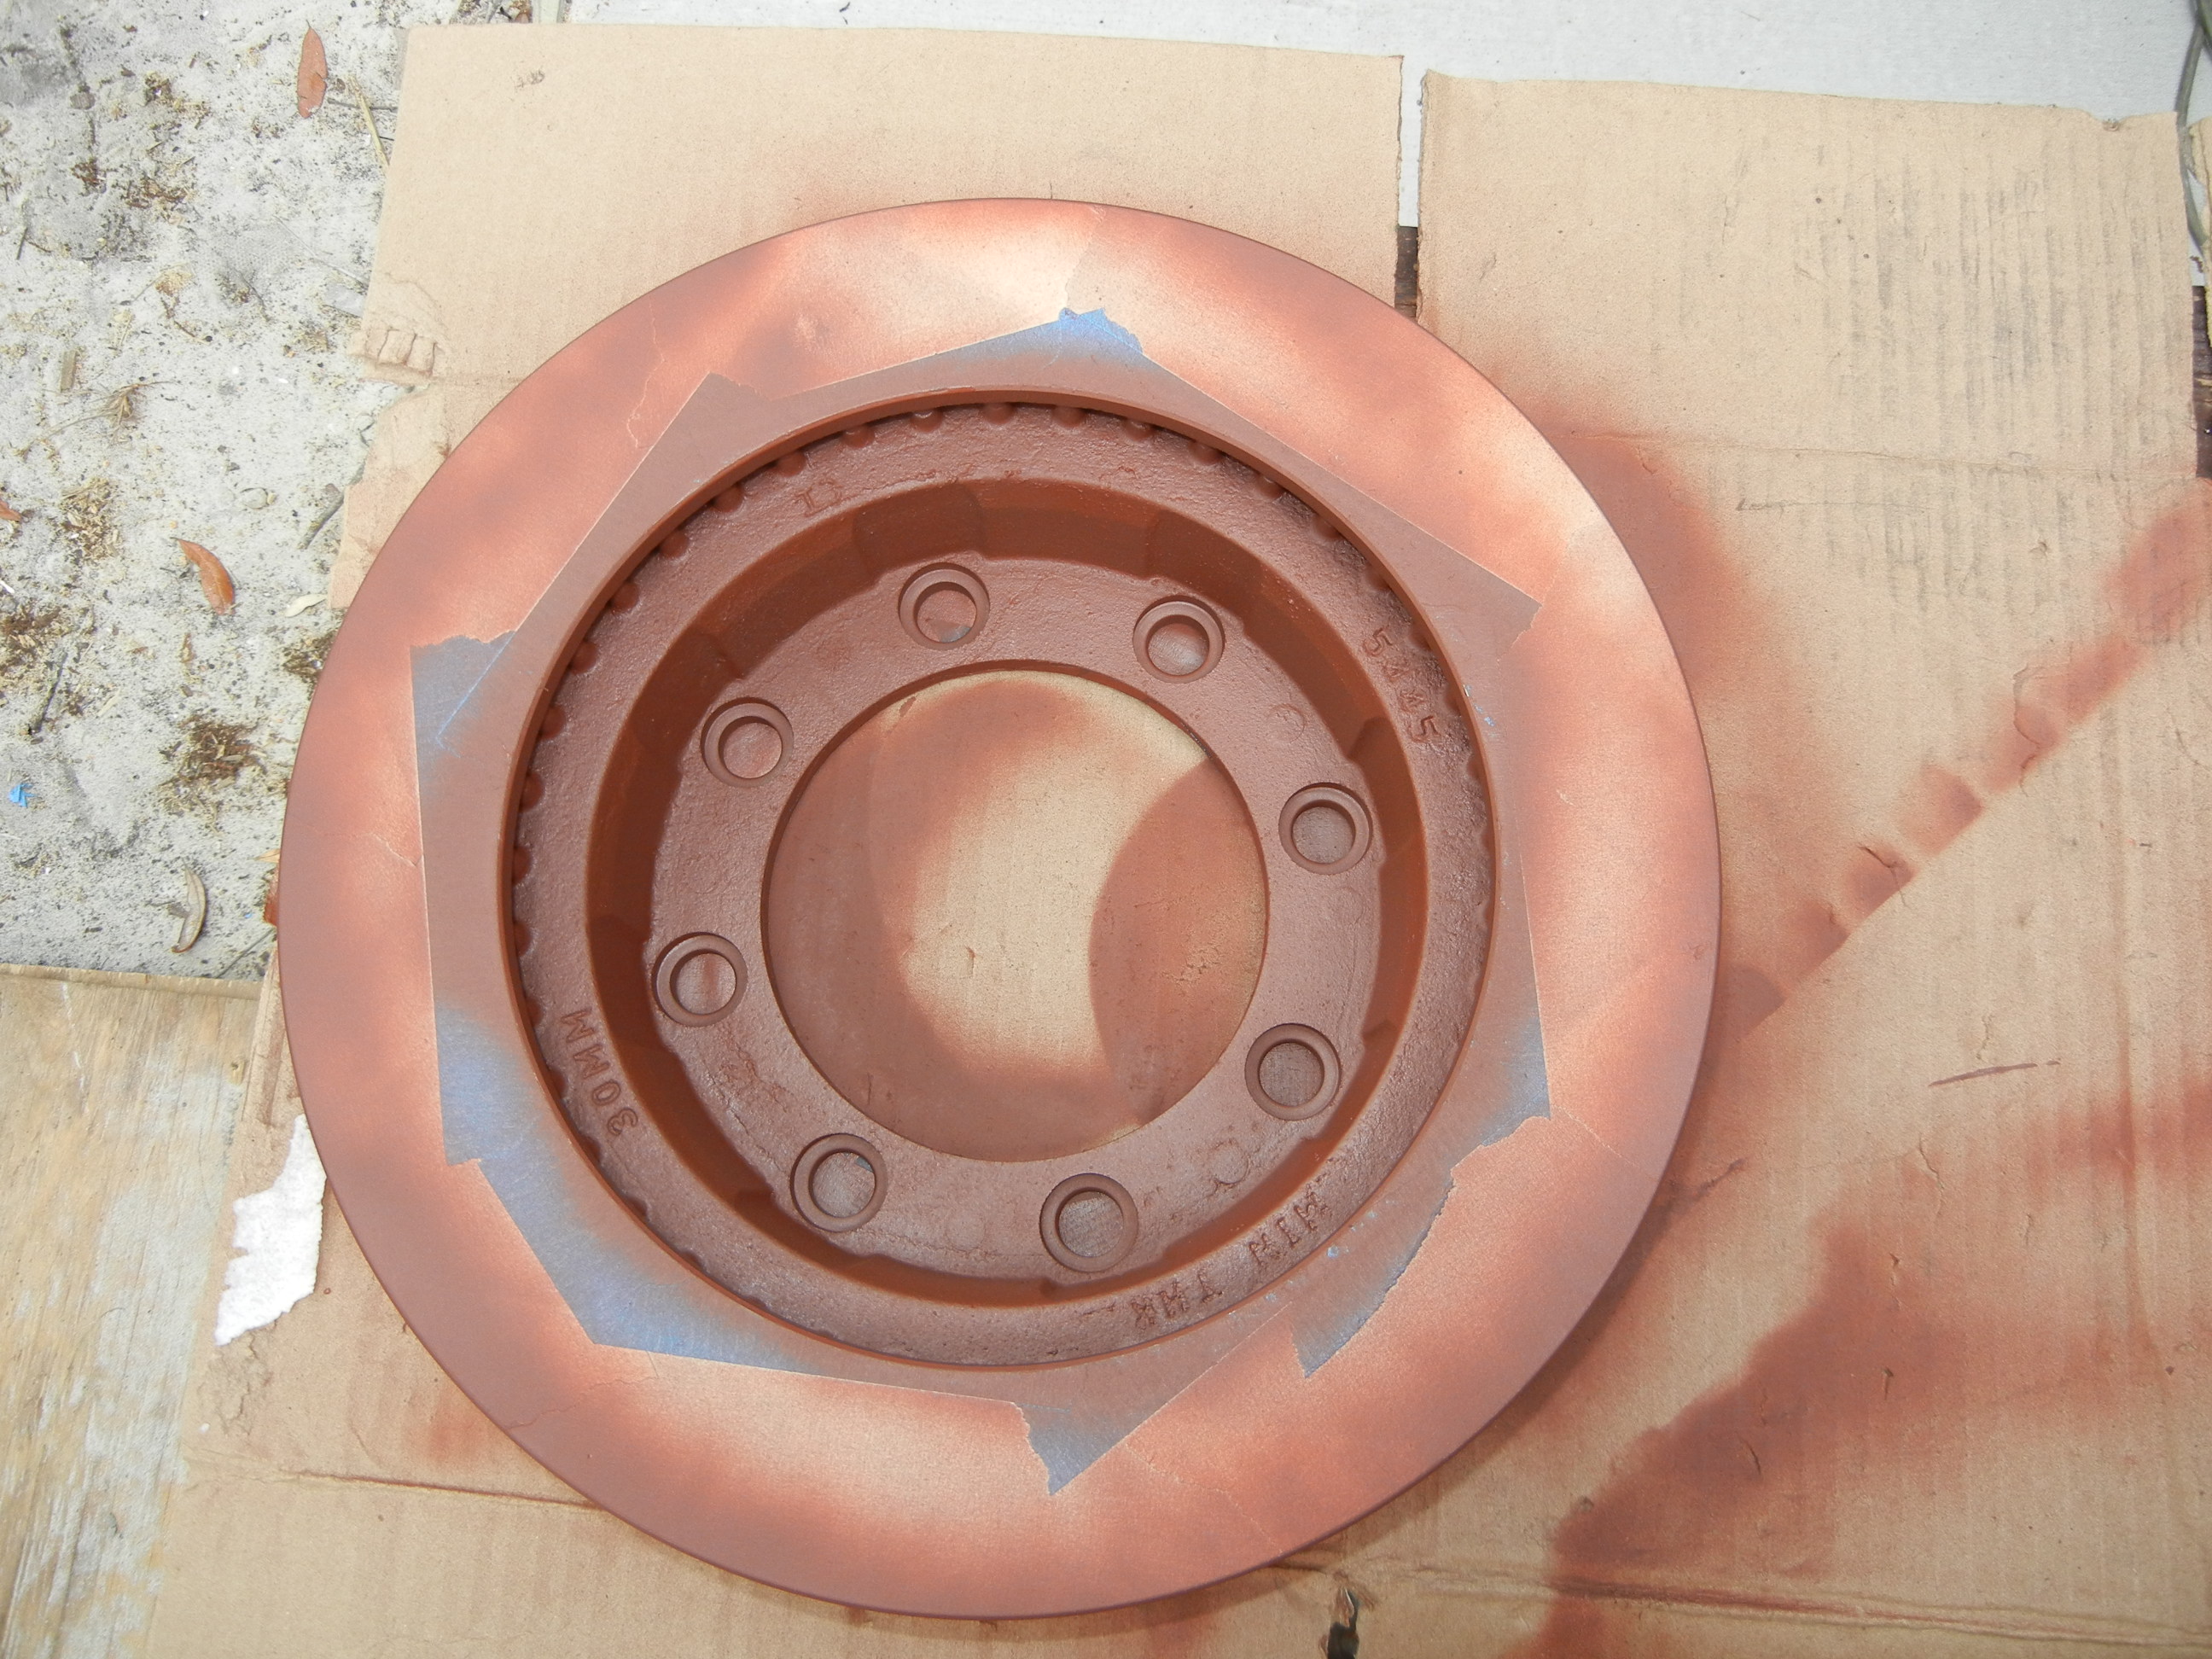
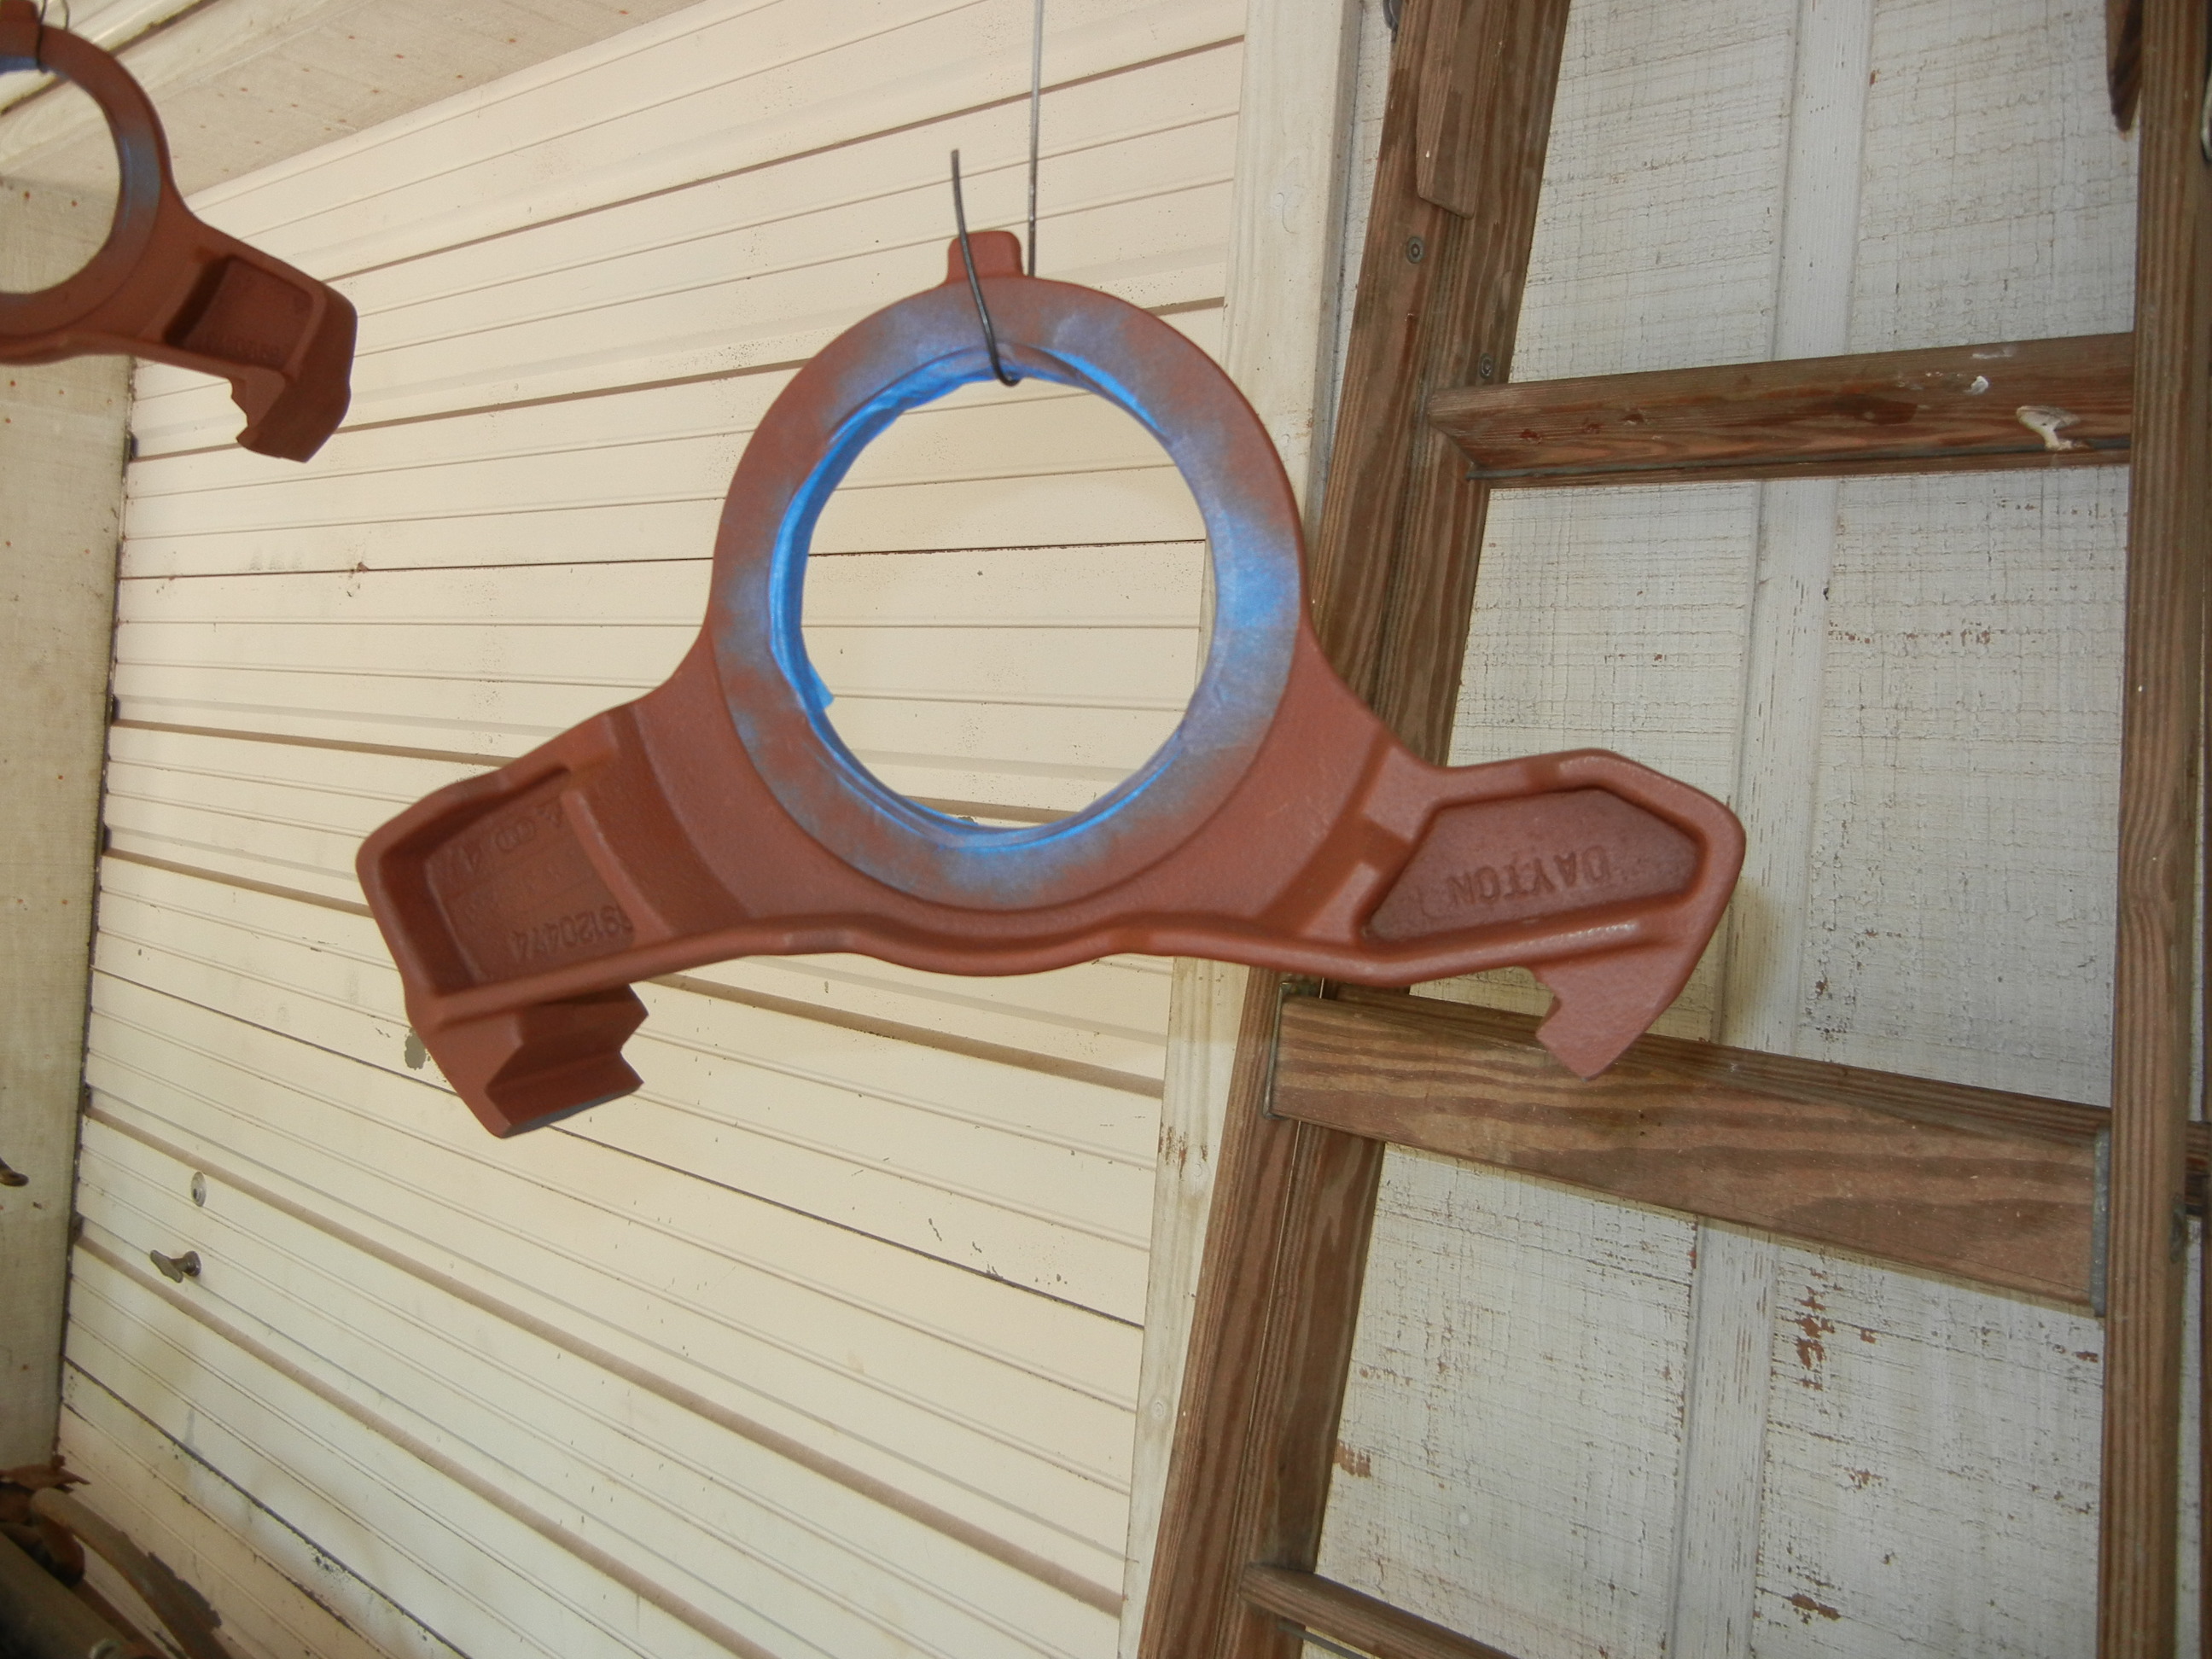
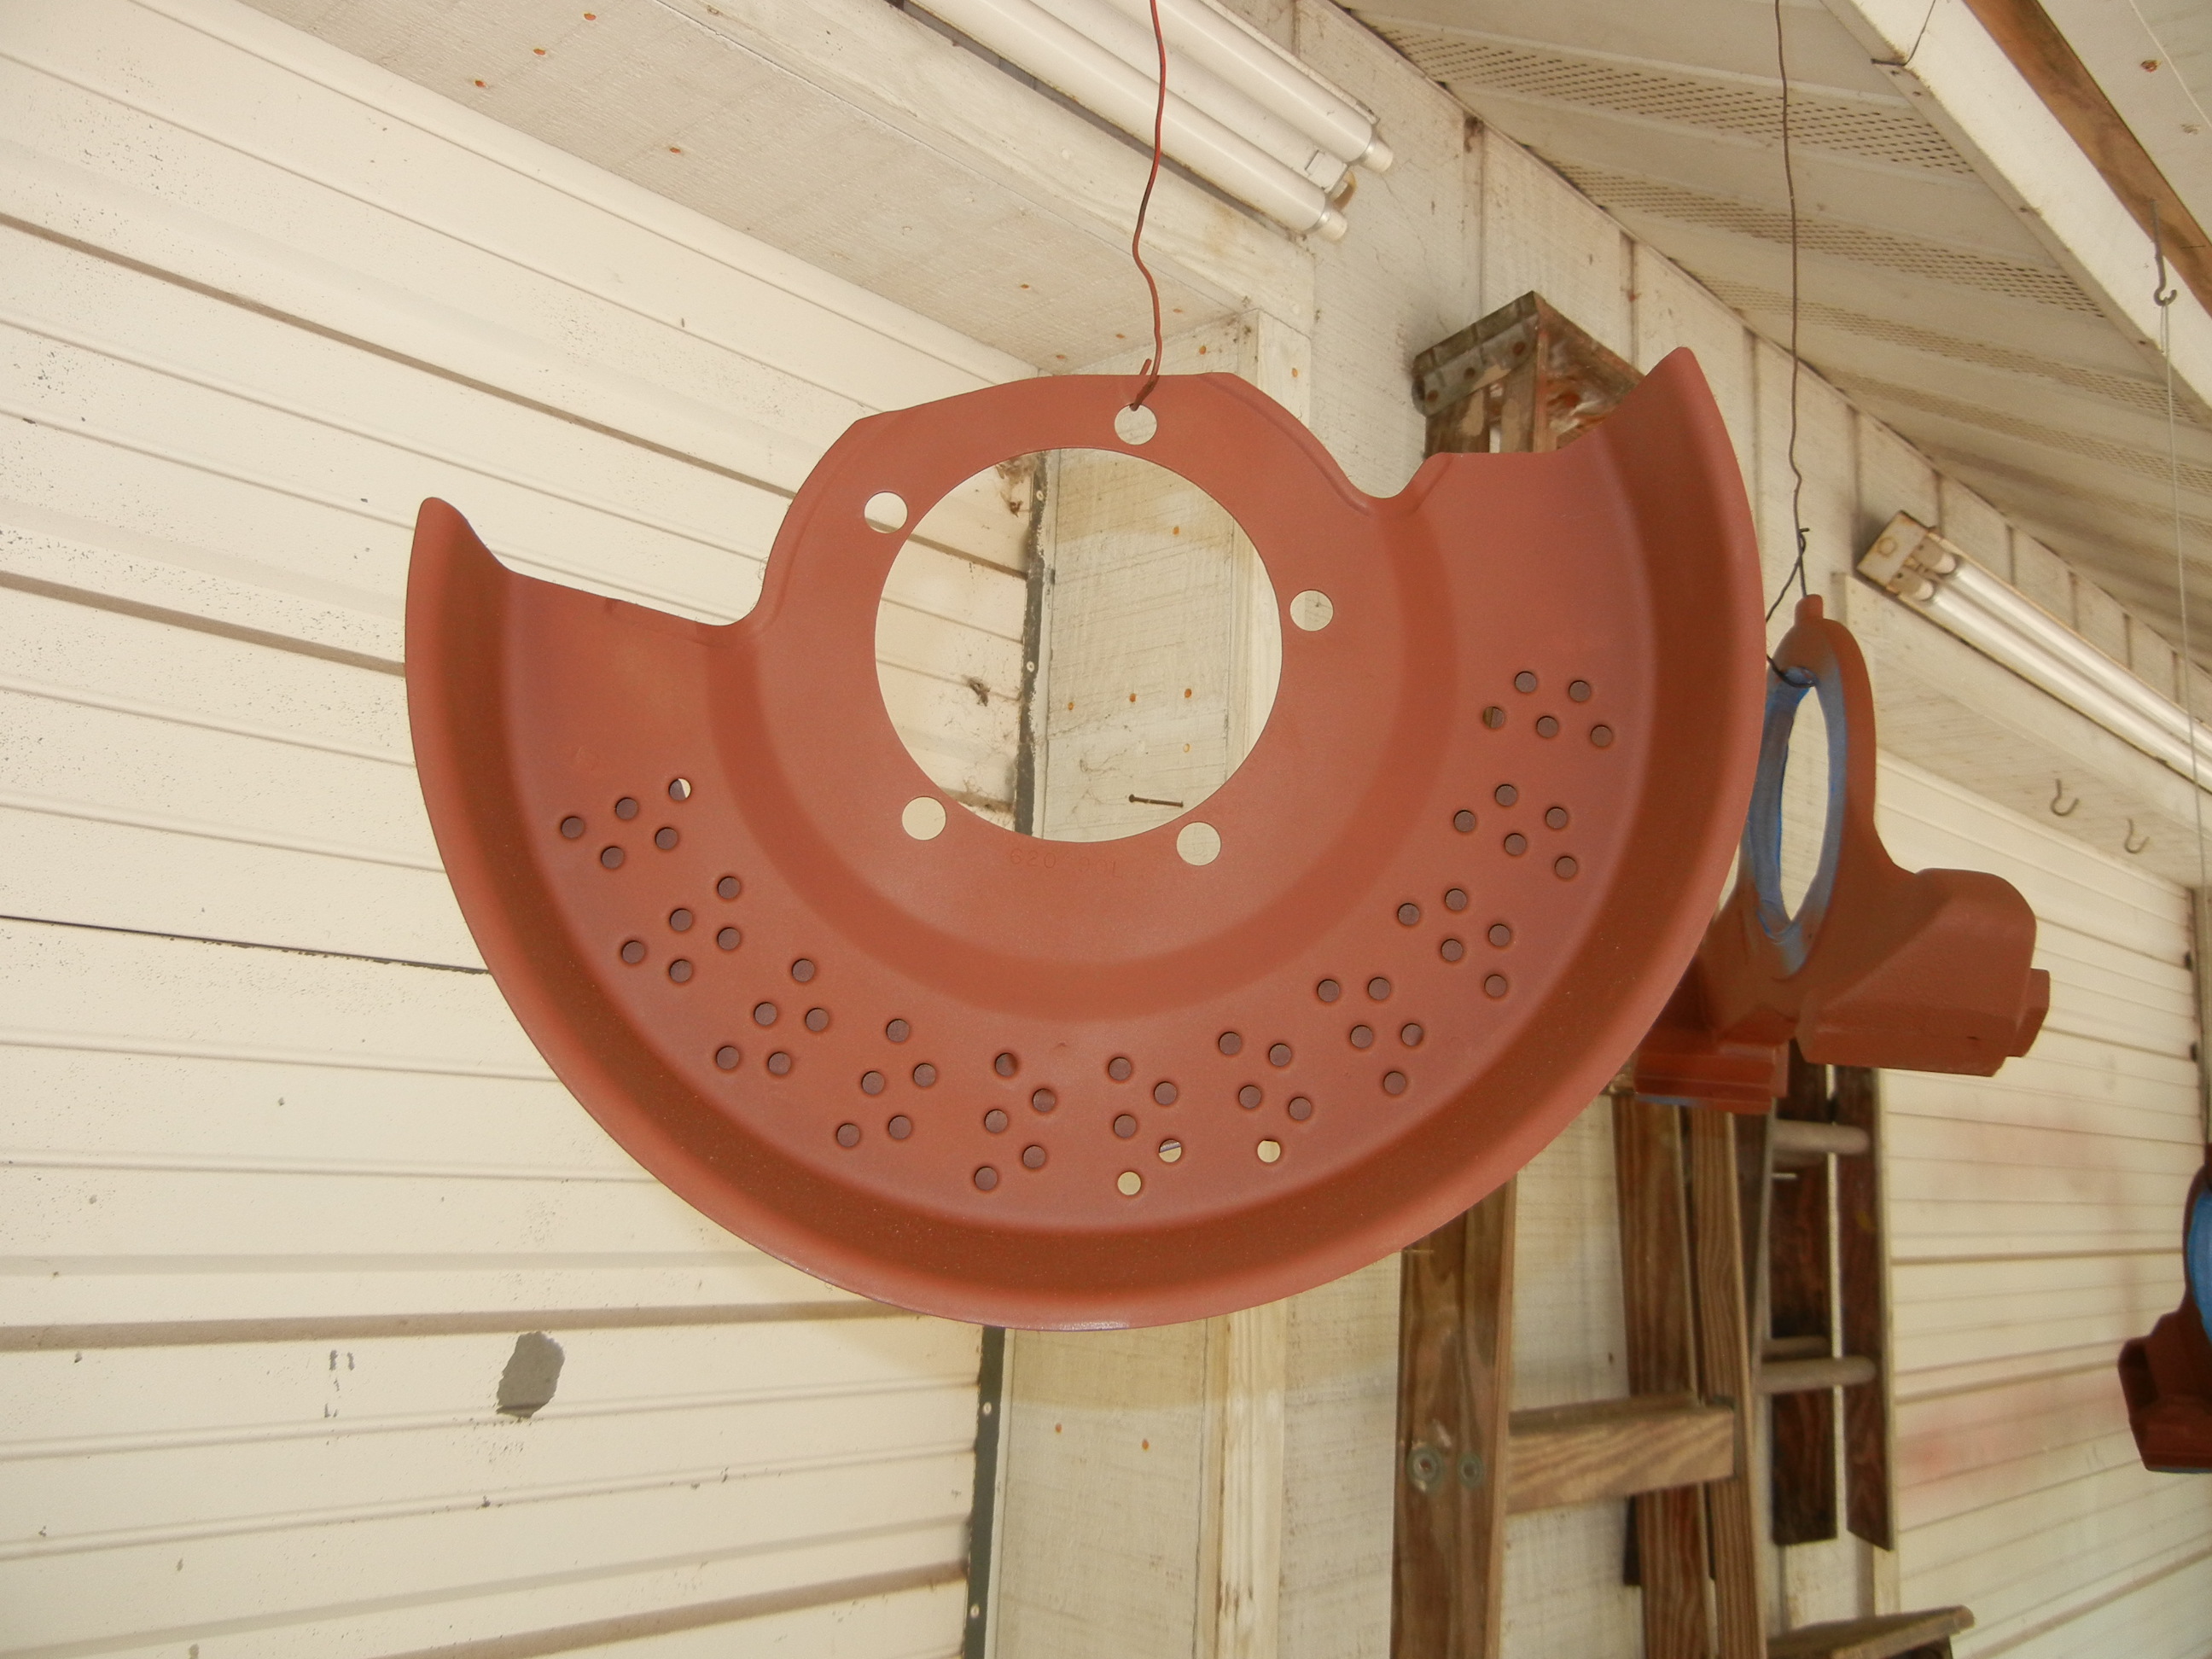
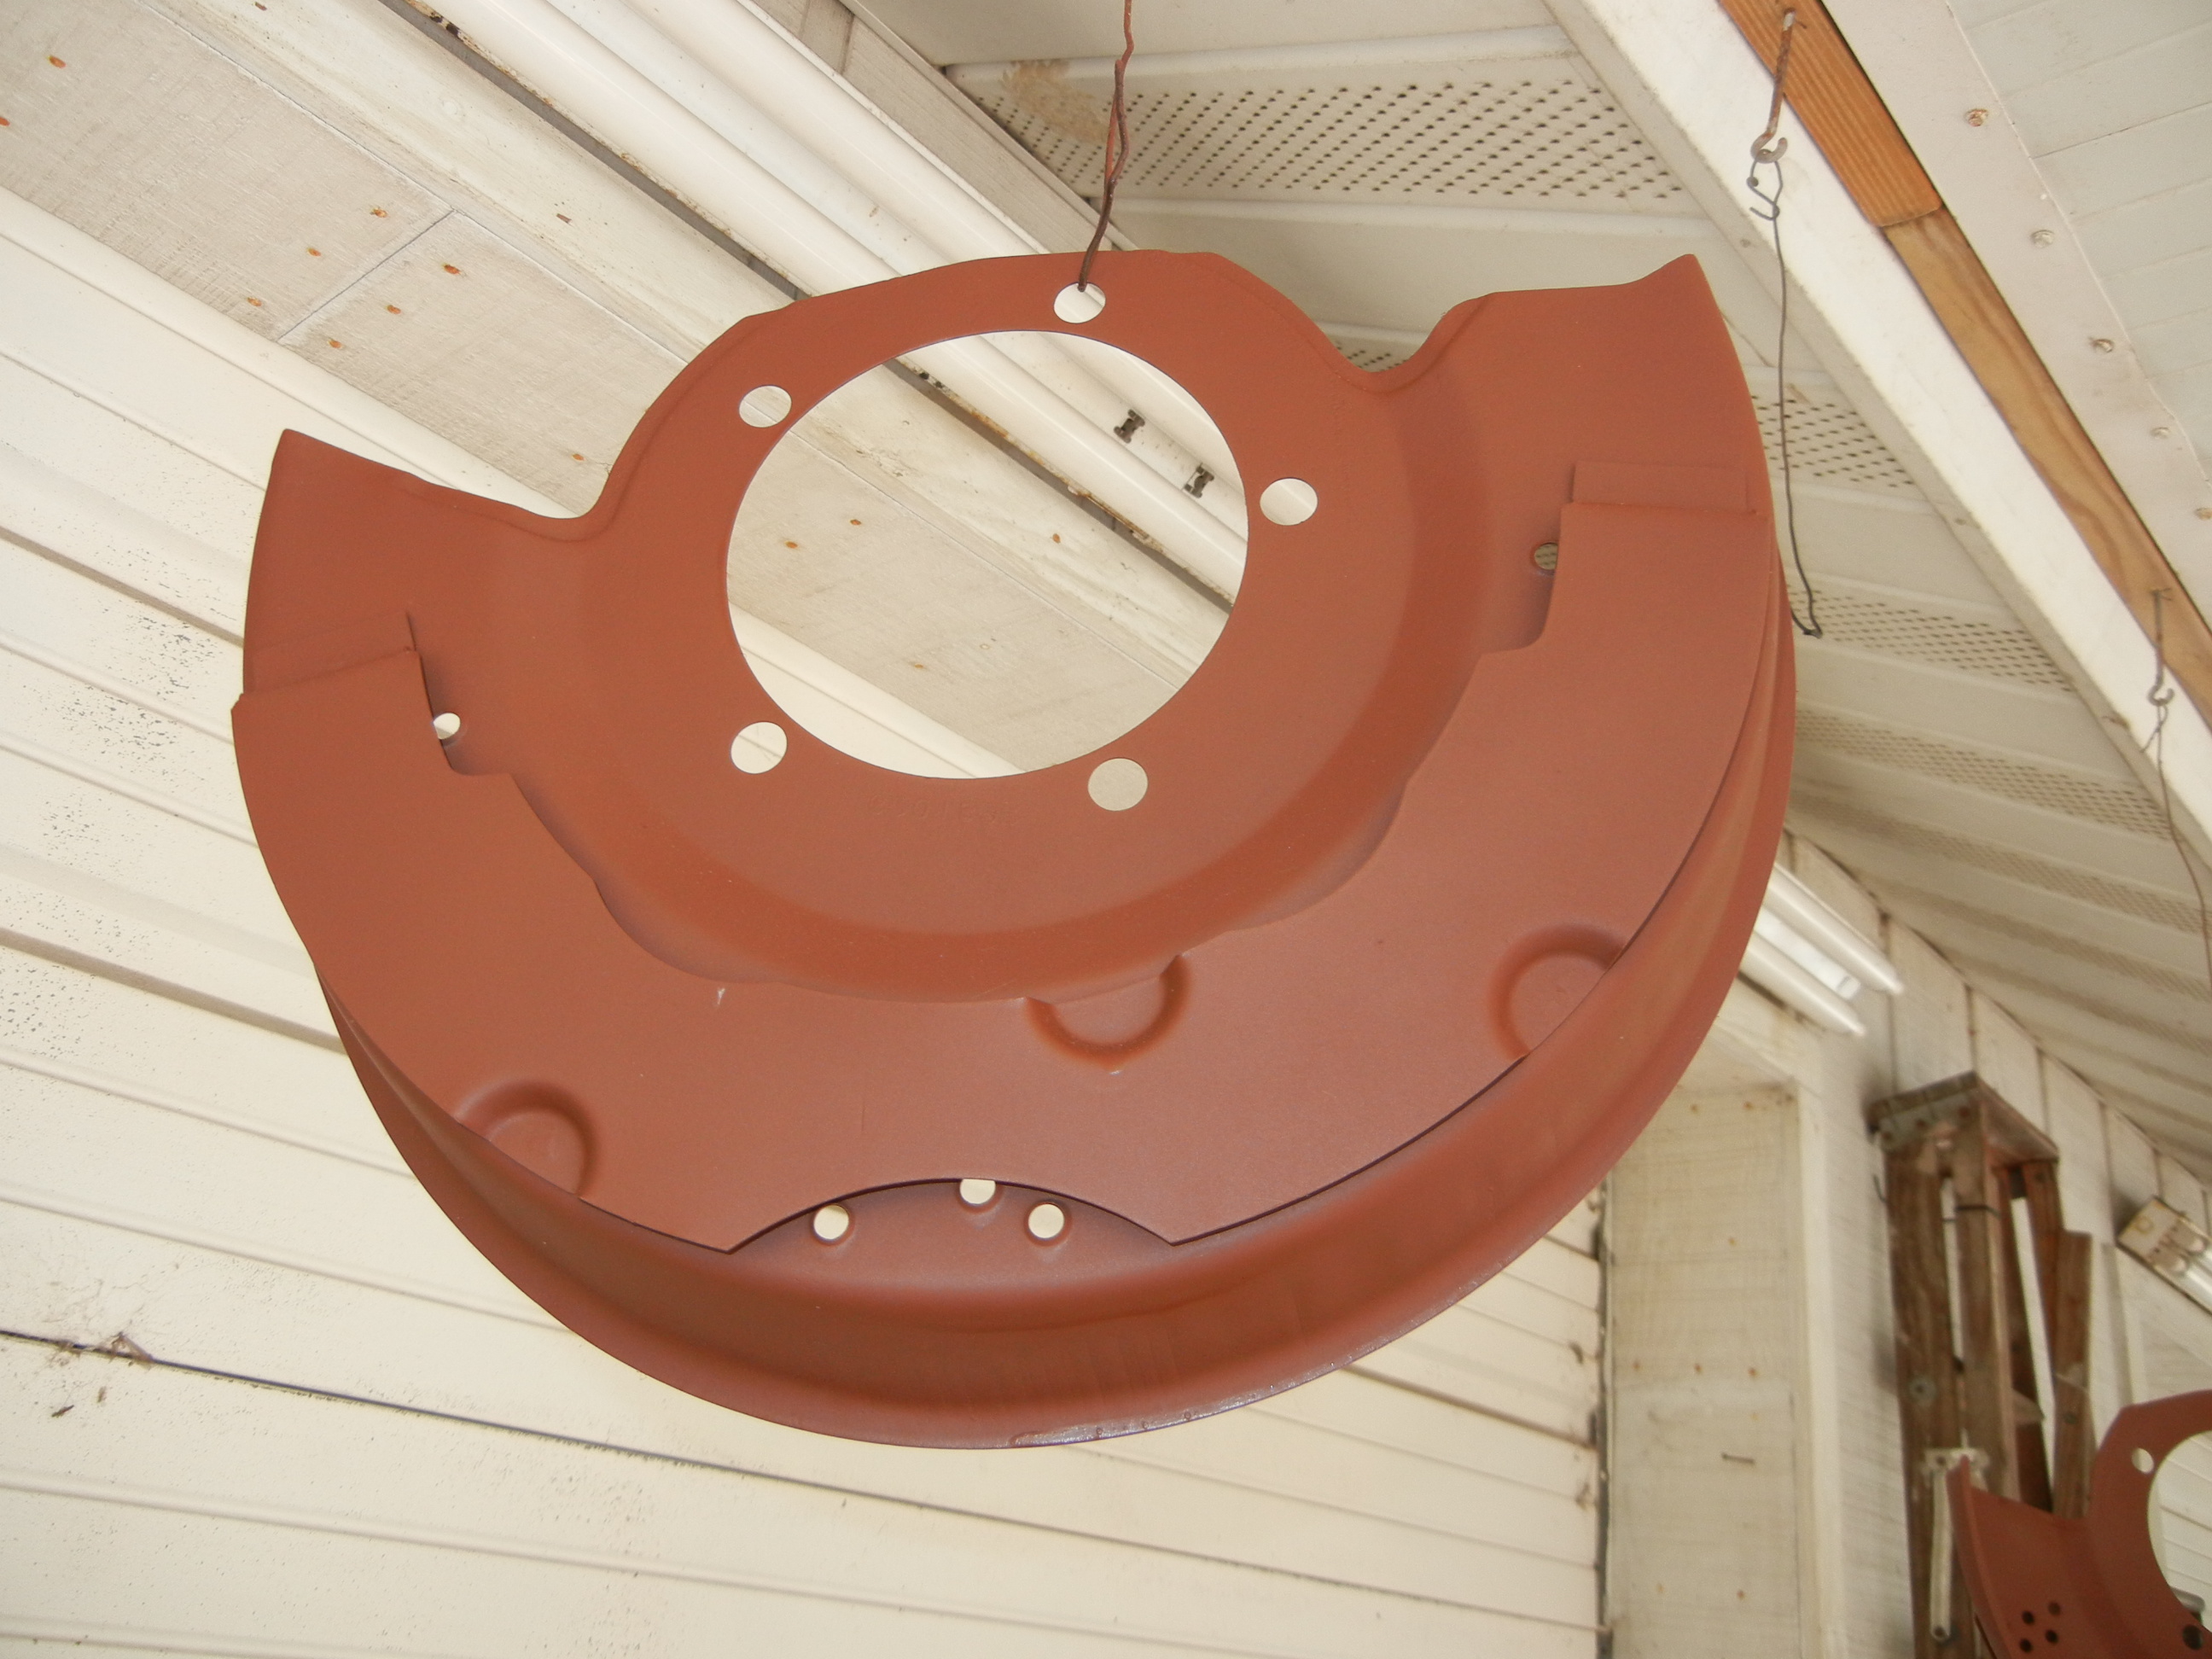
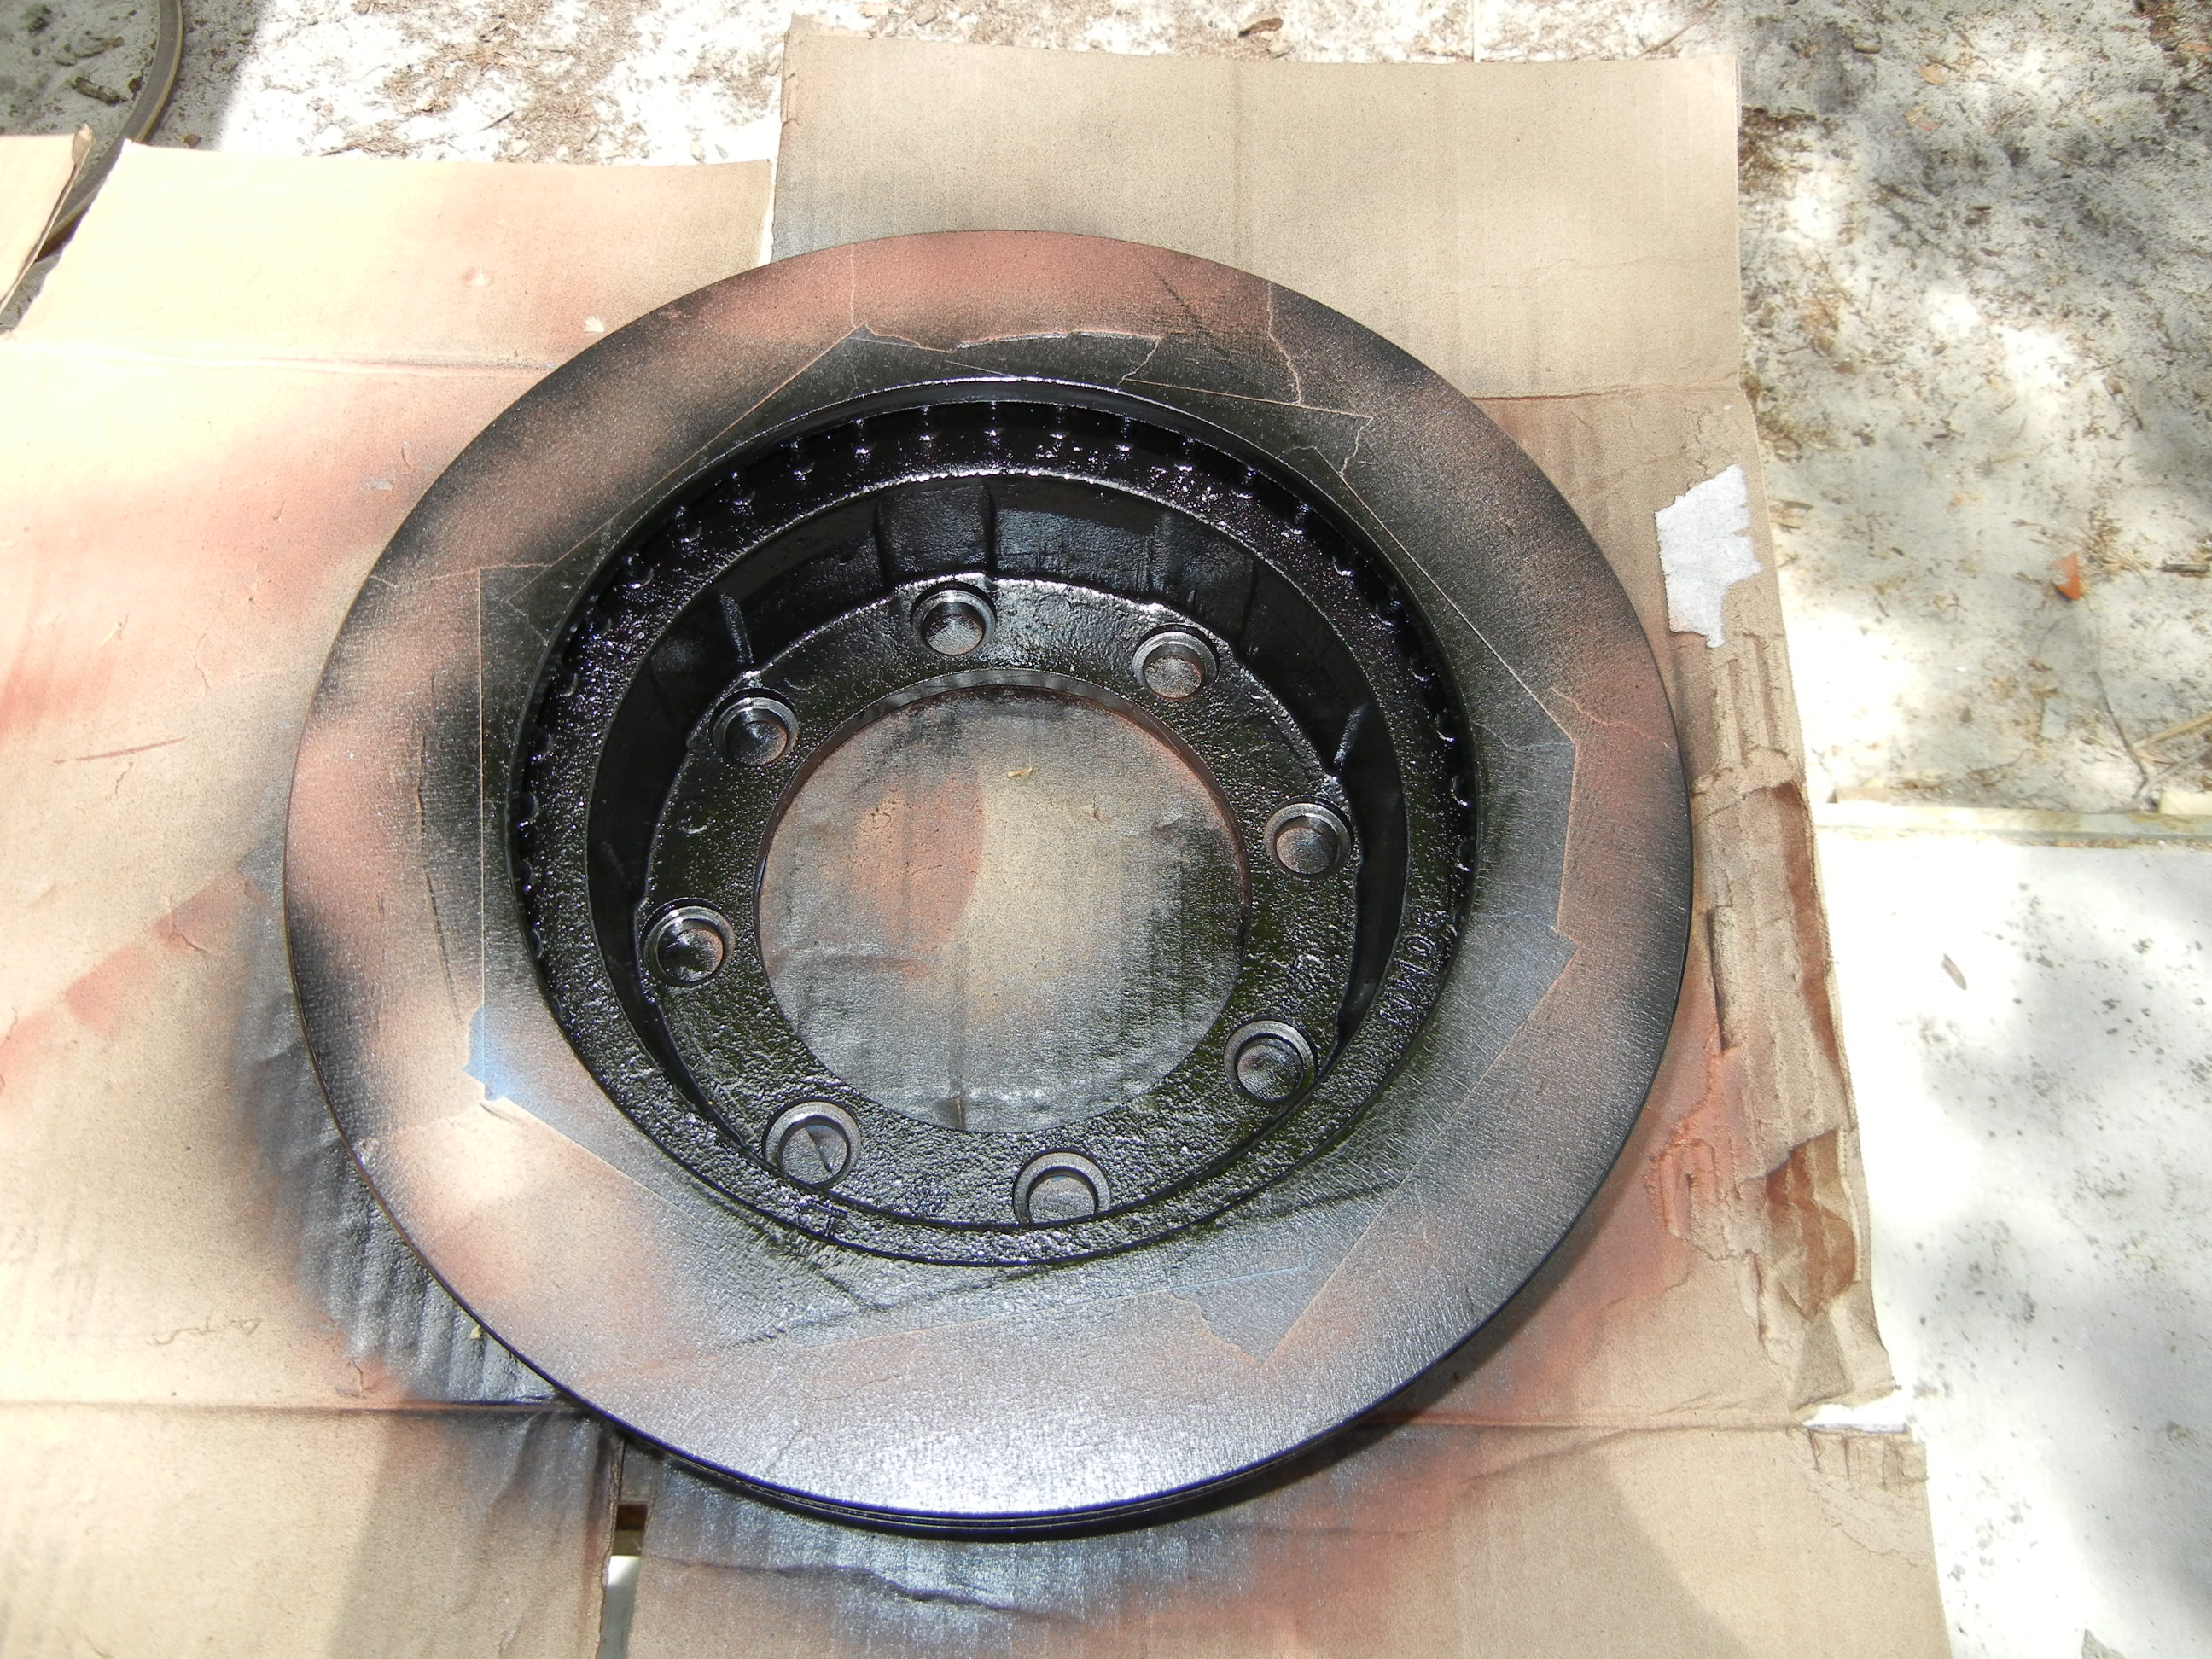
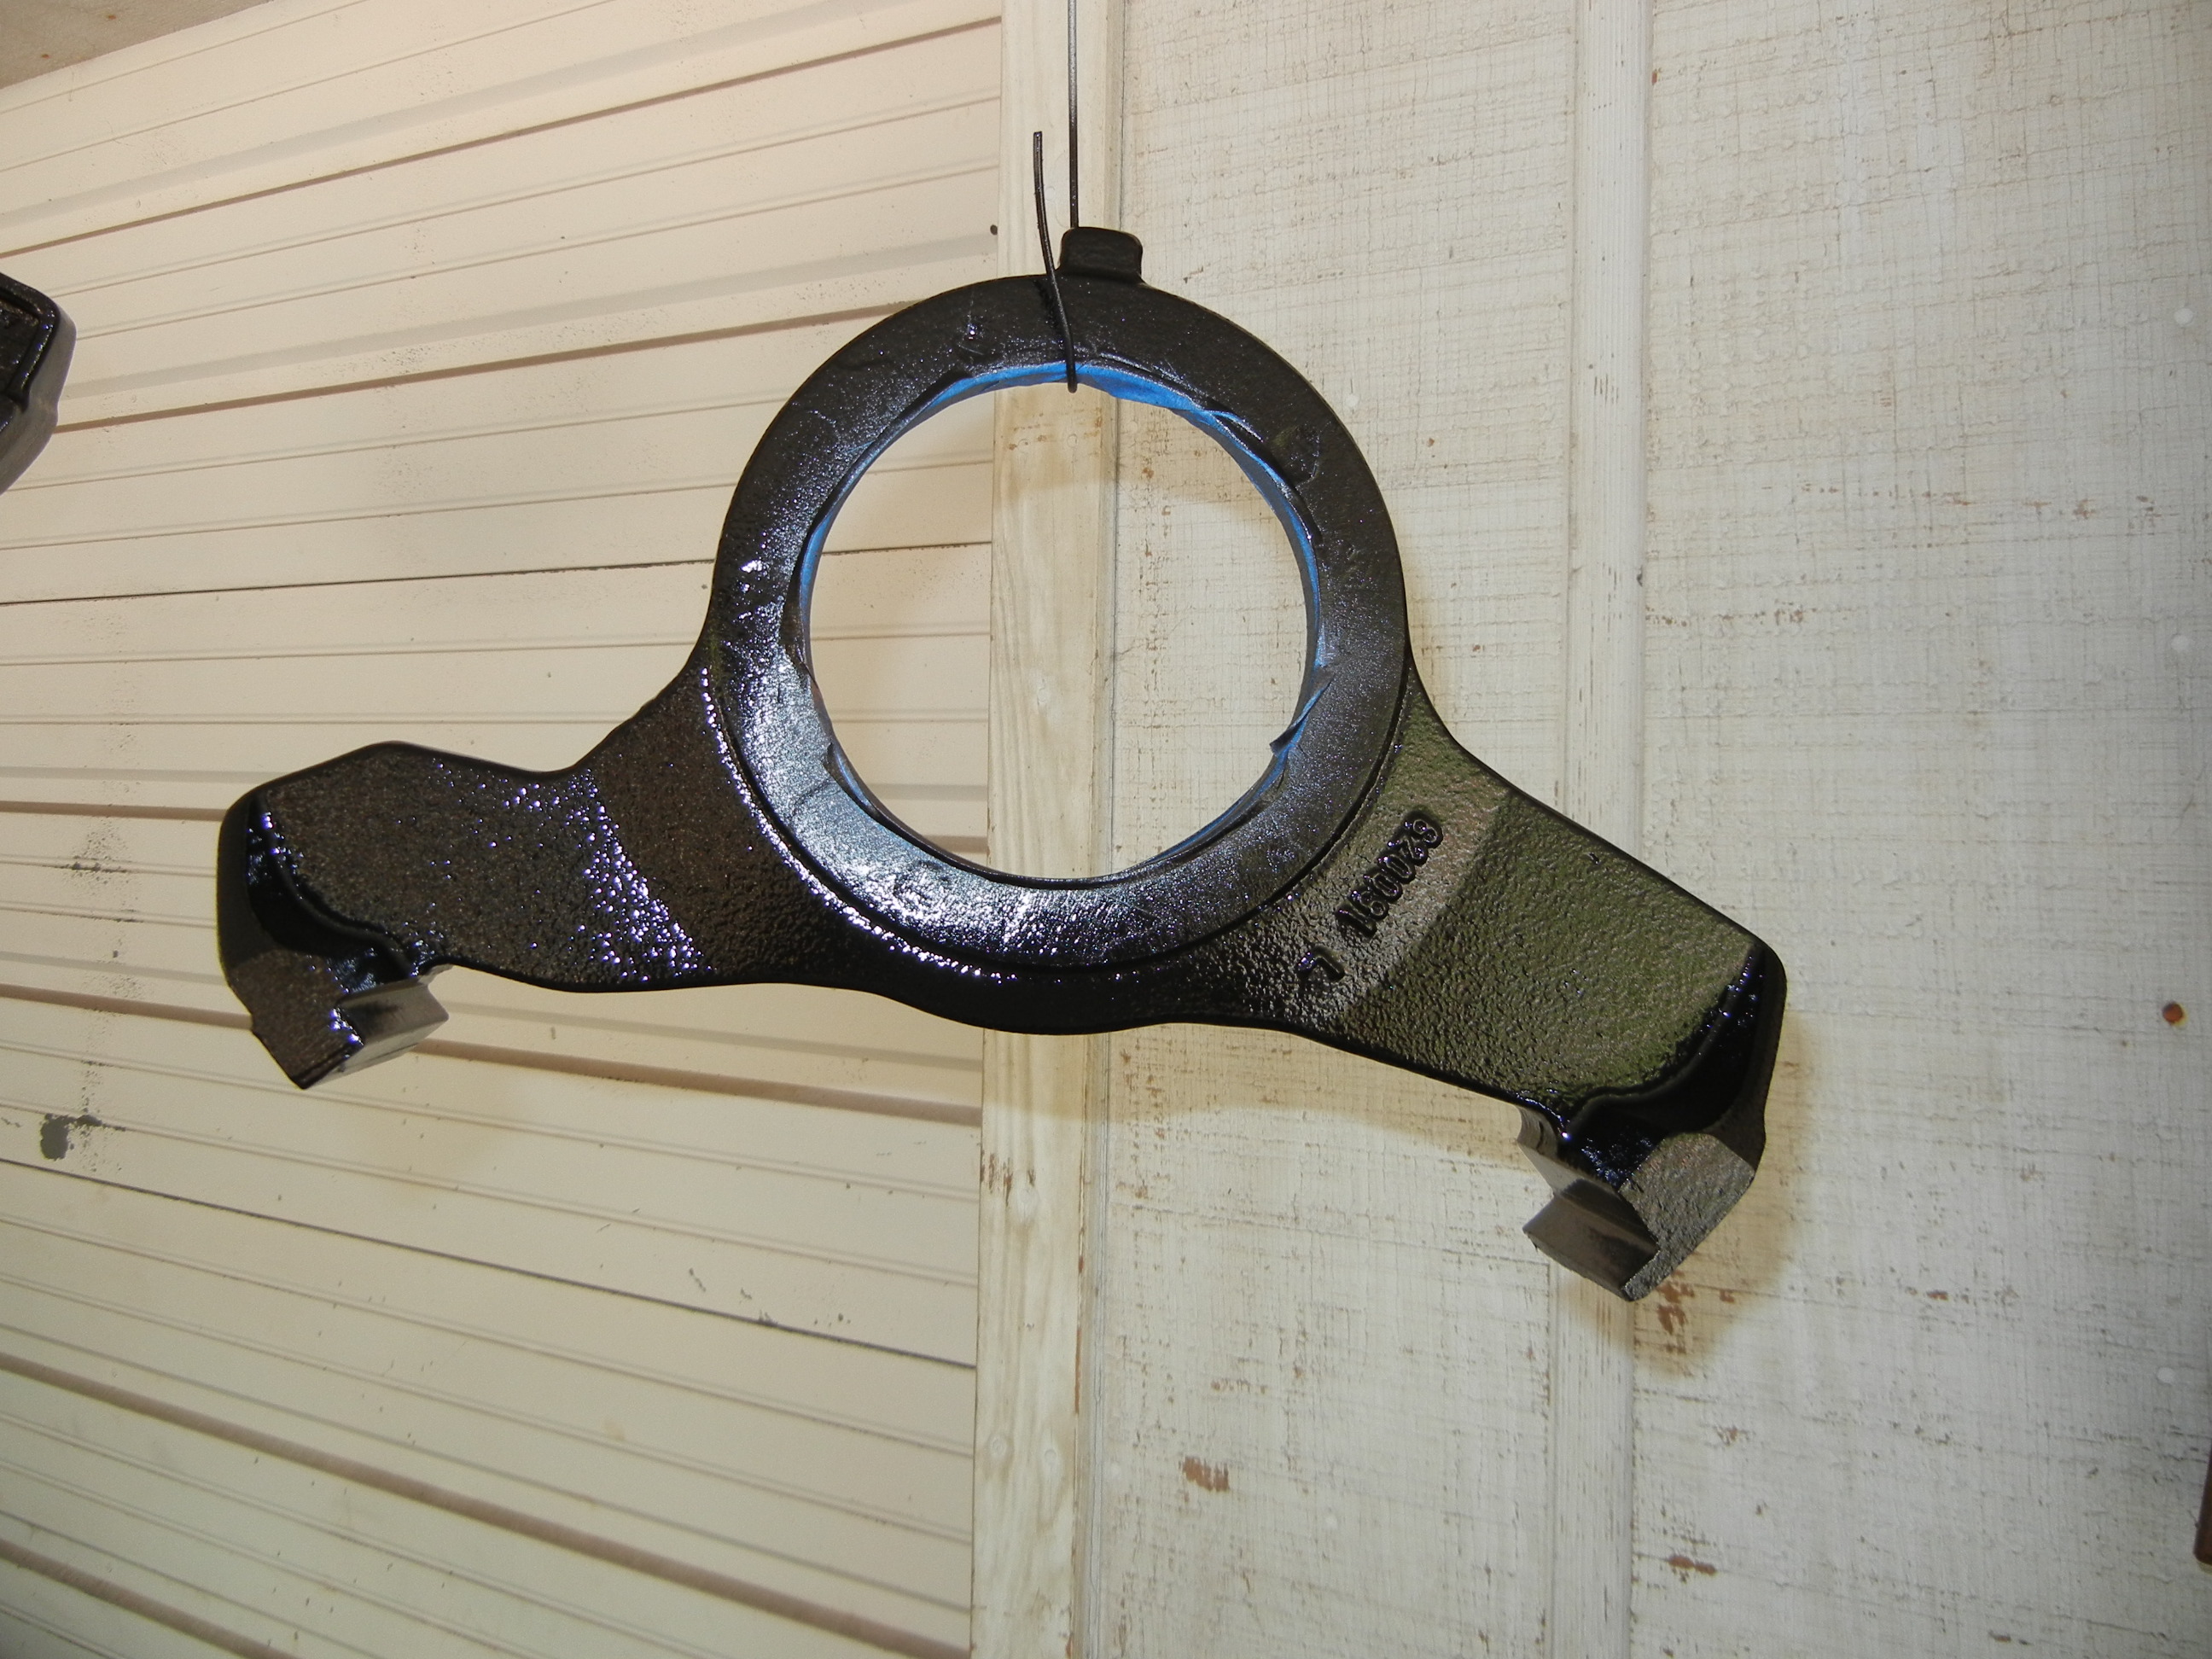
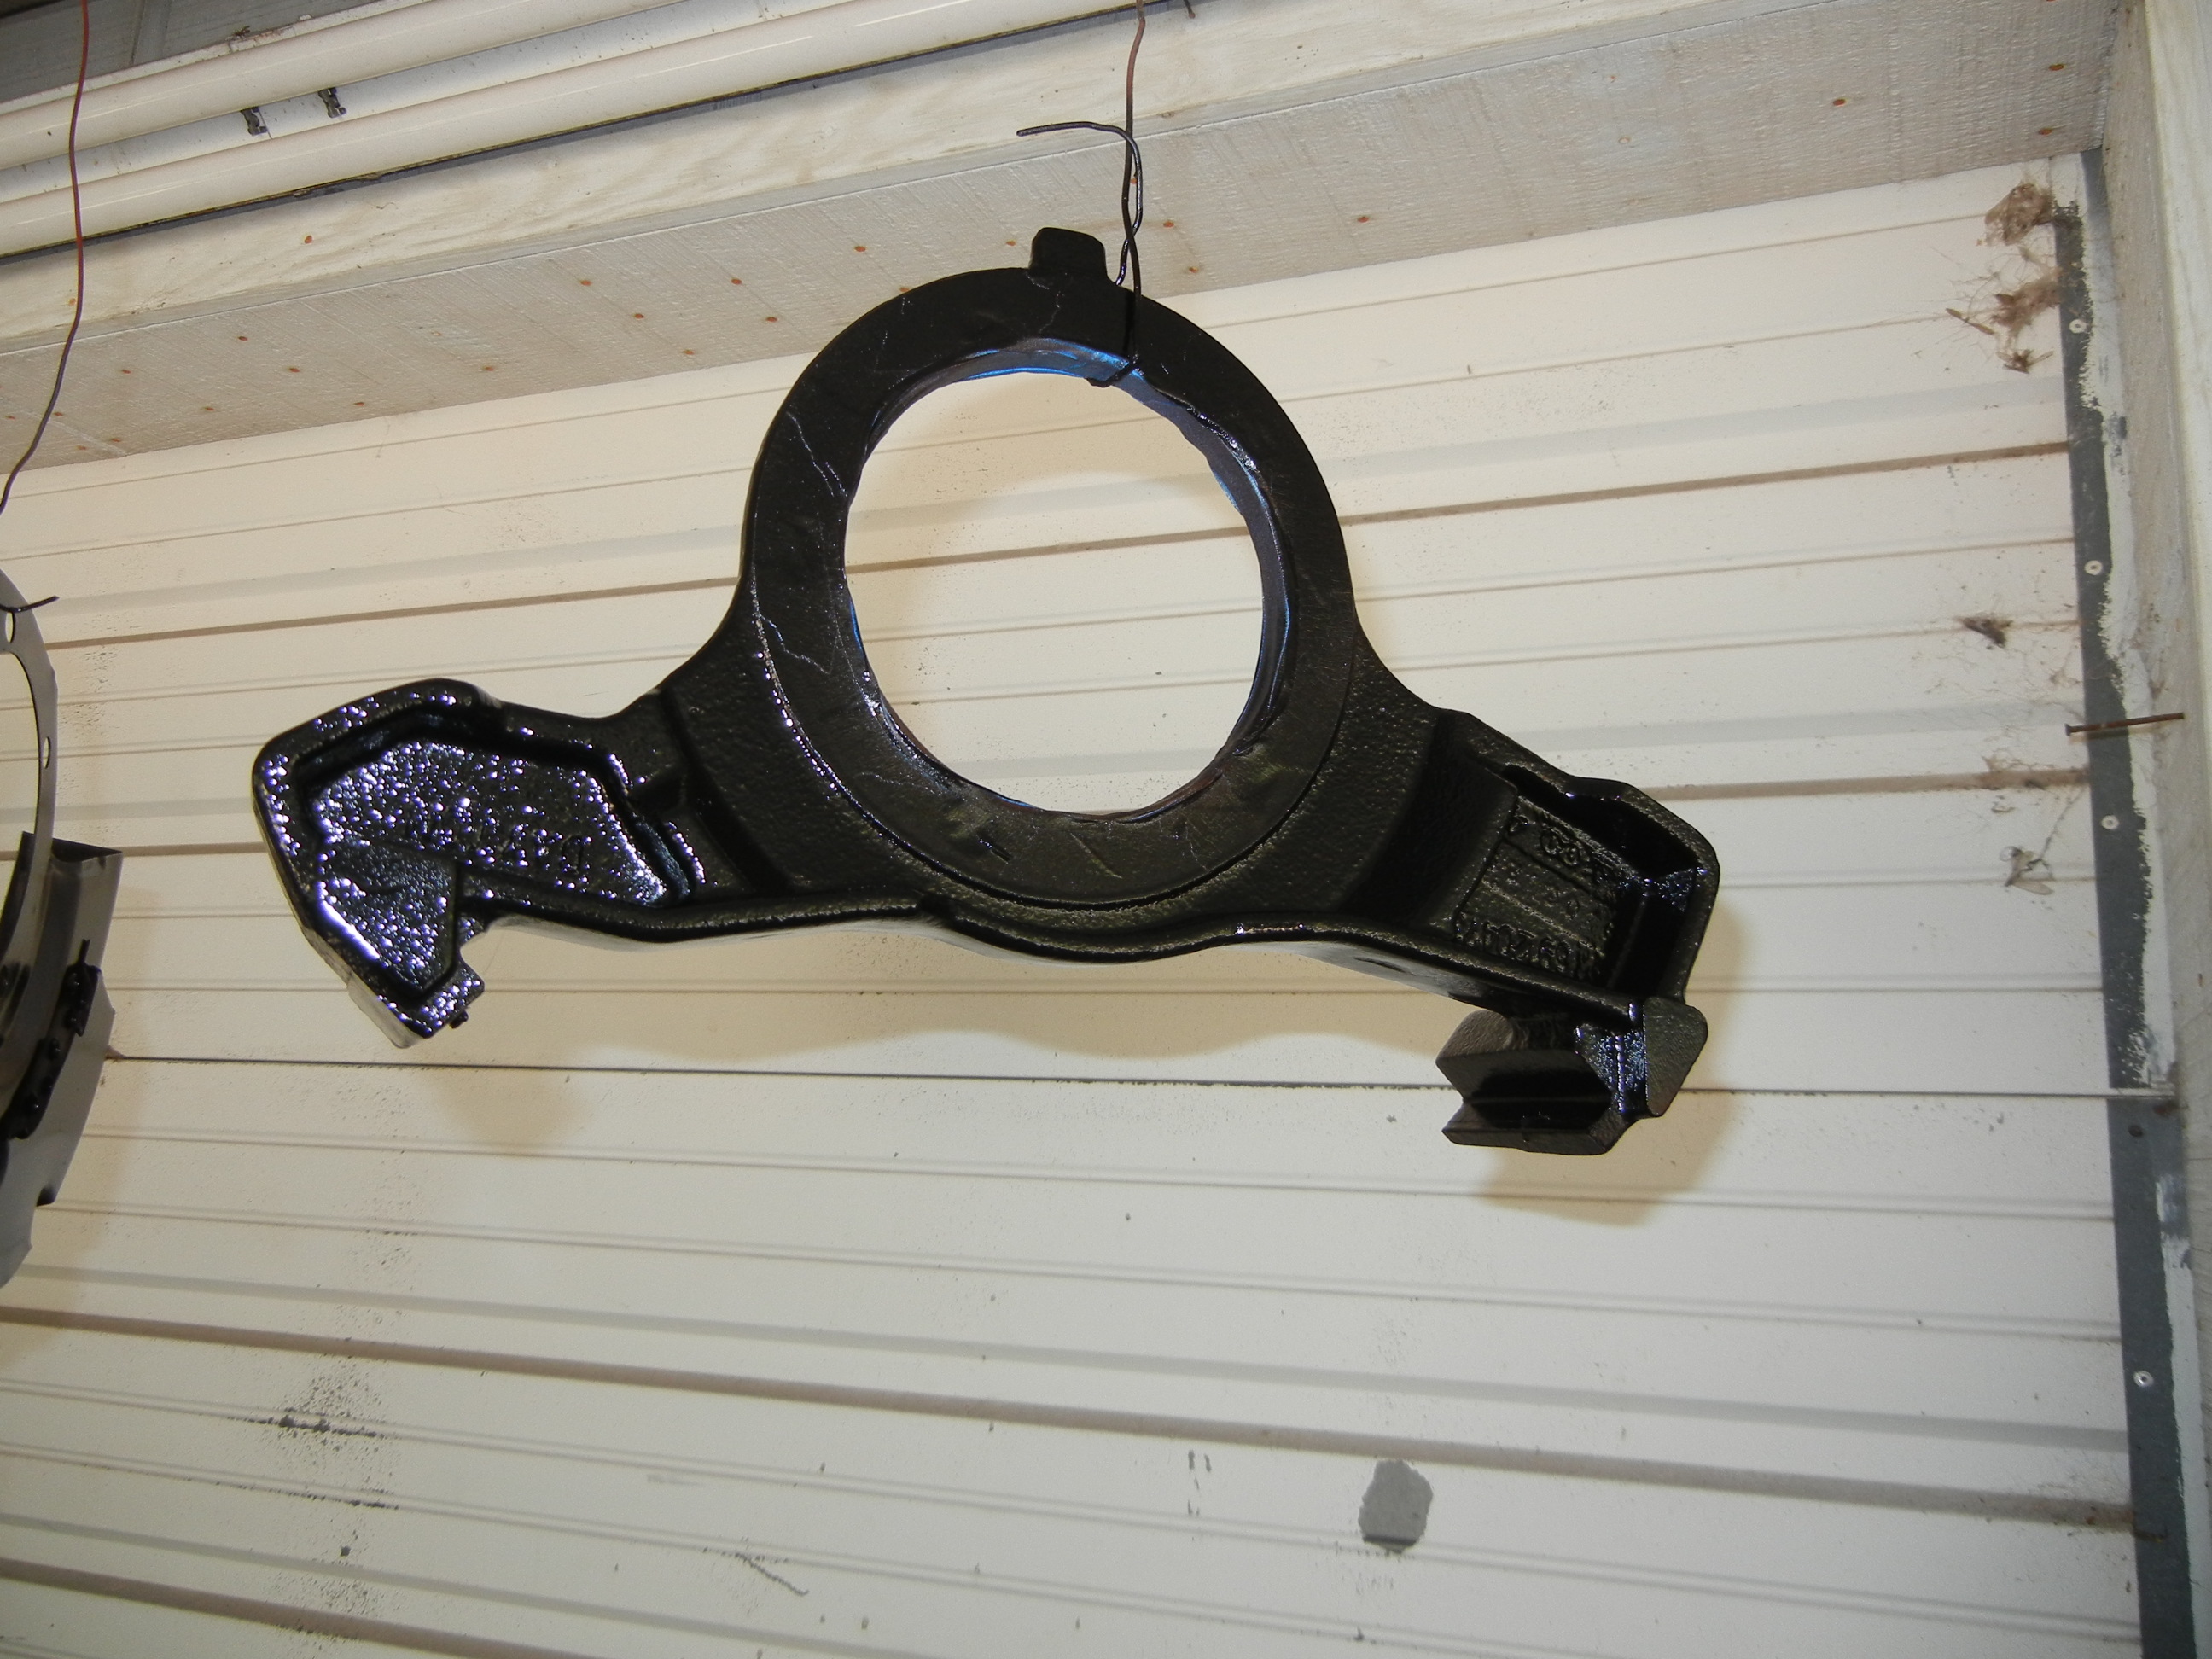
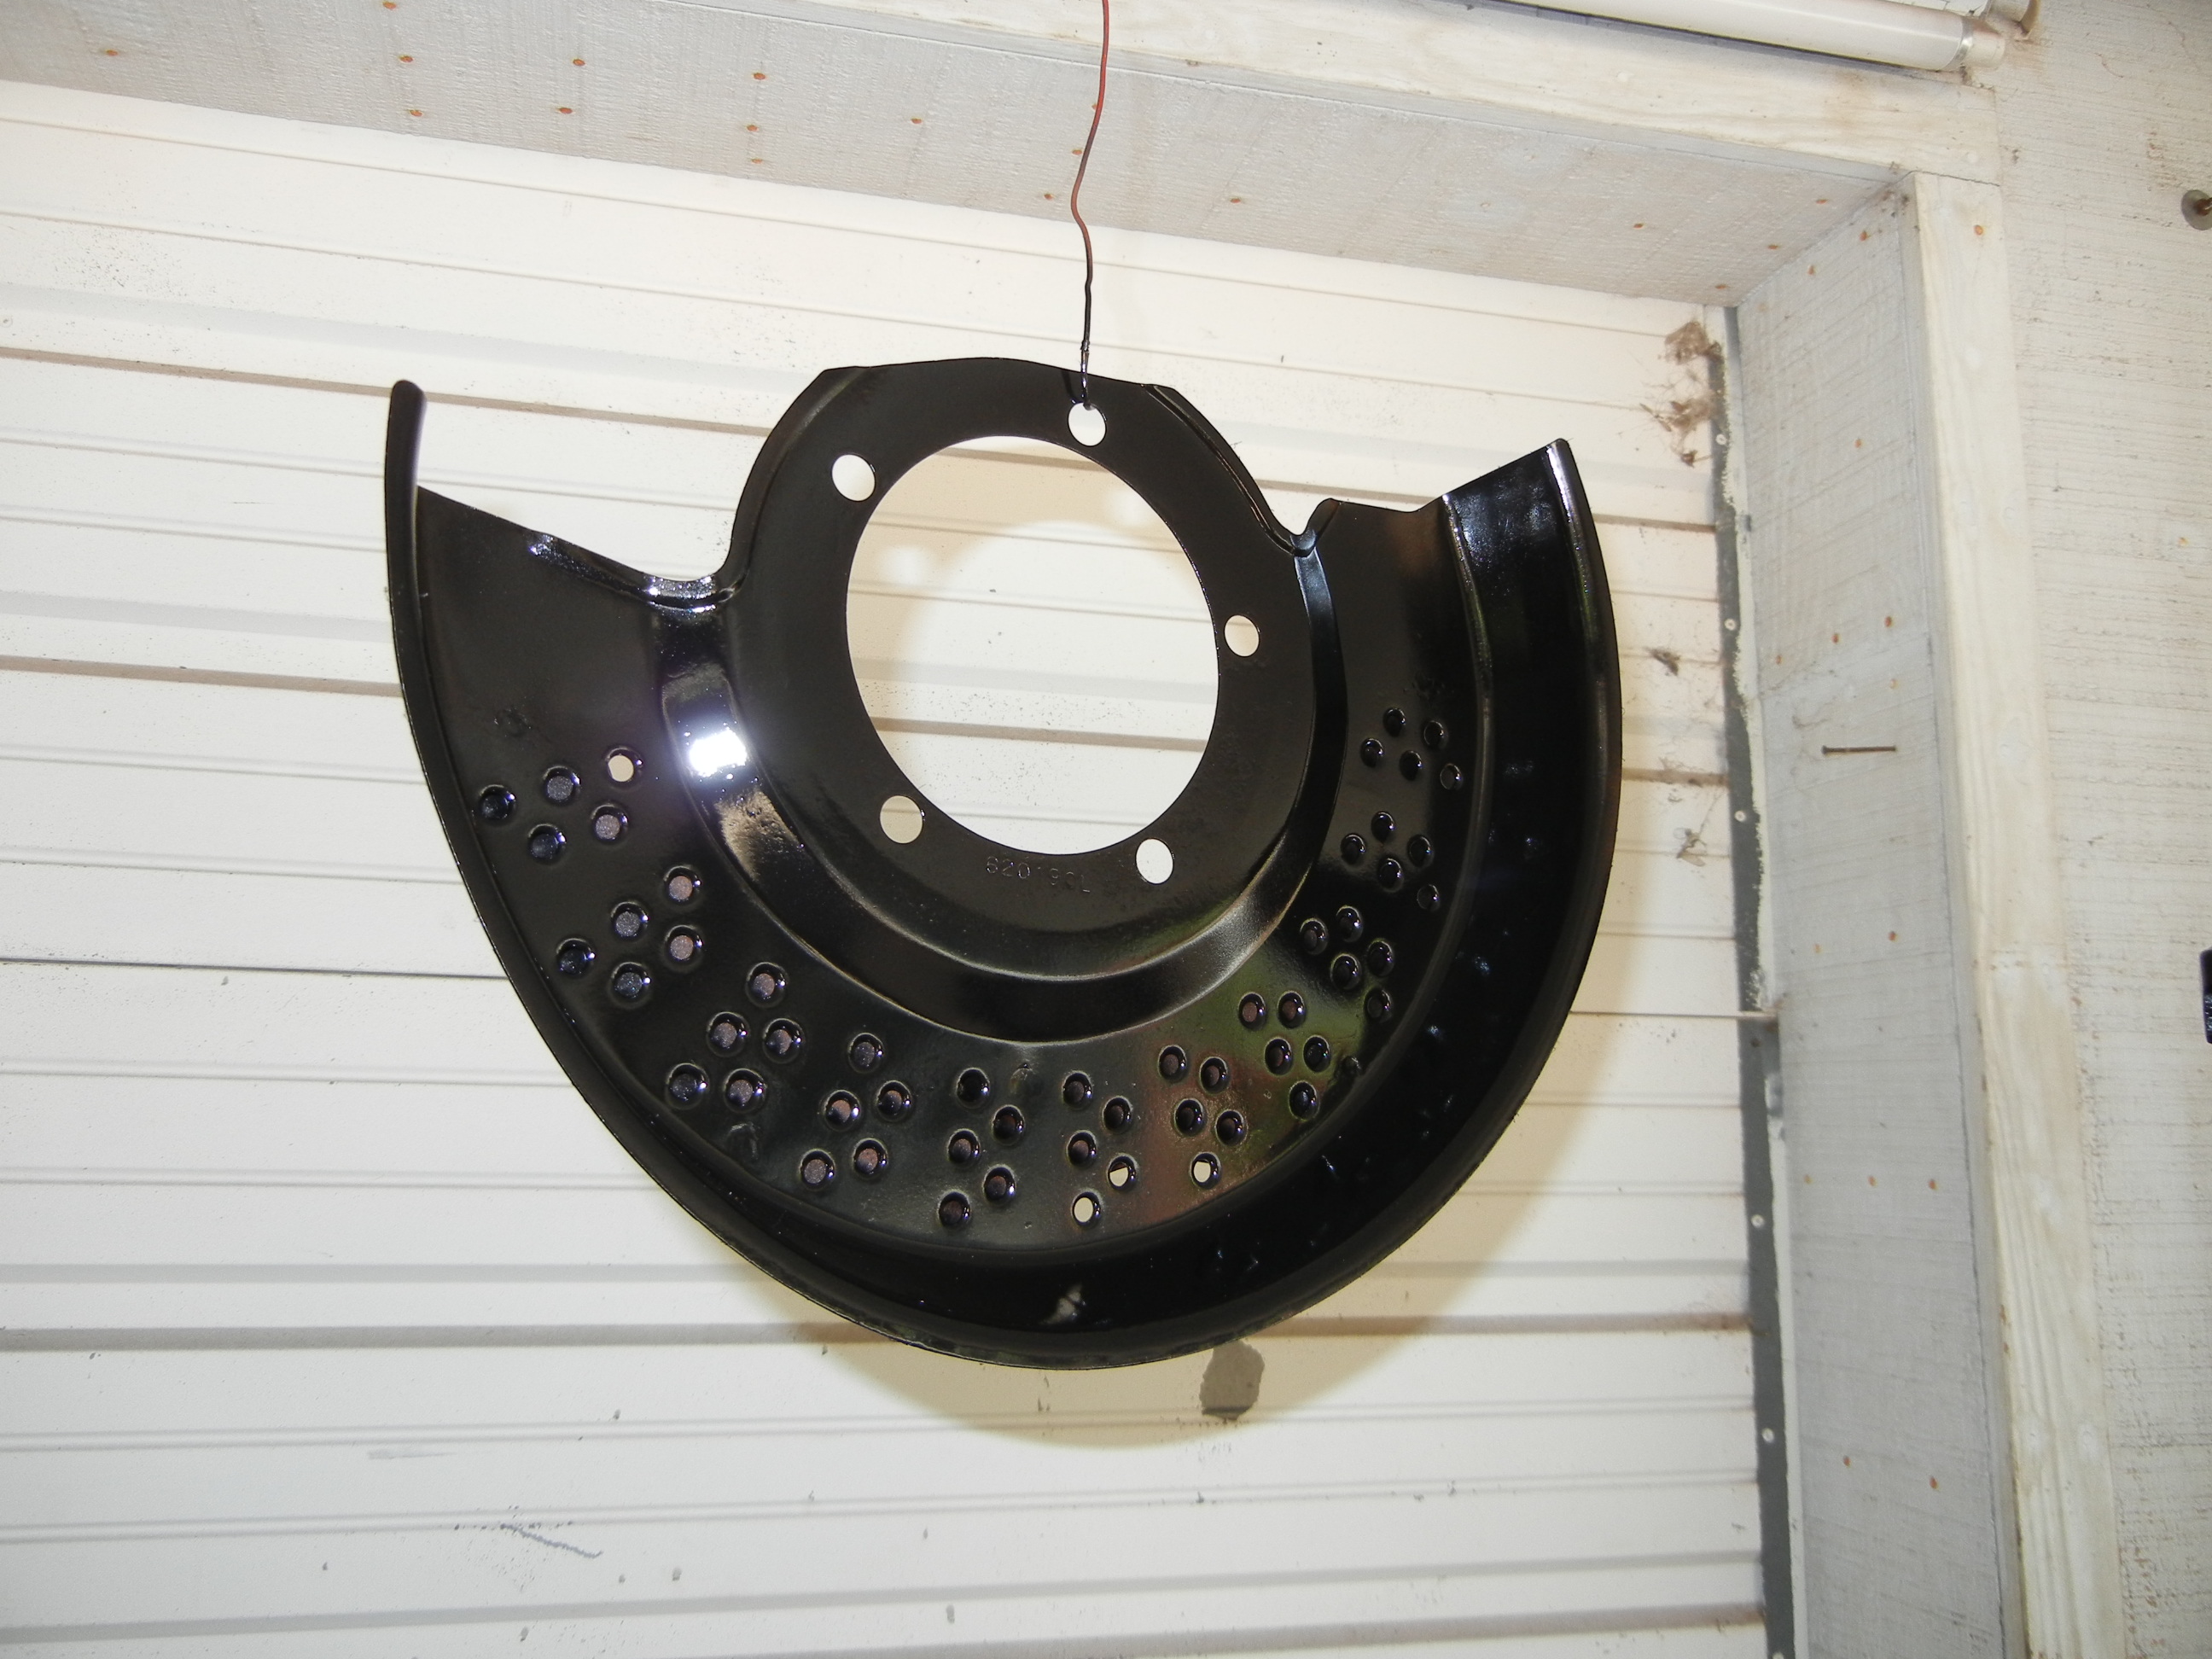
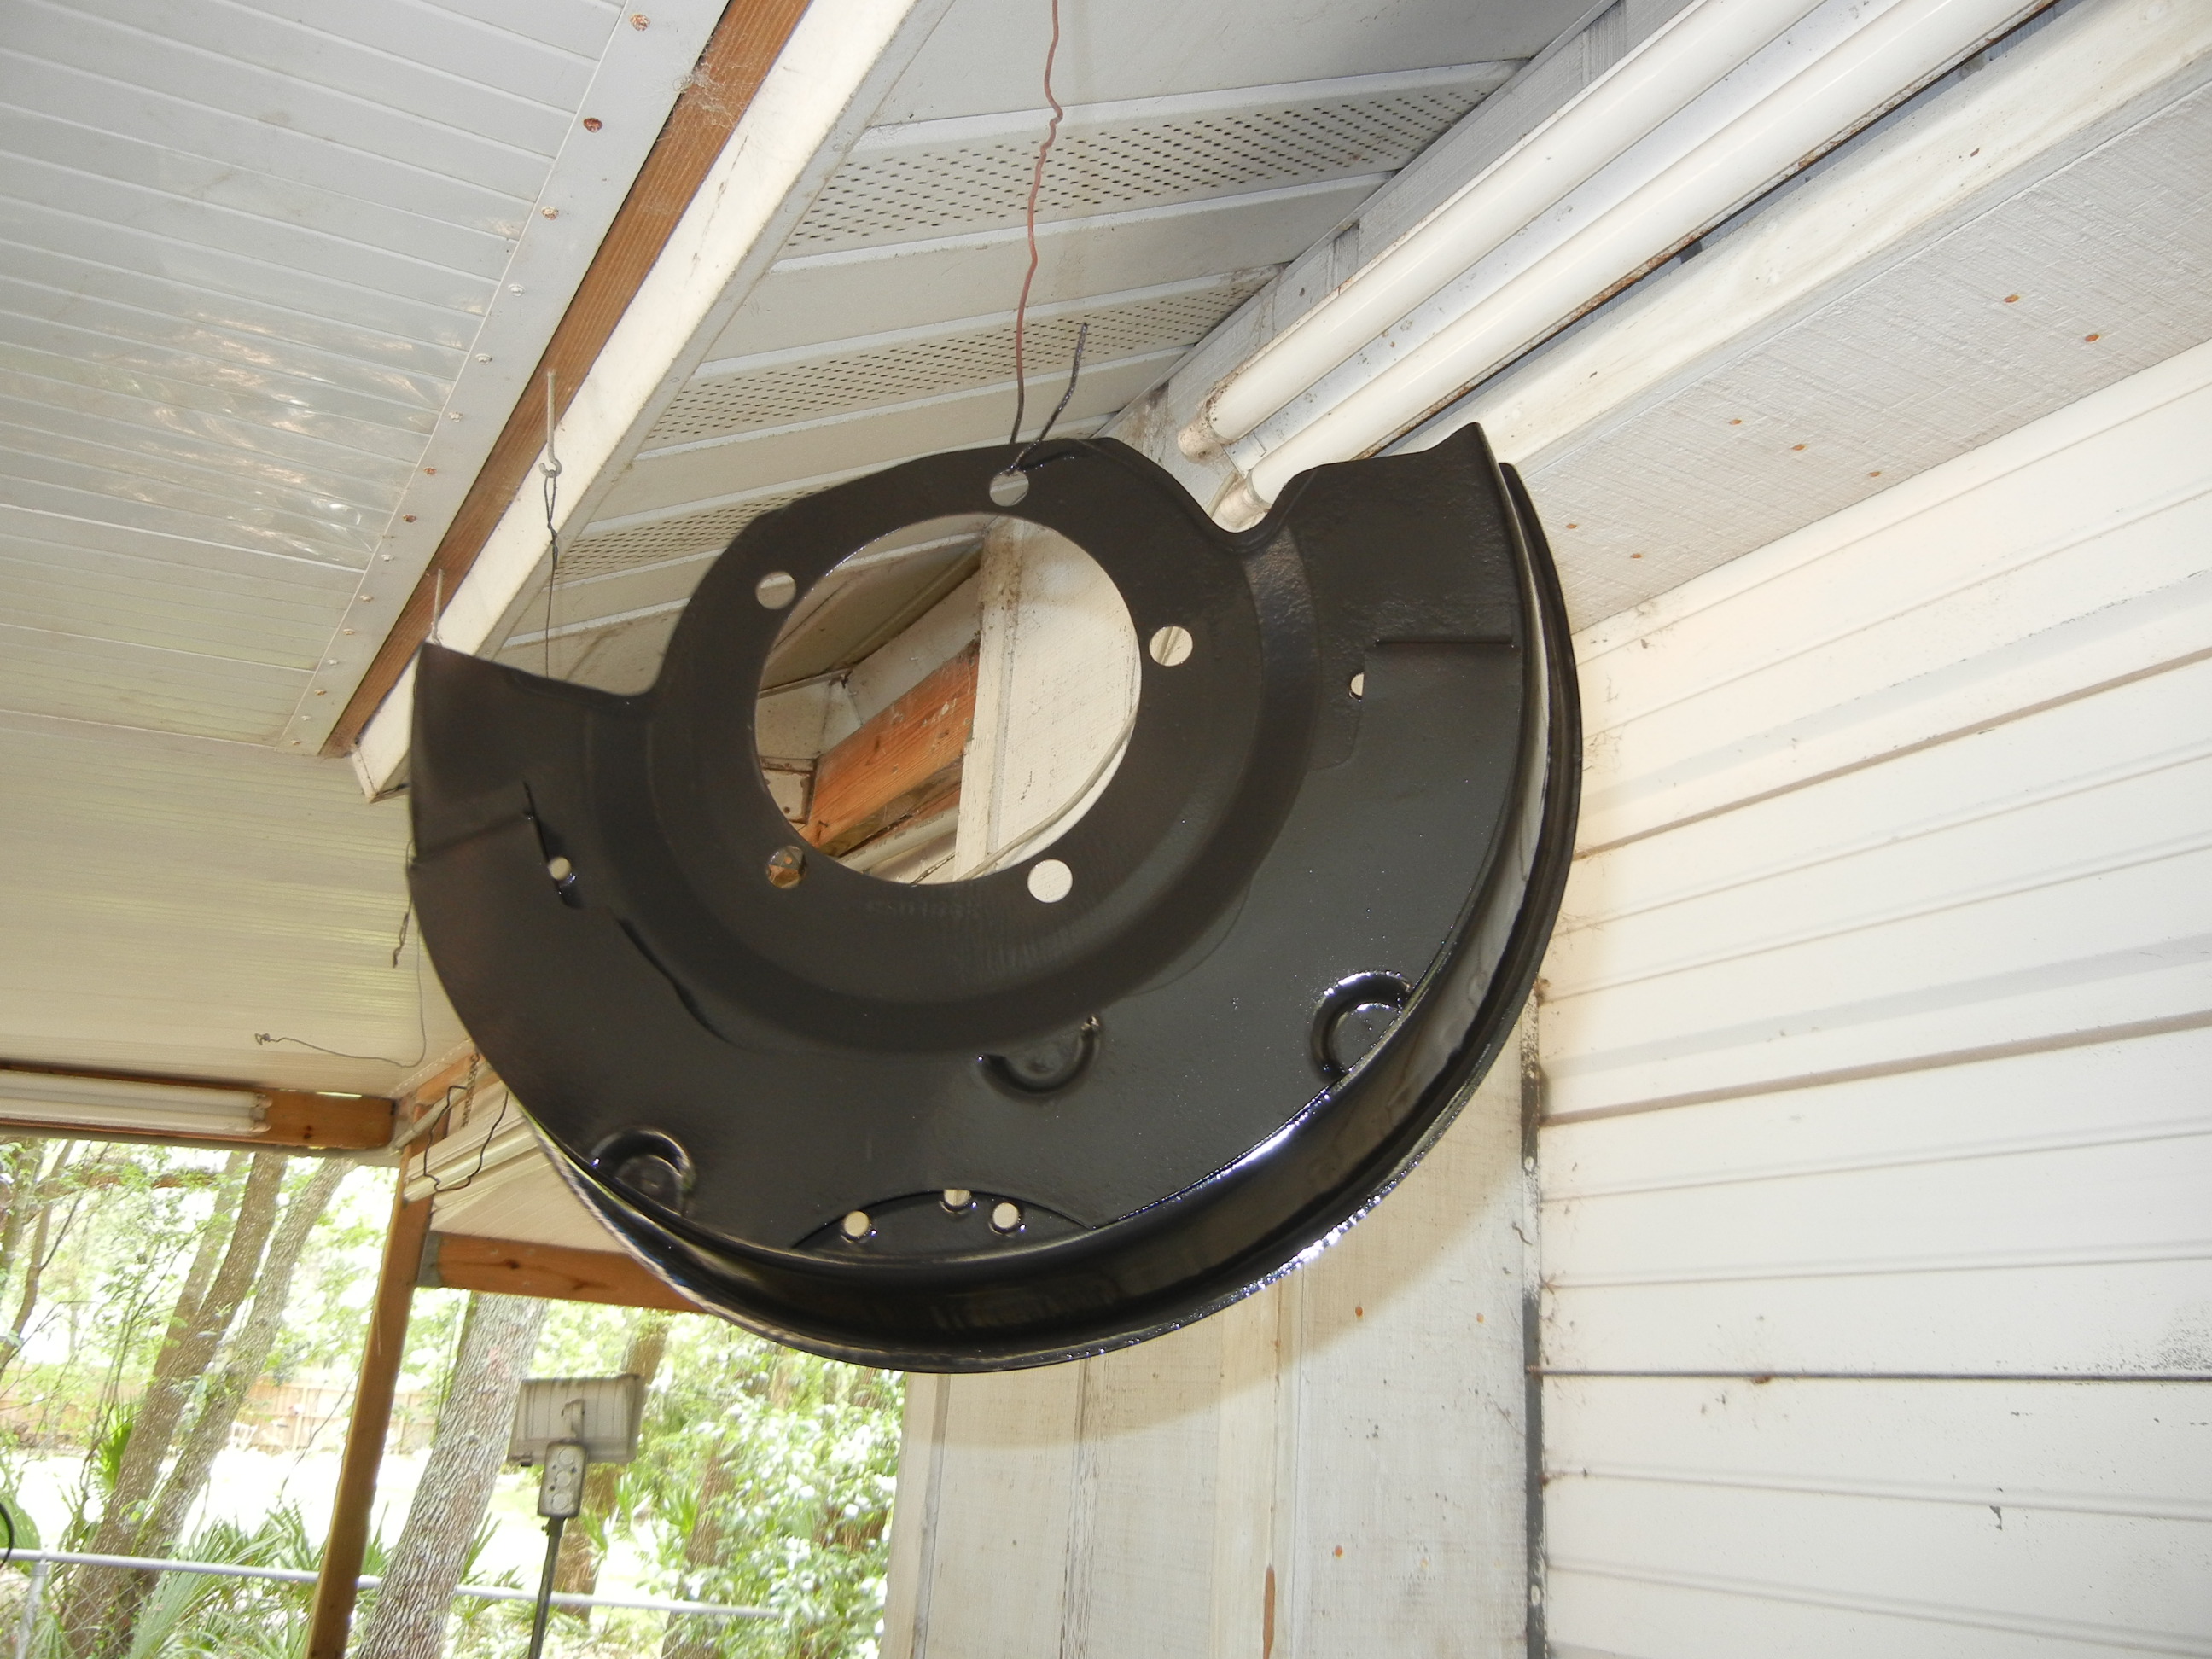
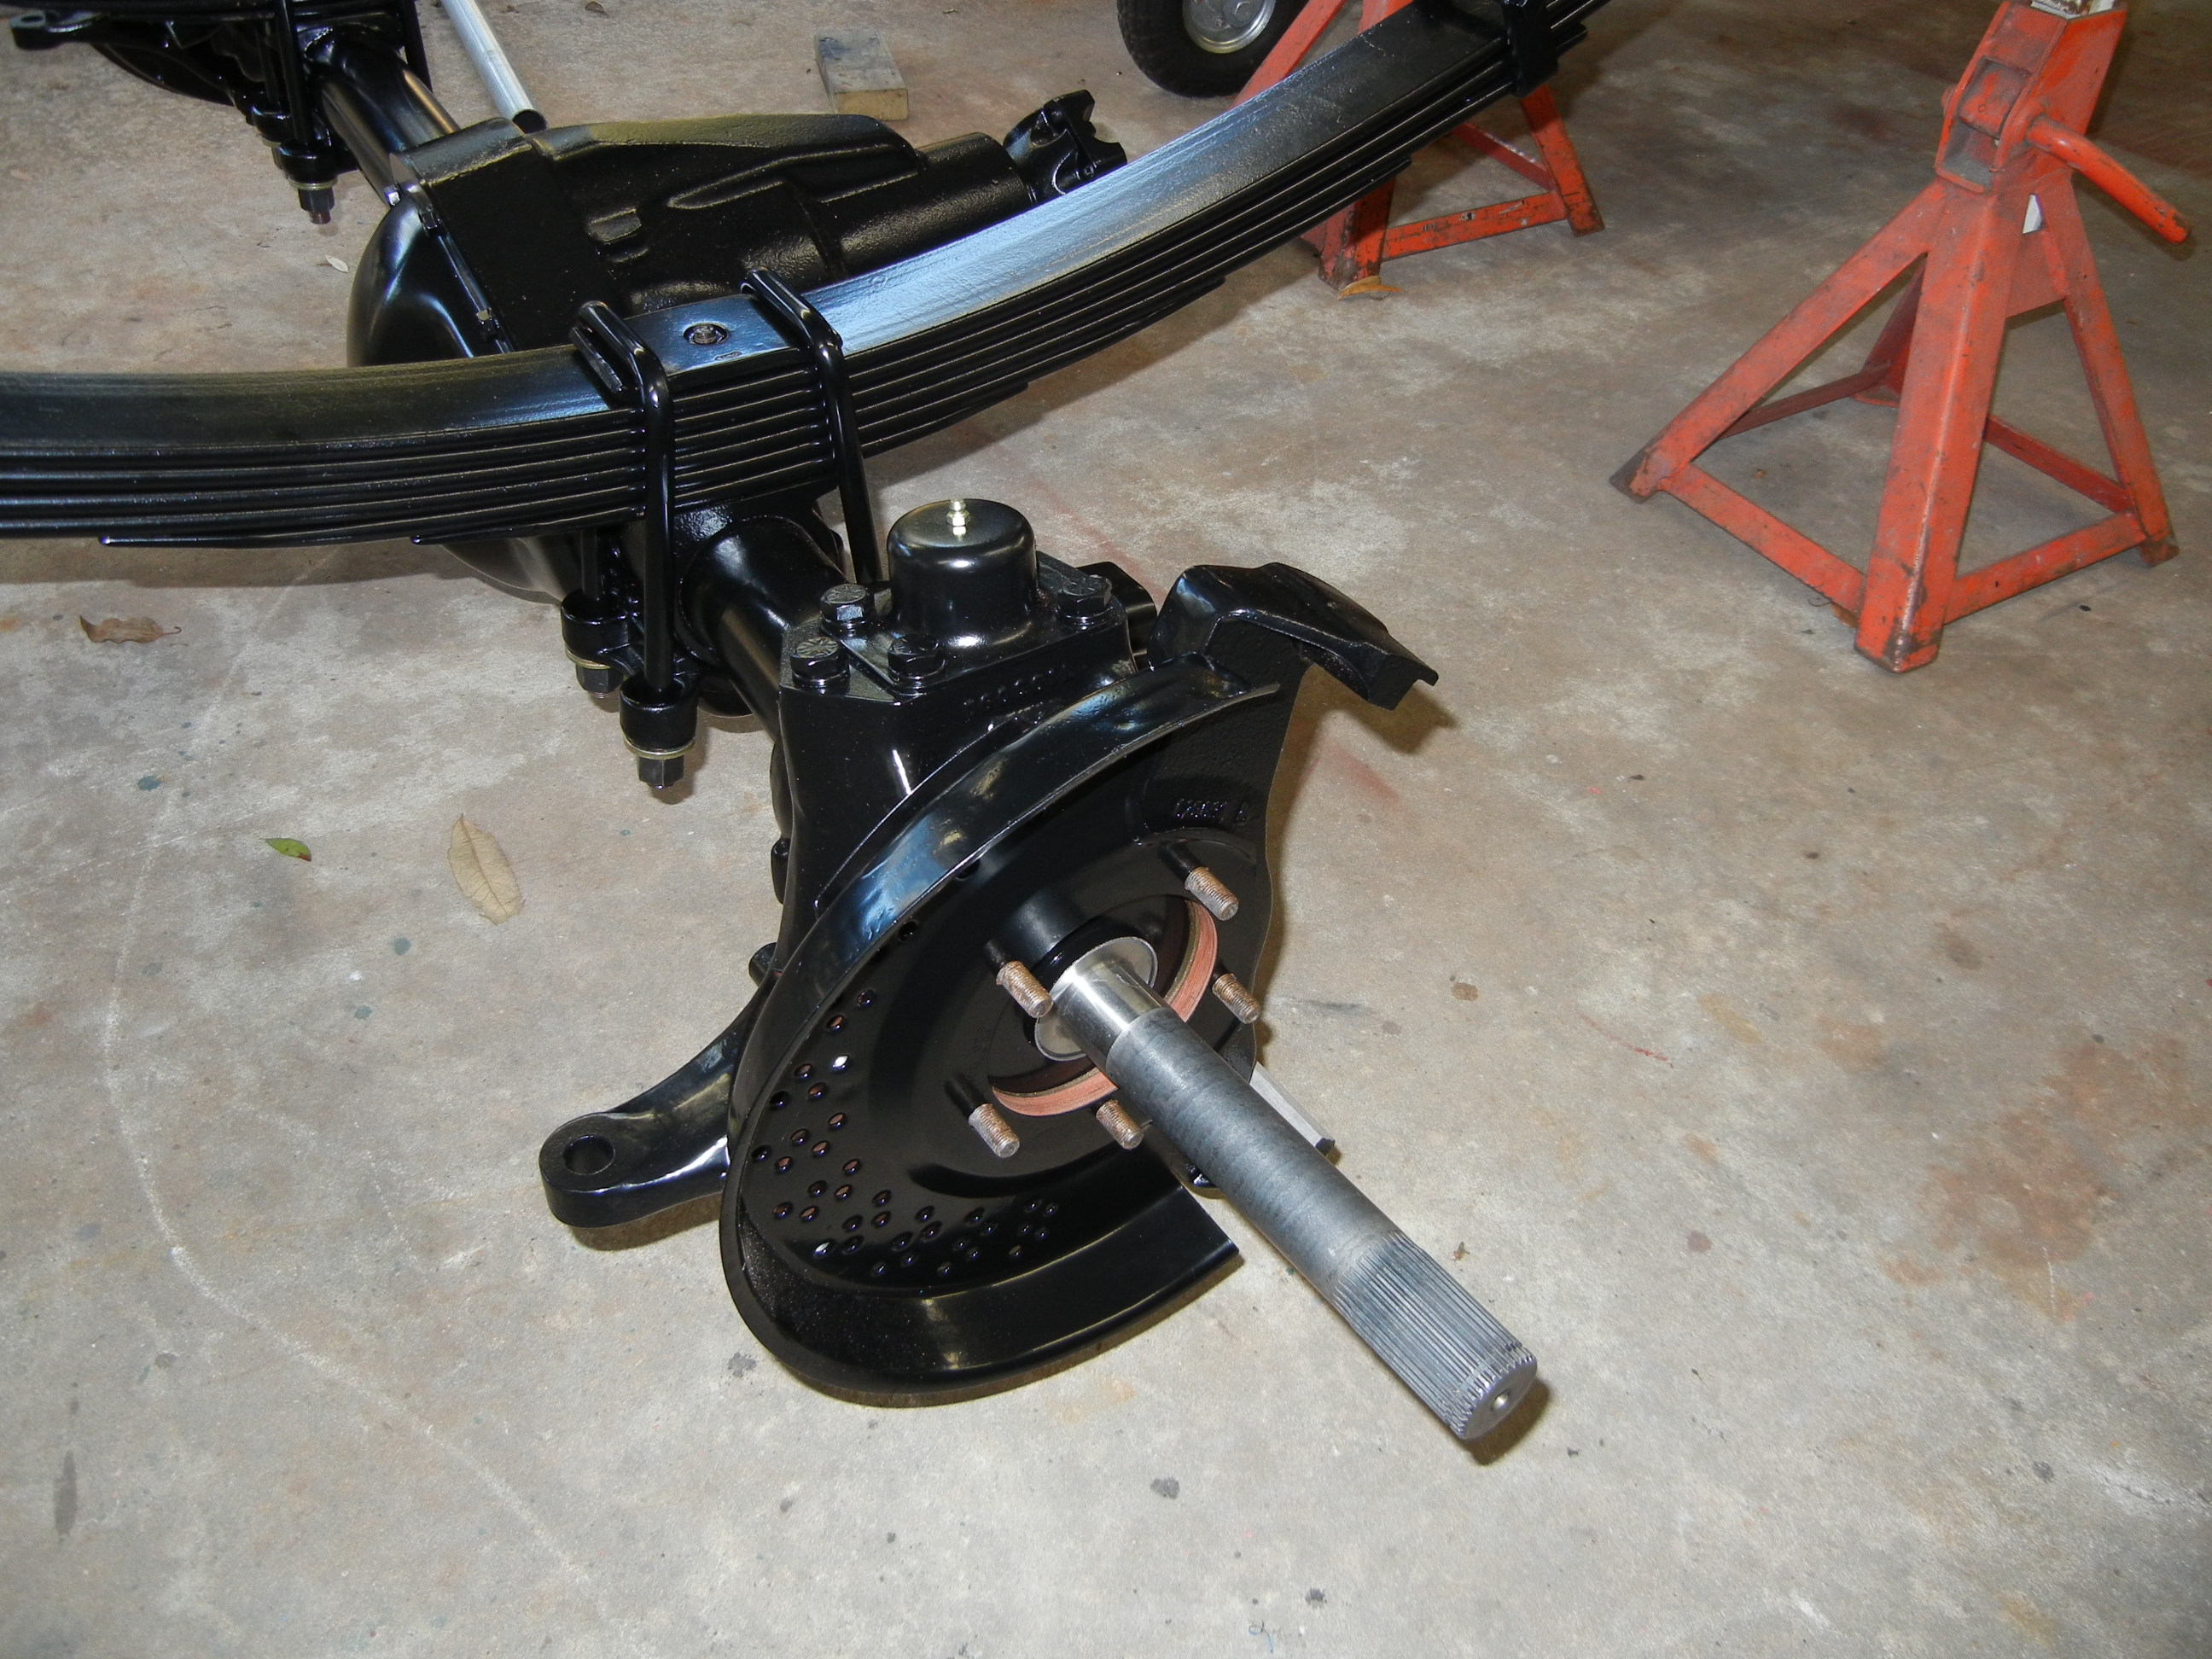
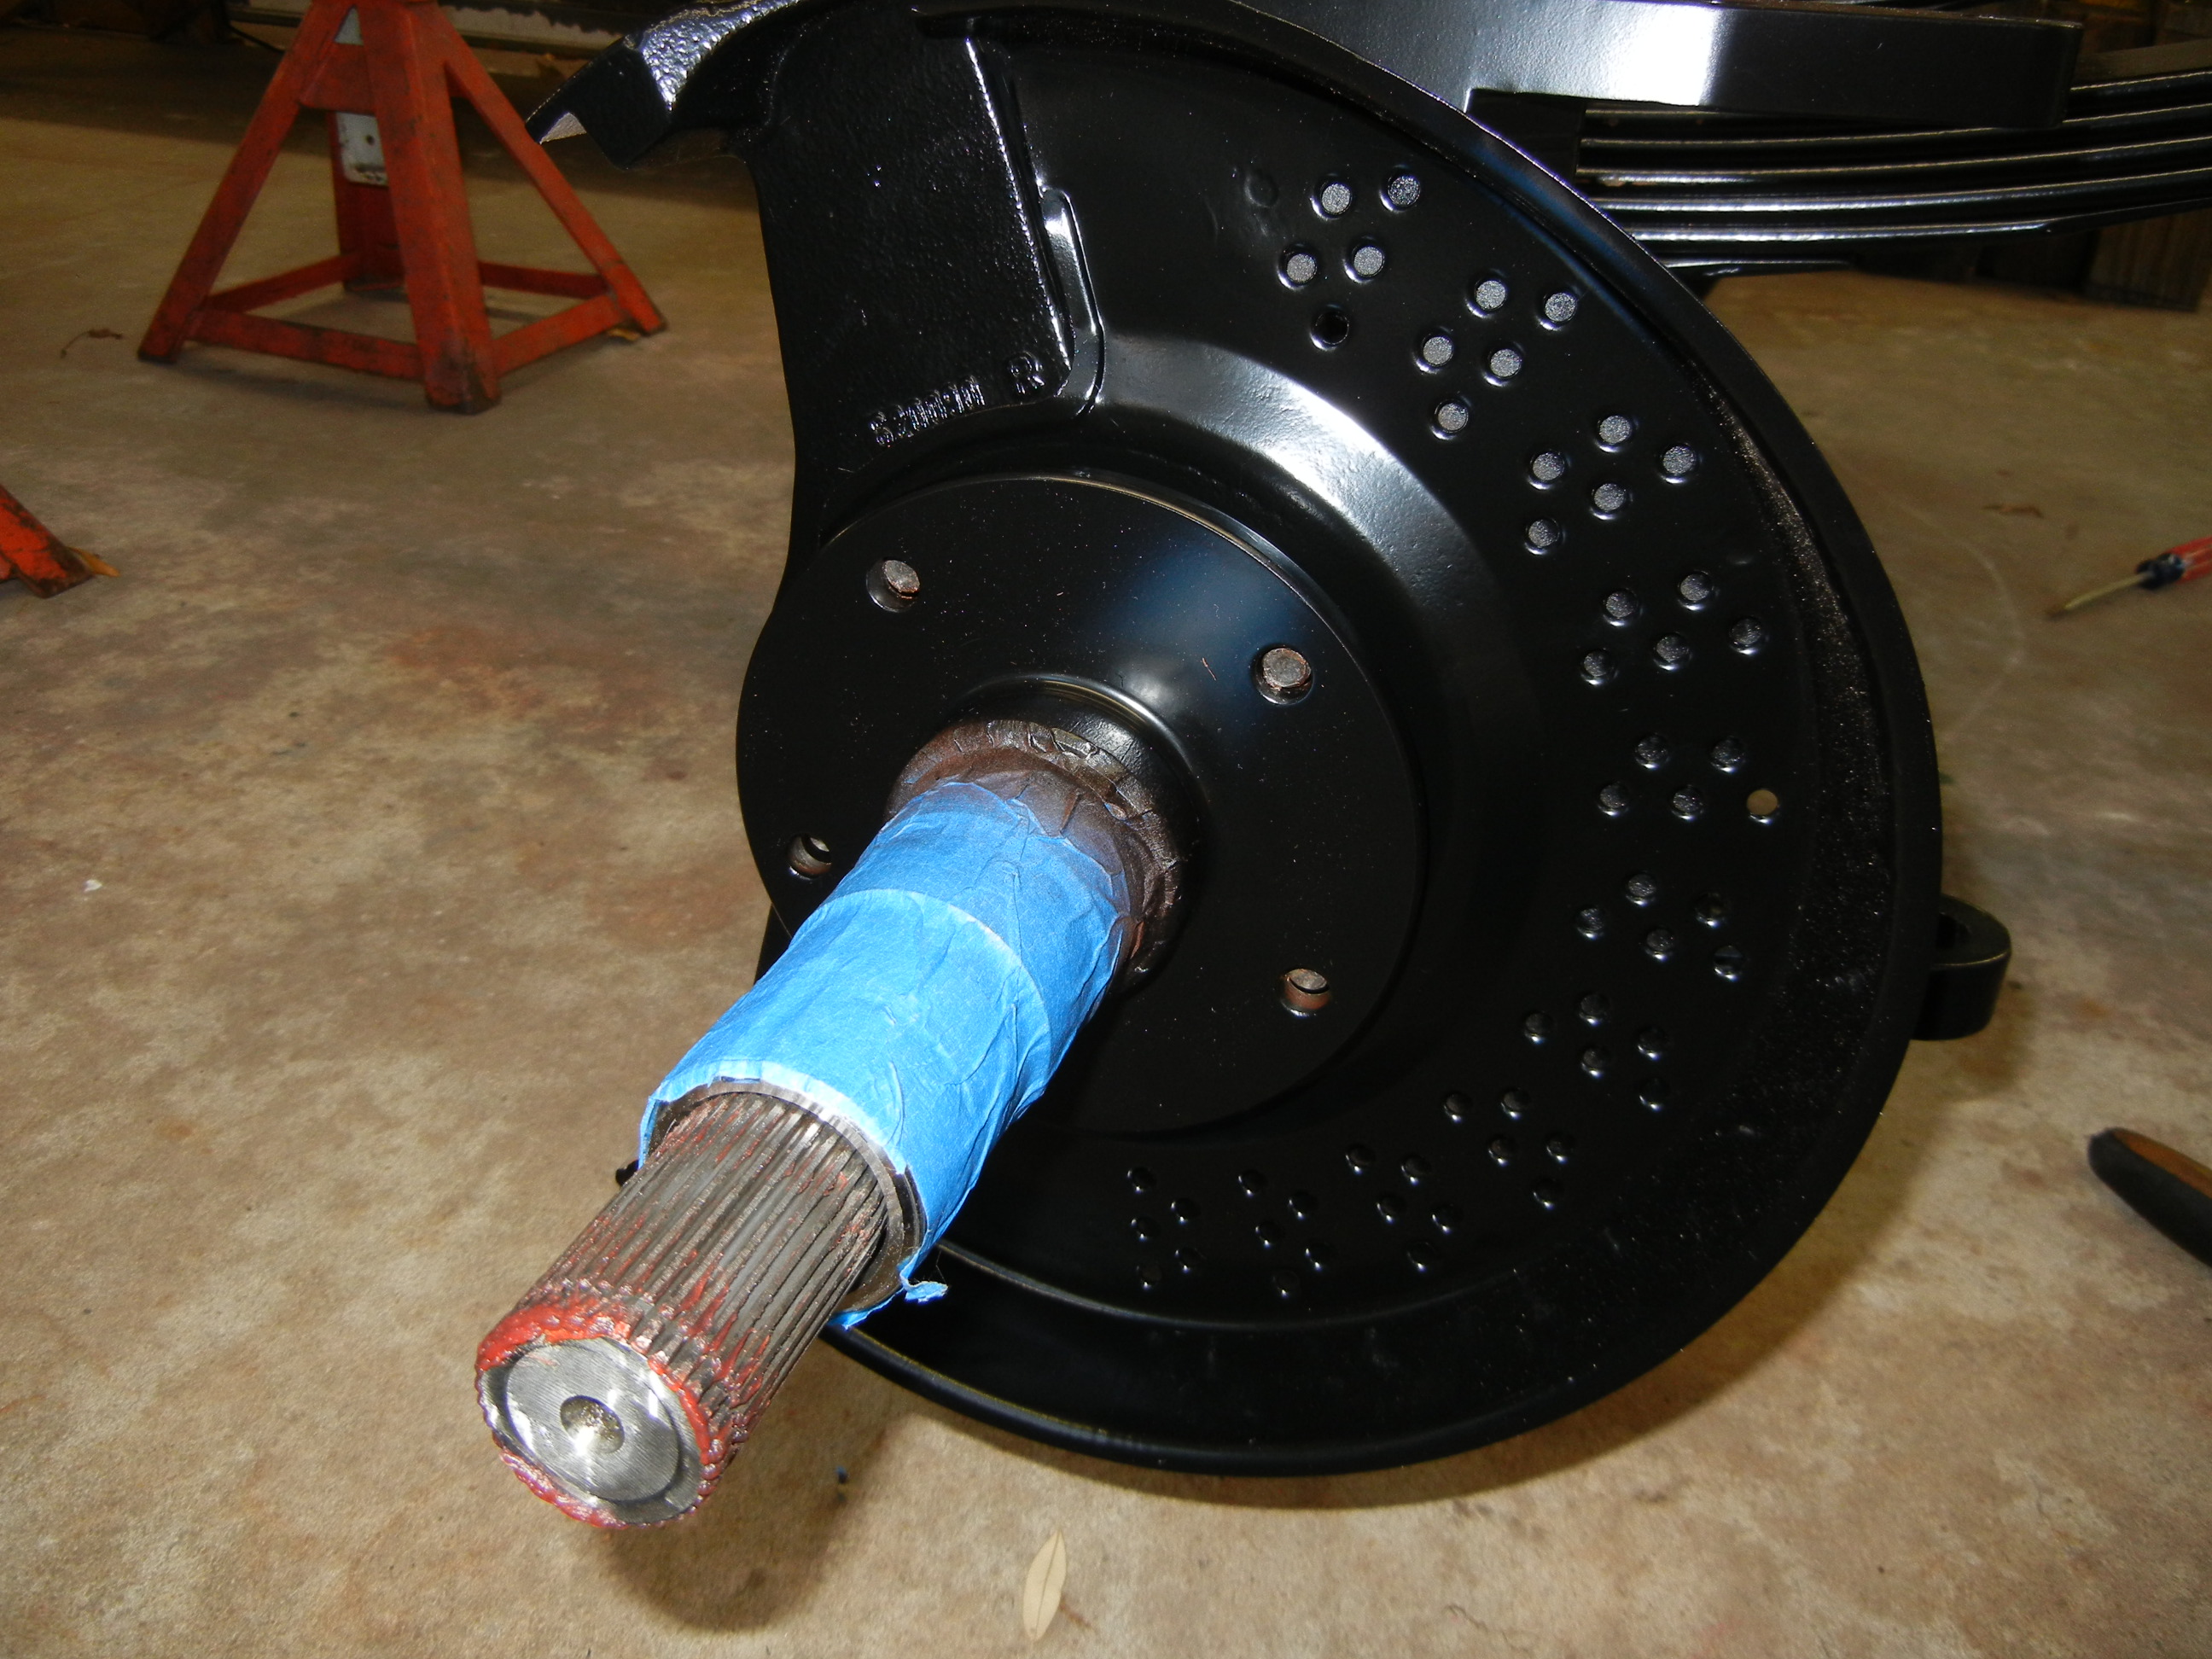
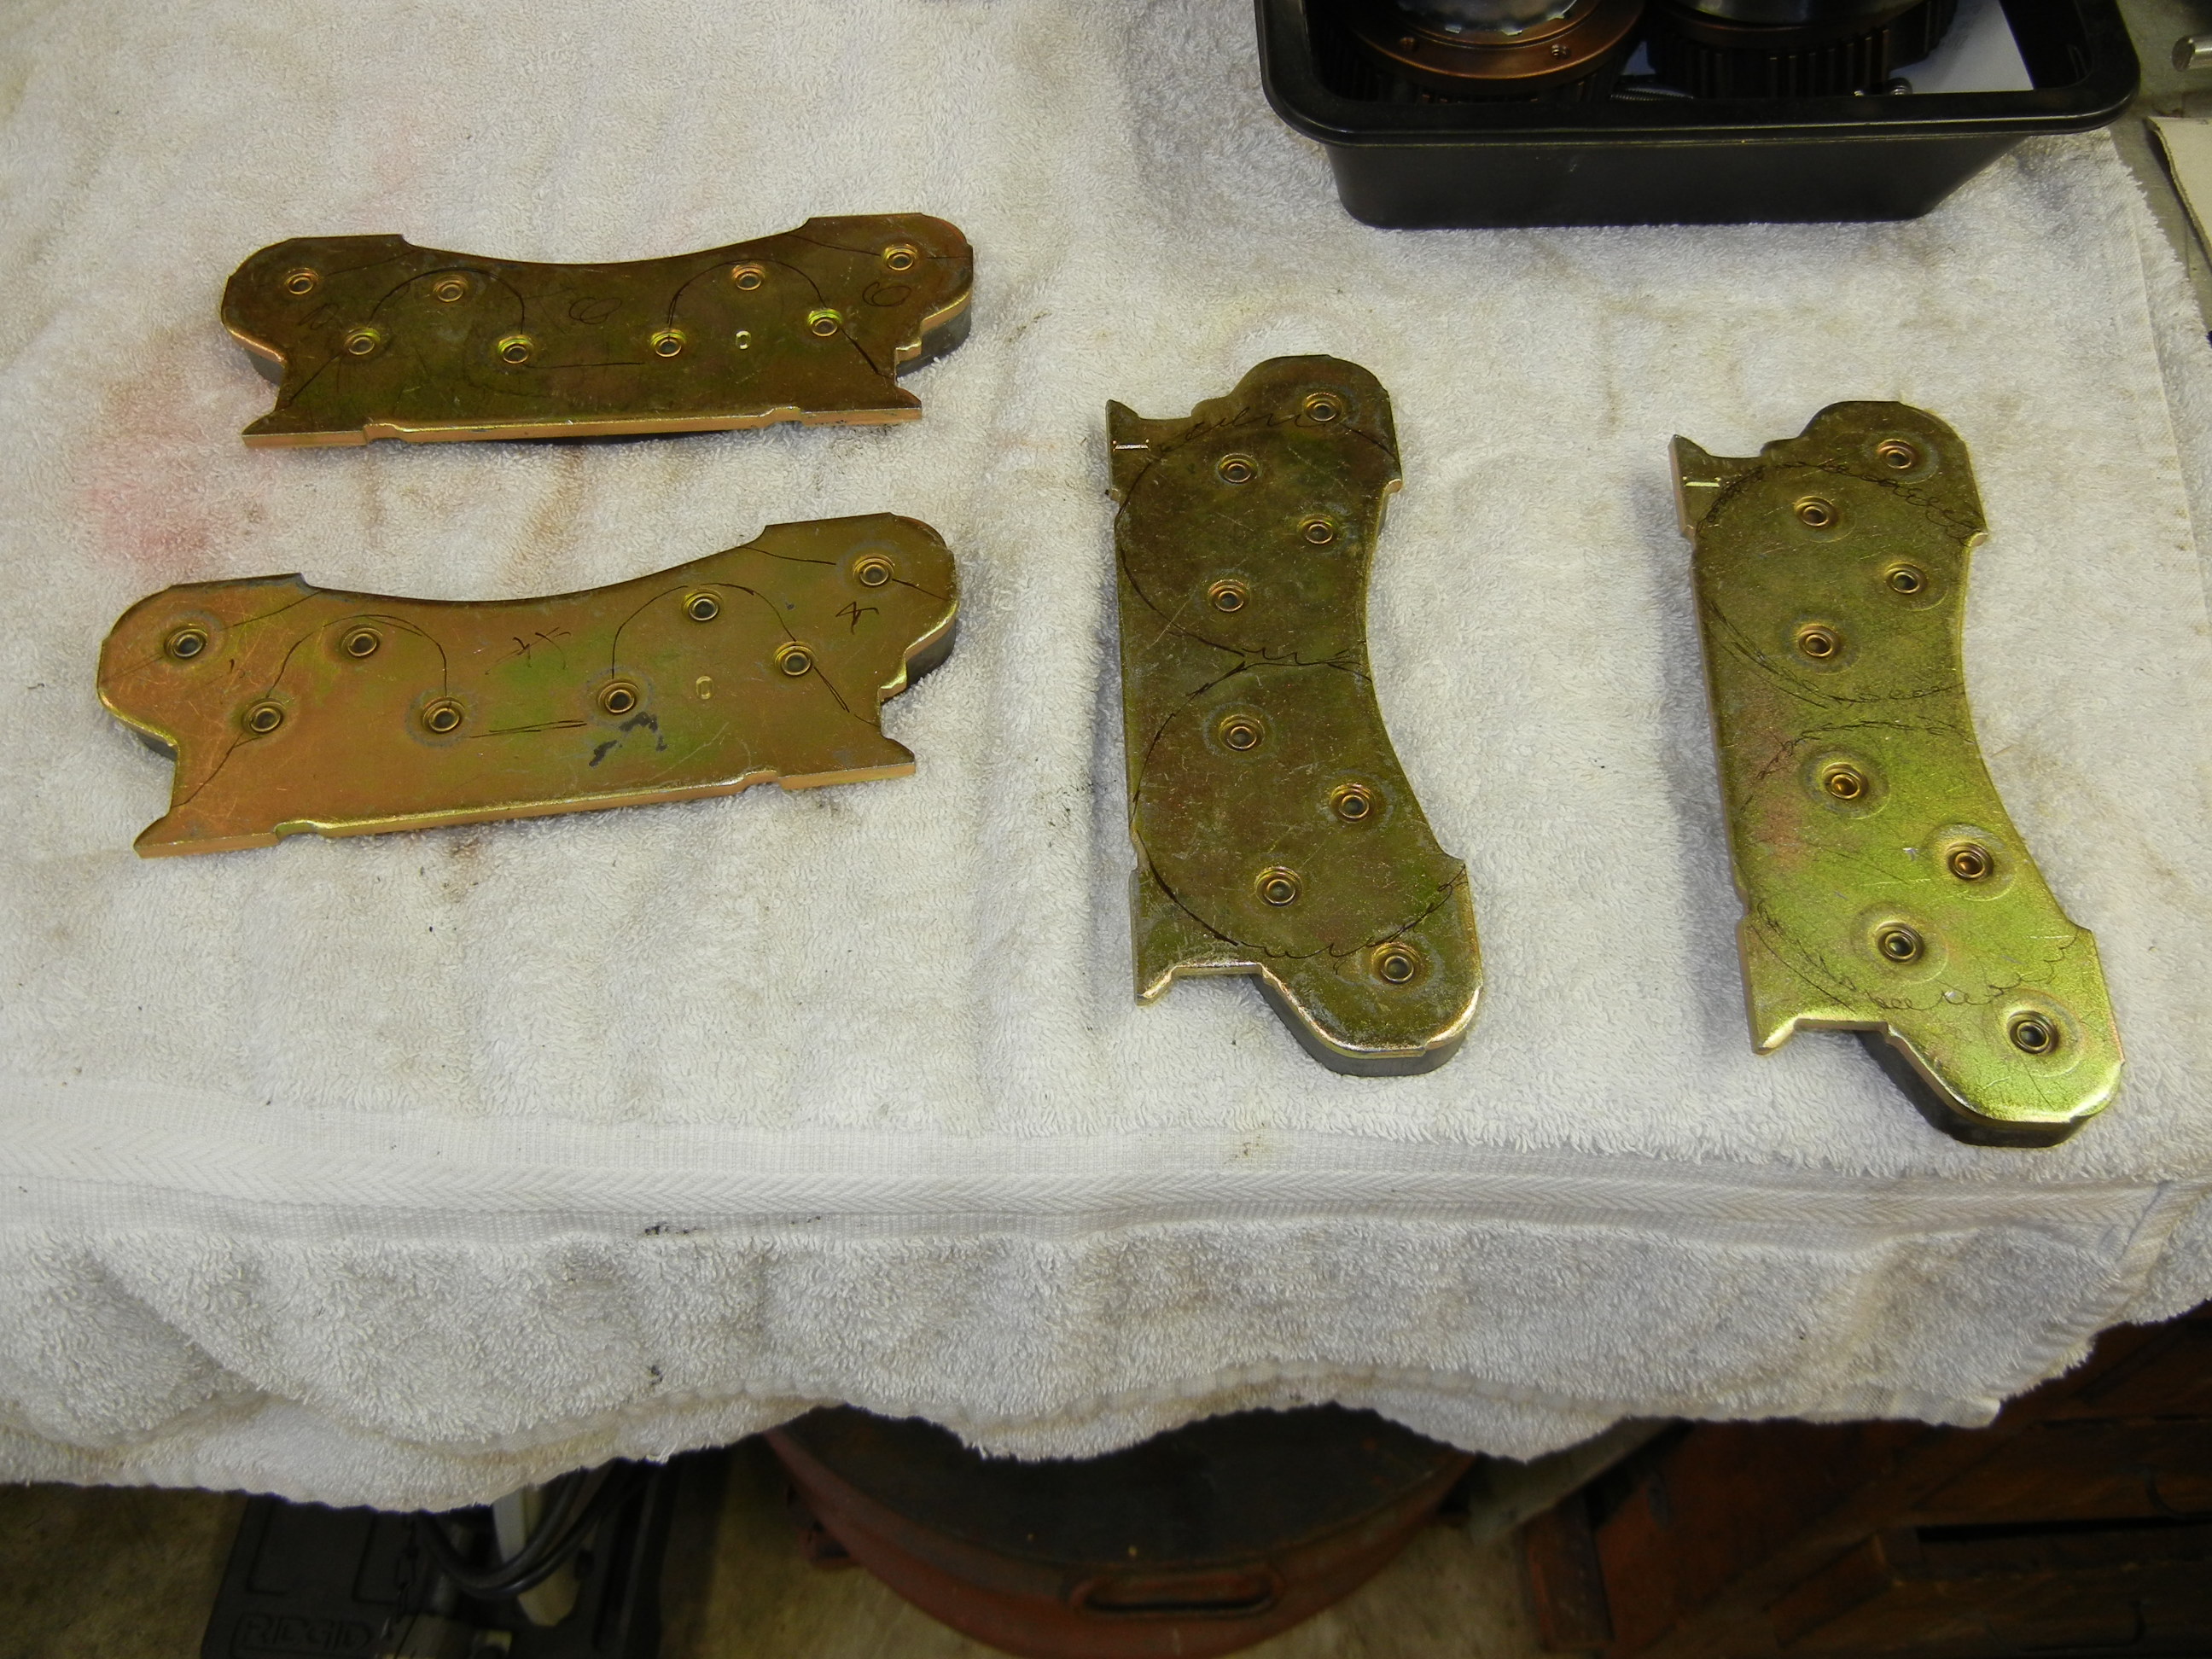
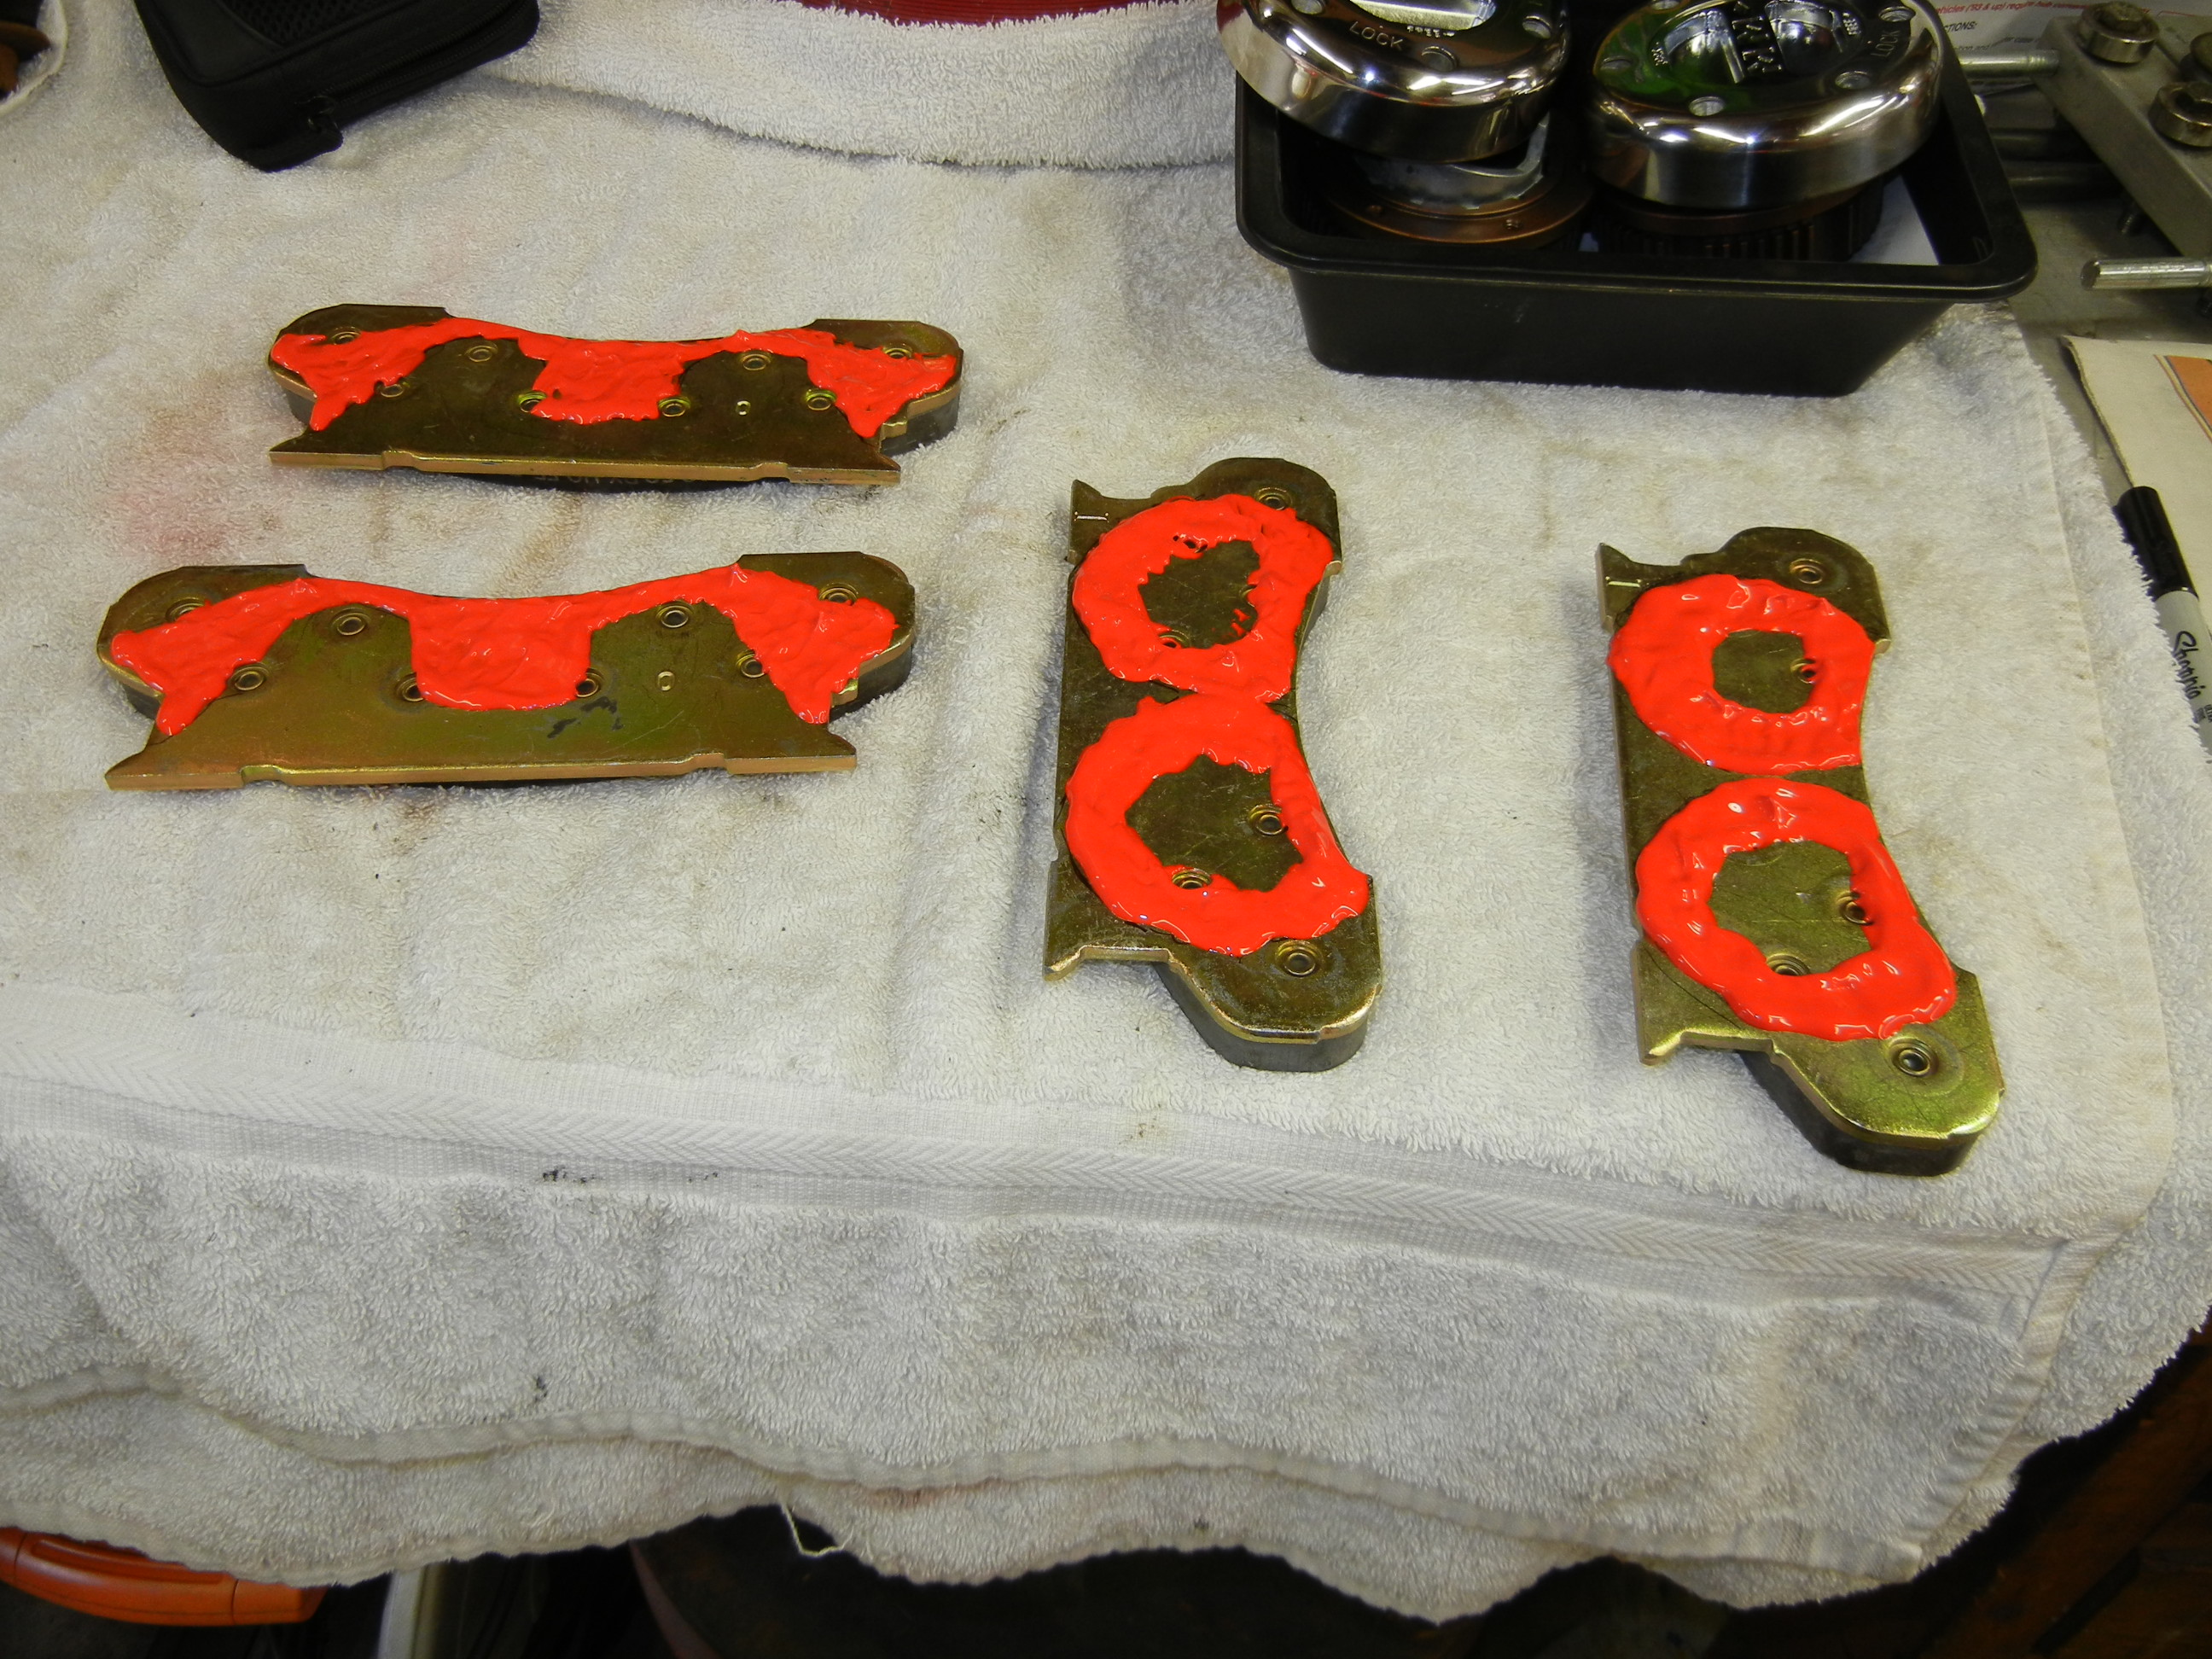
Rotors, brake brackets and splash shields primed red.
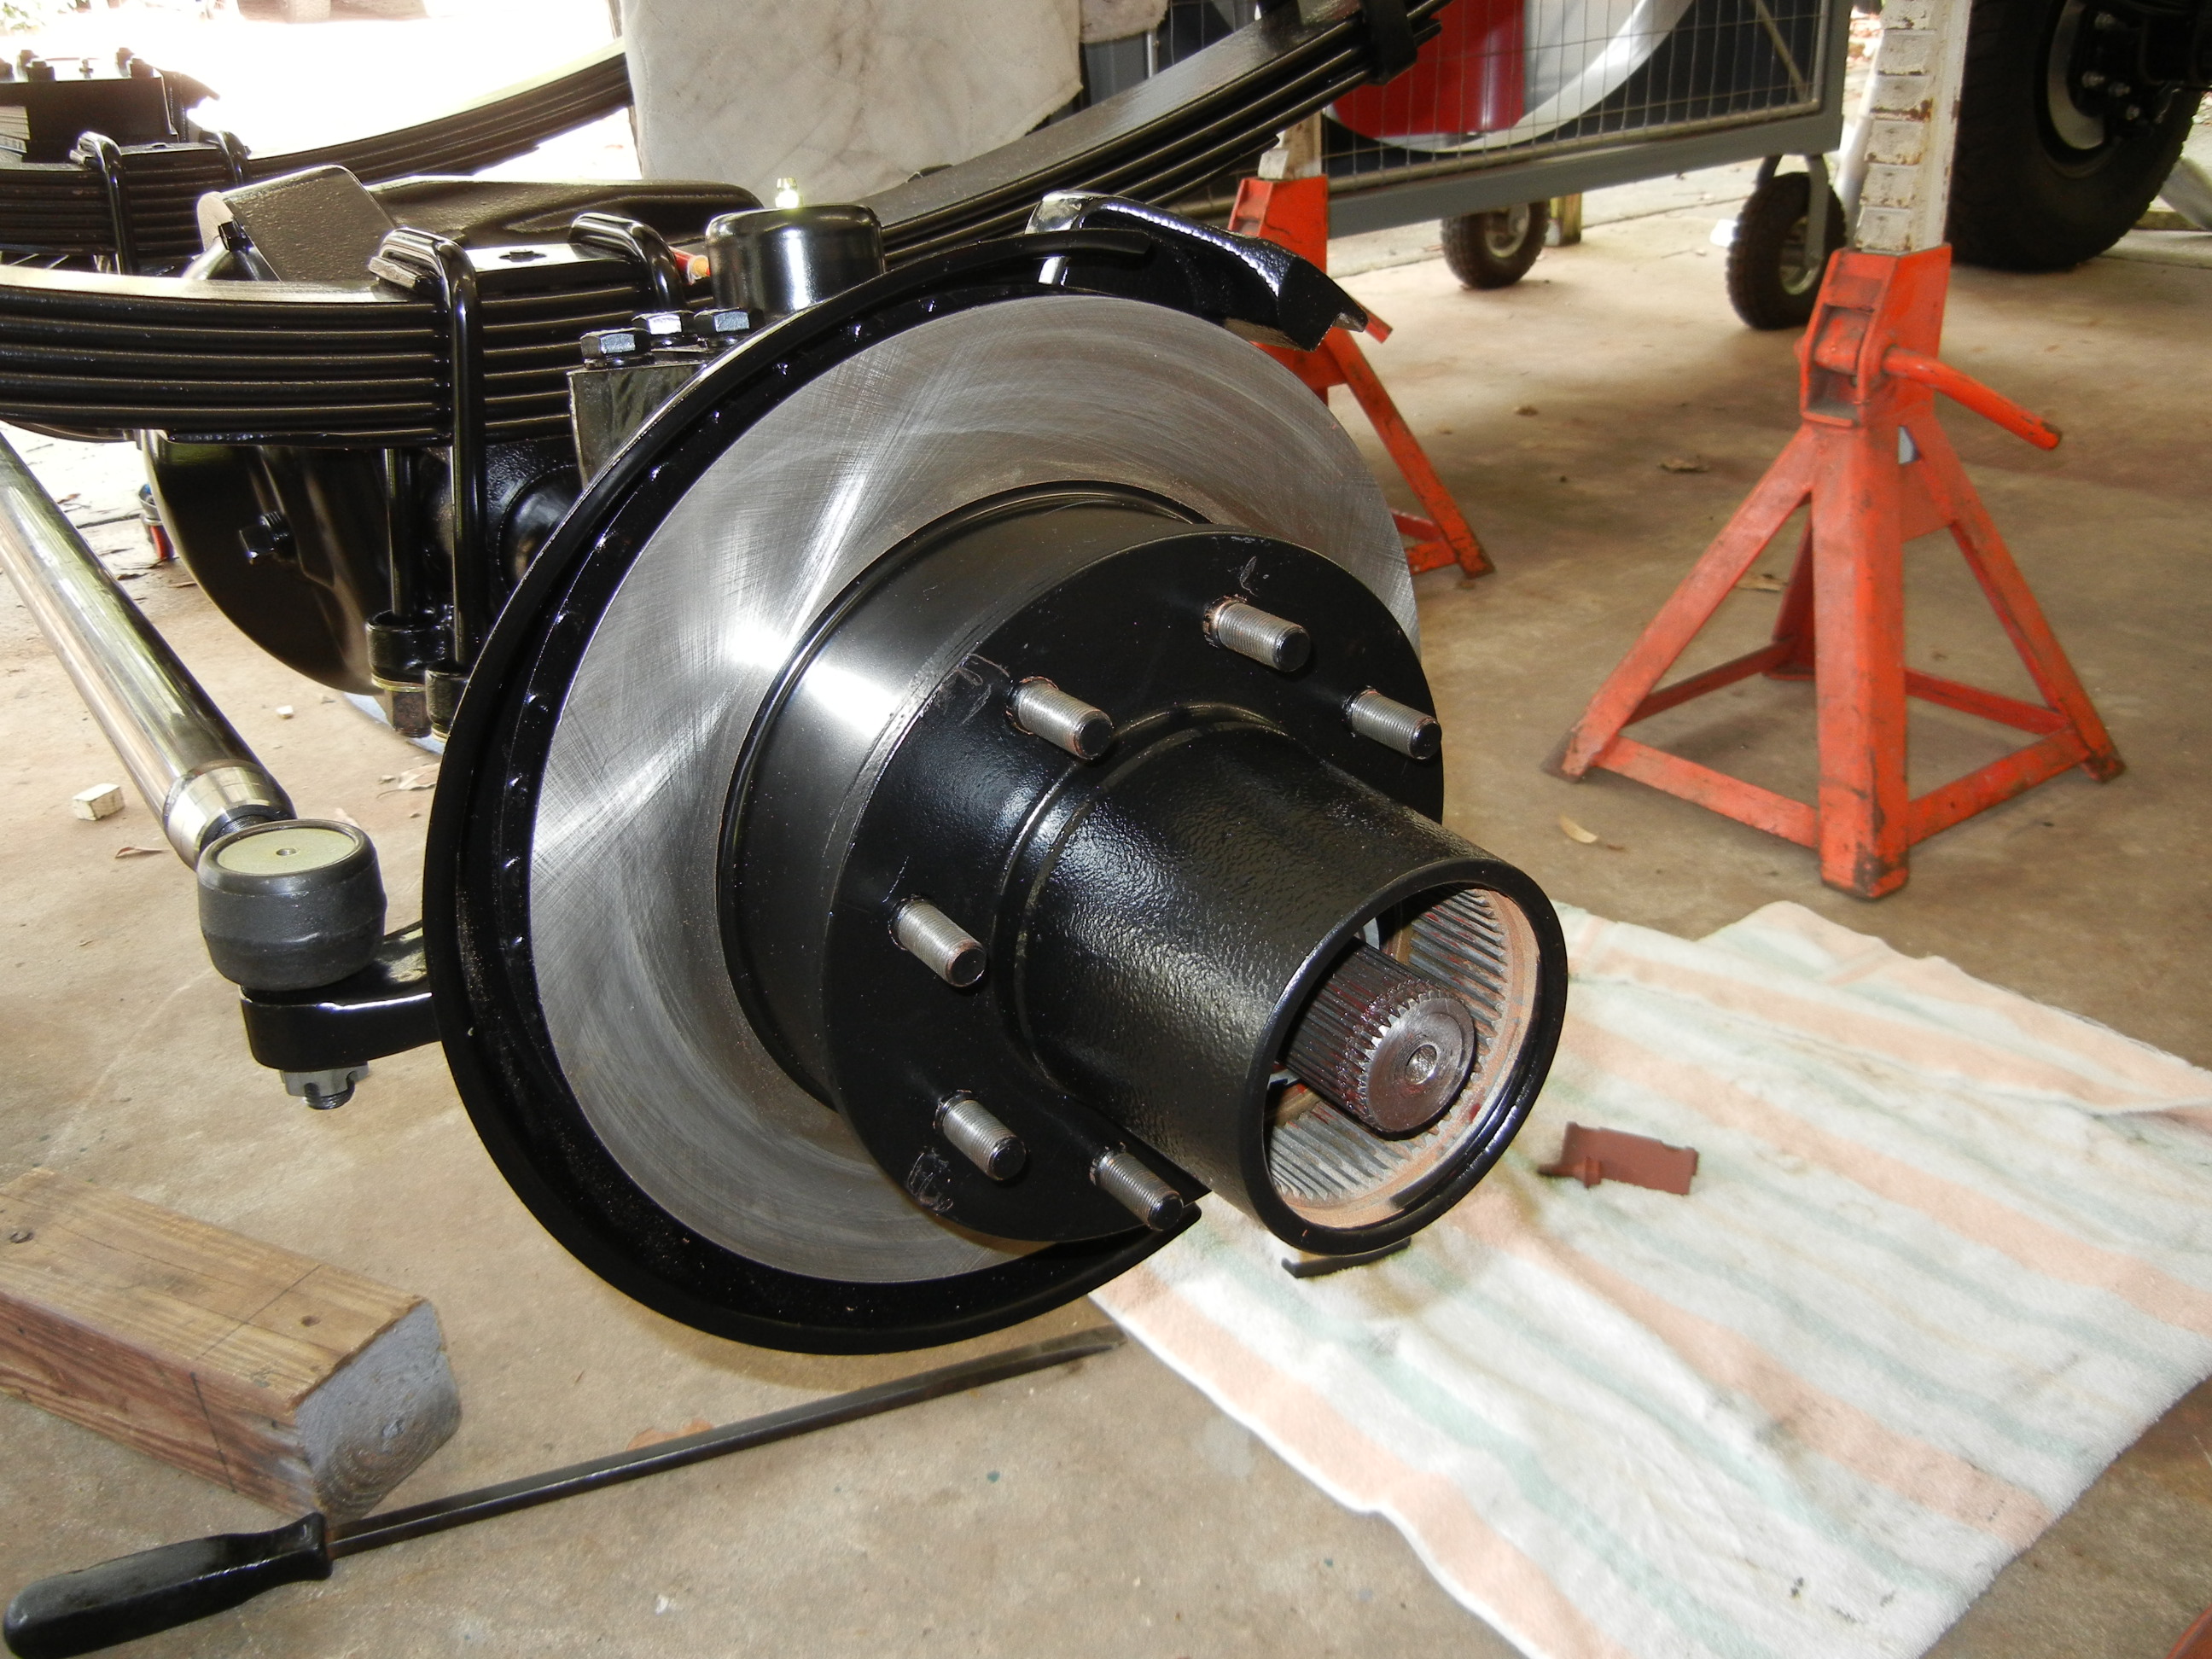
Rotors, brake brackets and splash shields painted black.
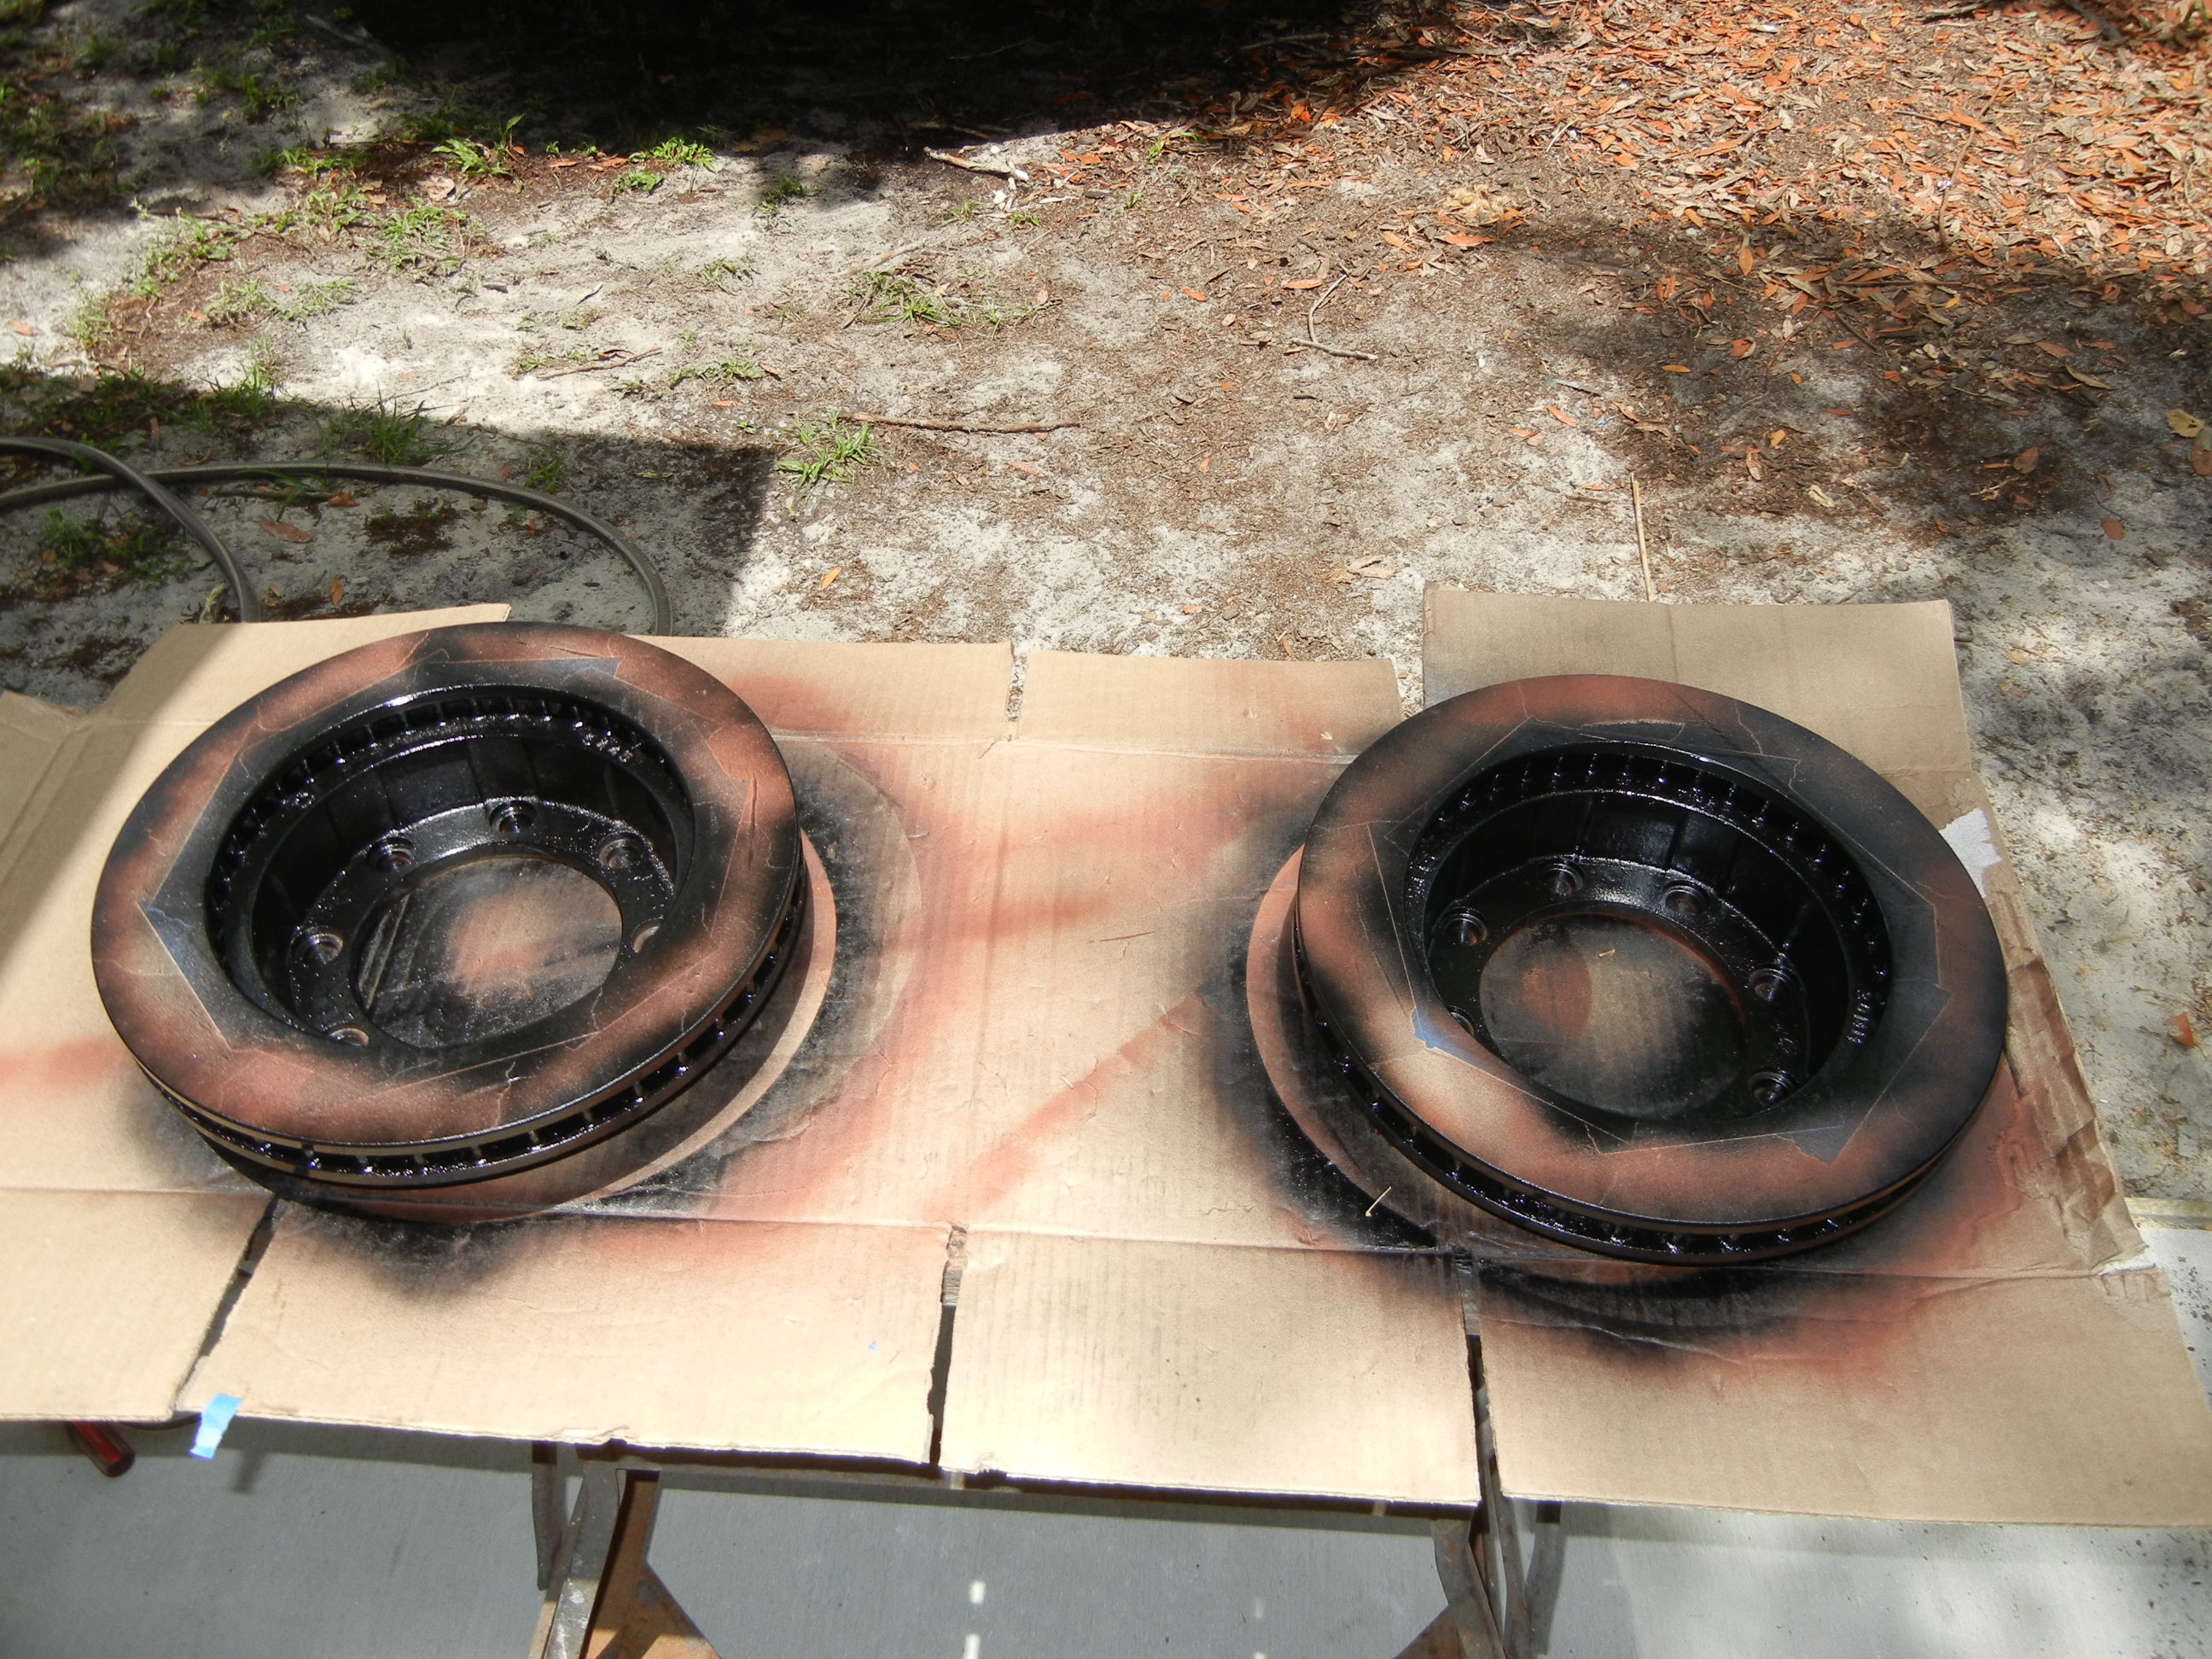
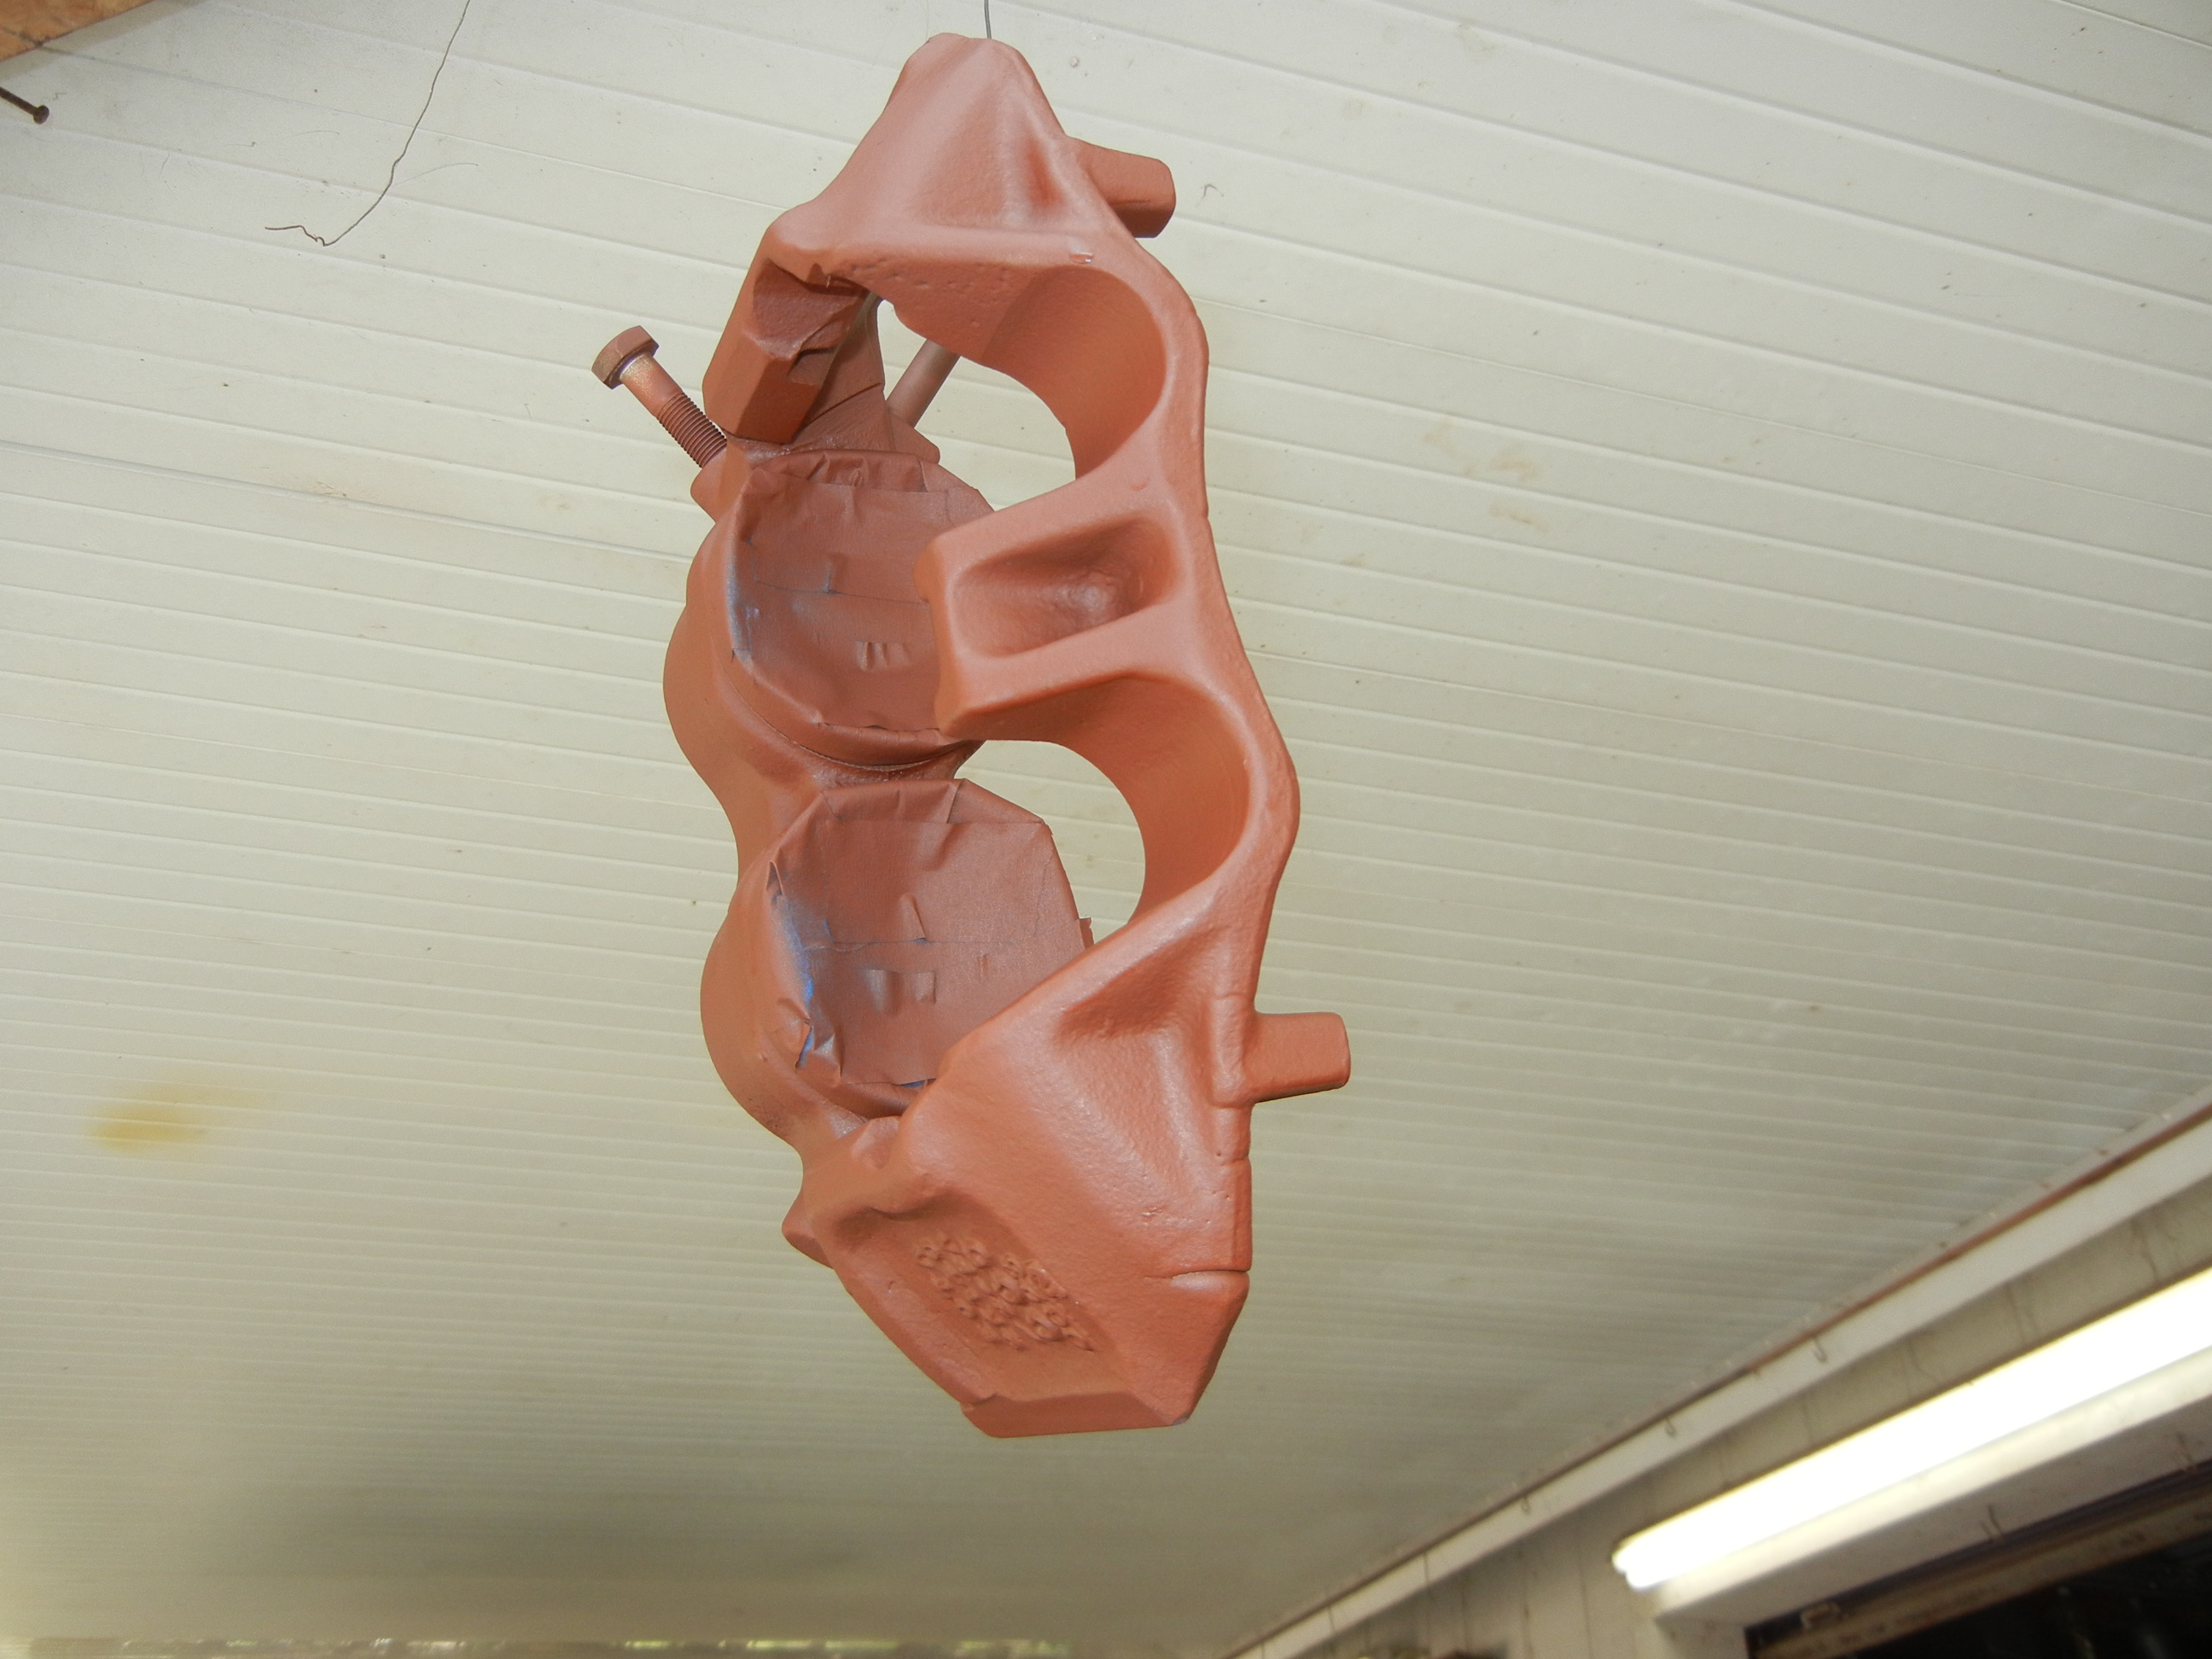
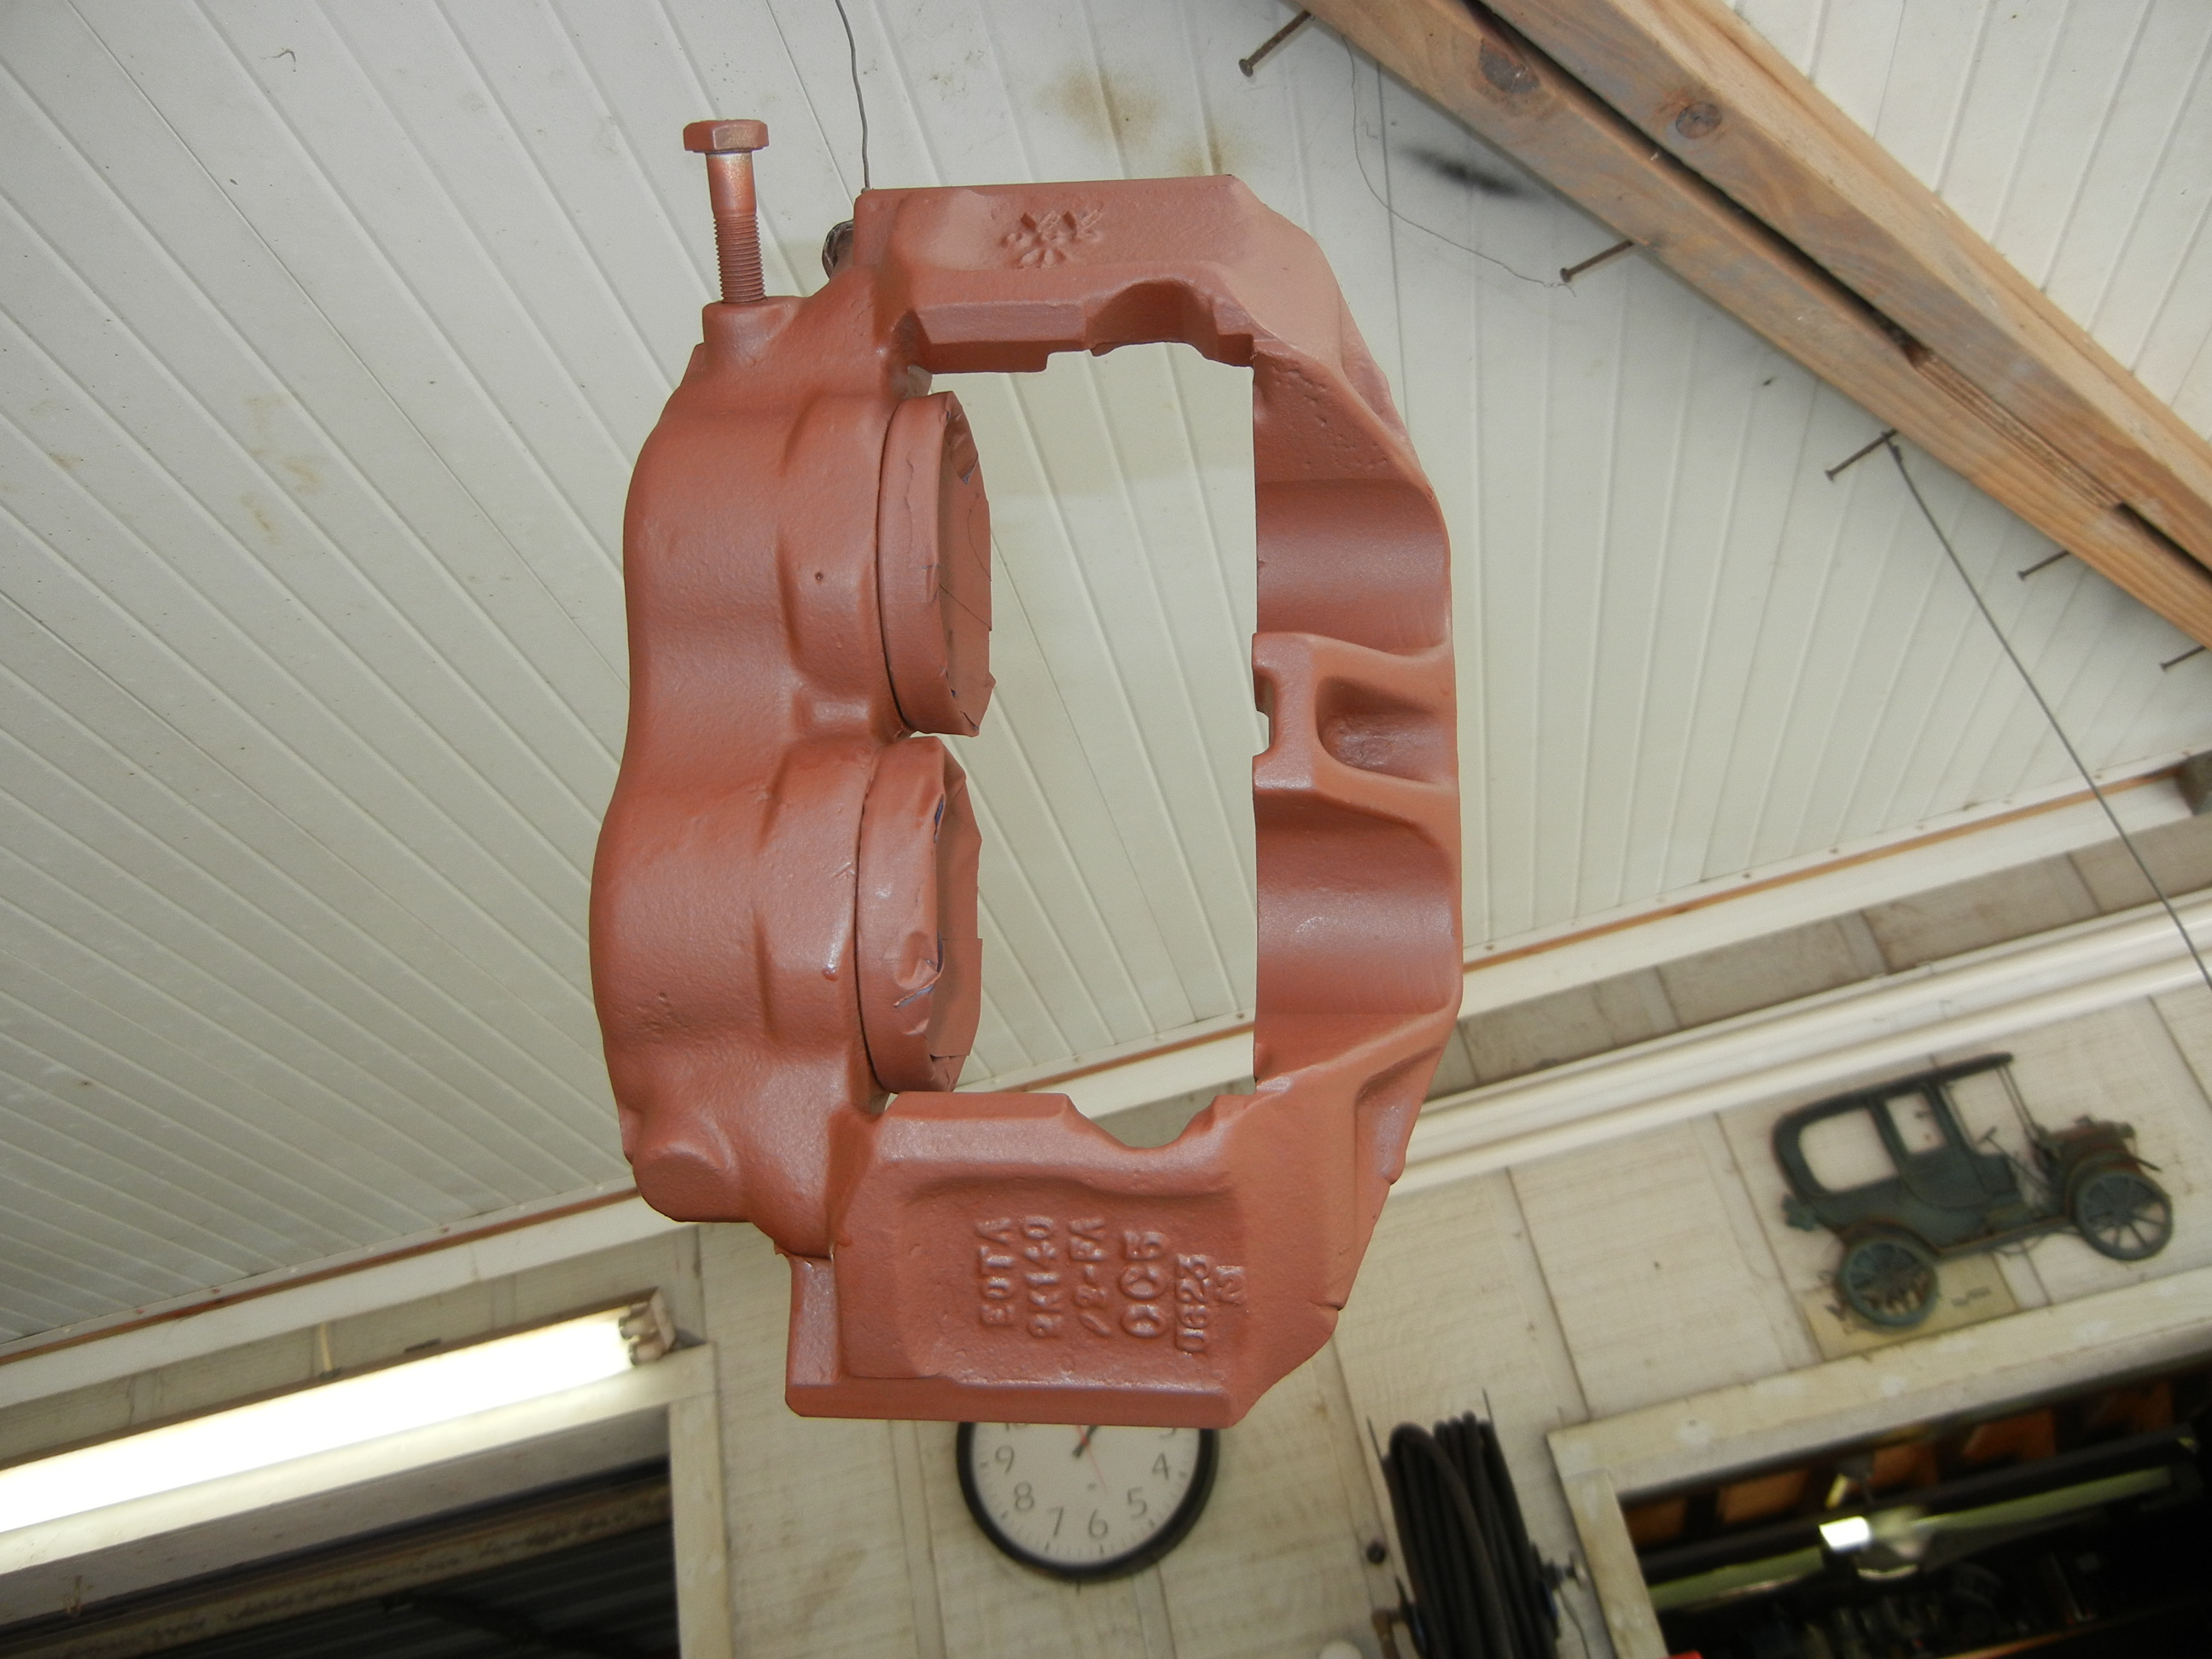
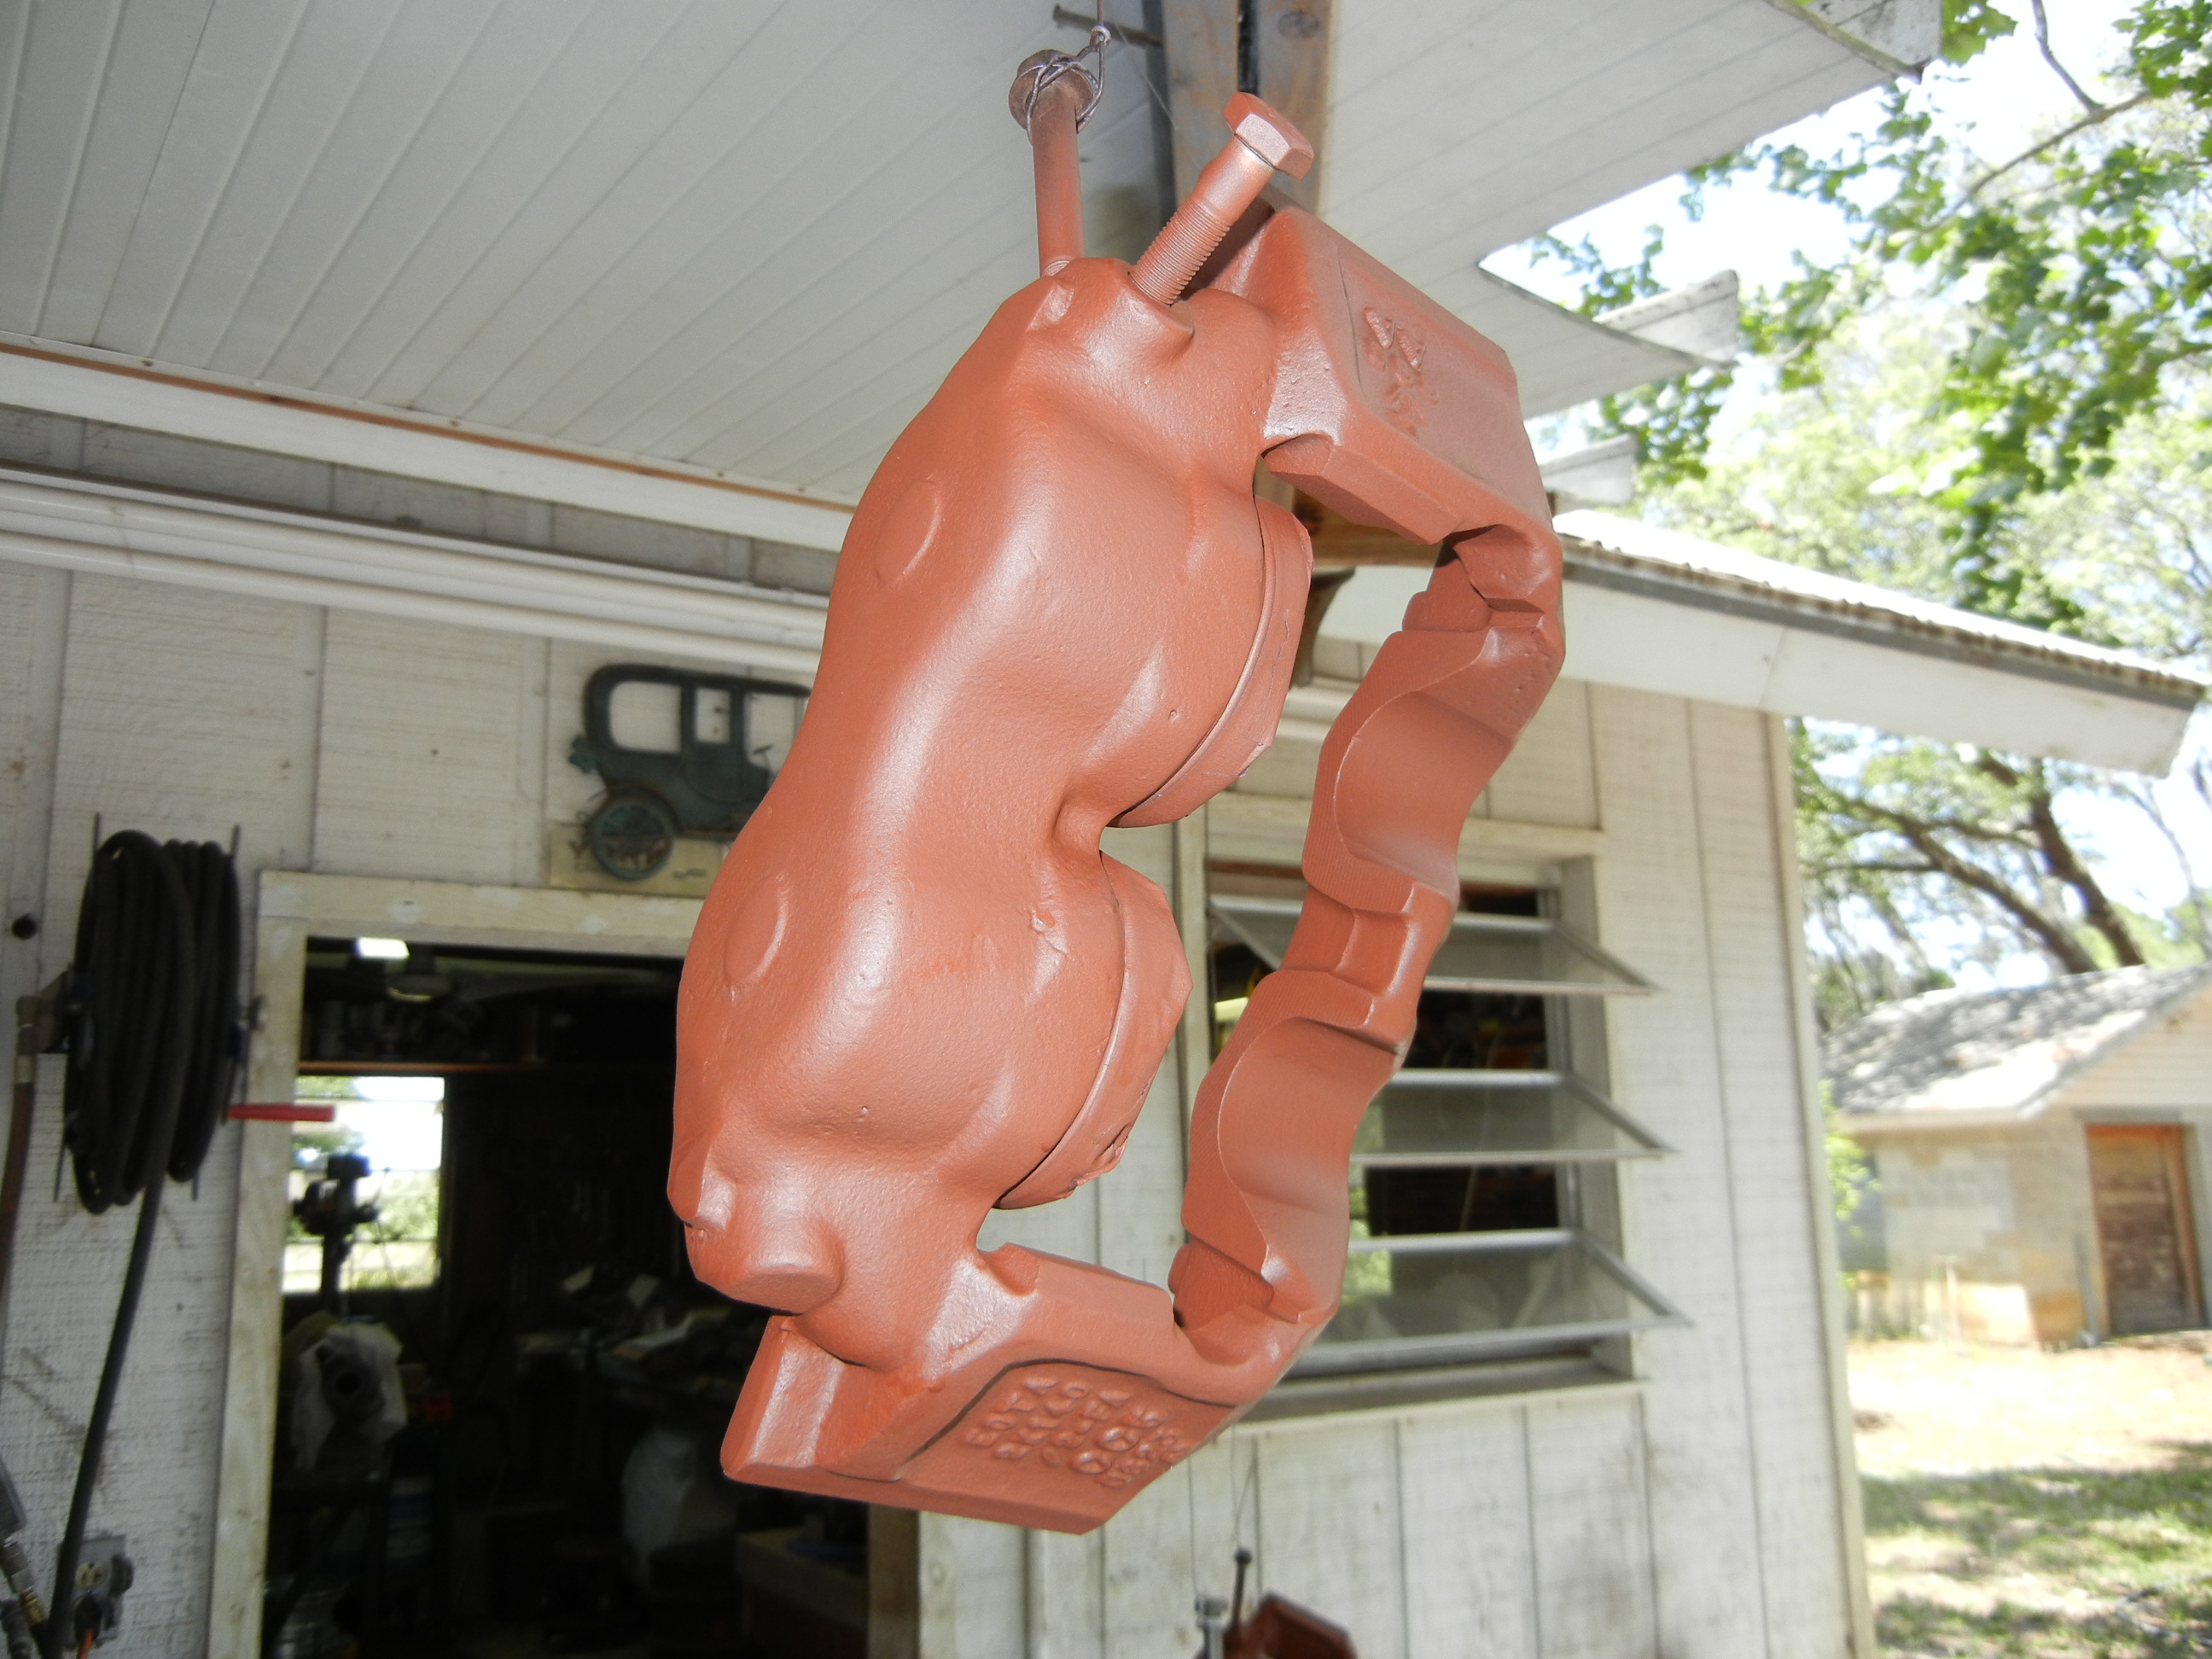
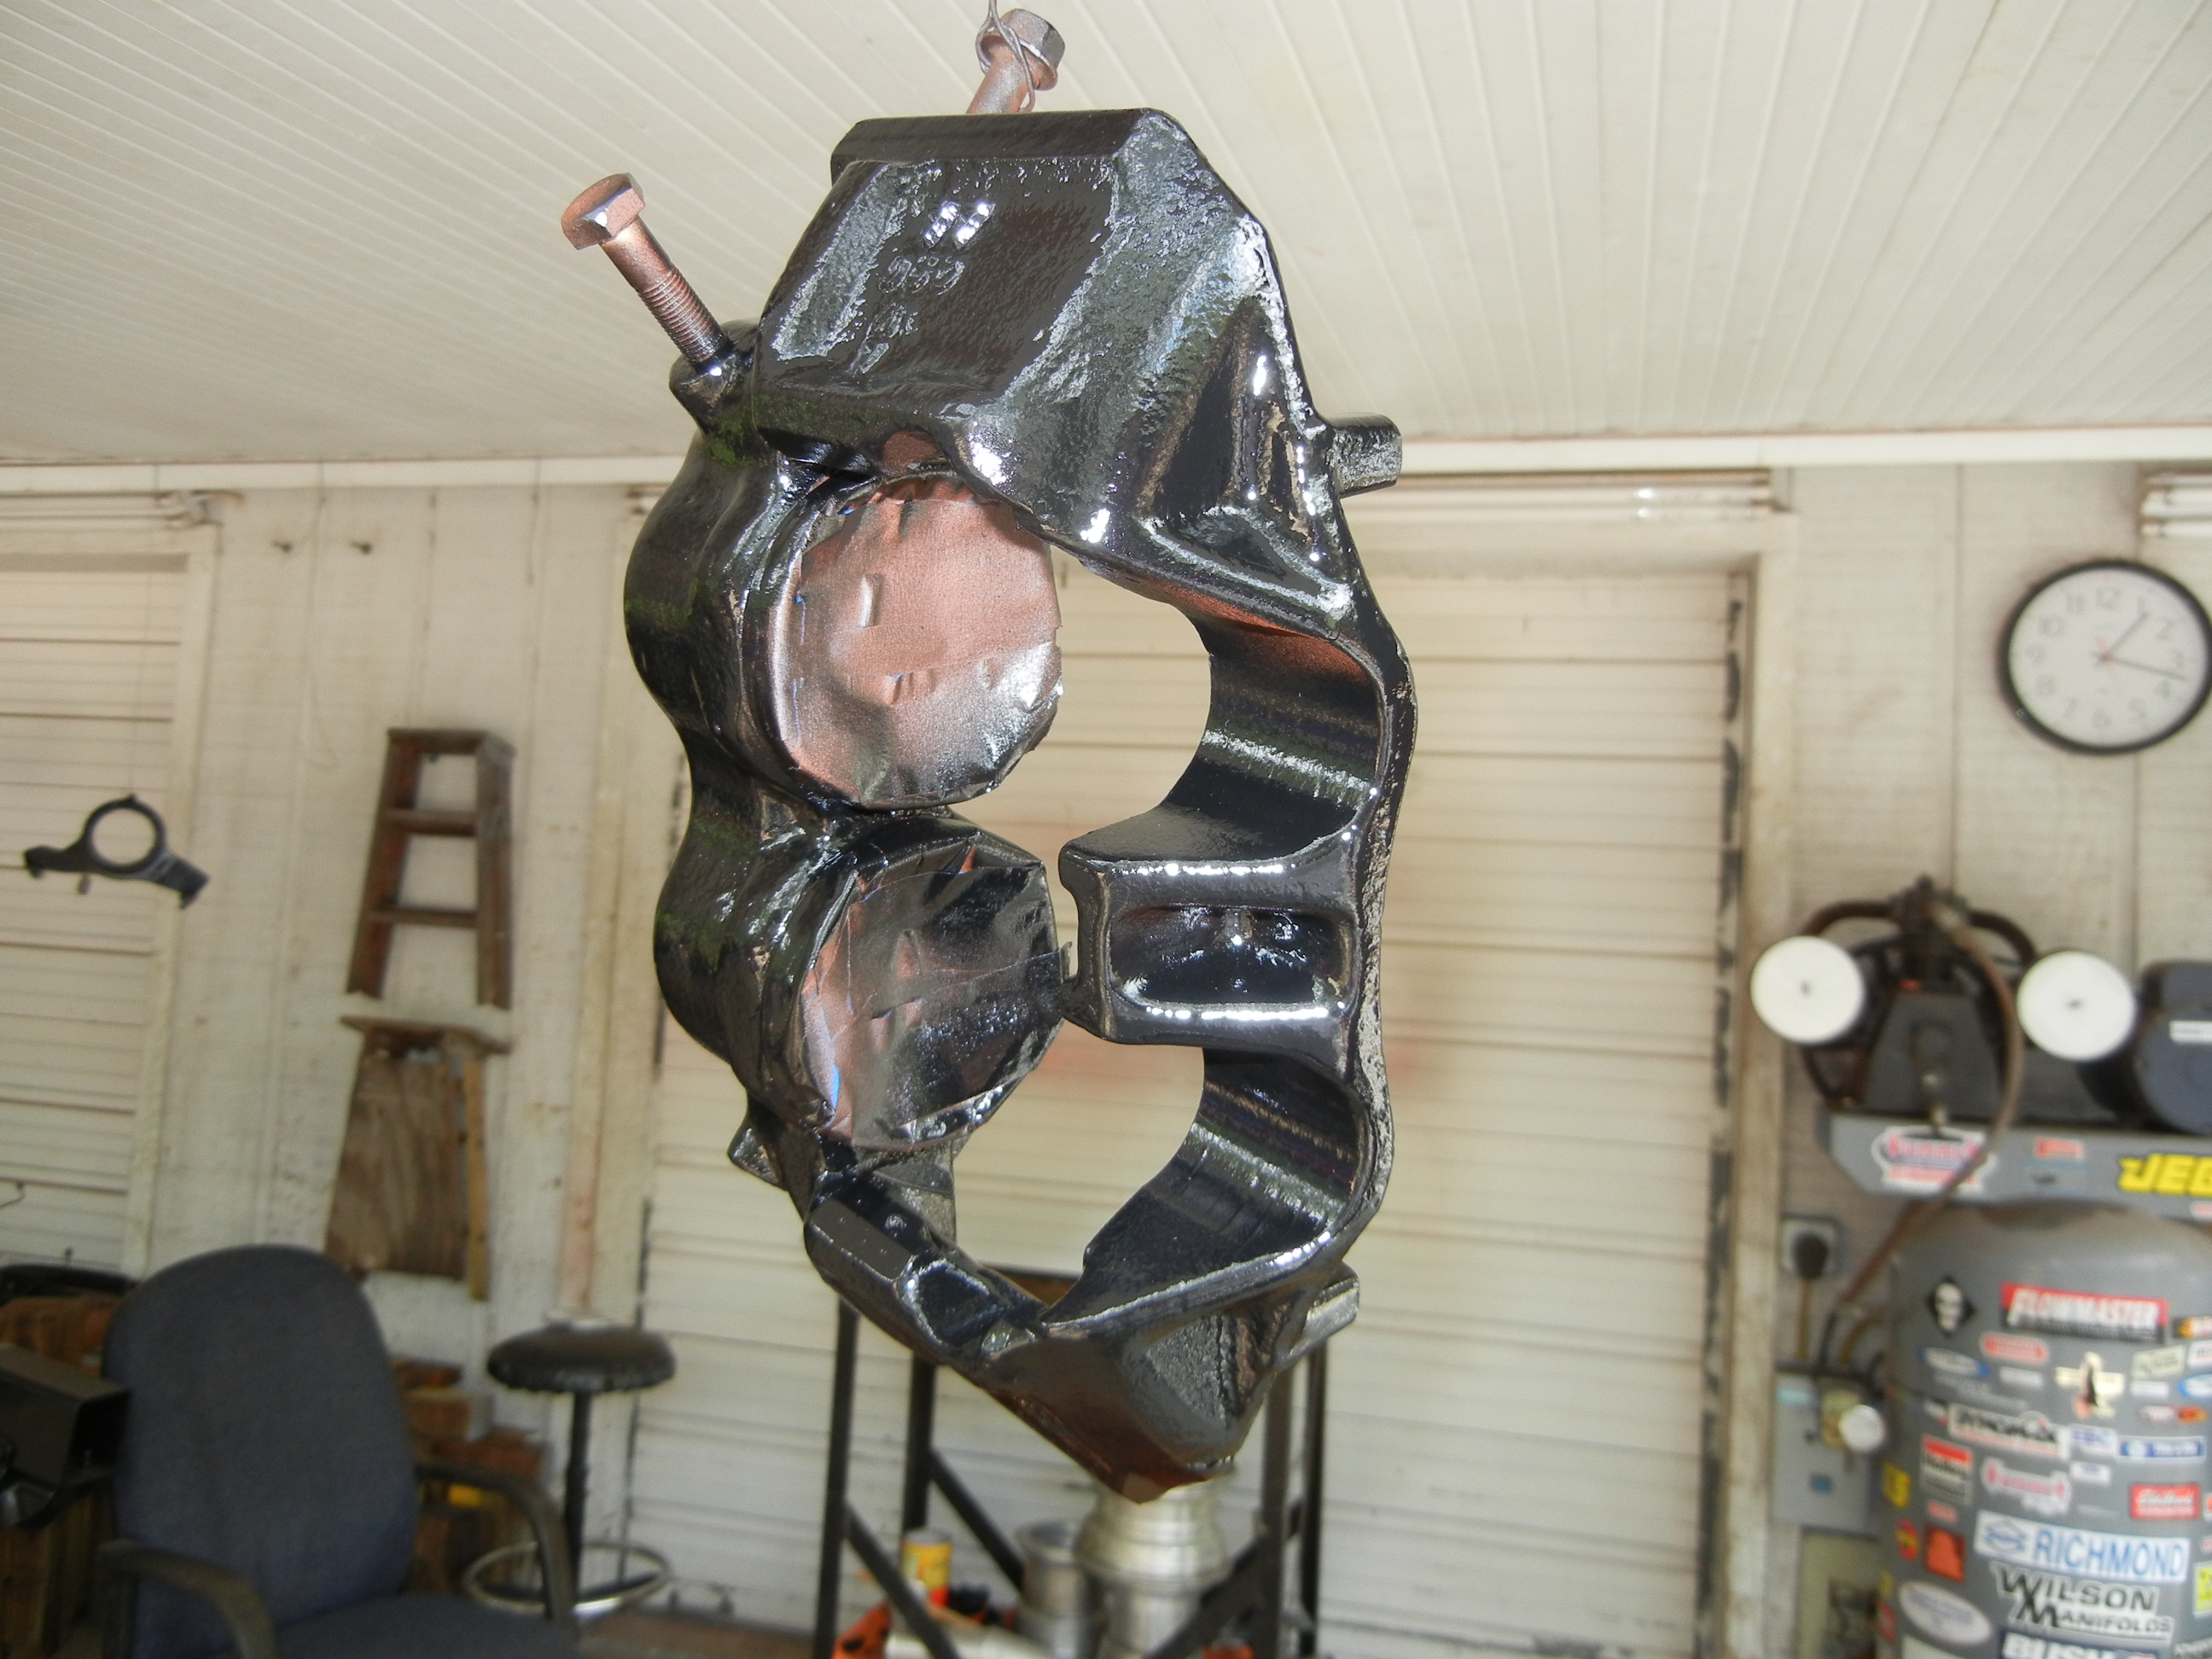
Here the one piece brake calipers received their special treatment. I know I missed a spot. They will get a second coat!
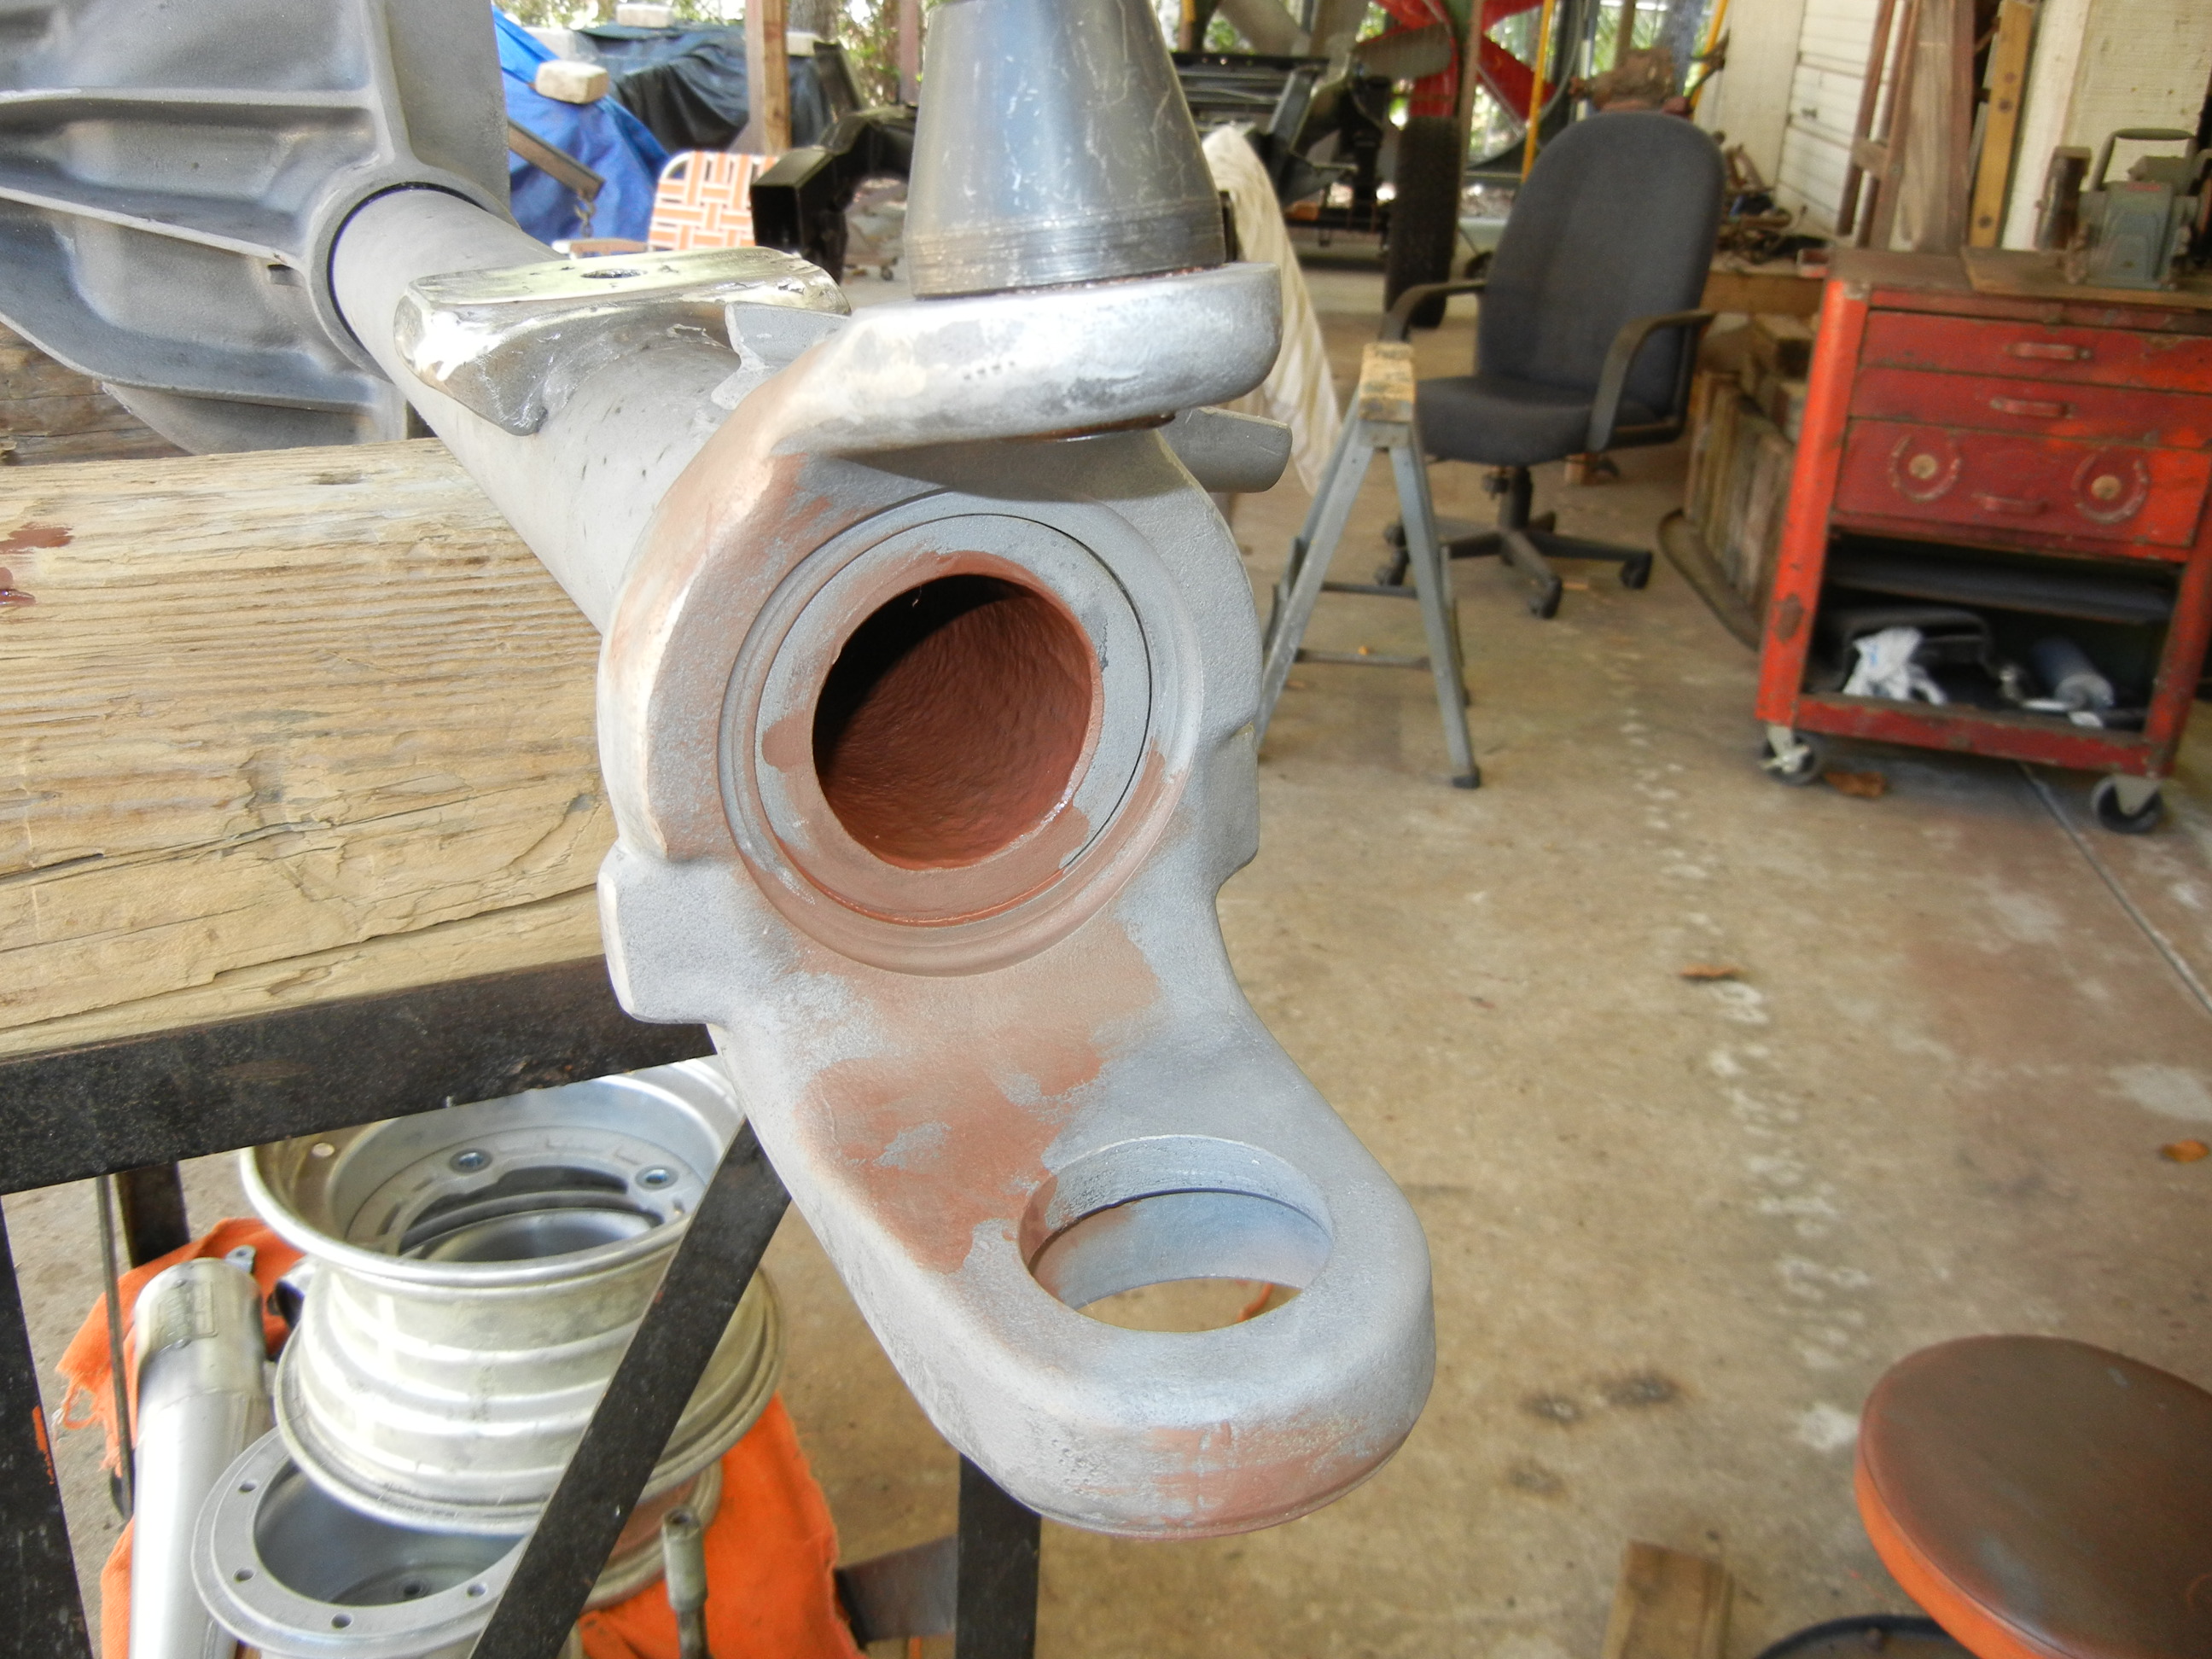
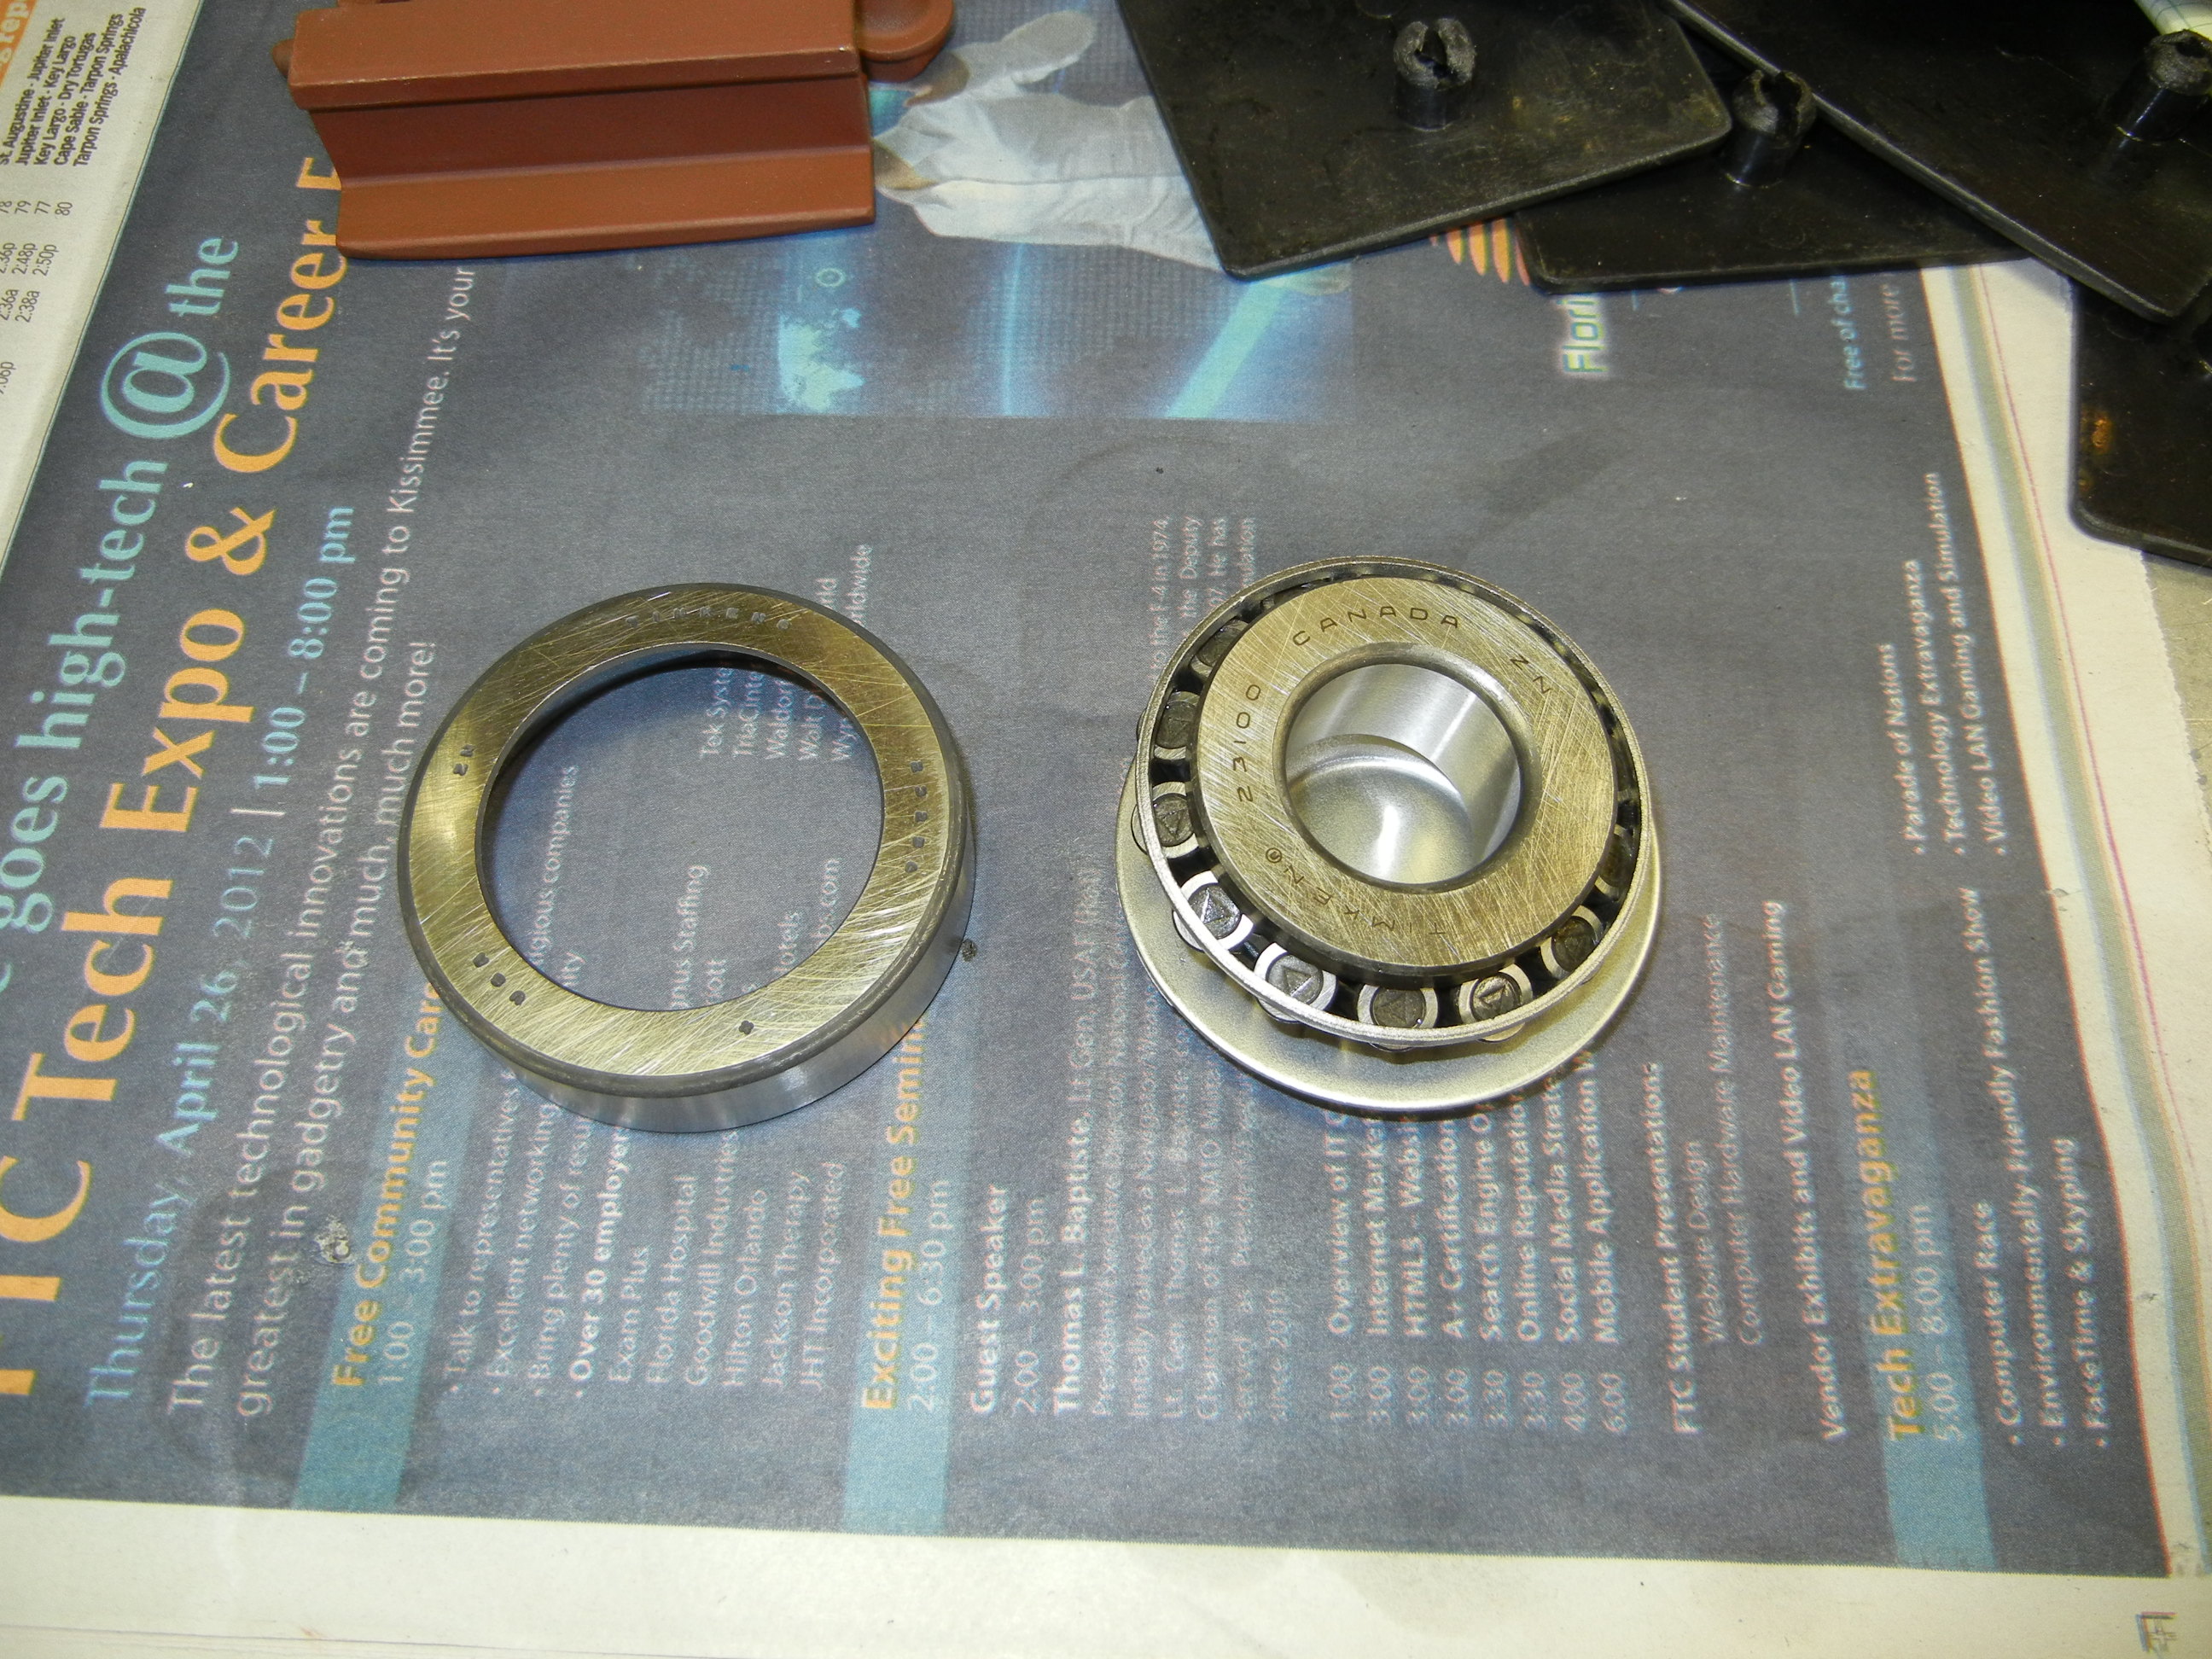
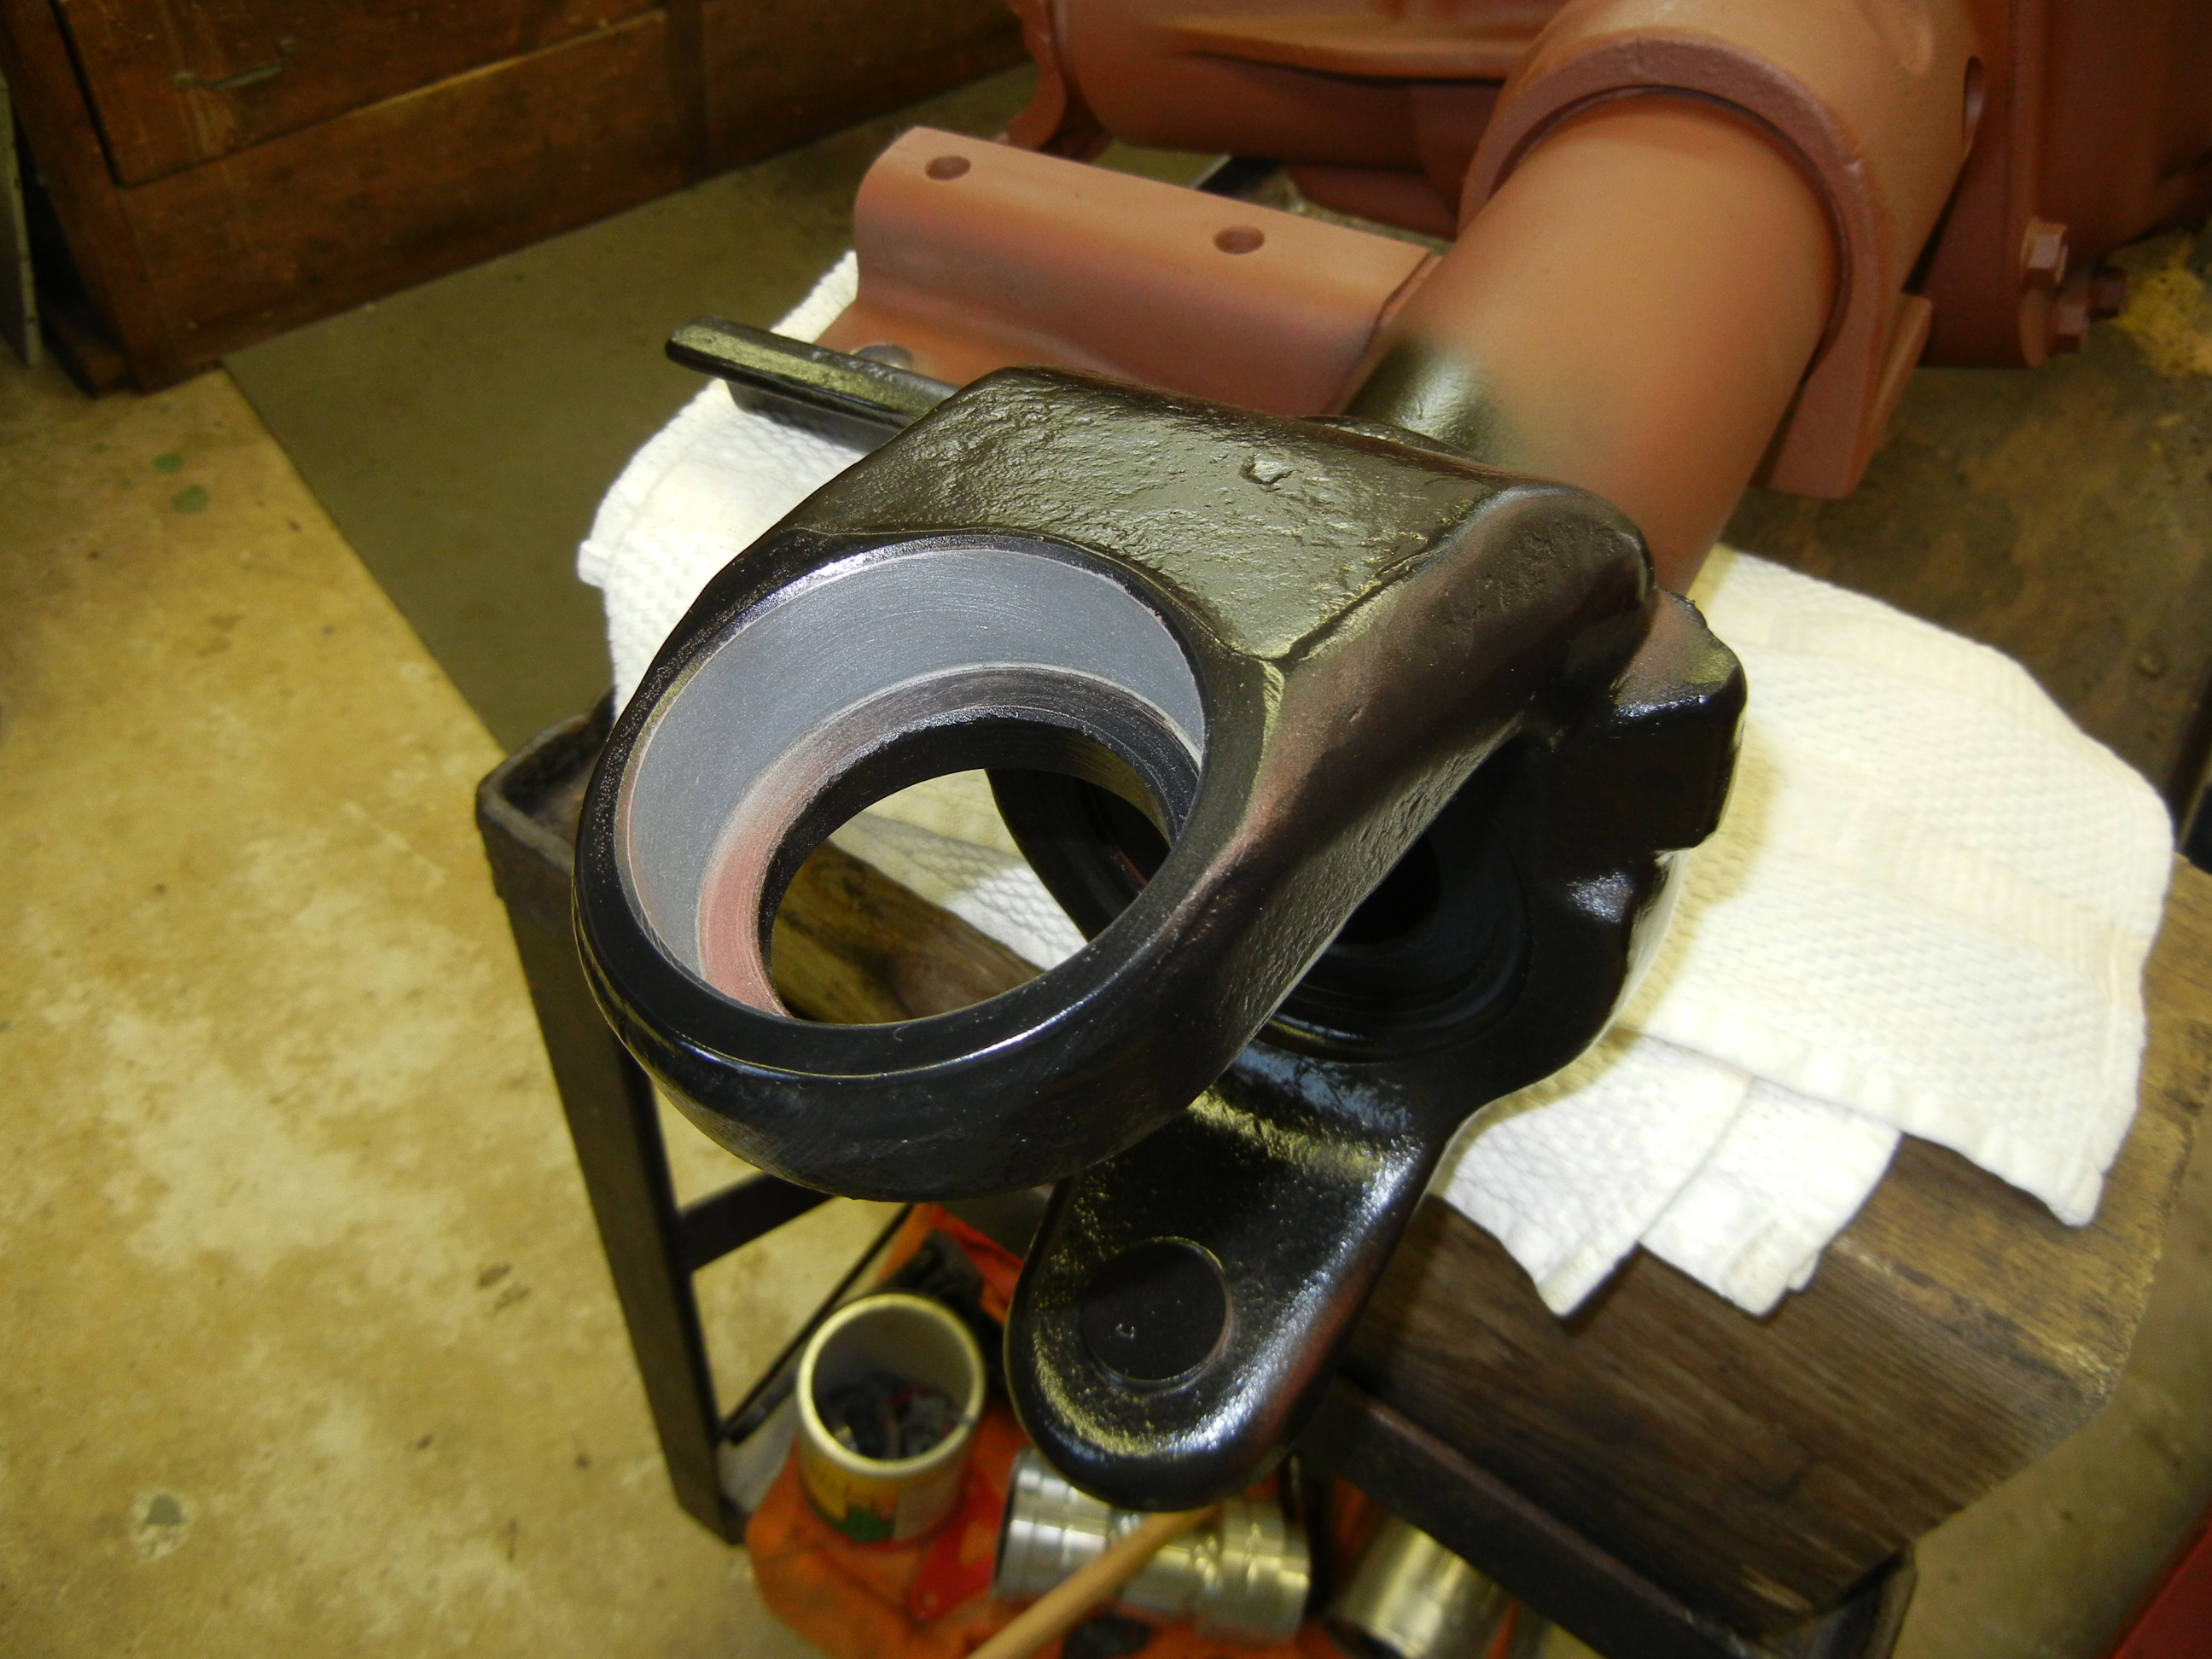
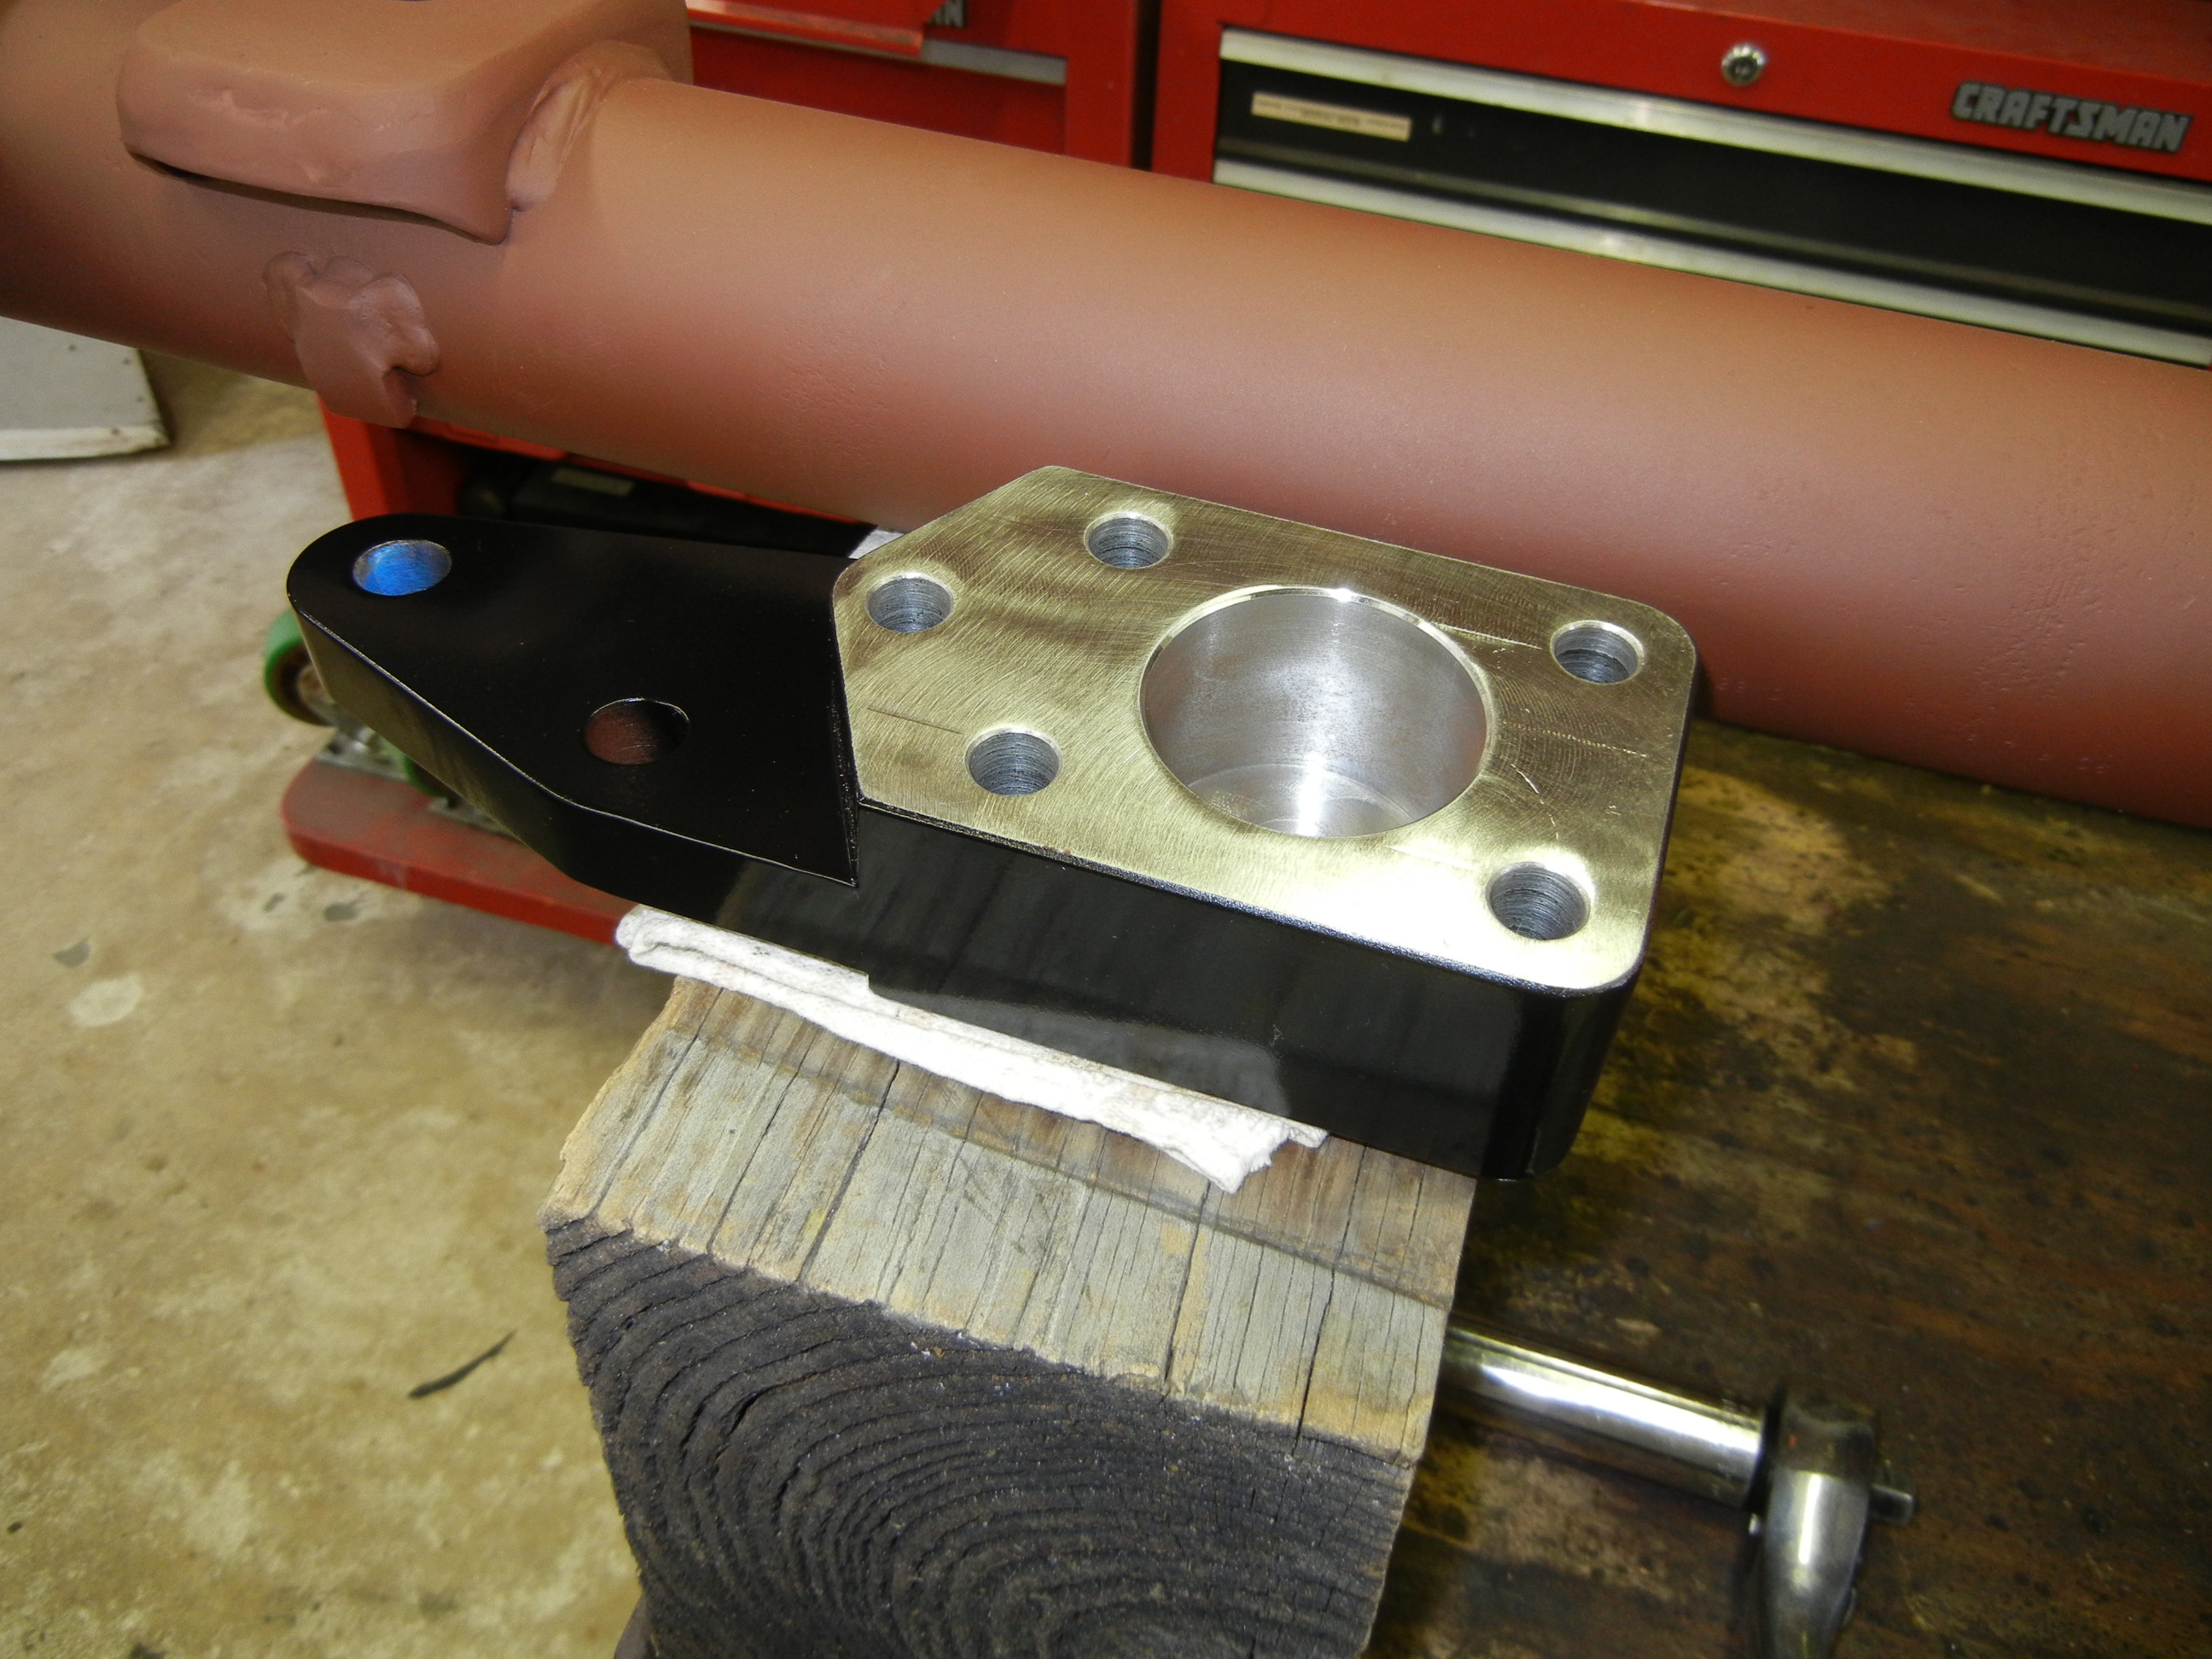
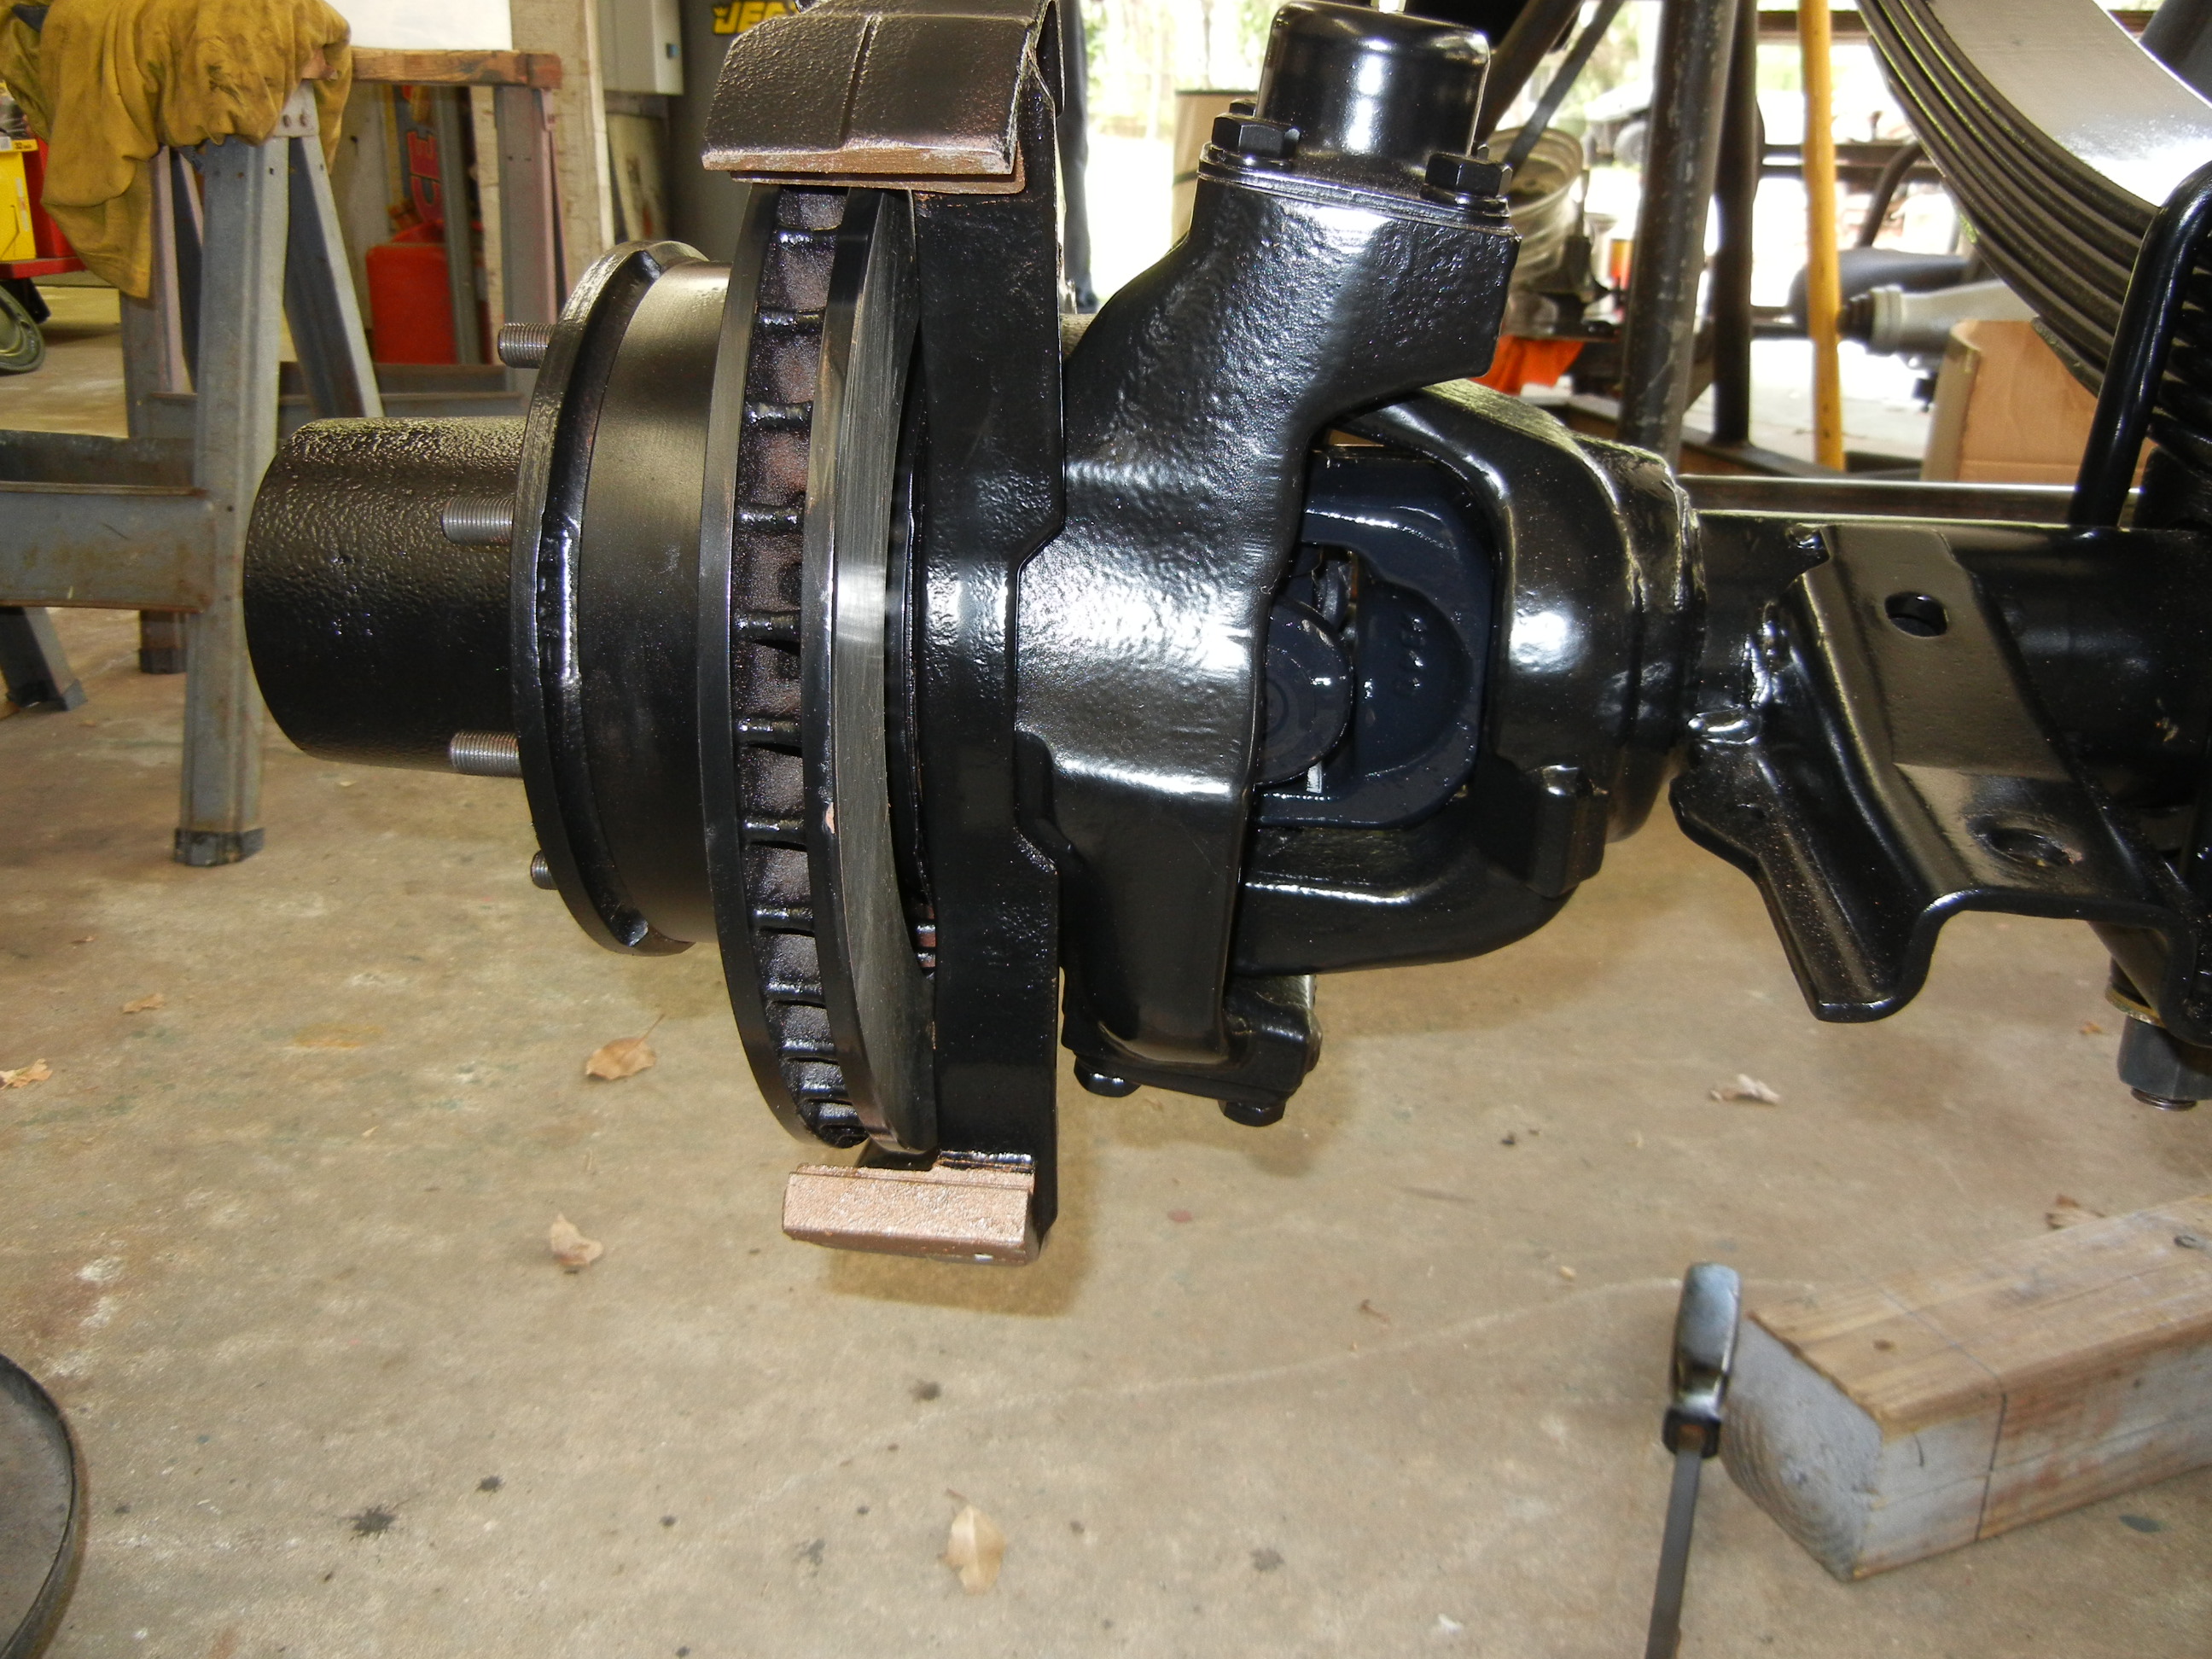
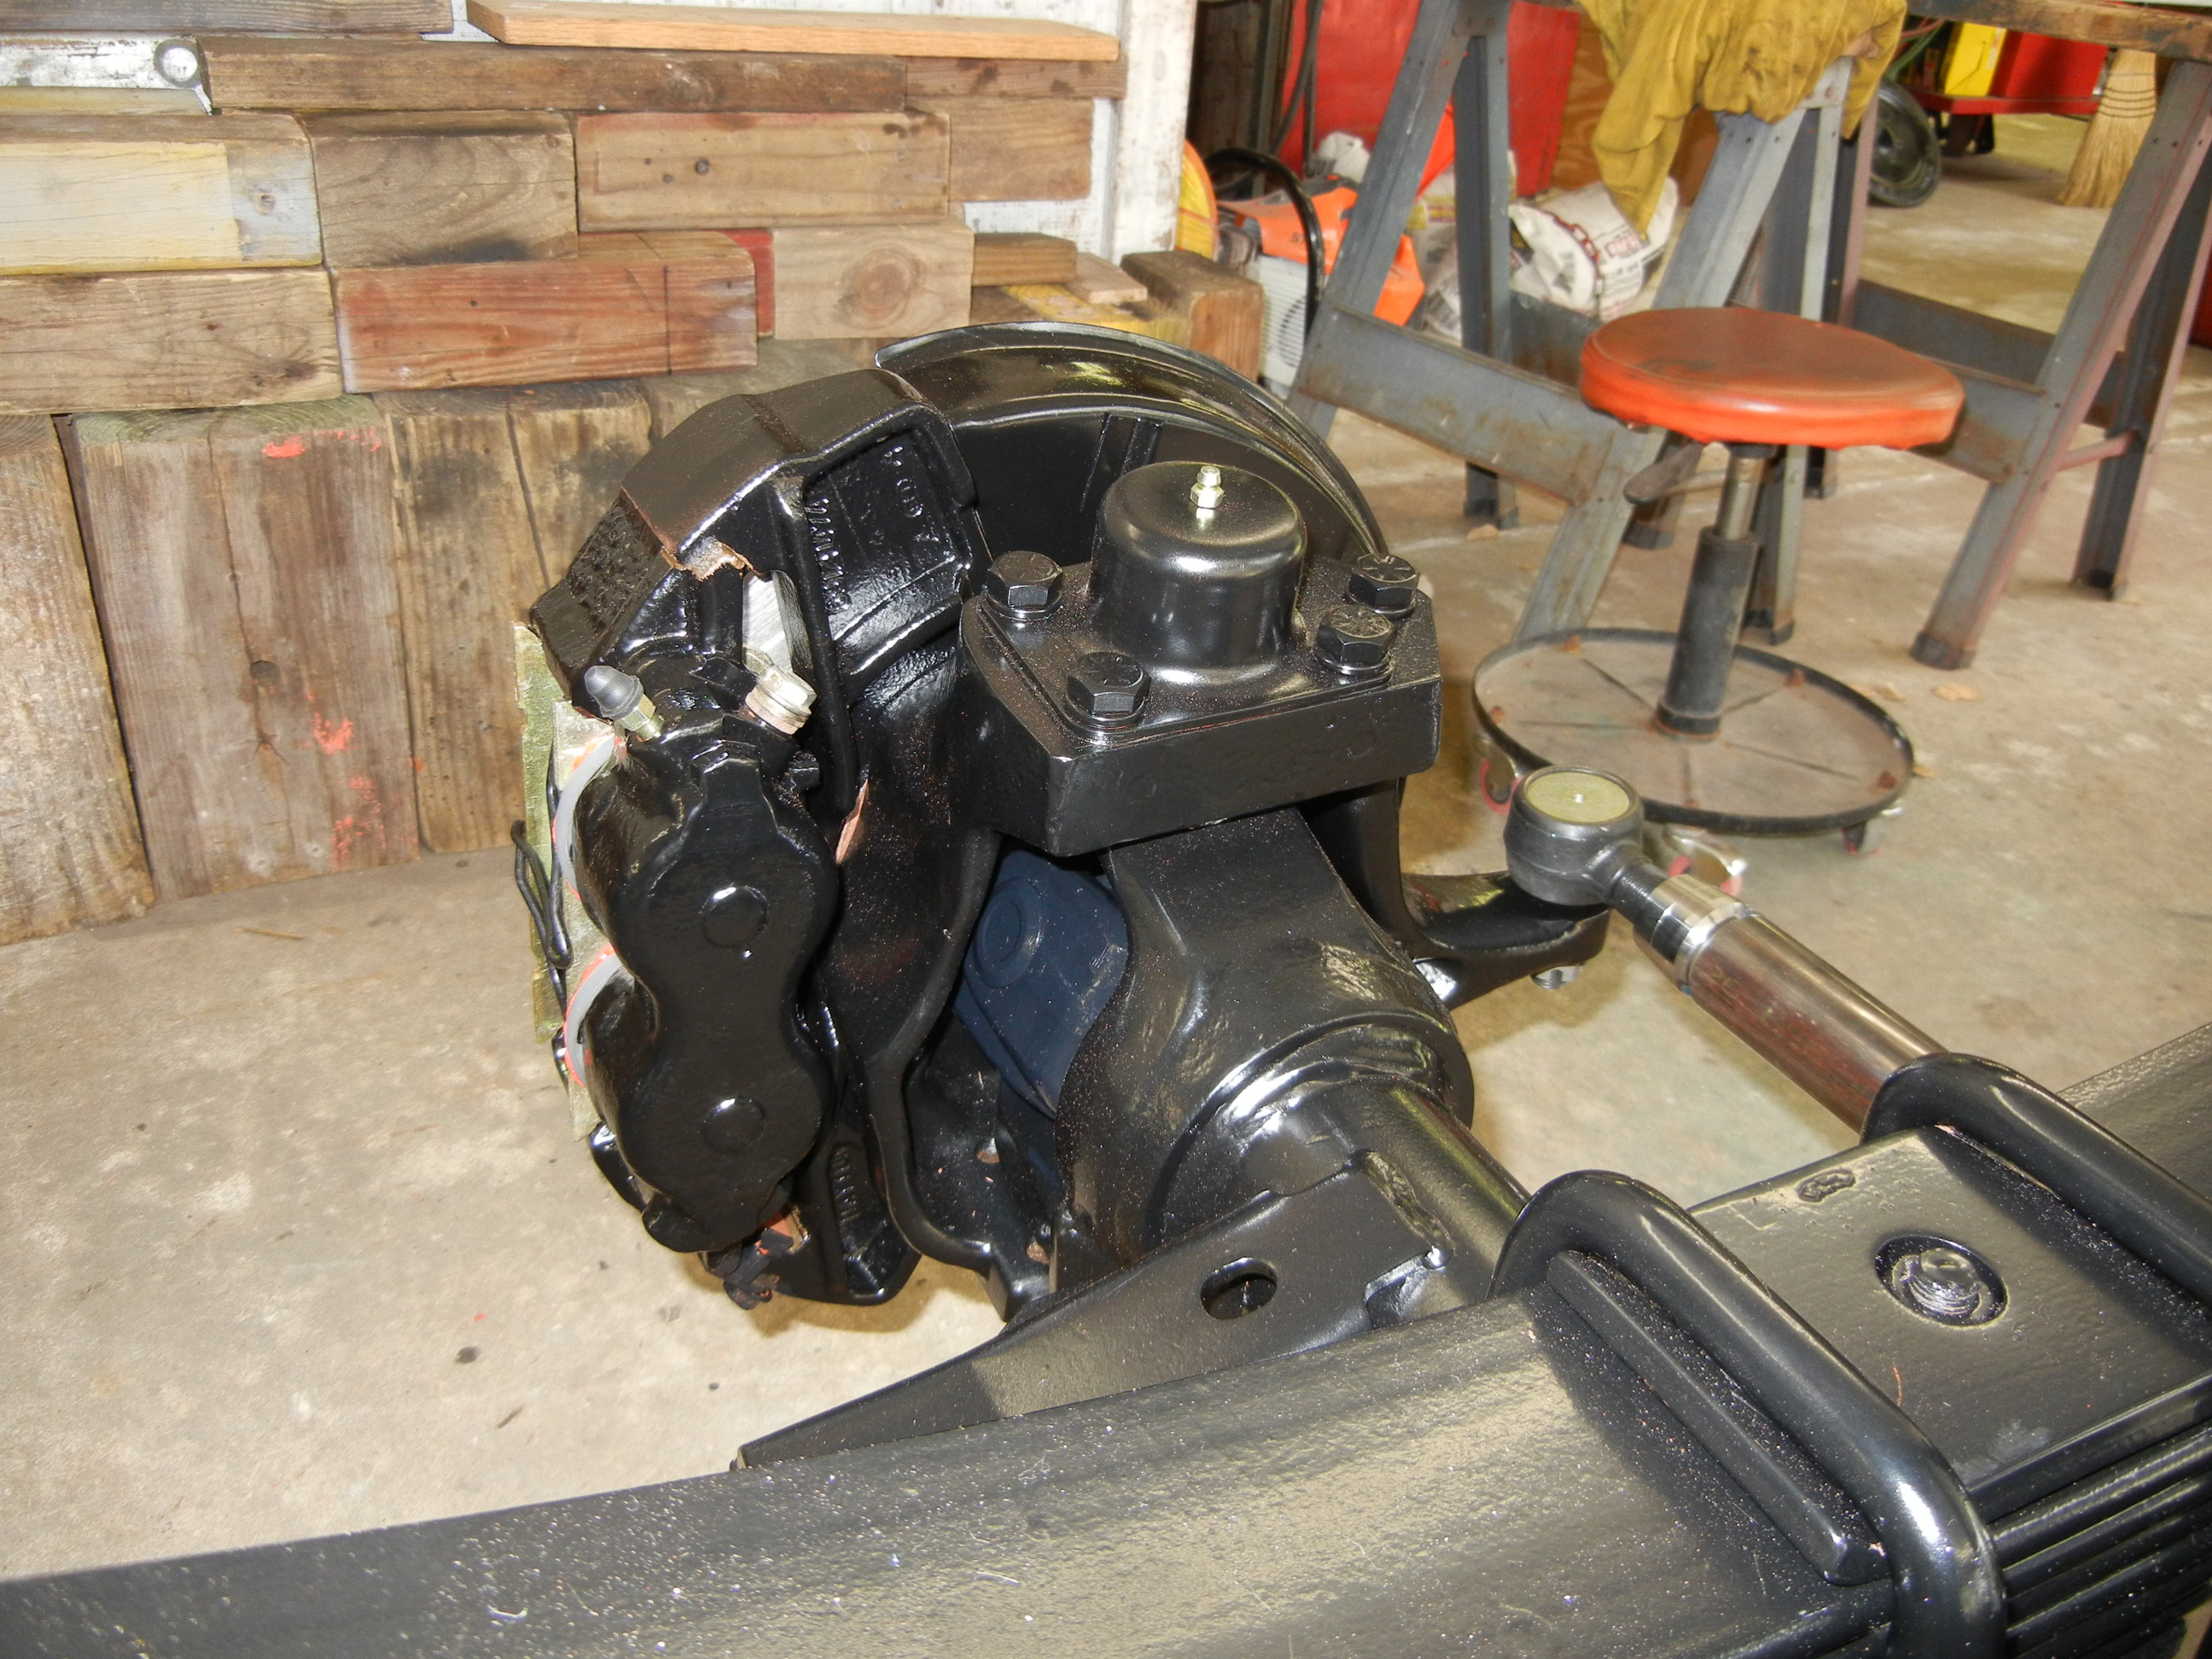
The next mission was to install the king pin components so the Reid knuckles could be mounted. Again some may argue I sinned for painting over the orange but it was truly needed! Timken bearings (cone made in Canada while cup made in USA) were standard in the Yukon D60 rebuild kit and included the upper king pin seals for both Chevy/Dodge and Ford designs. I used the taller Ford design and also inserted the seal after the knuckle was on. This was due to the fact that there are no machined surfaces at the bottom of the knuckle for the seal to ride on. So instead it was inserted onto the king pin after the knuckle was installed. The seal just slid down where it now rides on the inner machined surface of the large hole. Copper anti-seize was used in between the bottom plate and the knuckle. This was the driver side and simply used the steel spring cap as I am utilizing a crossover steering arm to the passenger knuckle.
The passenger side received a crossover steering arm made by Sky Manufacturing. It was moderately priced and had the 5th hole drilled for the Reid knuckles. Also purchased was a 5 stud and nut kit to secure the arm to the knuckle. It also received a slather of copper anti-seize.
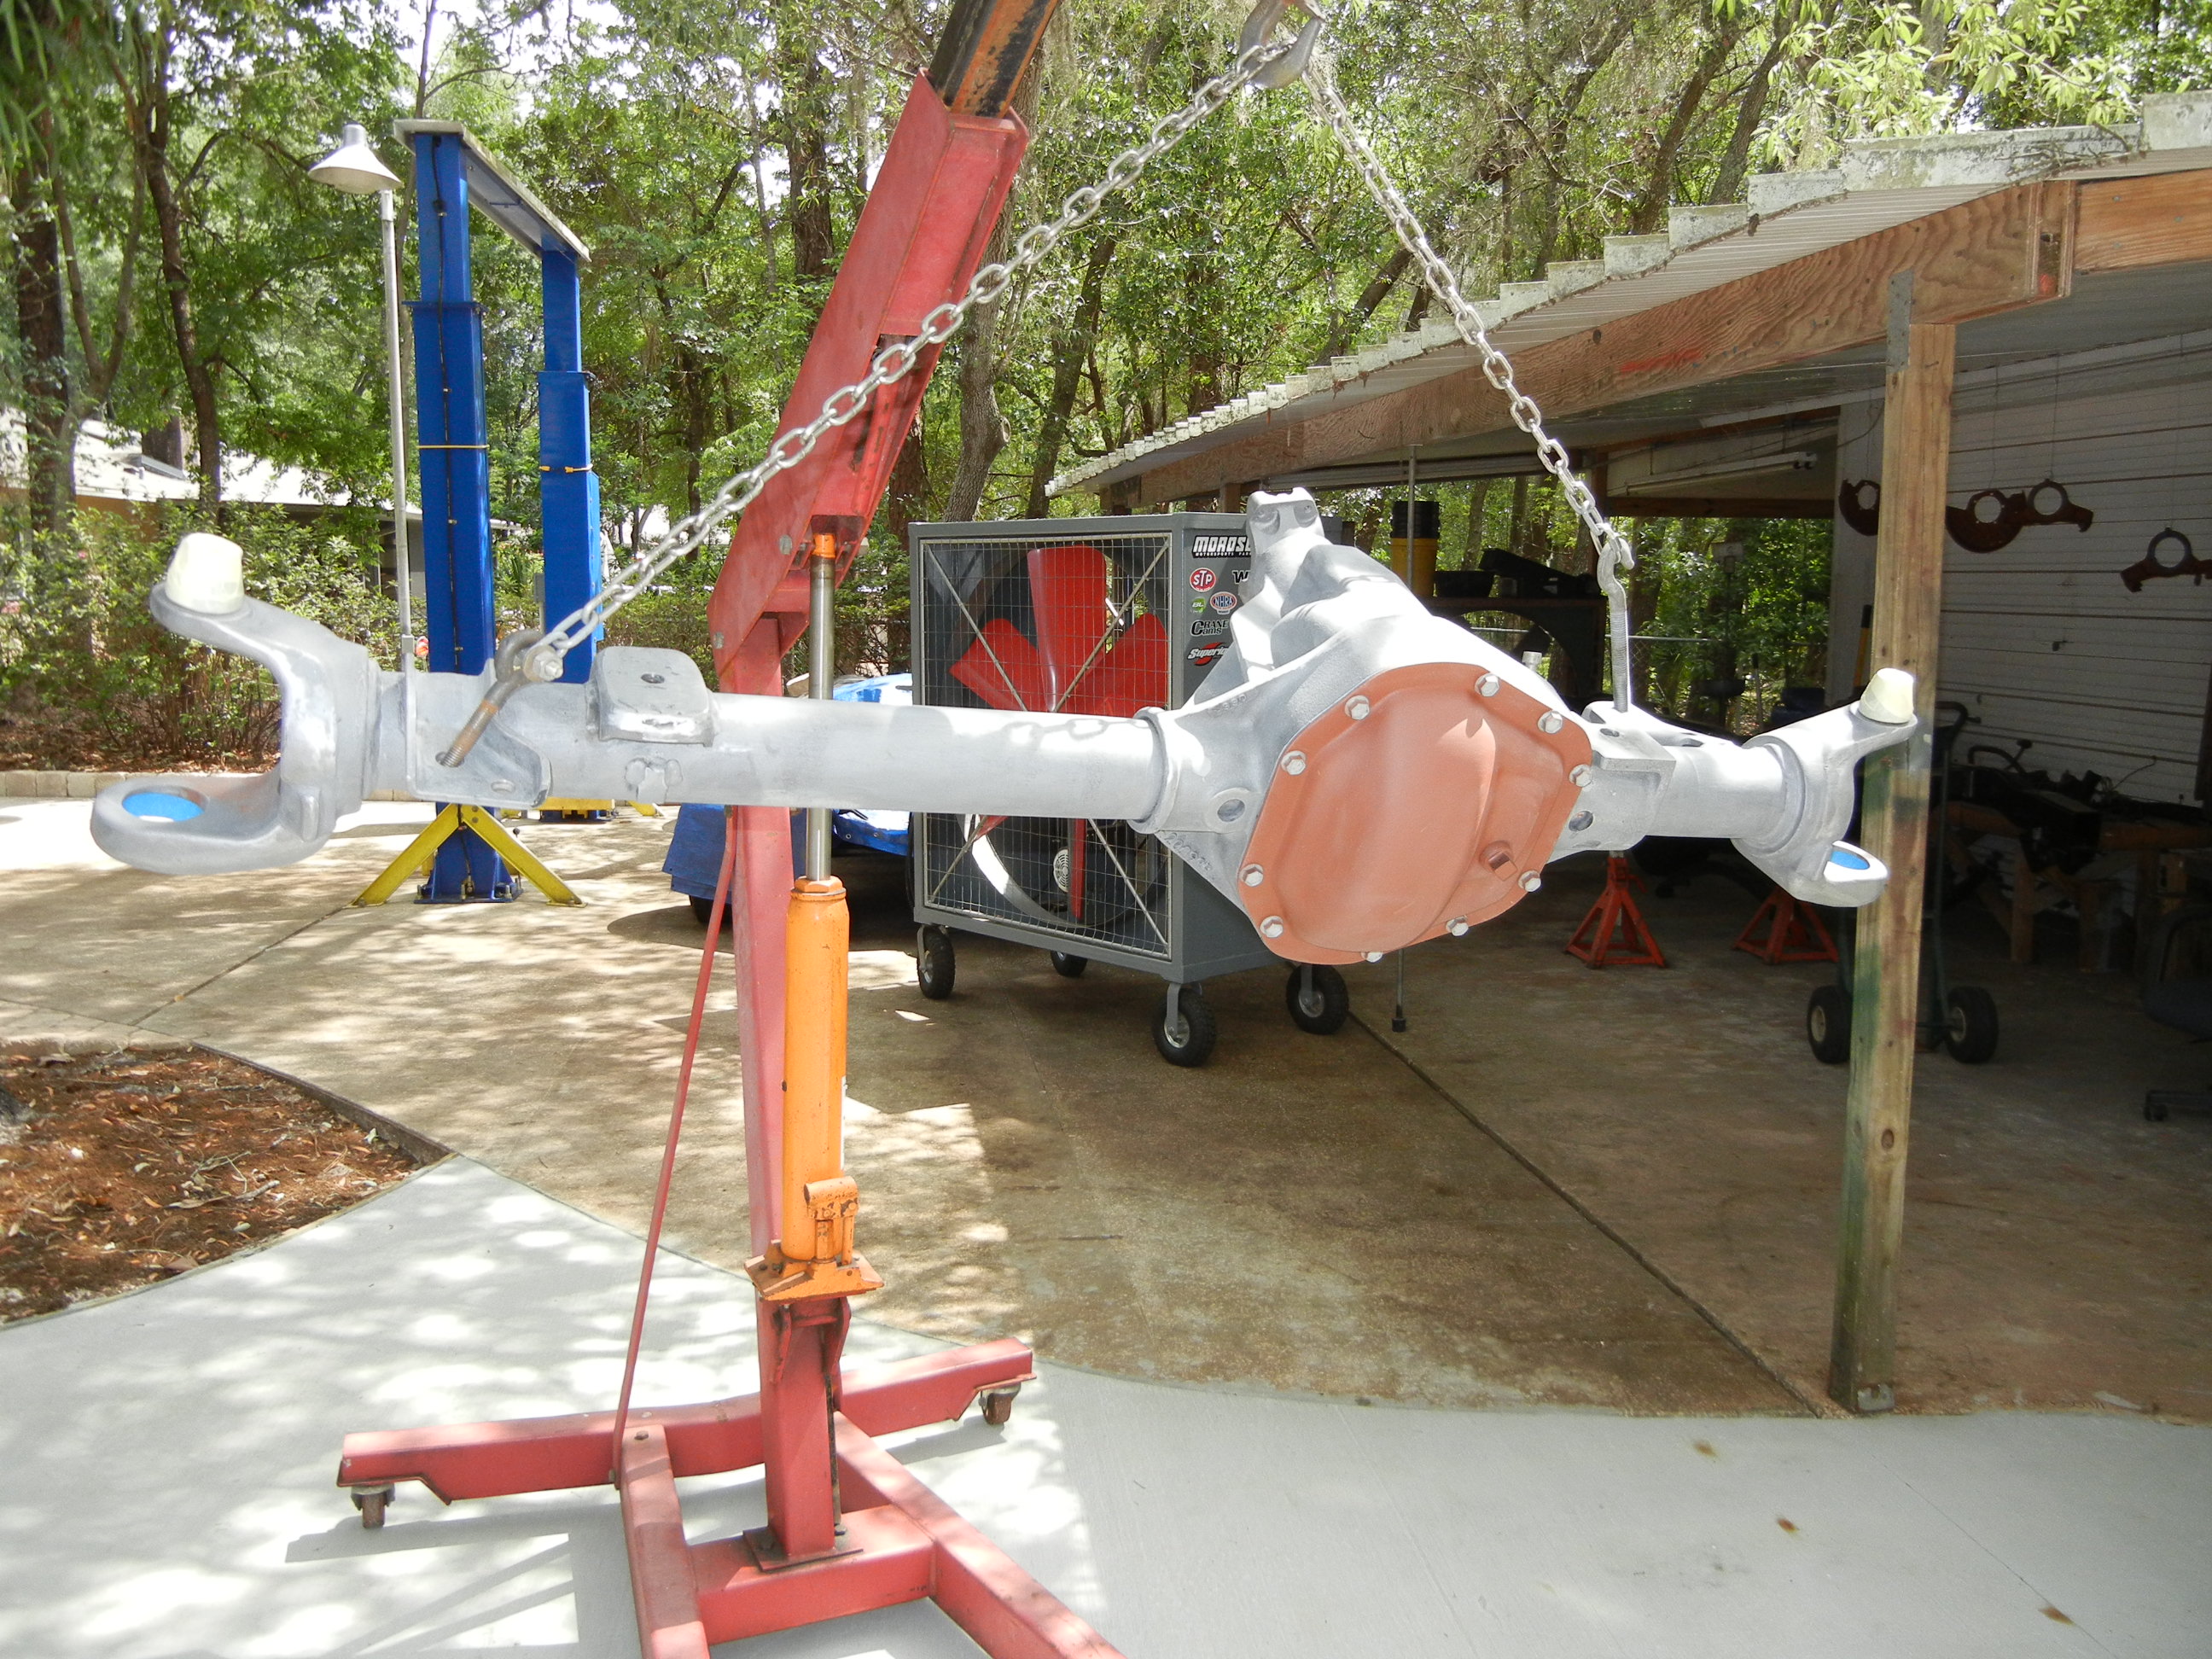
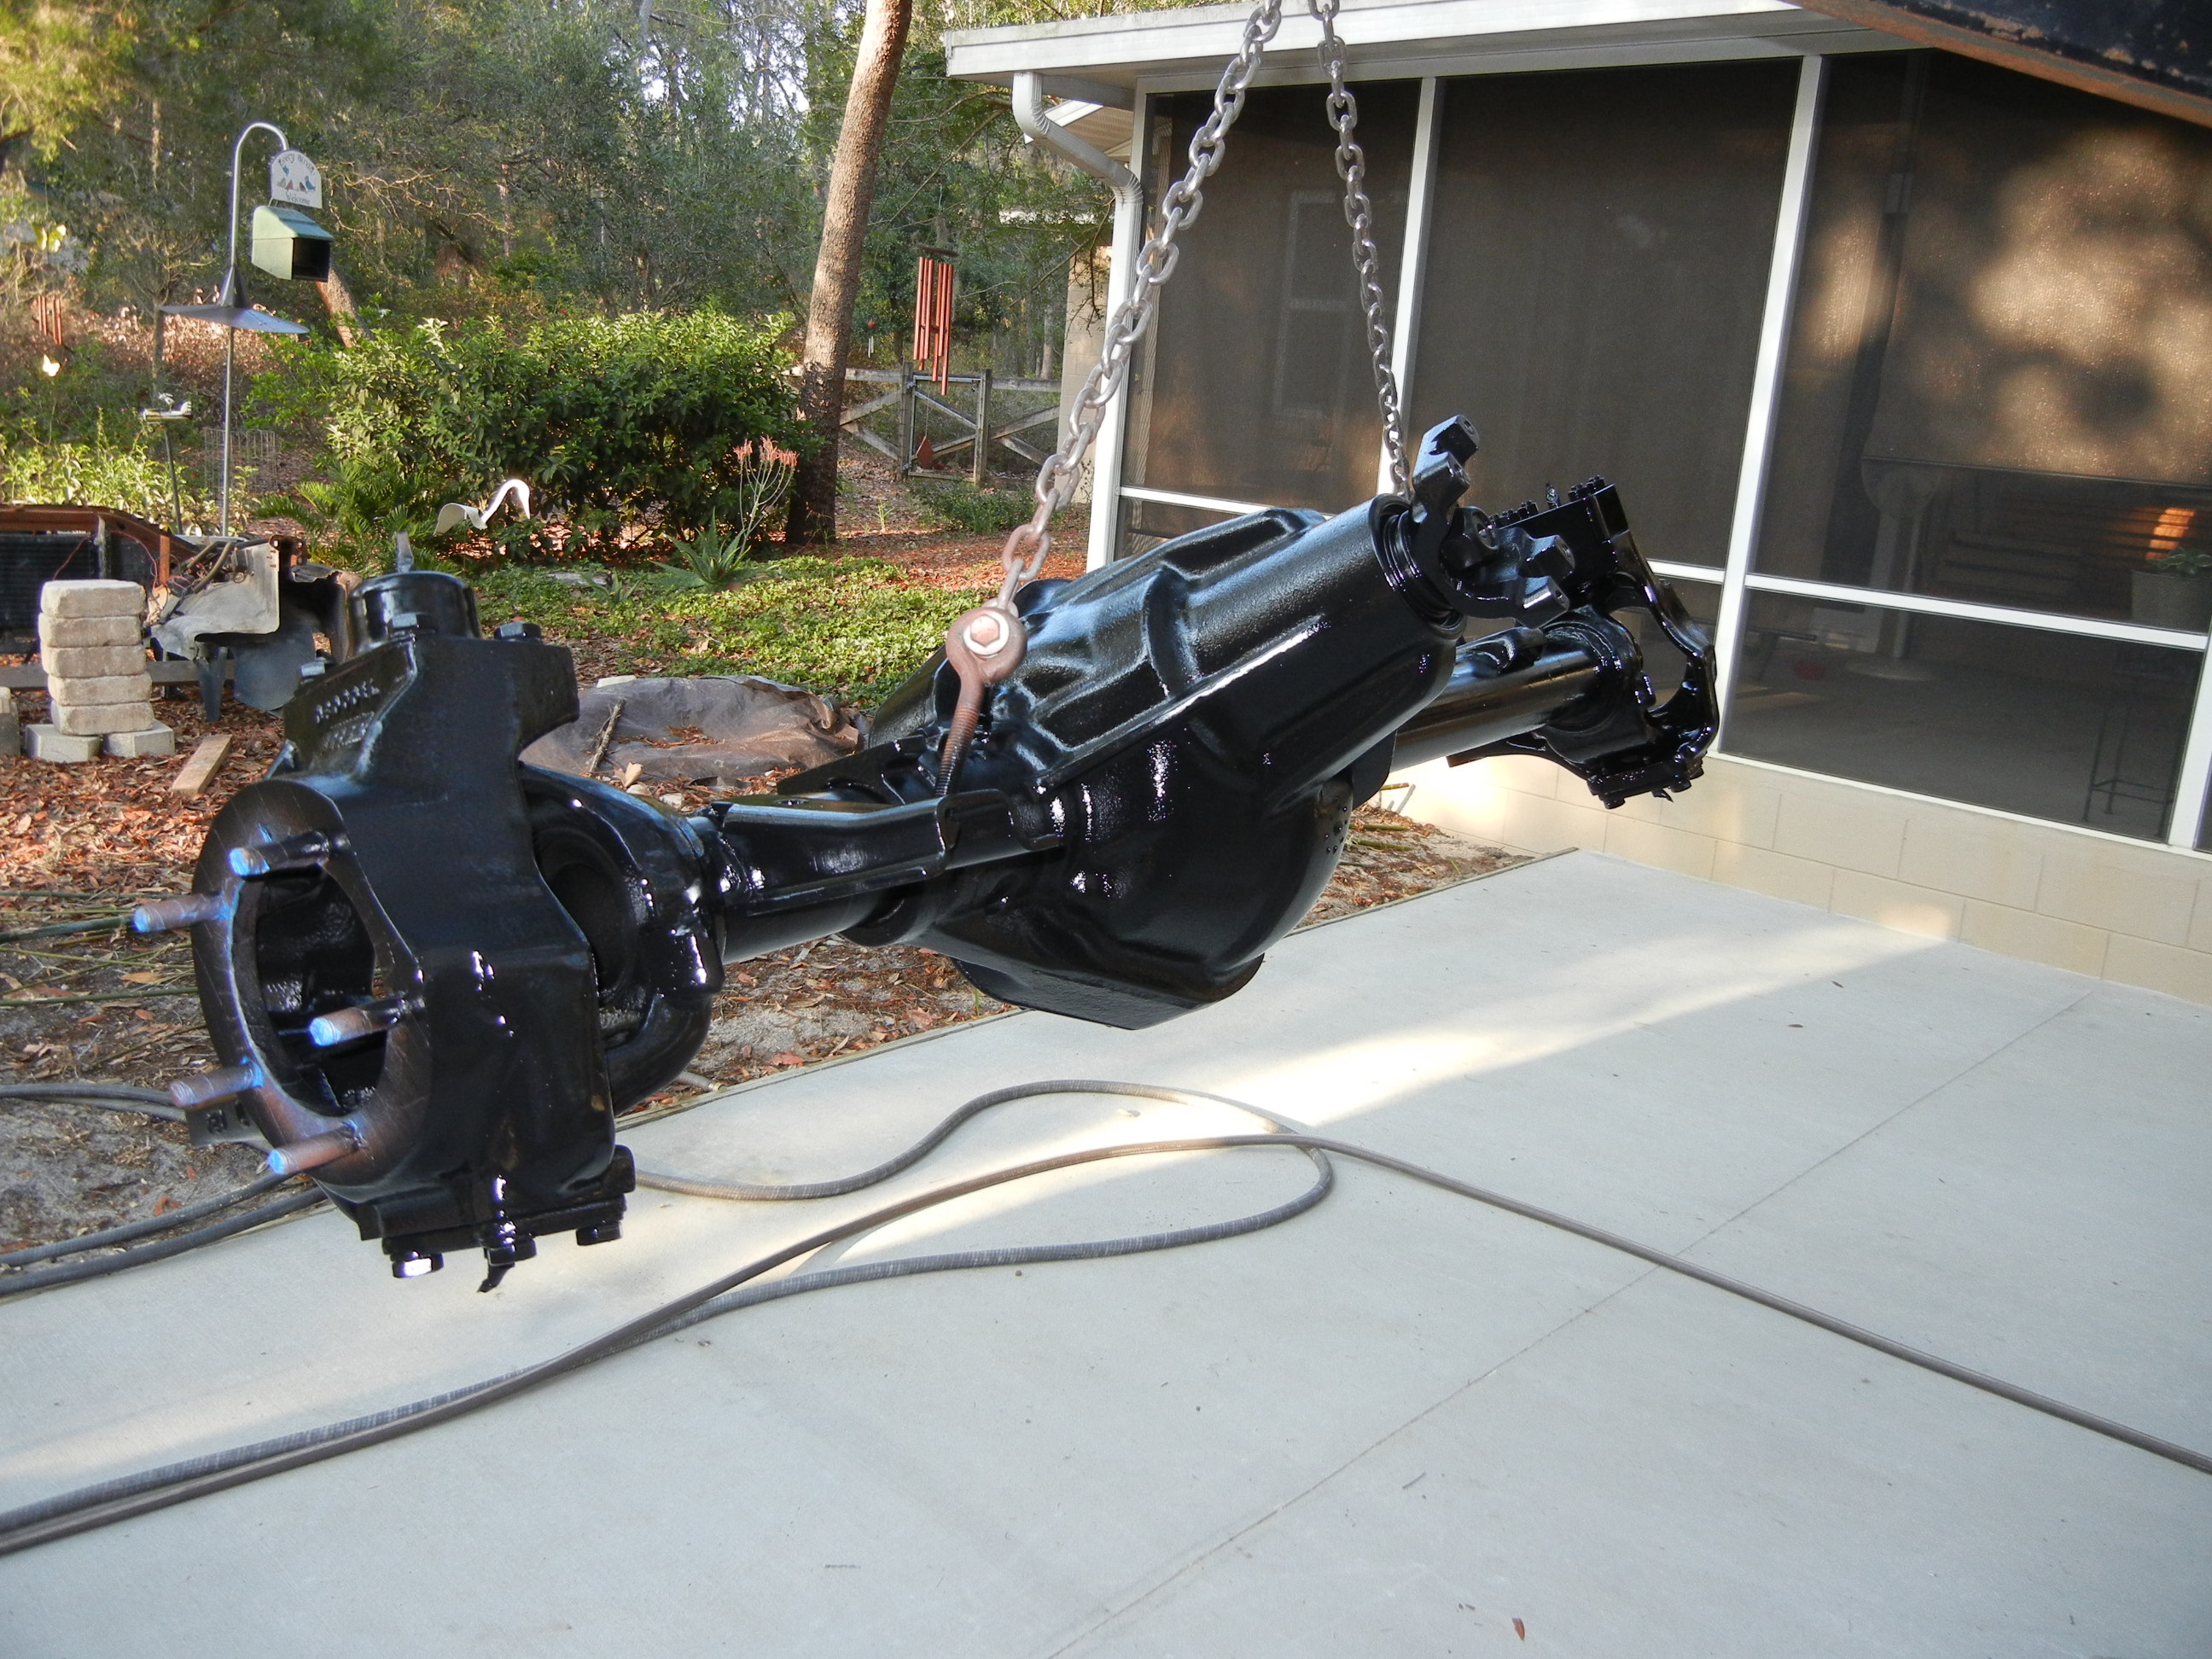
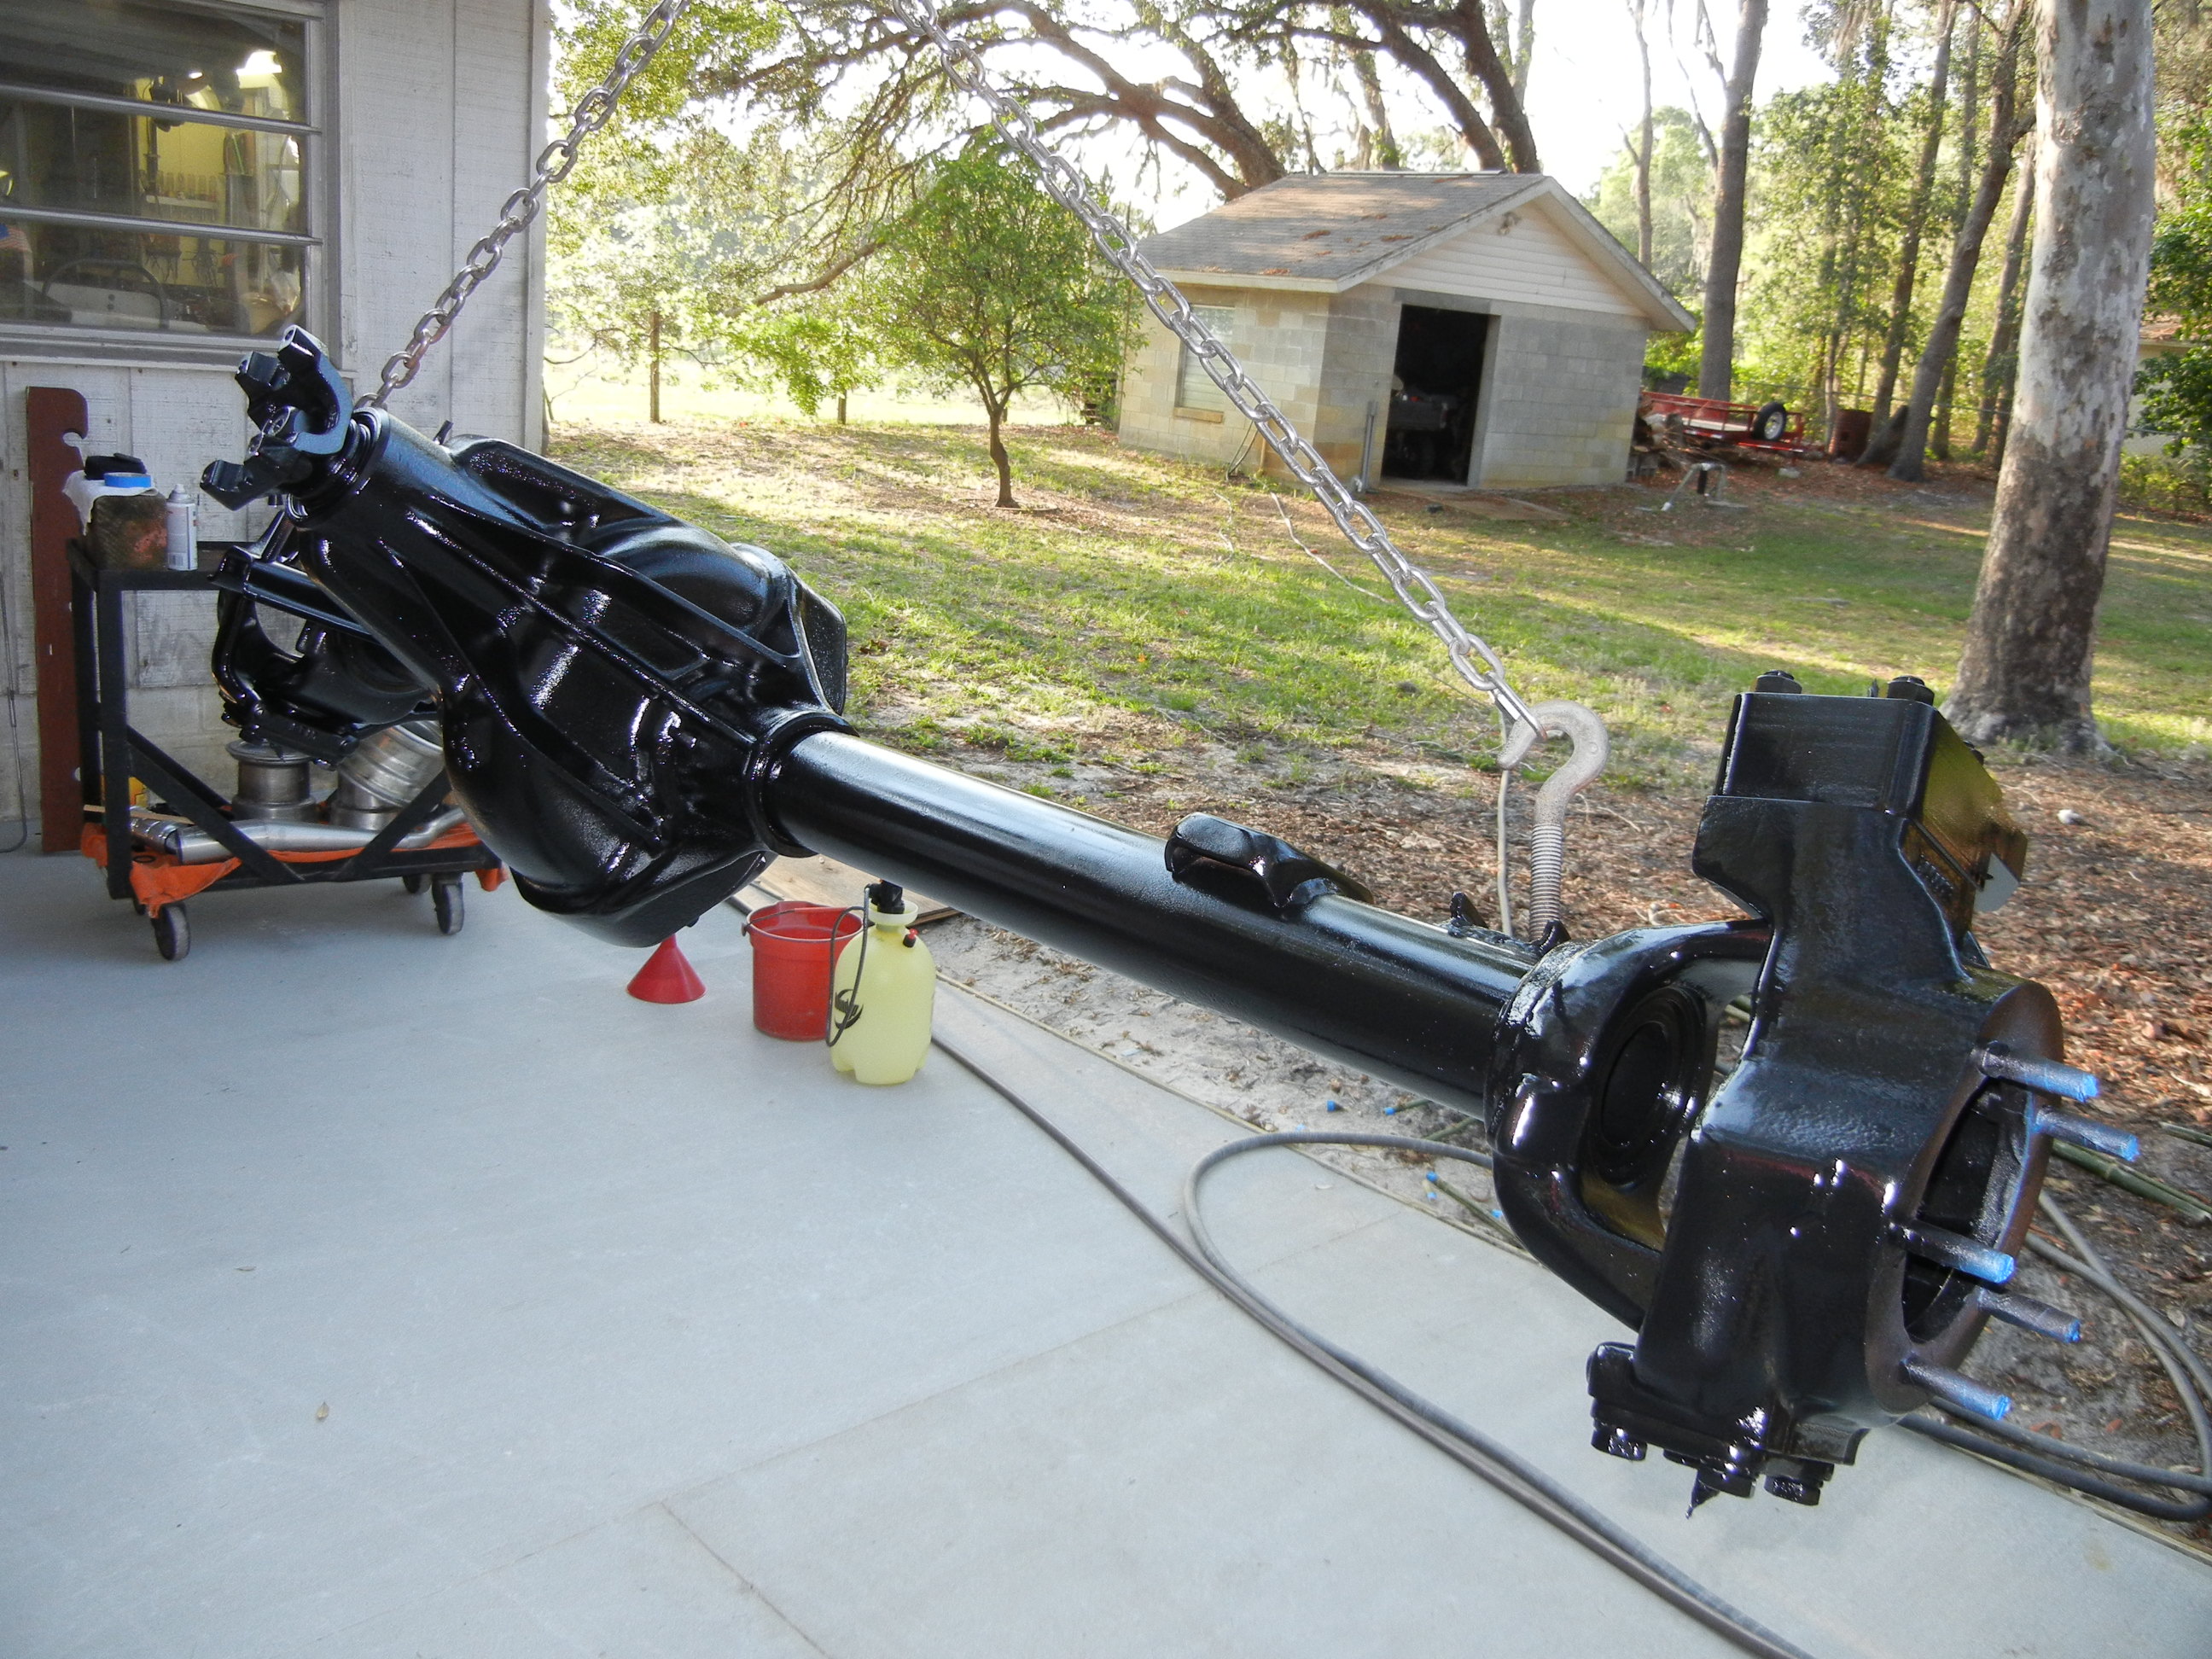
A final coat of gloss black and it sits air drying patiently awaiting the new 35 spline axle shafts.
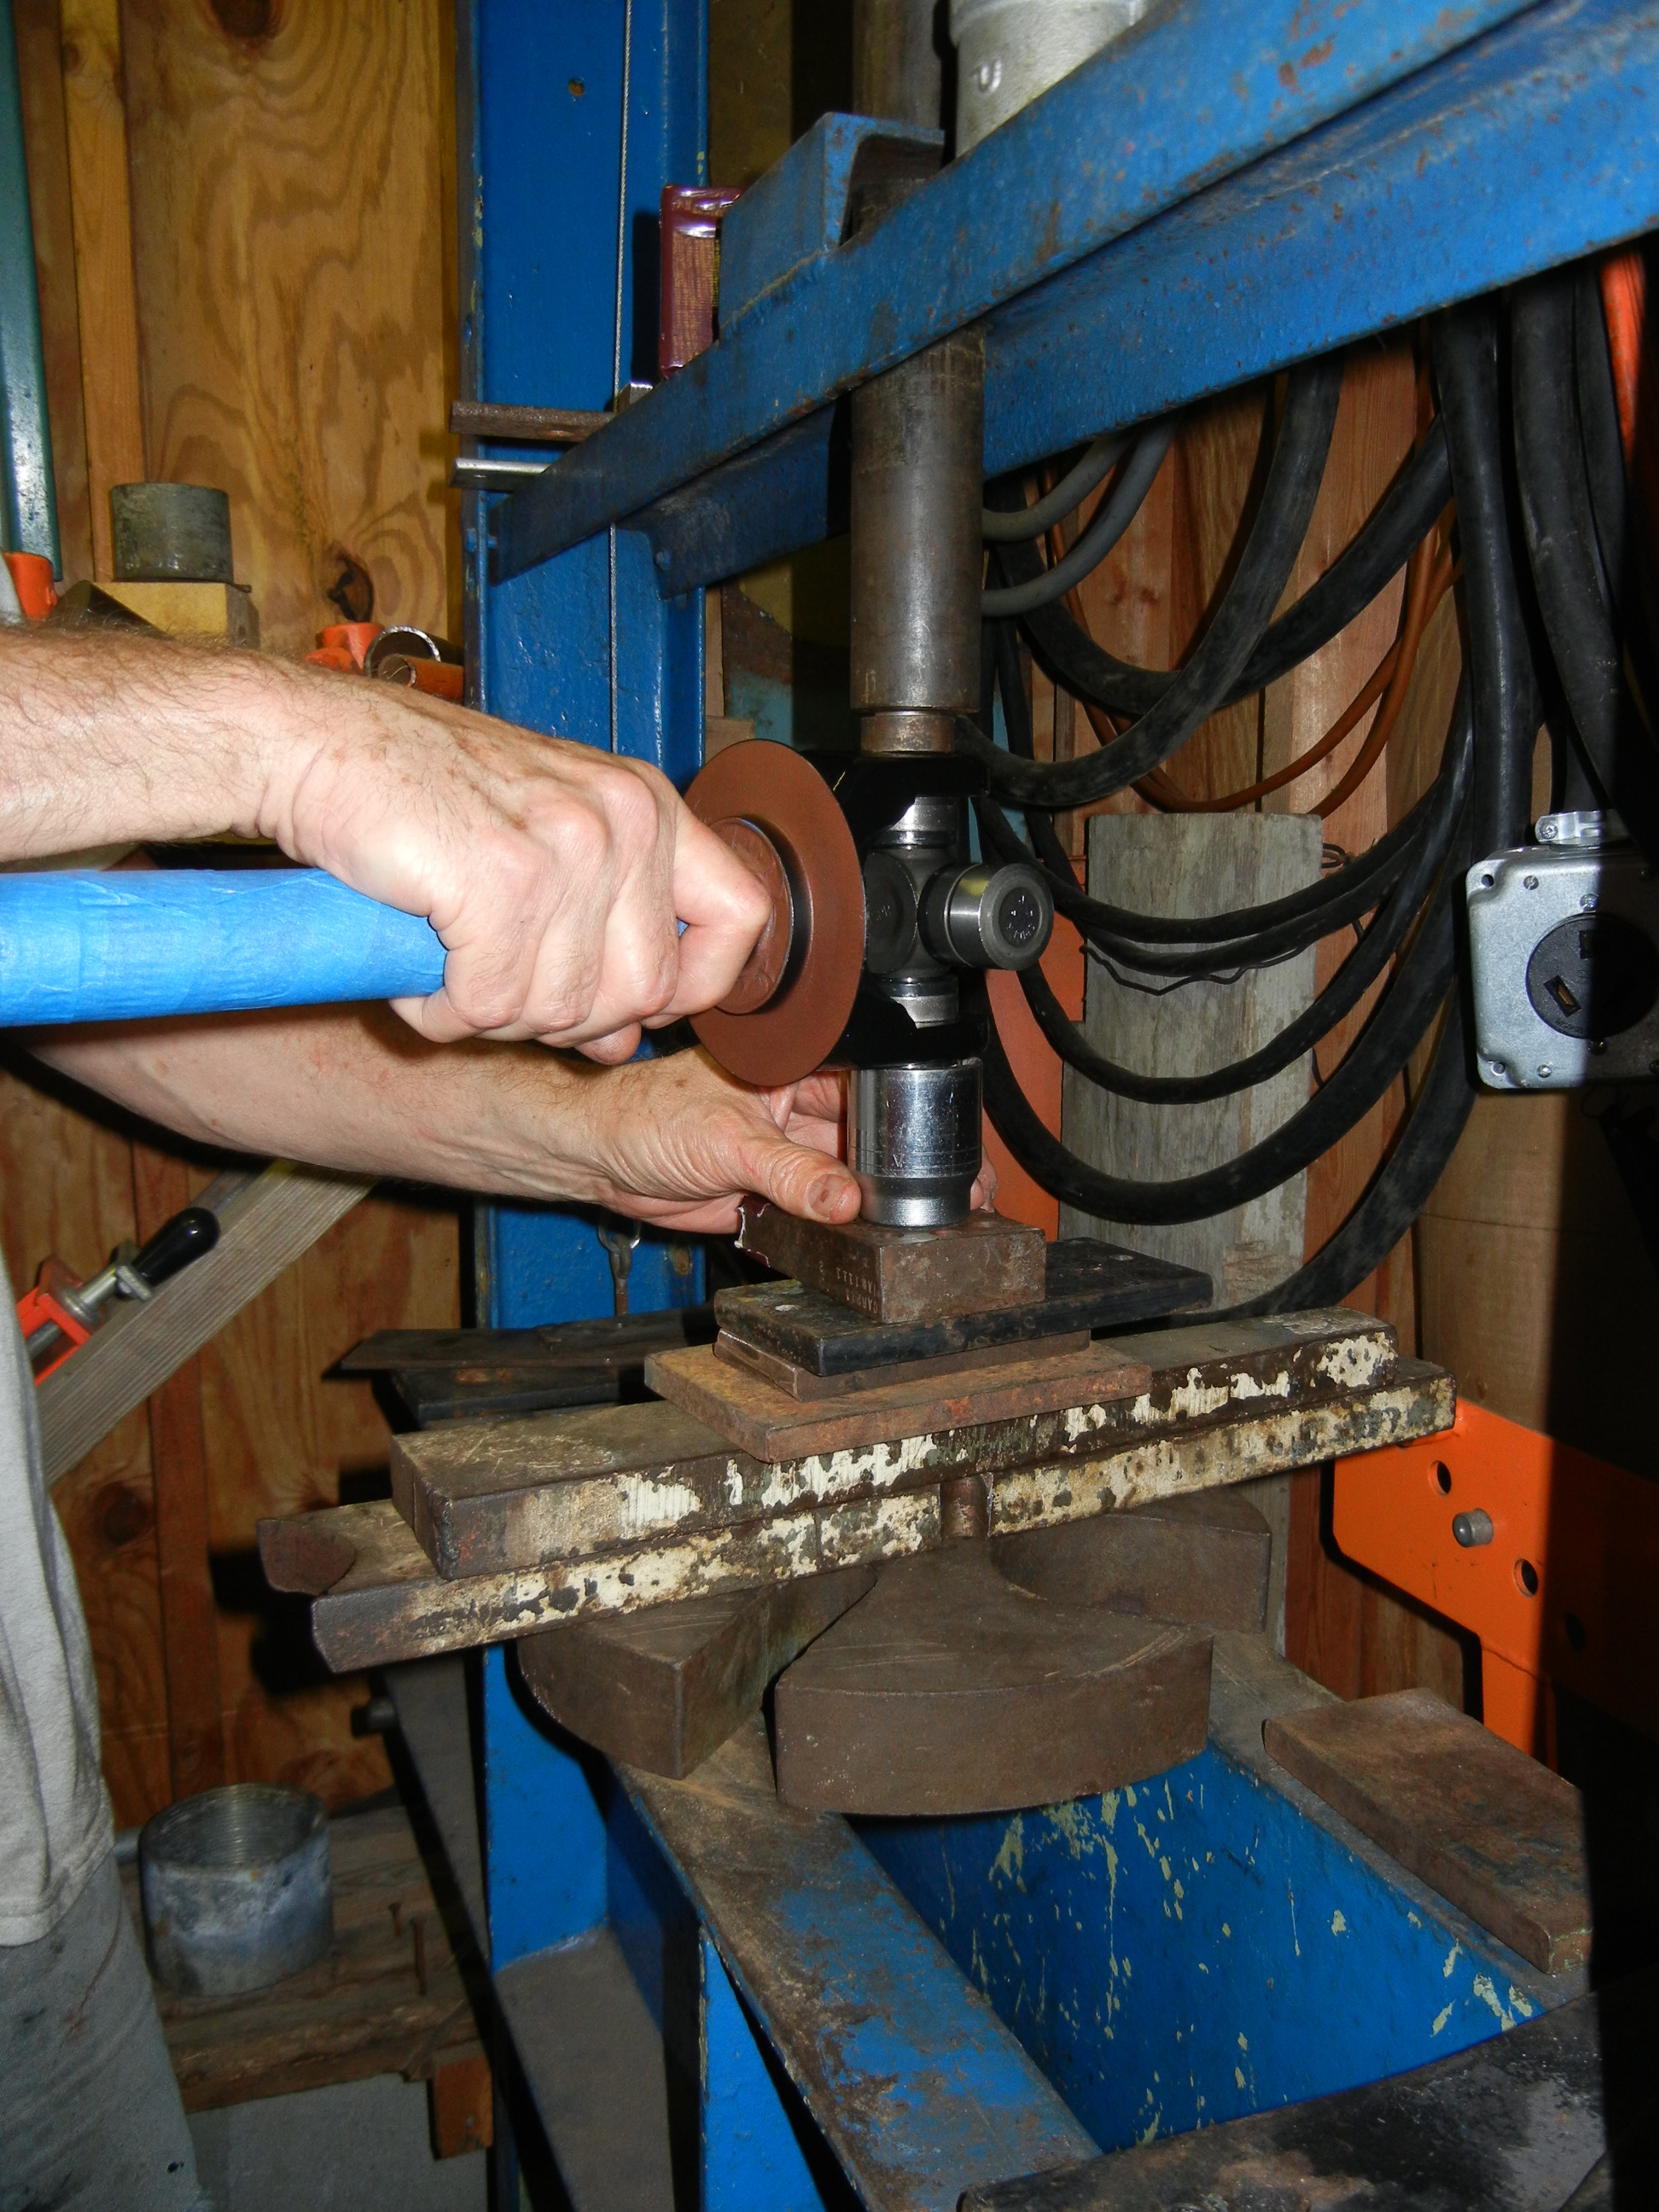
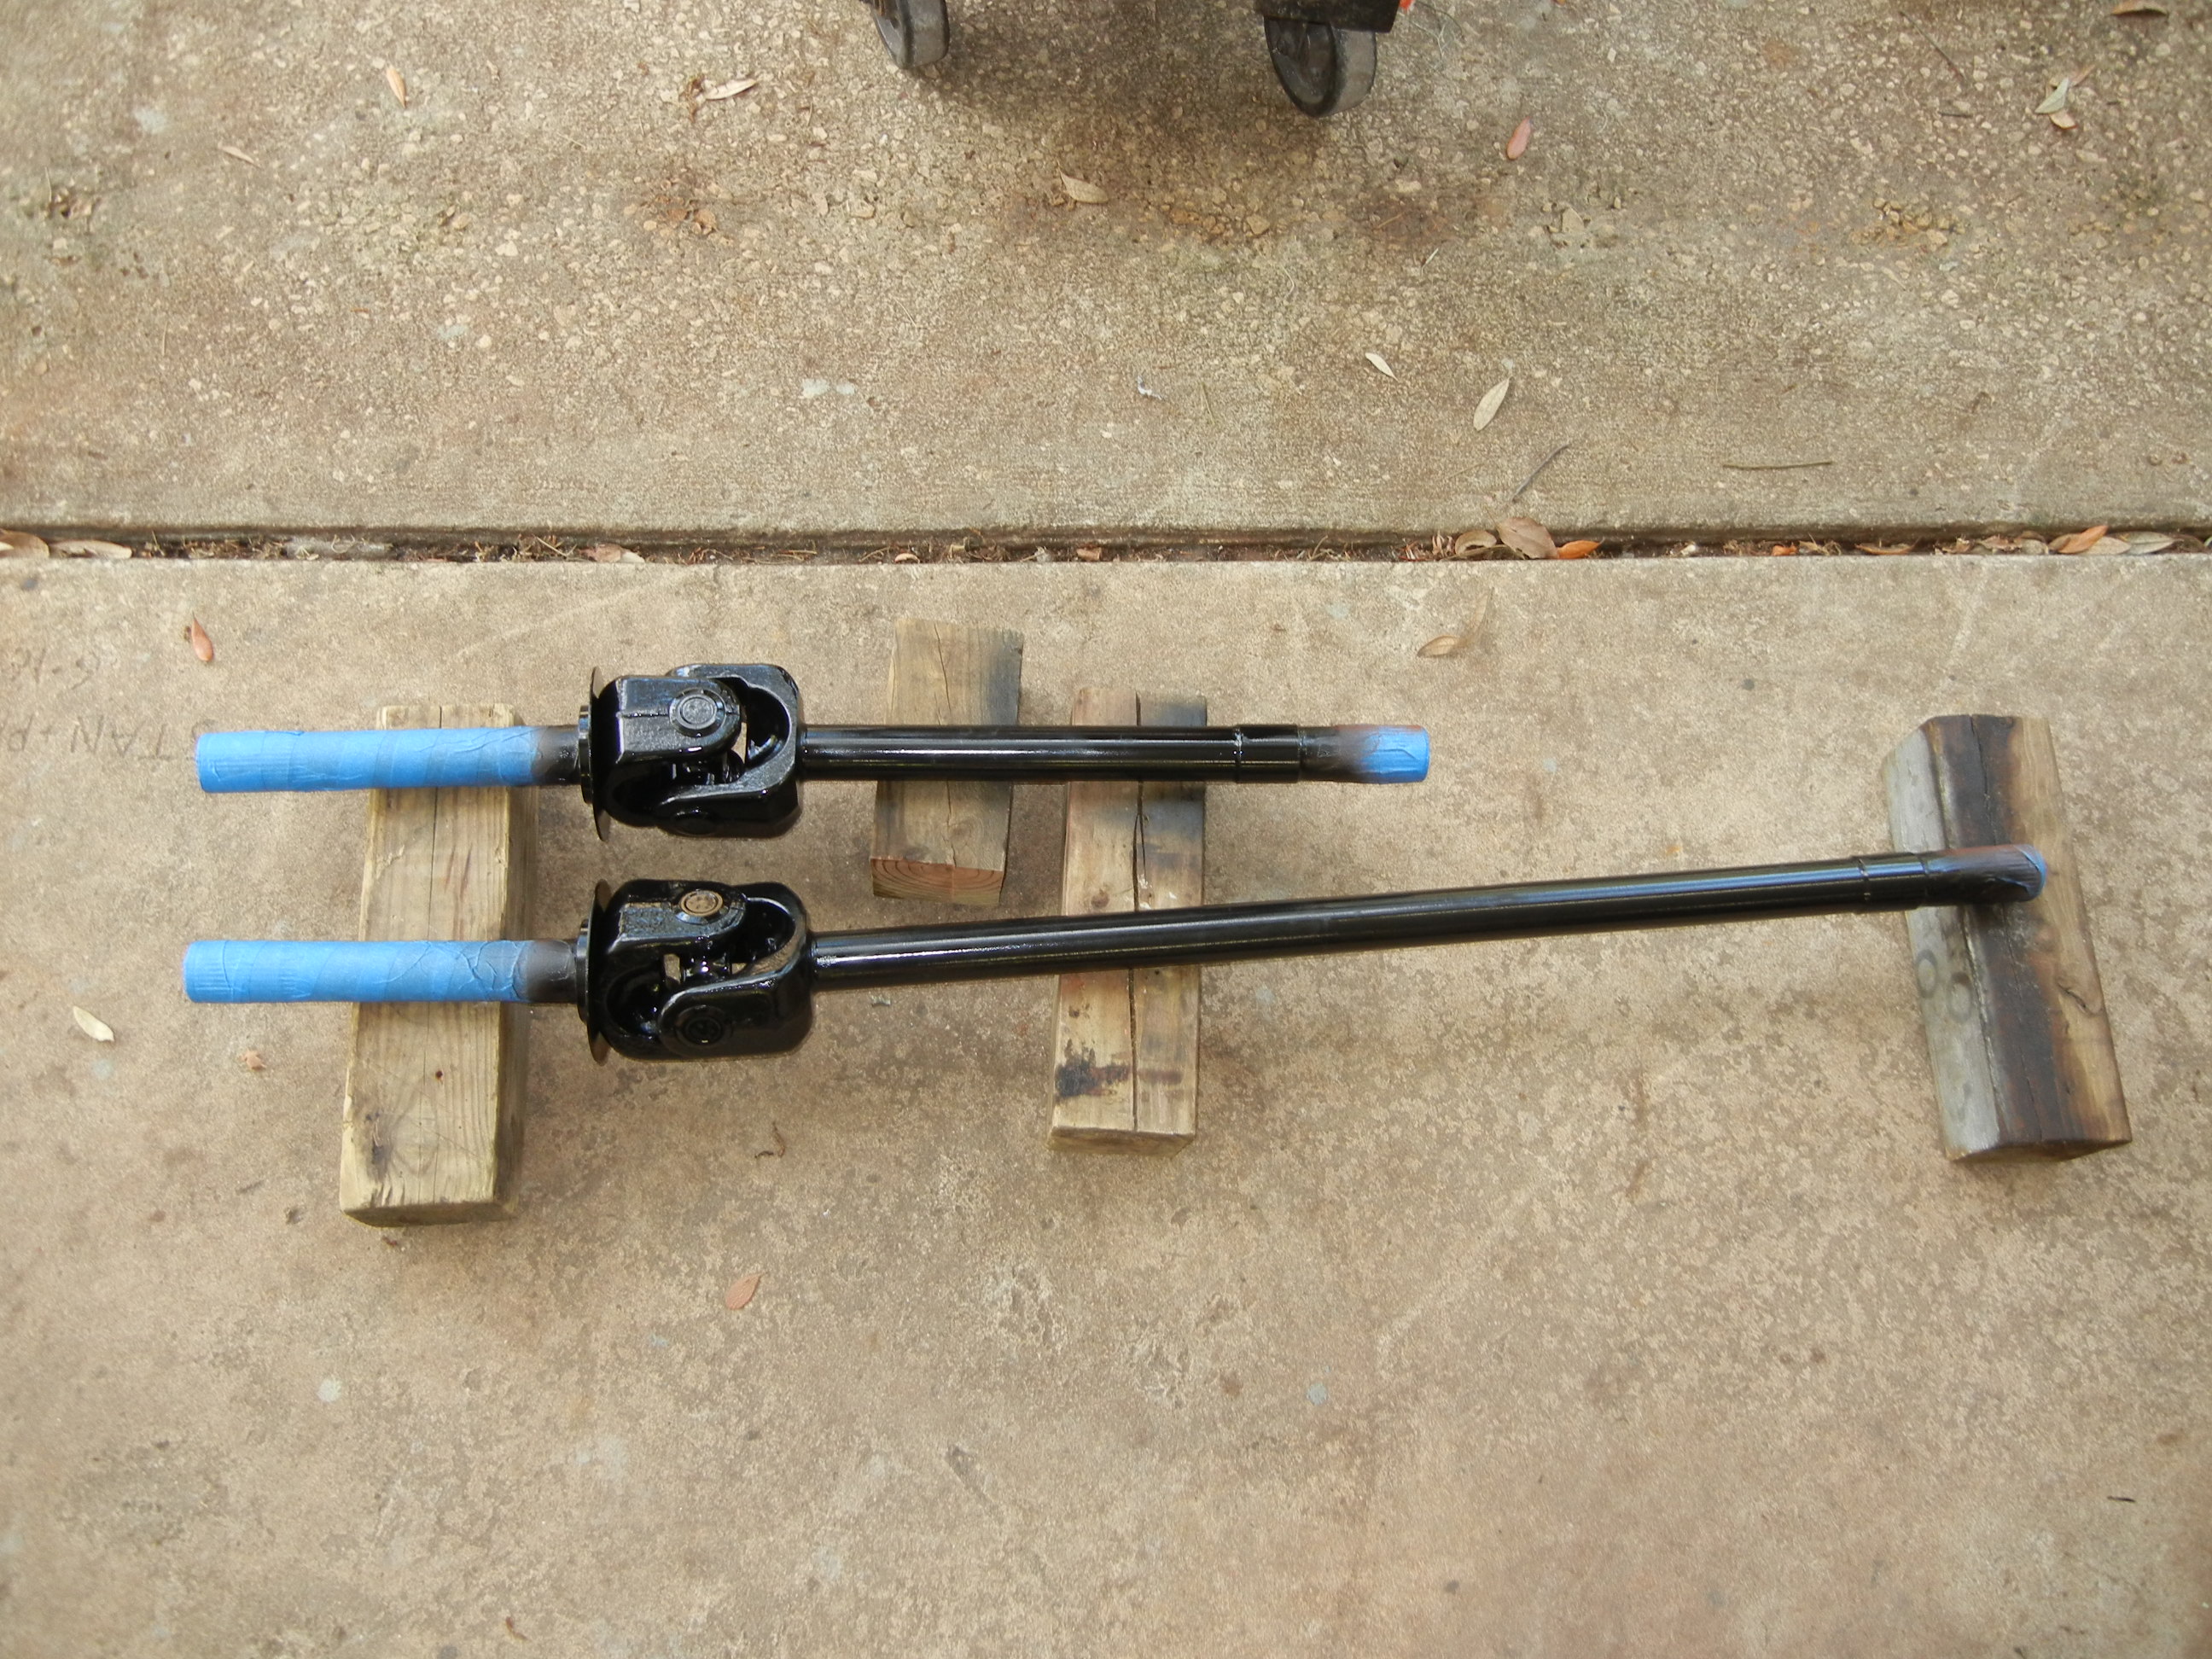
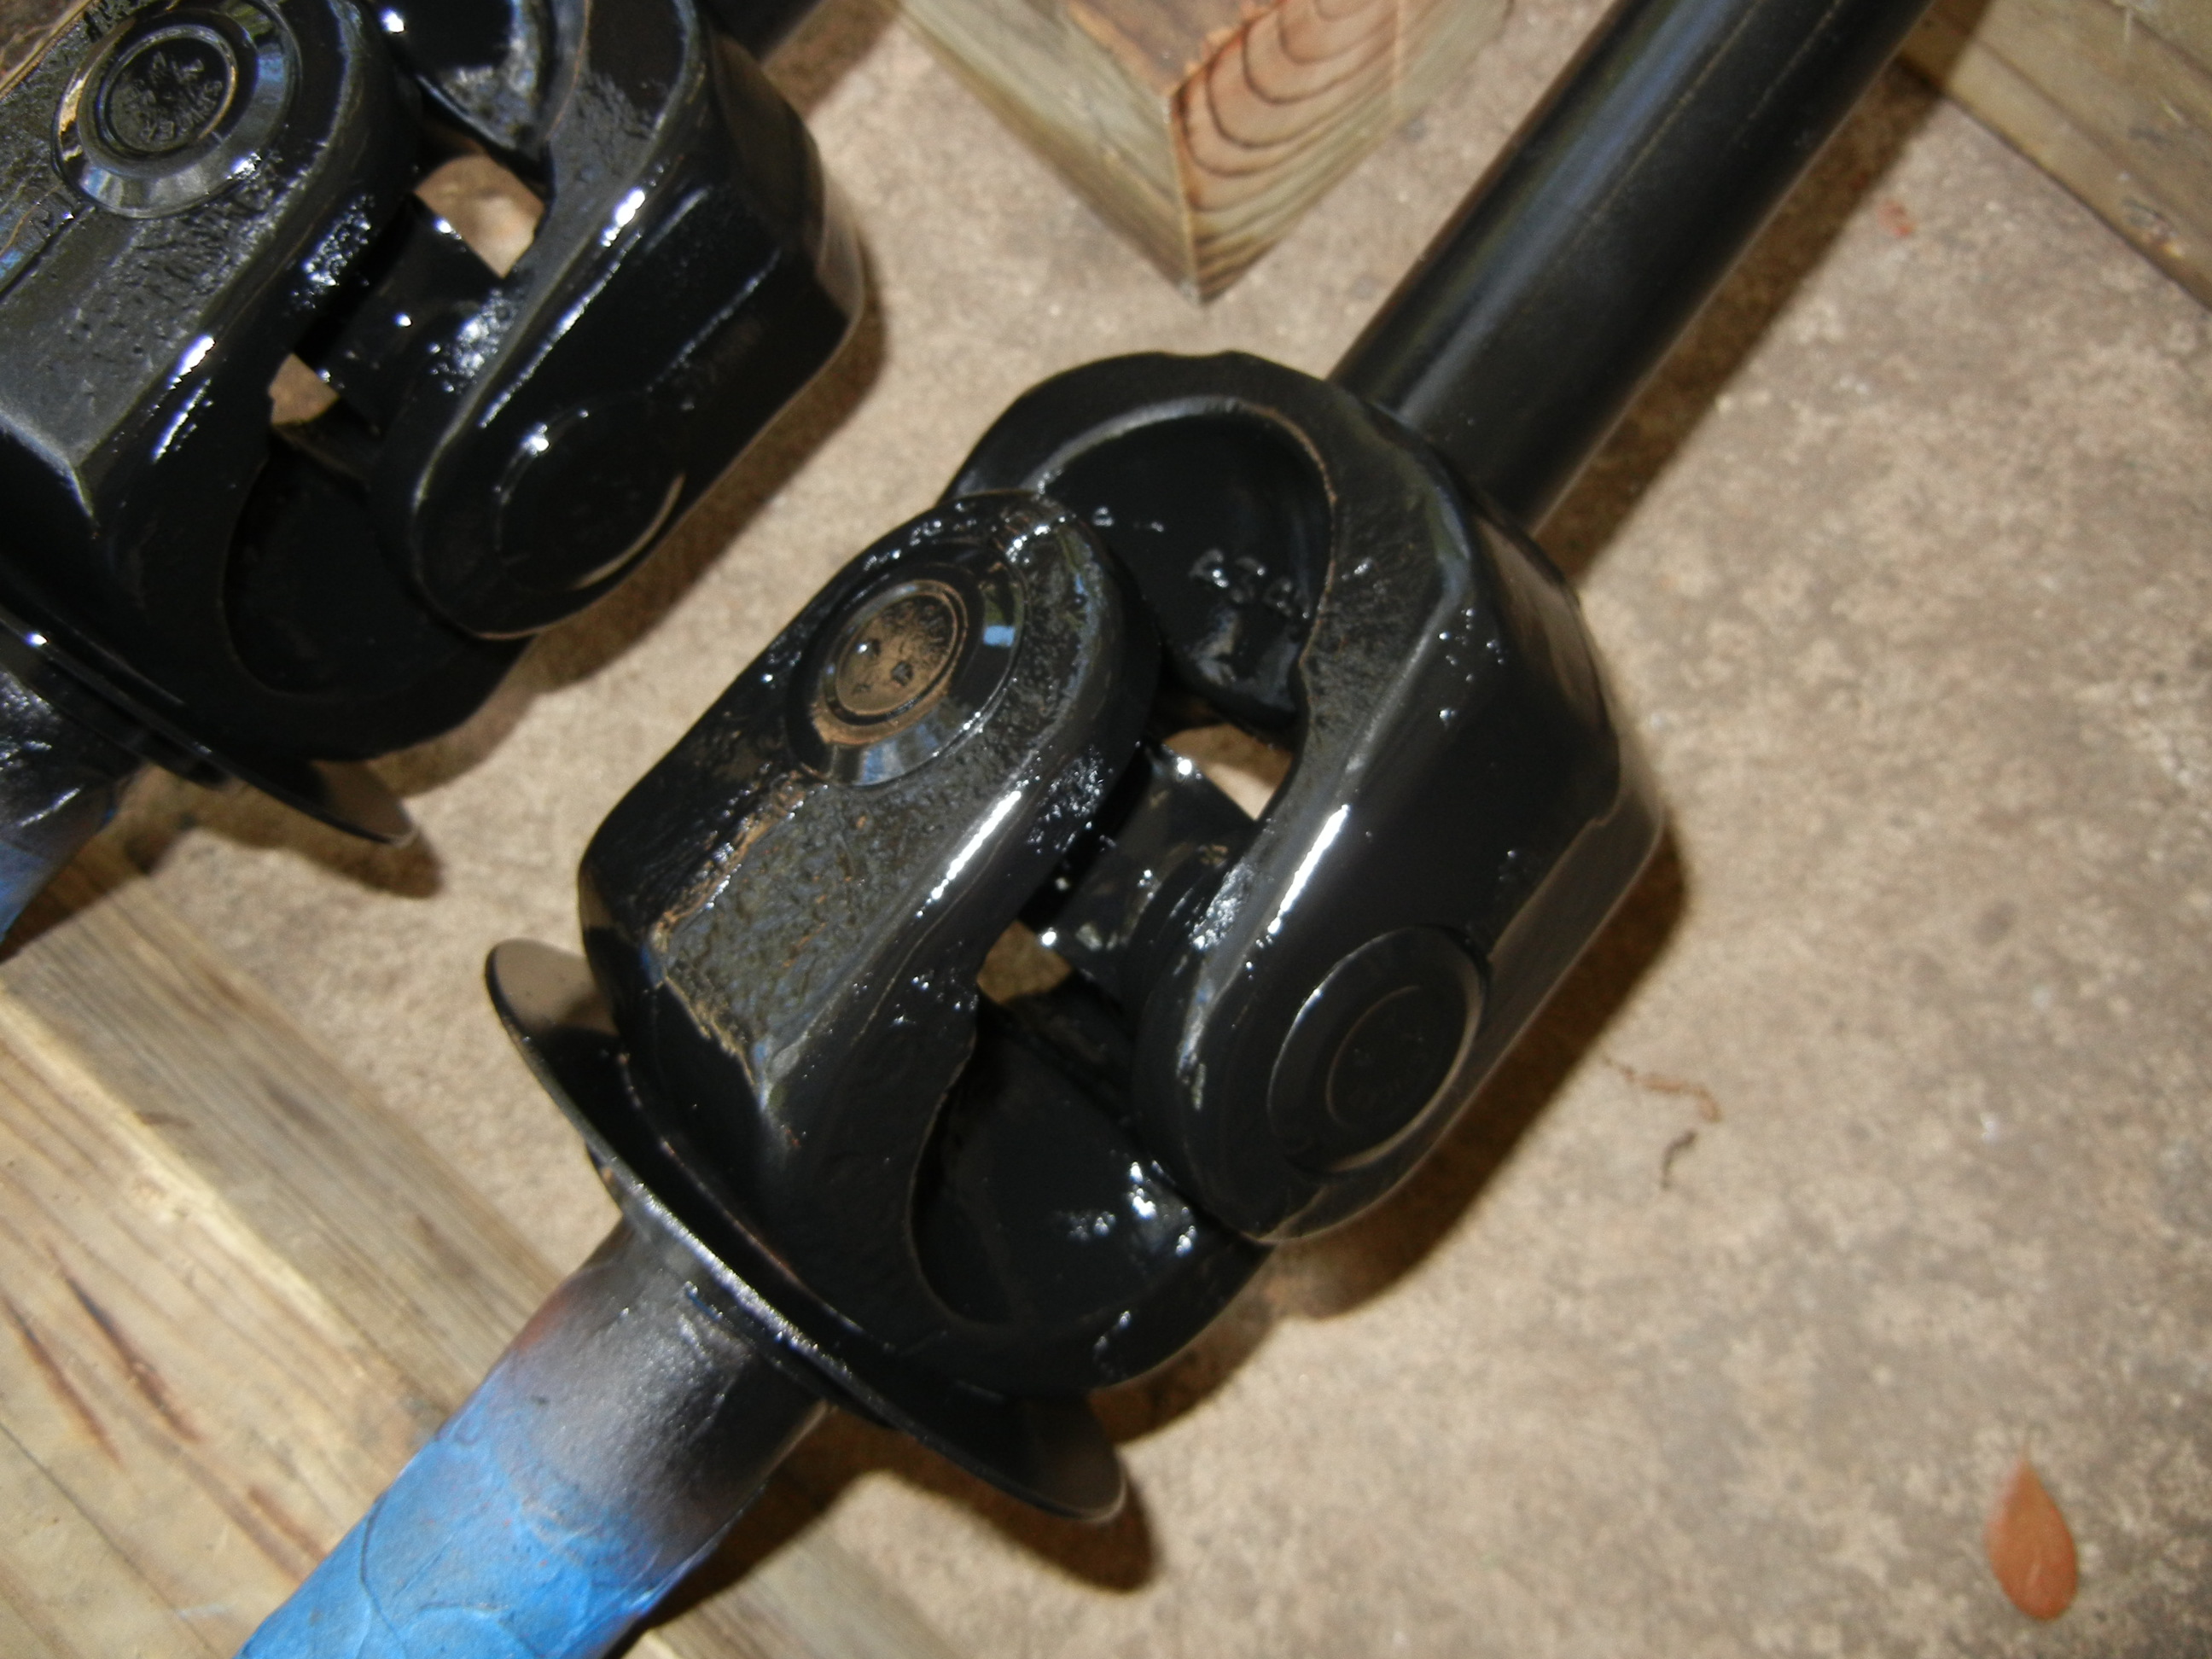
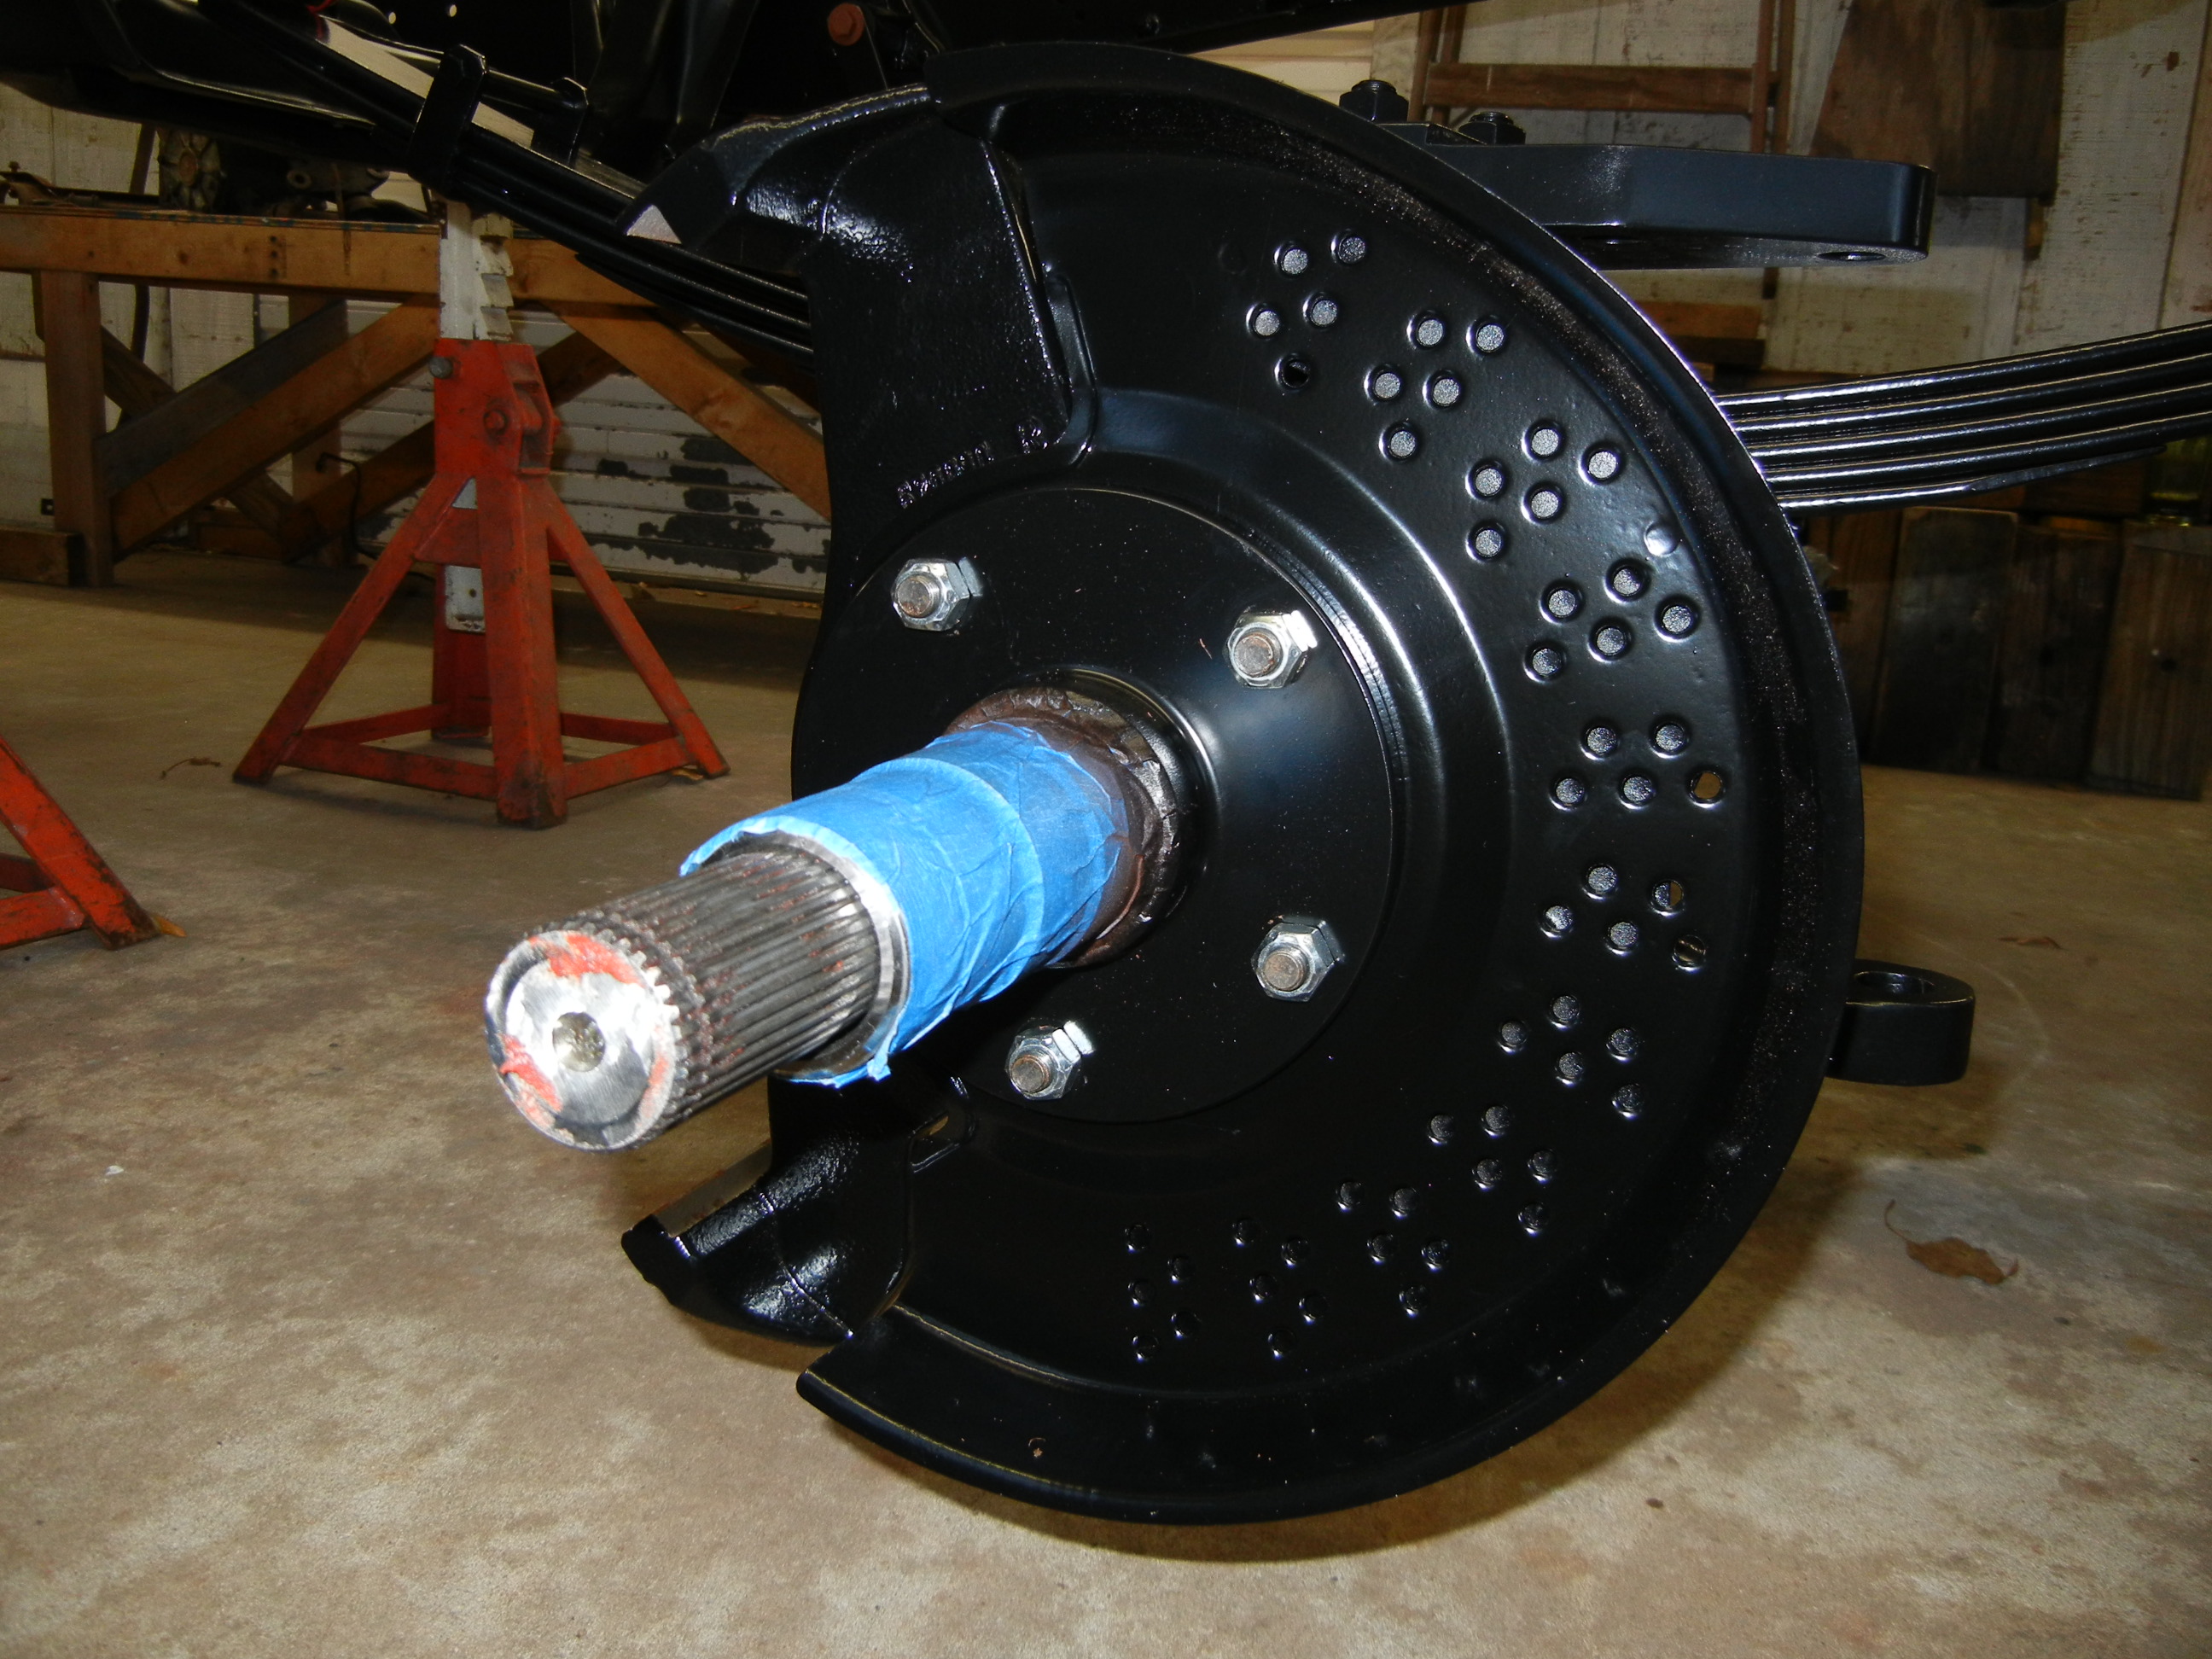
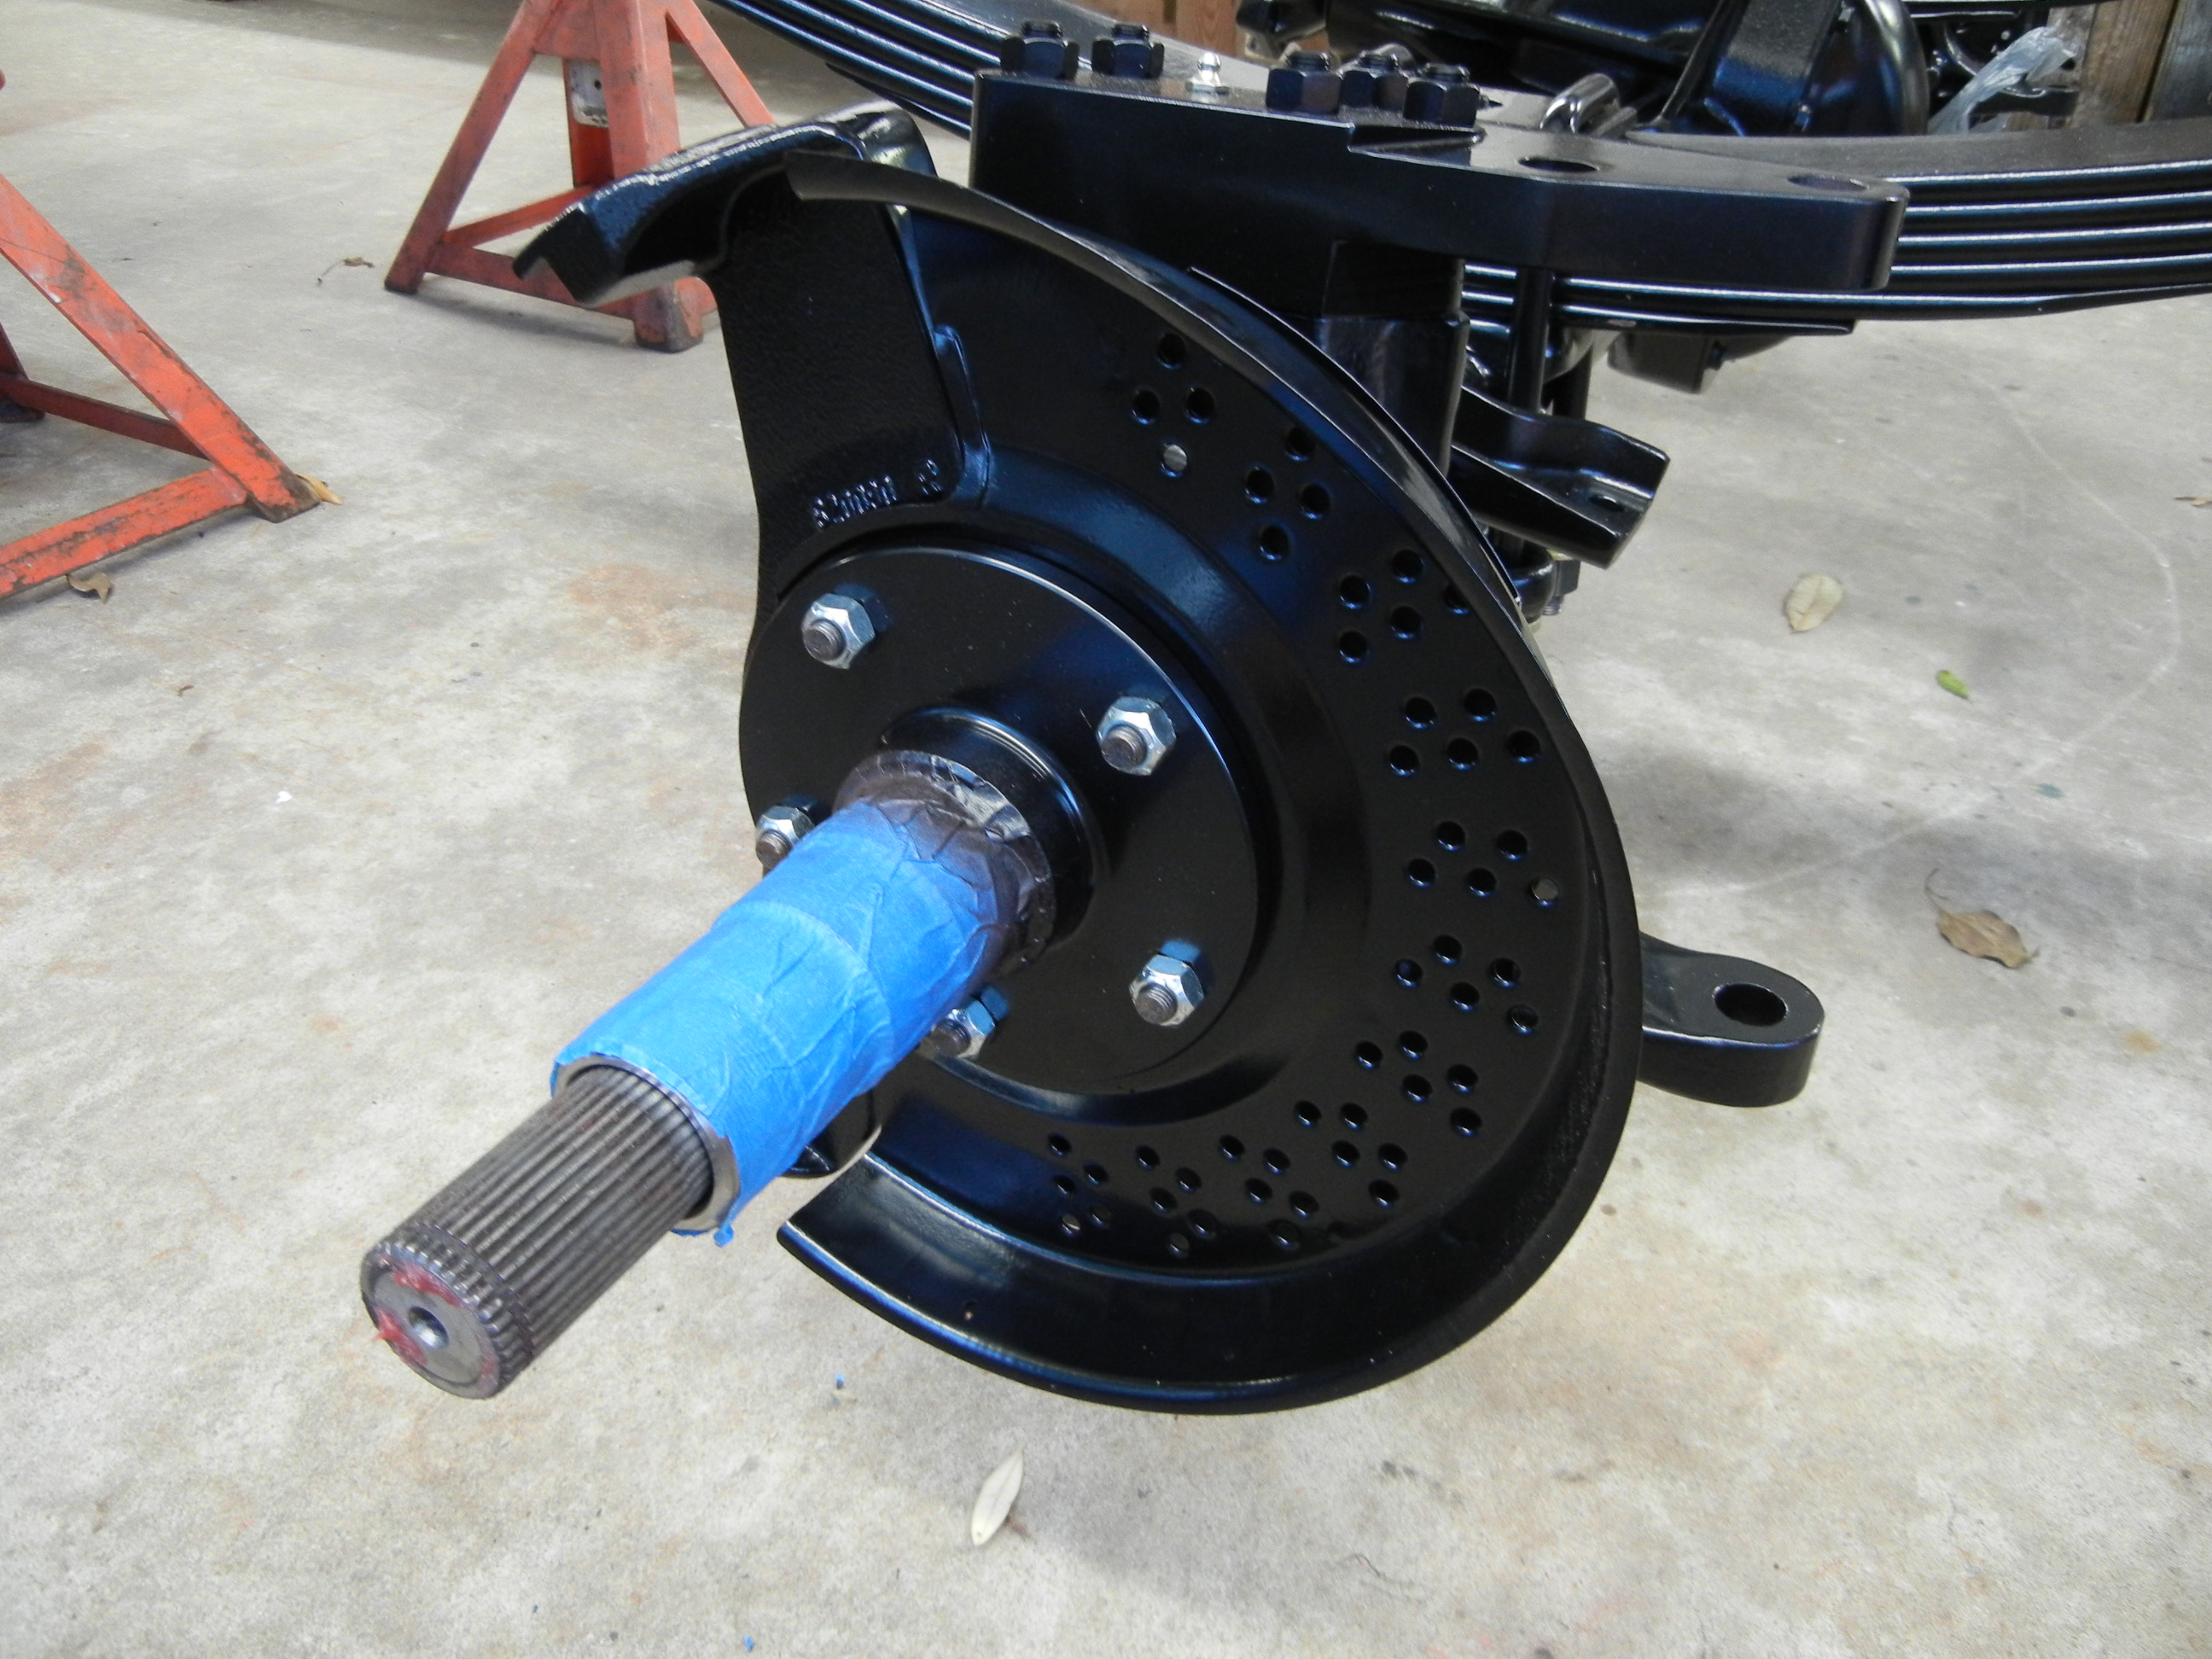
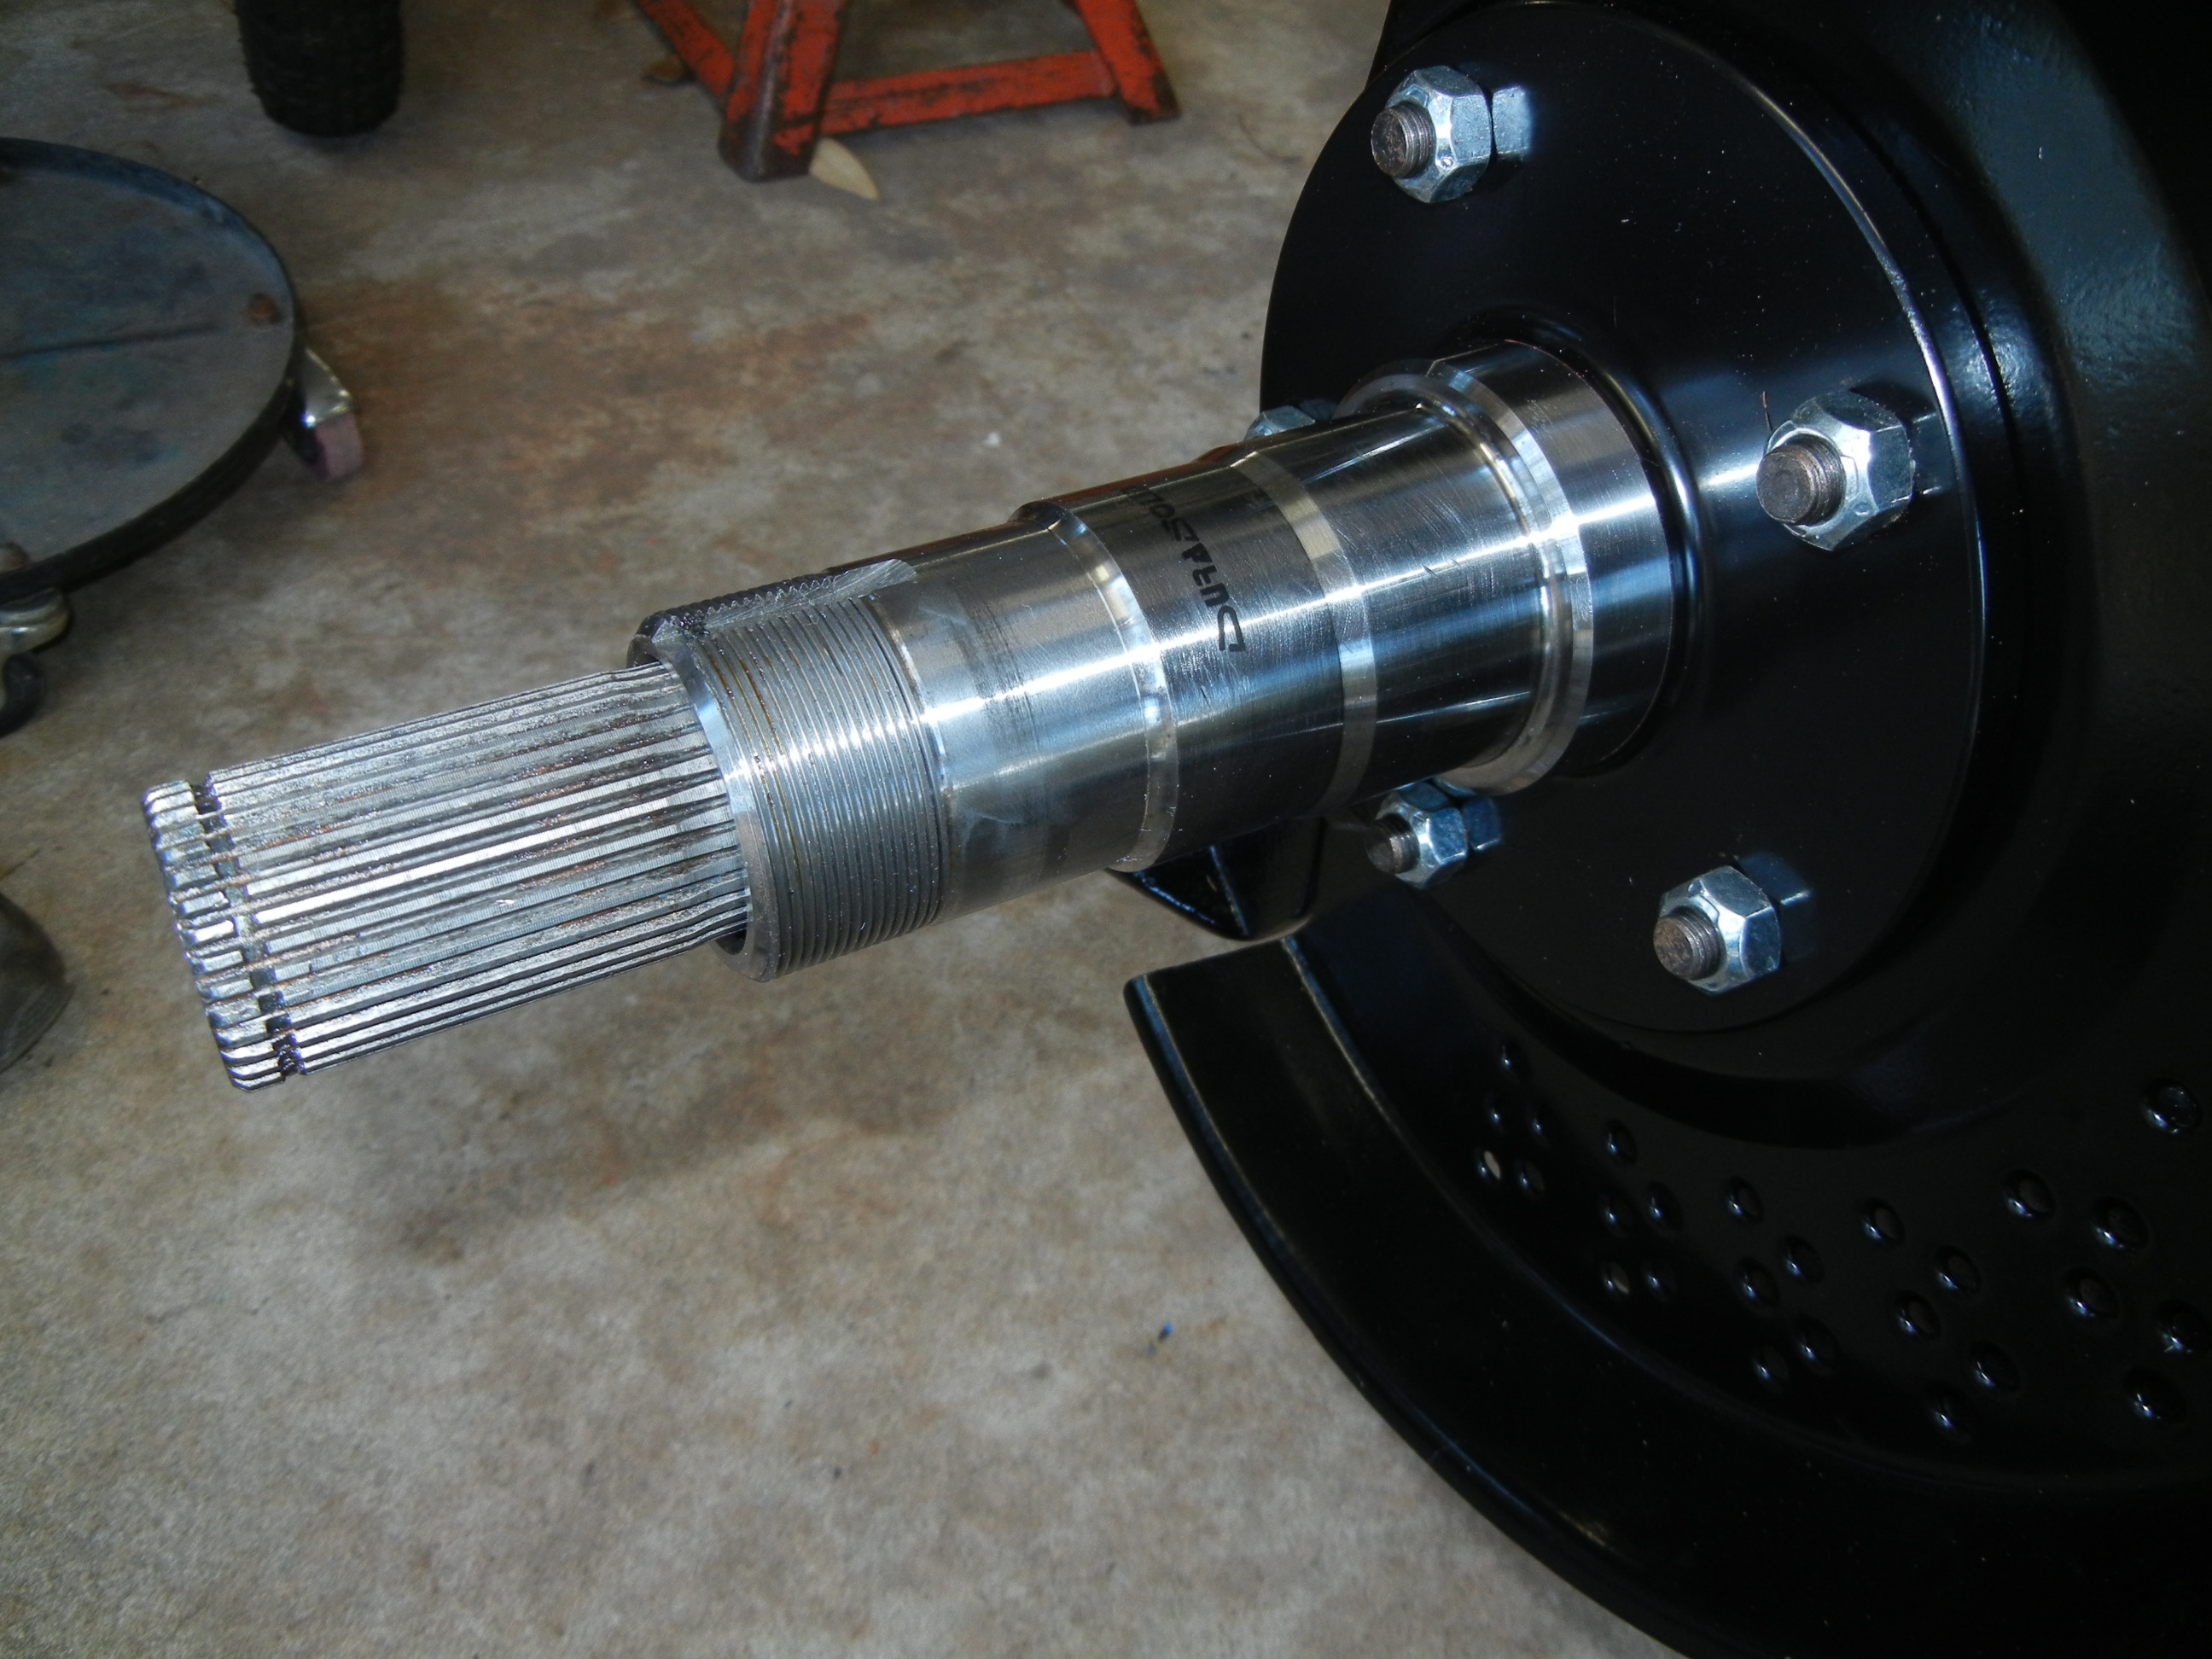
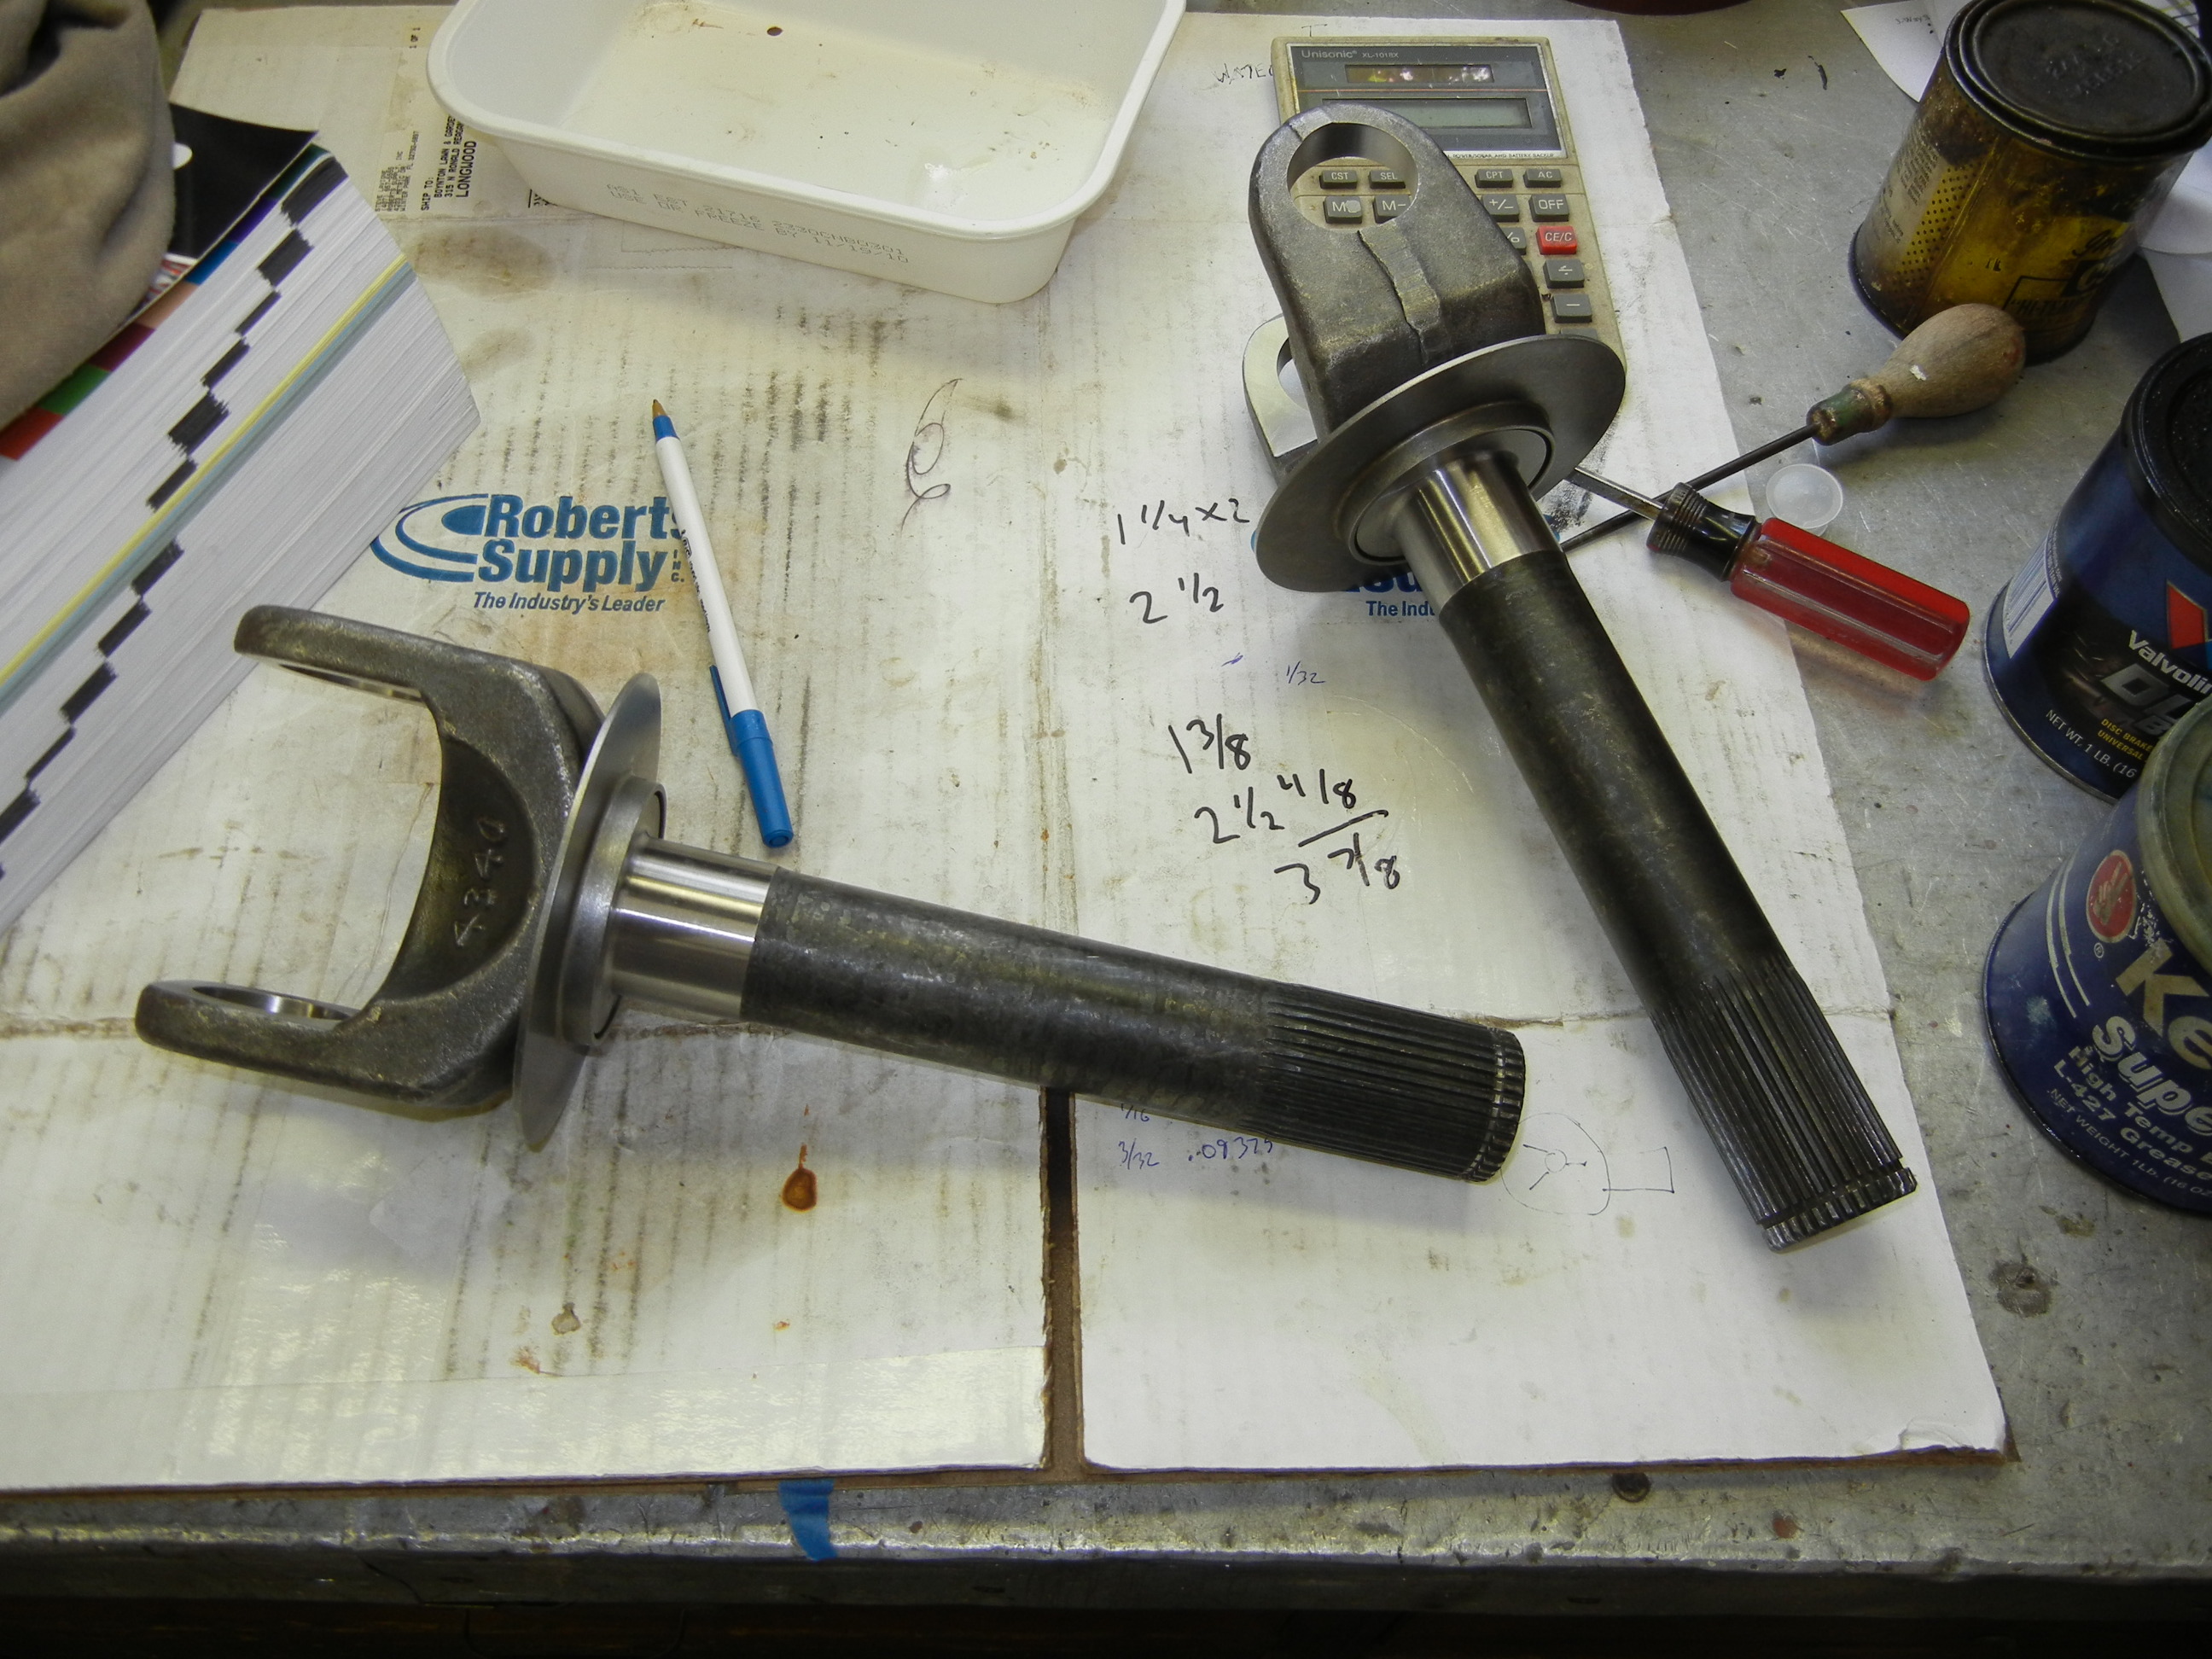
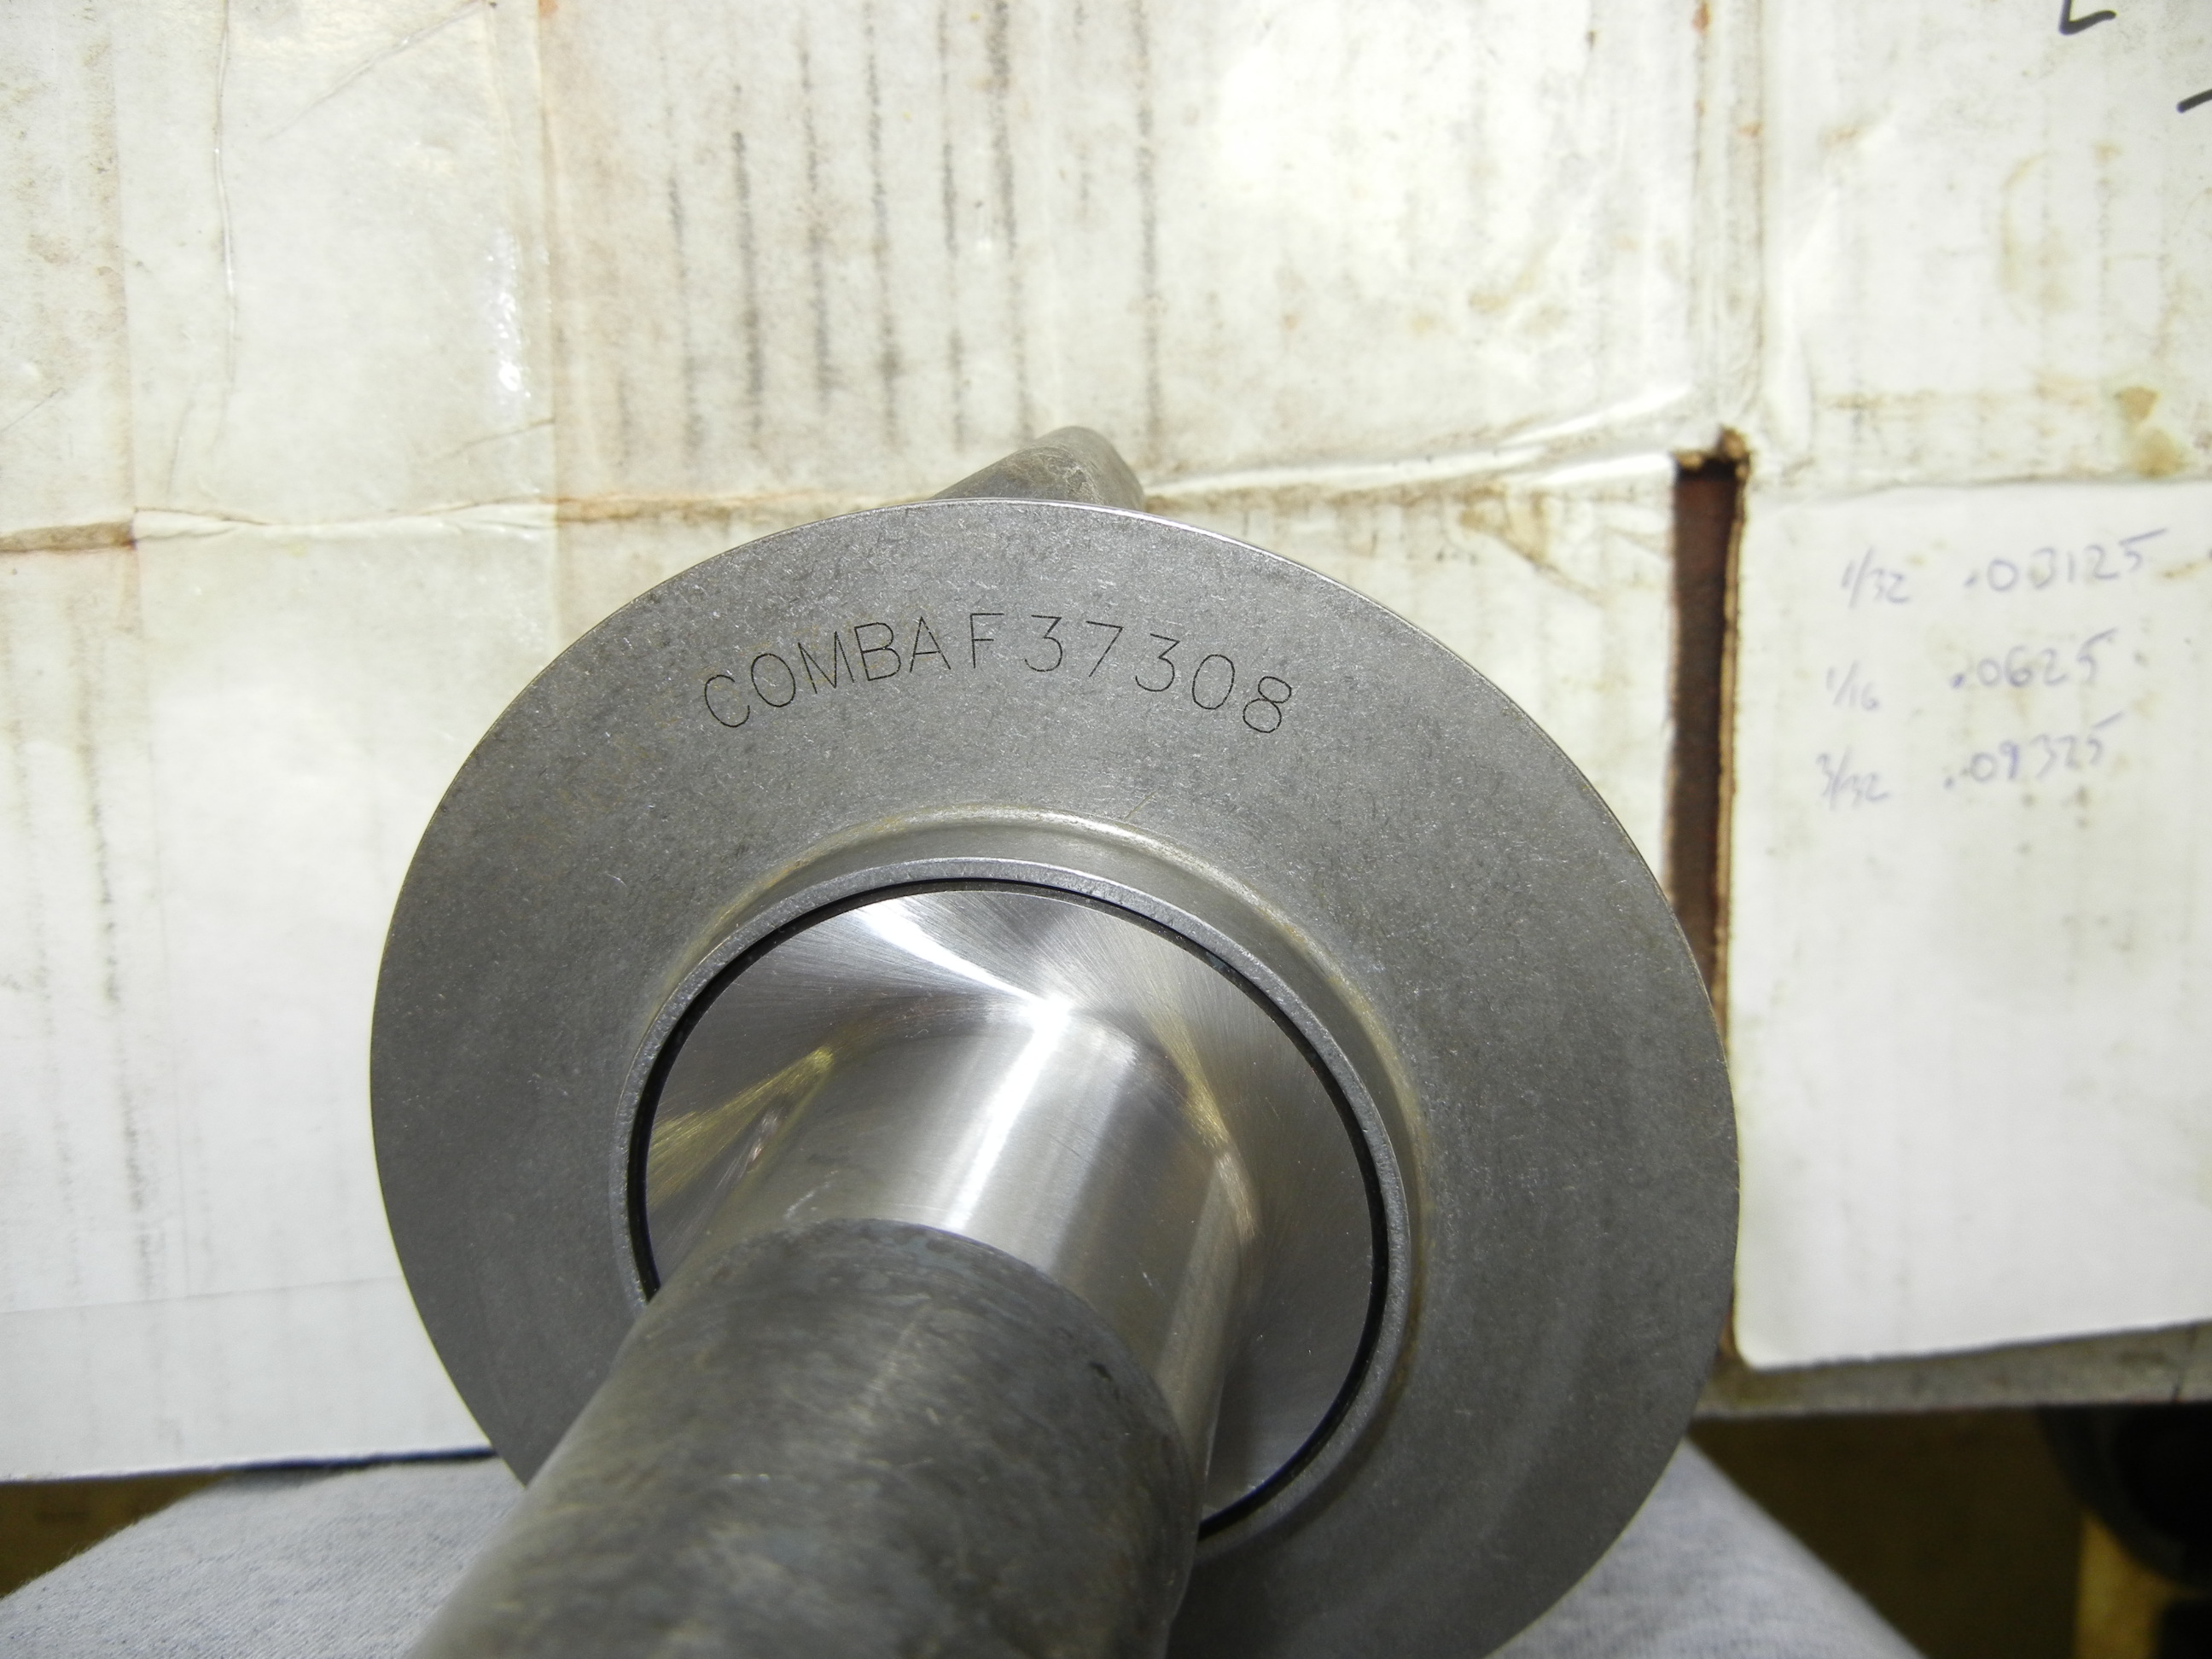
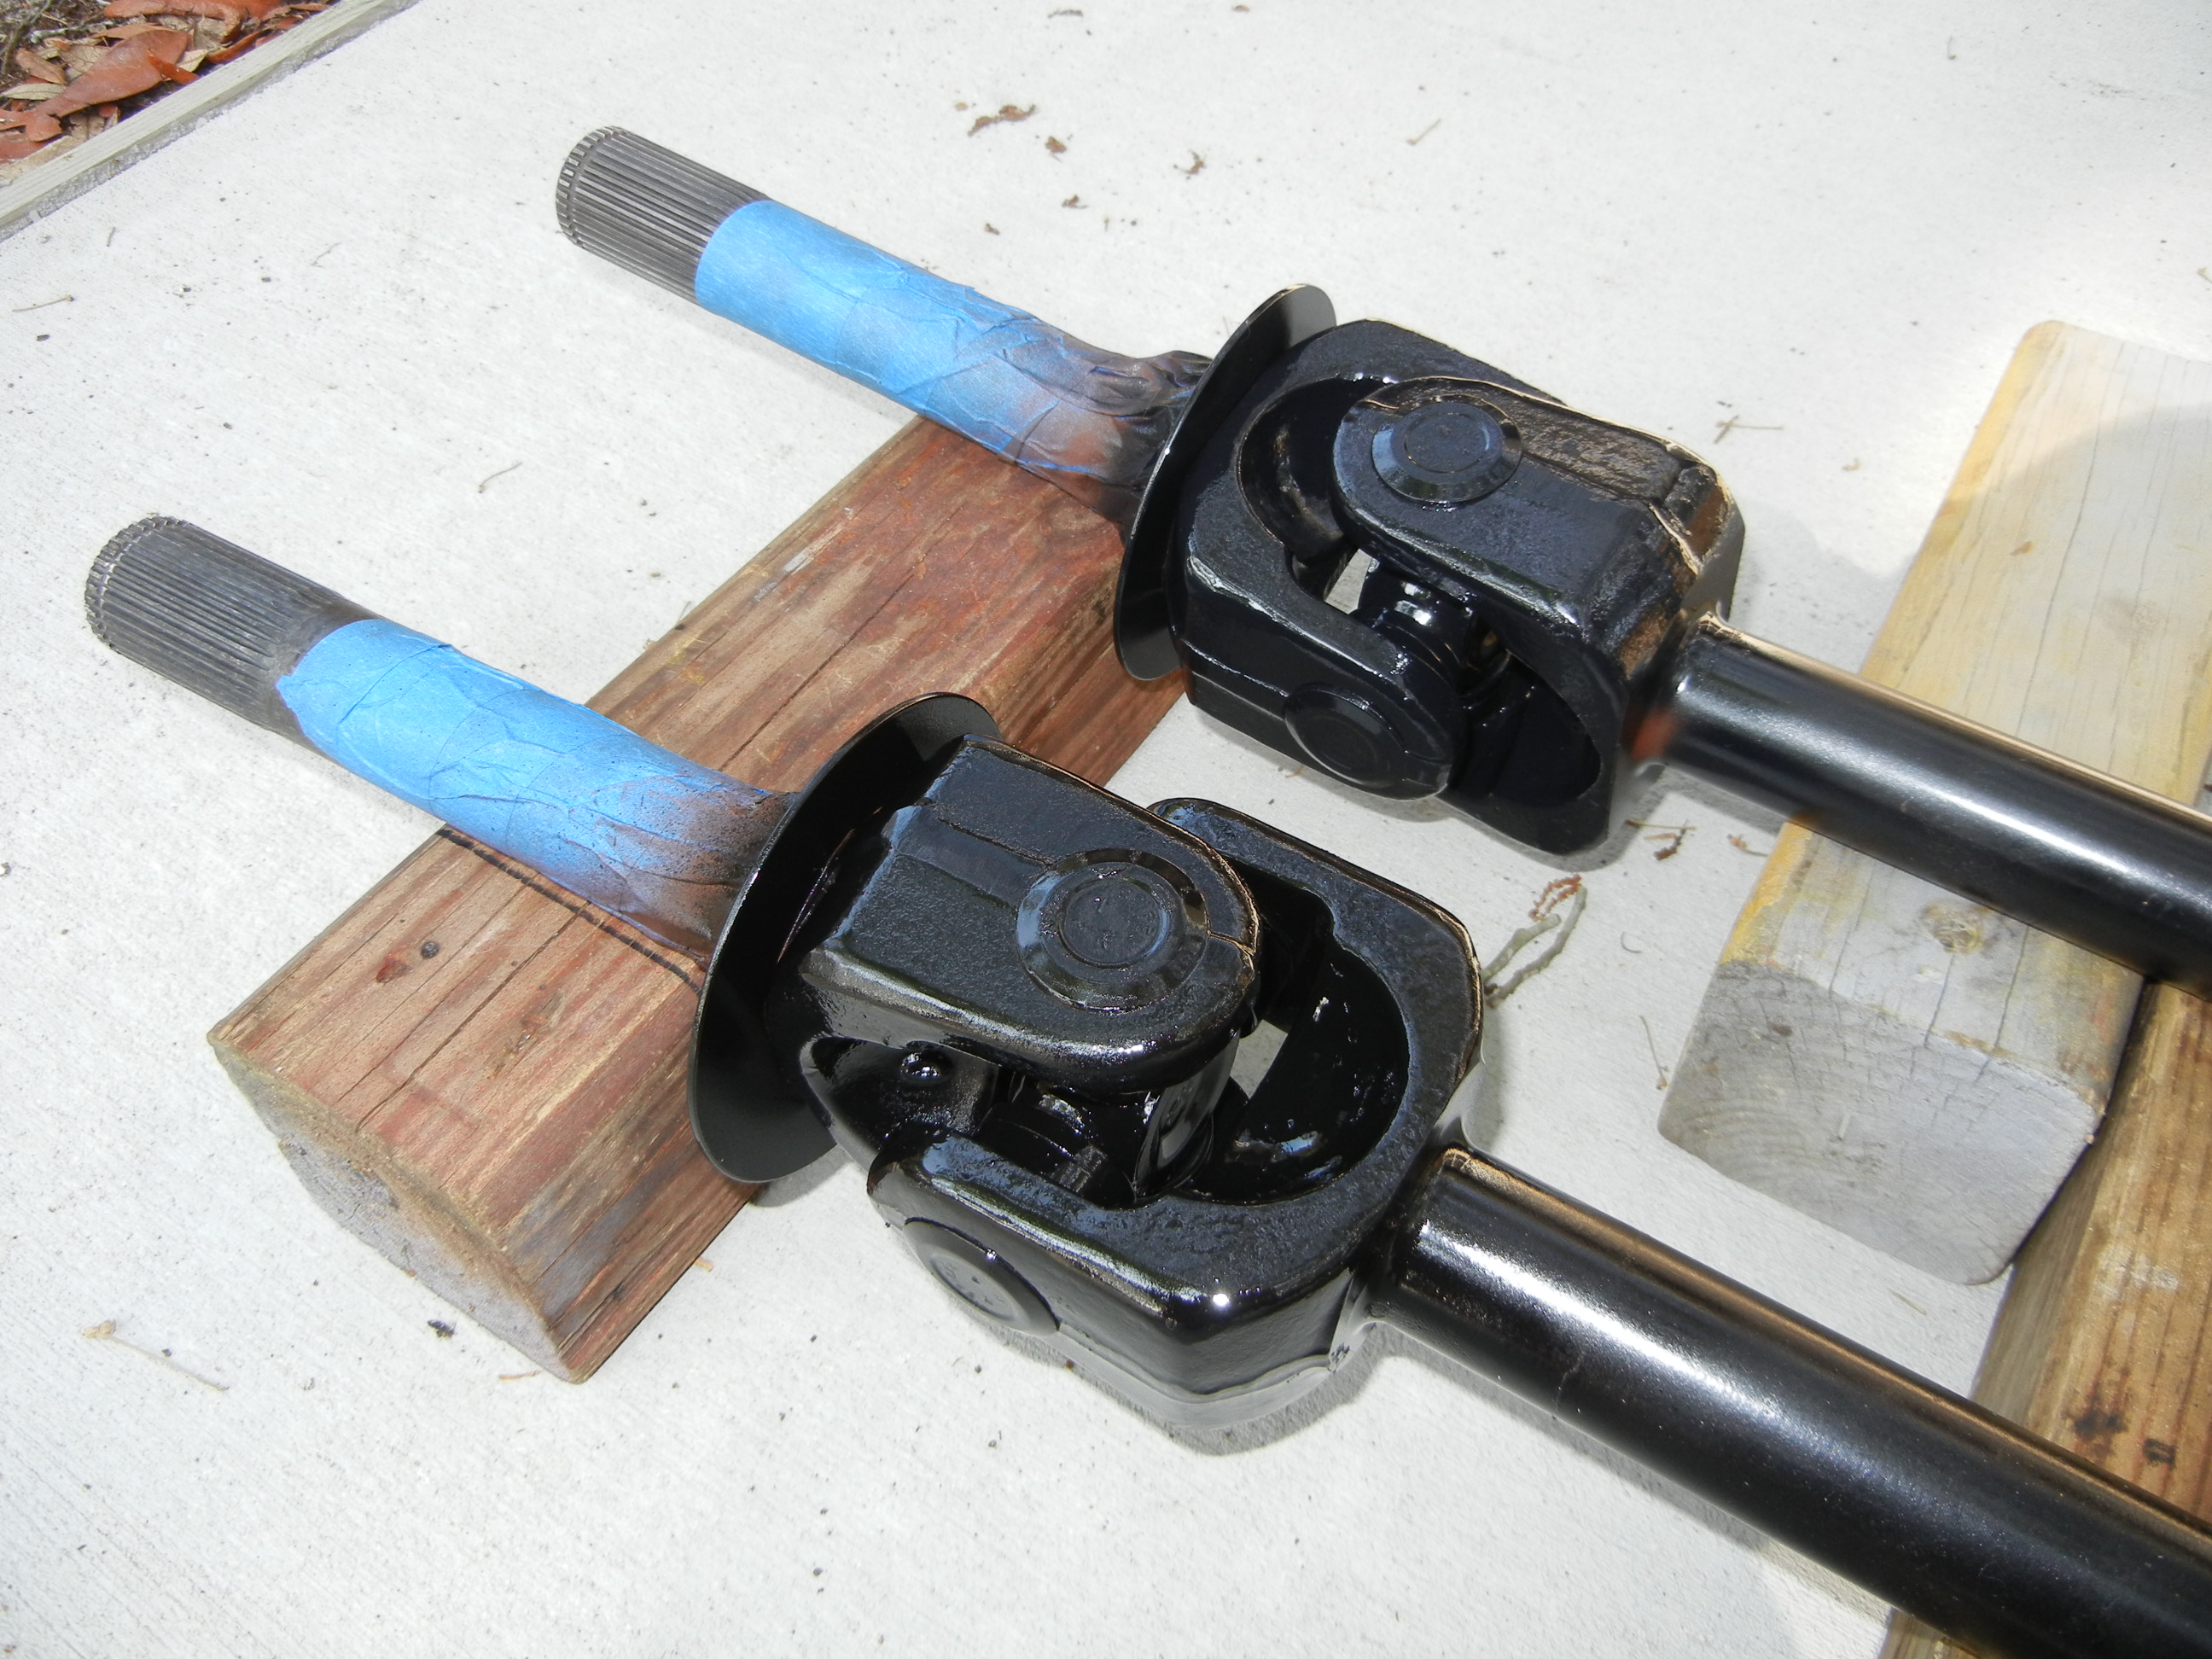
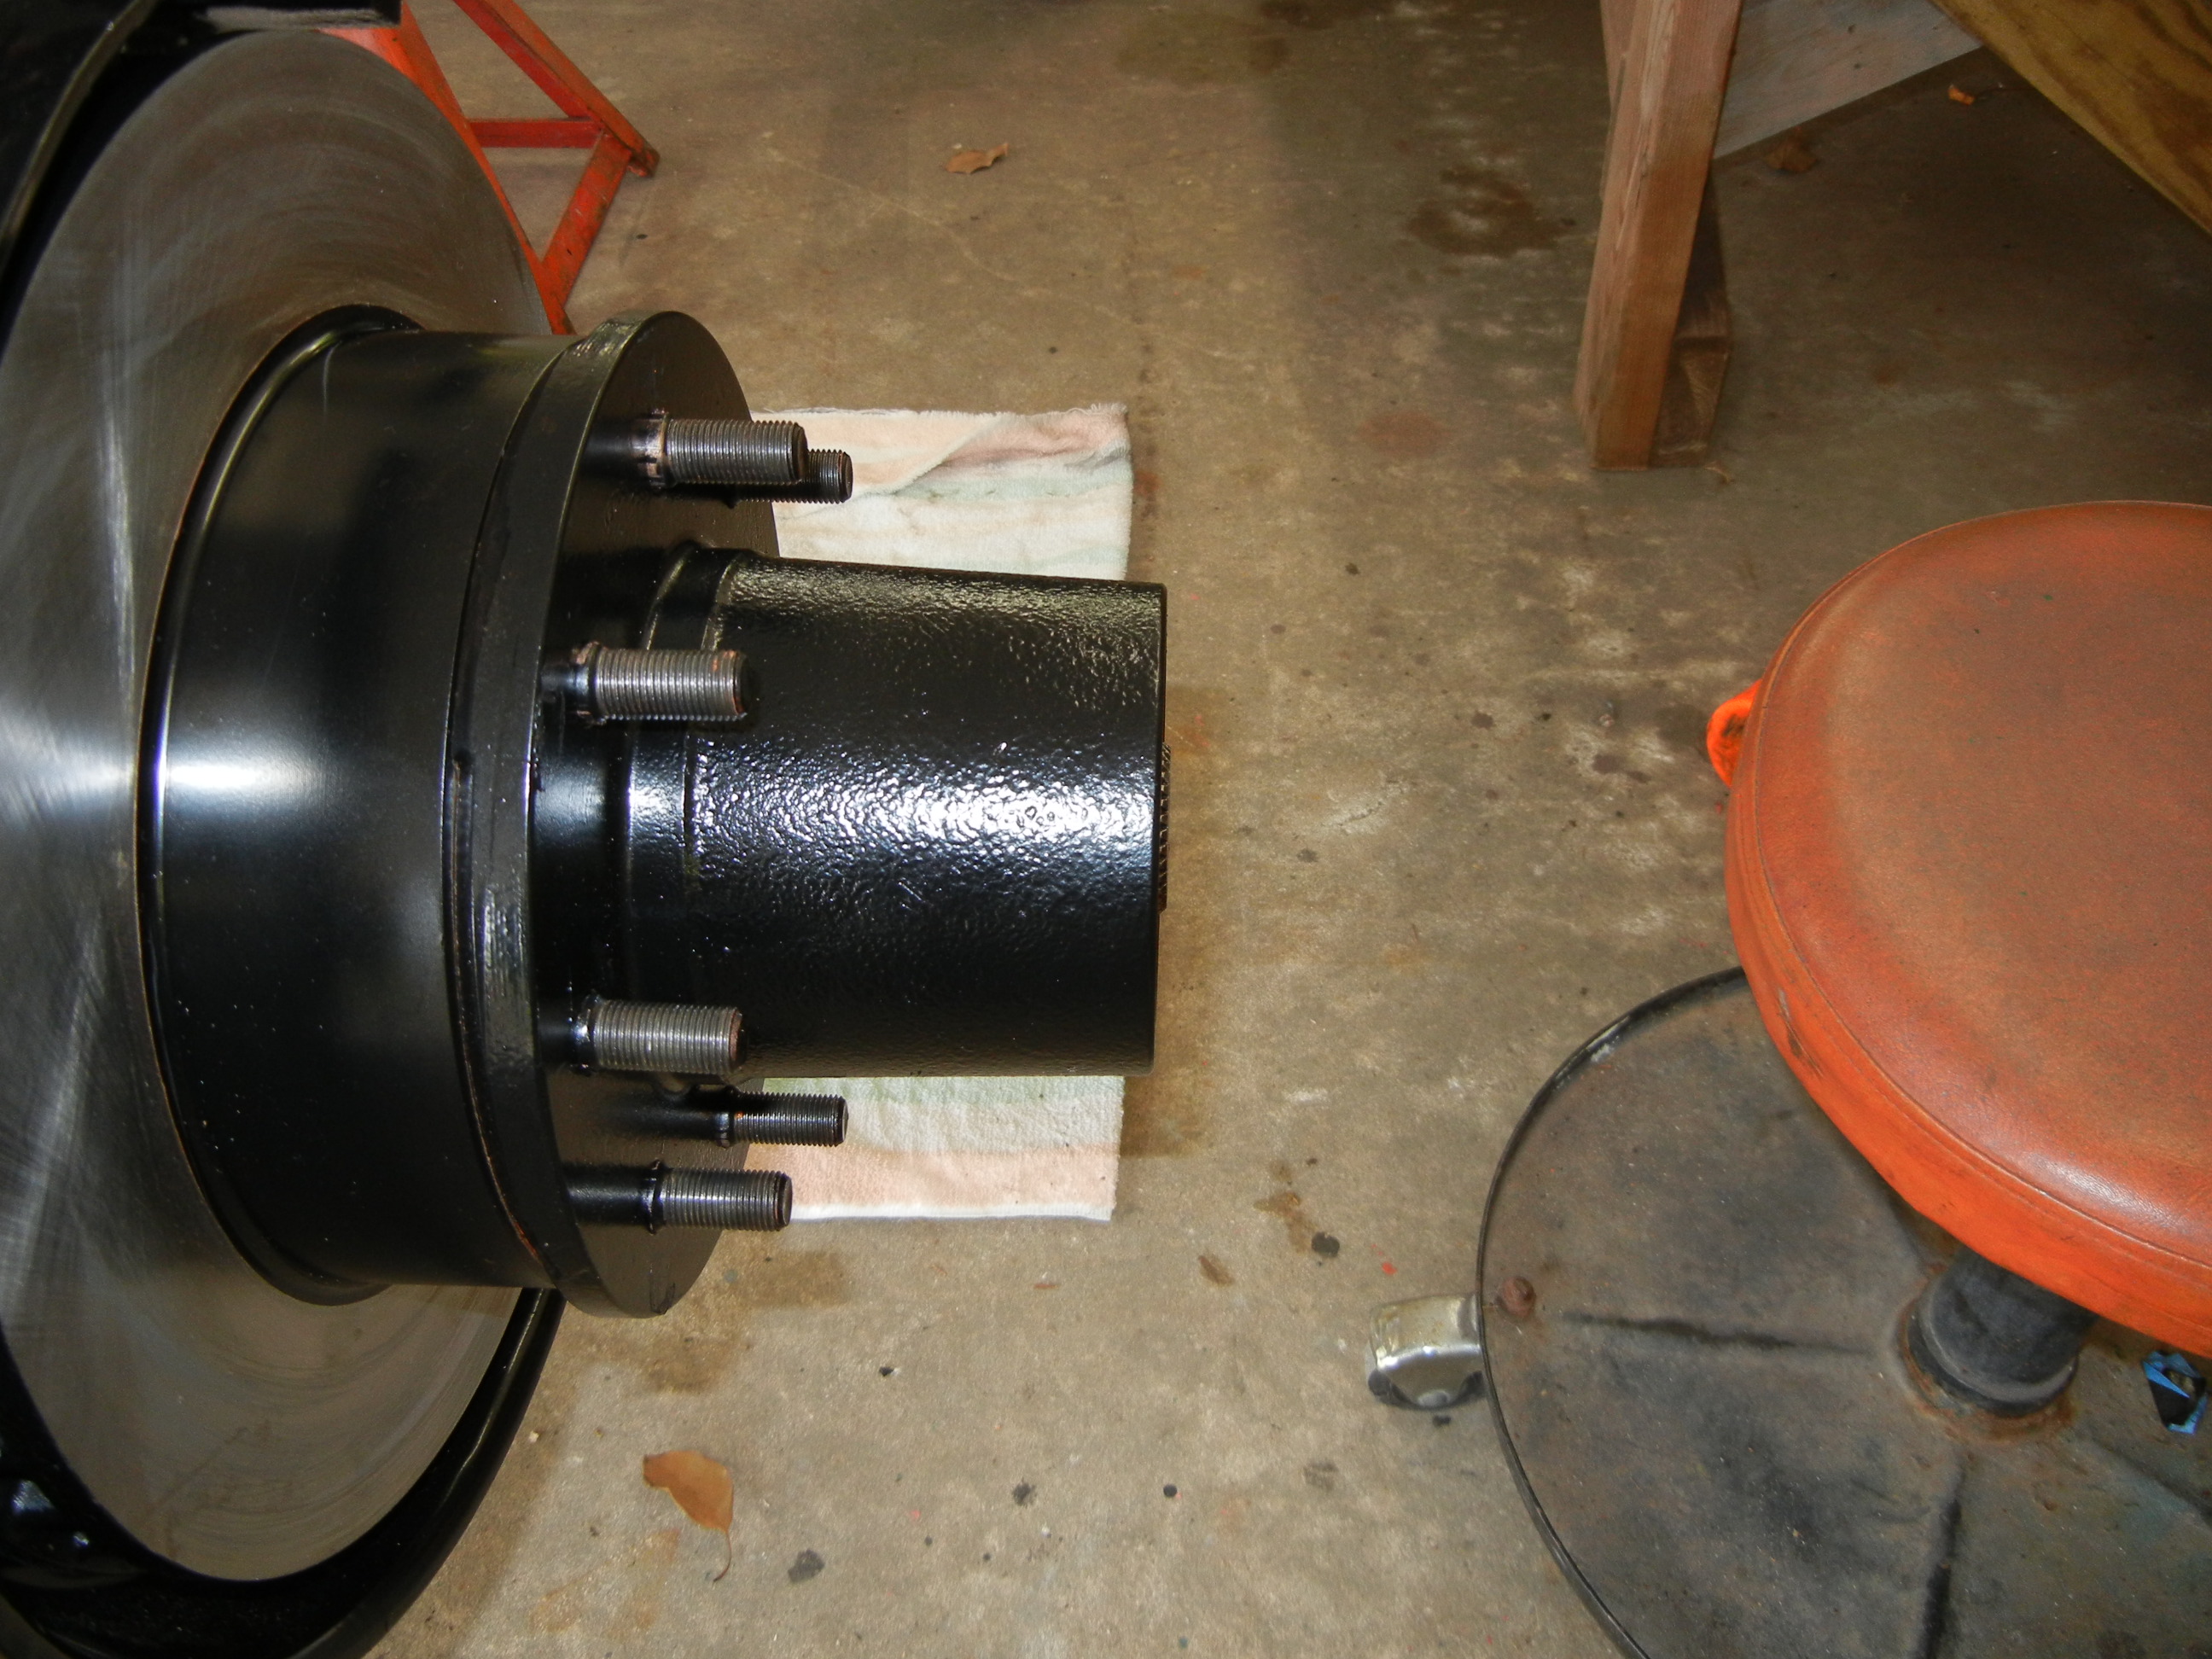
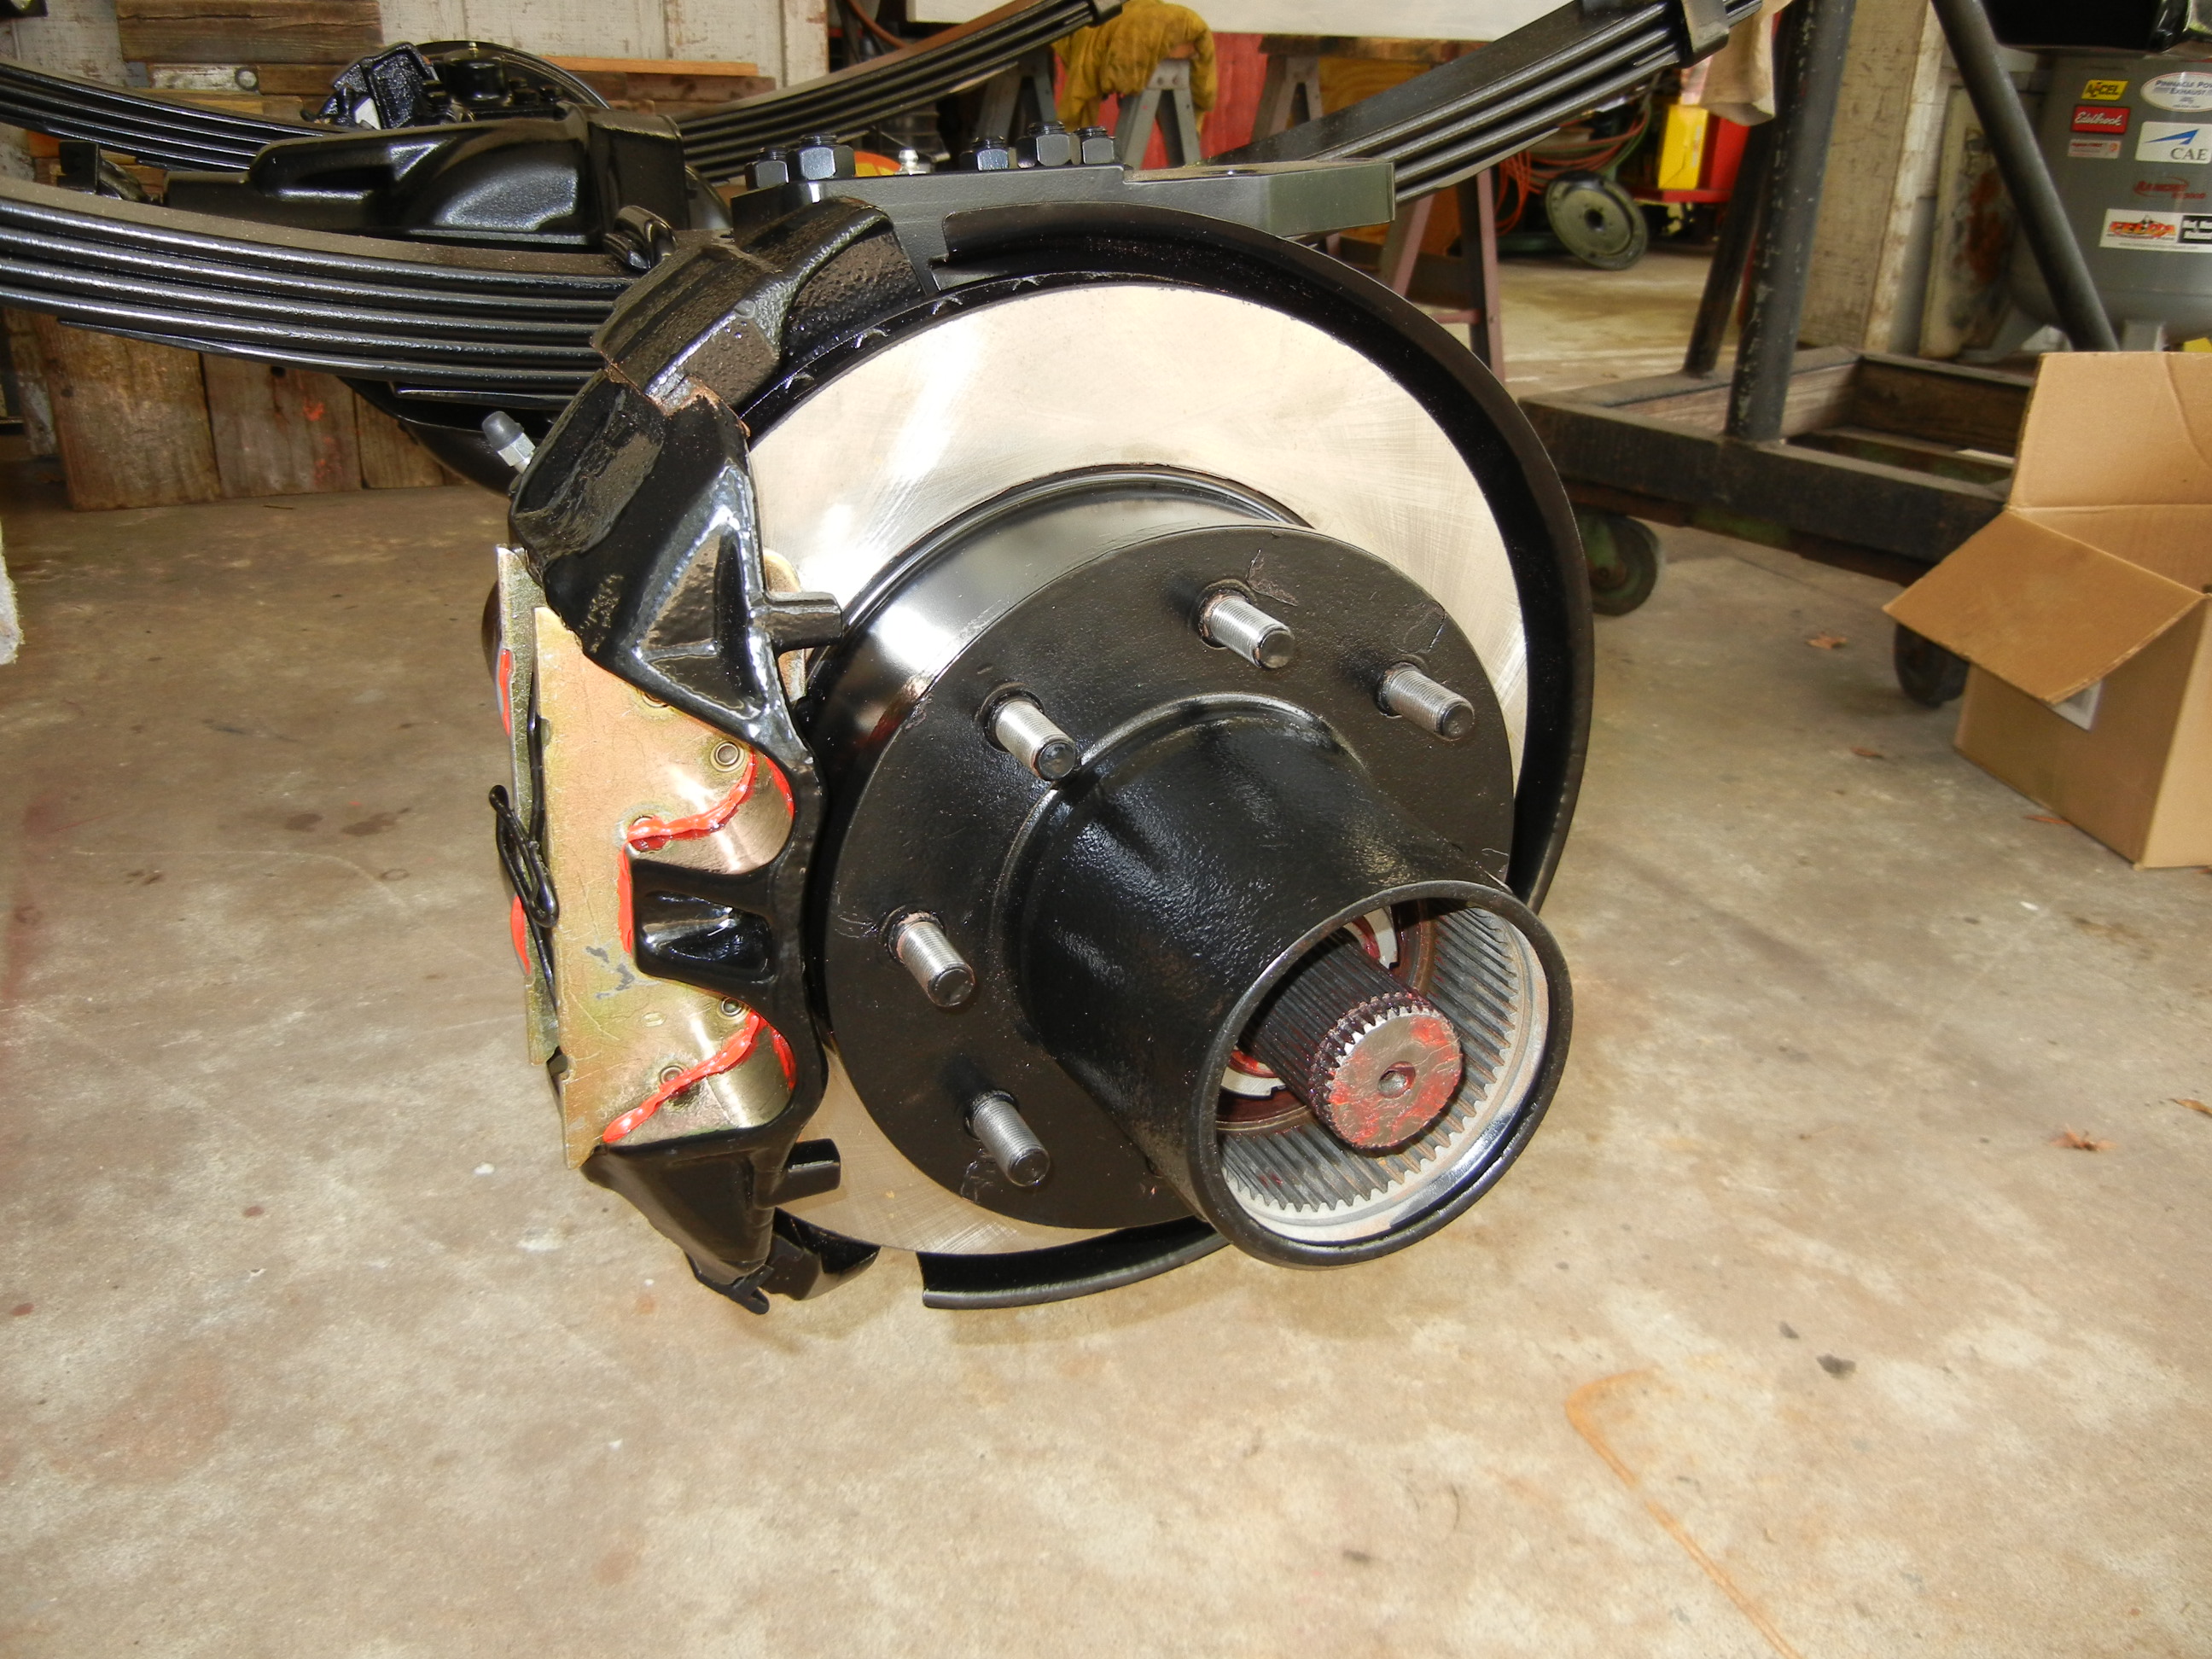
Yukon chro-mo all 35 spline '78/'79 Ford Dana 60 axle shafts finally showed up. They are beauties! As others have found out, they do not fit inside the knuckle opening (stock or the Reids) so some slight massaging on the high spots was needed. Spicer cold forged non-greasable joints were used as well as Spicer stone shields.
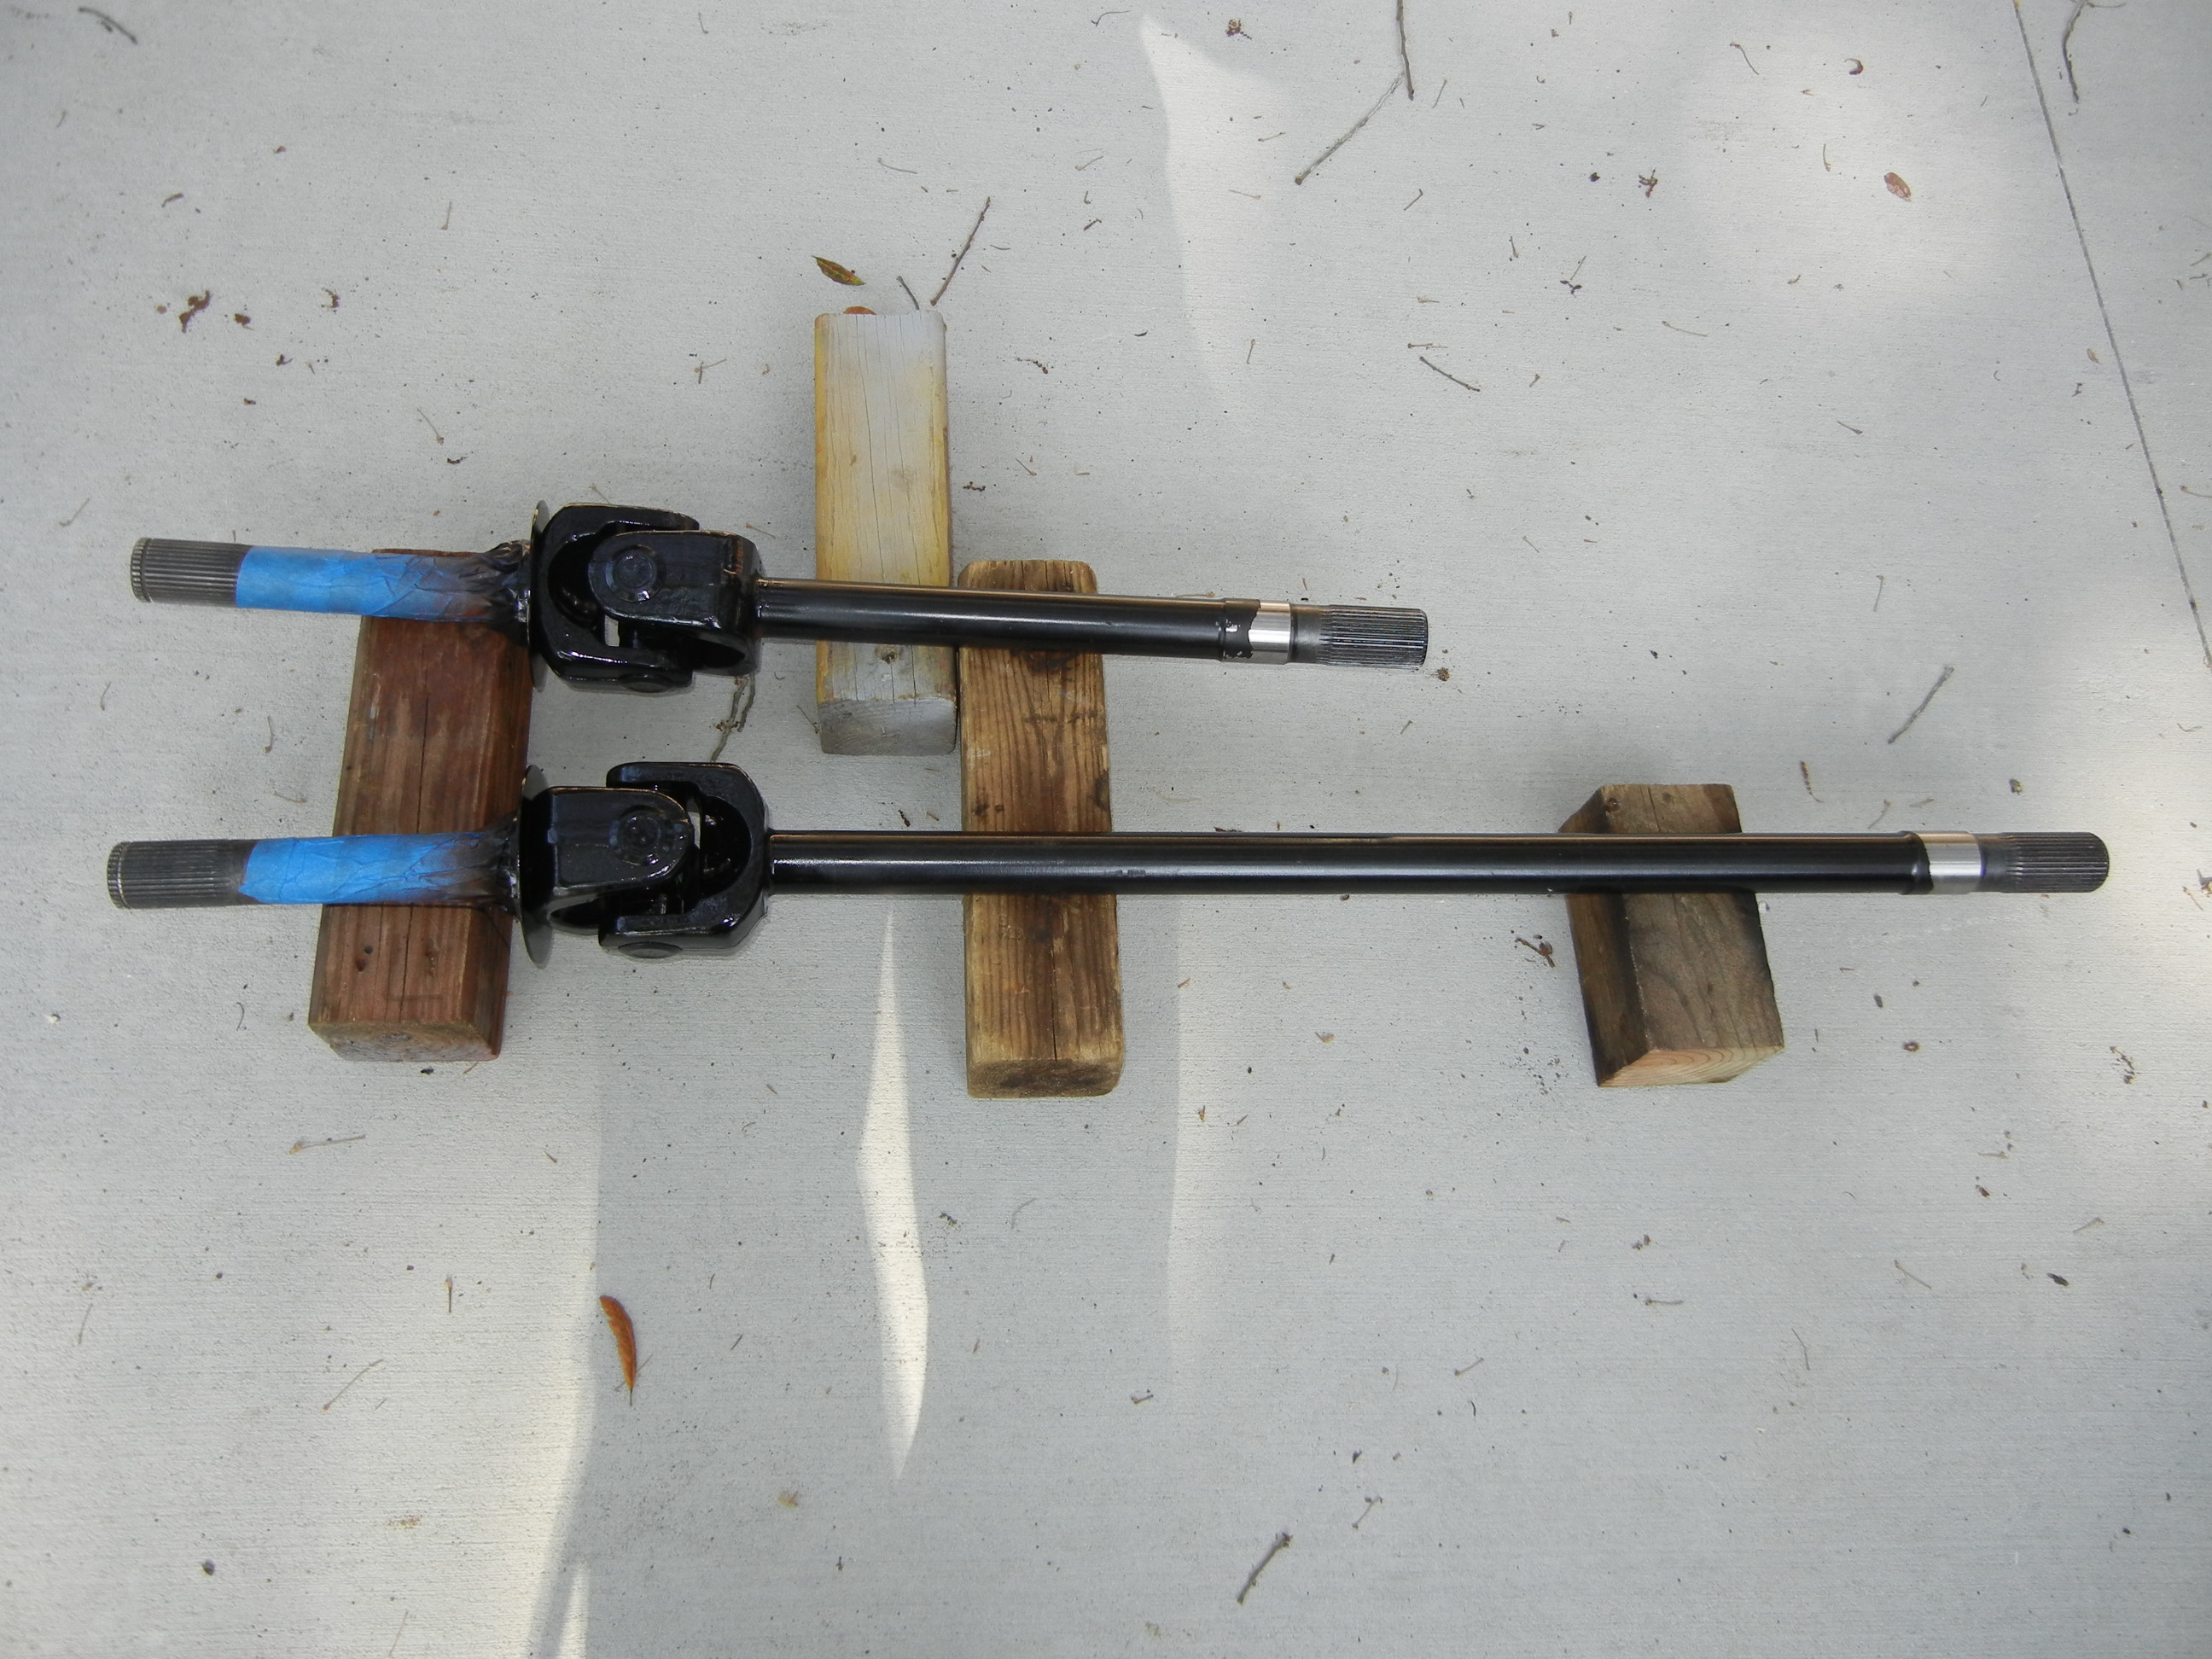
Next up they were assembled and painted black.
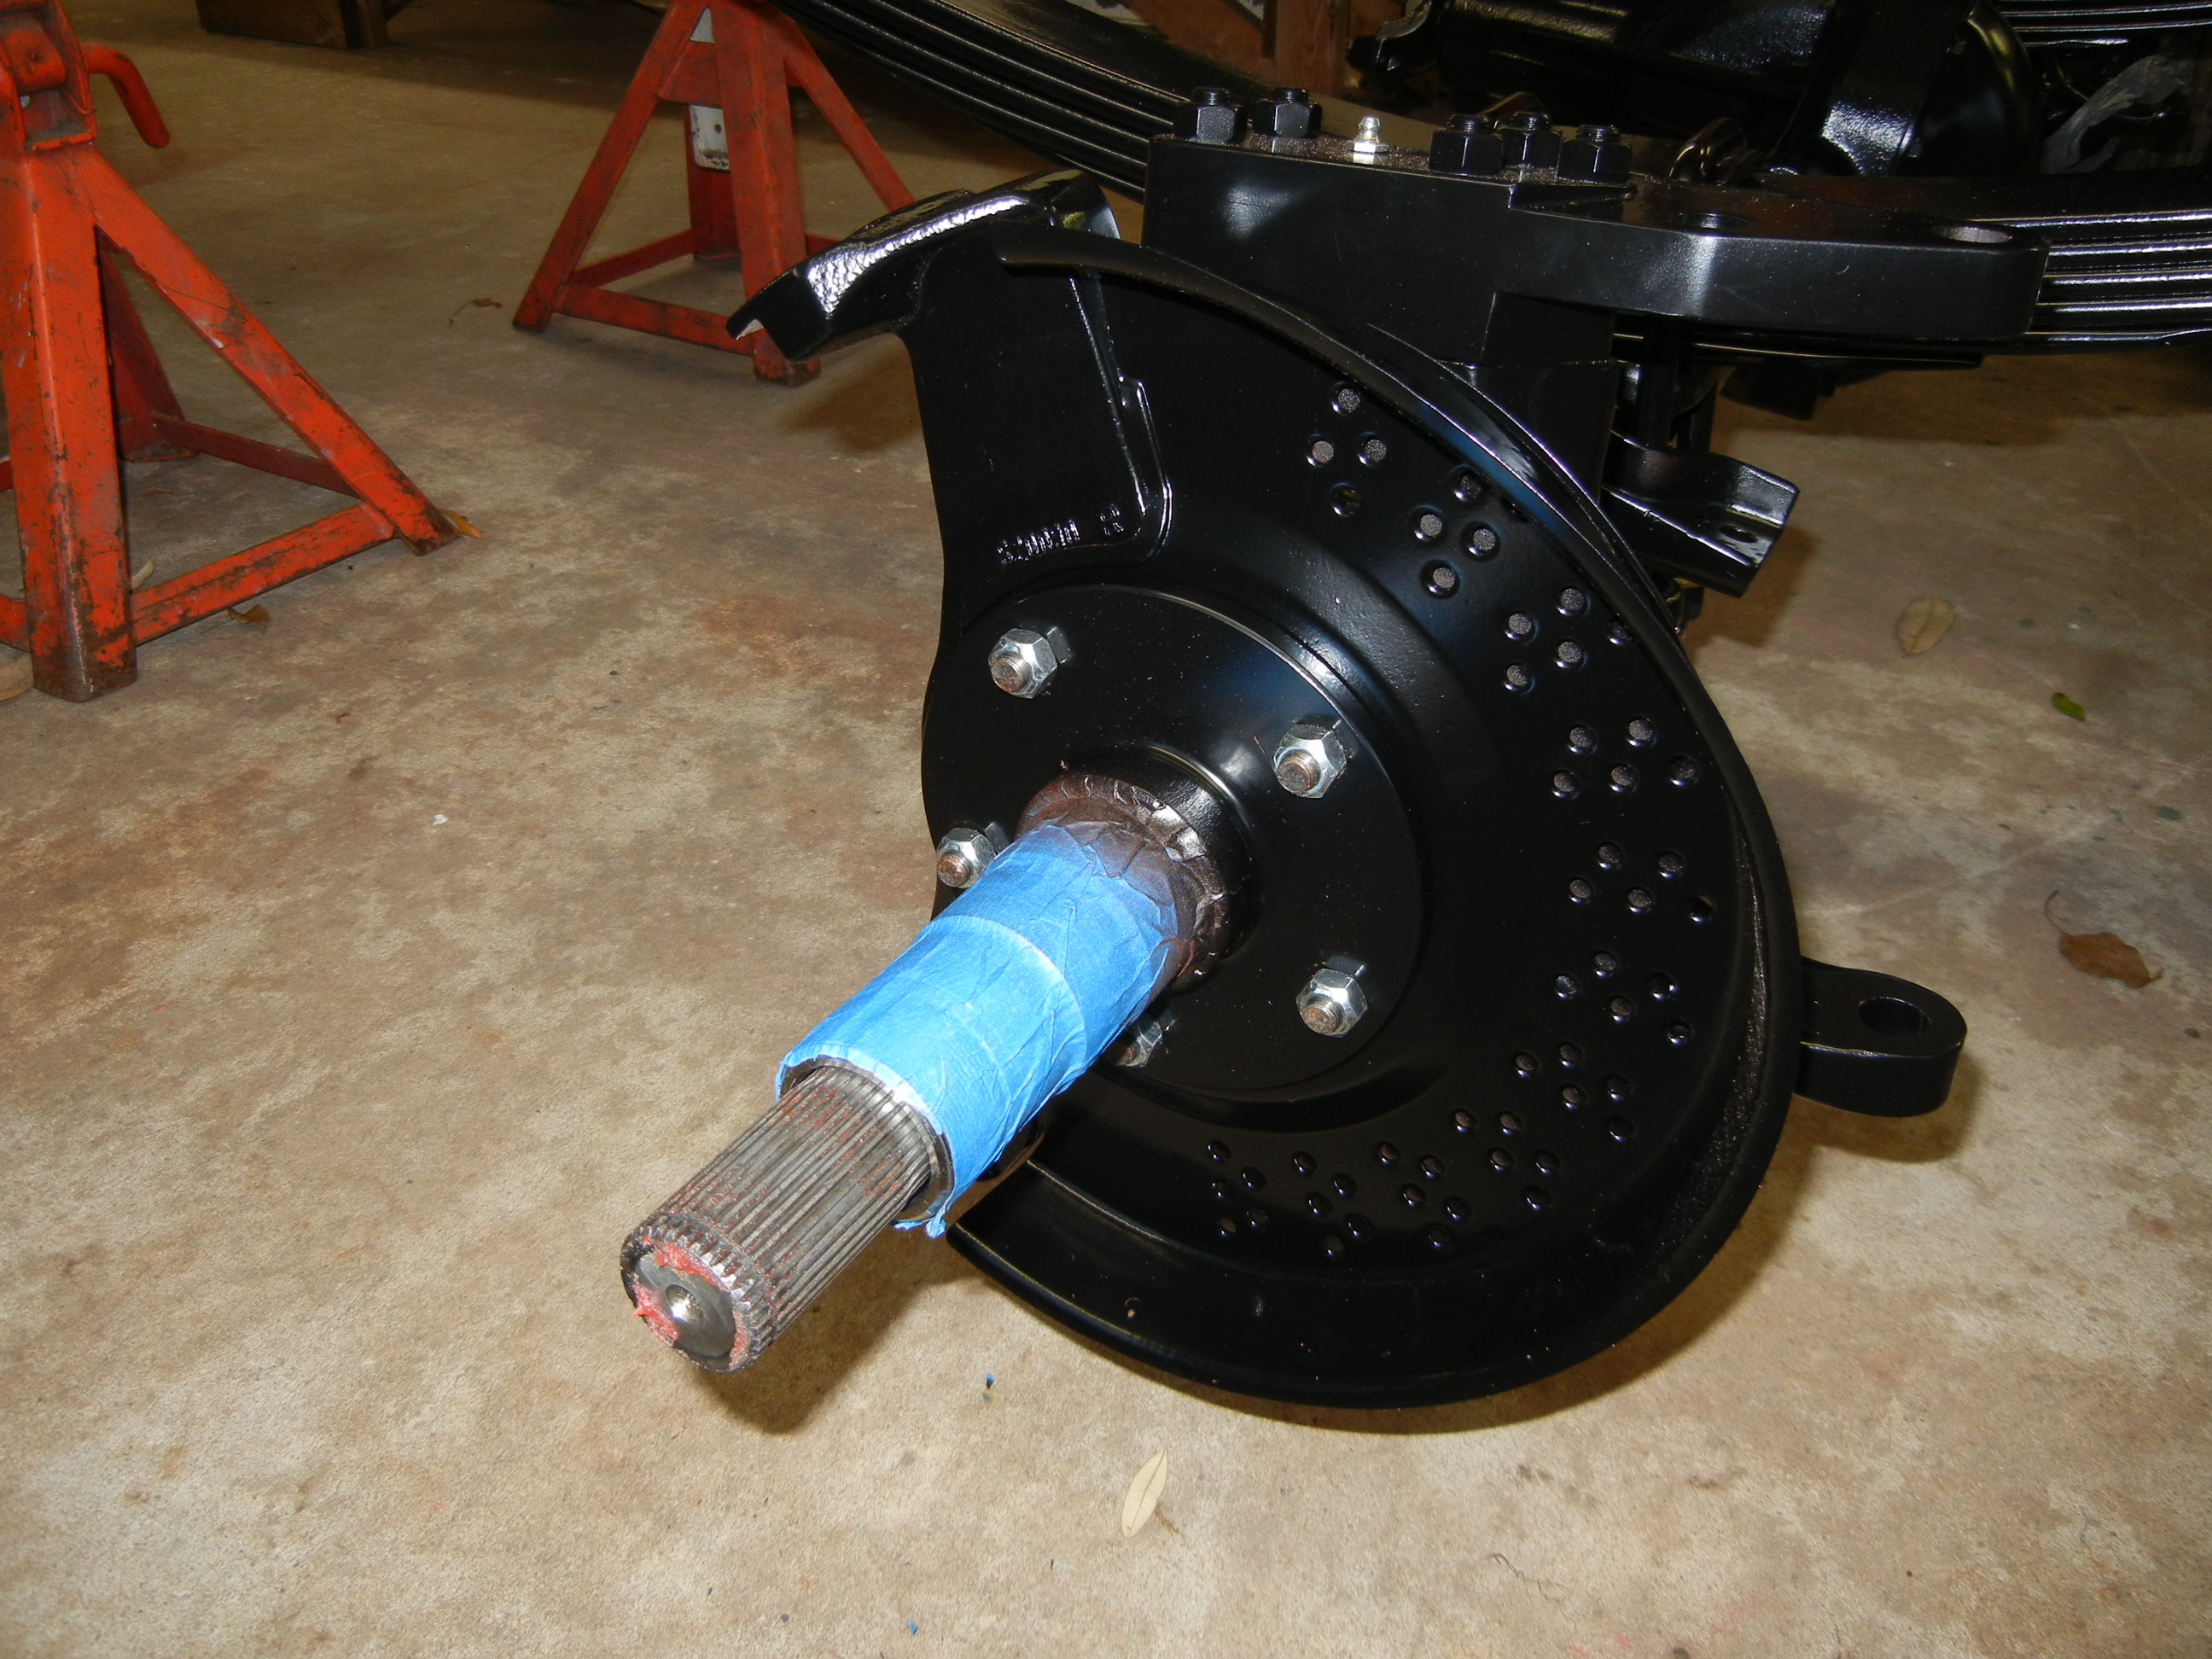
More installation shots of the caliper bracket, splash shield and spindle assembly.
Everything went together nicely for a change...
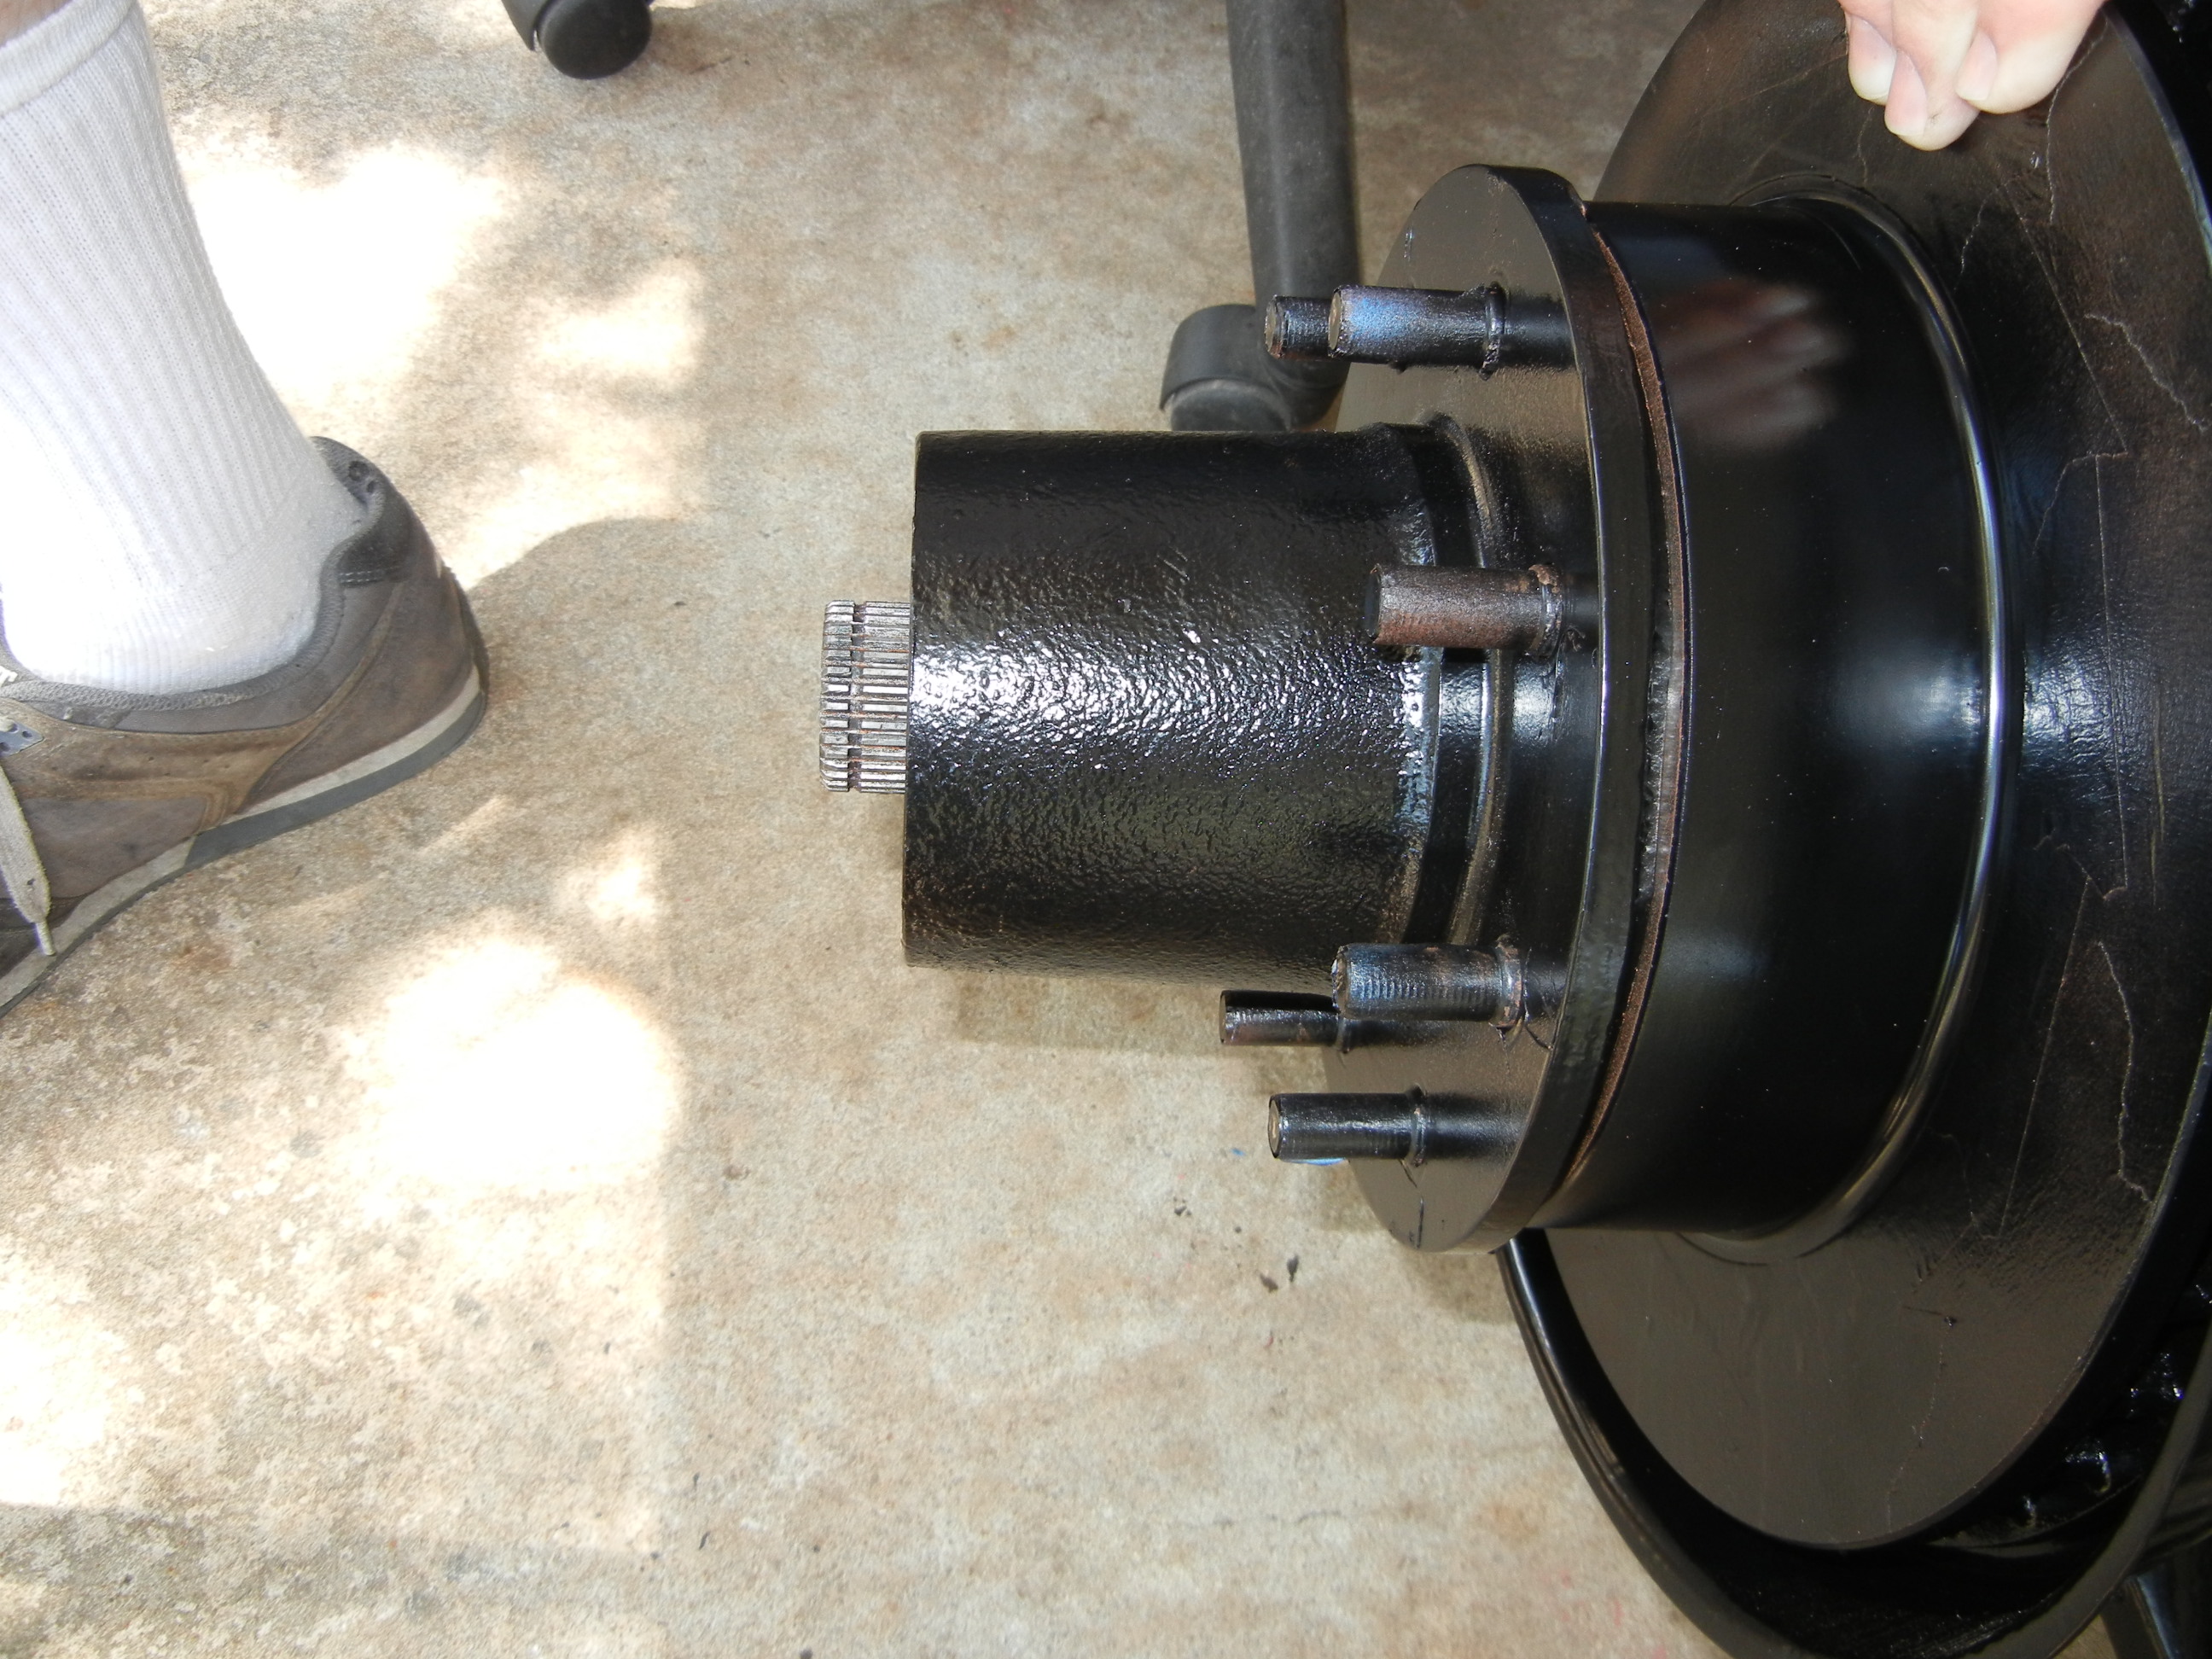
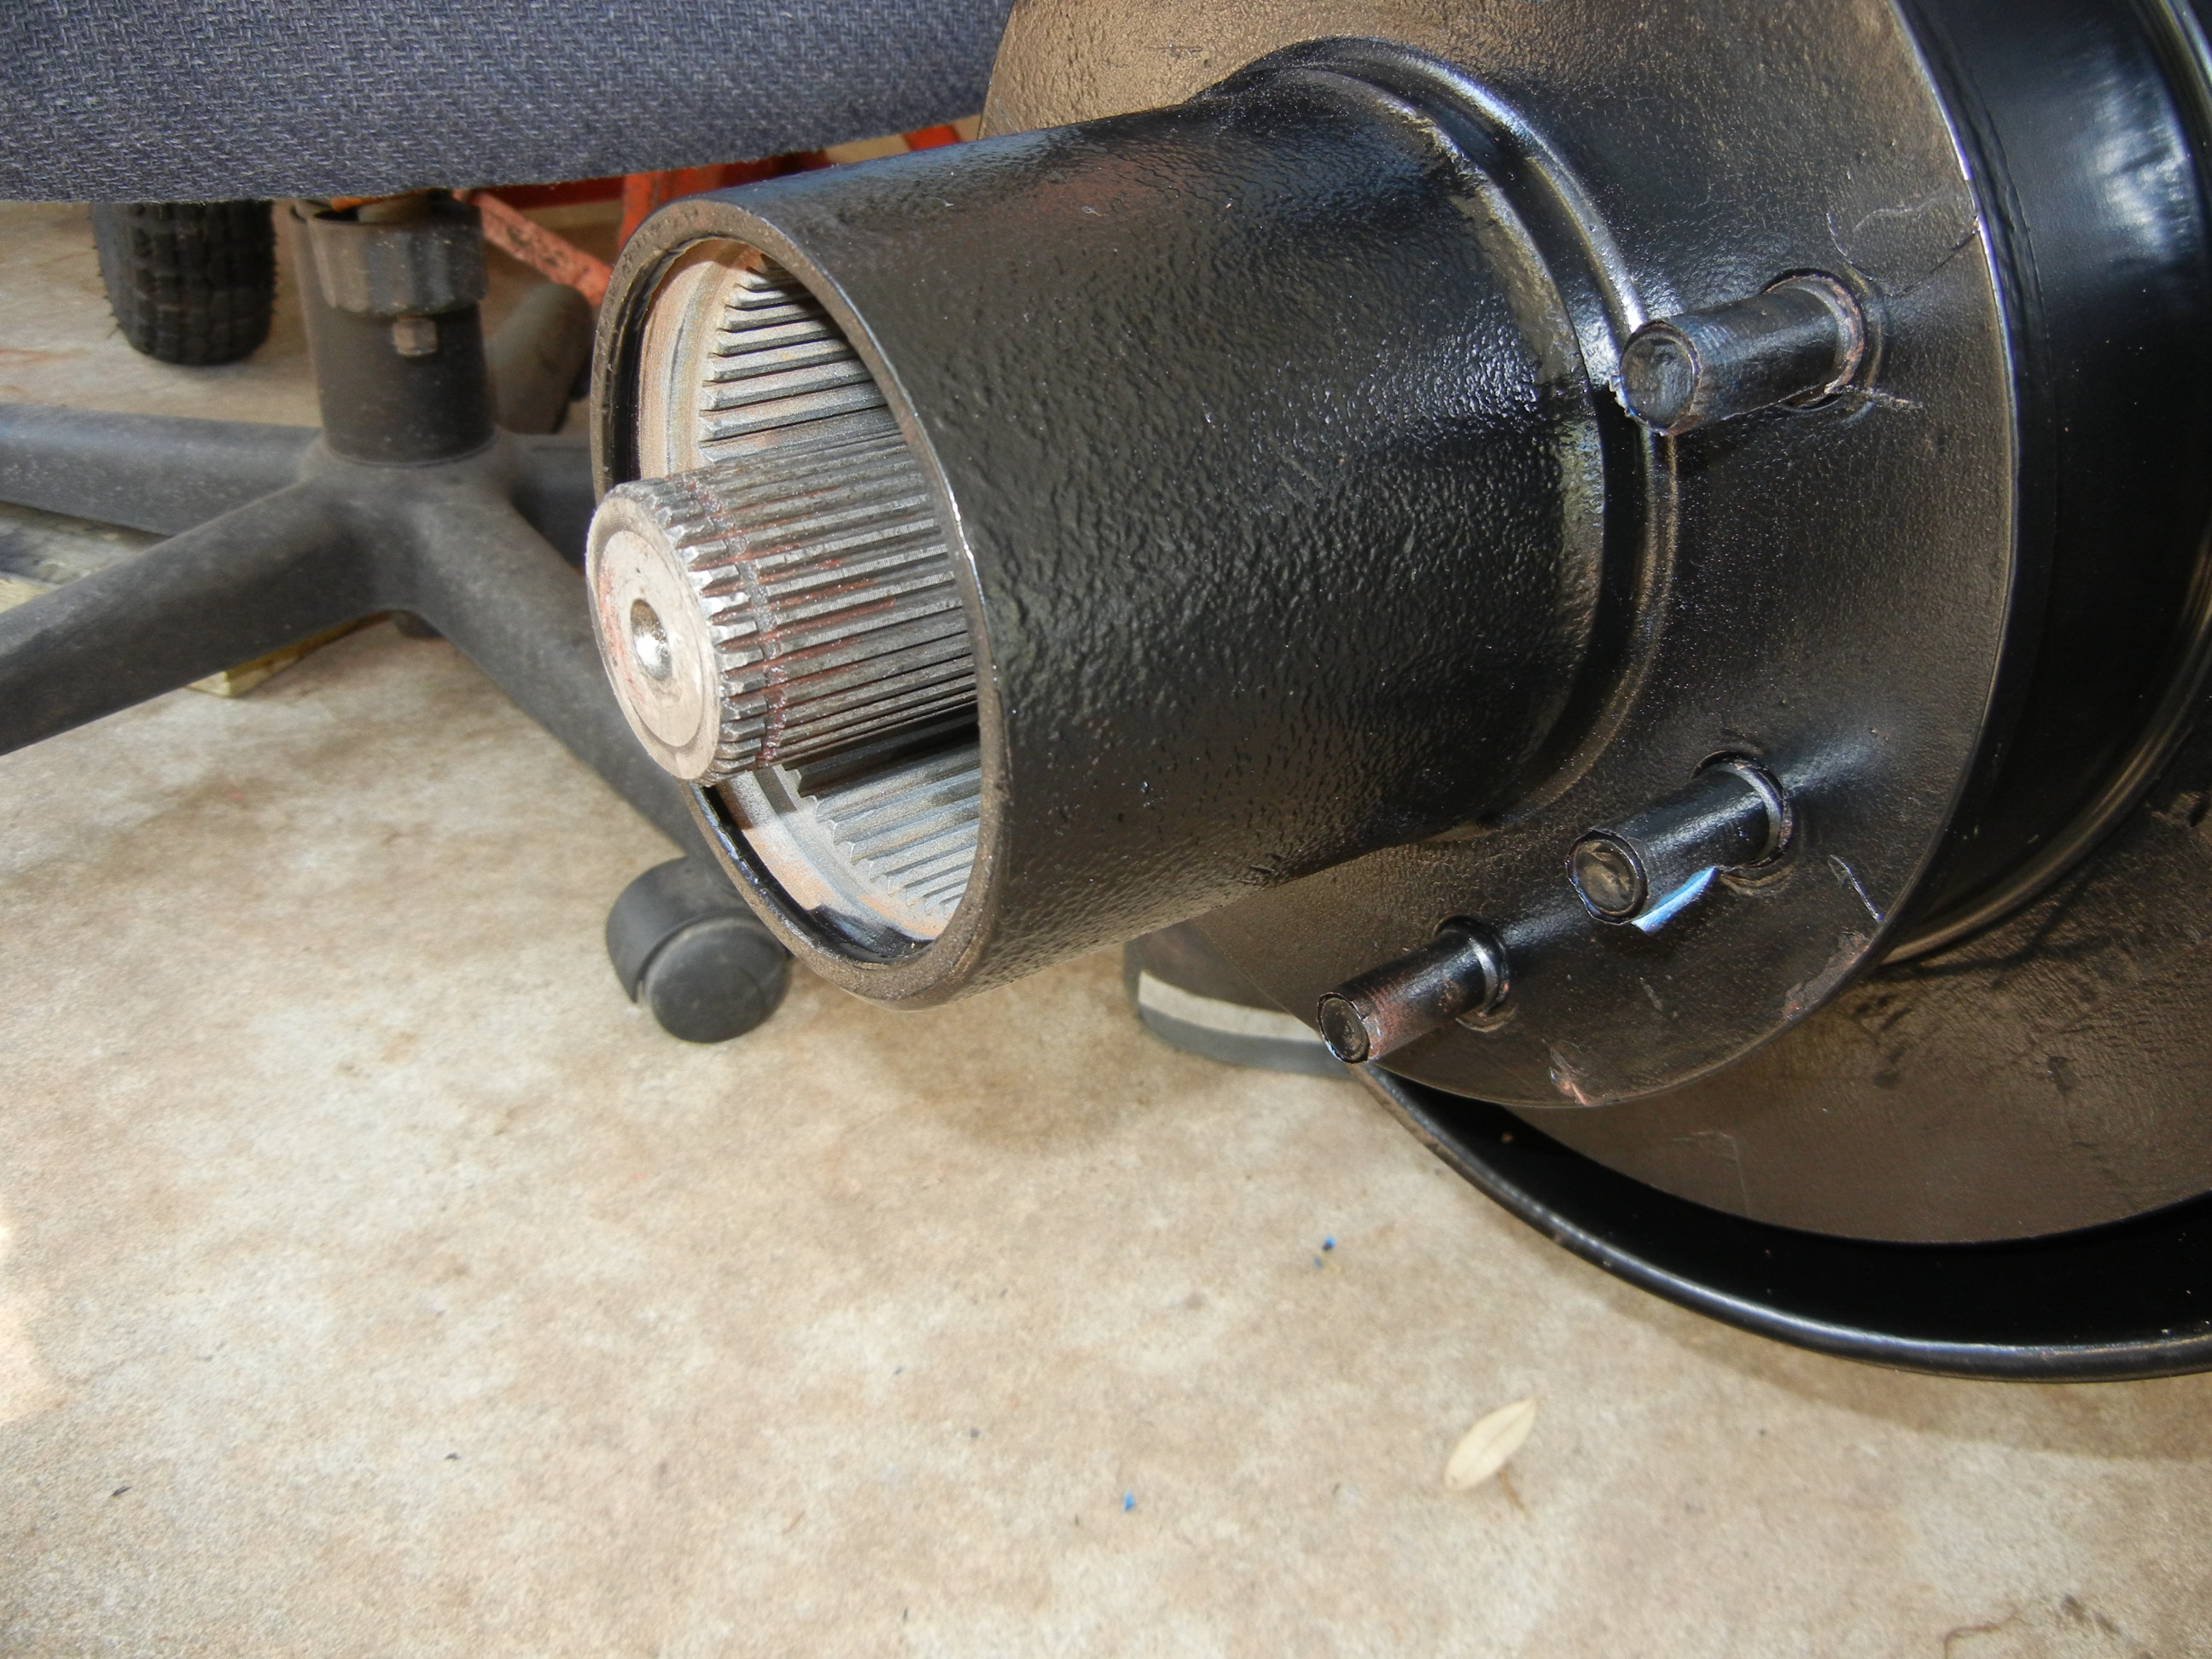
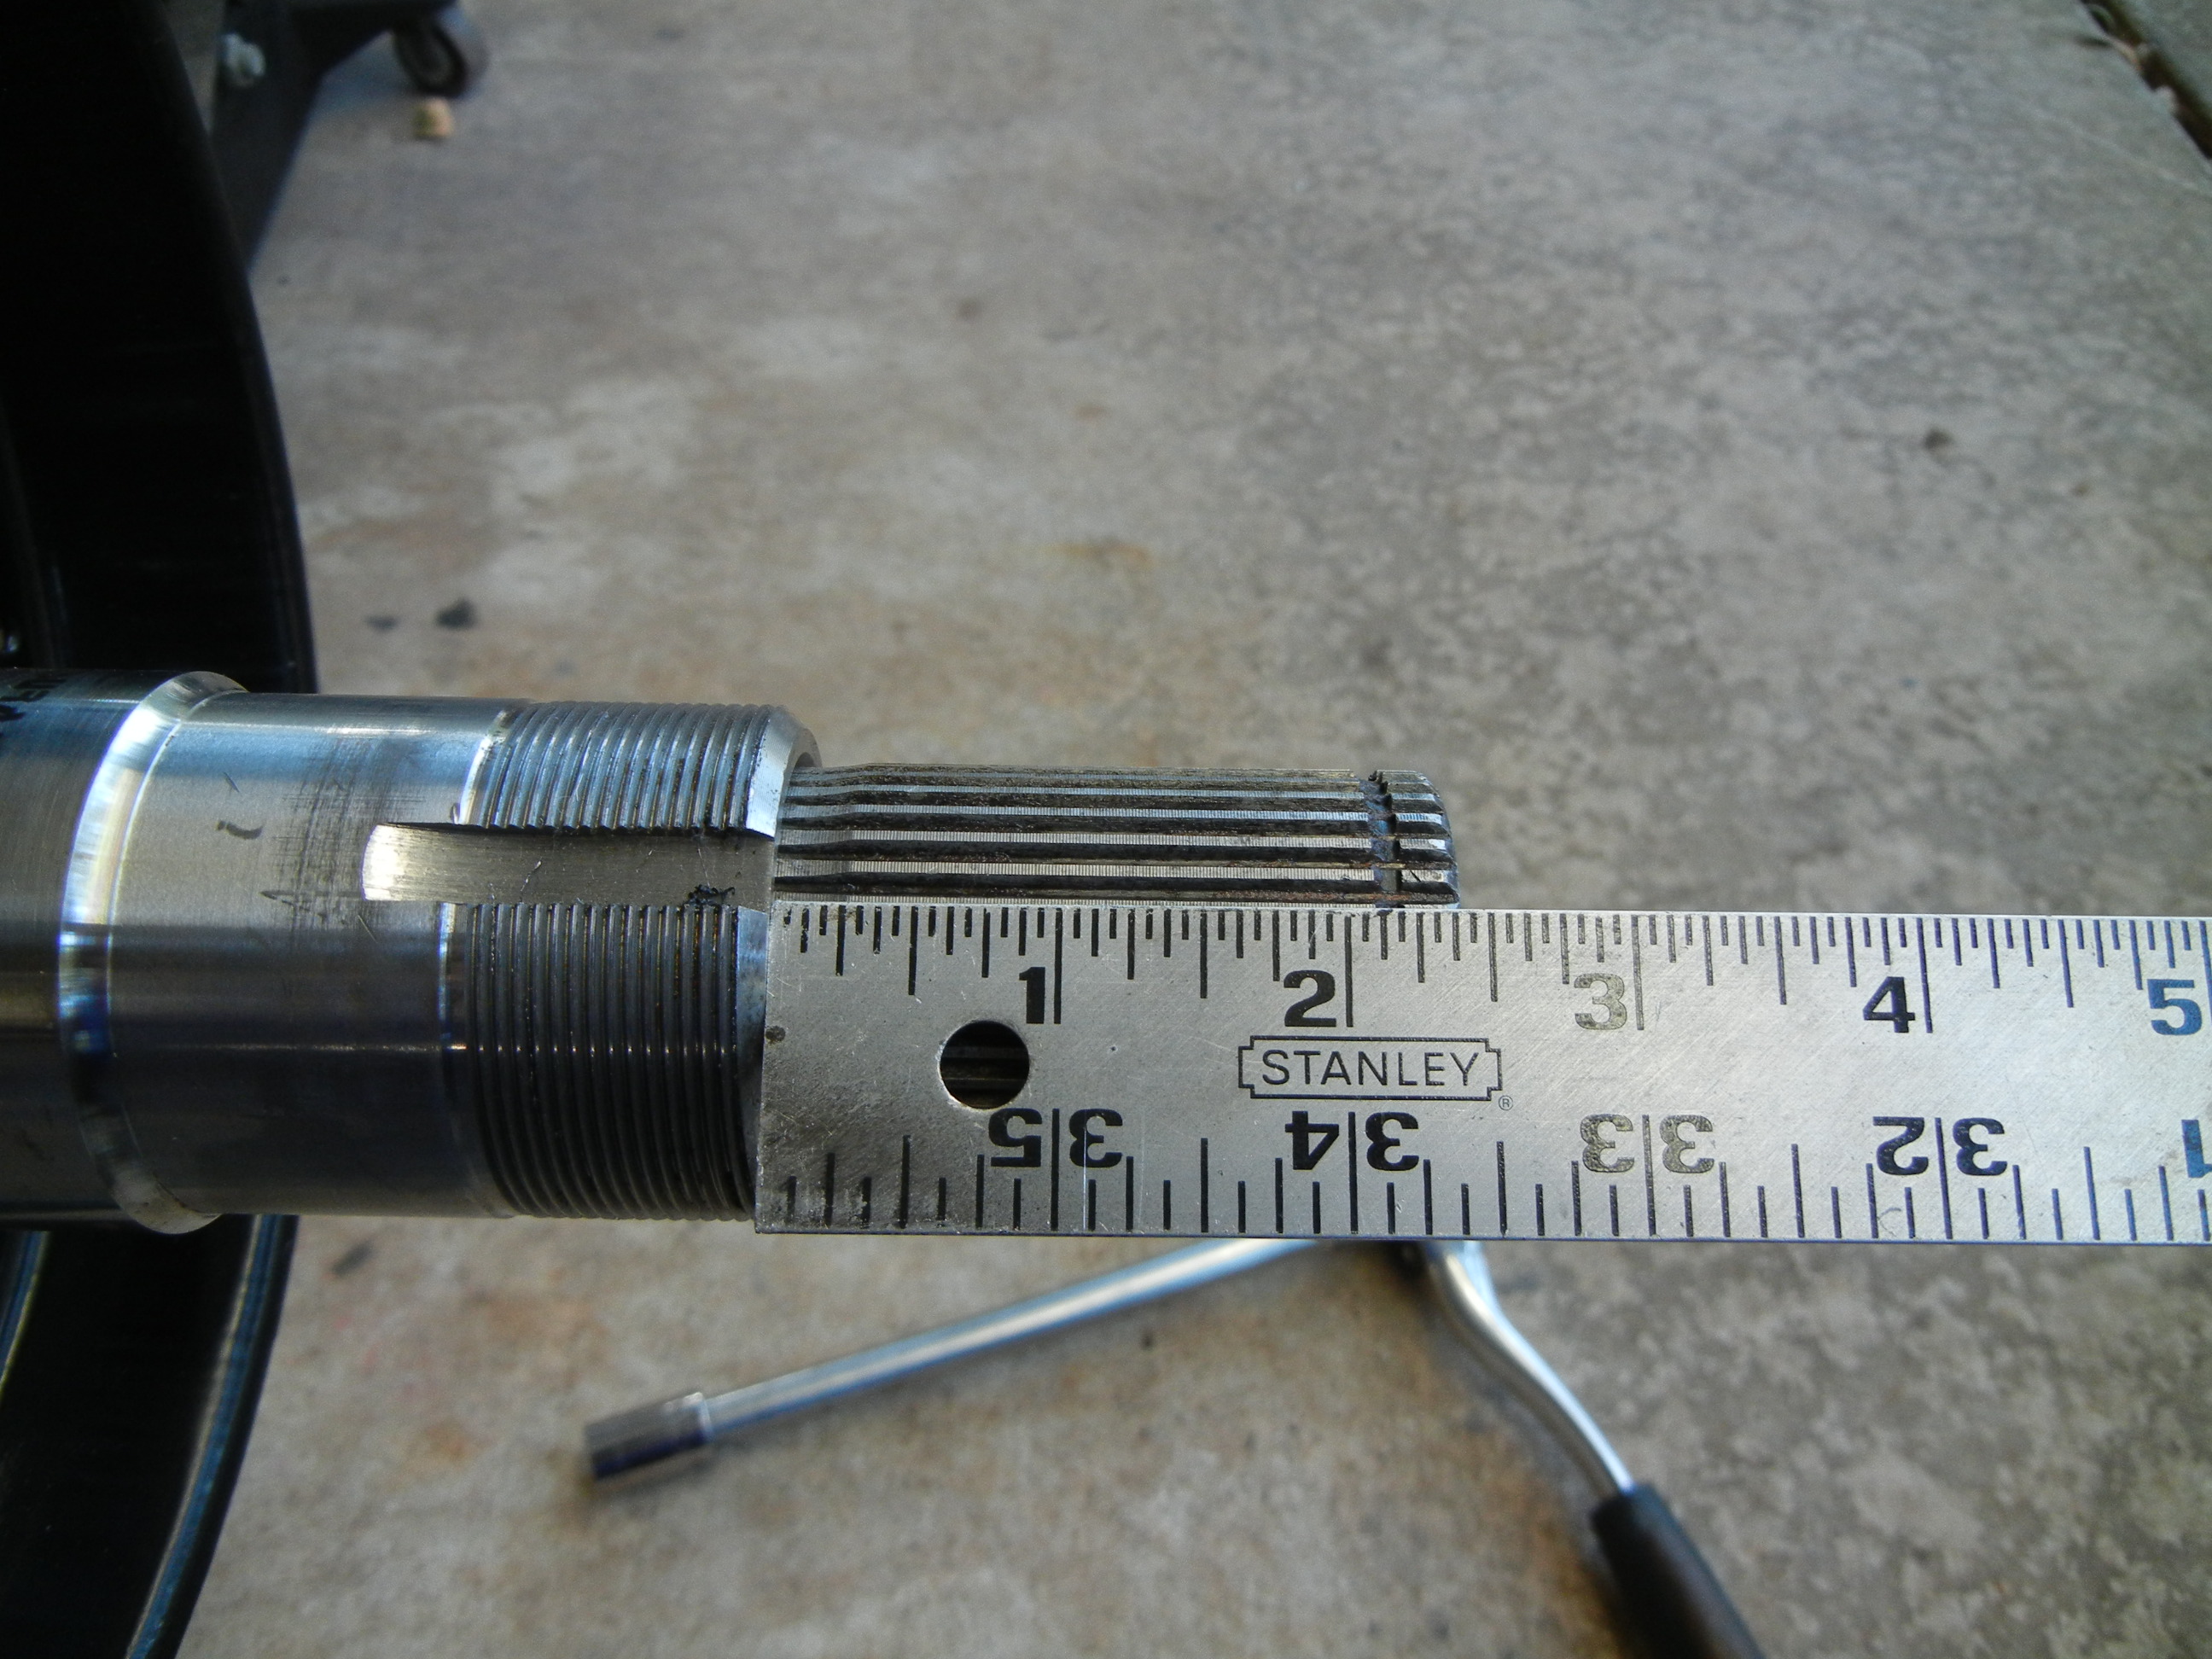
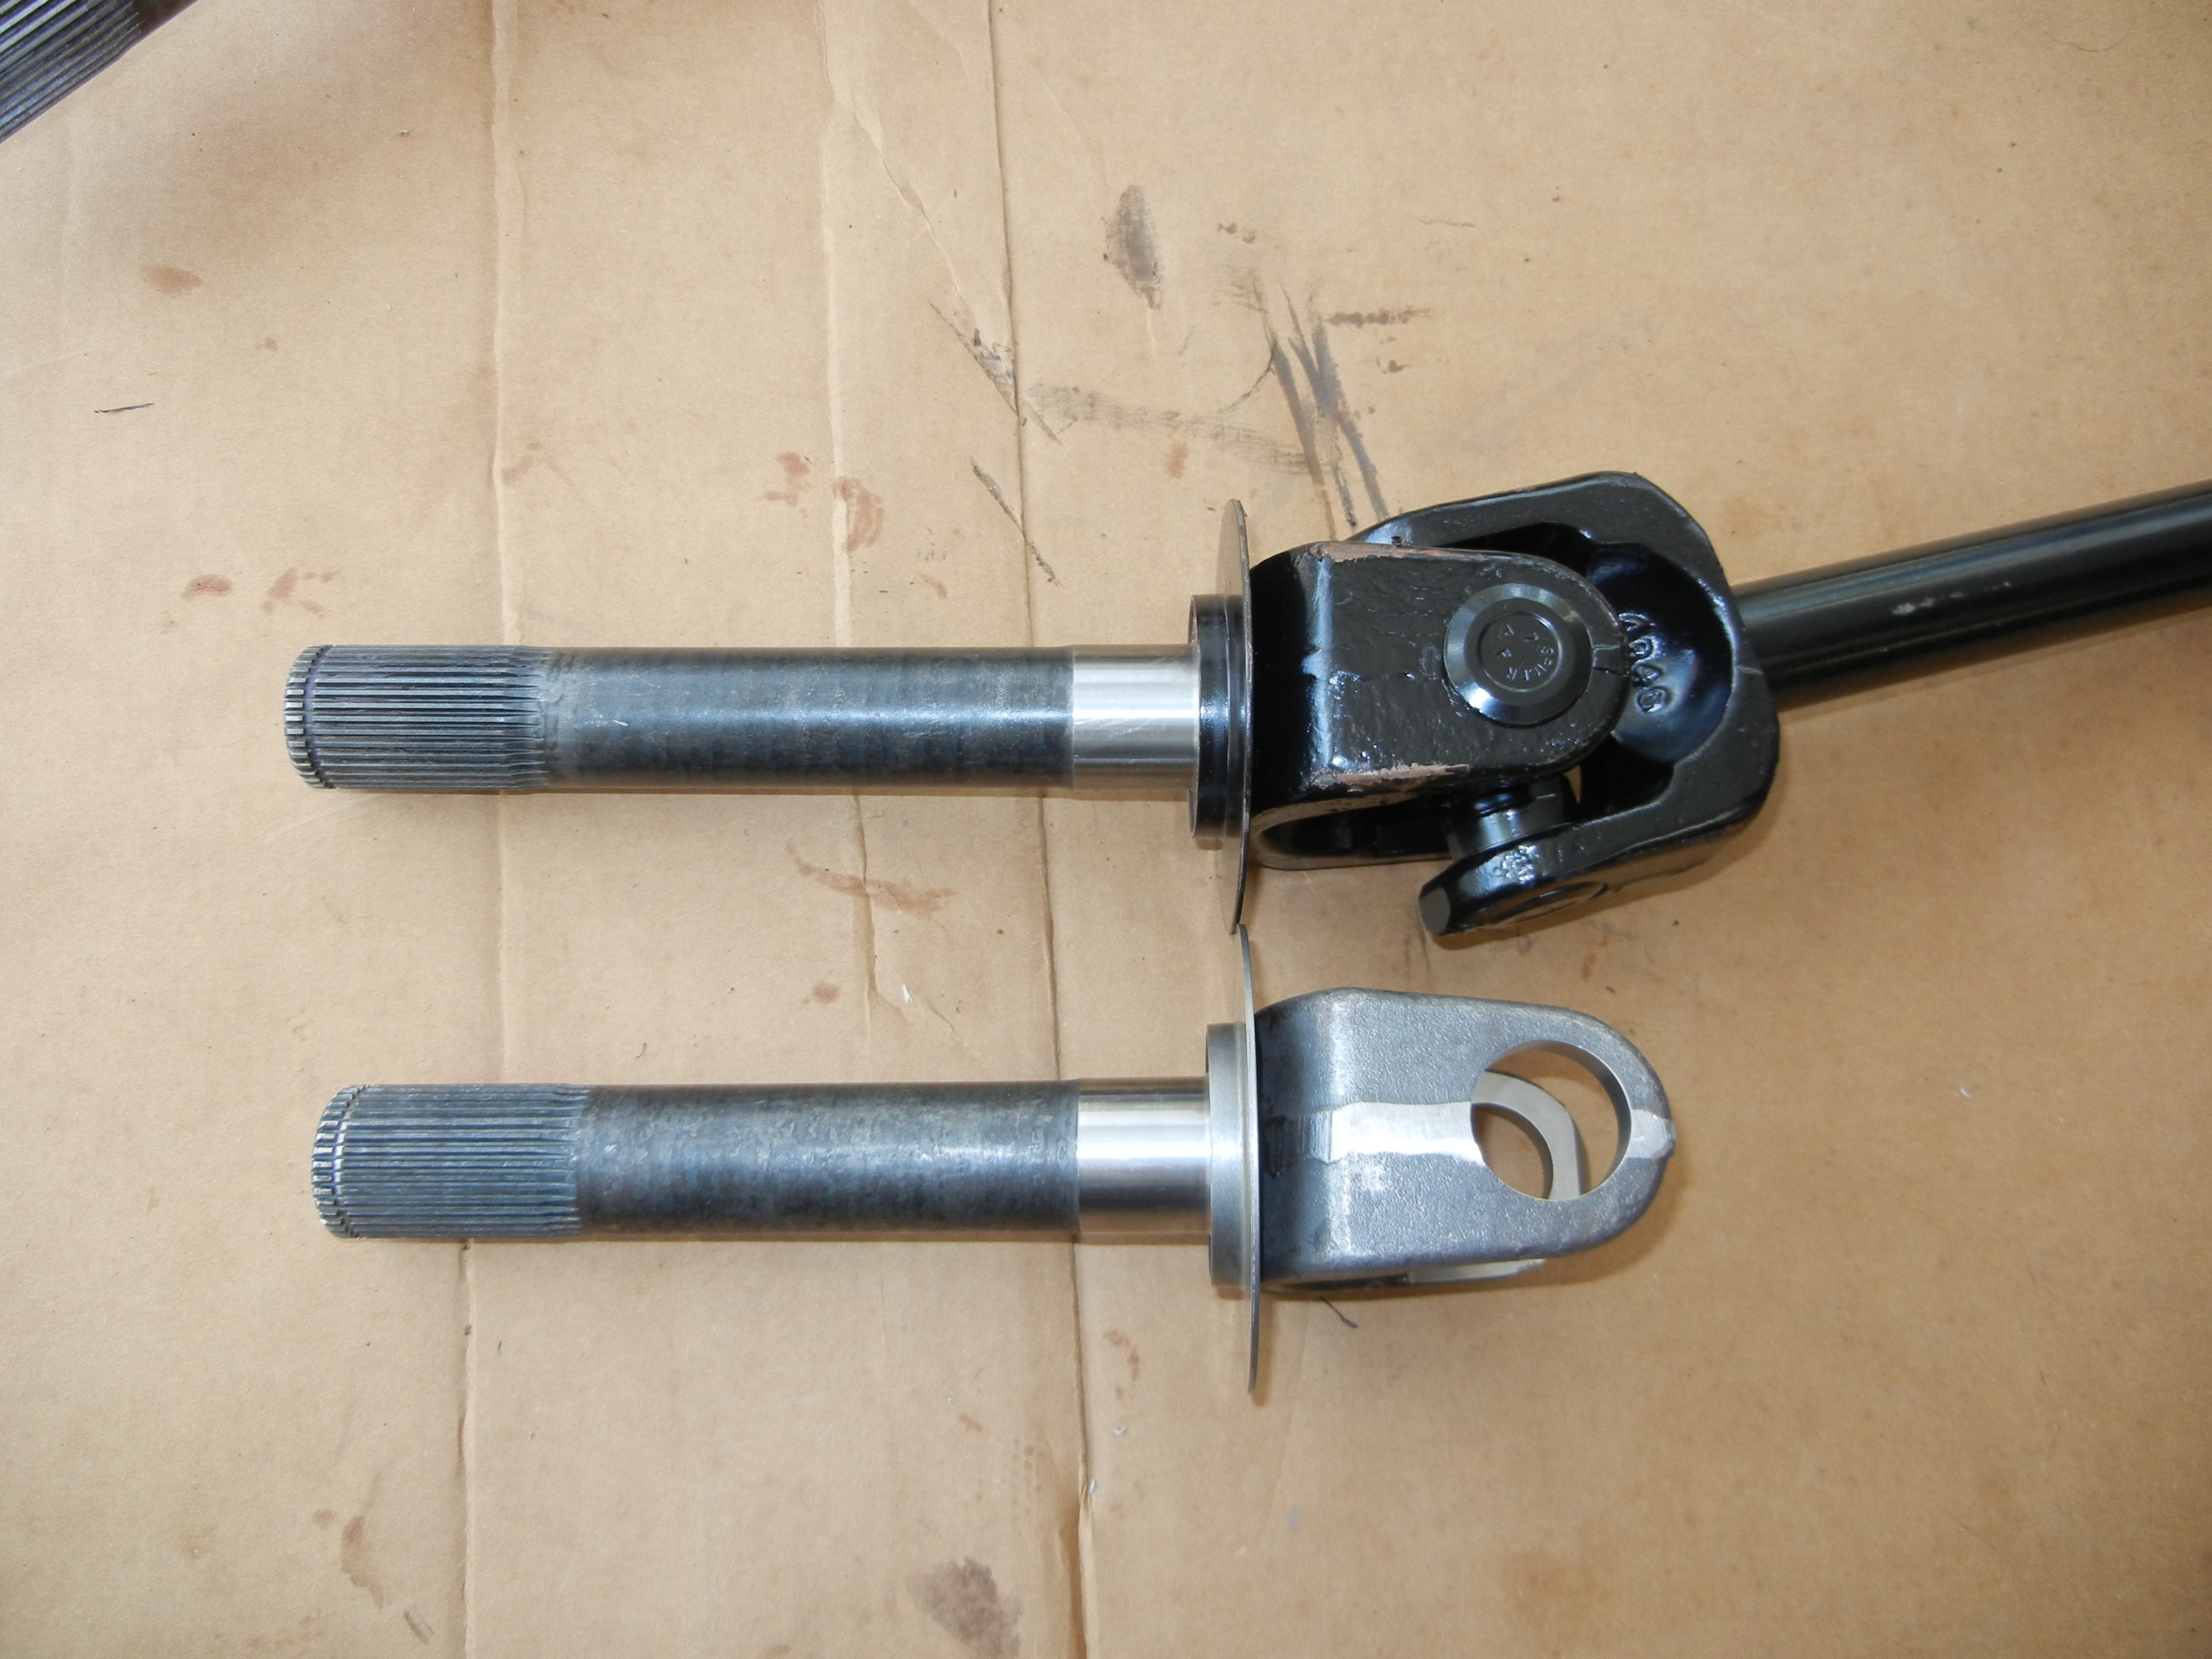
...until we realized we just installed Chevy outer stubs!!! I thought these shafts looked a tad long, especially once the spindle was installed it was obvious too much of the splines were protruding. This was even more evident once the hub was slid over. Ok no biggie- Yukon sent me replacements and this time they were the correct Ford style (11-3/8" instead of Chevy 12") Again they had so be slightly massaged to fit inside the knuckle hole.
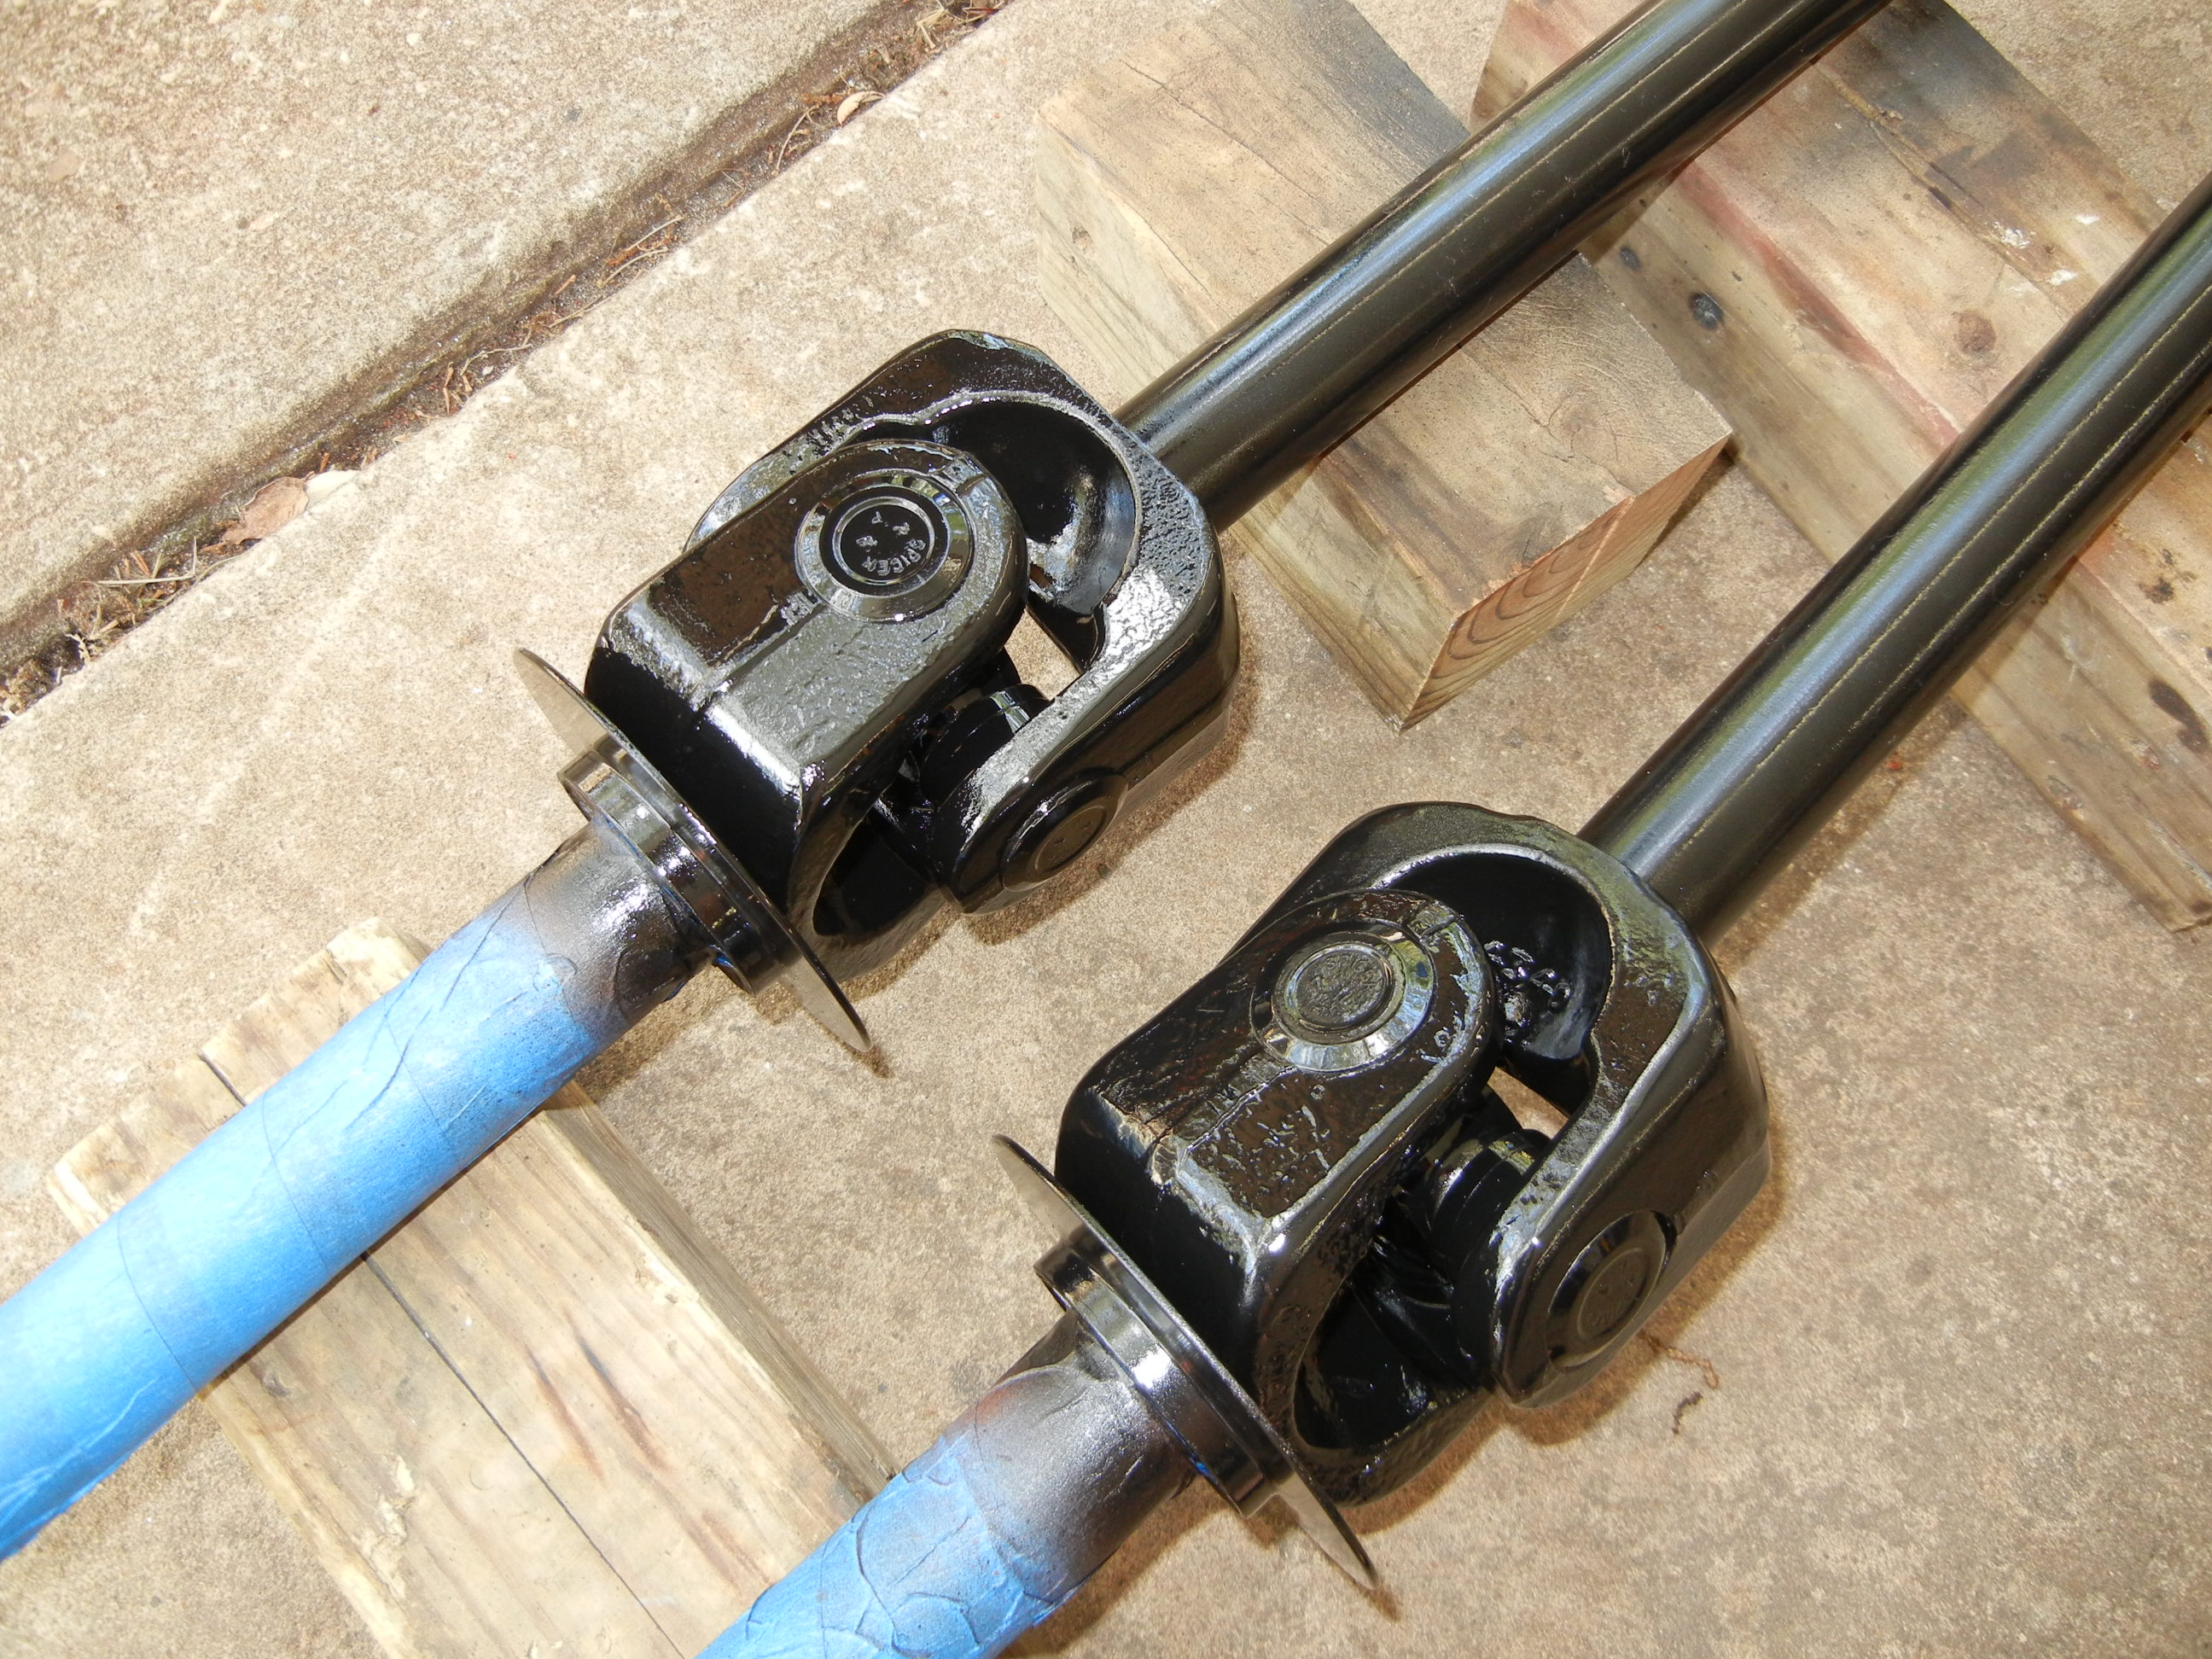
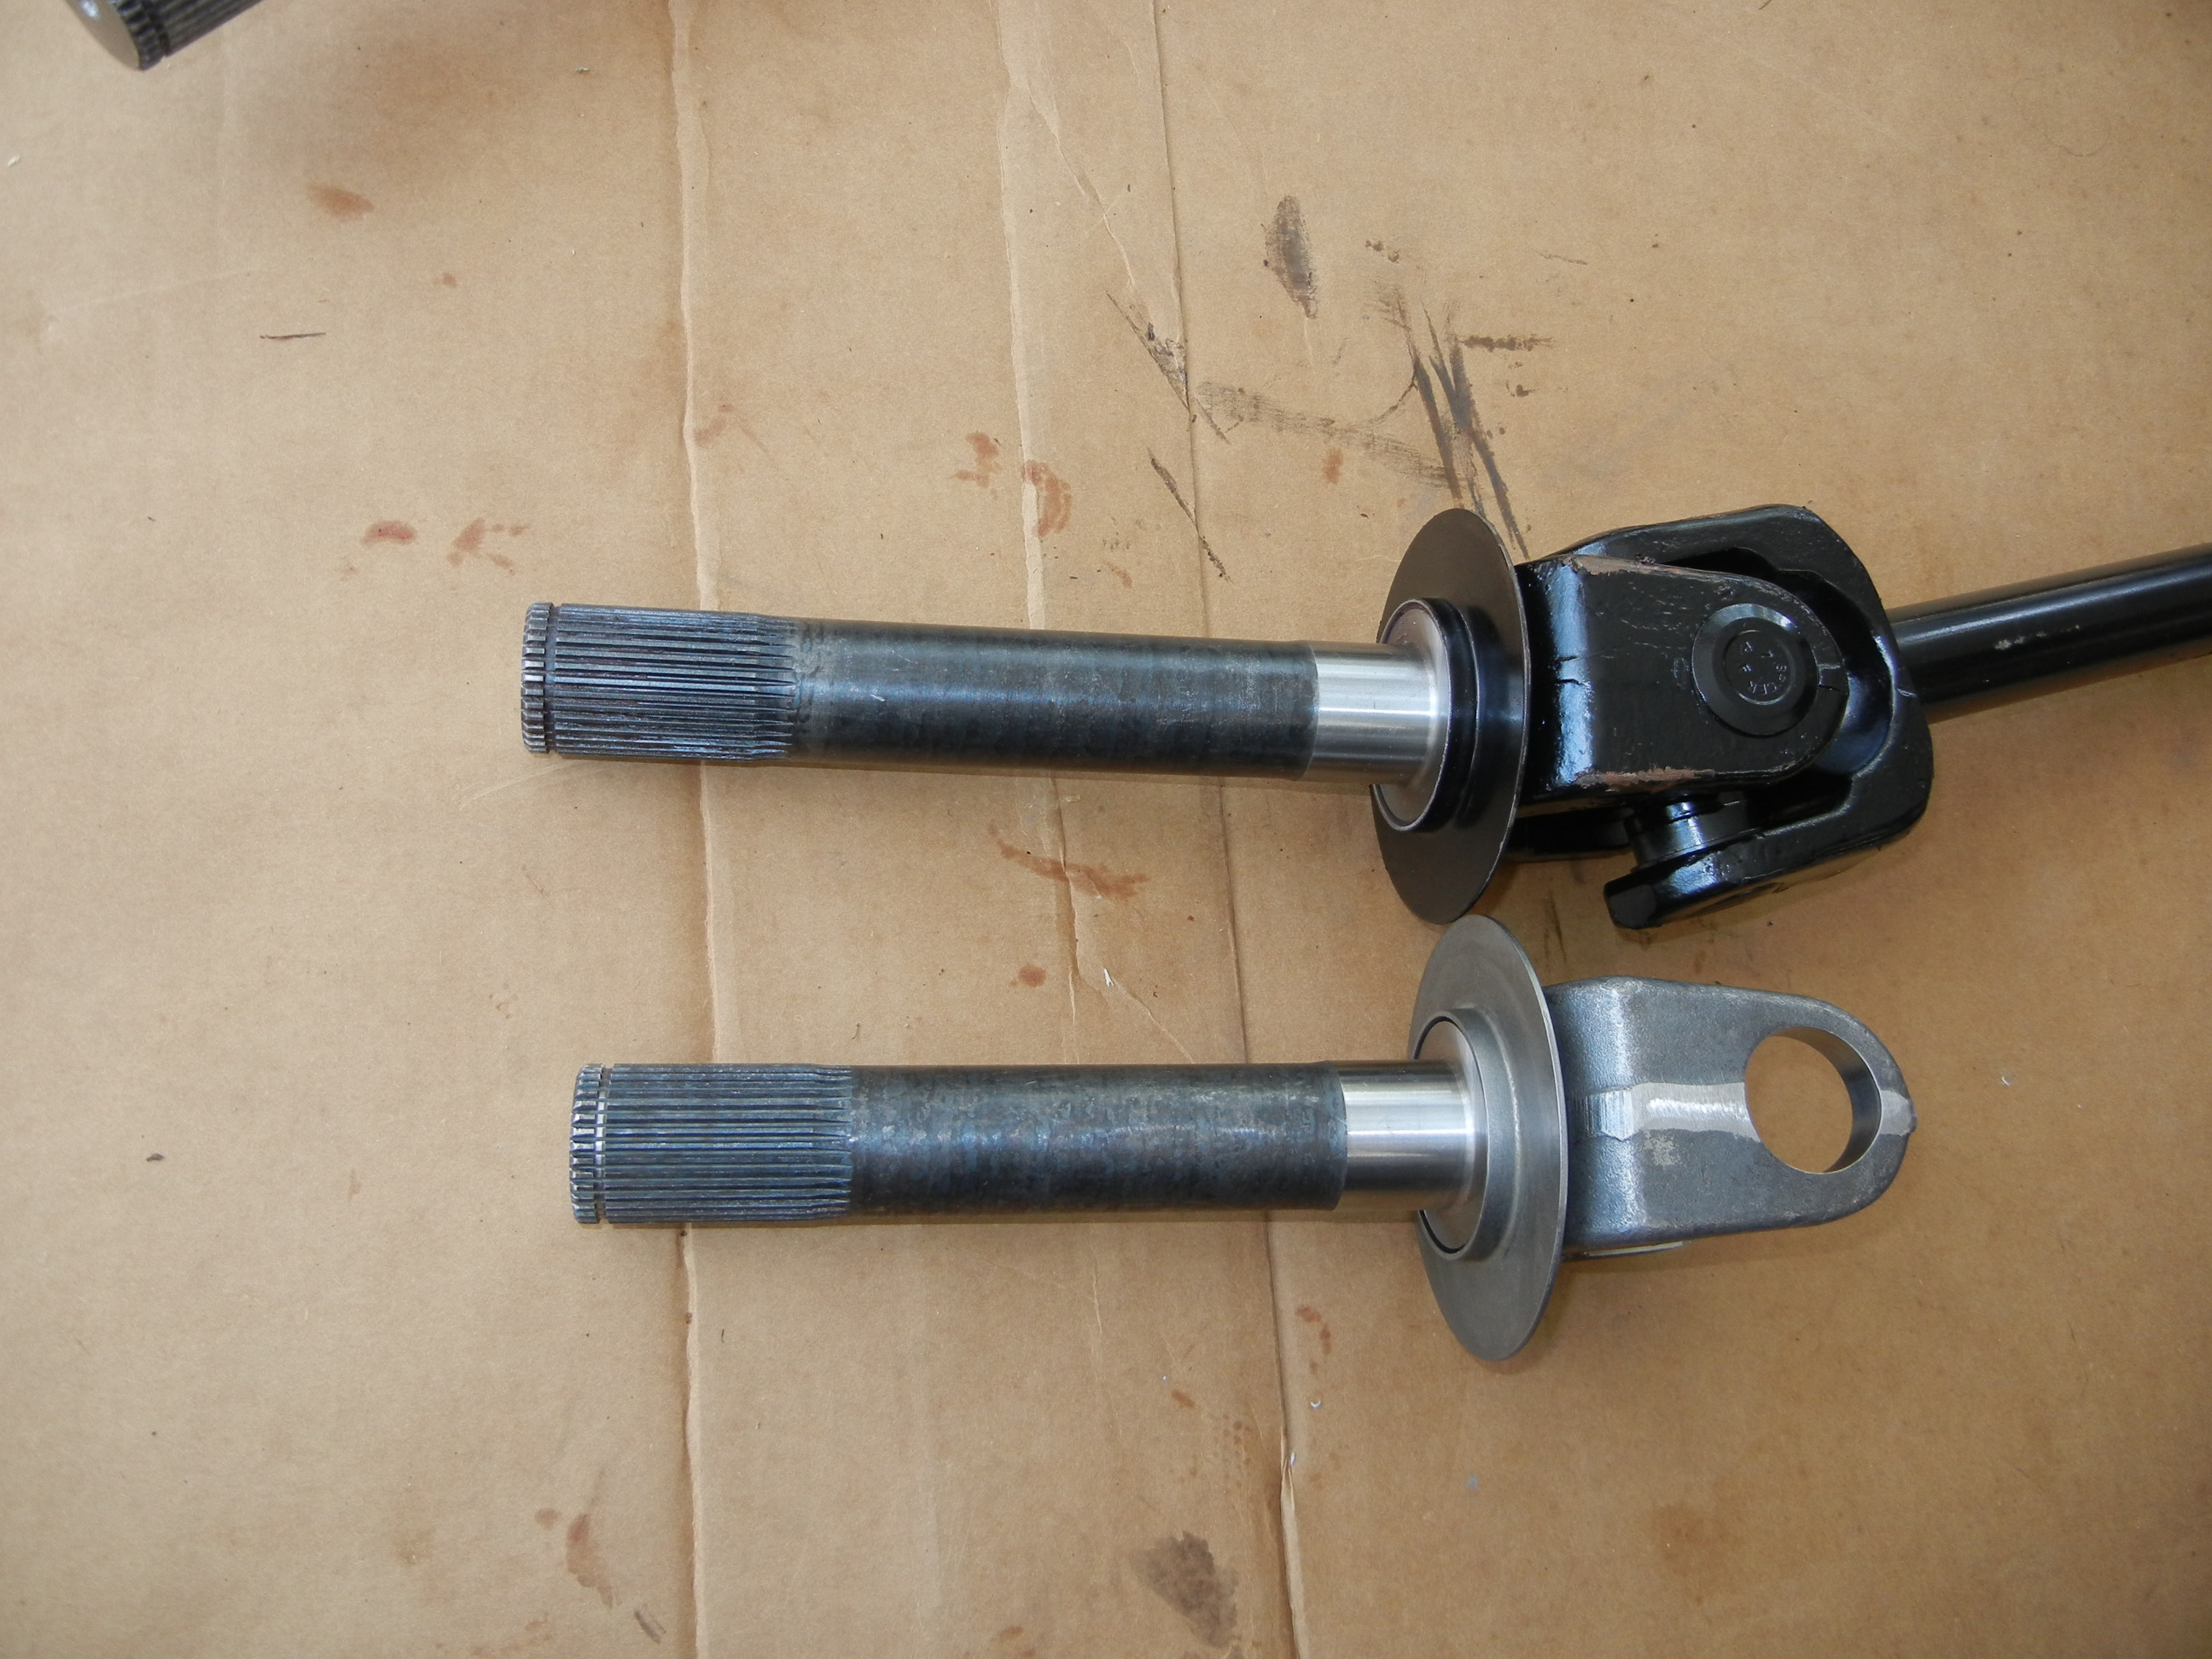
Here are the pics of the Chevy stubs as compared to the originals (make note of the twisted splines in the last pic):
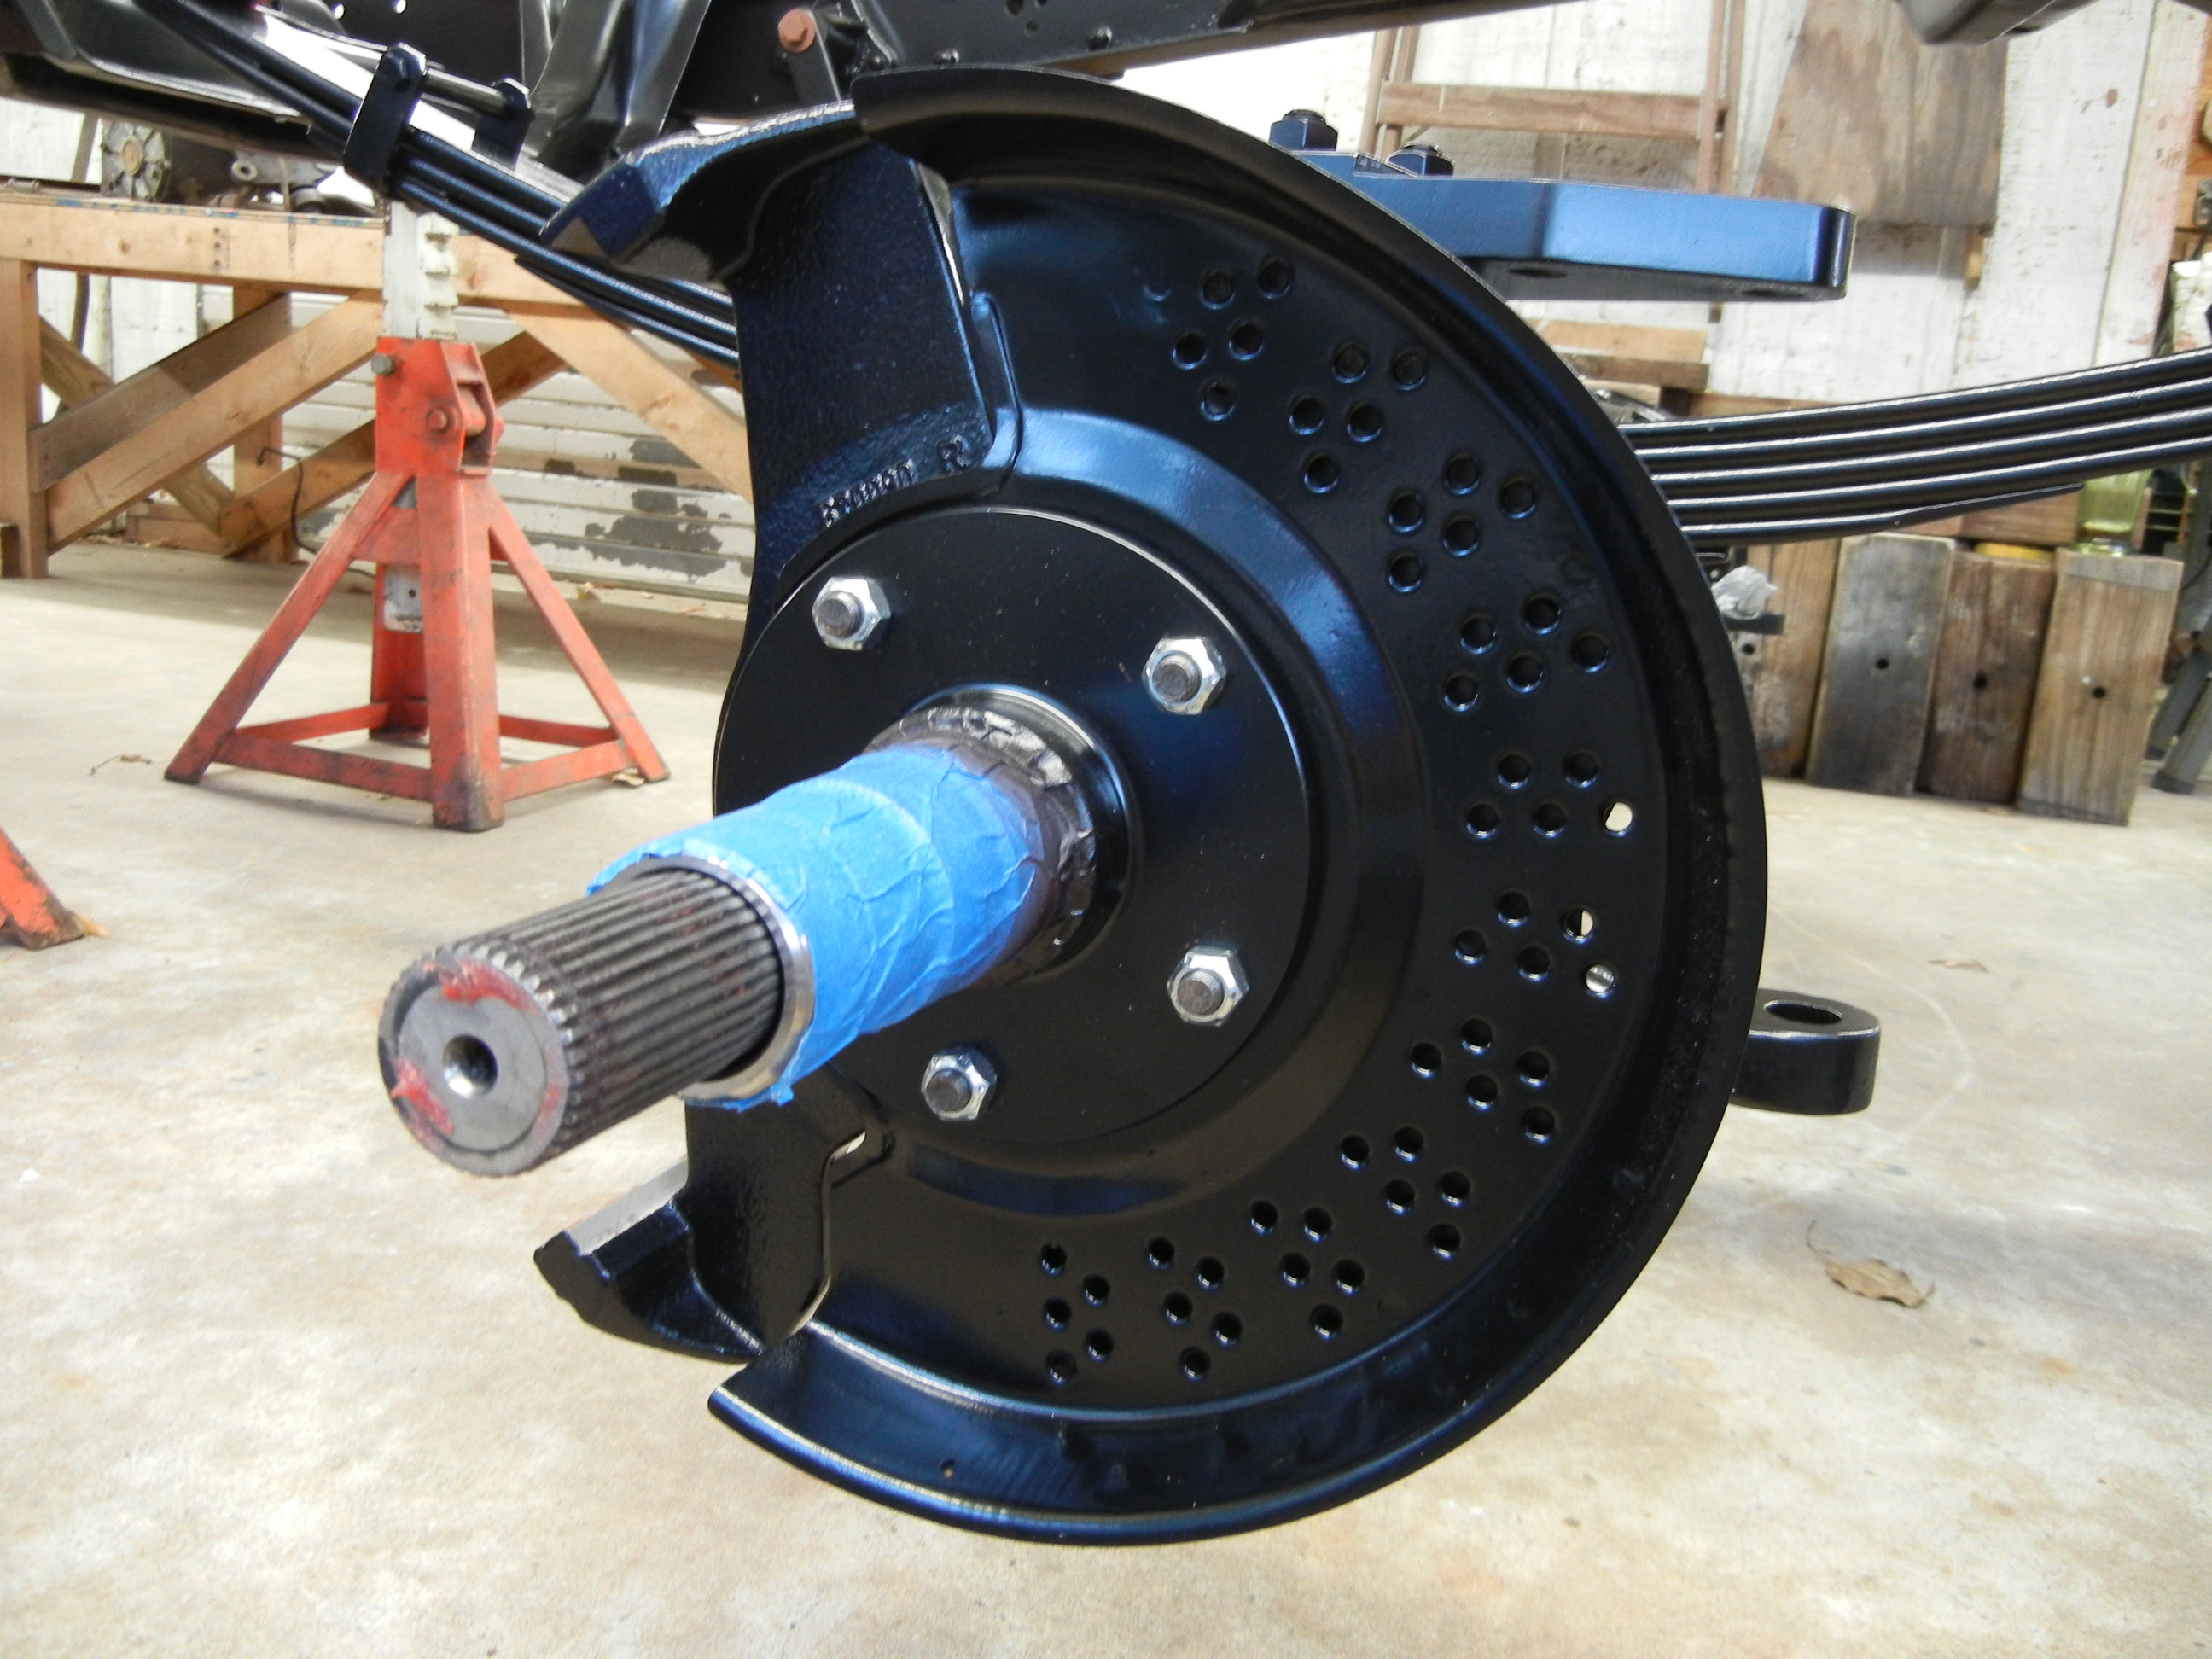
The following Saturday we simply just had to swap stub shafts and reassemble everything. The new Ford stubs were actually of a nicer forging quality than the Chevy. Yukon also sent a new pair of stone shields. They were not in Spicer boxes as the first set I purchased but they are actually of better quality than the Spicer versions.
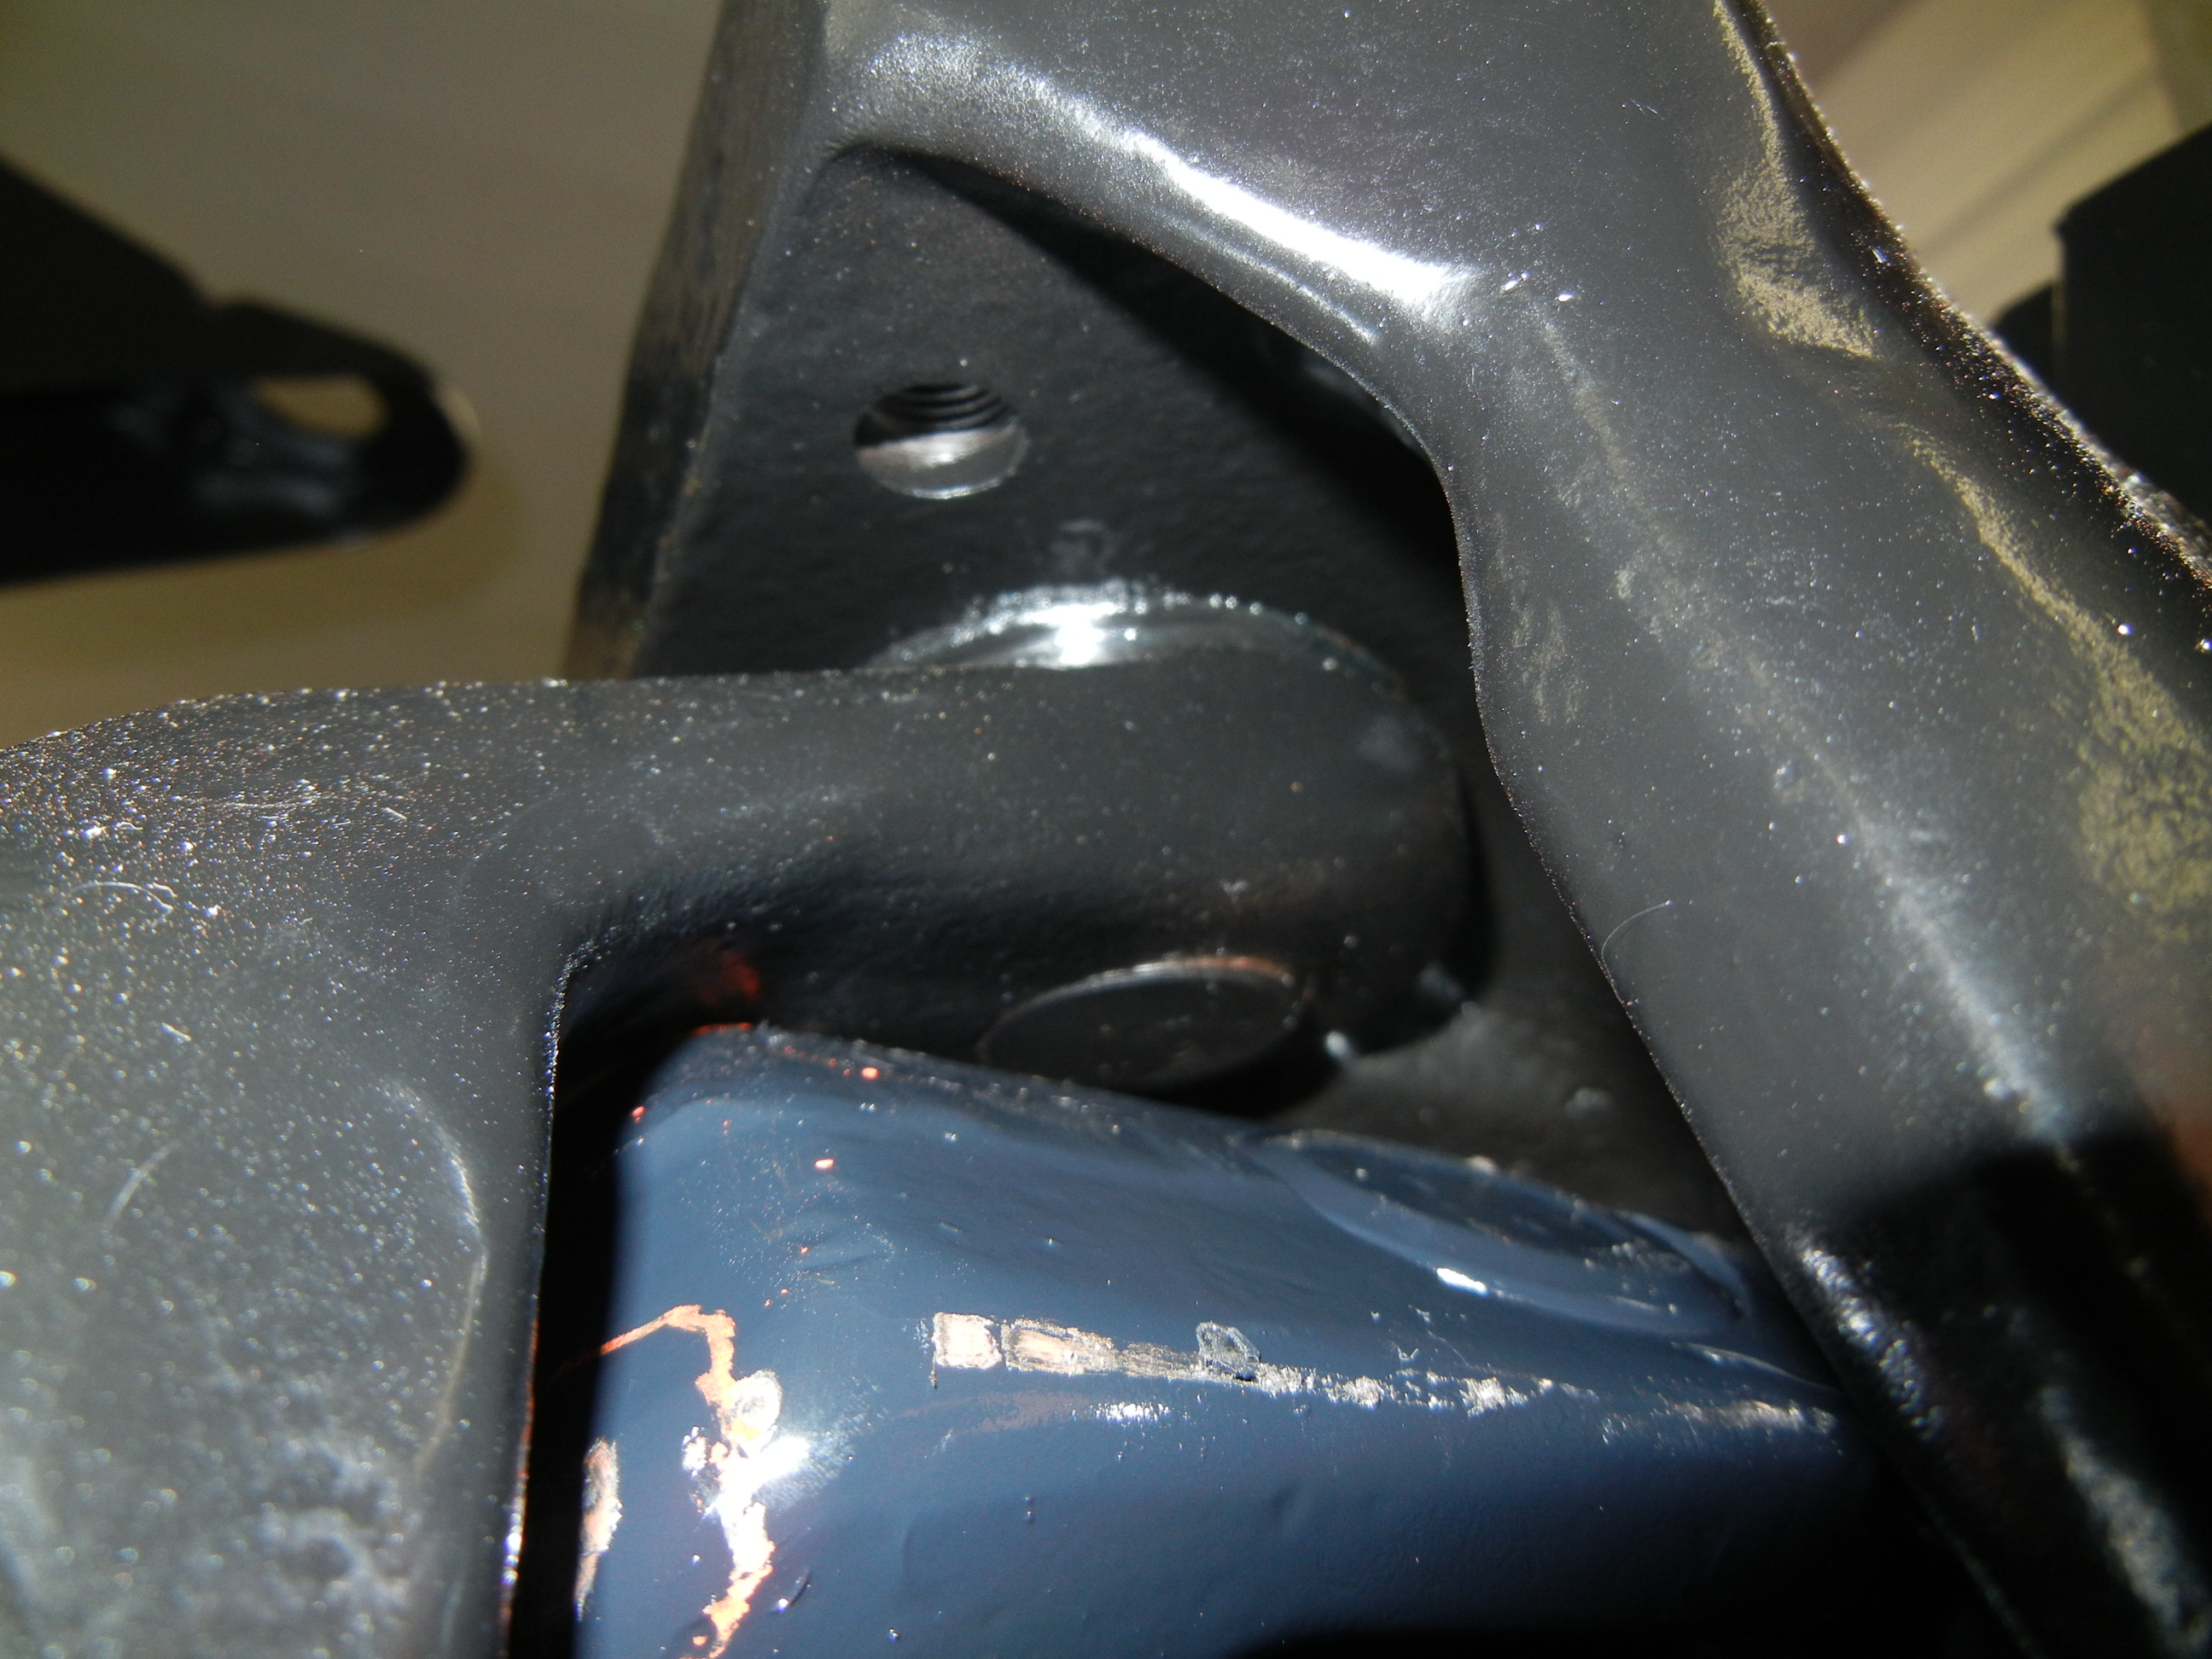
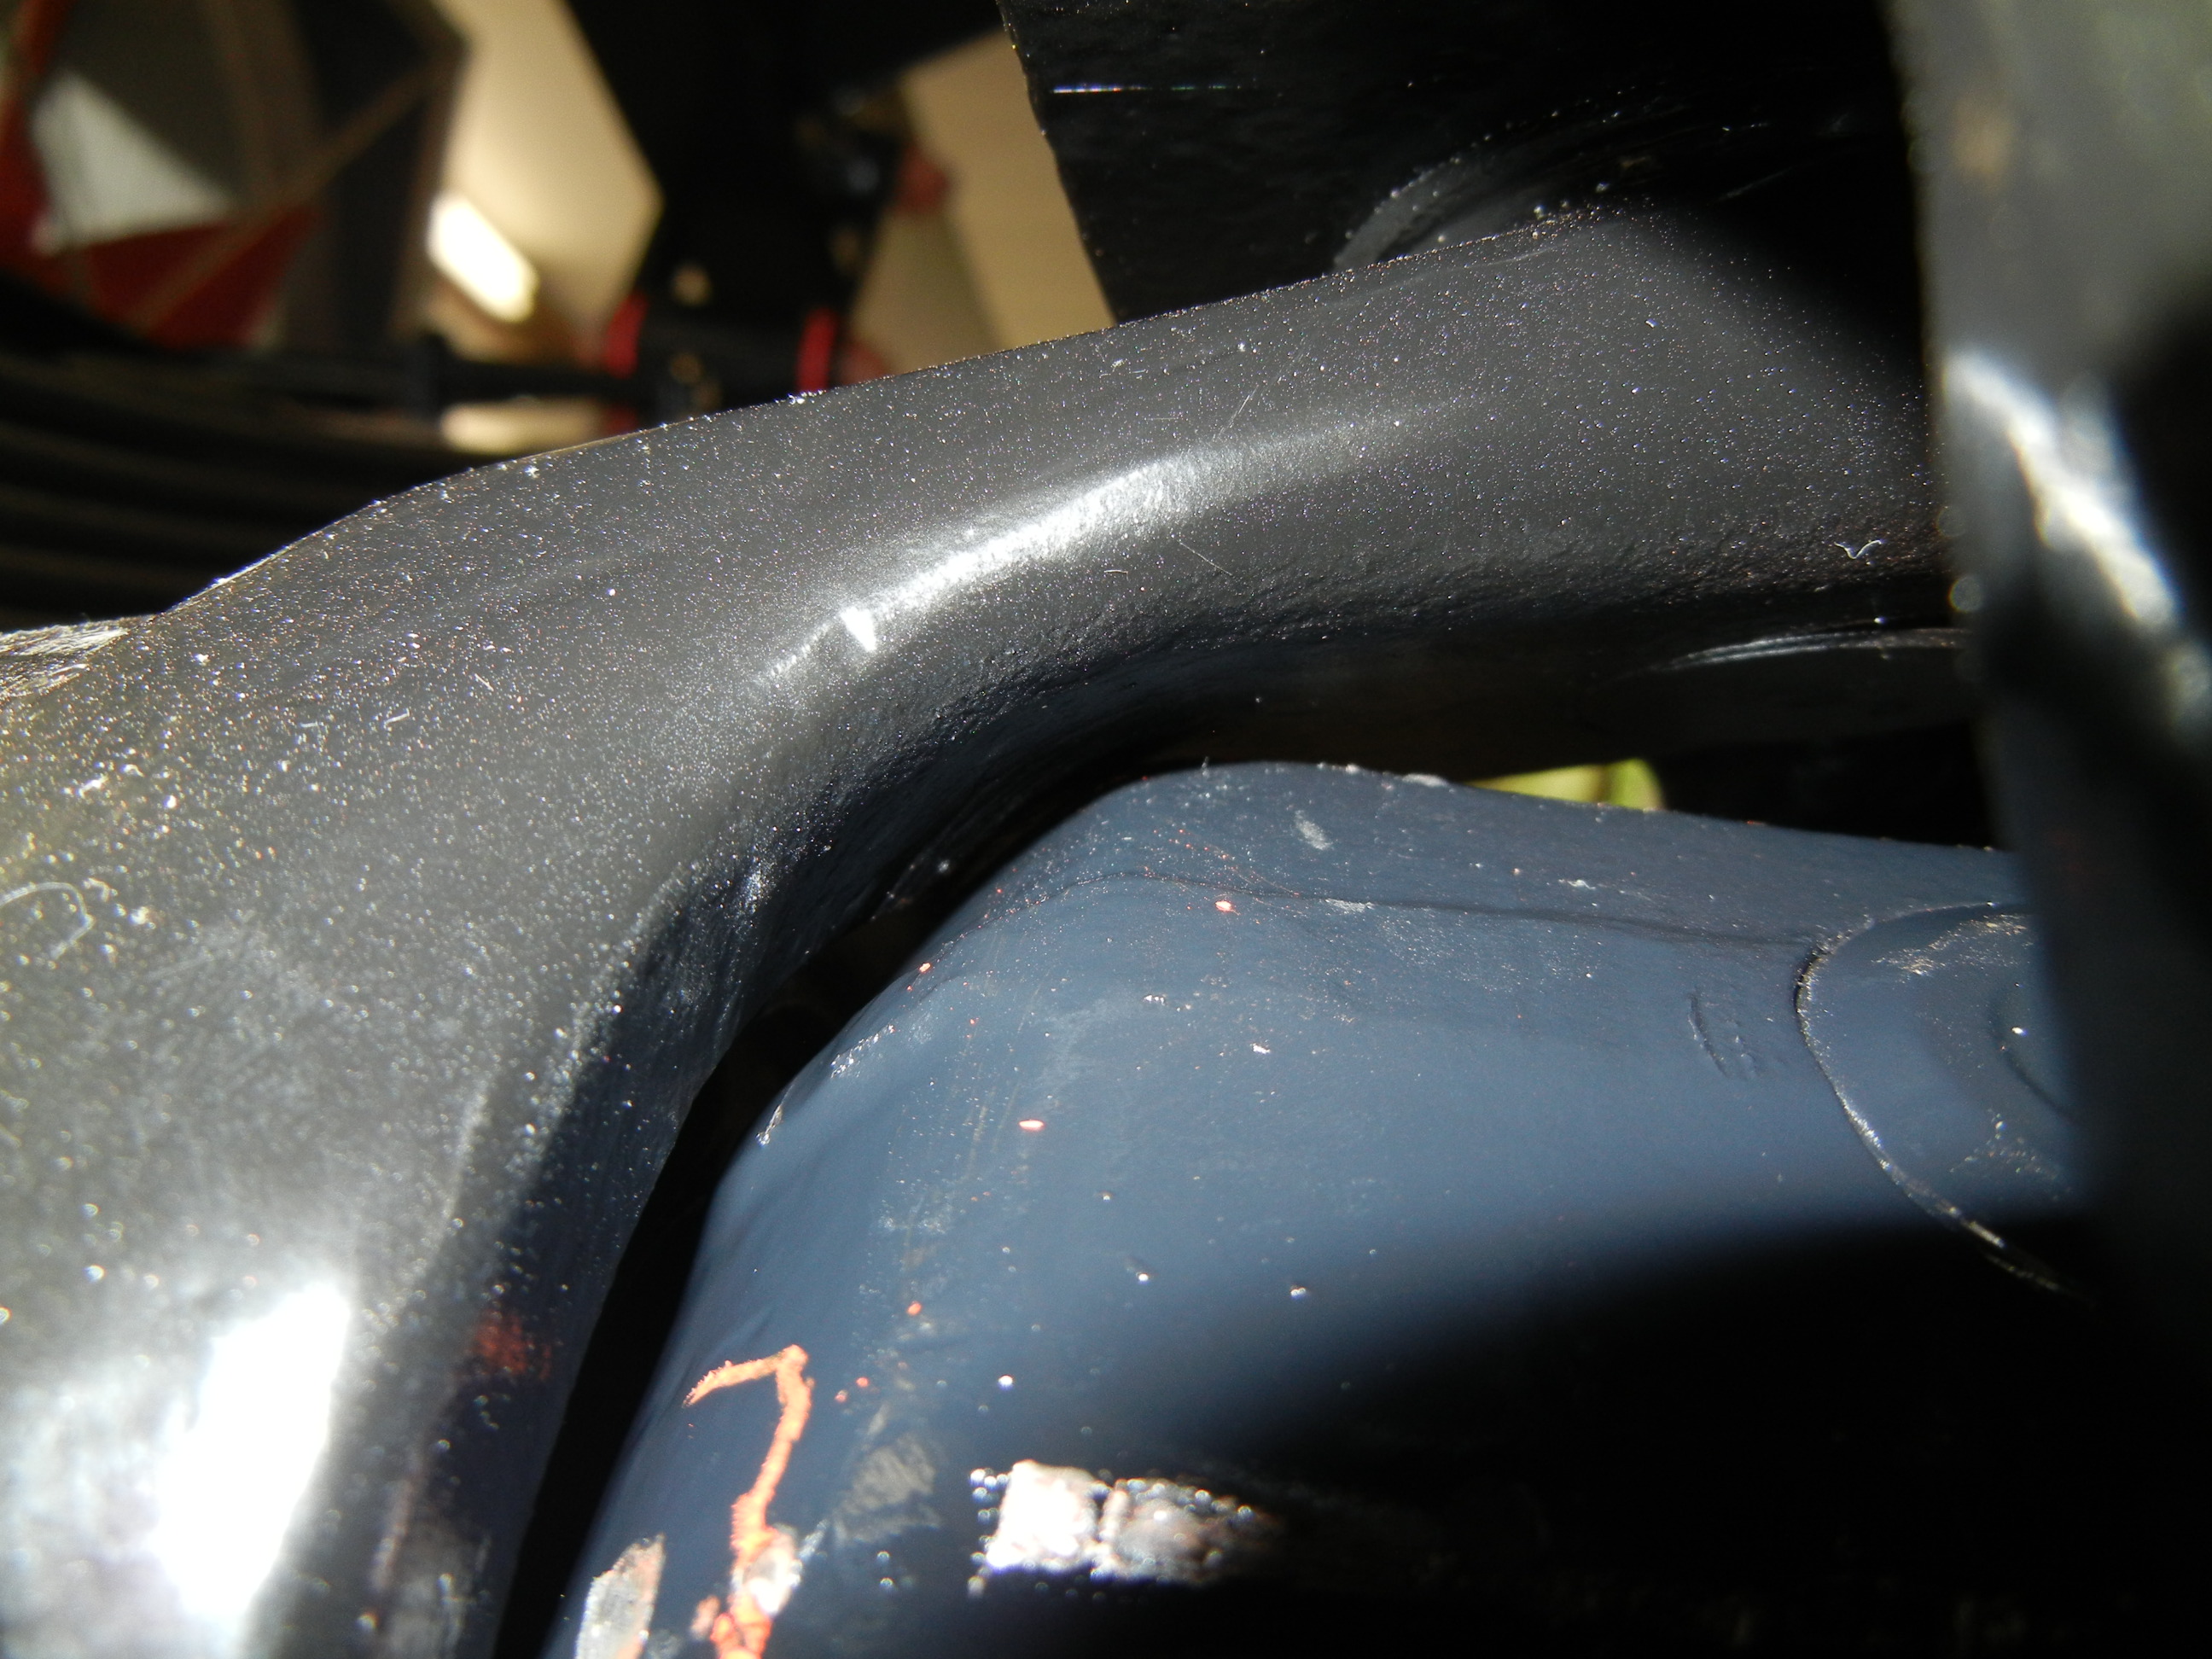
Again another setback the following morning came in the form of the inner axles hitting the inner C. The Yukon bulkhead is so much larger (and squarish) than the originals that the corners were rubbing the inner C (red pen circle). The angle grinder was again used to massage these problem areas and all was well again.
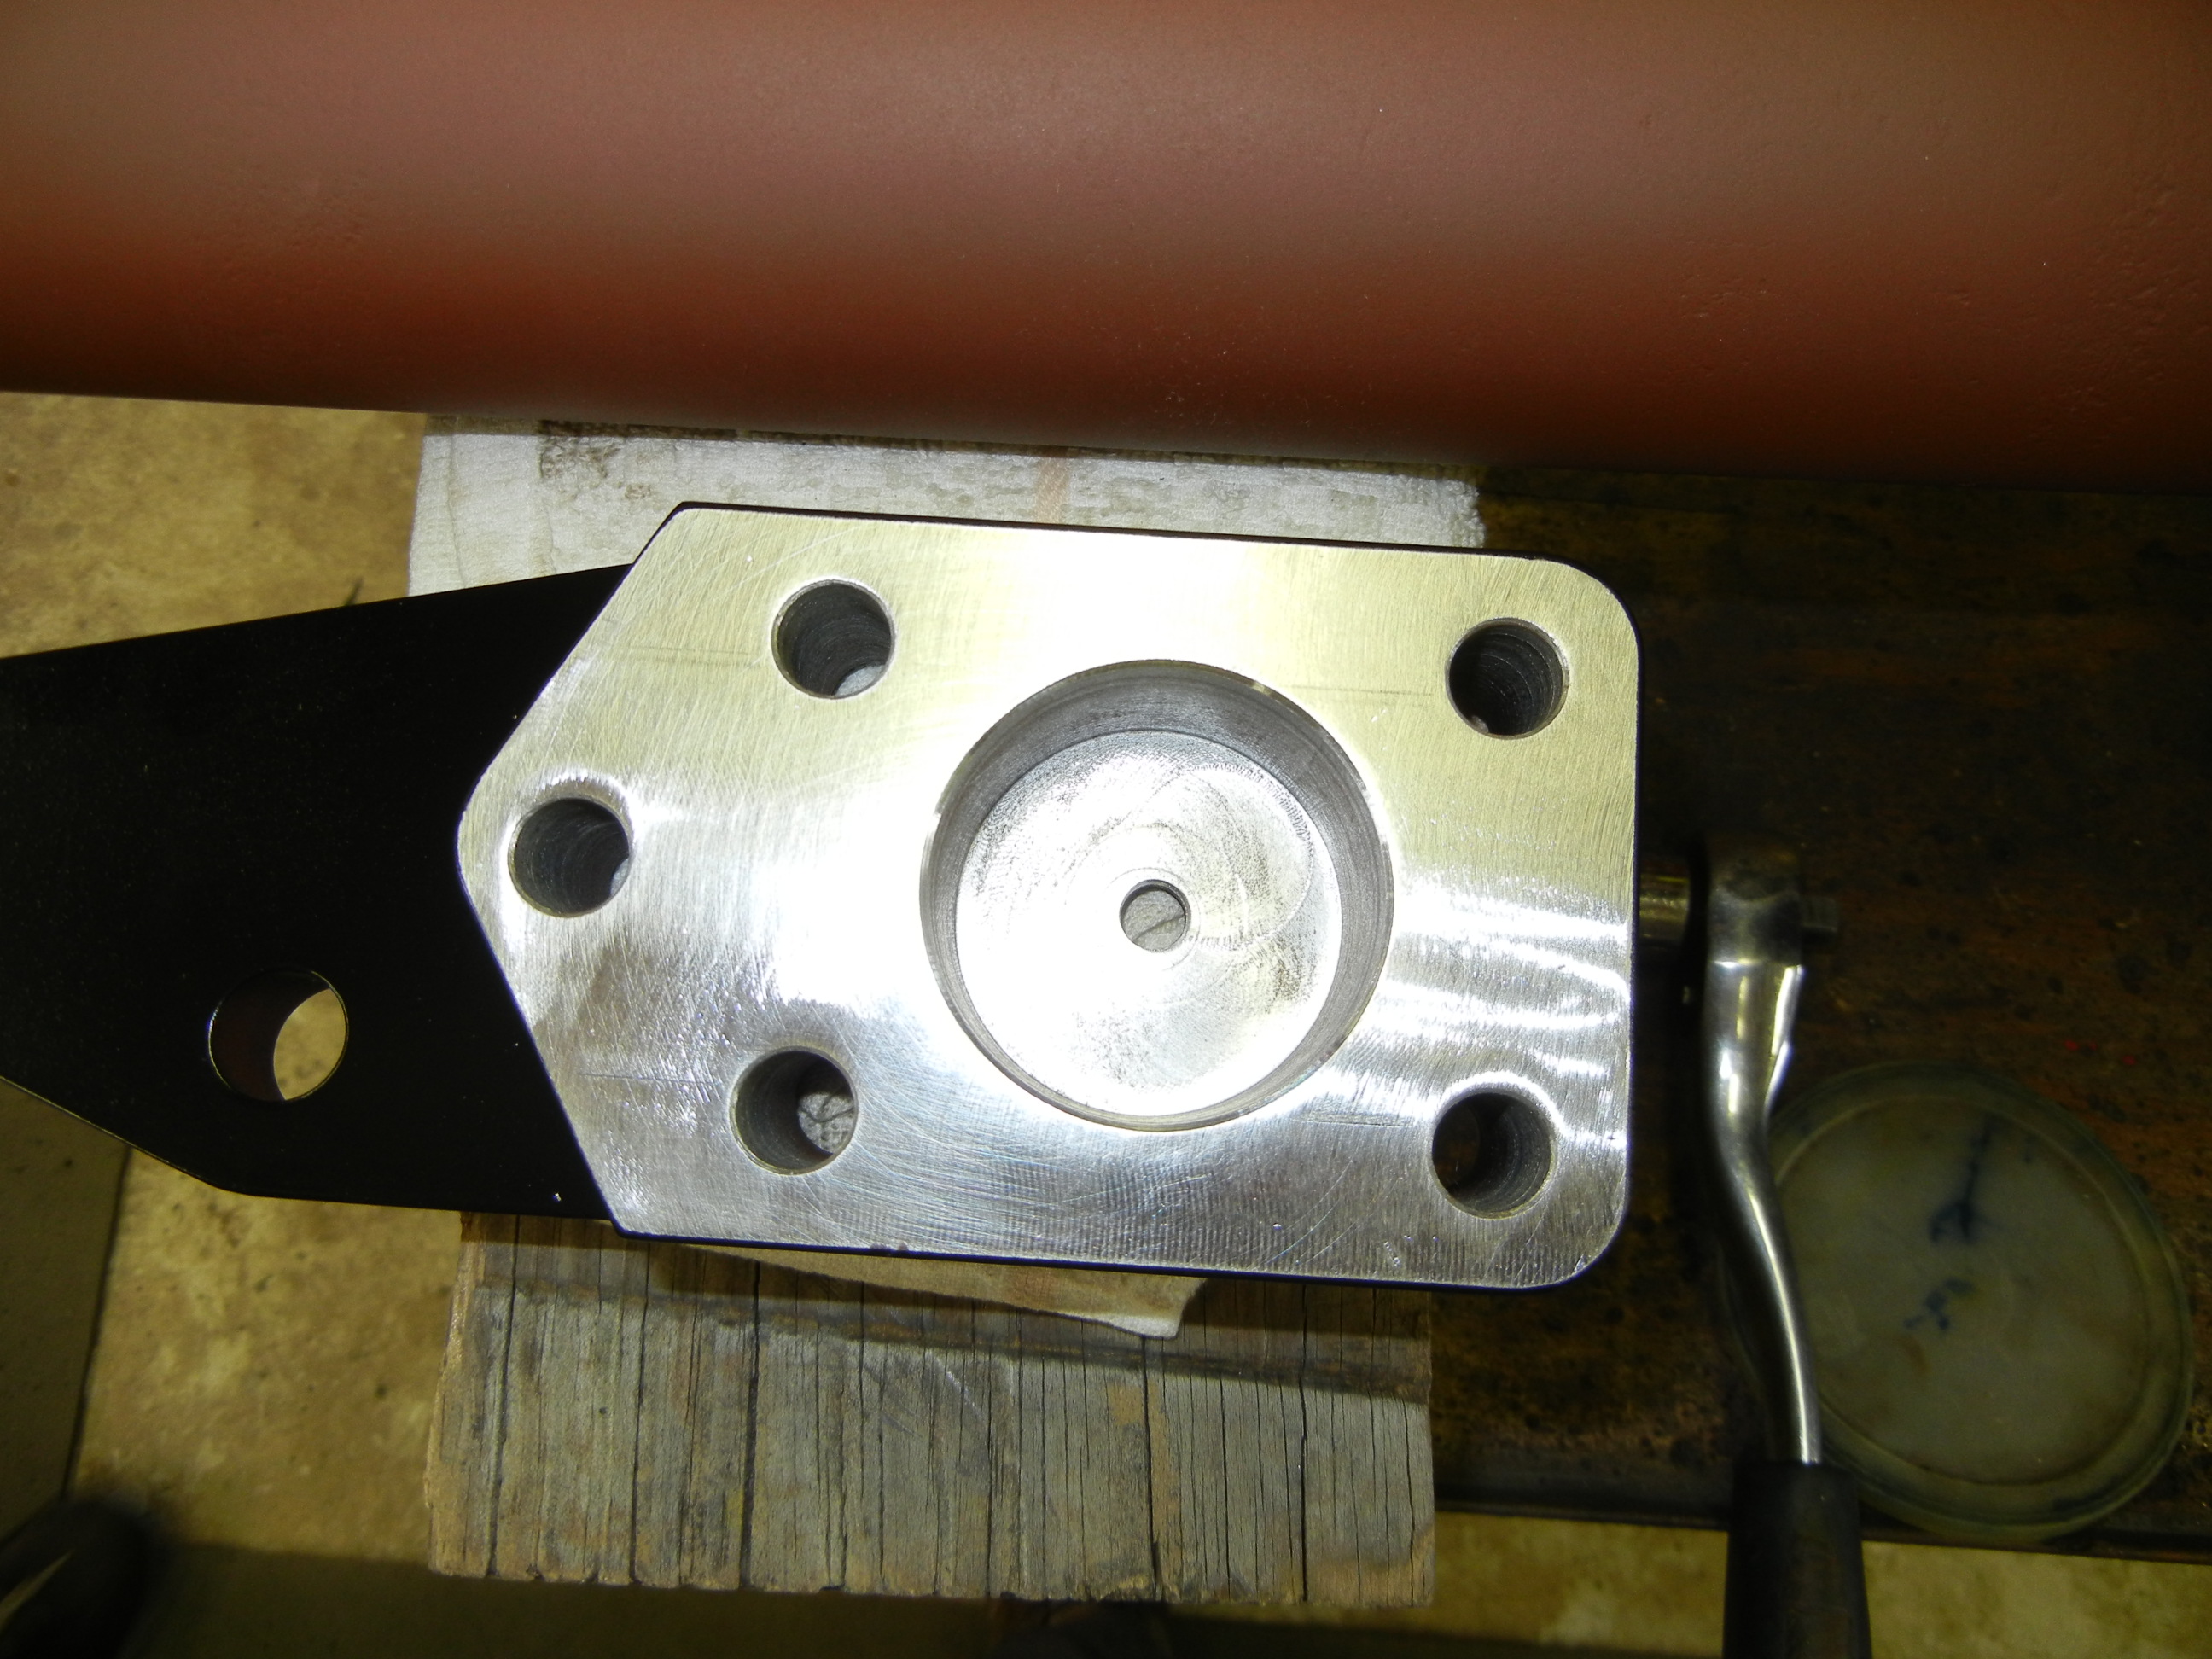
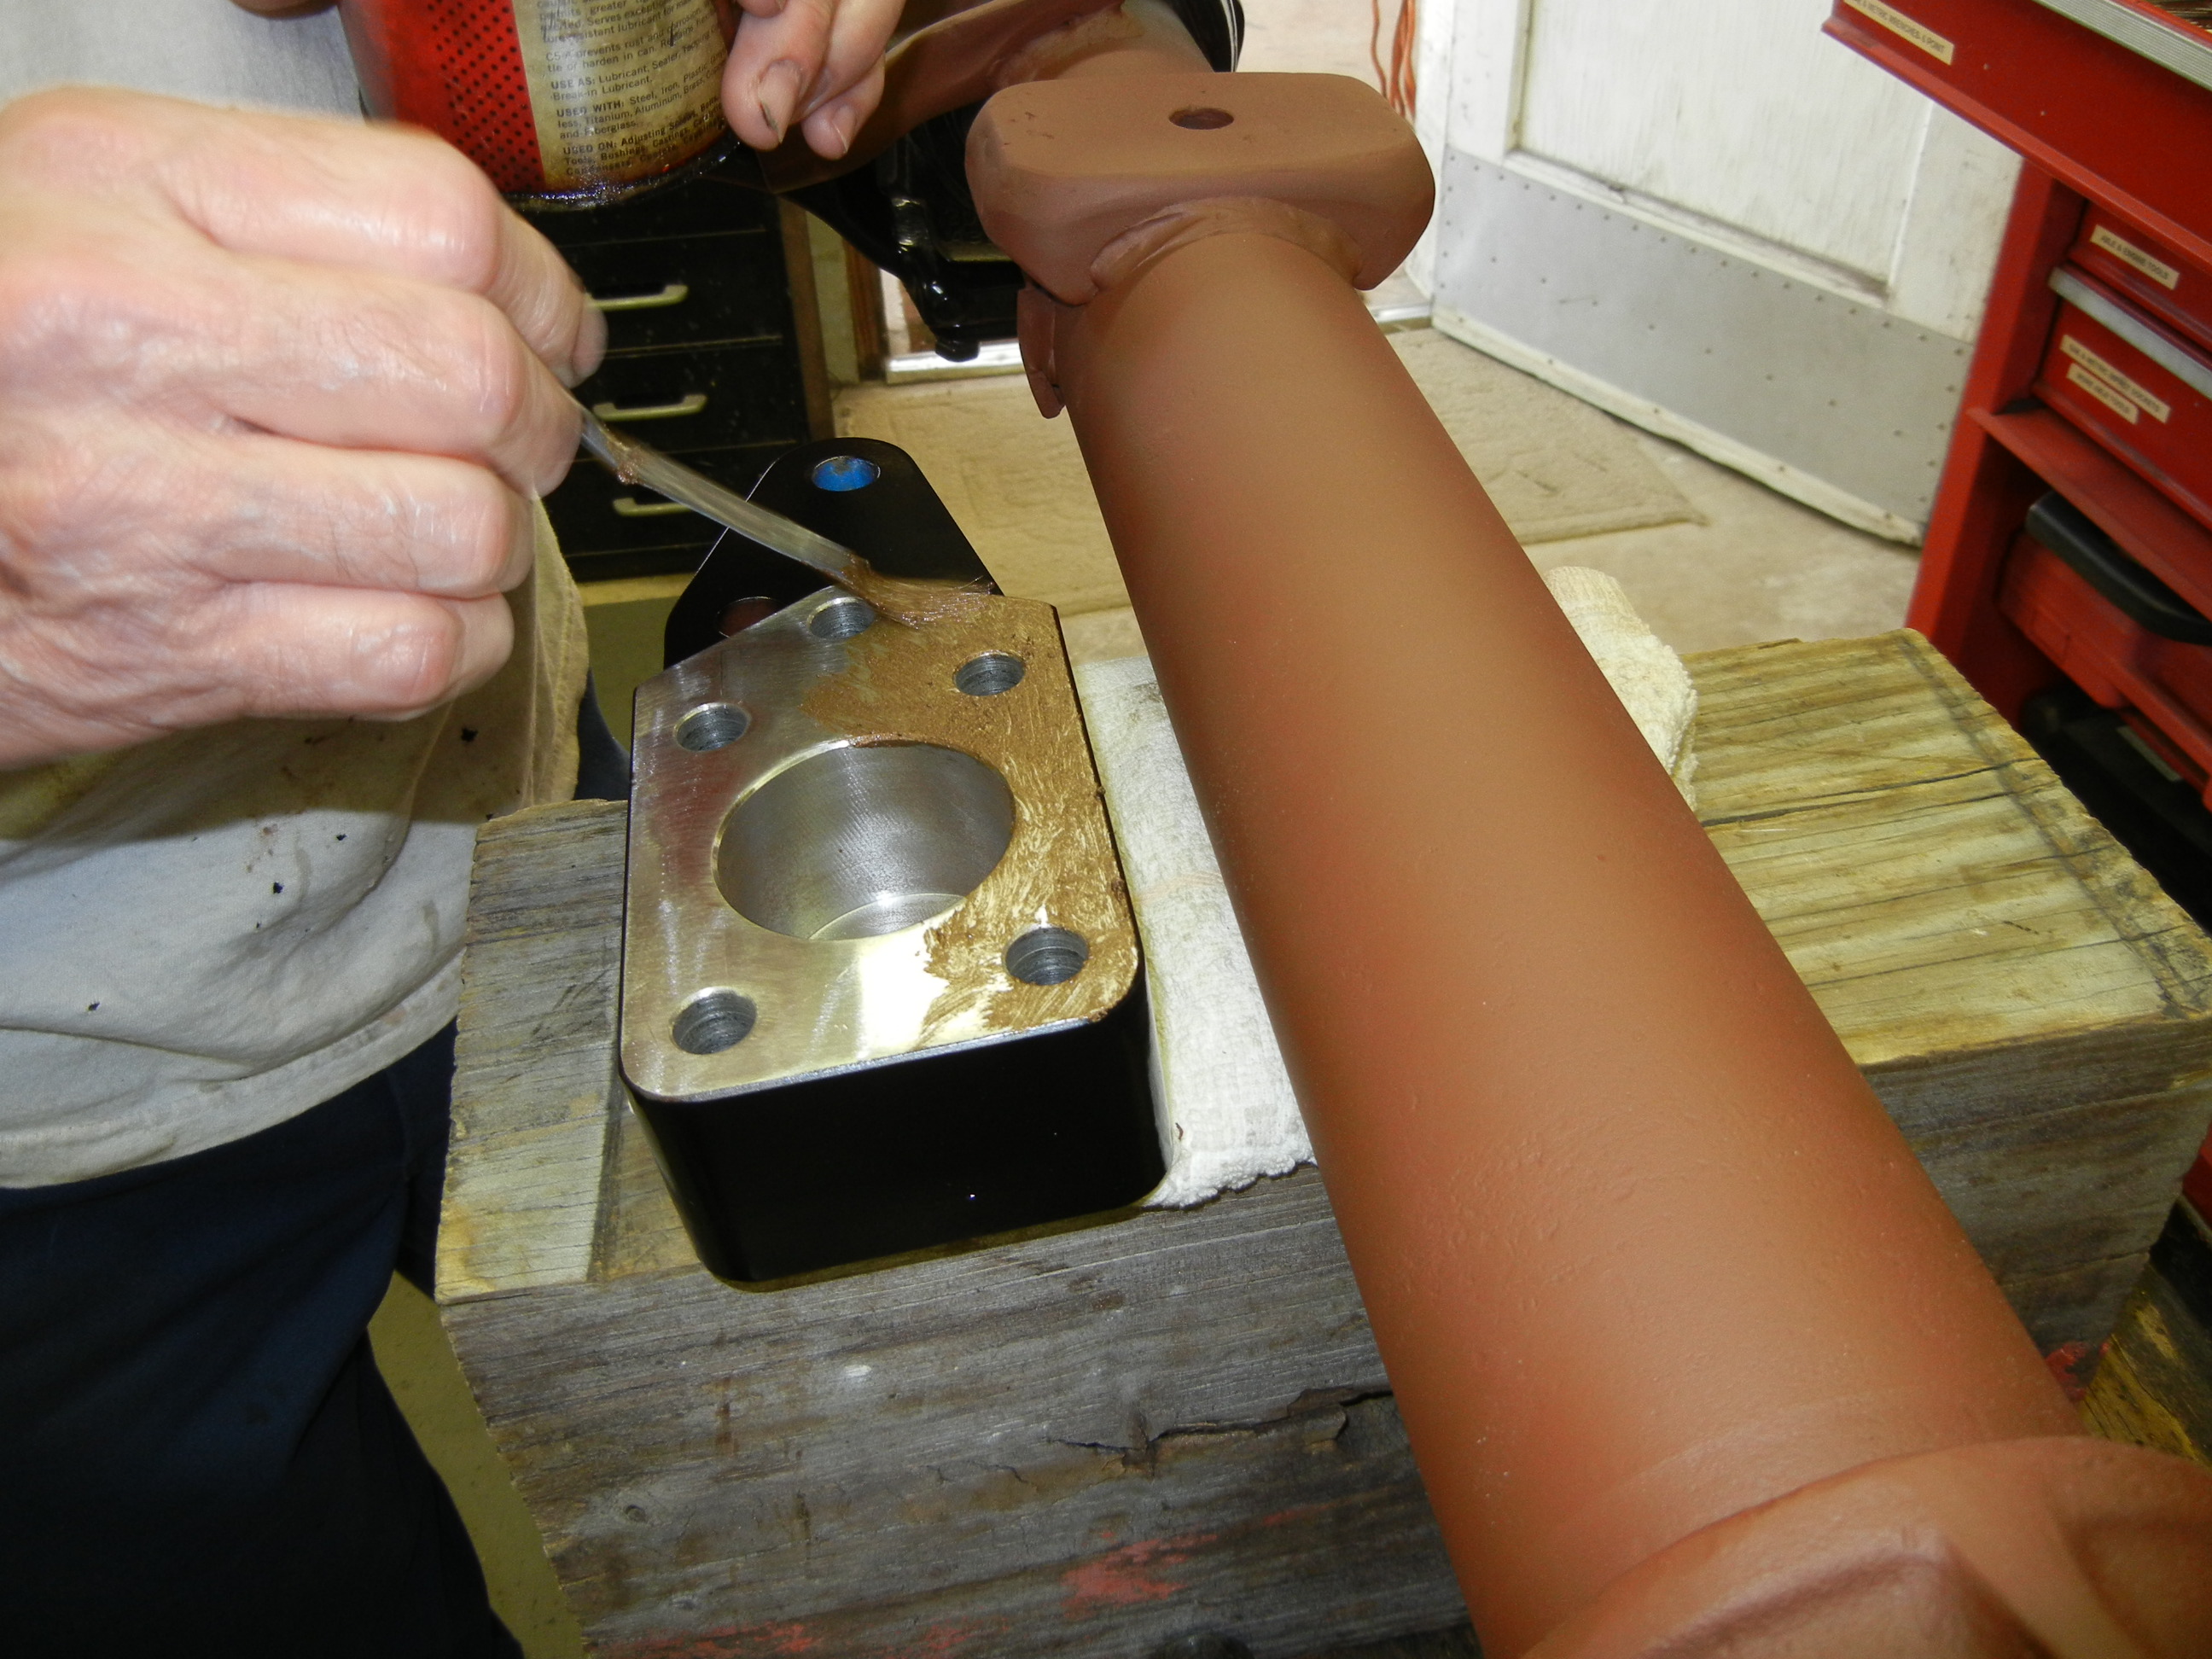
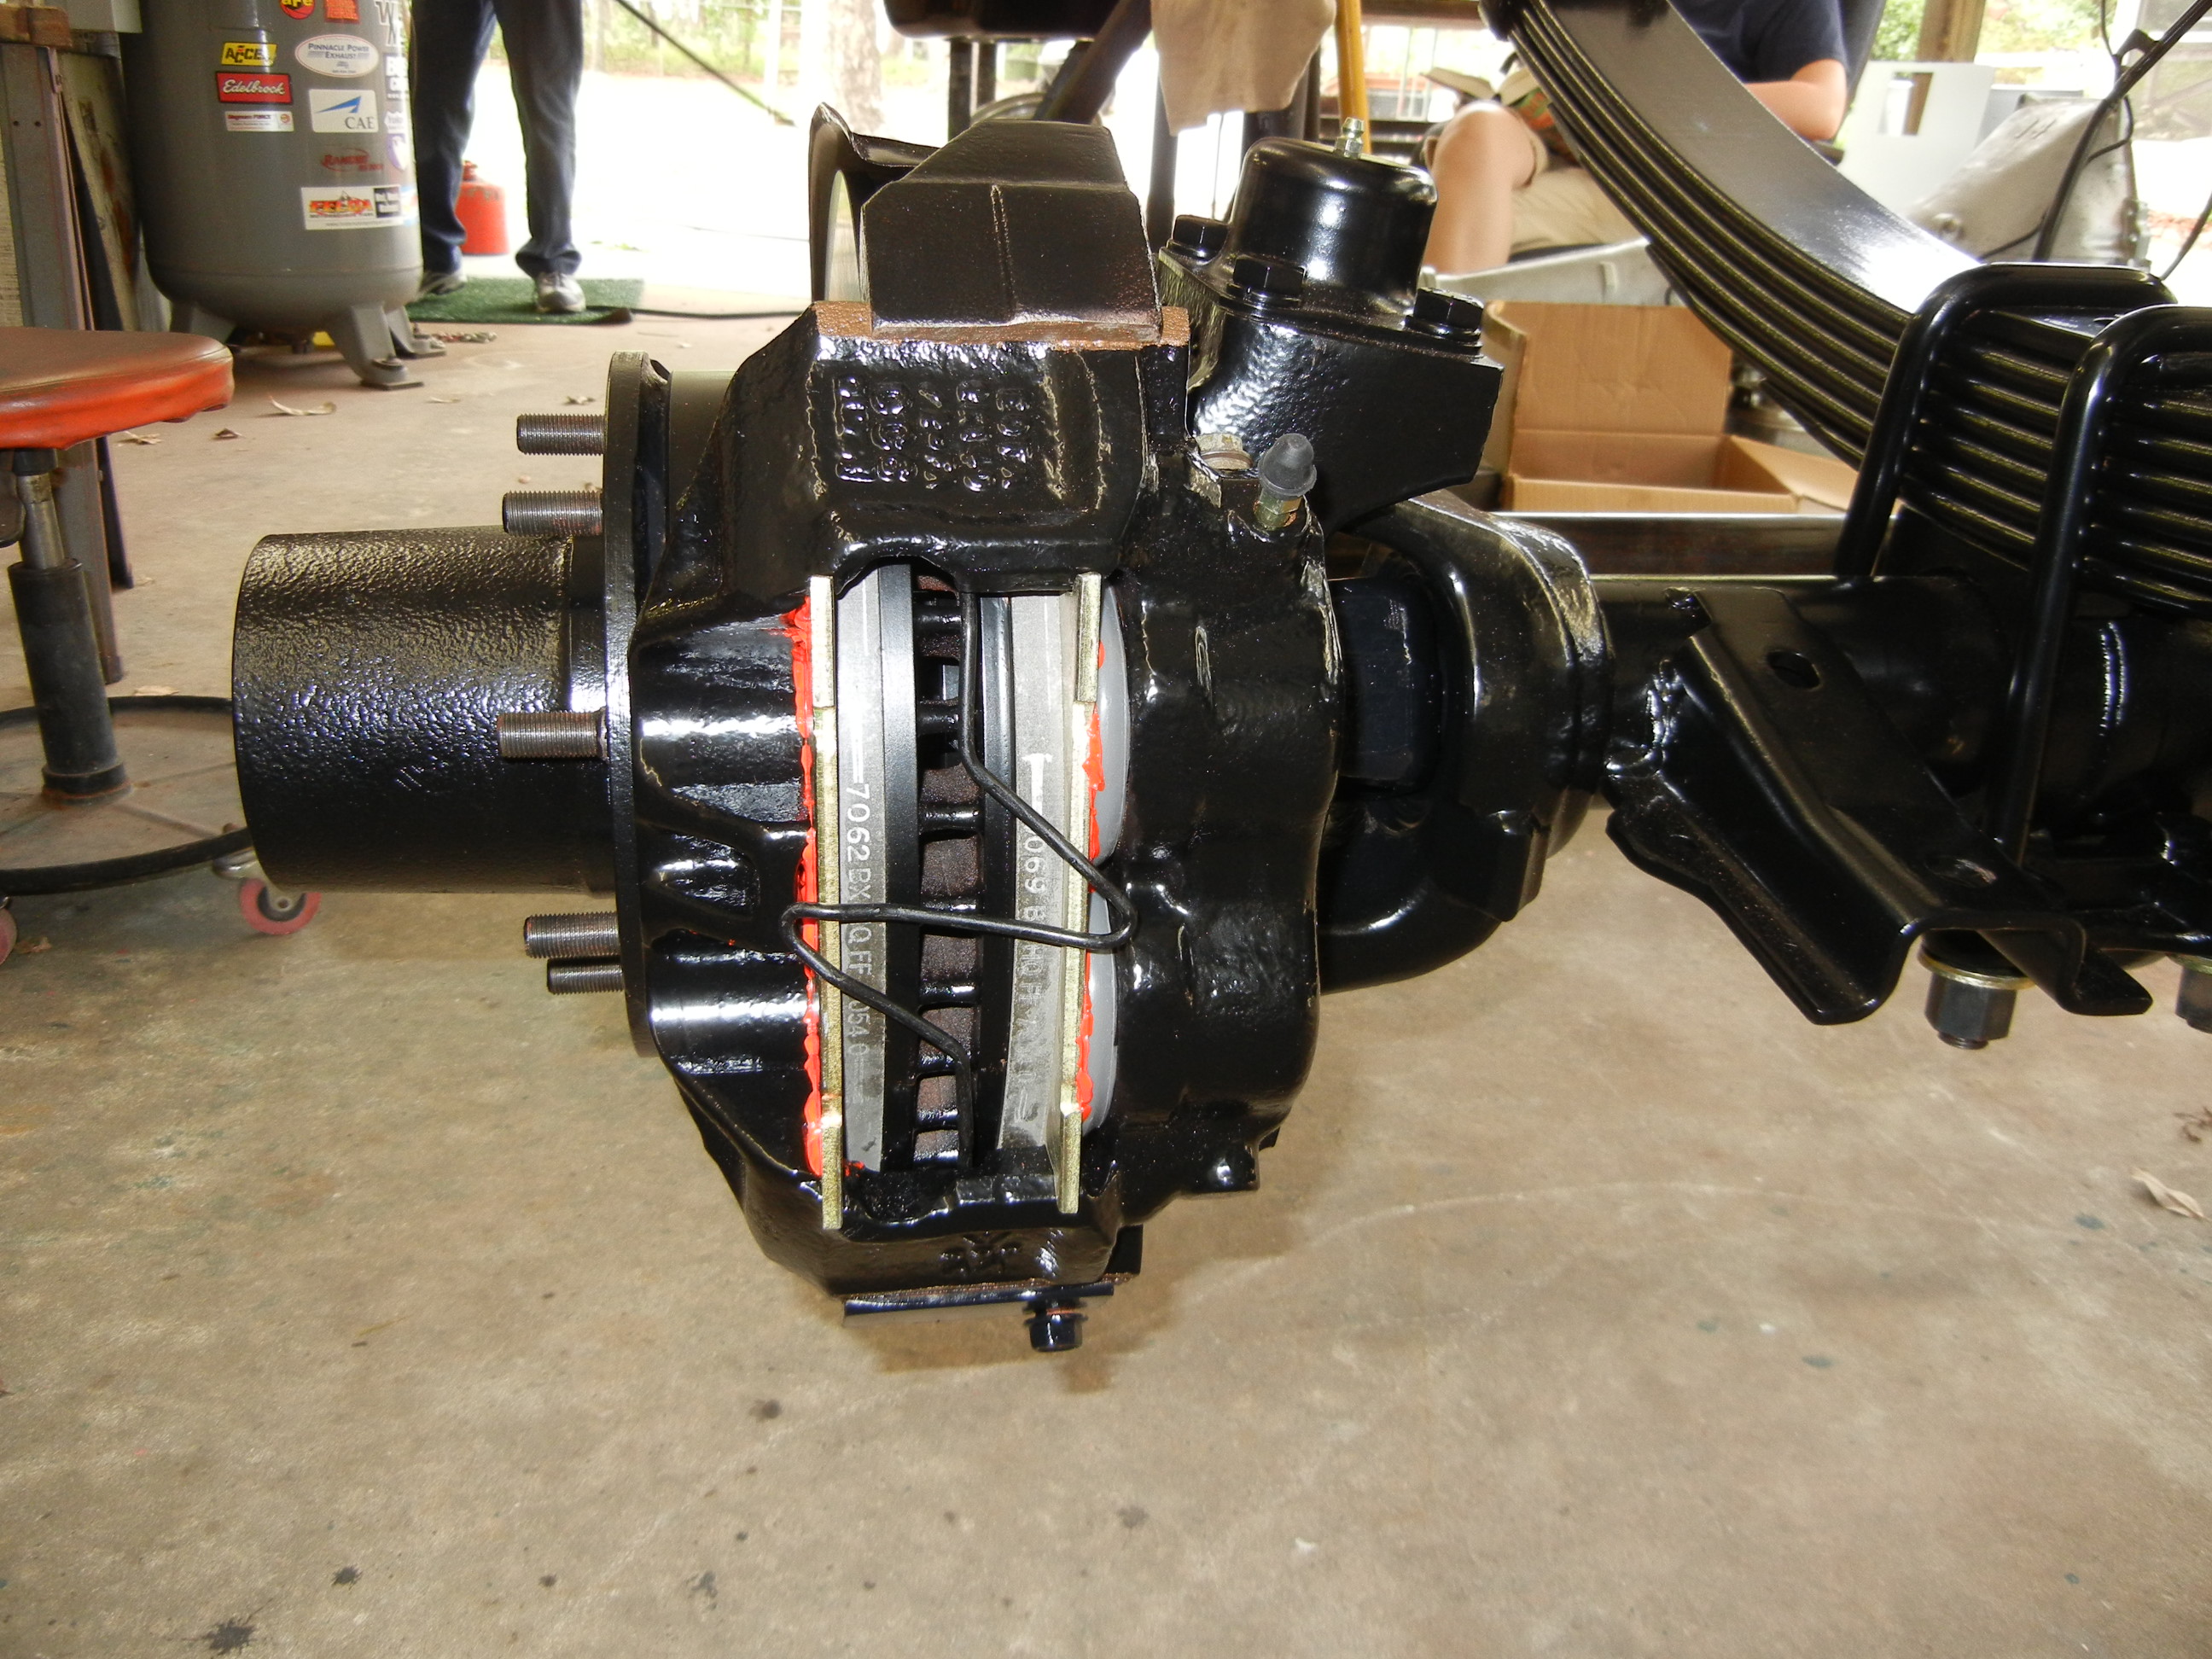
Now it was finally ready for the brake hardware. Brake disc quiet was slathered on the rub areas only and were then assembled onto the van-only disc calipers. Not happy with the original 2 piece caliper design, I must be the only person who has documented using these 1982 Ford van calipers on a truck axle. Remember these are not the same calipers as the 1986-91 Dana 60 axles used.
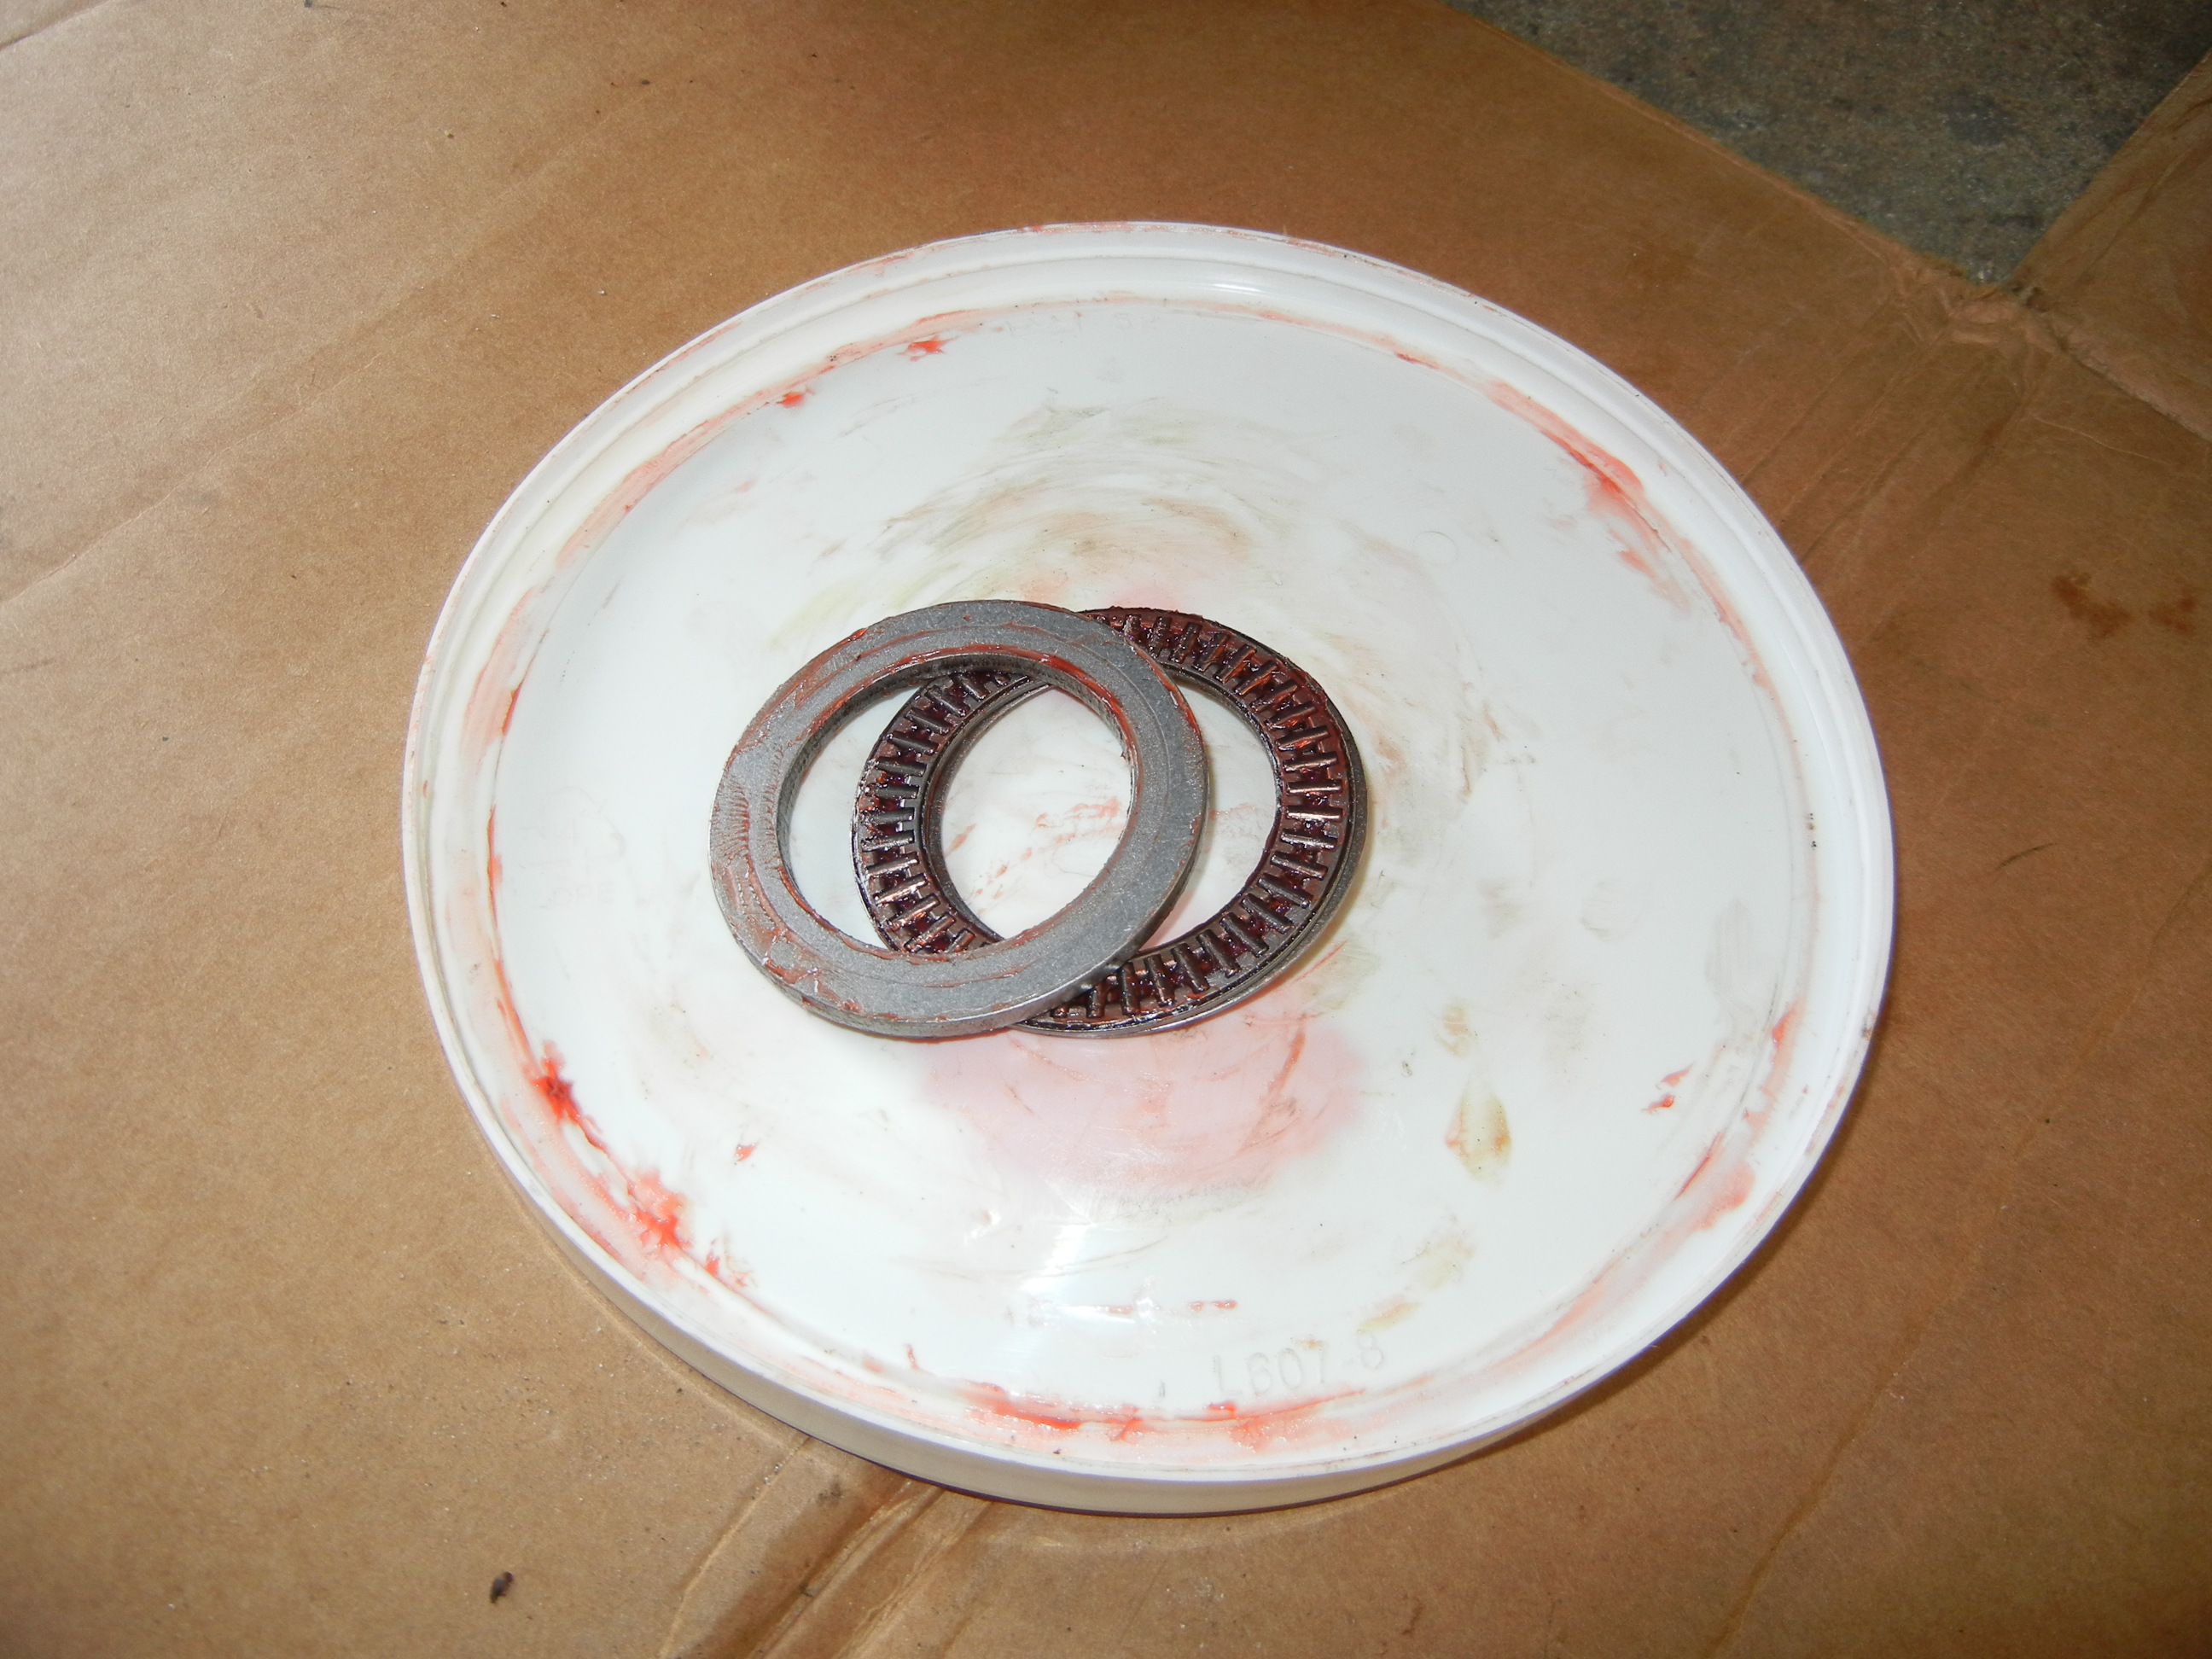
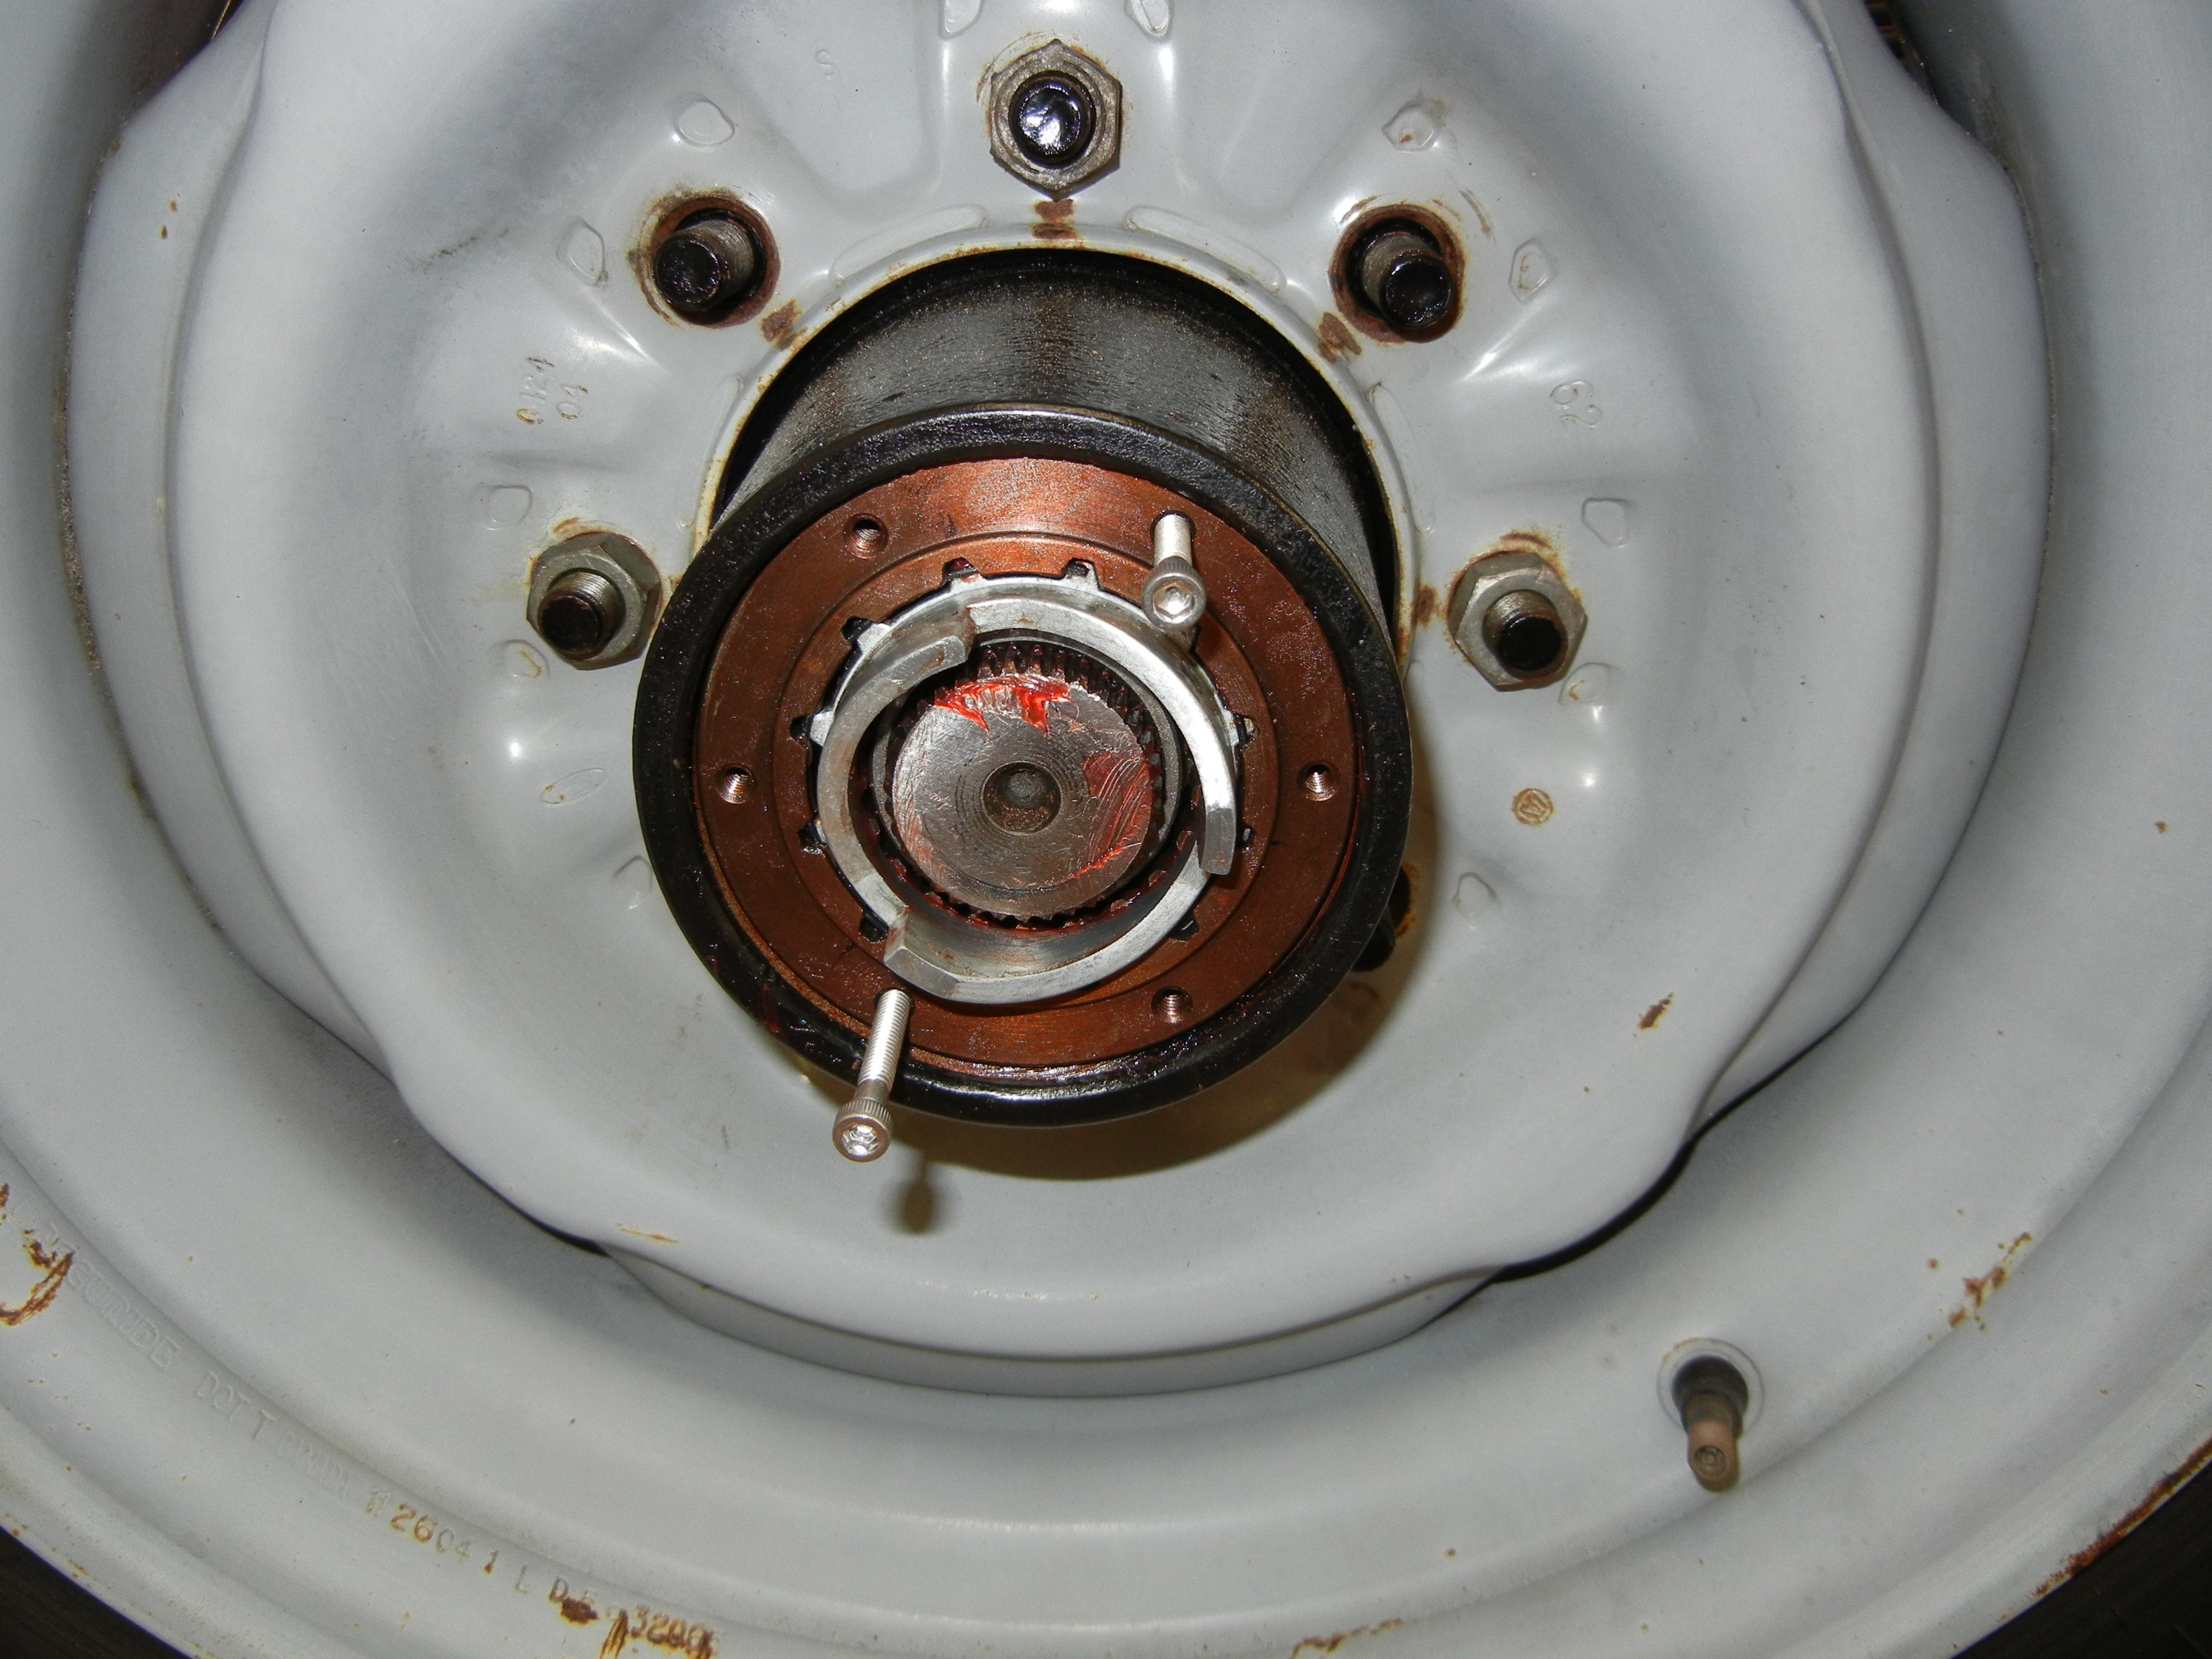
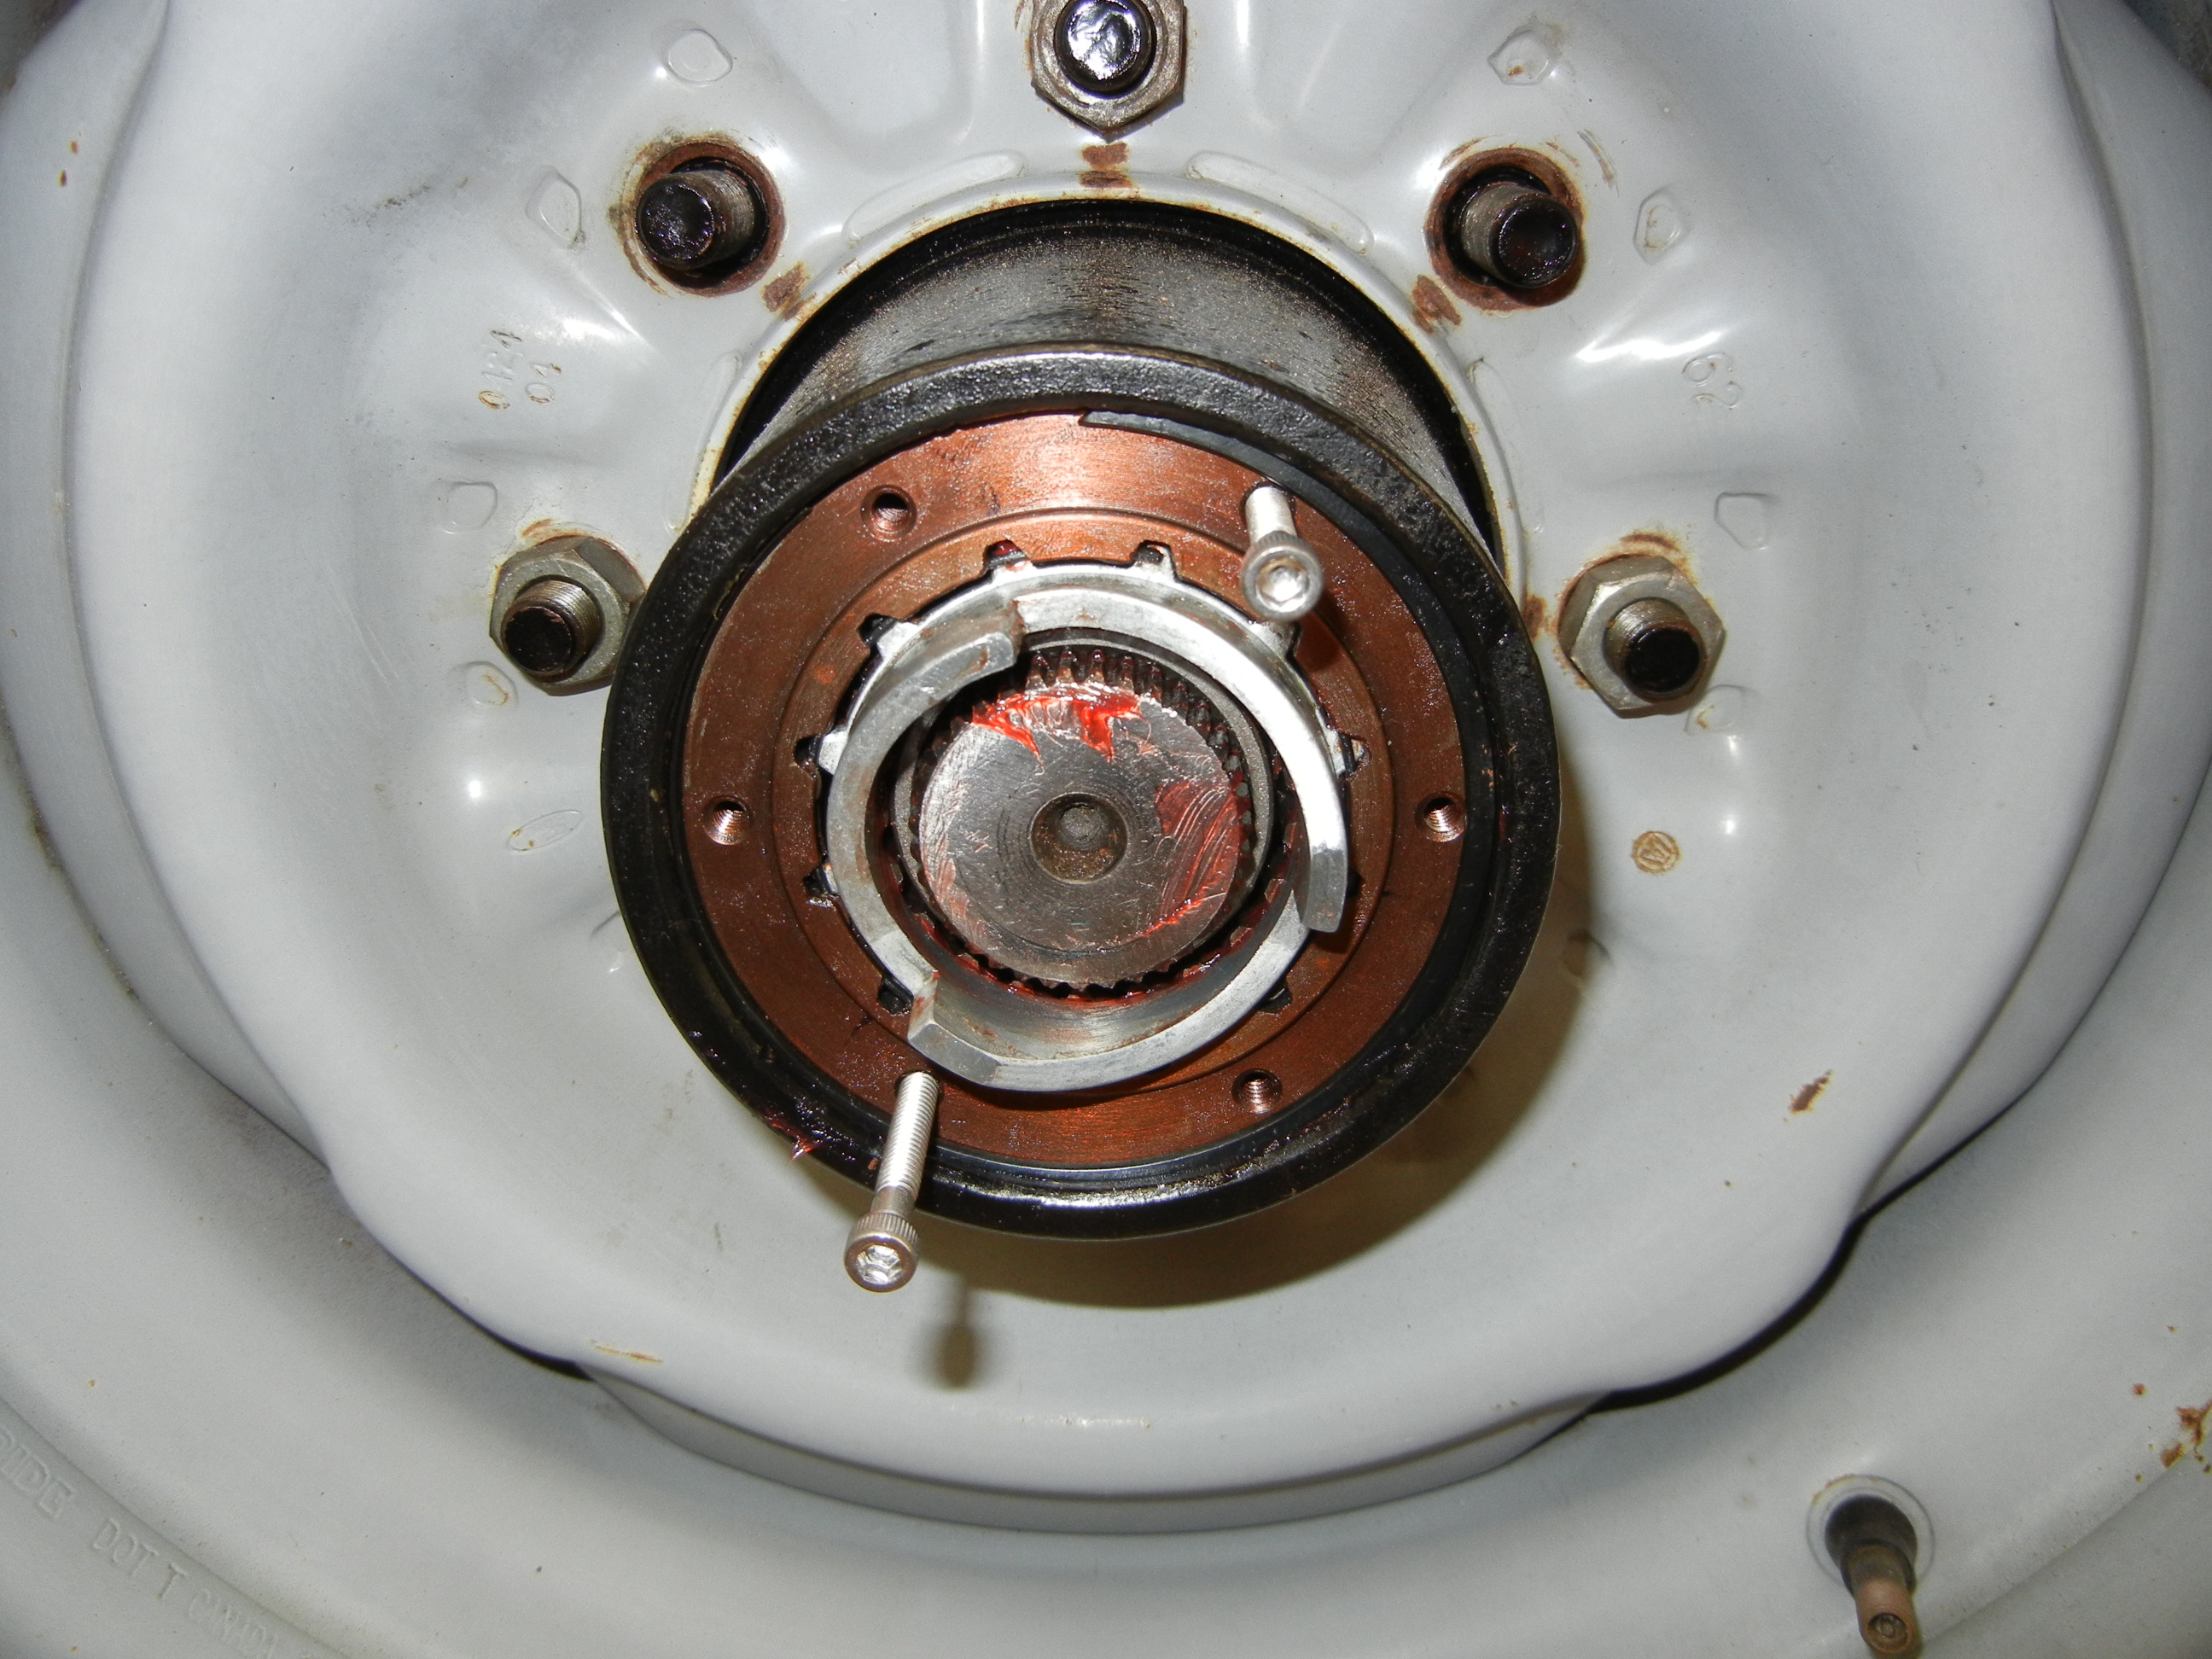
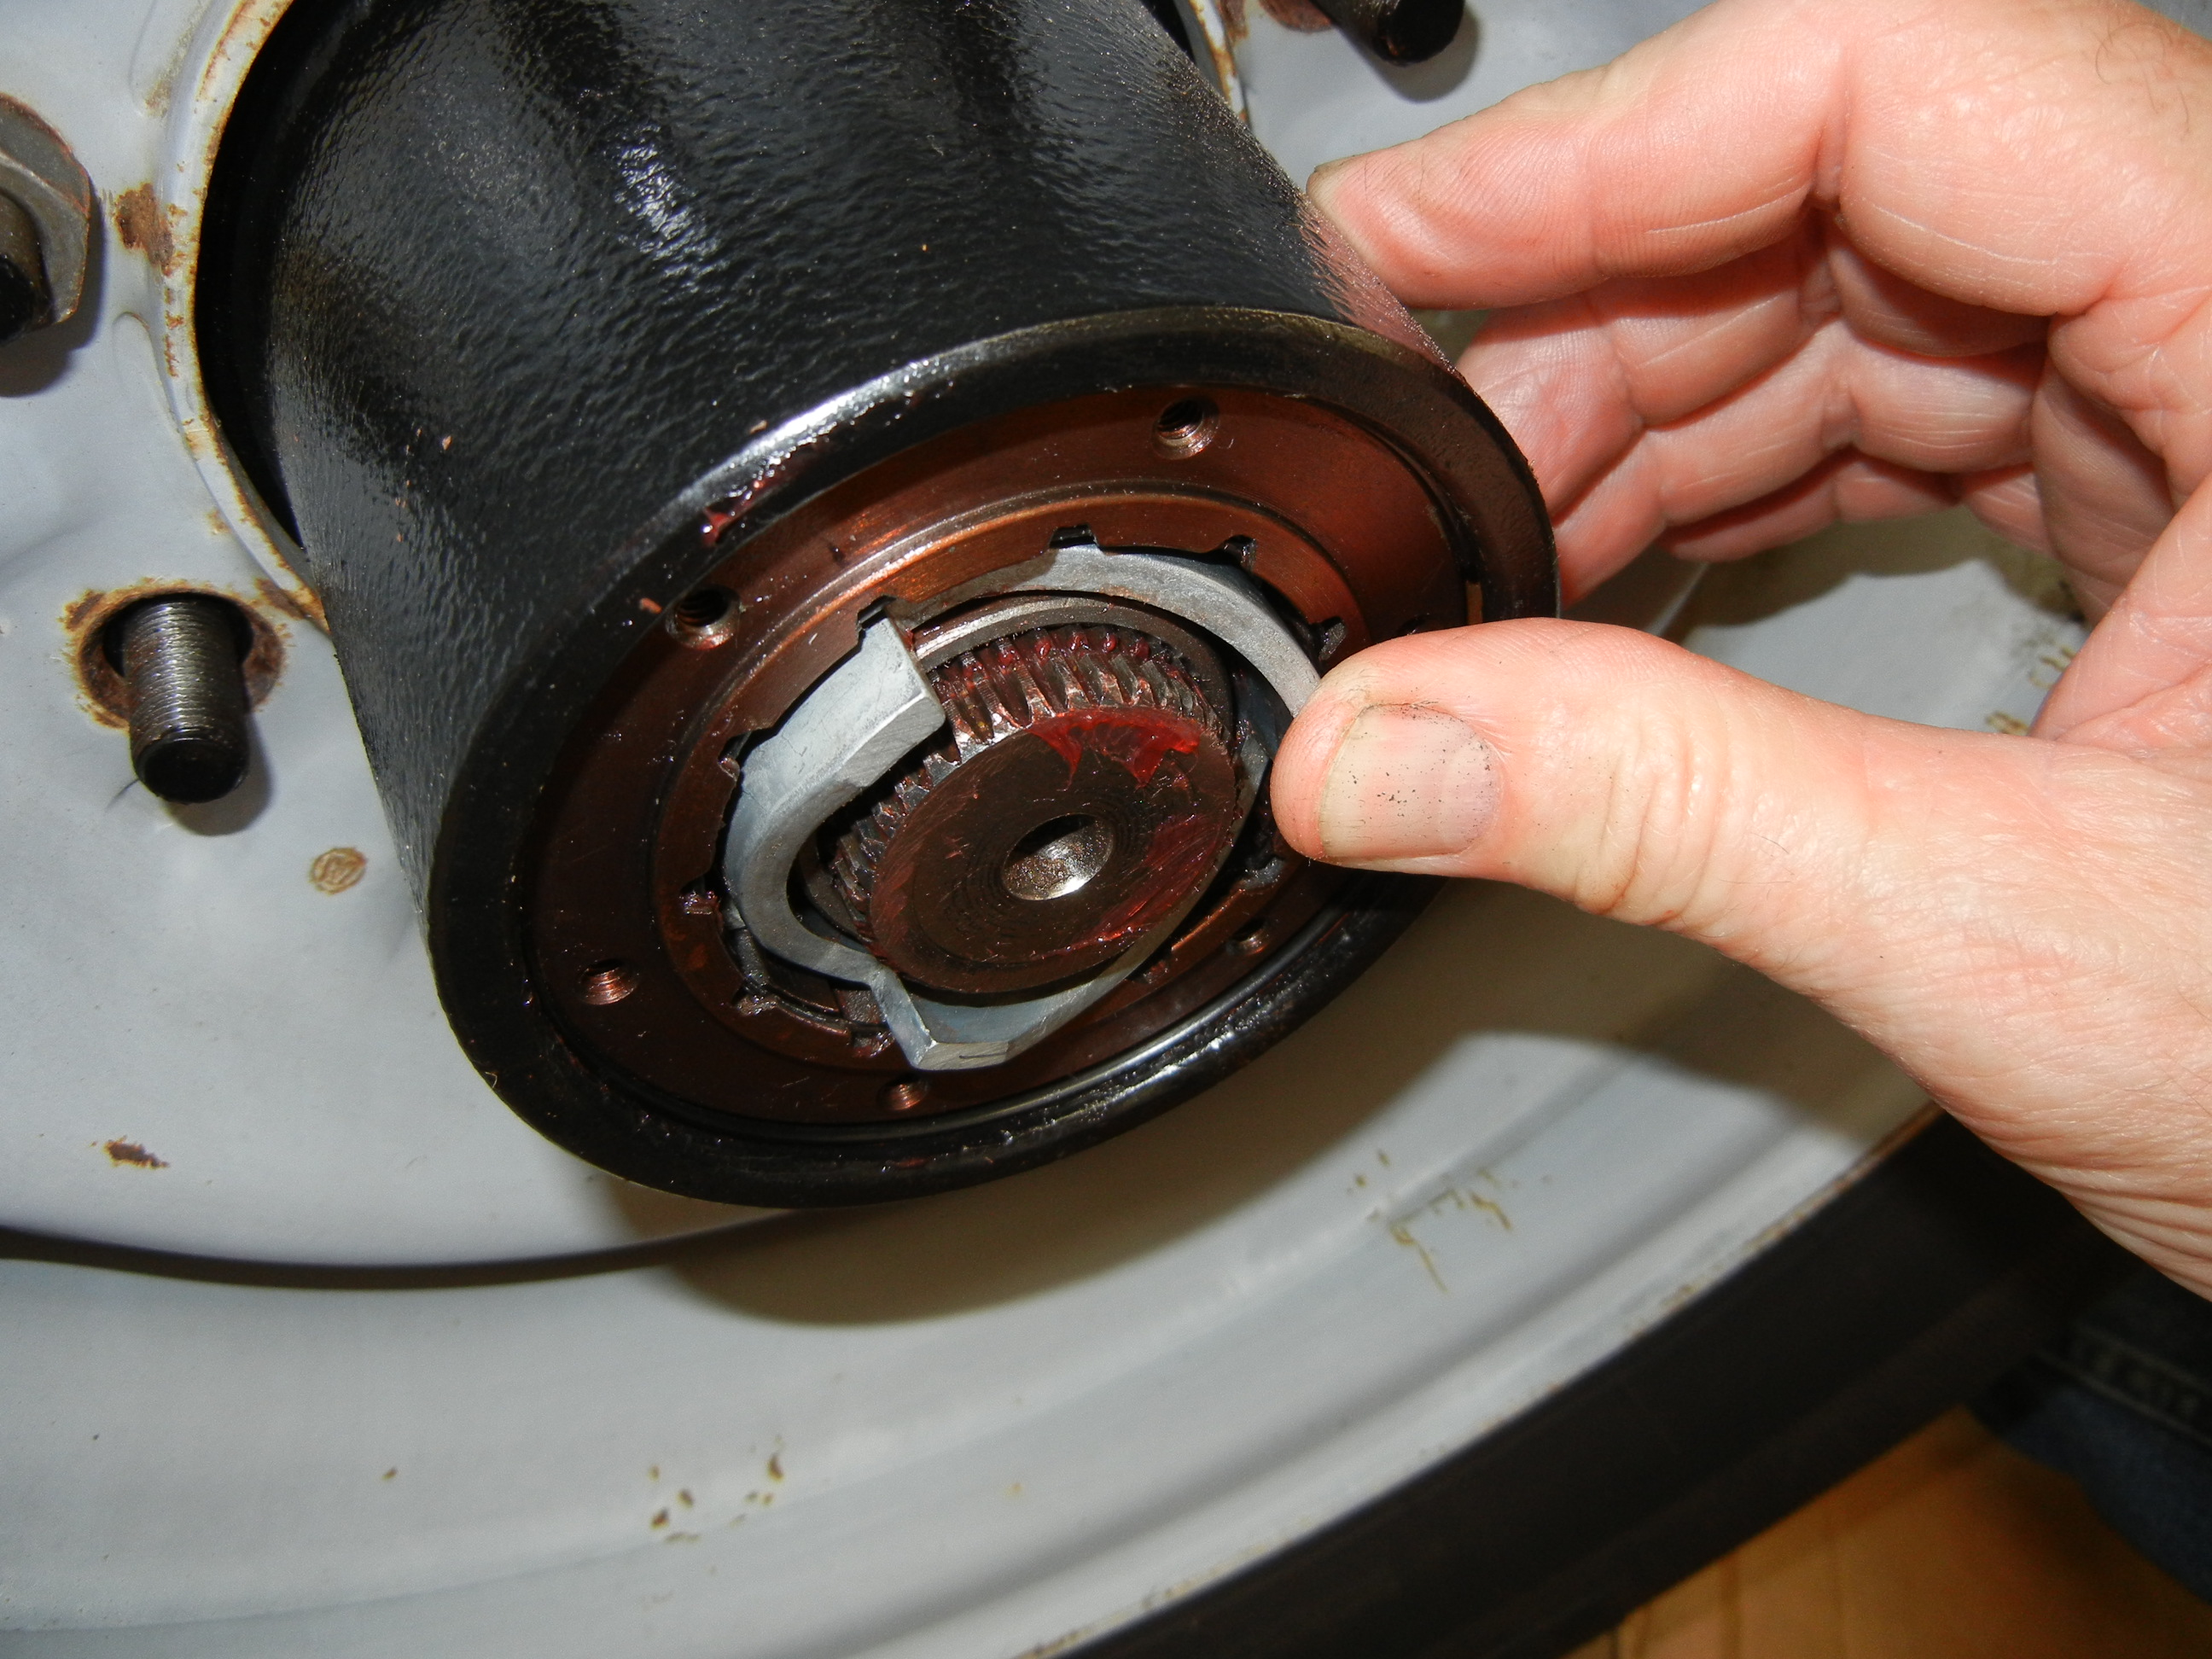
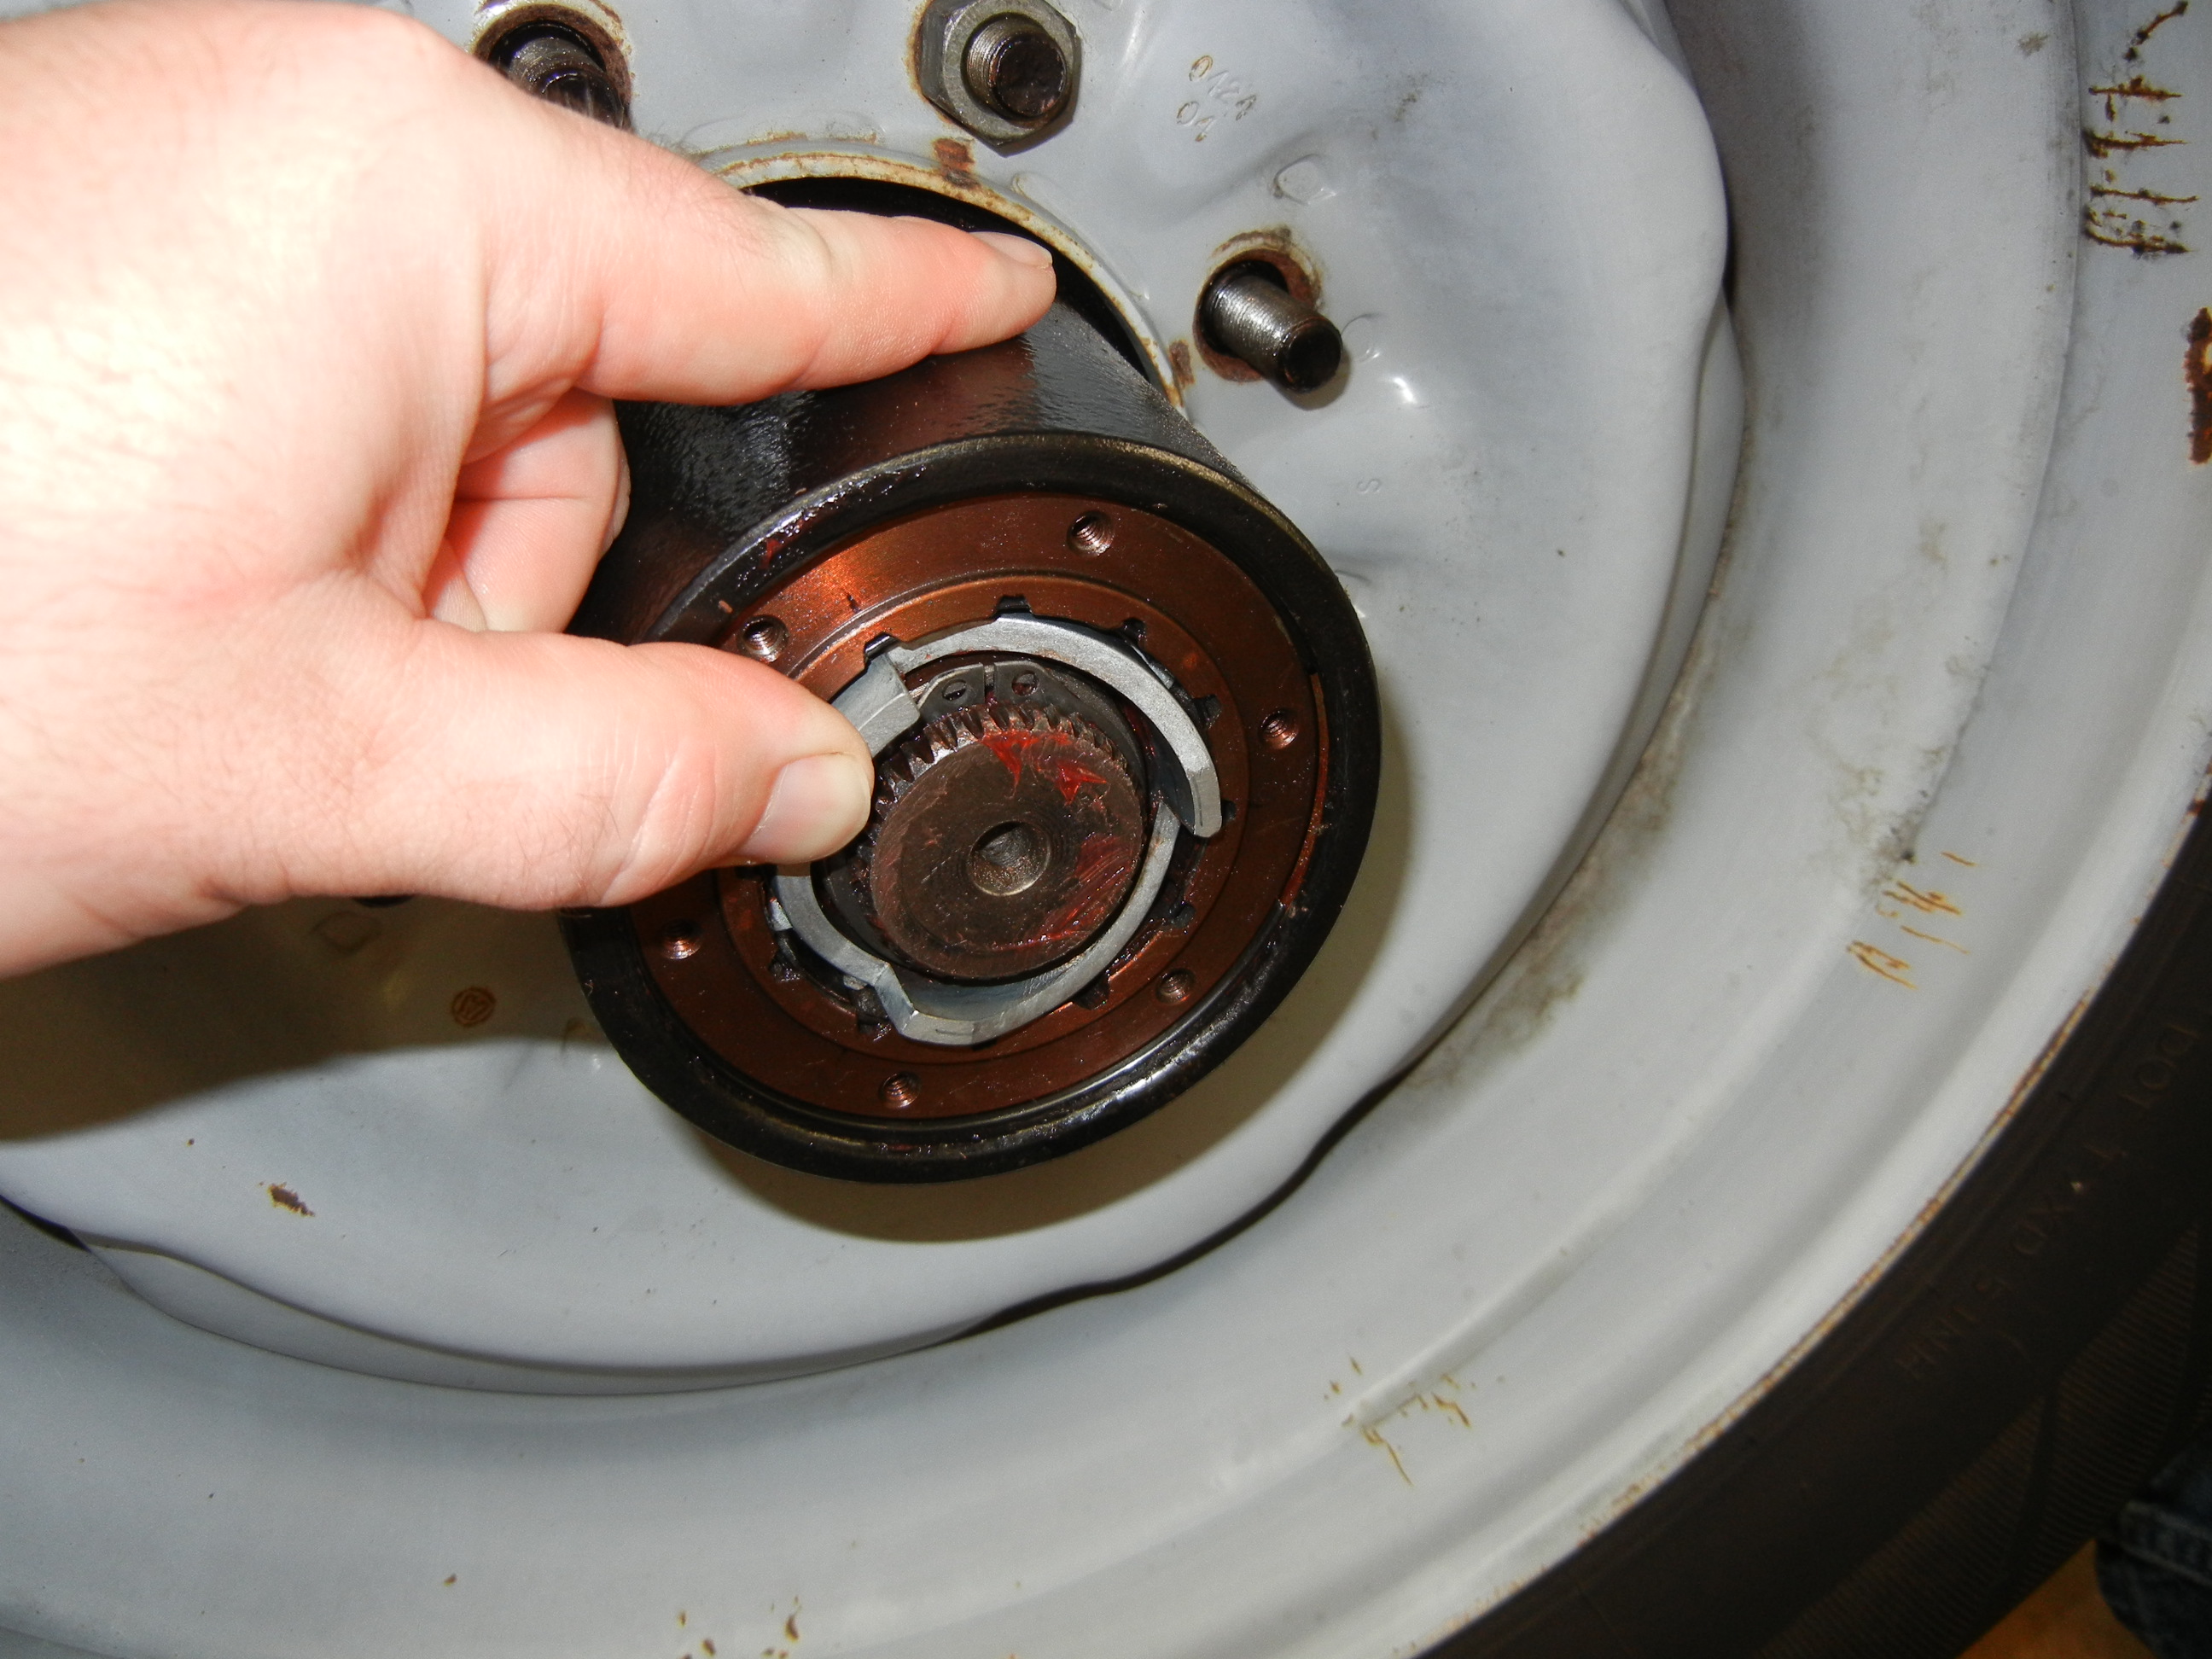
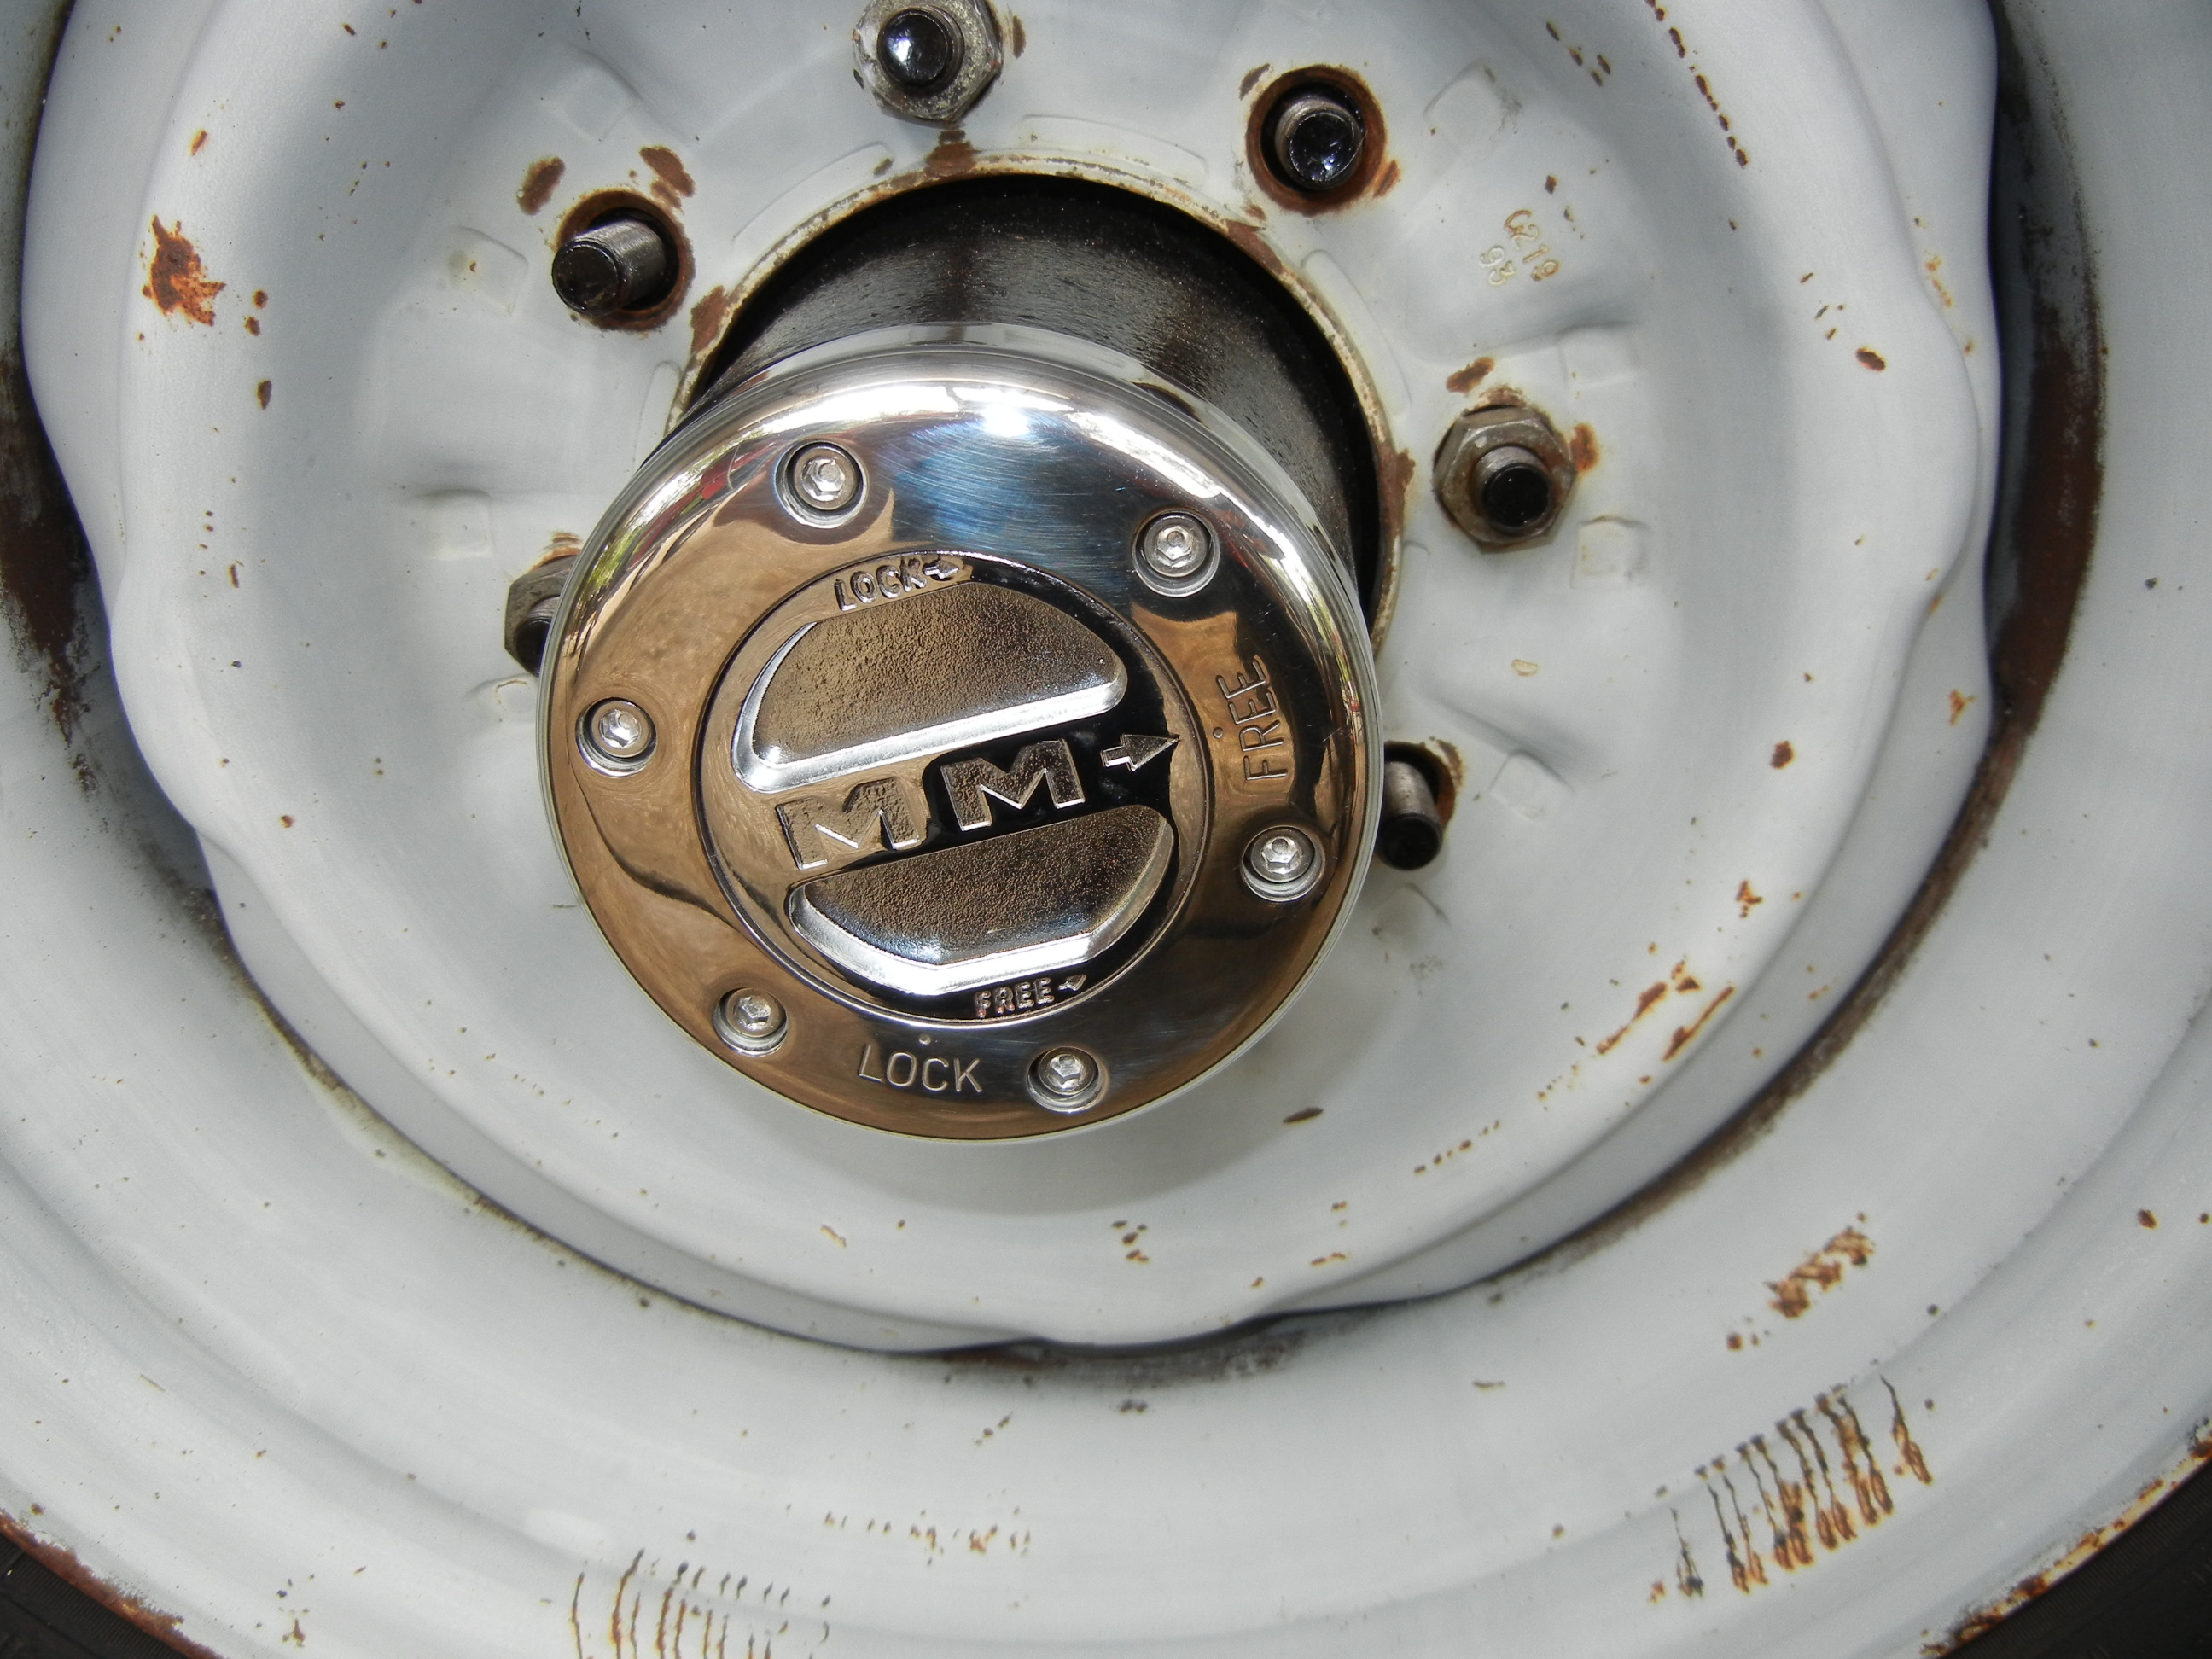
Before the lockouts were installed, we made sure the axle end play was taken care of by means of a shim pack. This shim pack consisted of a thrust roller bearing and two hardened steel washers sourced from Grainger. The whole purpose of this stems from the debate whether or not to use the snap ring on the end of the stub shaft. The instruction manual for the Mile Marker lockouts clearly say you may run without the snap ring, but a closer inspection will reveal the shaft would then be allowed to "float" within the spindle and could possibly pull away from the large V-seal behind the spindle. Also U-joint binding may occur when steering during 4wd operation due to misalignment of the U-joint through the king pin axis. There seems to be very little talk of this on the web because most people are not quite sure what the snap ring really does!
The snap ring does two things: 1.) it always keeps pressure on the V-seal behind the spindle so grease doesn't get out or let dirt in and 2.) it keeps the axle shaft from floating and prevents U-joints misalignment with the king pin steering axis which would cause binding when steering when in 4wd.
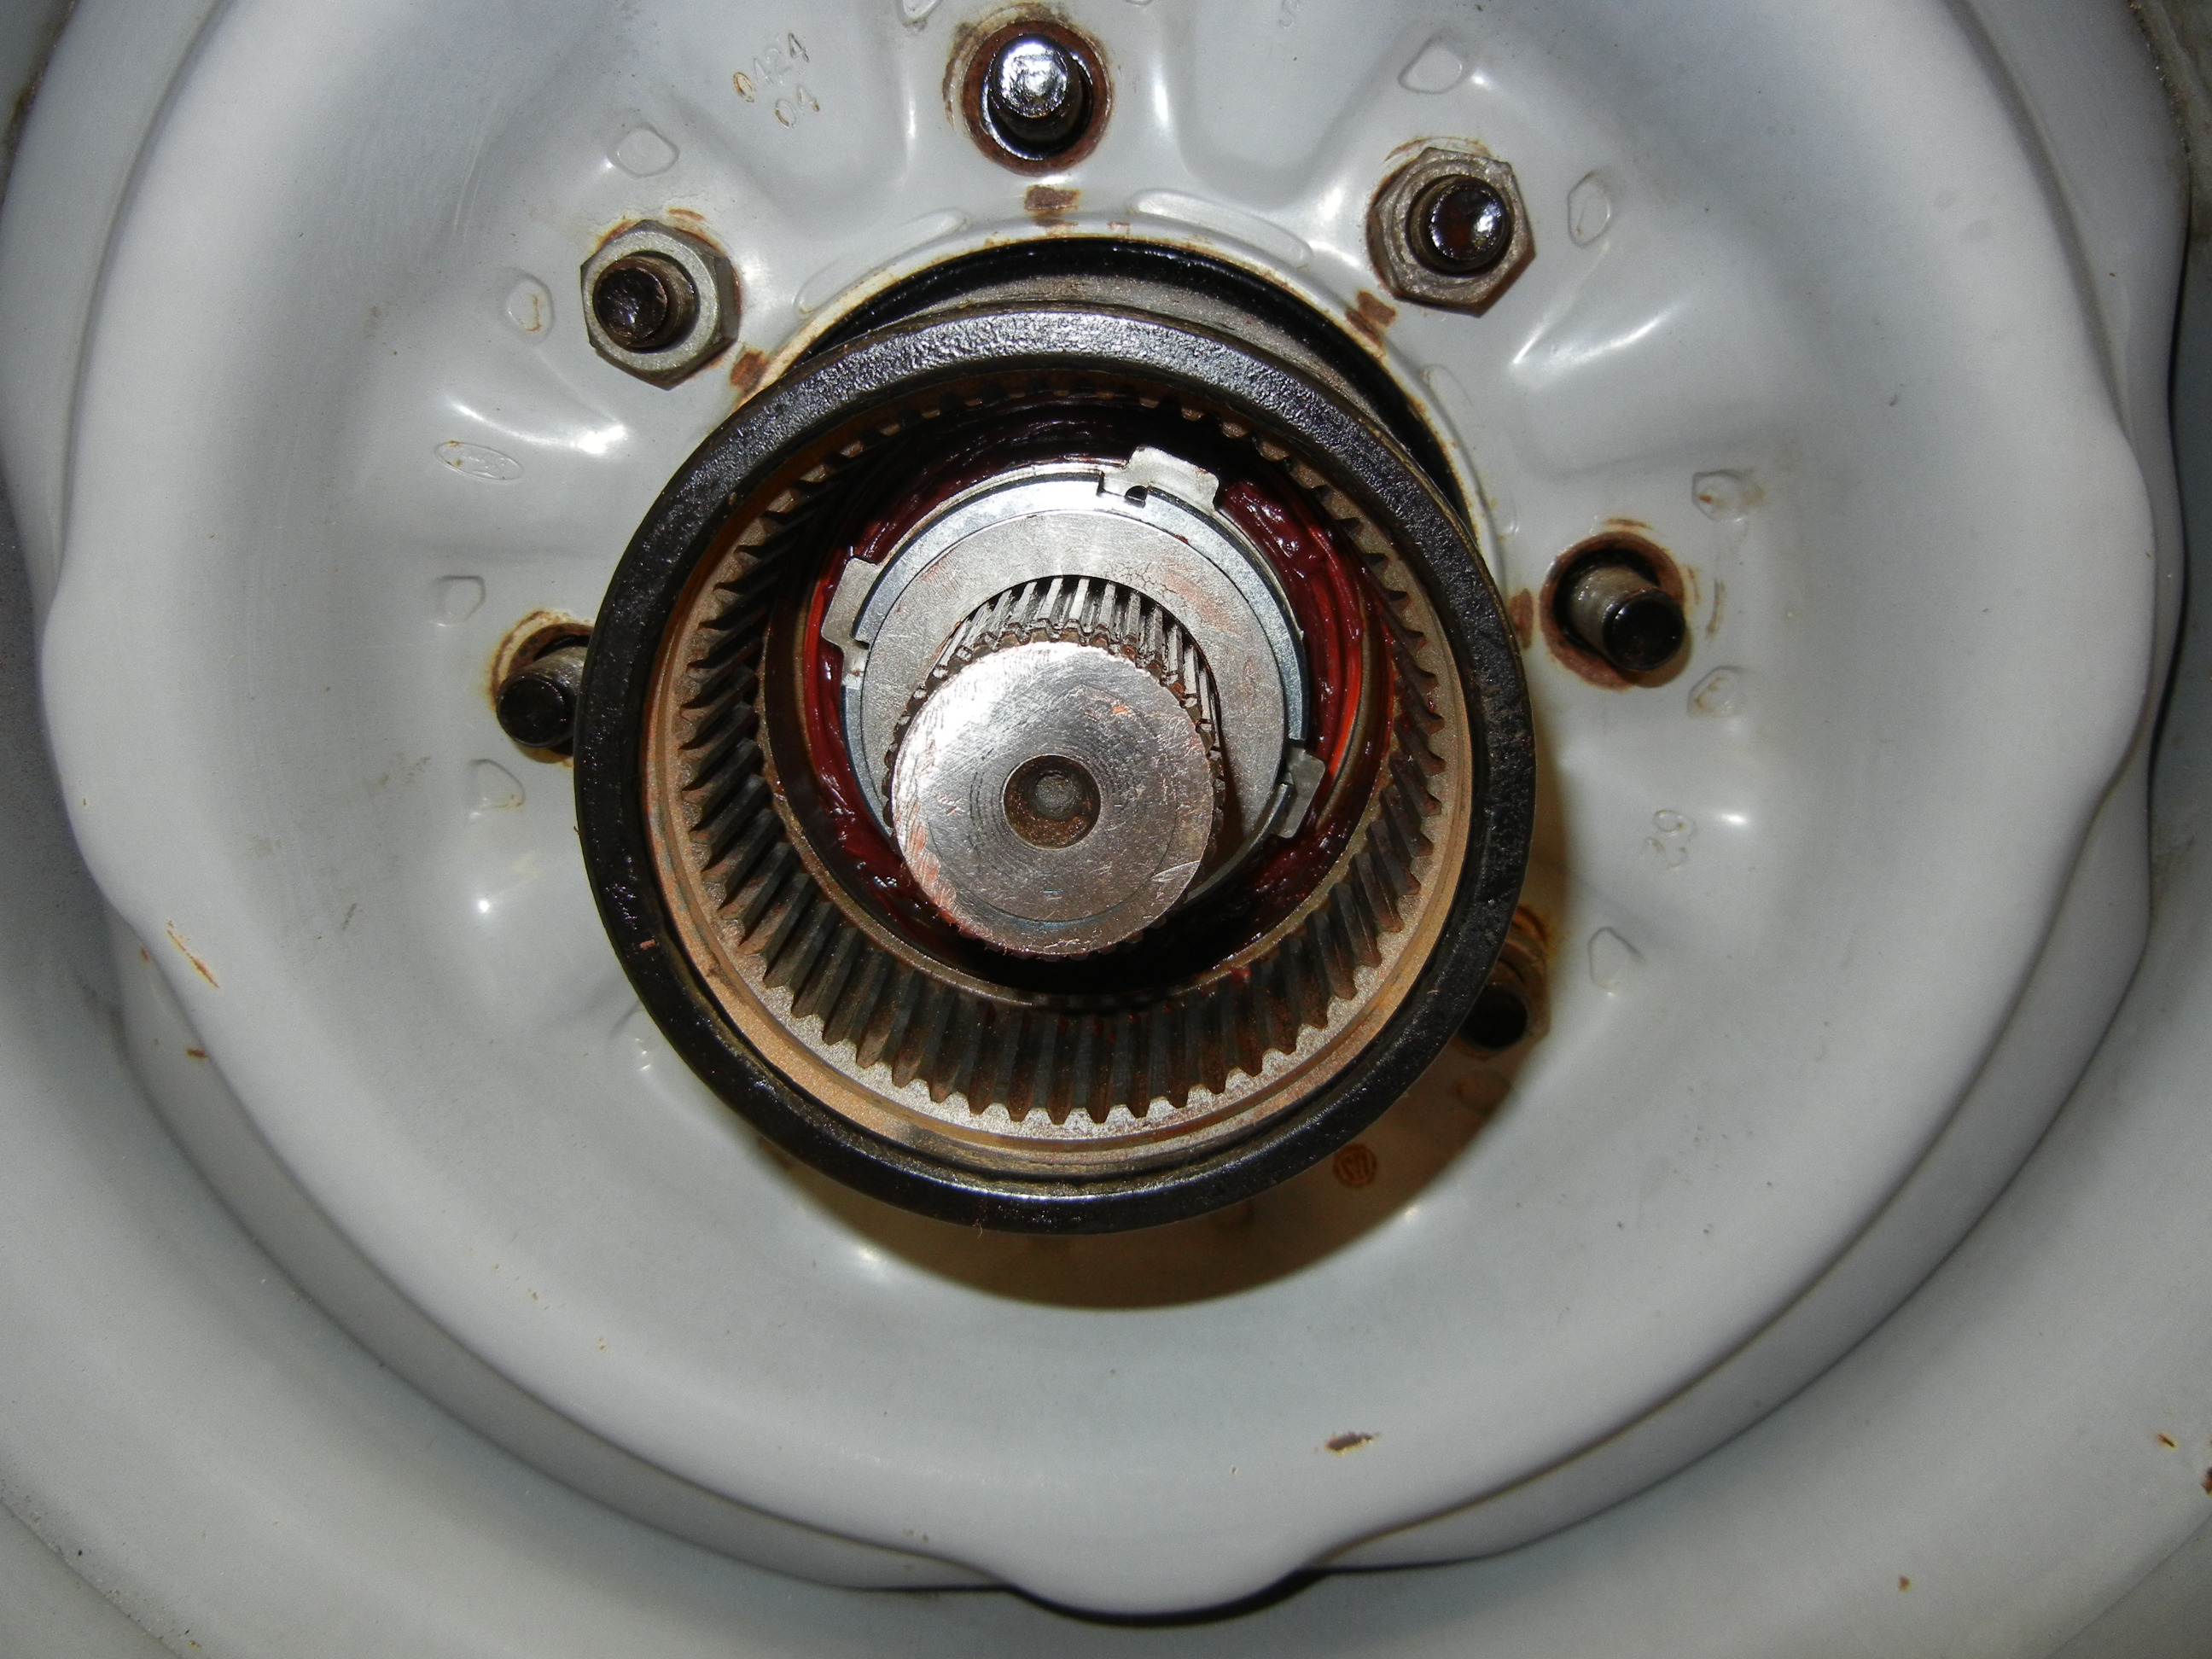
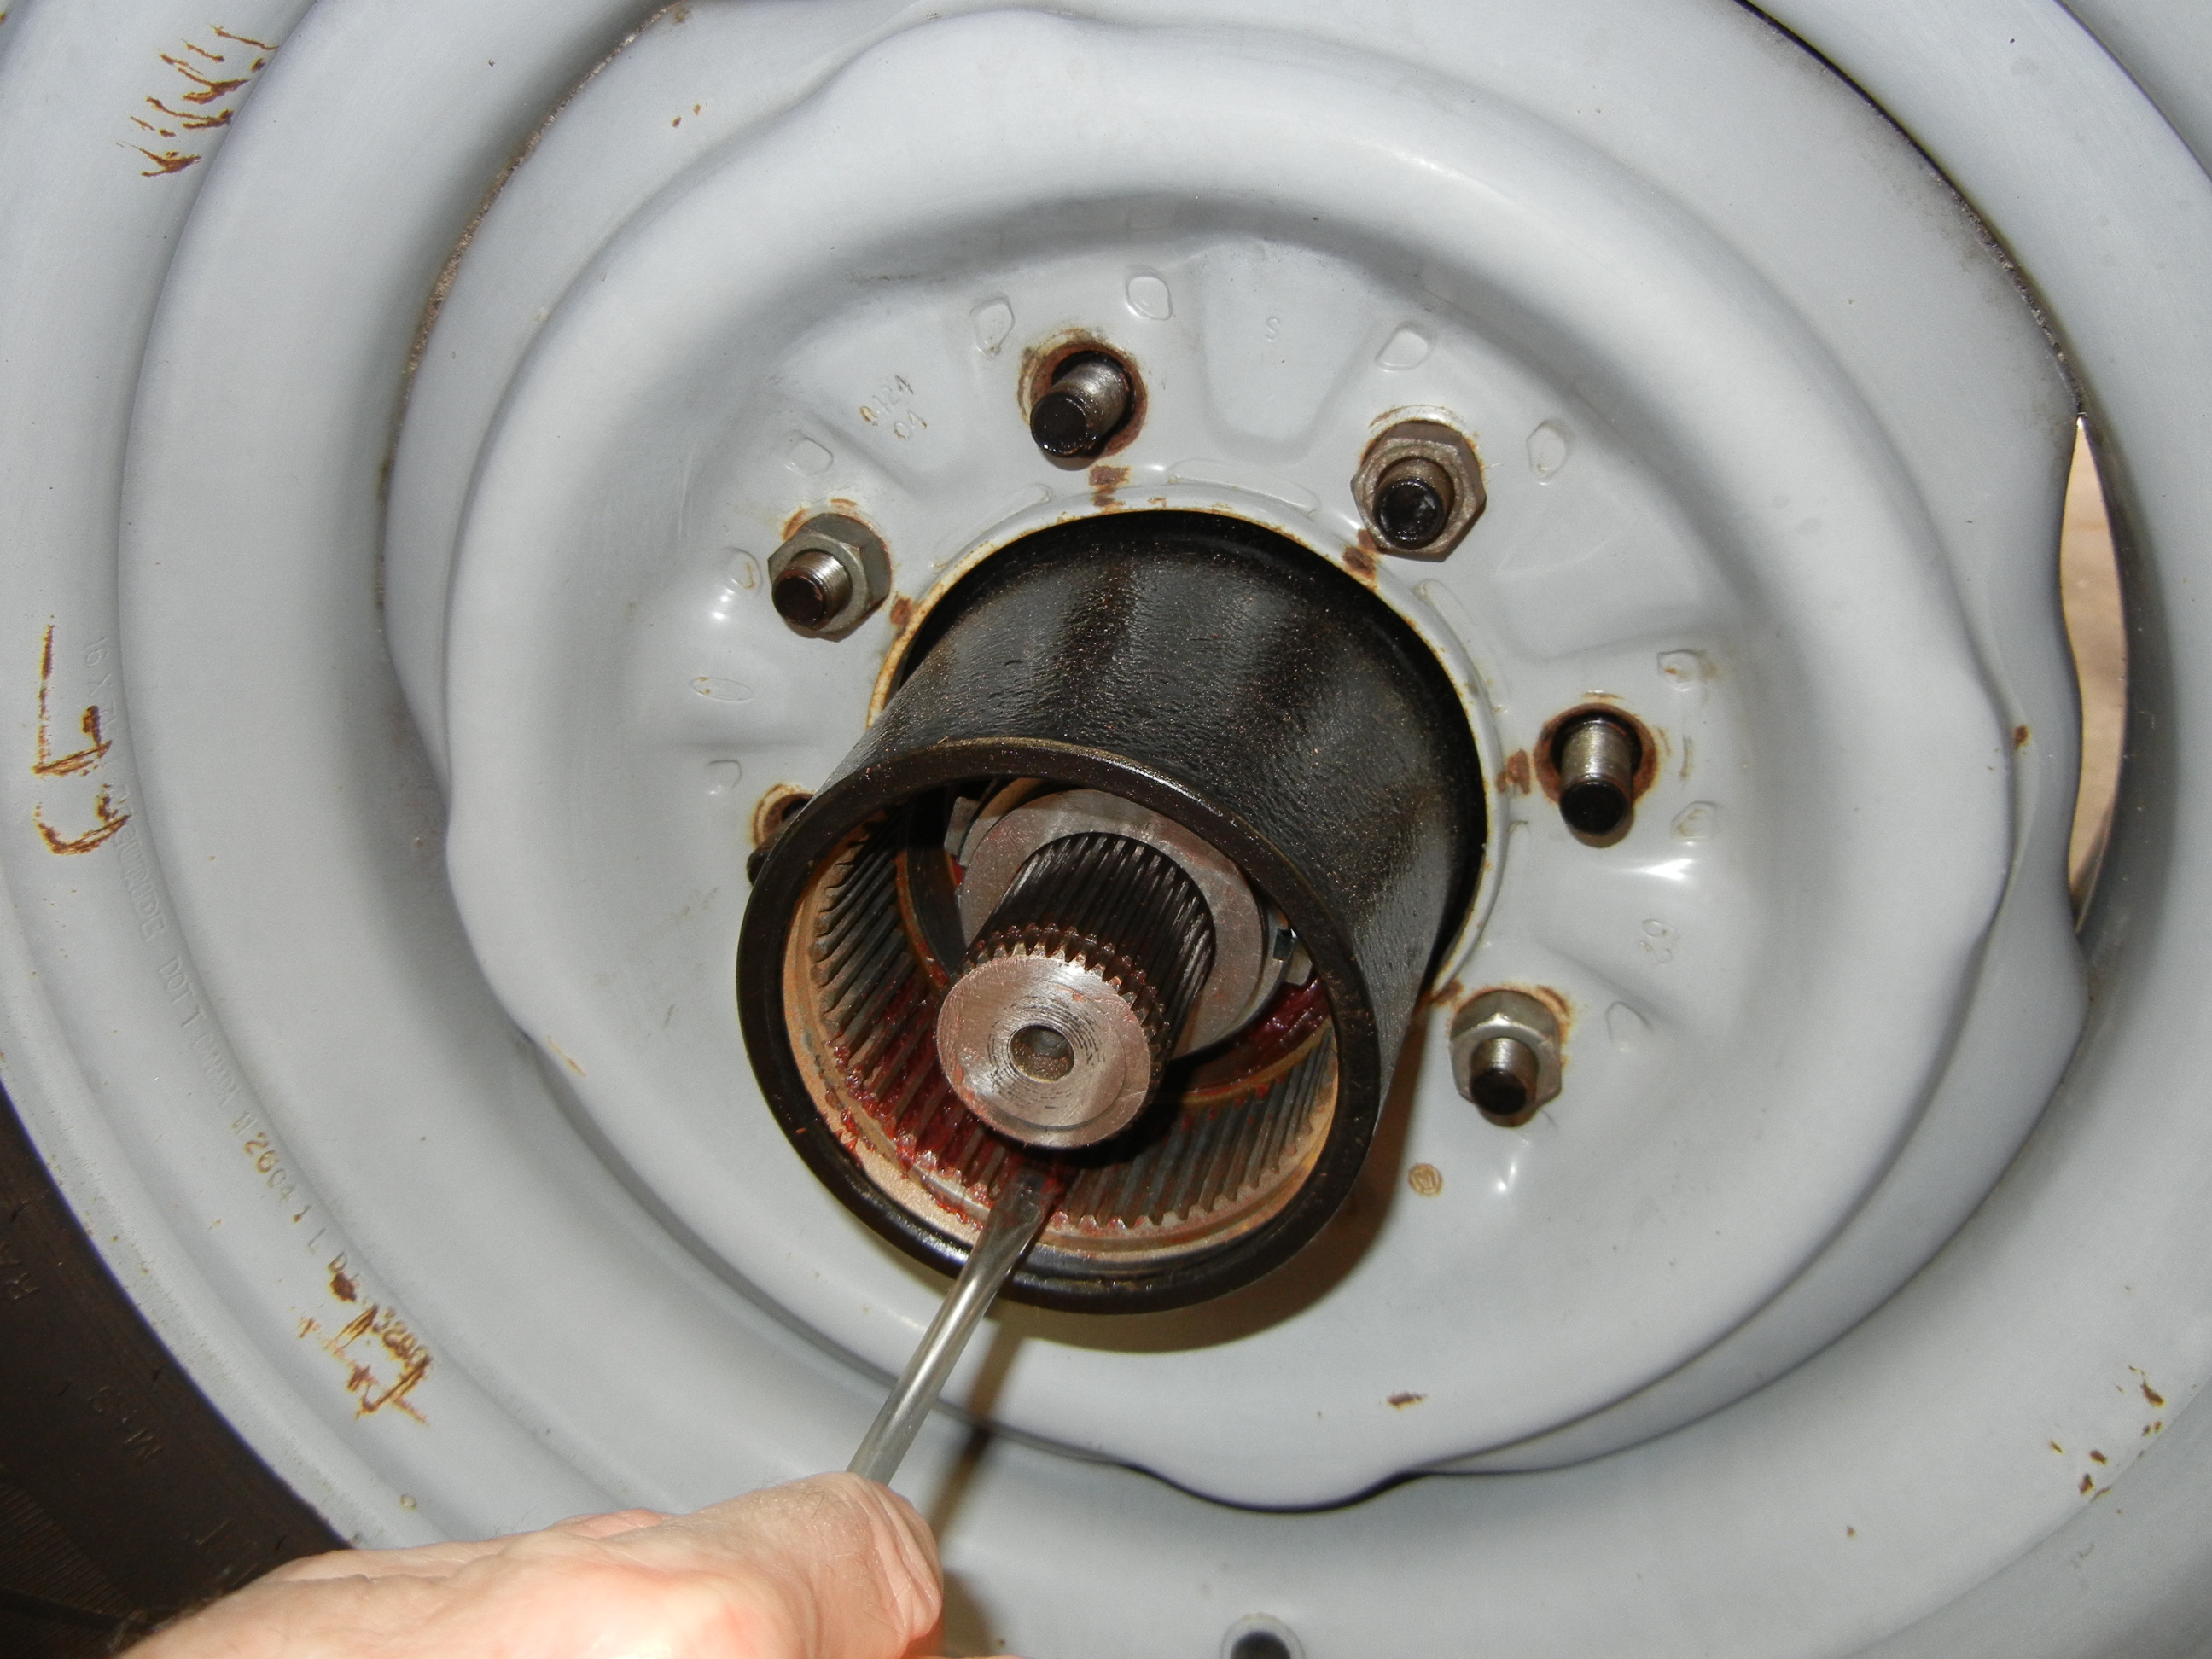
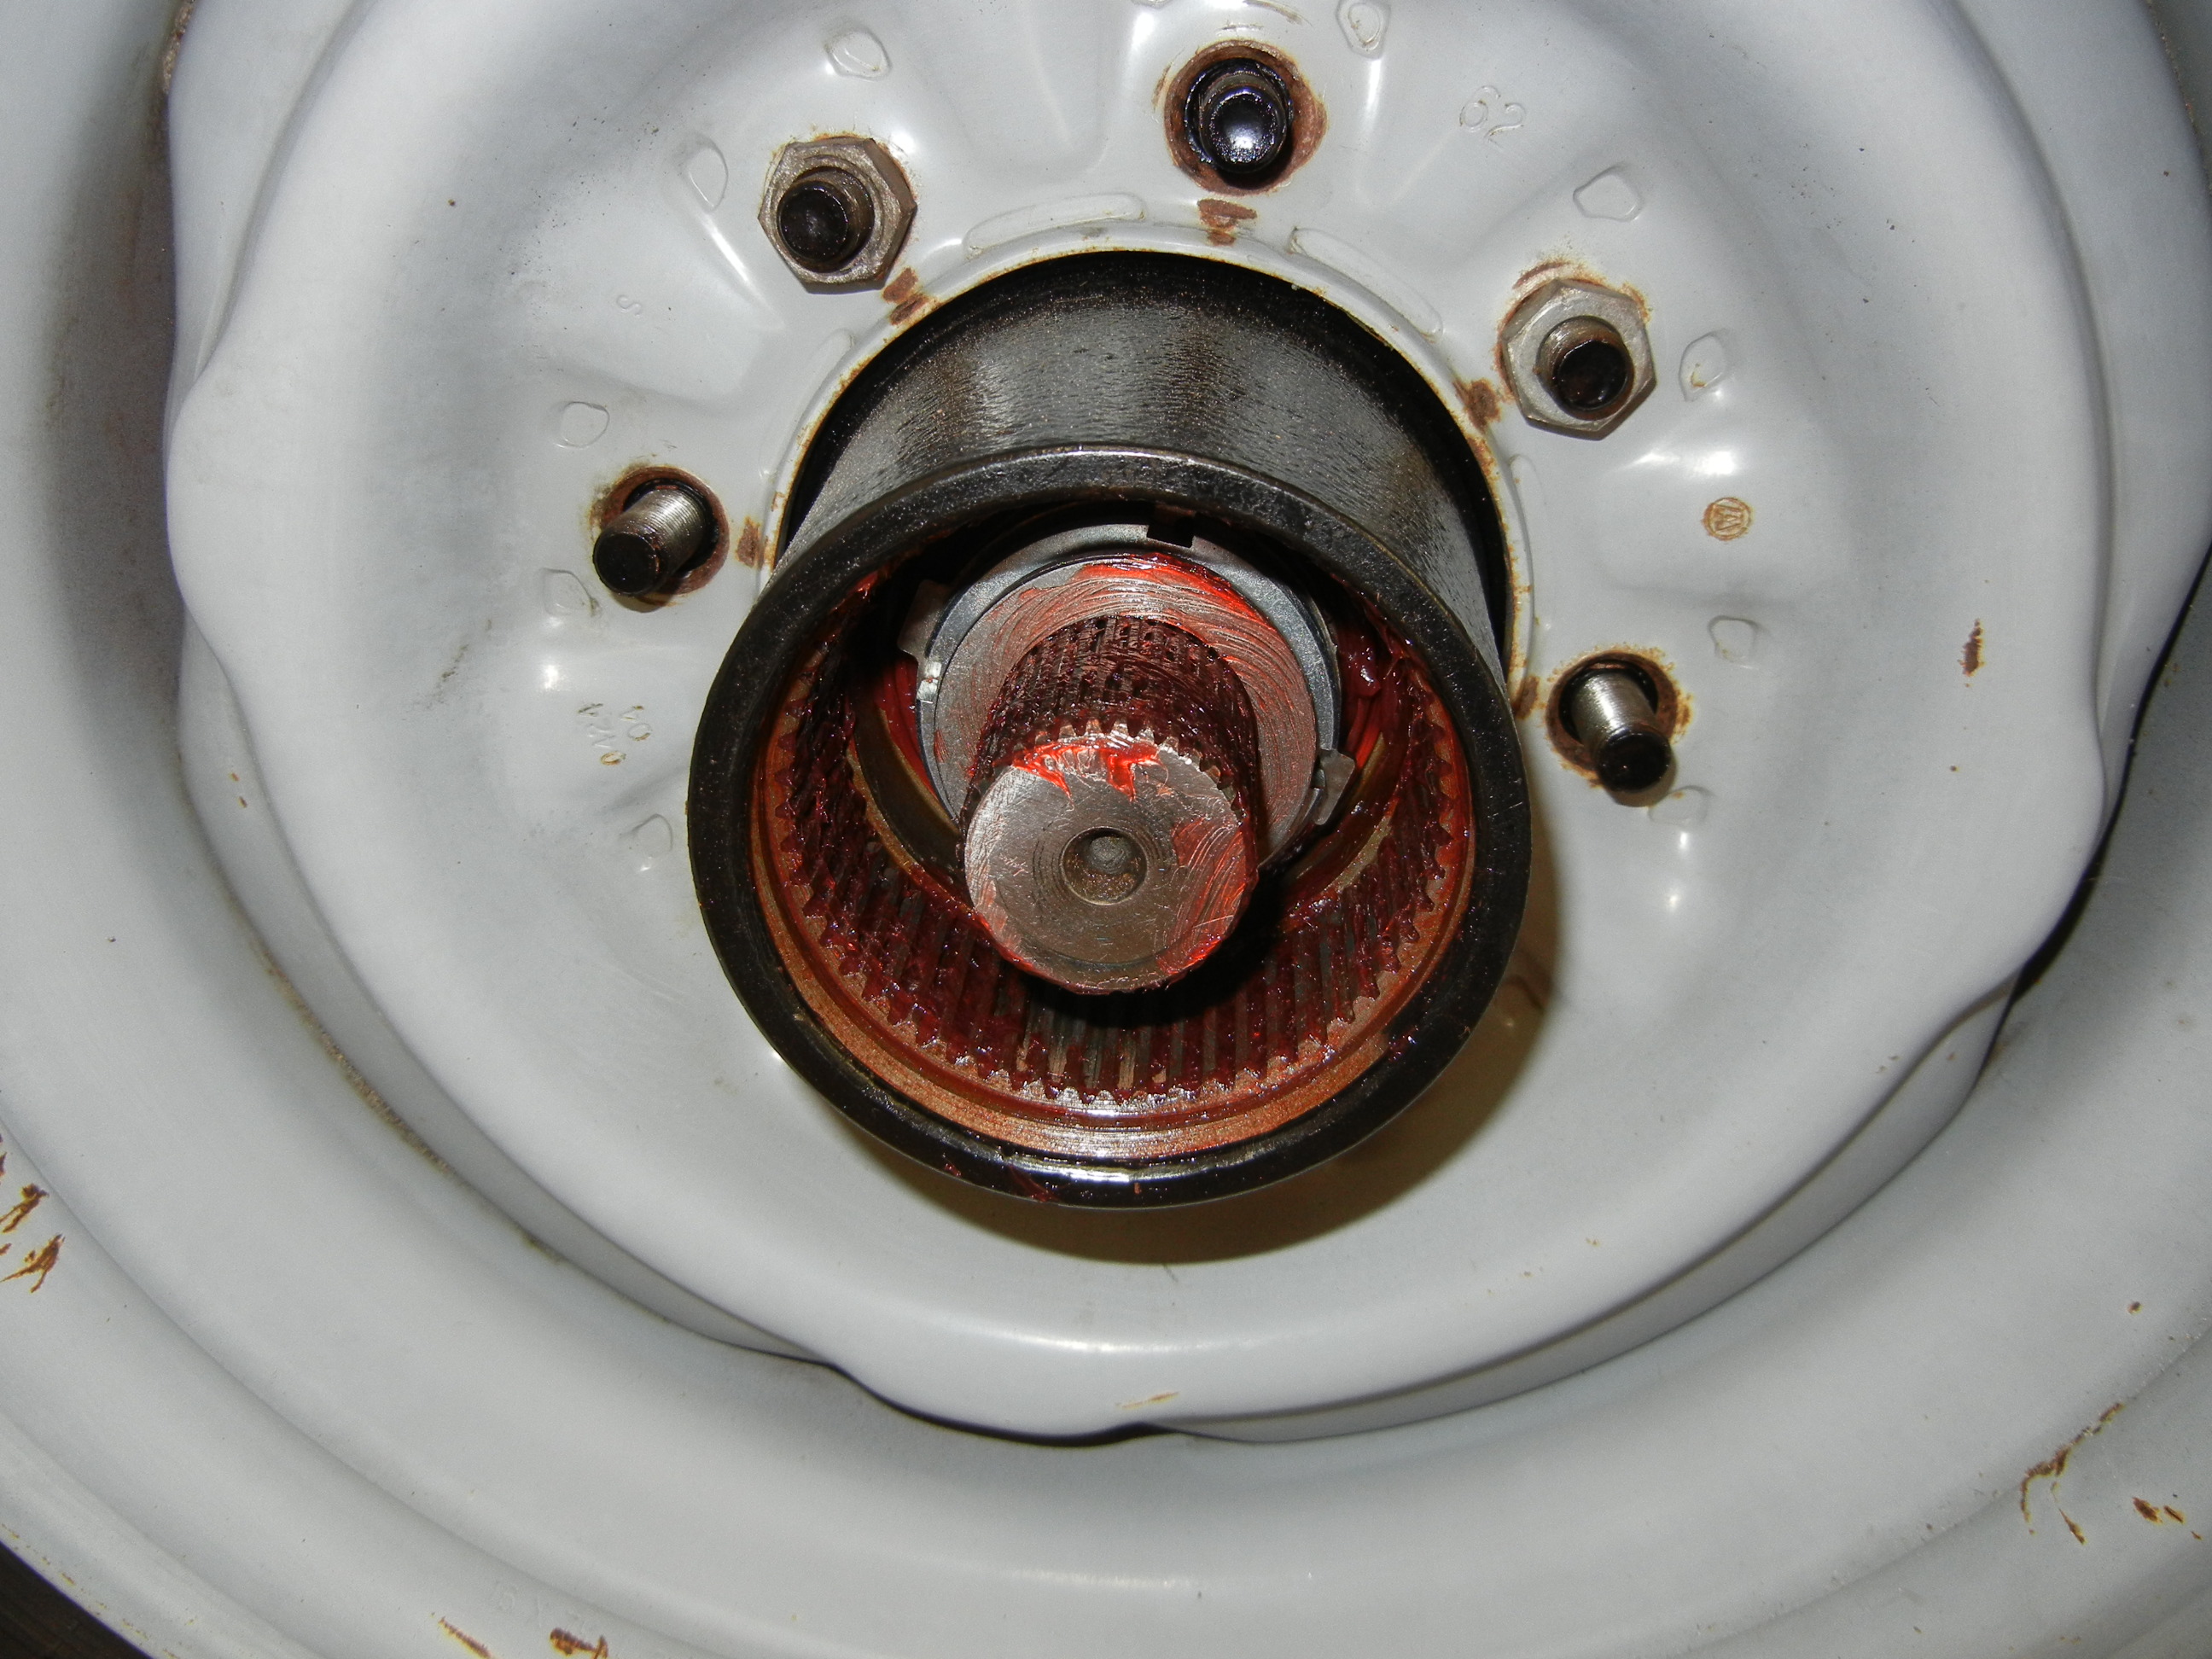
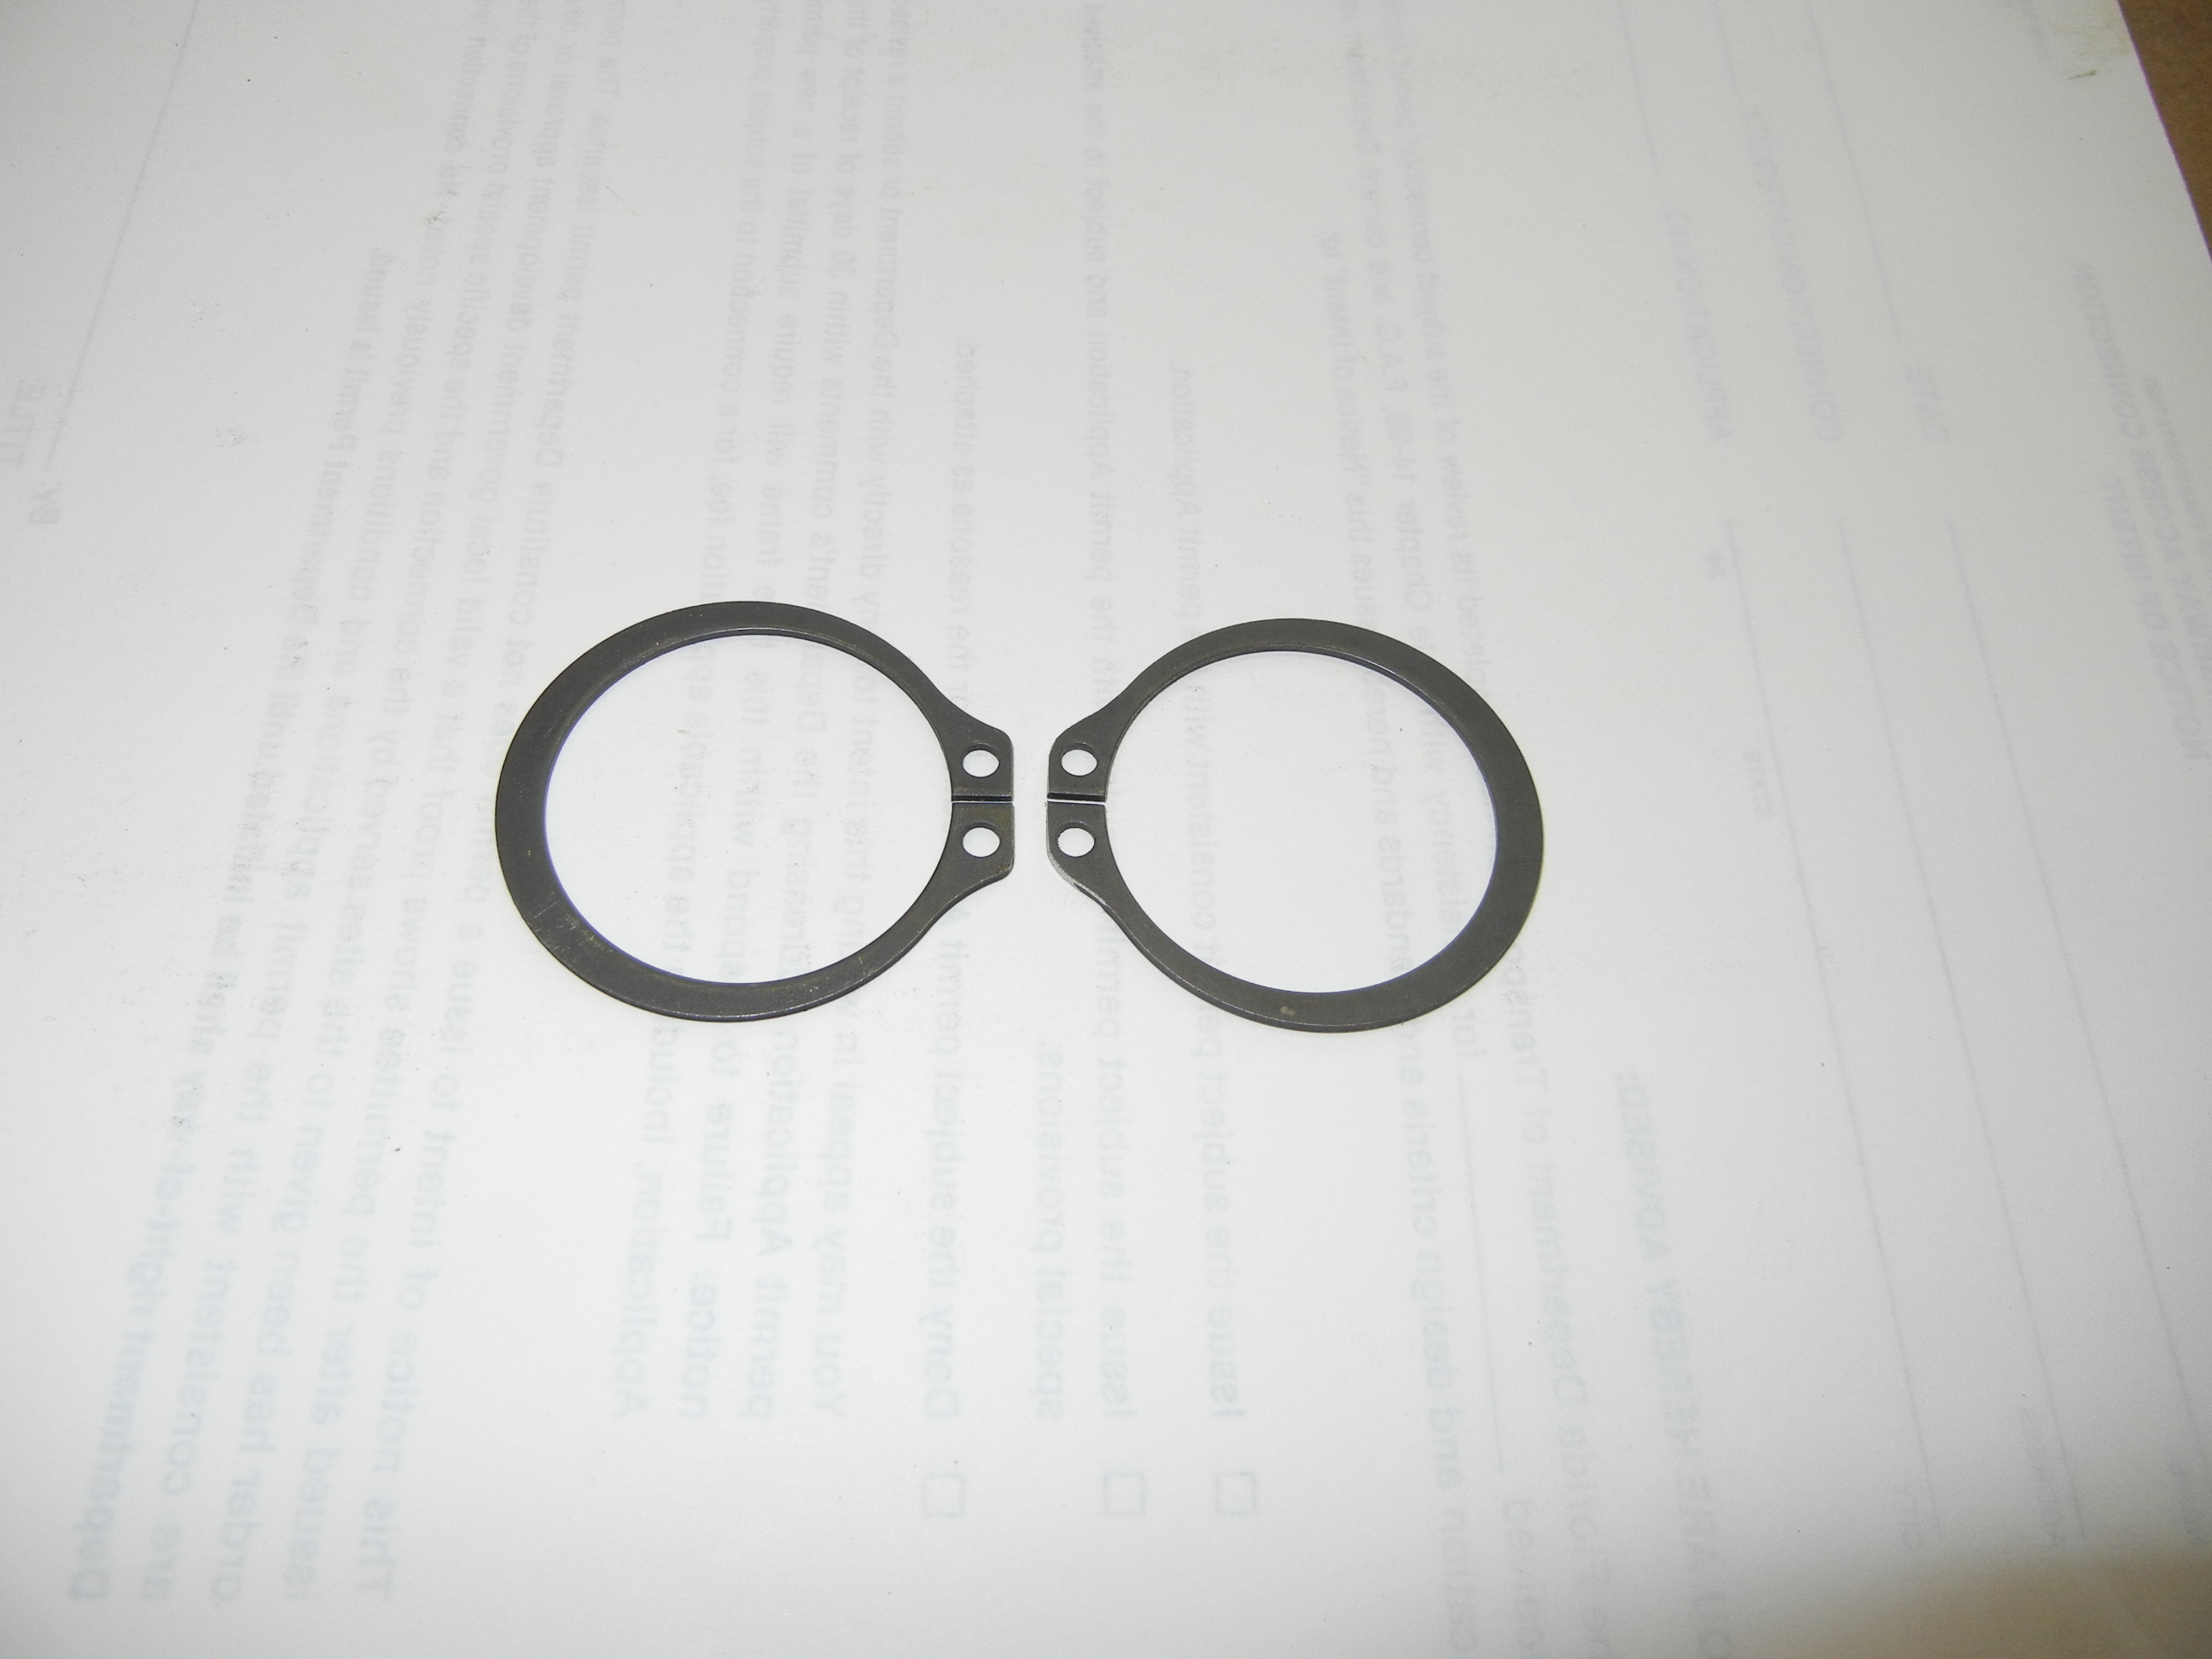
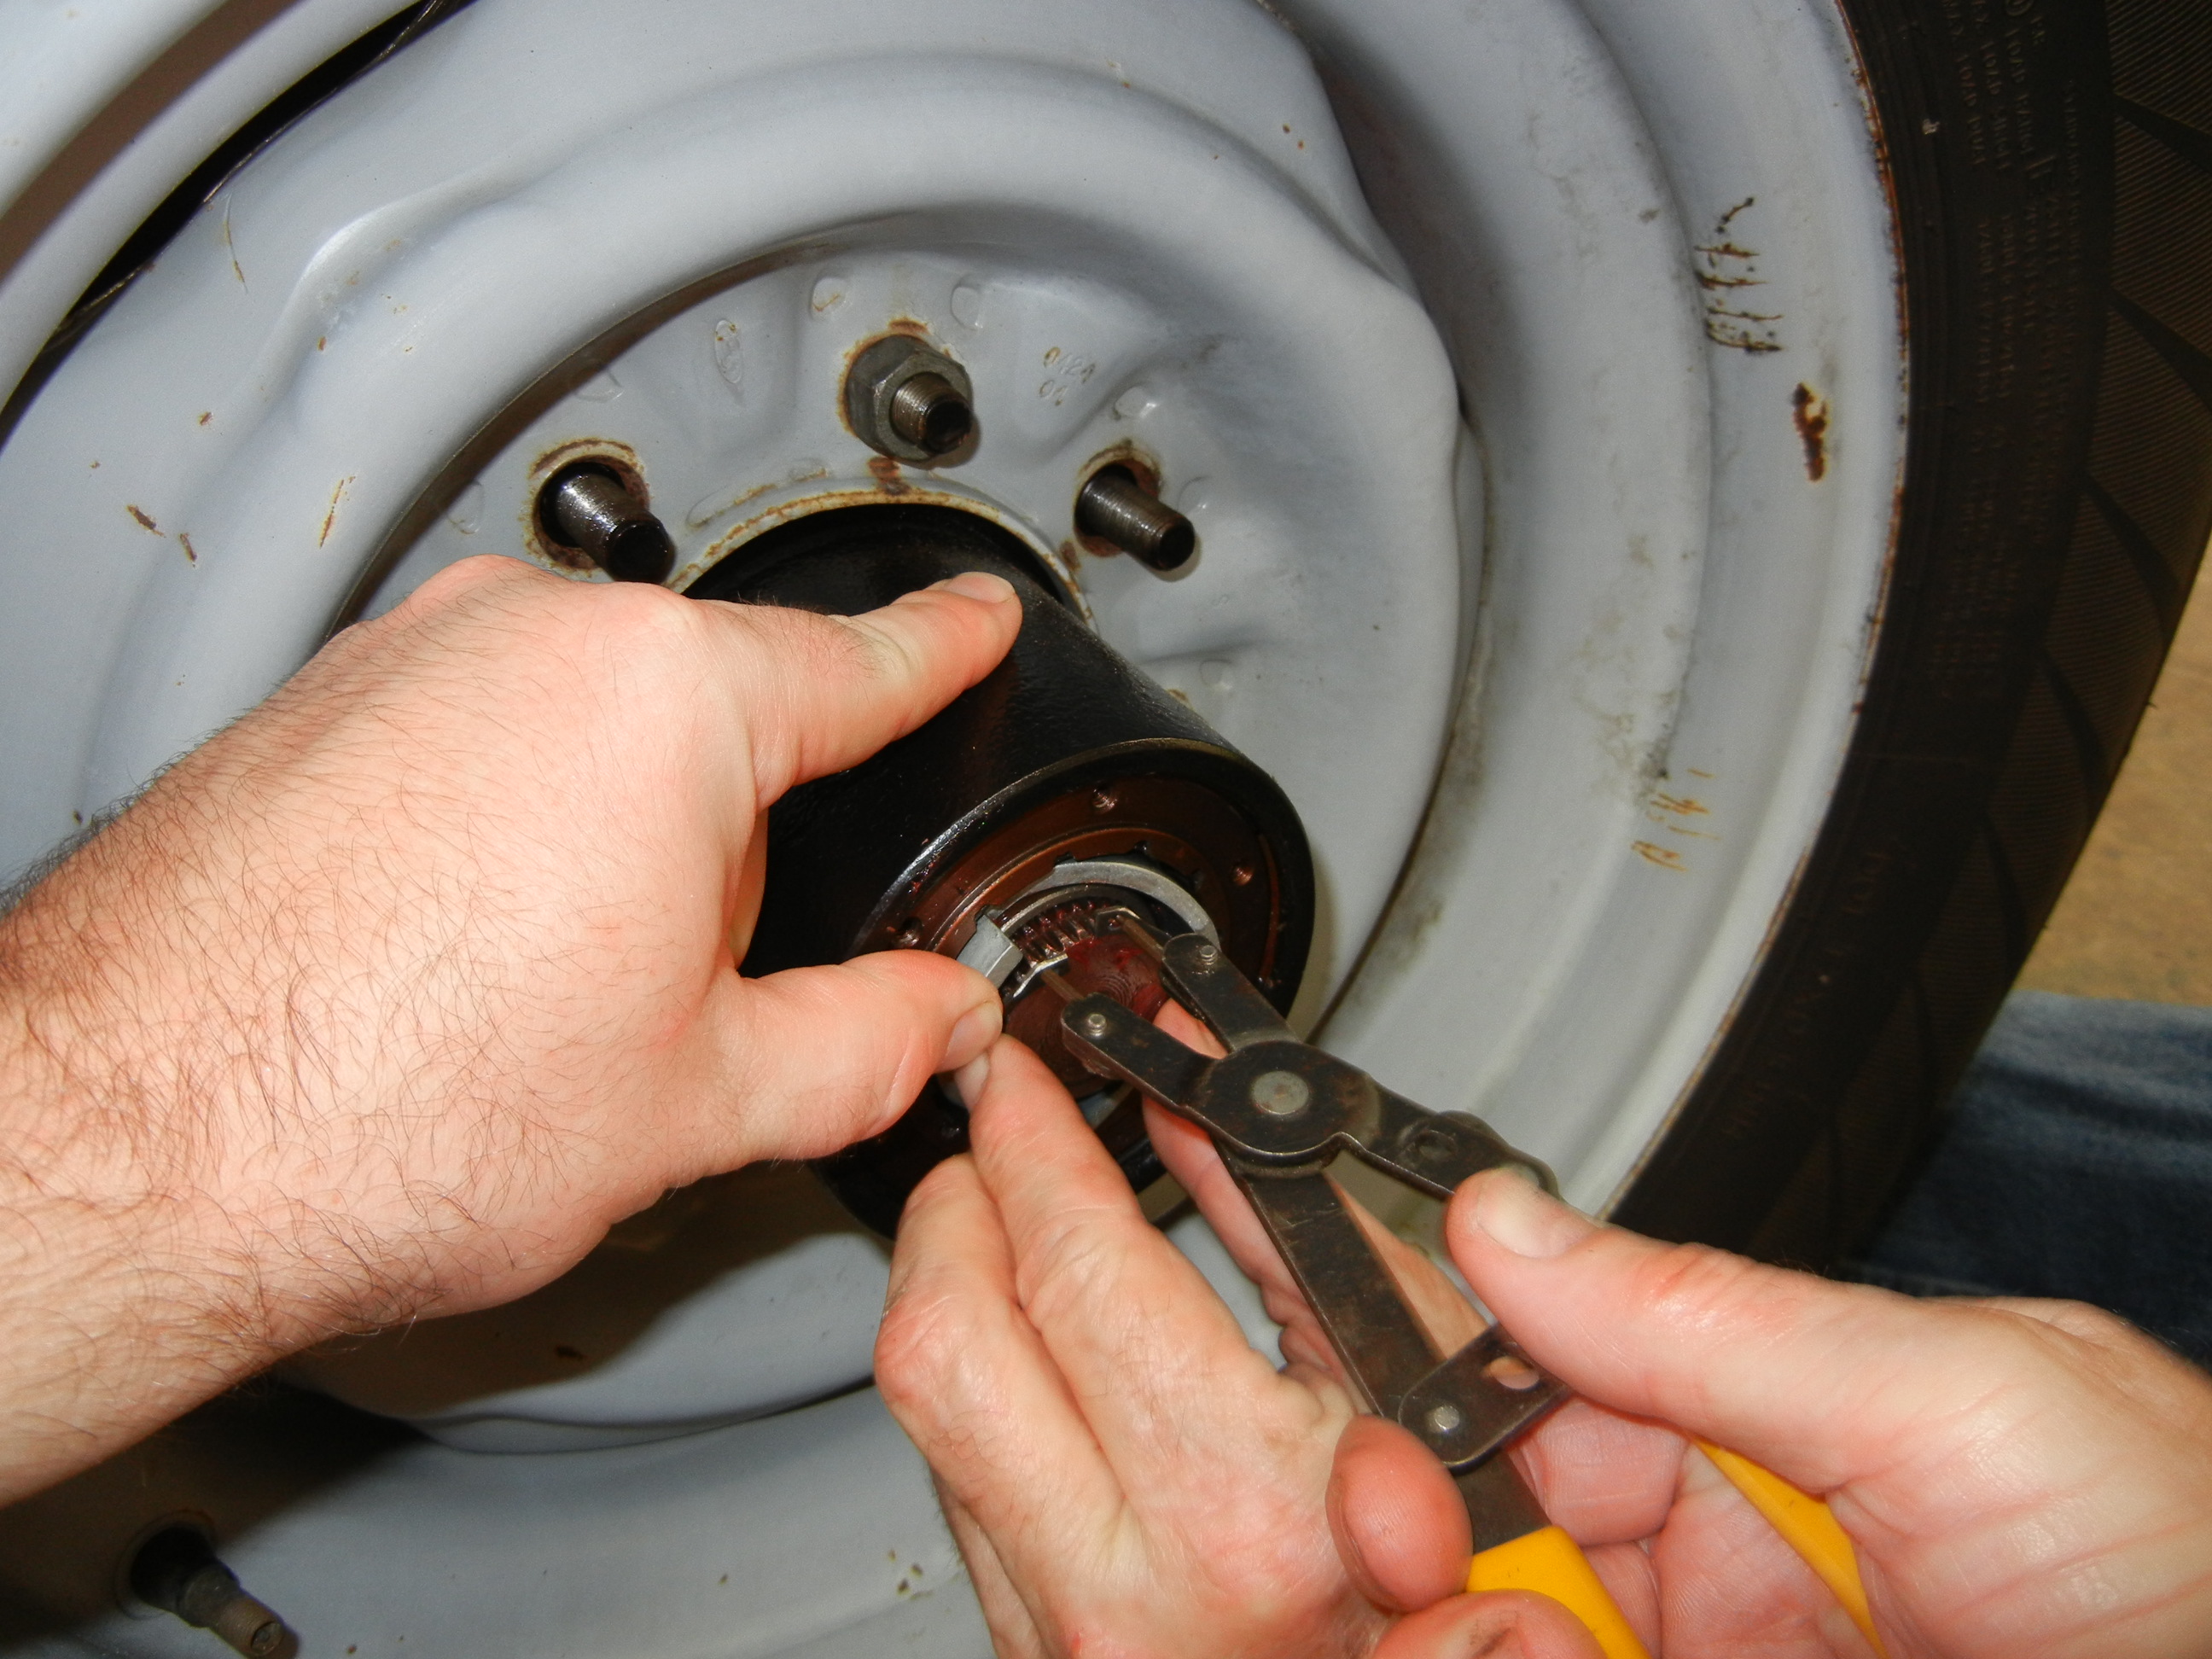
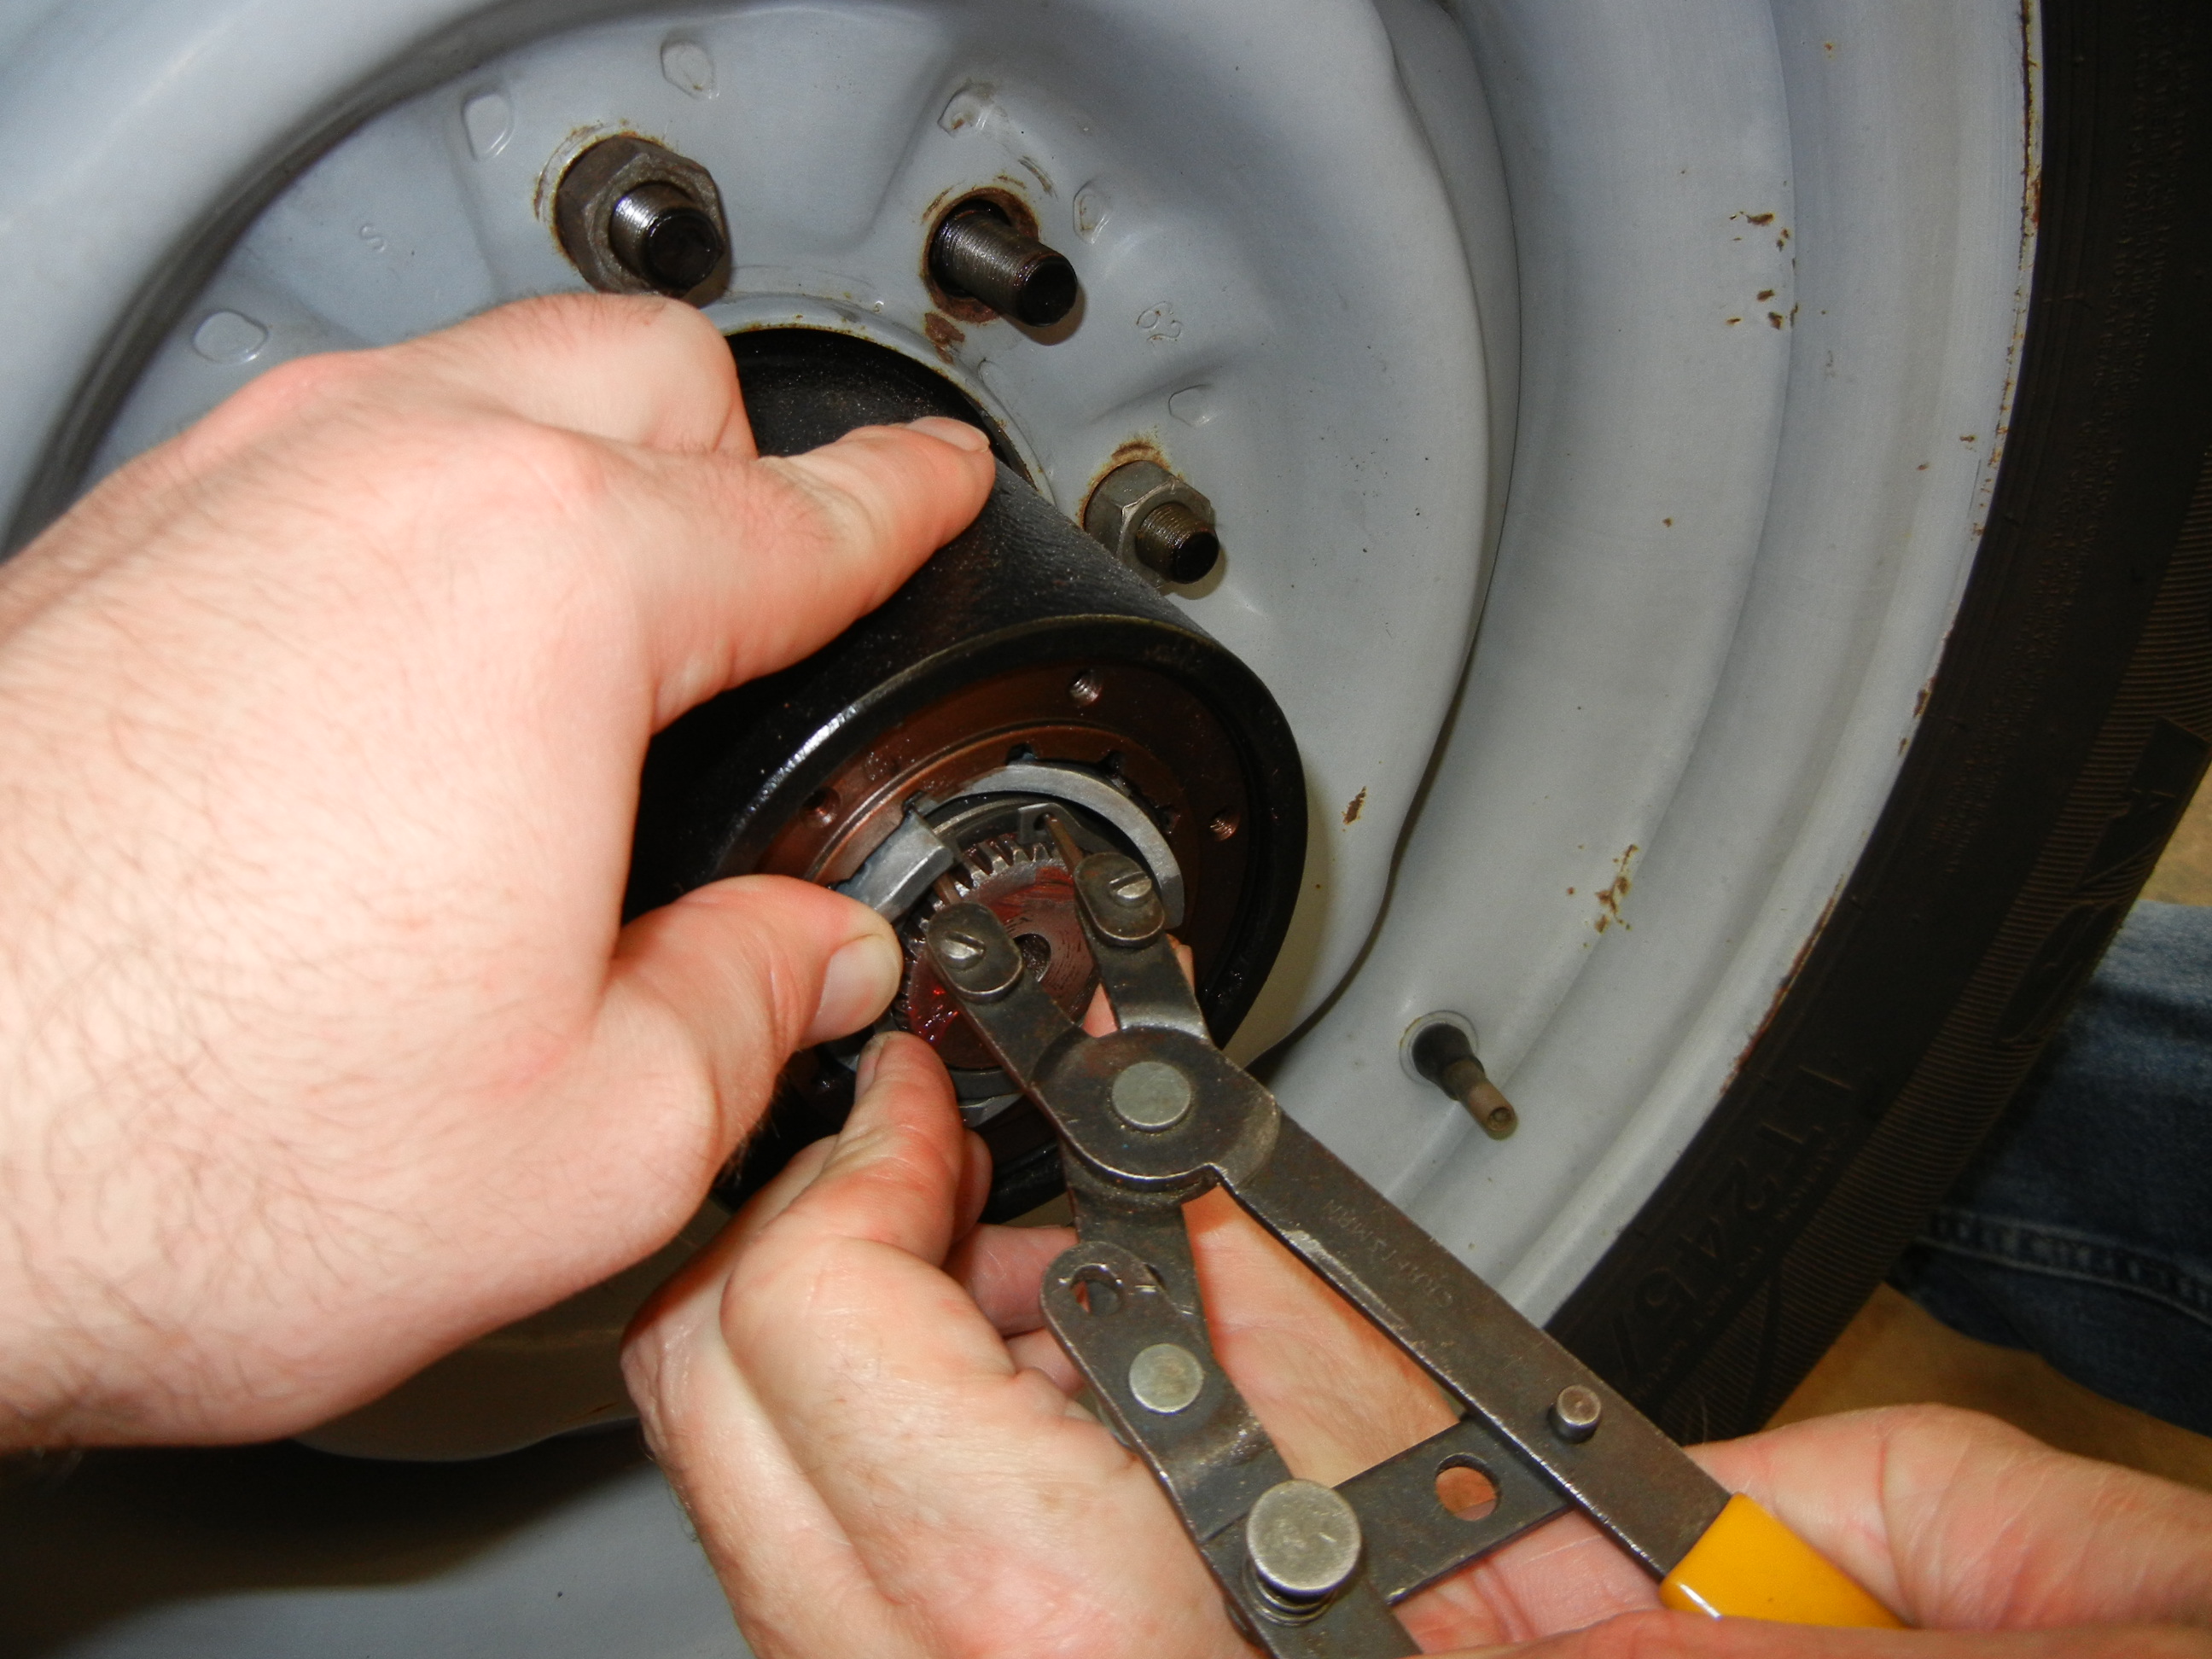
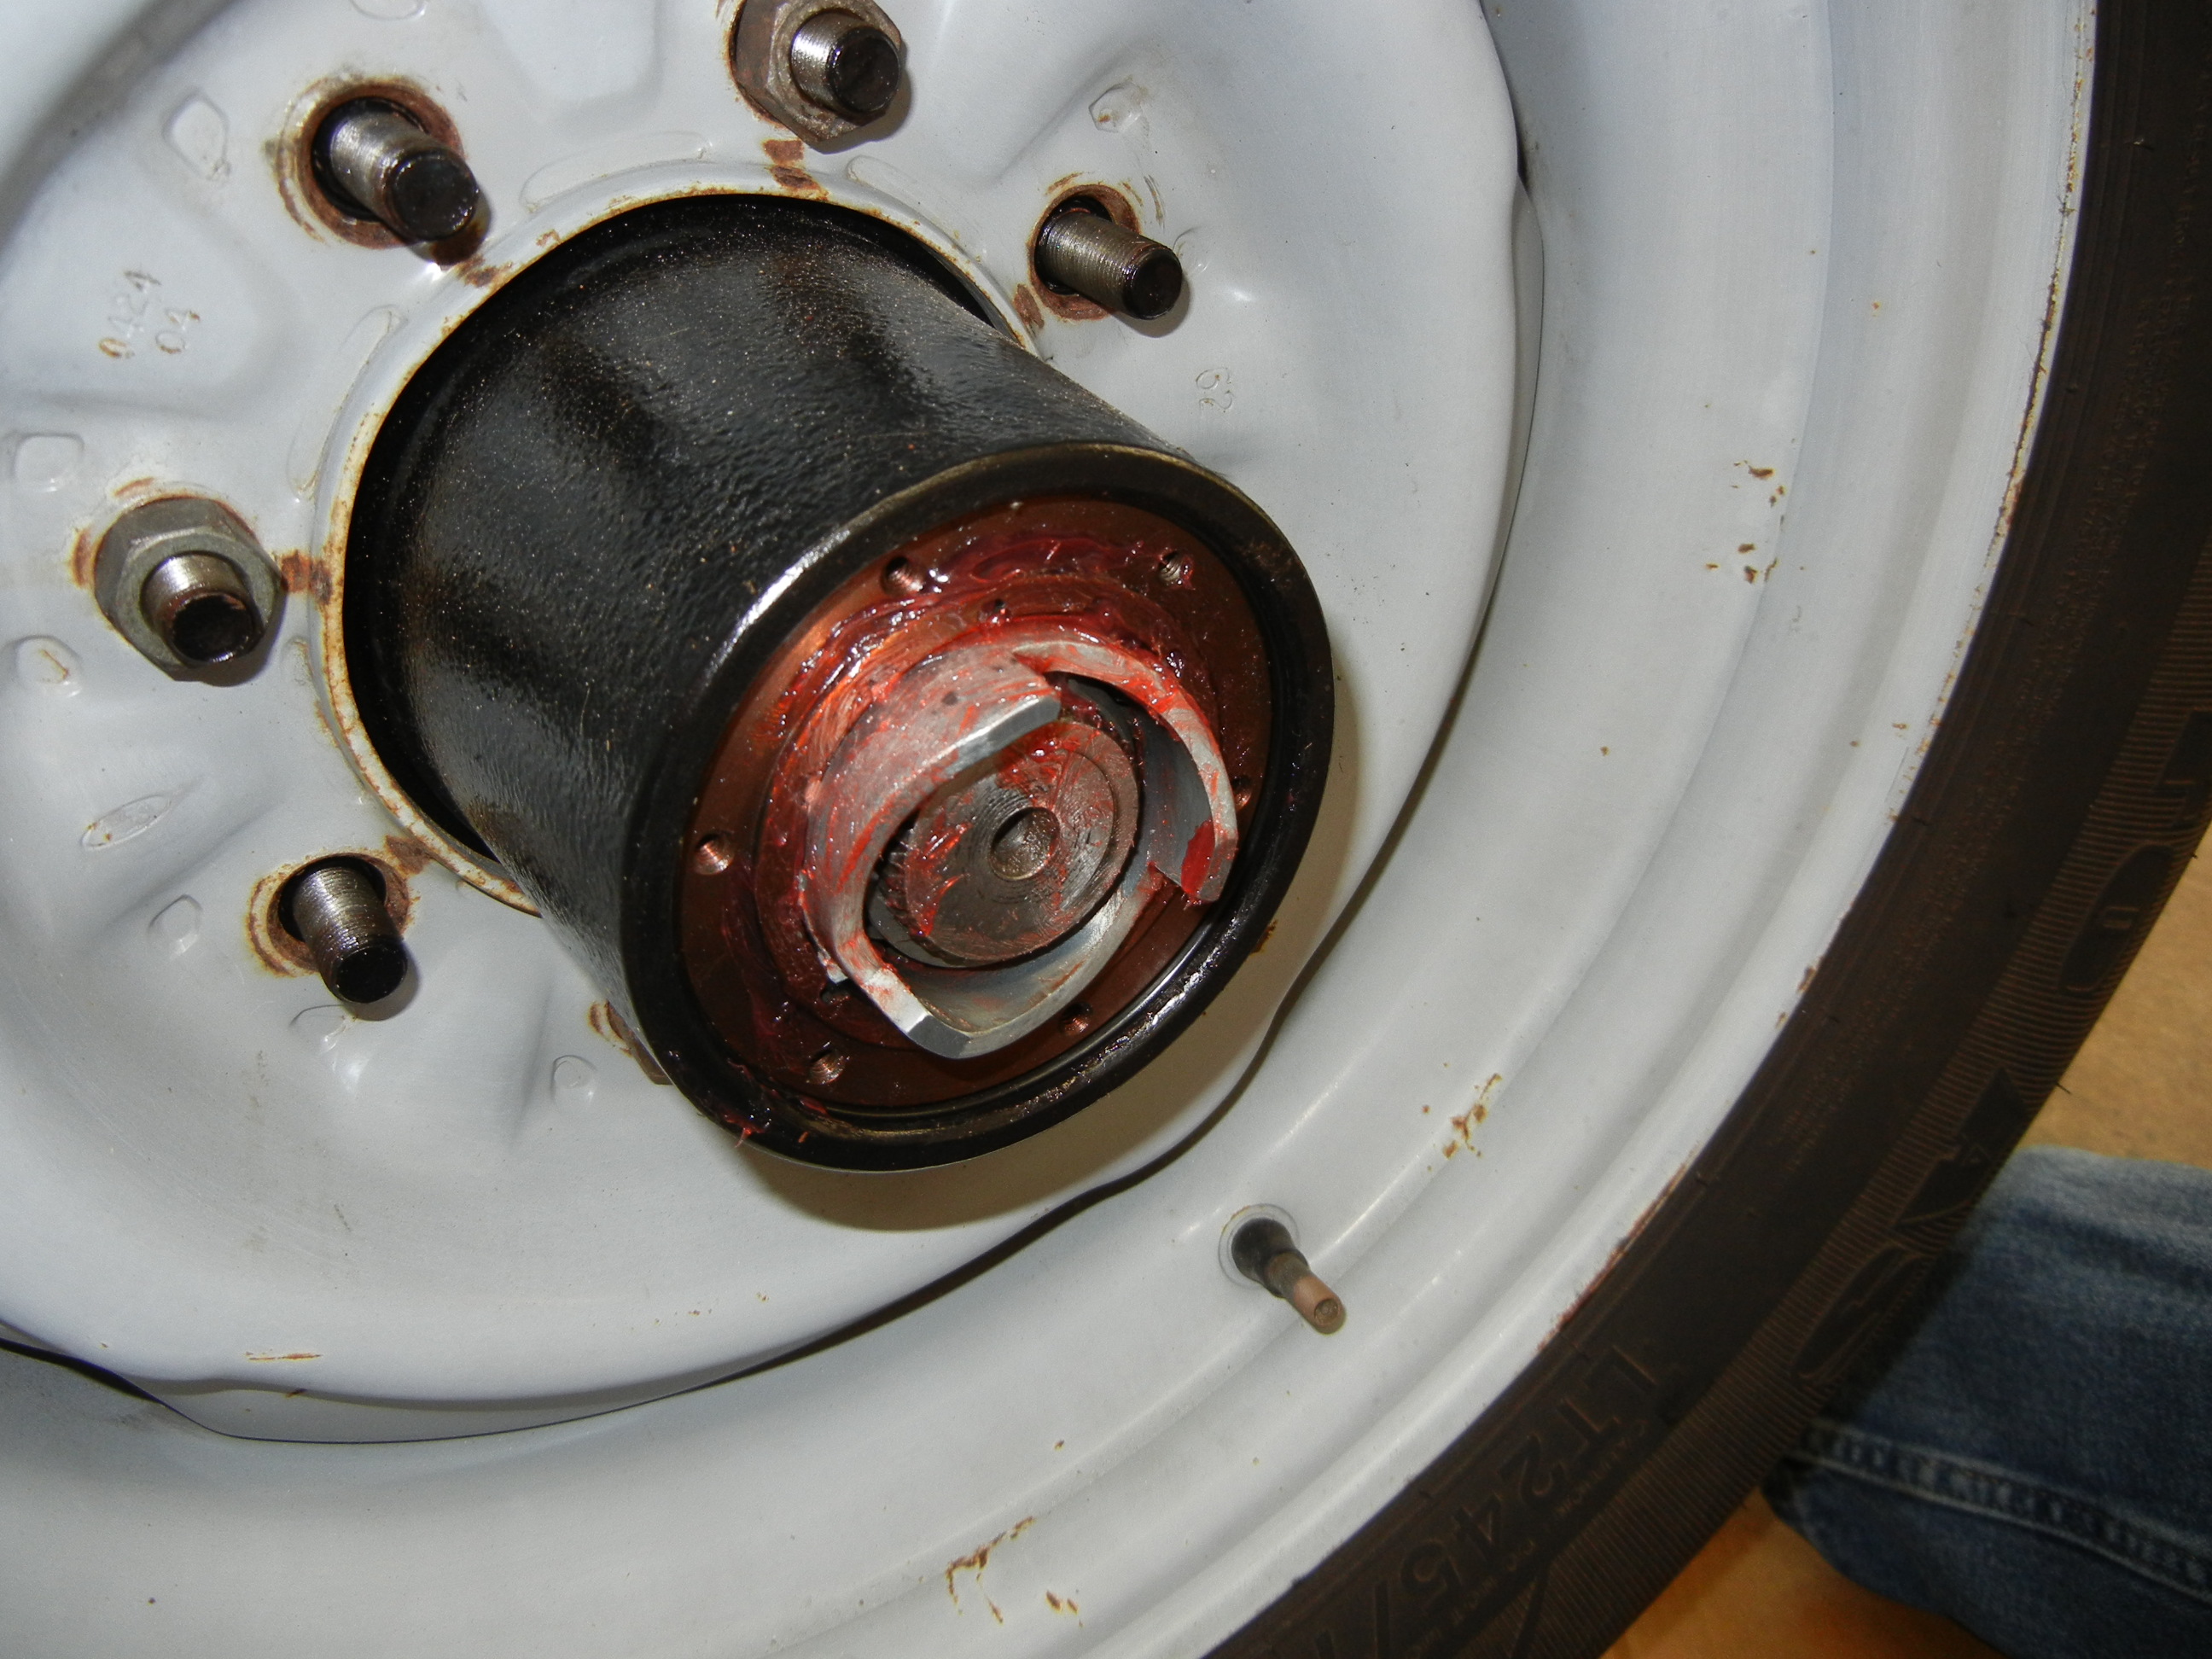
Here are the final assembly shots. We installed the components dry first to see how much shim we needed. Luckily both sides used the same number of shims. We also decided to use two snap rings since the groove in the stub shaft was wide enough. The only setback here were the edges of the snap ring had to be shaved slightly to fit inside the Mile Marker lockout assembly. Other than that it all went together real smooth!
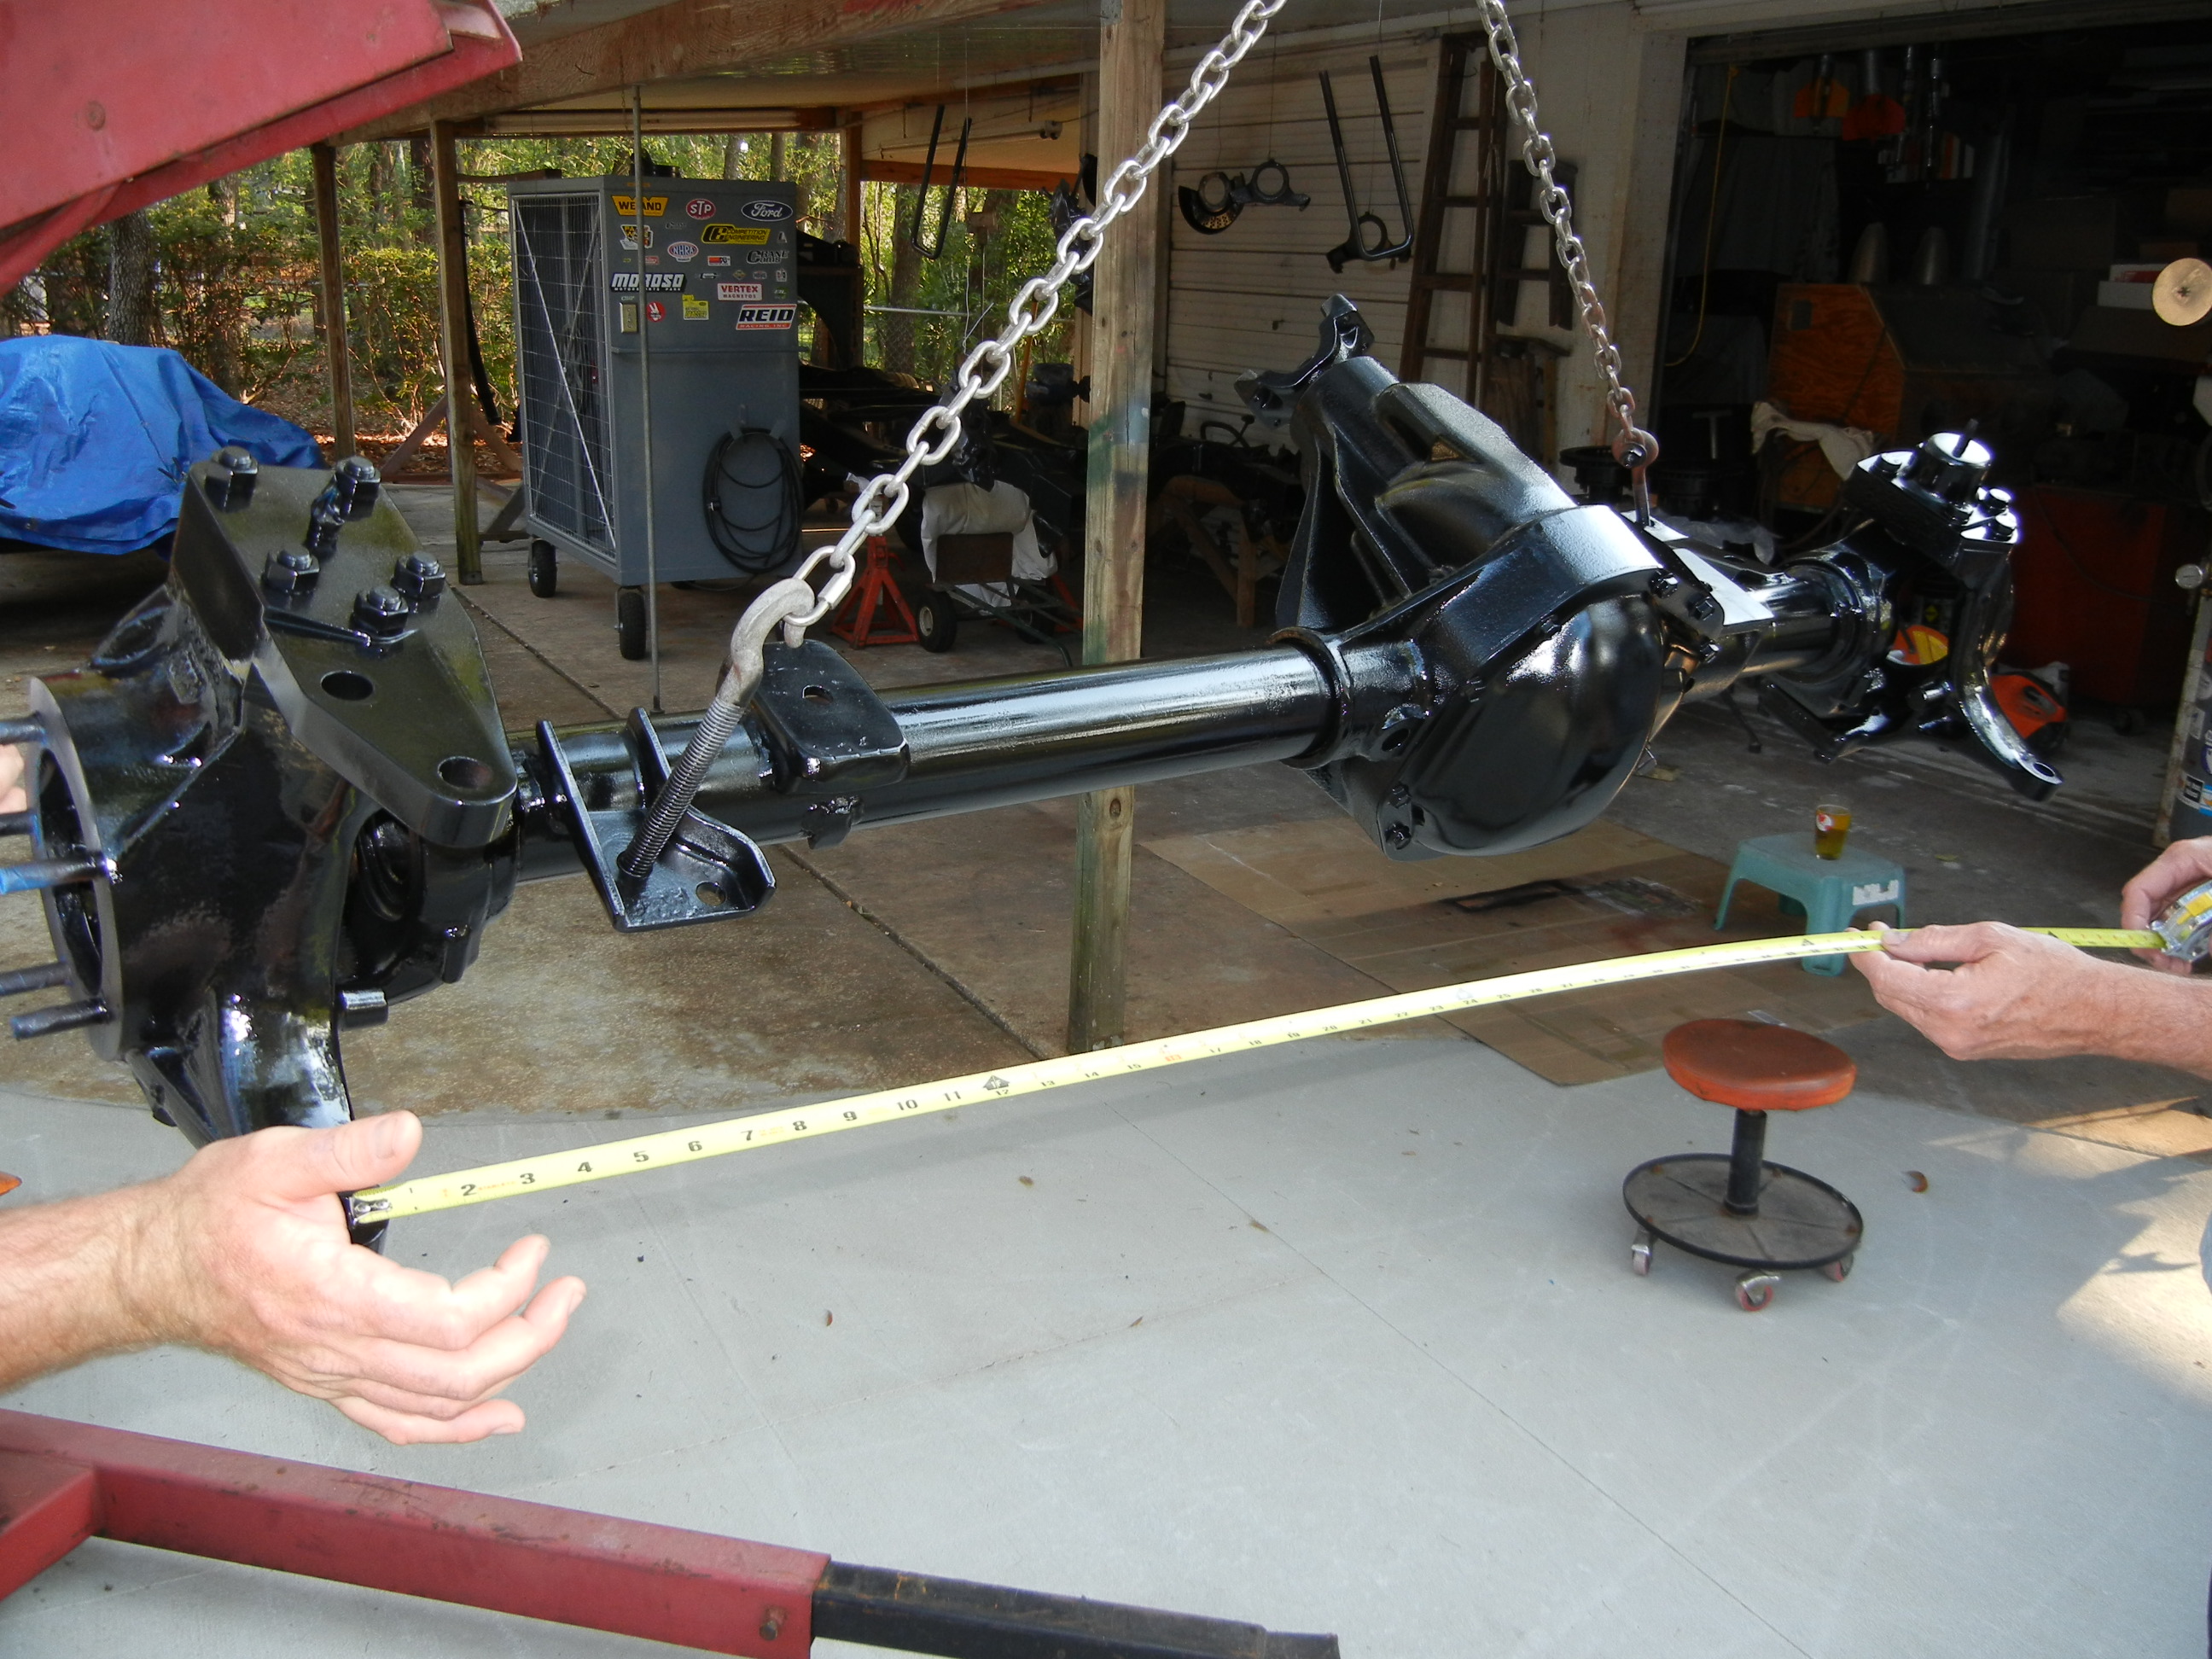
This concludes the Dana 60 axle rebuild. The only things still remaining are to fill it with gear oil and grease the king pin bearings/bushings.