This page will be very similar to our F-350 rear disc brake page found here
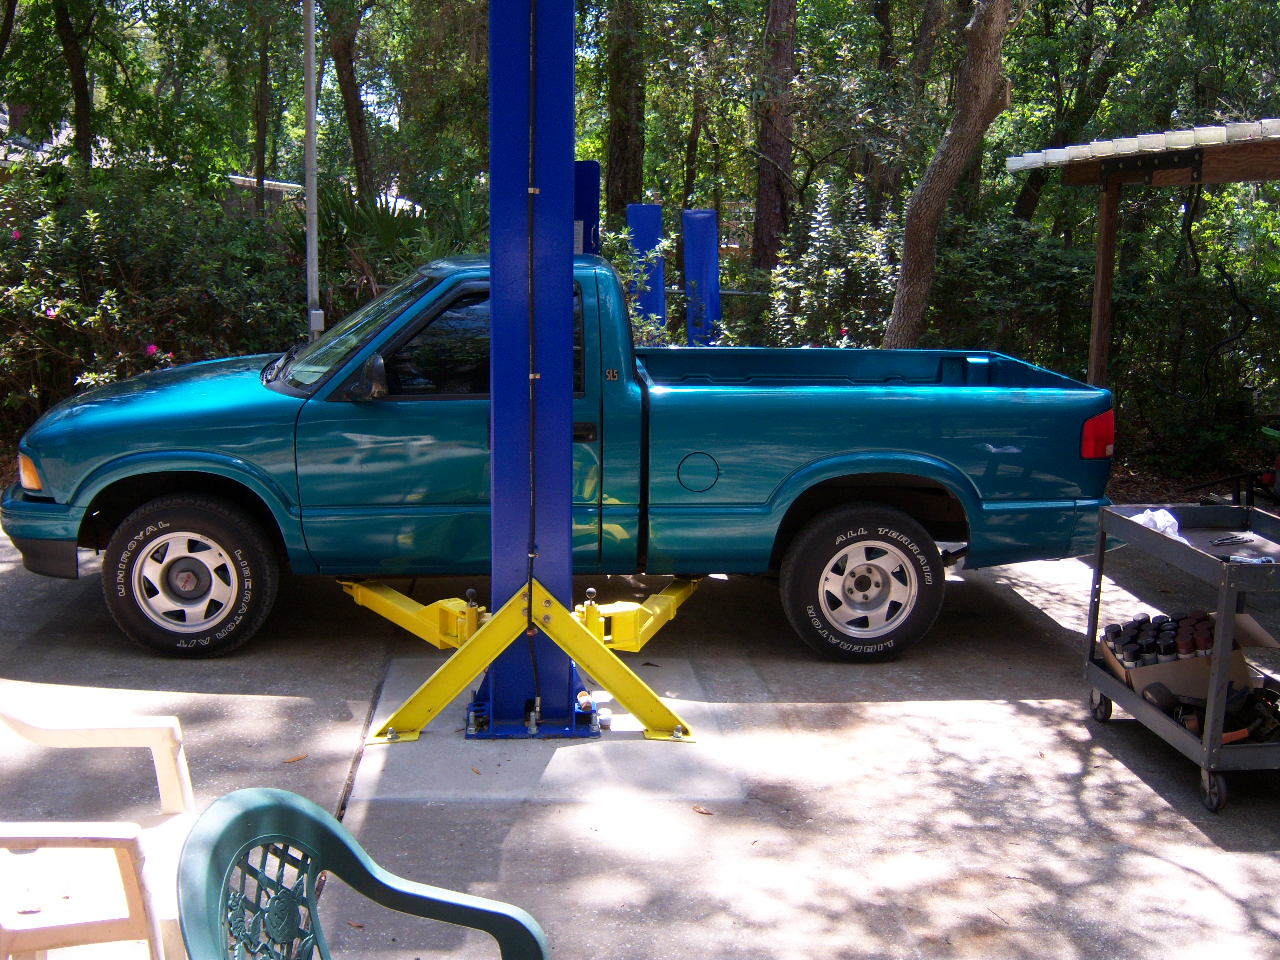
Like so many others, I too wanted rear disc brakes for my S-series
truck. I've read many times over how easy this conversion is when using '98-up
Blazer, Jimmy or Bravada parts. As some websites have suggested, you can also
do what is known as the "LS1" swap. This includes the rear discs and brackets
from a '98-up
F-body car (Camaro or Firebird). I do not have any information
regarding this swap so please do not ask.
First things first: do your homework!
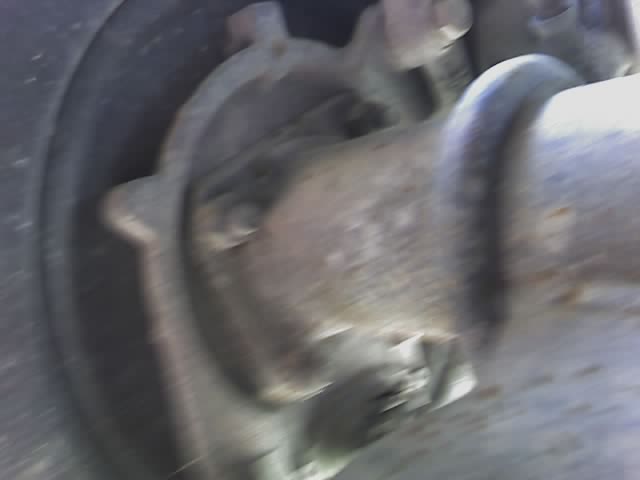
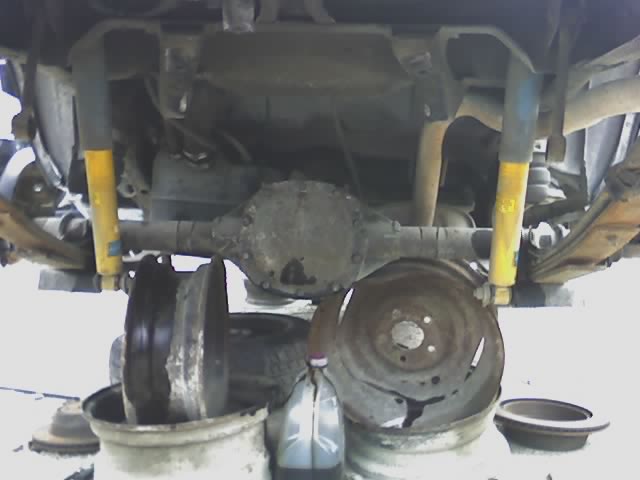
I was browsing my local junkyard one day and came across these: (Pics taken from my Razr camera phone)
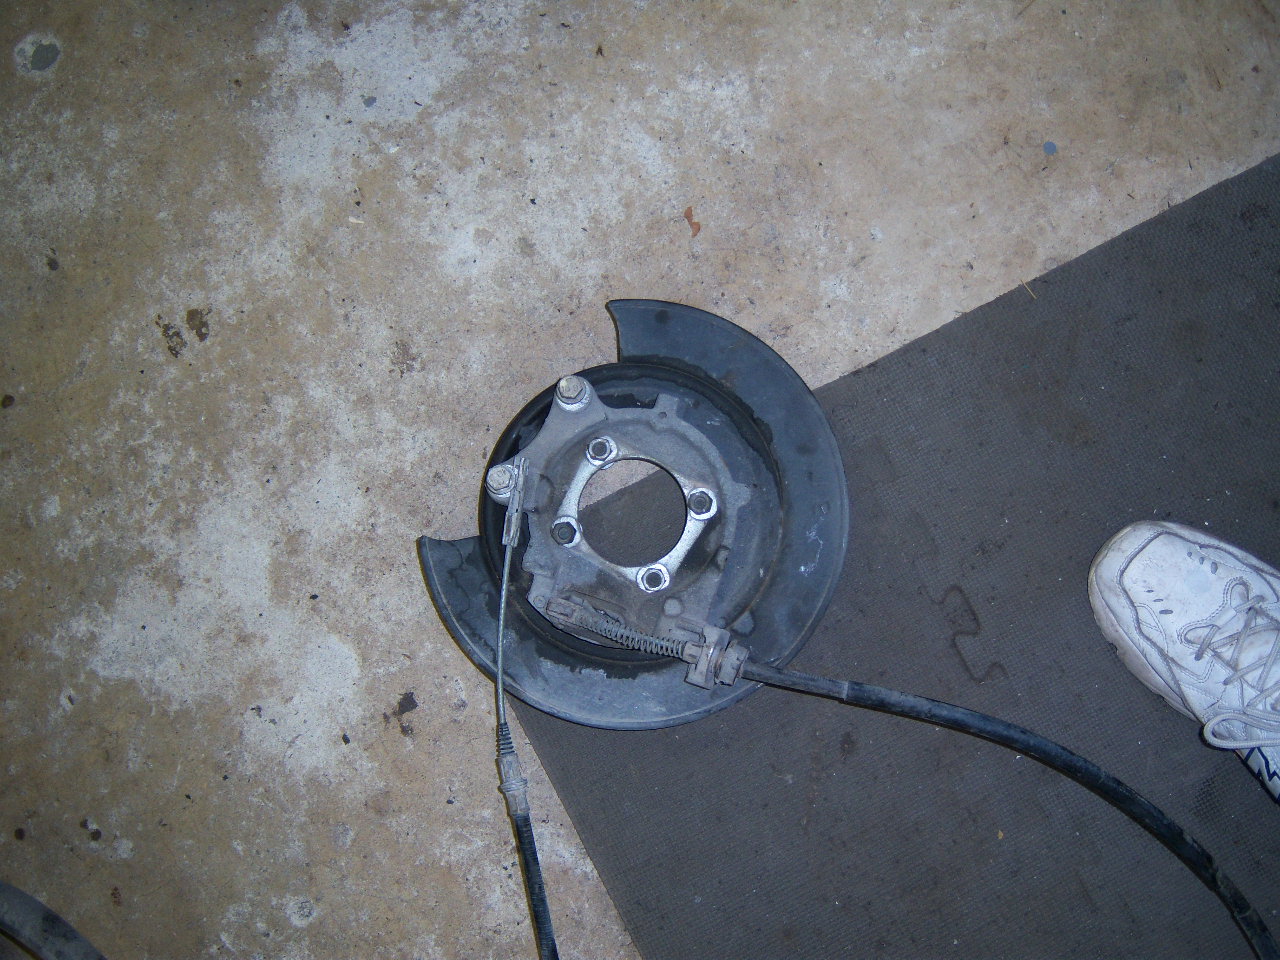
A badly wrecked and rolled 1999 Chevy Blazer, 4 door 2wd. I took several pics
of the calipers, mounting brackets, orientation of the calipers, sway bar and
just as important: the E-brake cable connections. From past experience on the
F-350, the E-brake cable connections/mounting will prove to be again another
PITA!
You may ask "why didn't I just snag the whole rear end?" and my reply to that
would be:
1.) The driver's side tube and axle shaft was bent from the wreck
2.) The Blazer had the 7.5" axle with 3.42 gears, whereas my 'noma has the
7-5/8" axle with 3.73 gears
3.) My truck axle has already been rebuilt with all new bearings and seals along
with with synthetic oil
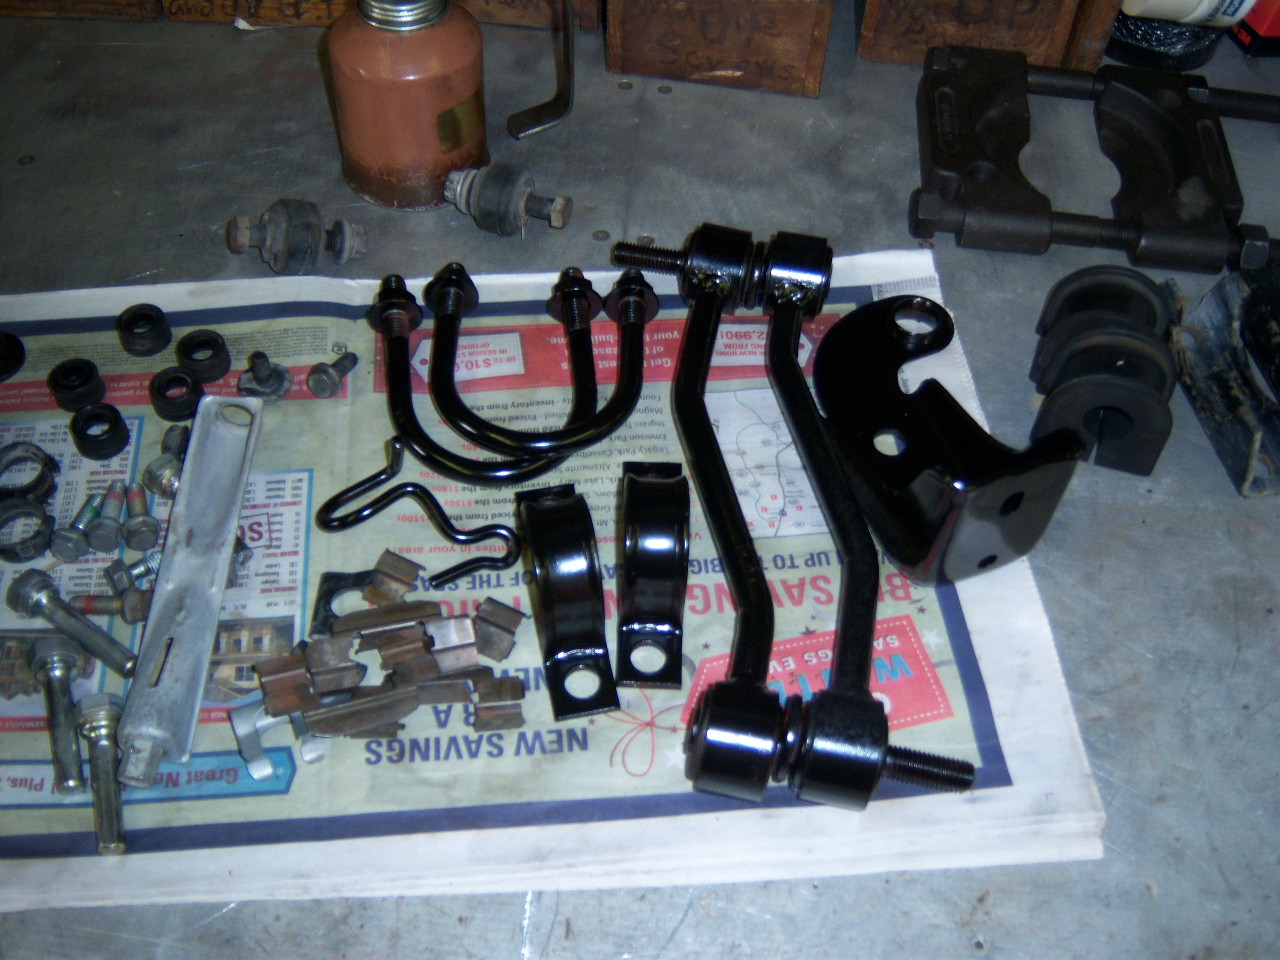
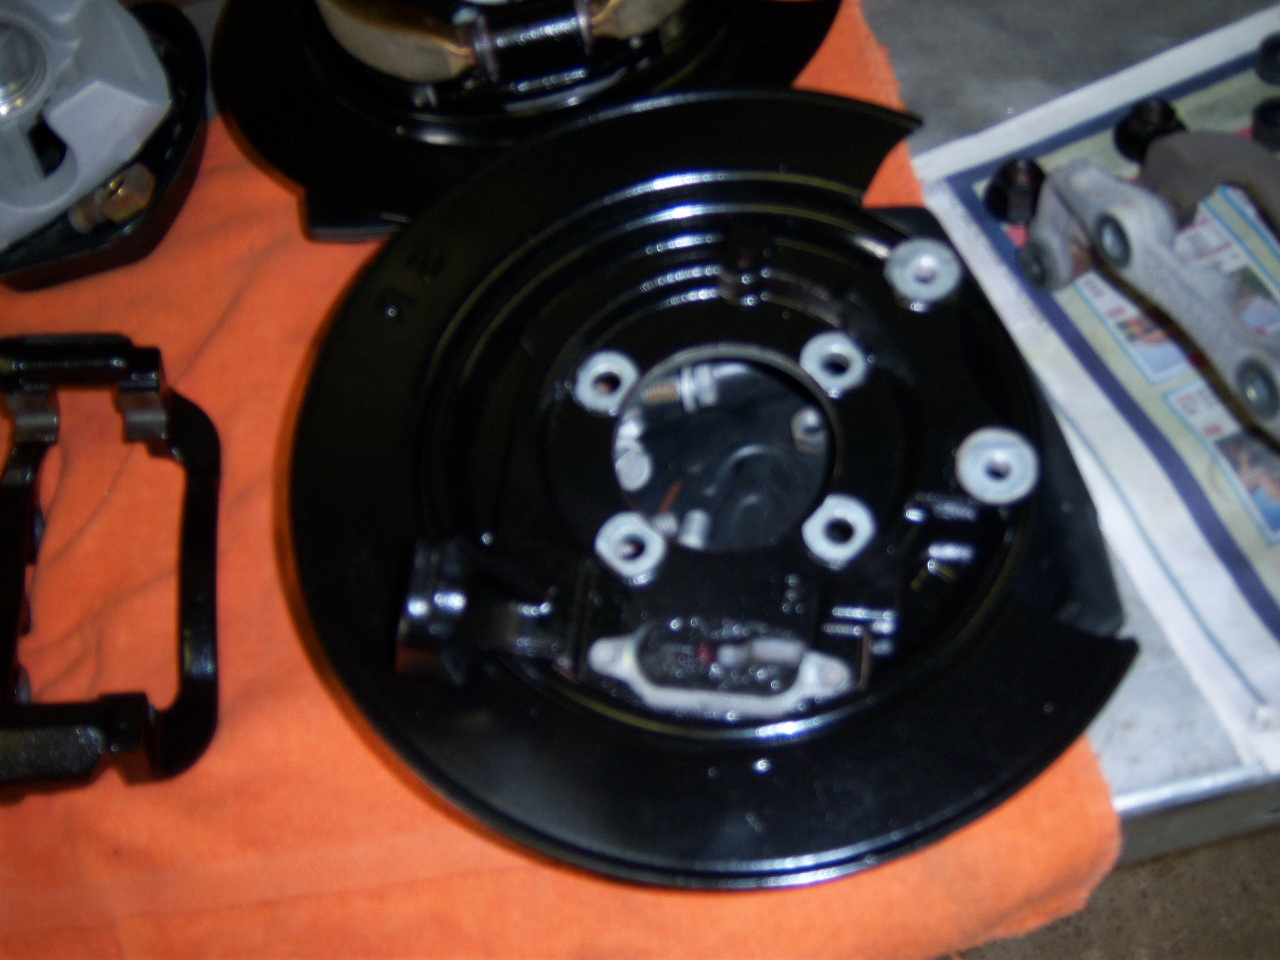
I went back the next weekend with the help of my father and nabbed all the parts:
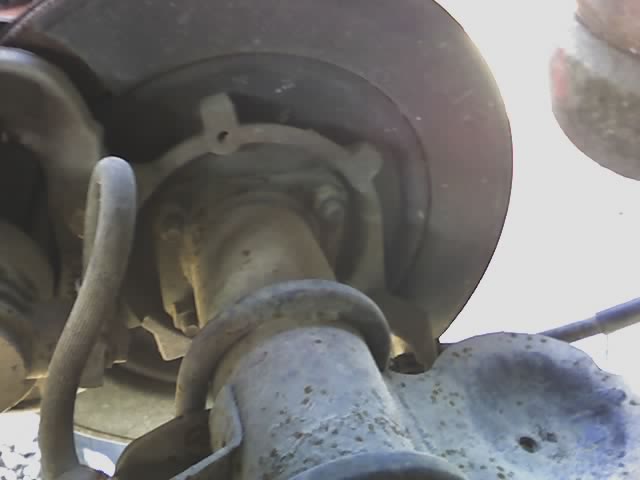
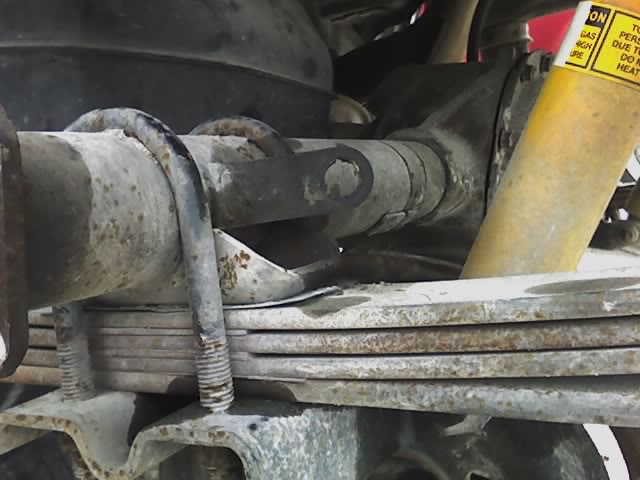
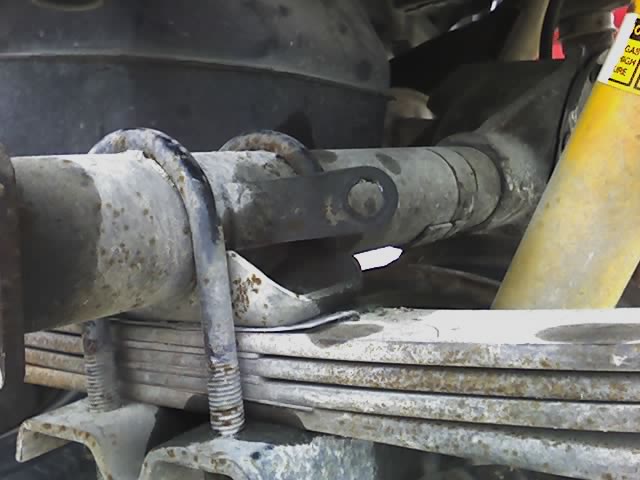
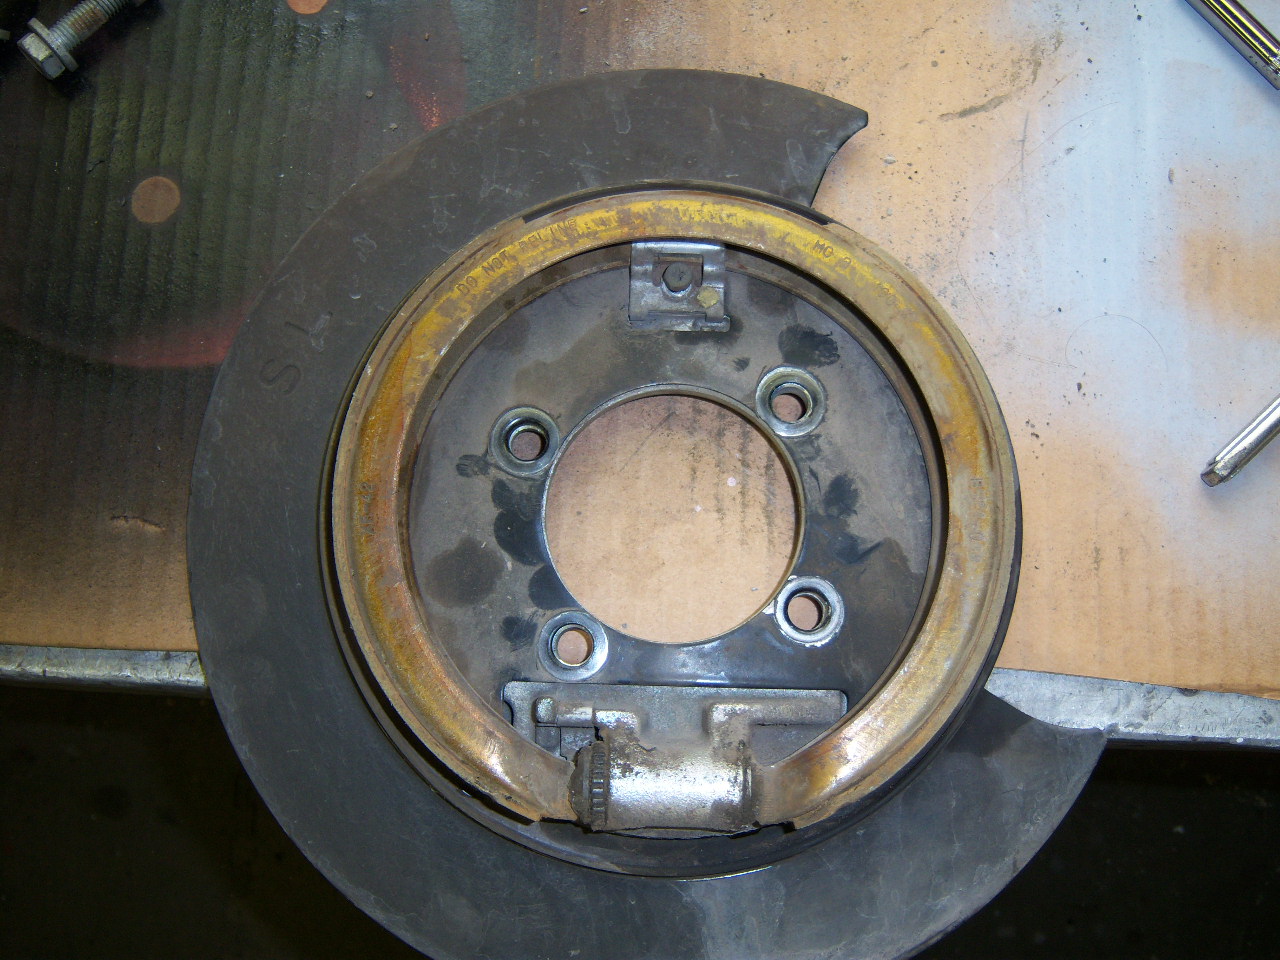
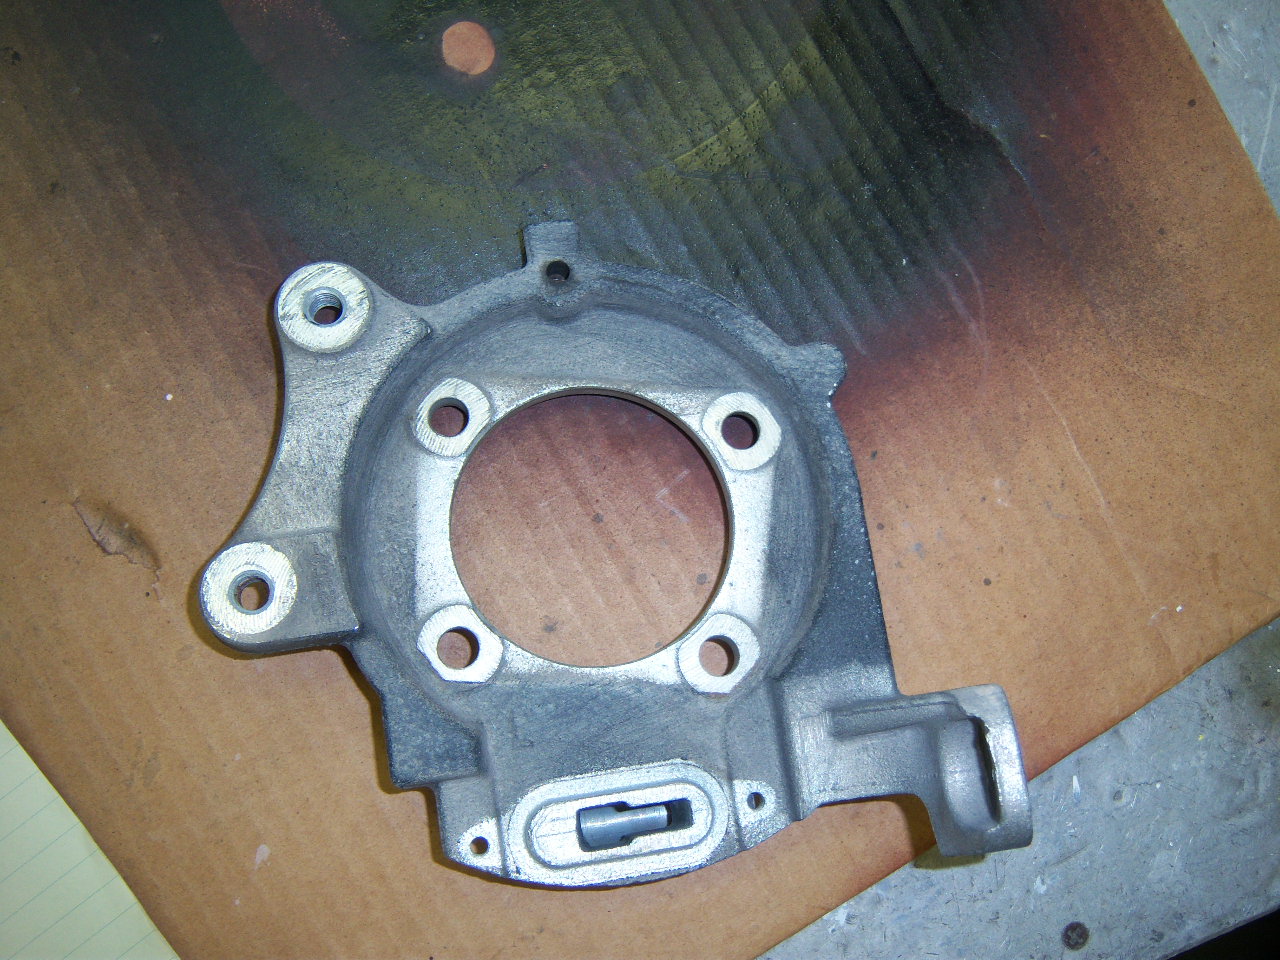
I also took reference pics of the tabs that mount the hard lines to the tubes.
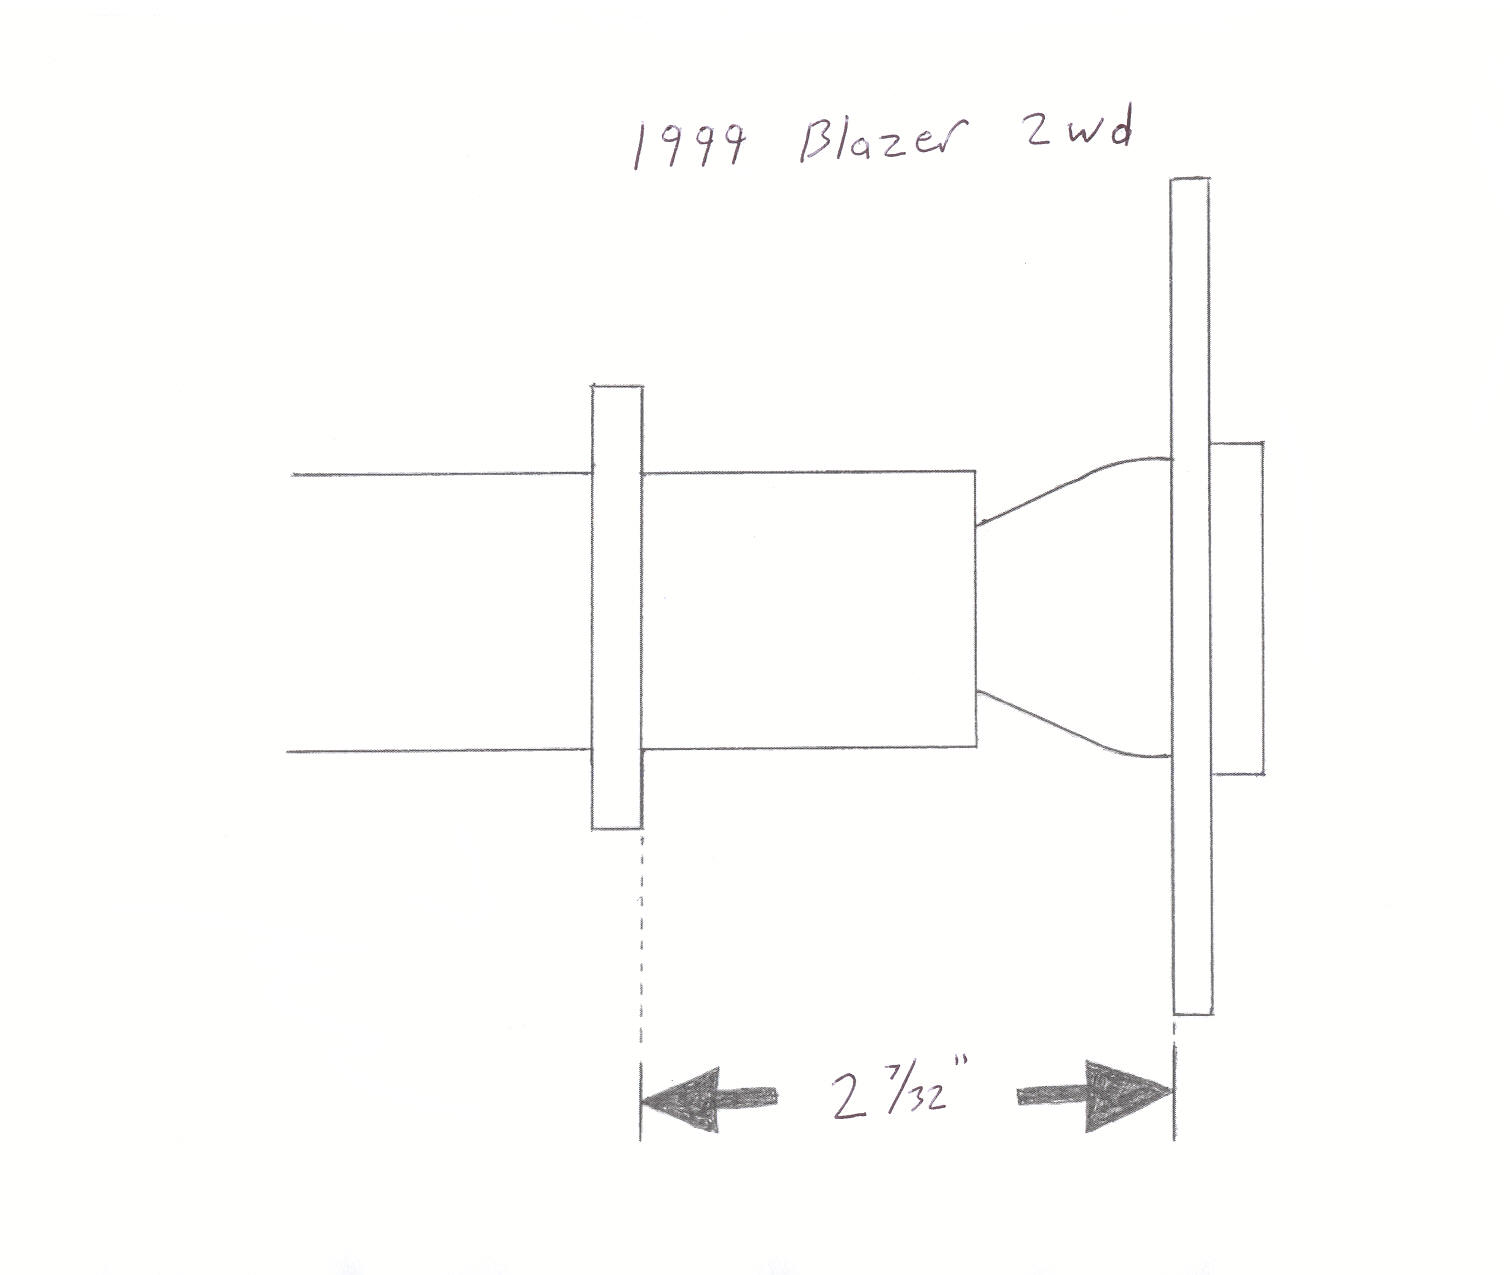
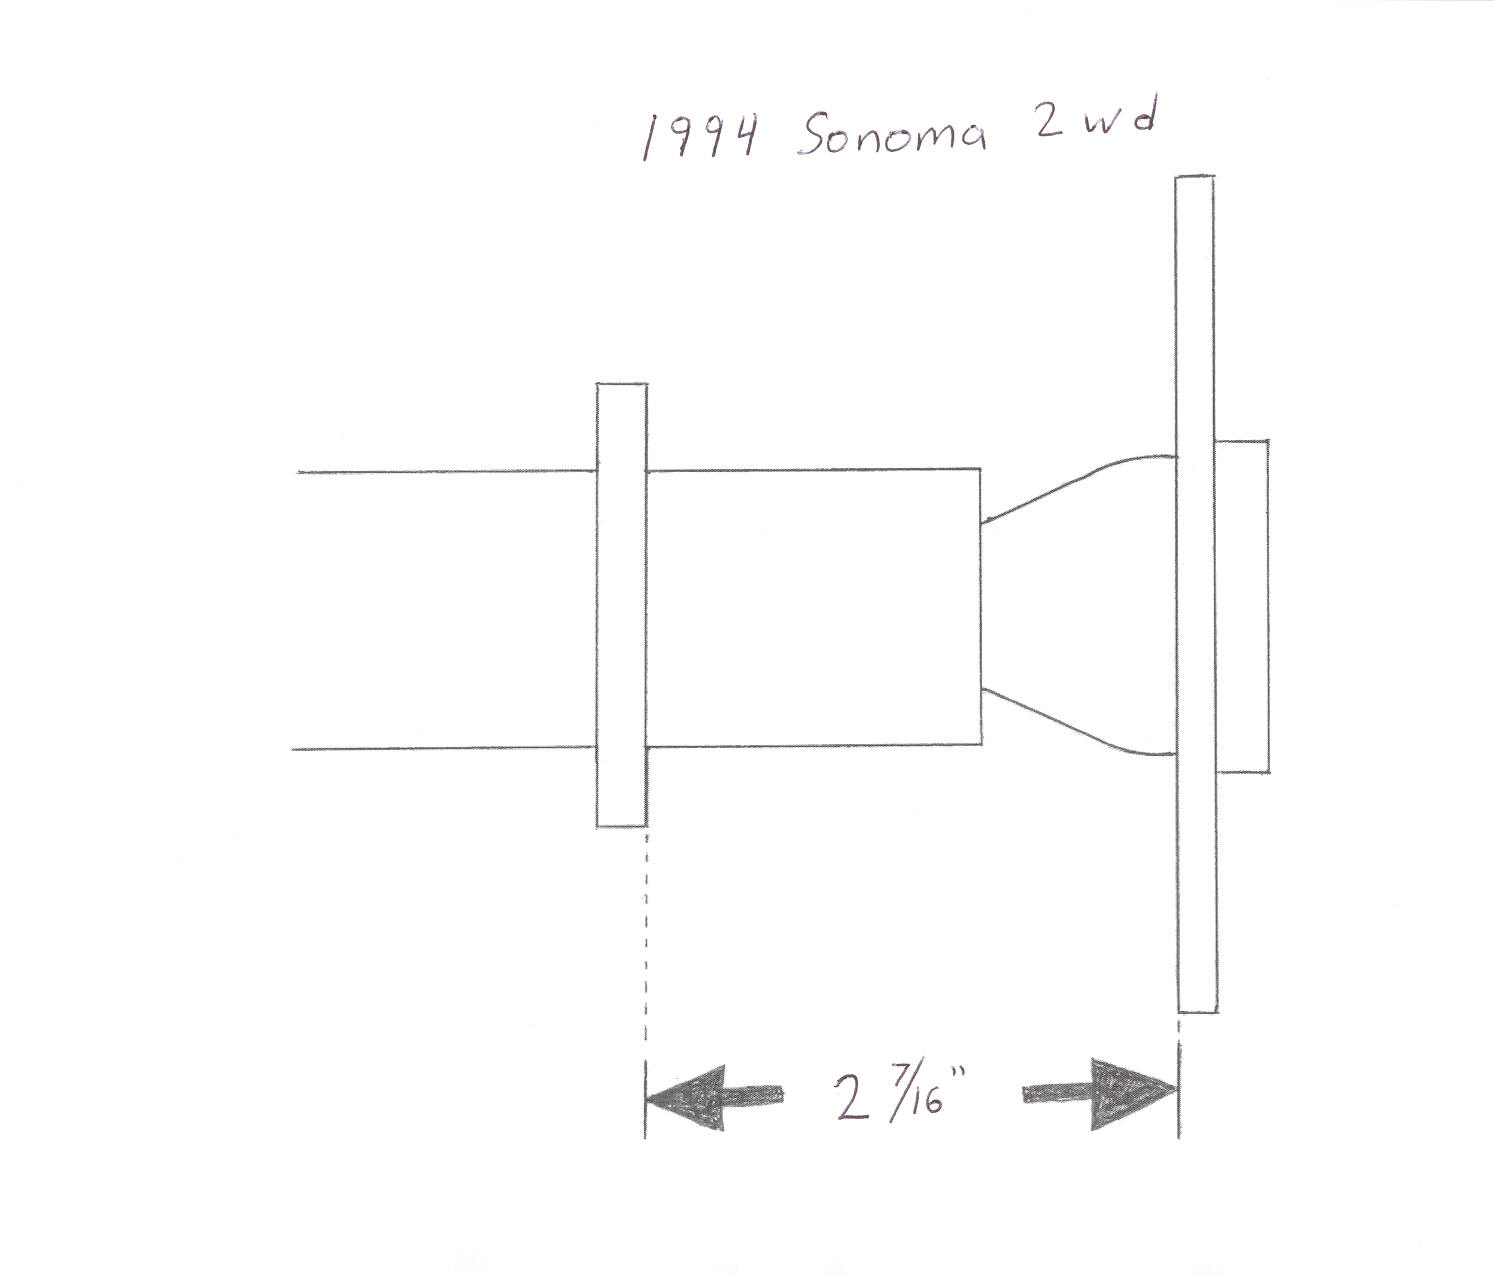
One additional measurement I took was the distance between the outside of the tube flange to the backside of the axle flange. Again, learning from the F-350 conversion, this step saved us a lot of guess work.
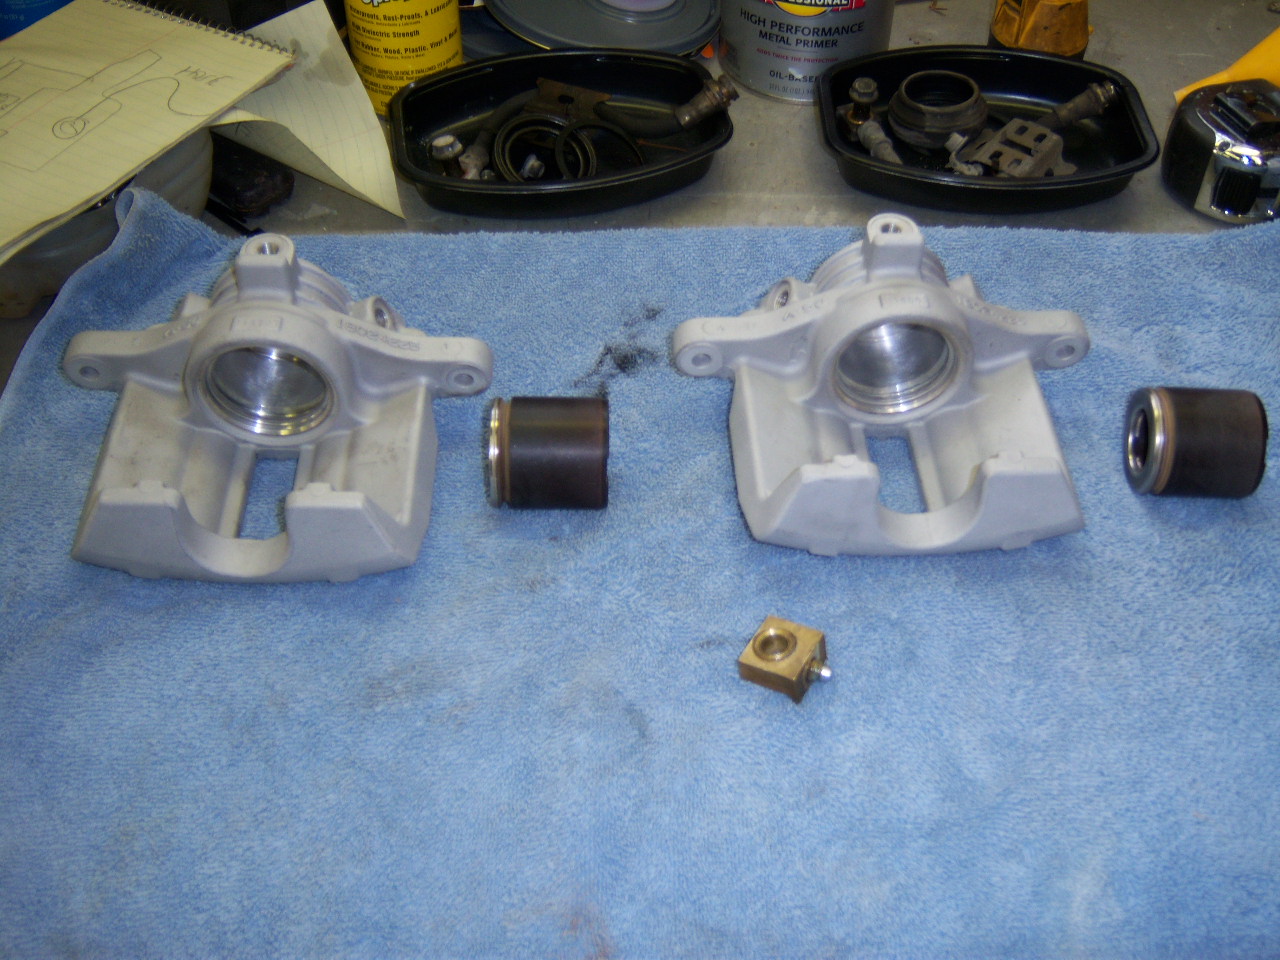
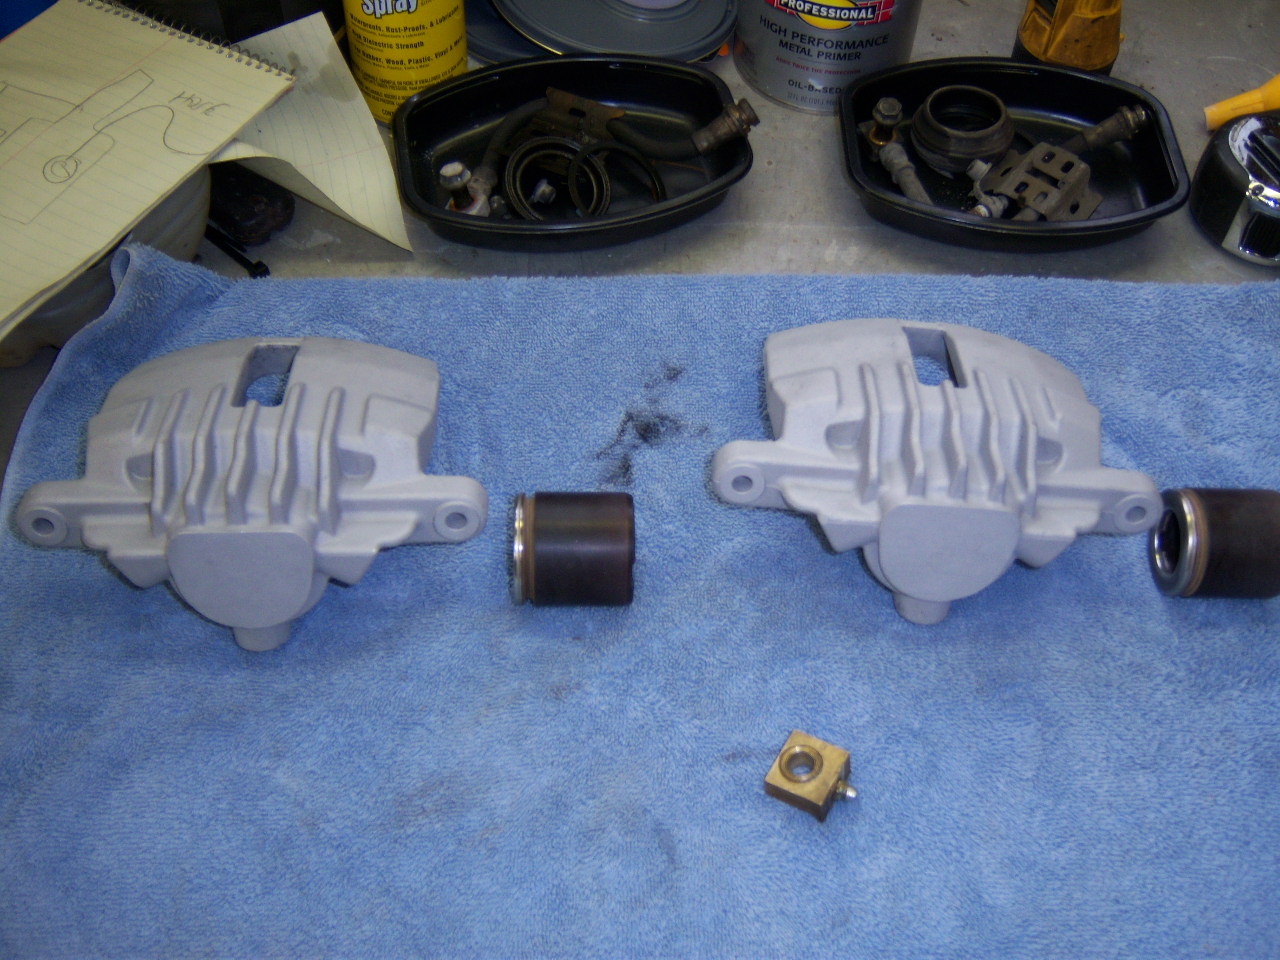
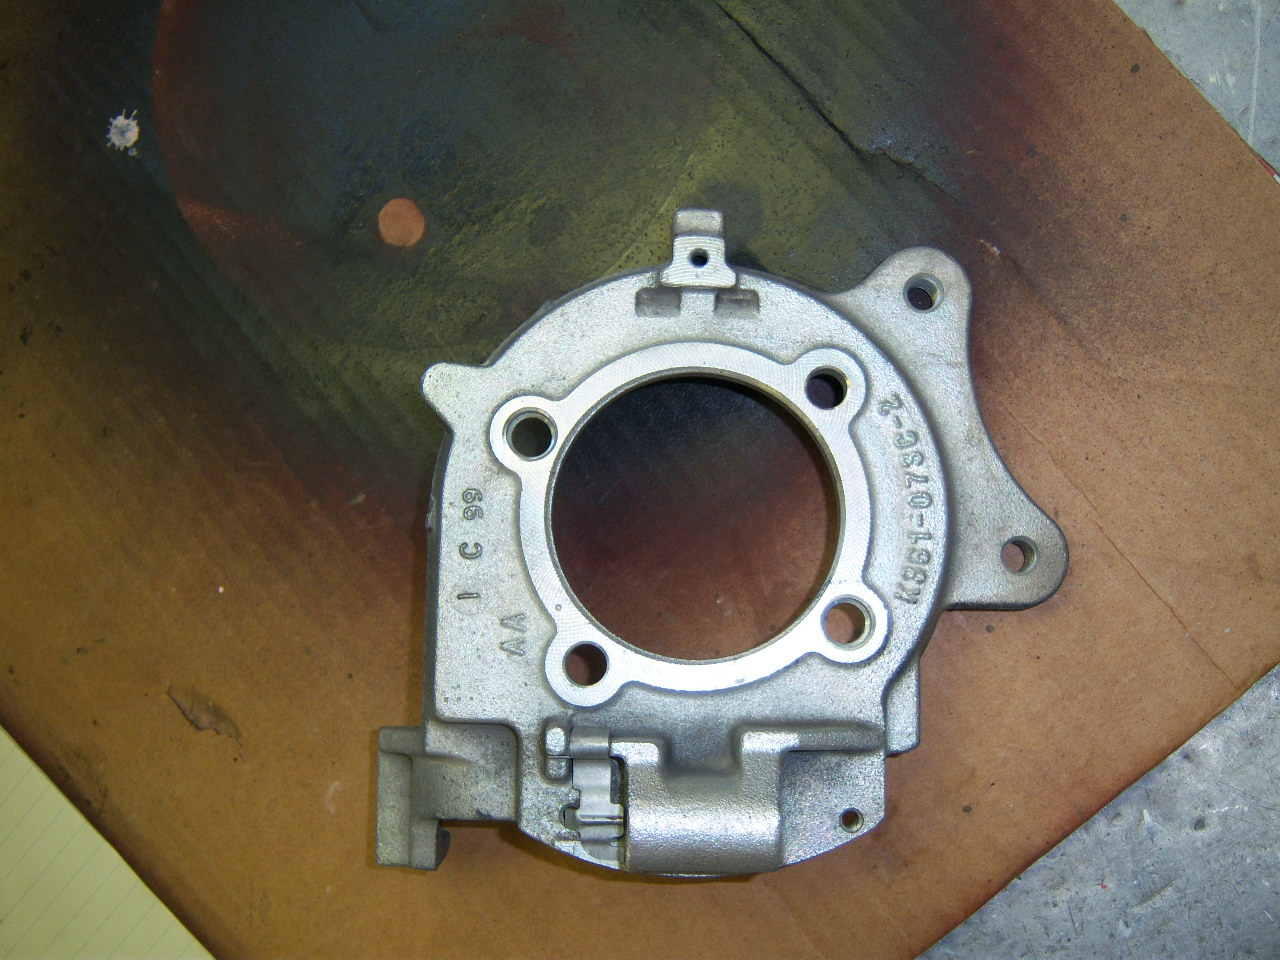
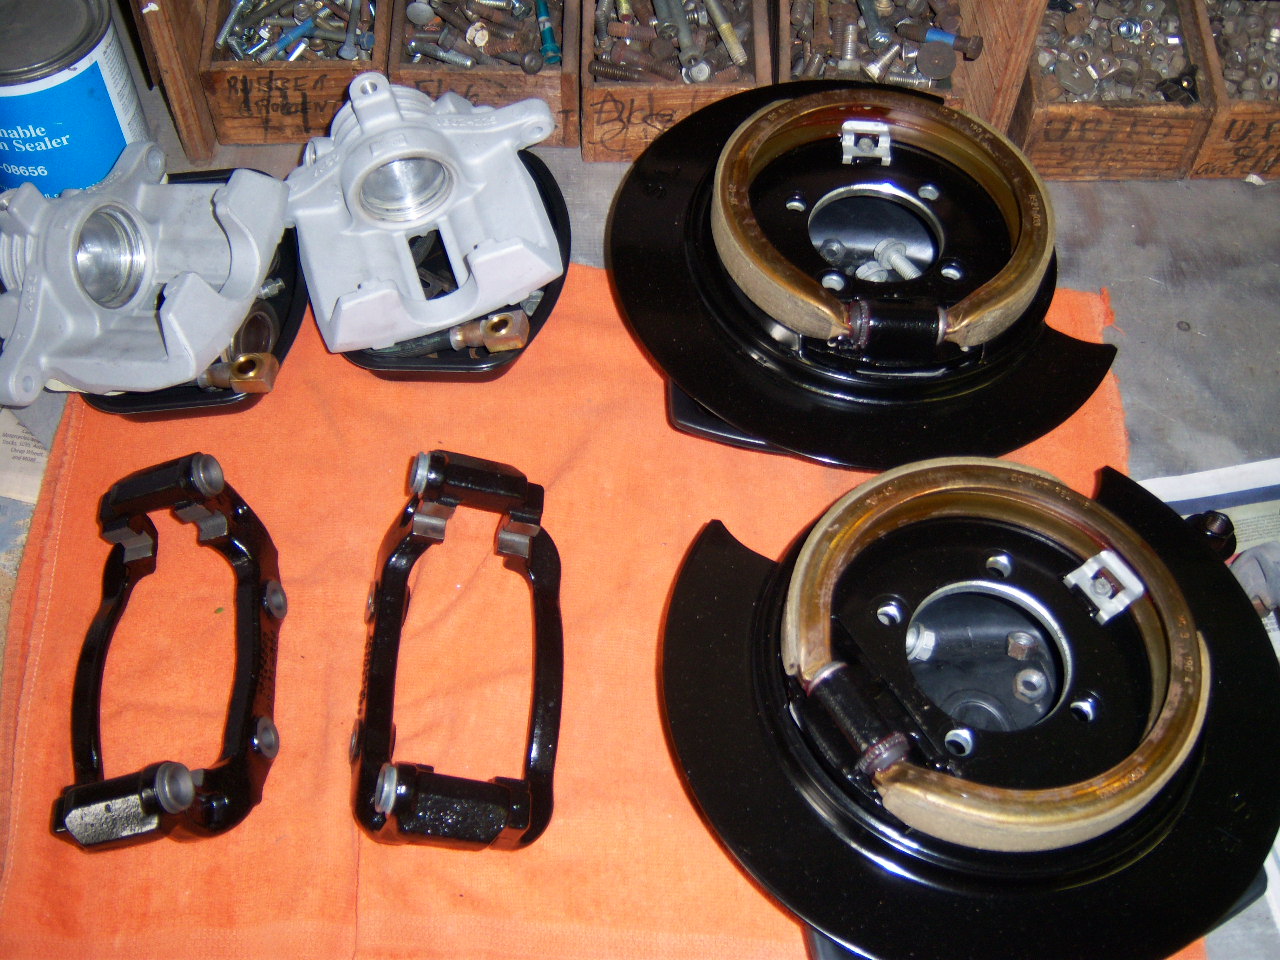
After looking very promising, the parts were all cleaned up:
Now it's time to tear into the truck so see what kind of work load was ahead of us.
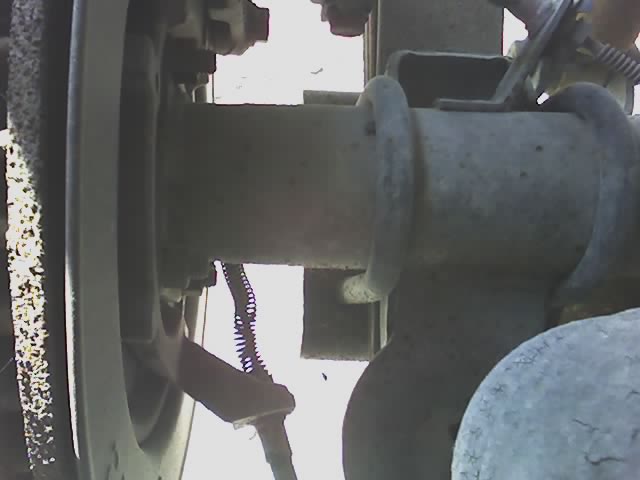
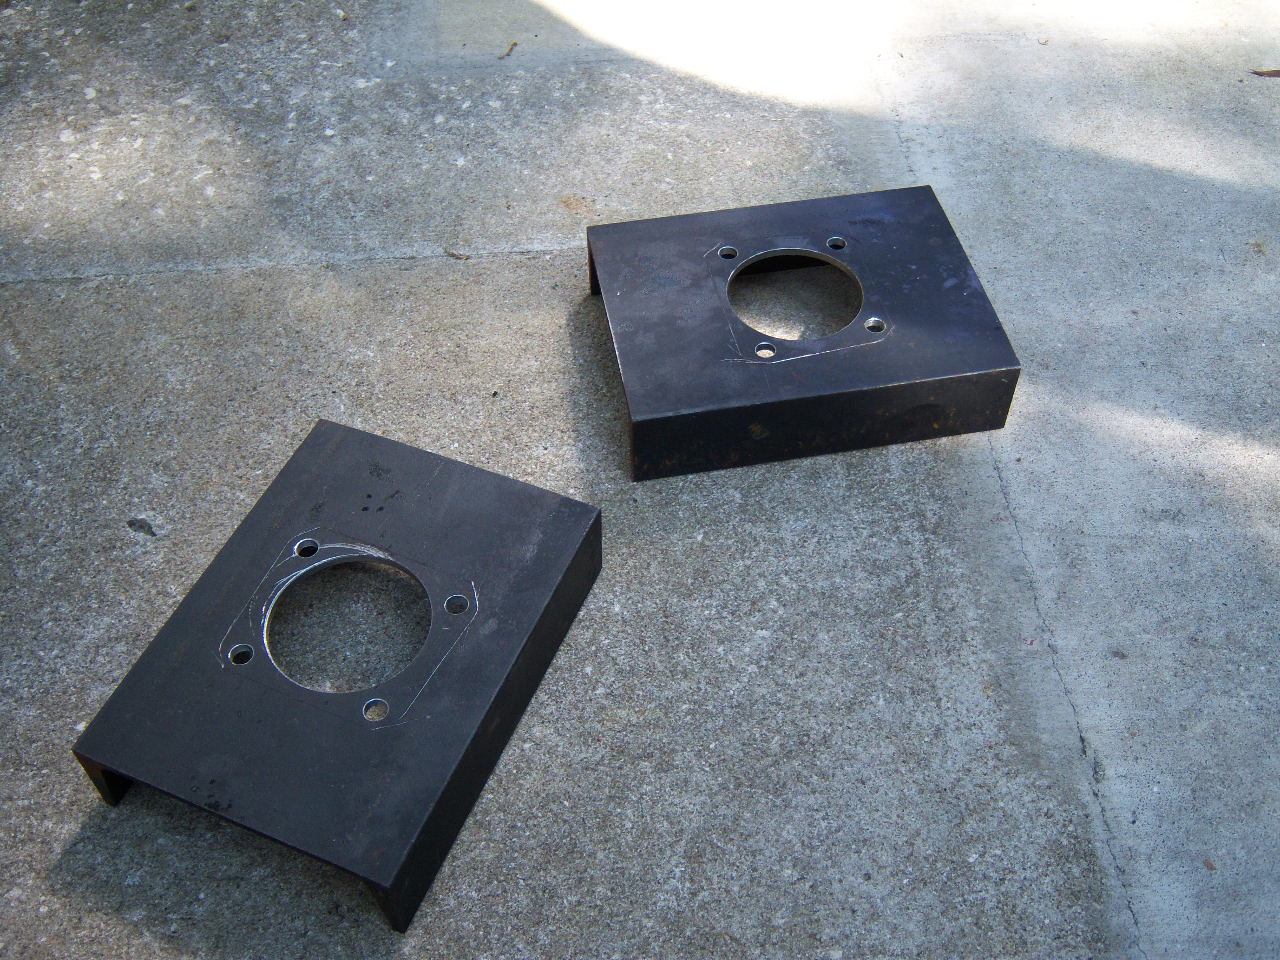
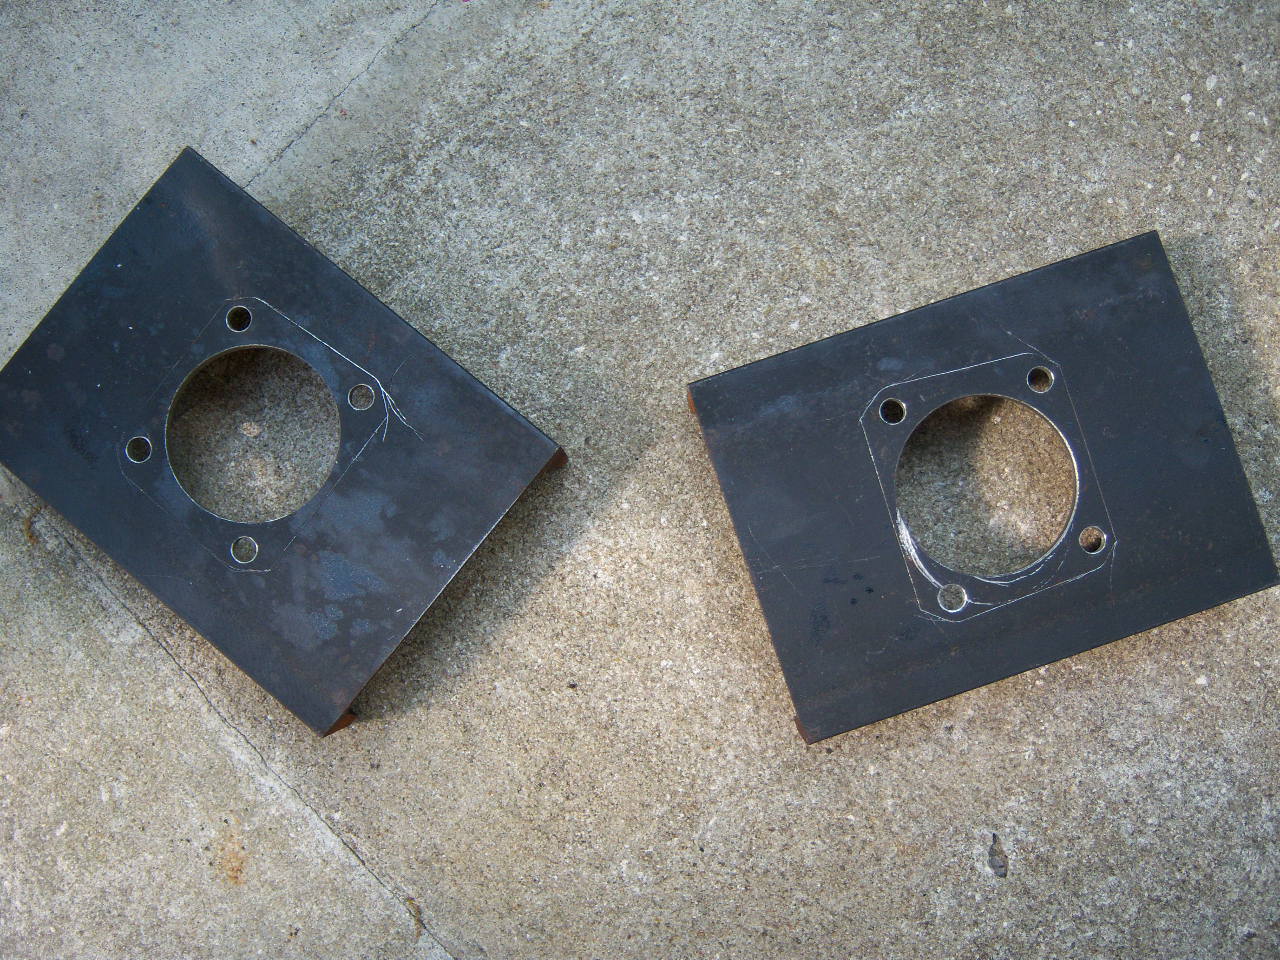
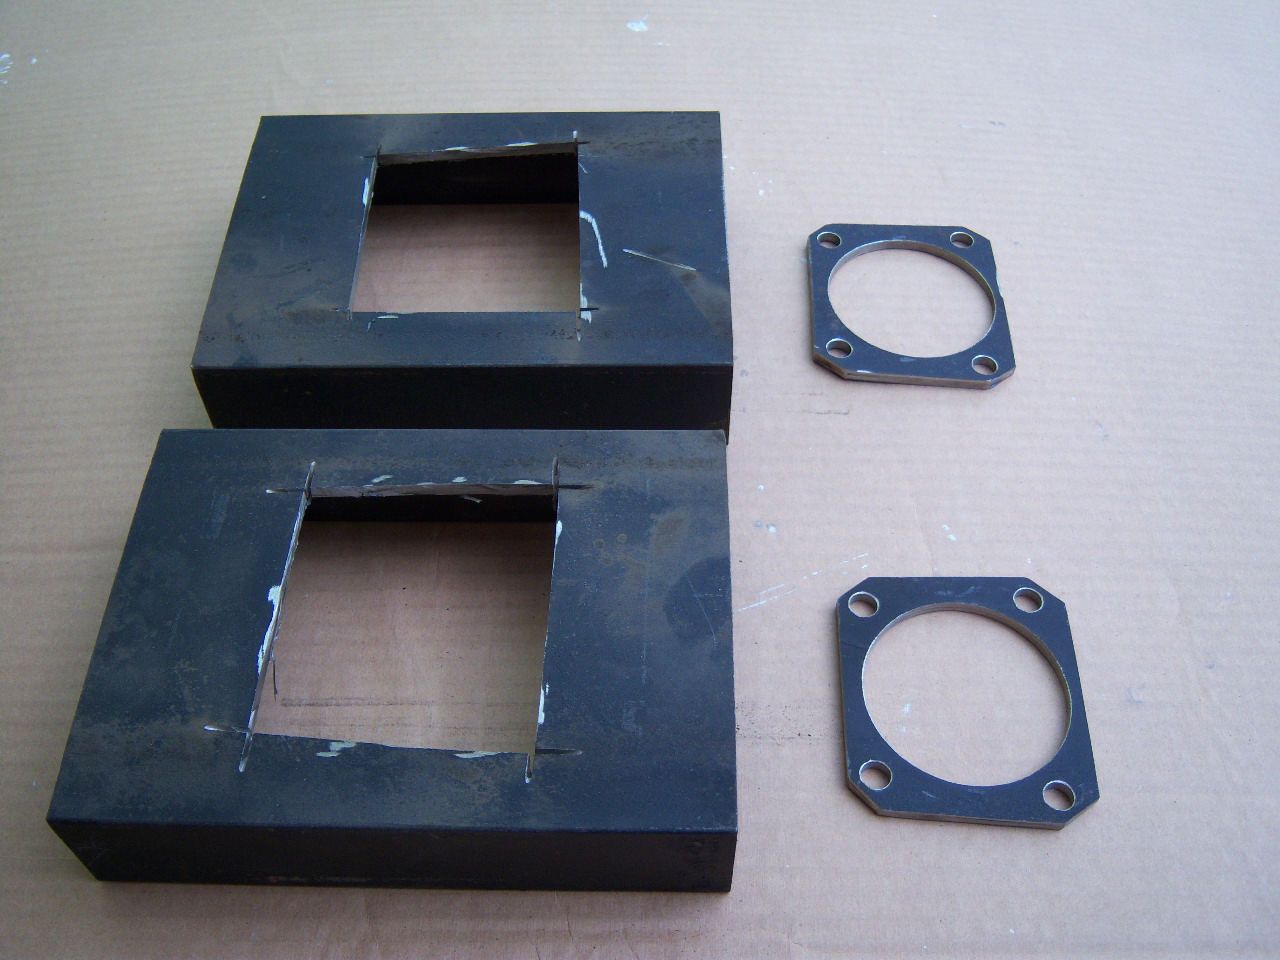
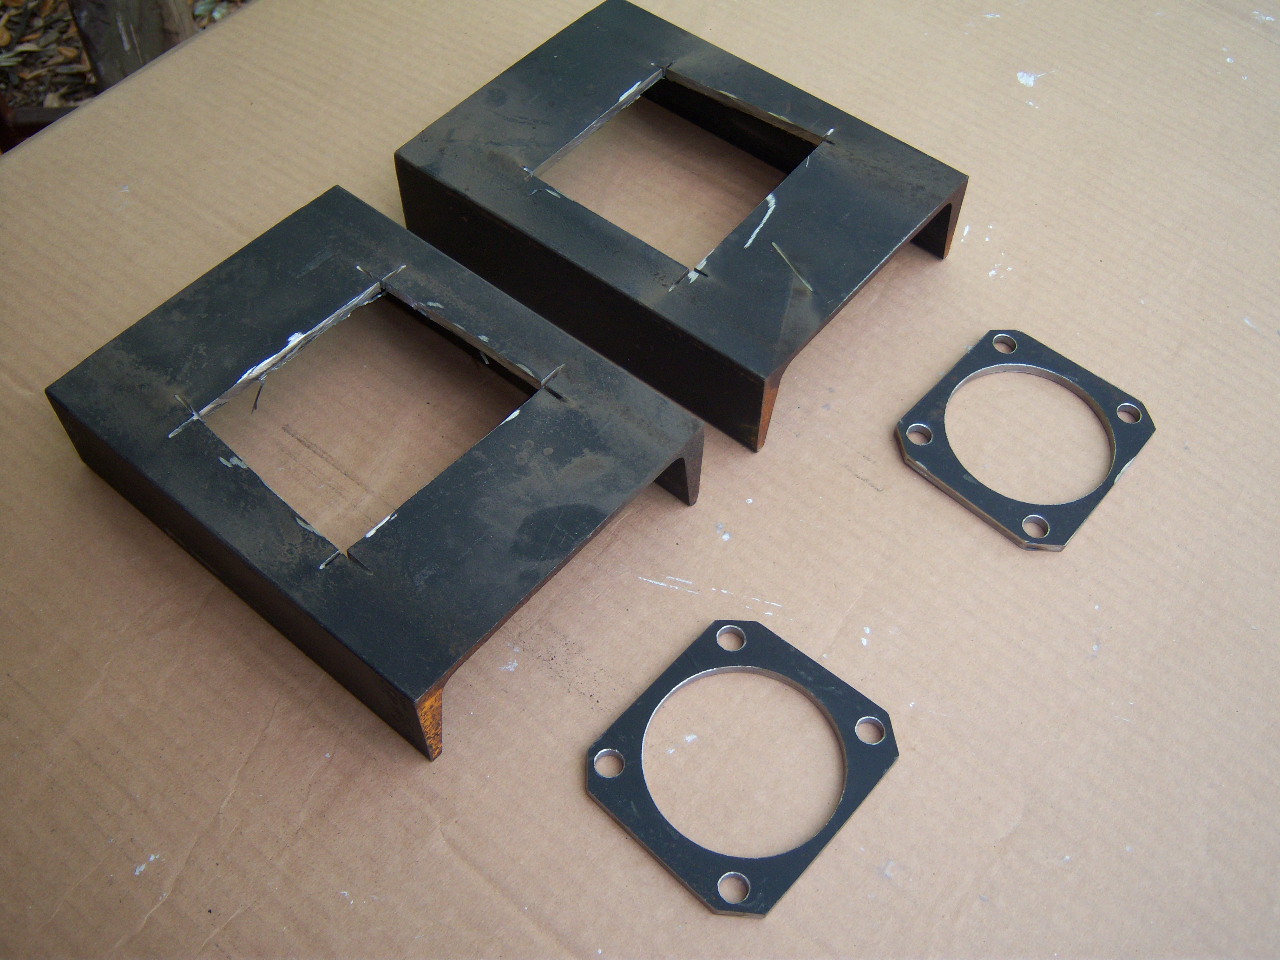
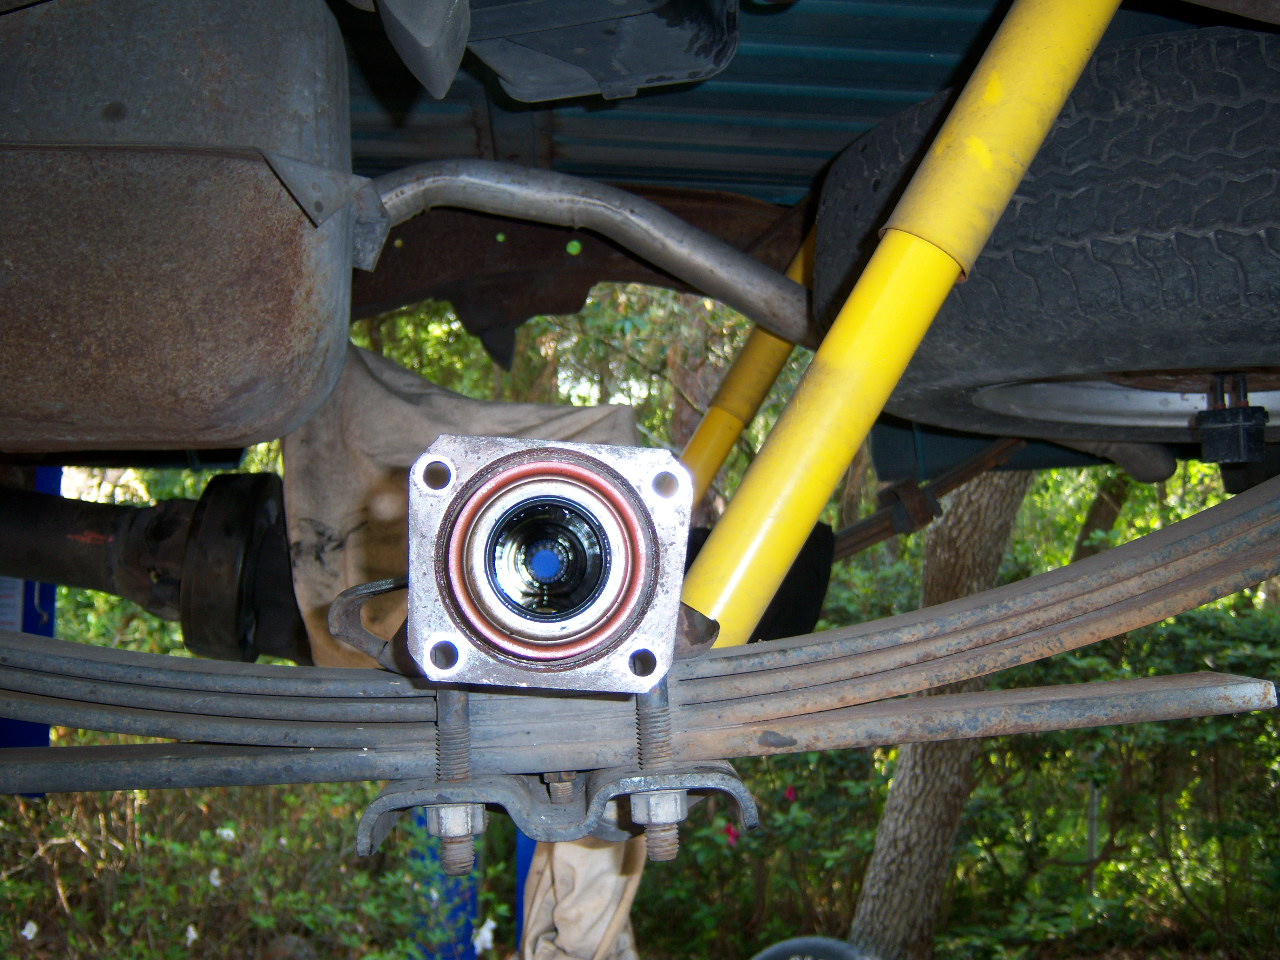
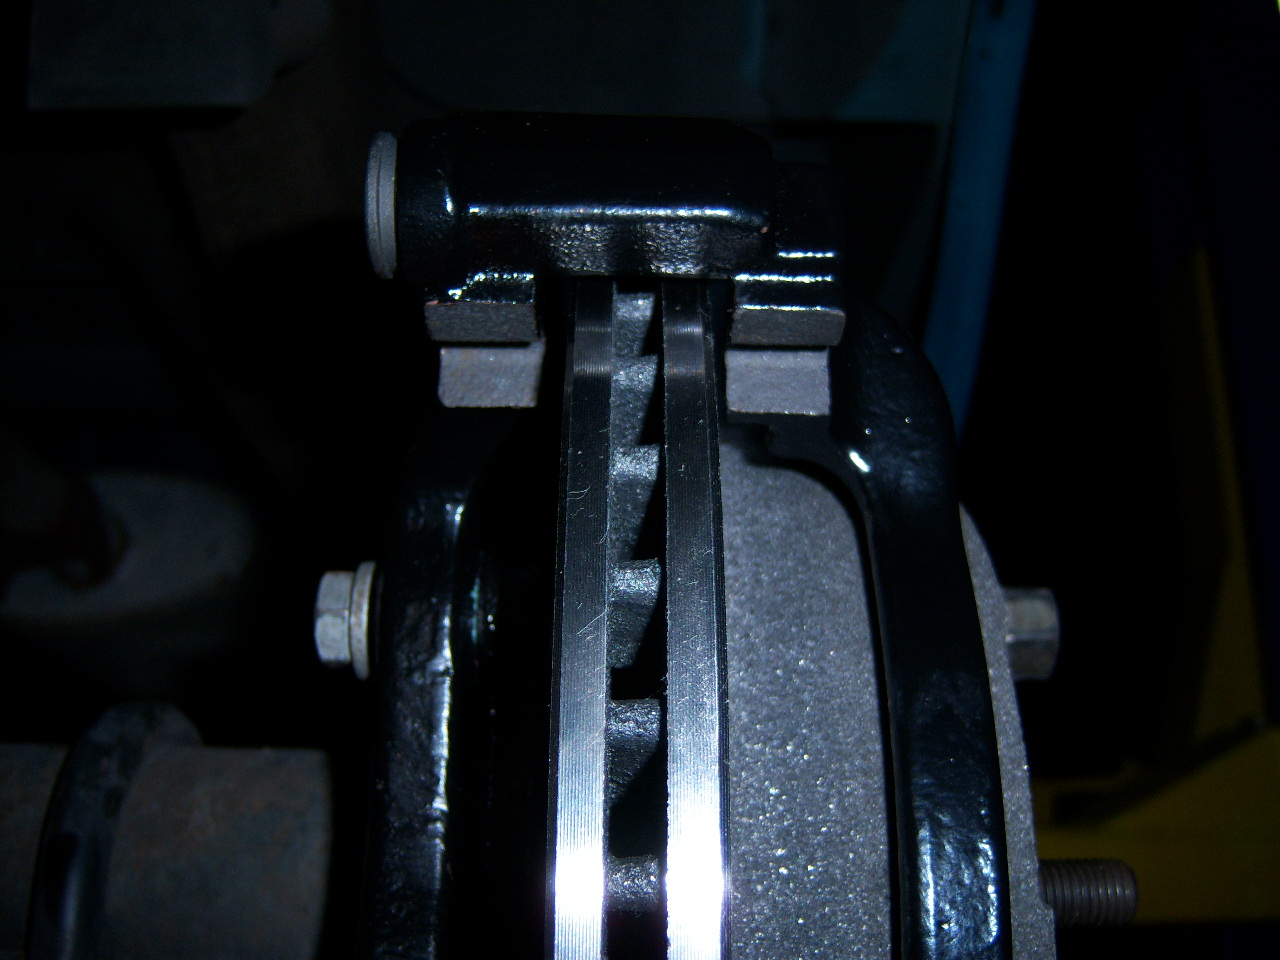
We had to make some spacers to get the alignment correct to fit the caliper over the rotor. This was determined by again measuring the distance between the outside of the tube flange to the backside of the axle flange:
The thickness of the spacer actually needed to be 14/32-7/32" = 0.21875"
Since 1/4" = 0.25 and 3/16" = 0.1875, I was stuck in the middle. Luckily we
found some scrap channel laying around (6" x2") and the web thickness was
0.205" which was as close as I was going to get.
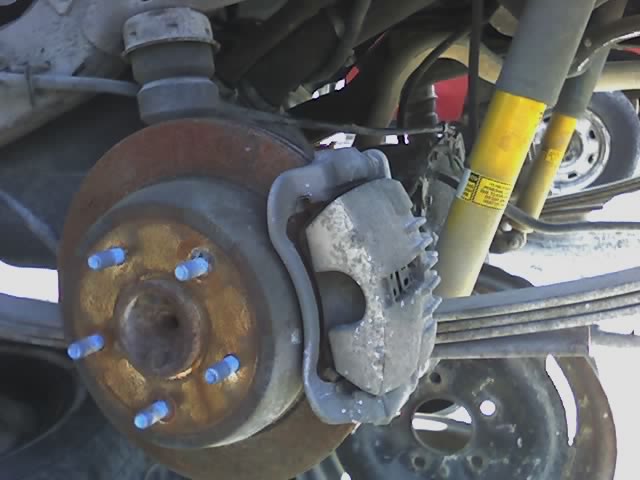
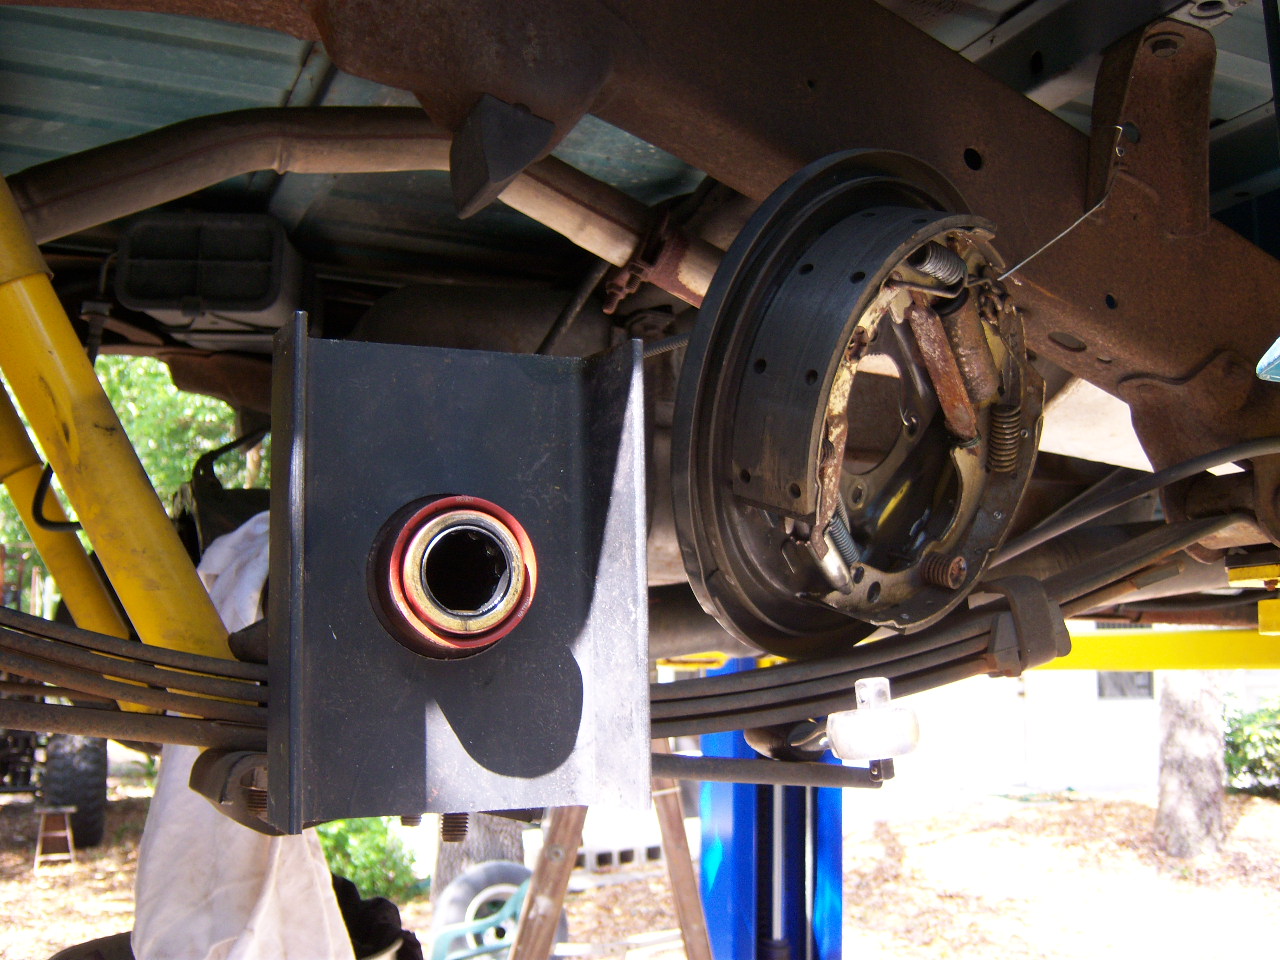
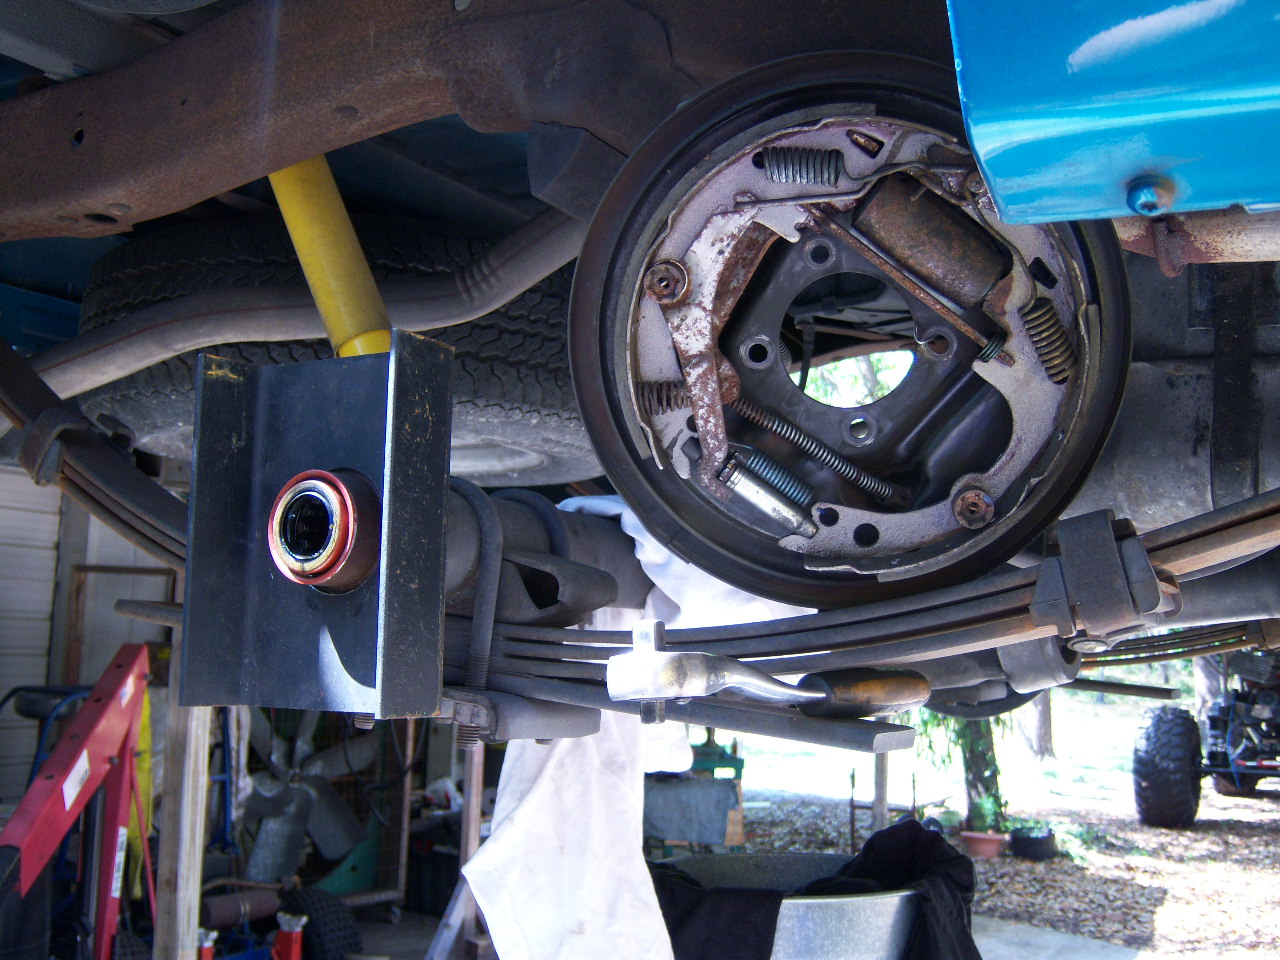
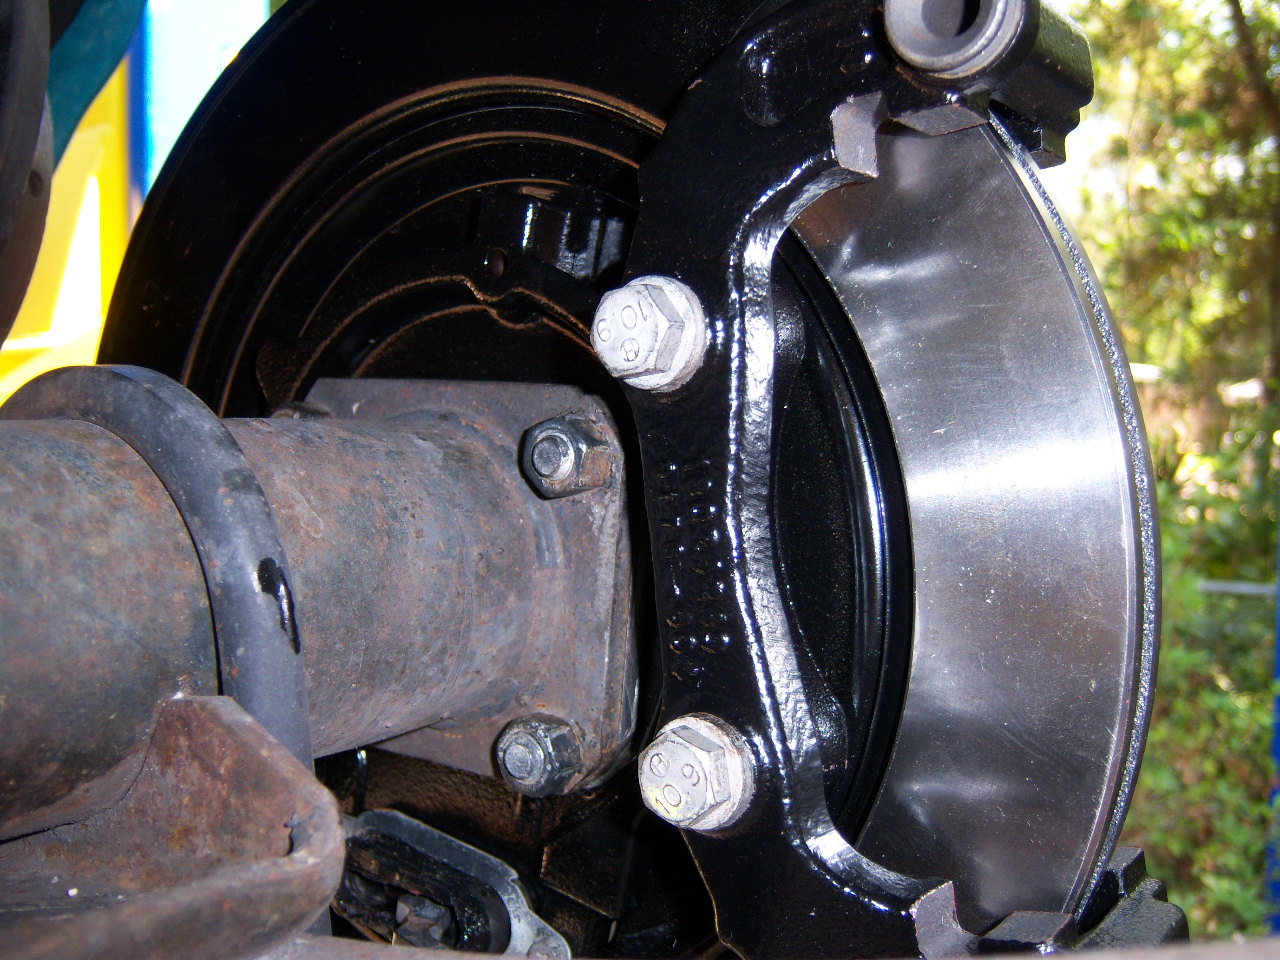
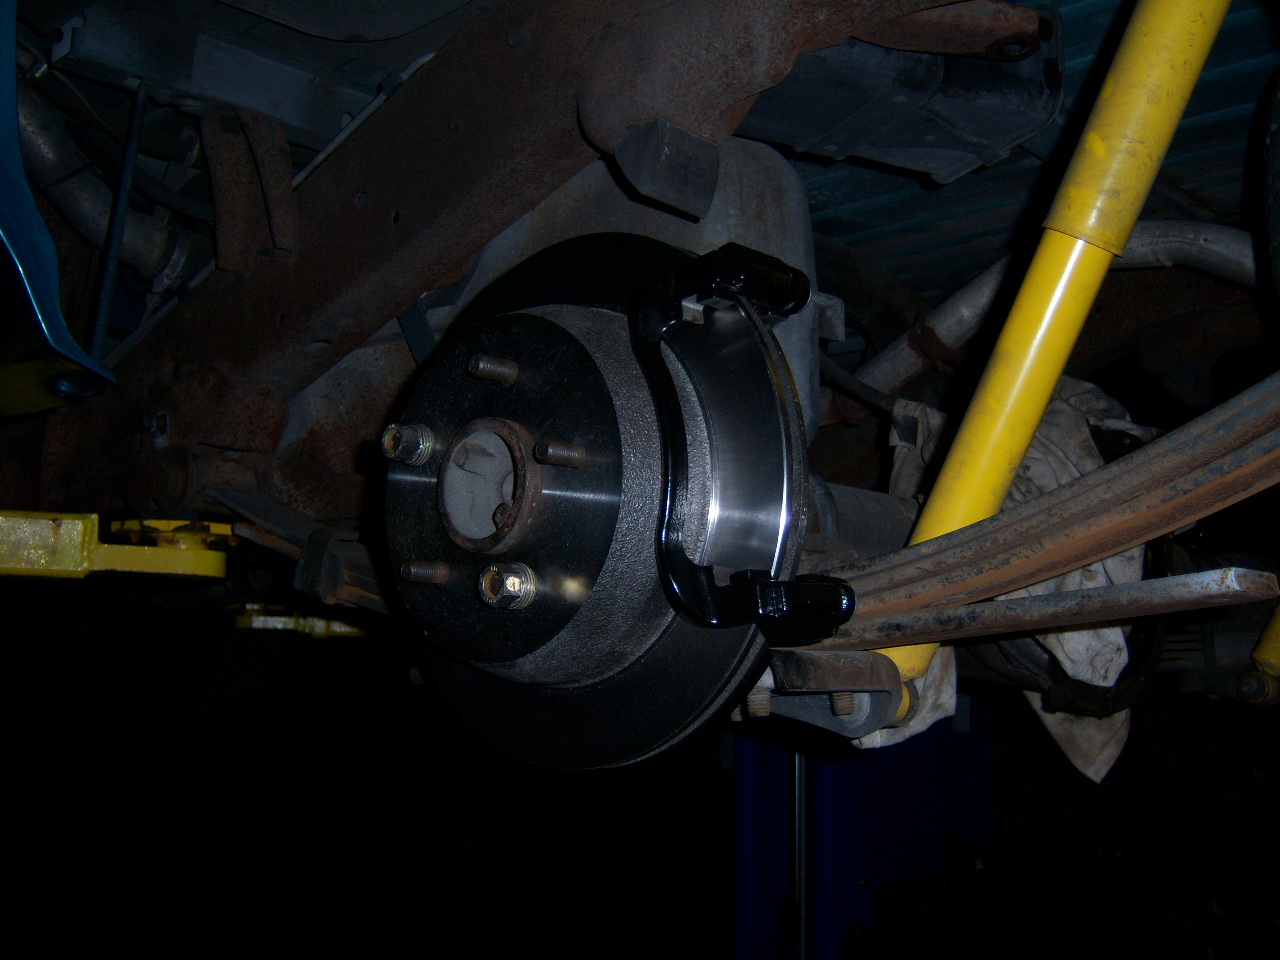
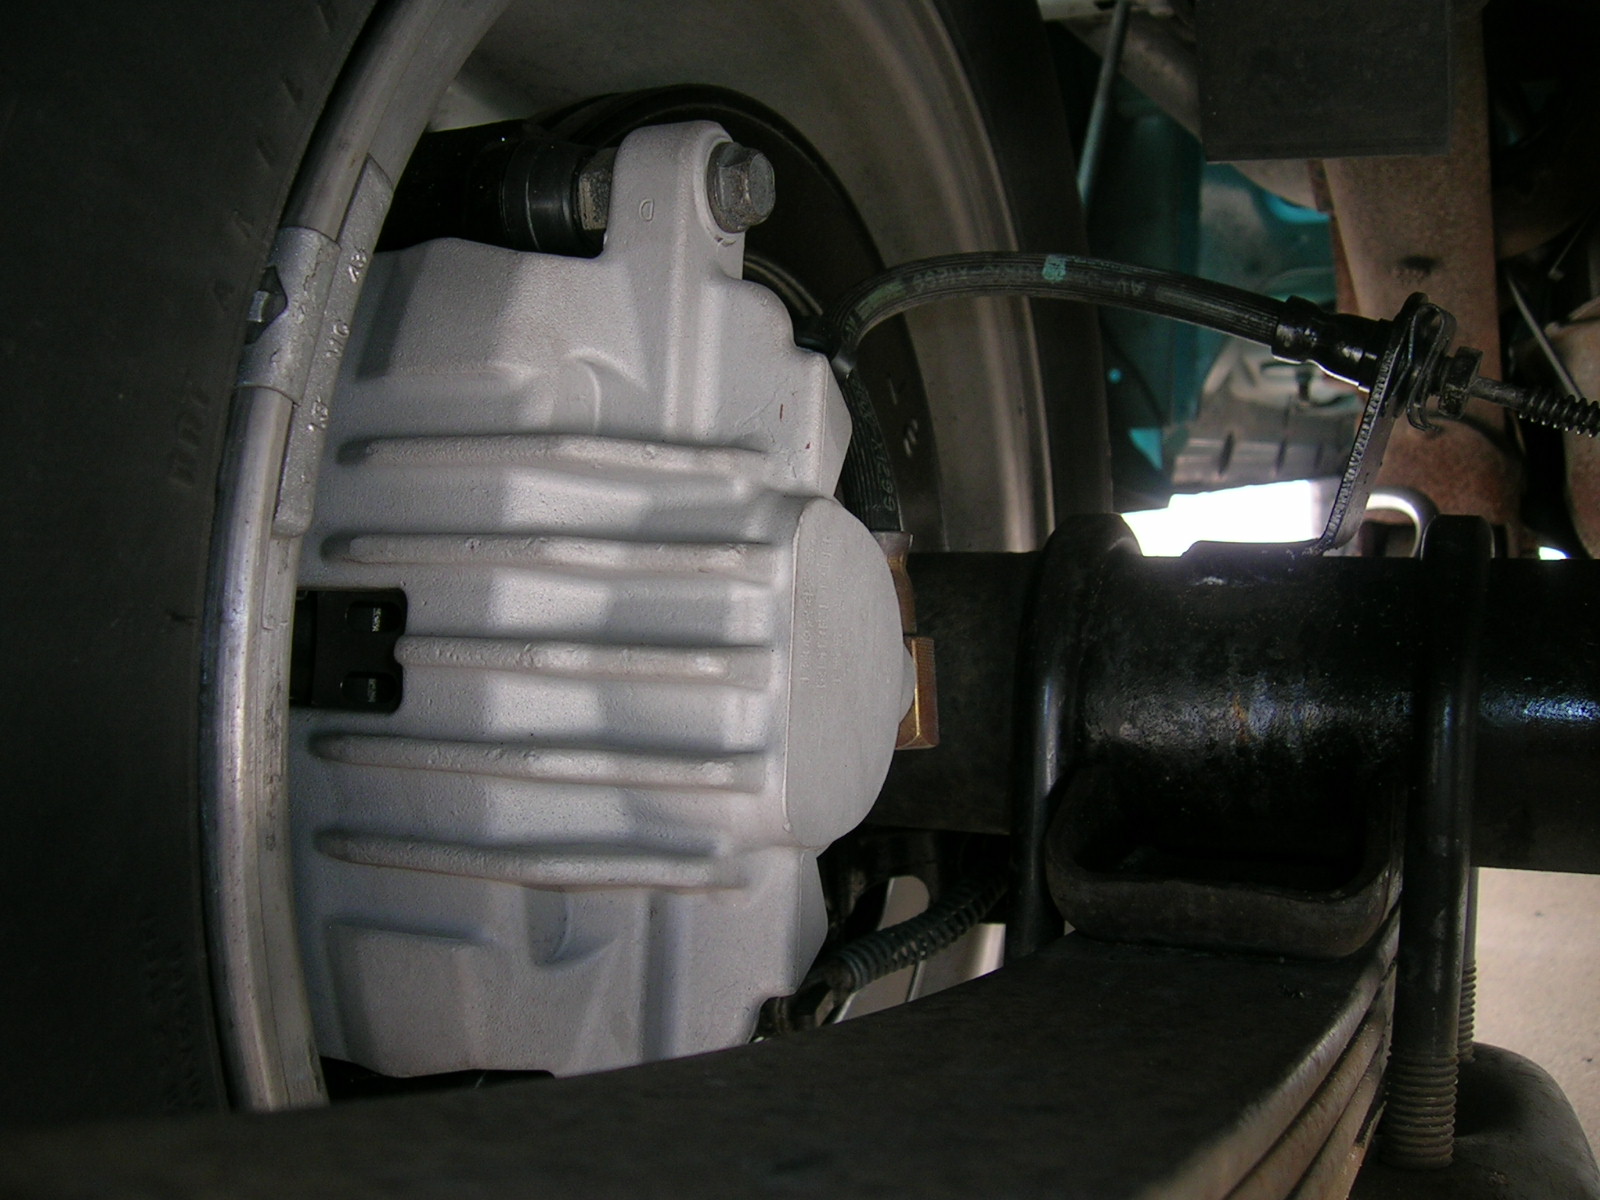
From here on out, it's pretty much a bolt on deal since GM did not change the pattern of the tube flange between the drum backing plates and the disc backing plates on the 2nd gen trucks.
As you can see, with the help of the spacer the caliper bracket lines up perfectly over the rotor.
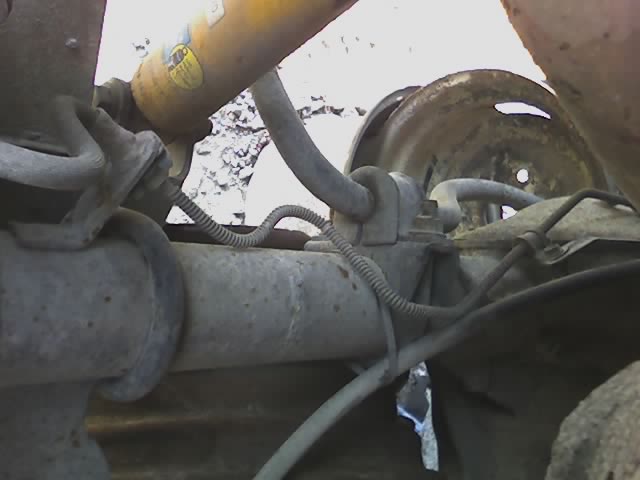
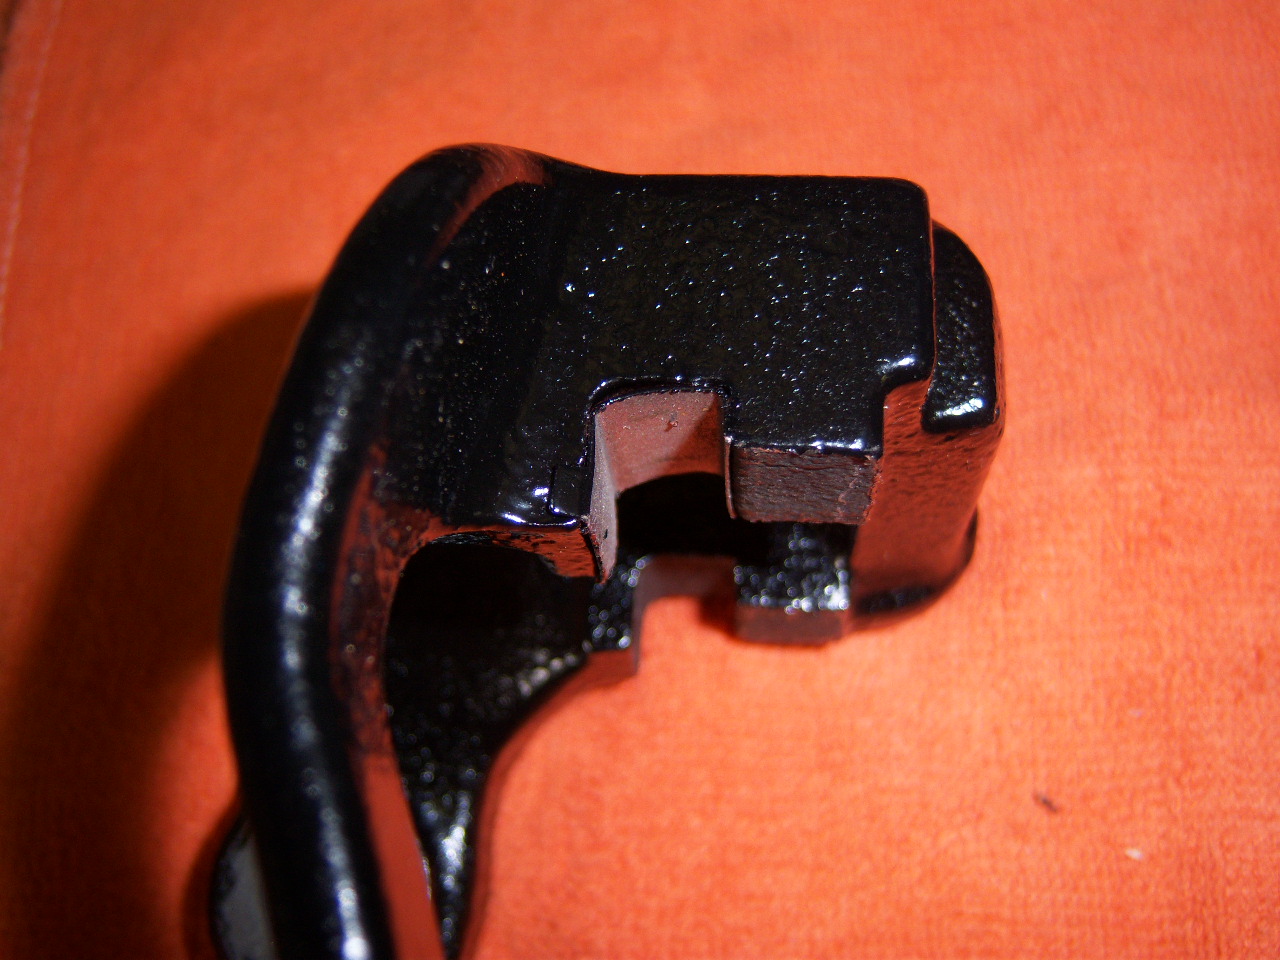
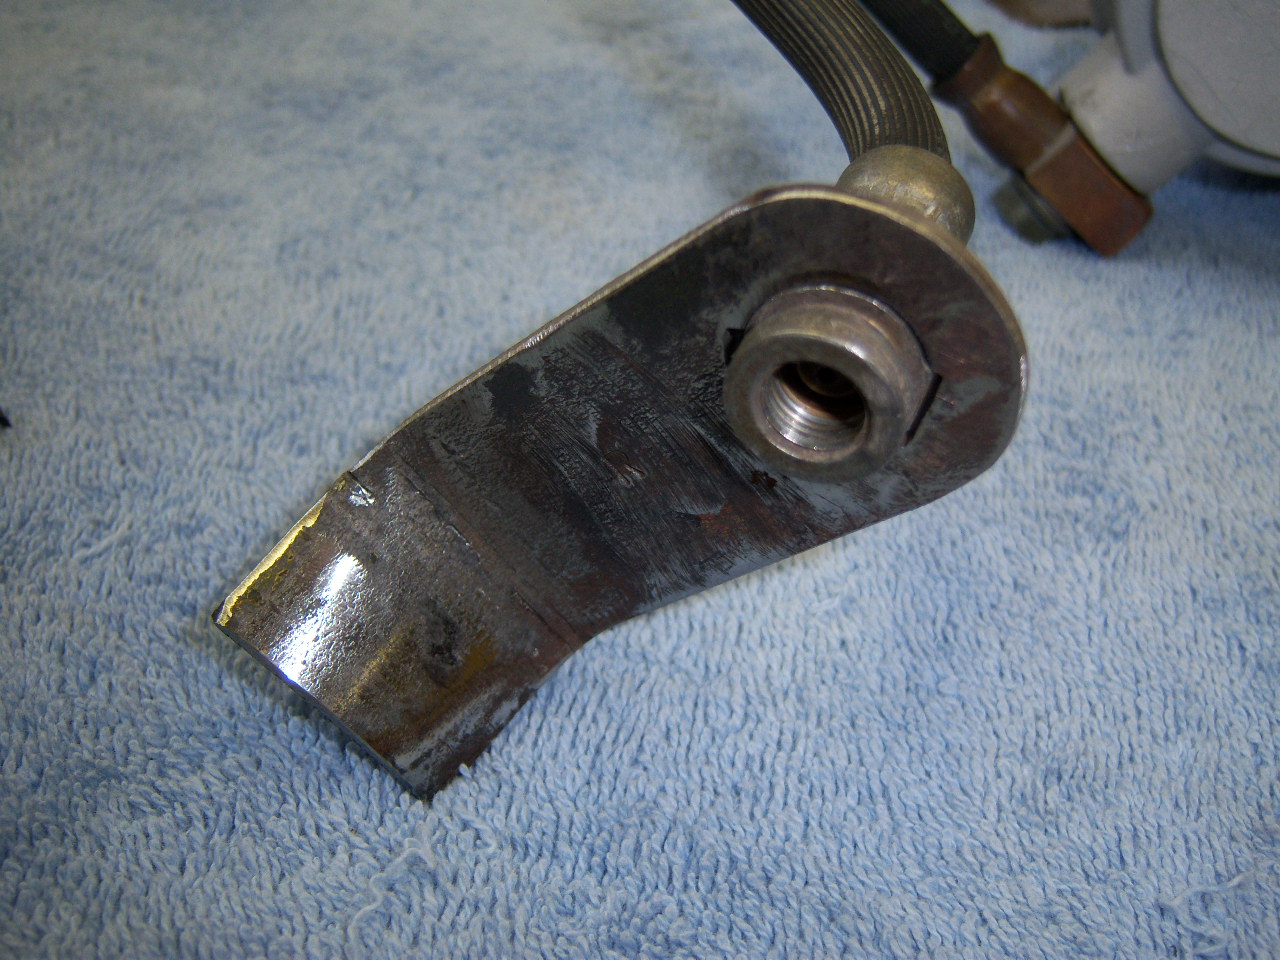
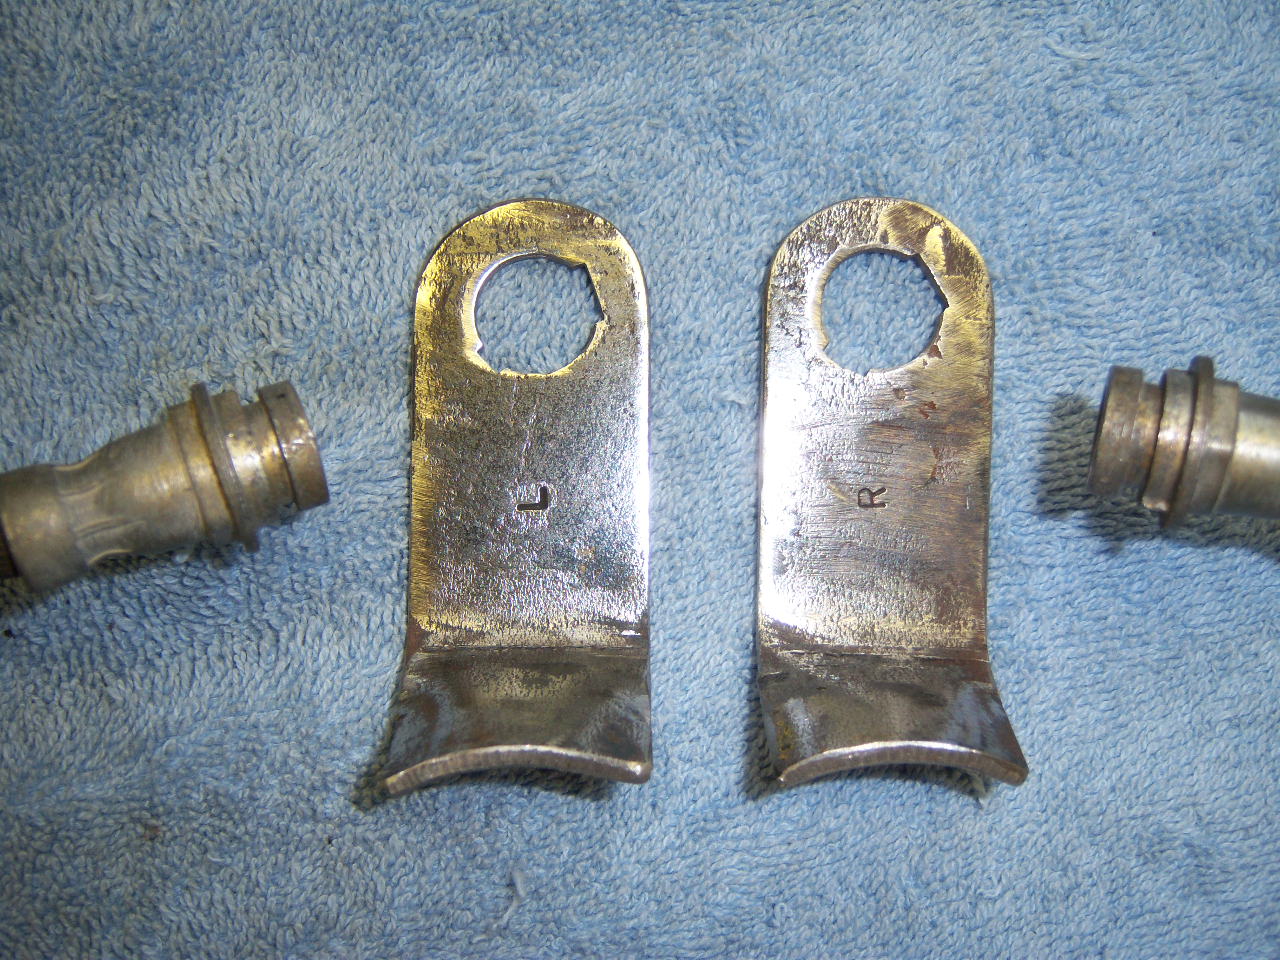
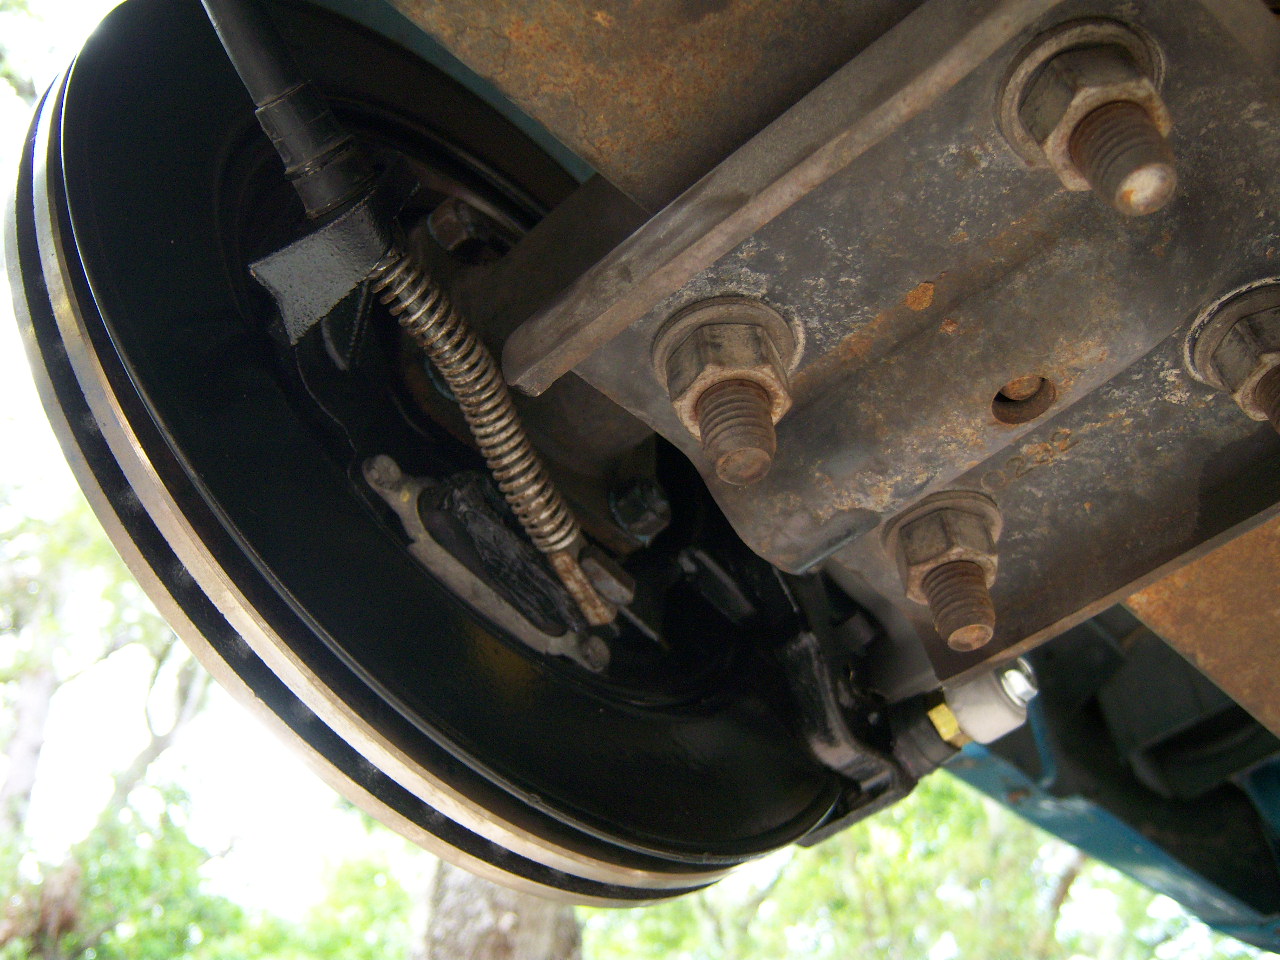
One item that we could not get from the Blazer were the outer axle hose
brackets. They were welded to the tube (see cell phone camera shots above).
My father simply made some out of mild steel, notched for the hose ears and
curved the bottom to weld to the tube.
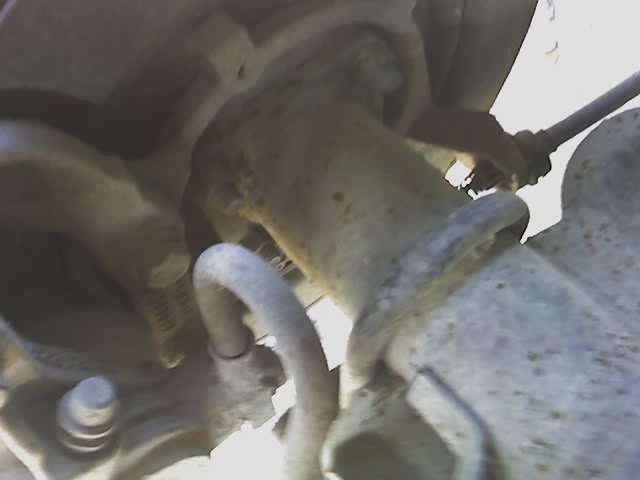
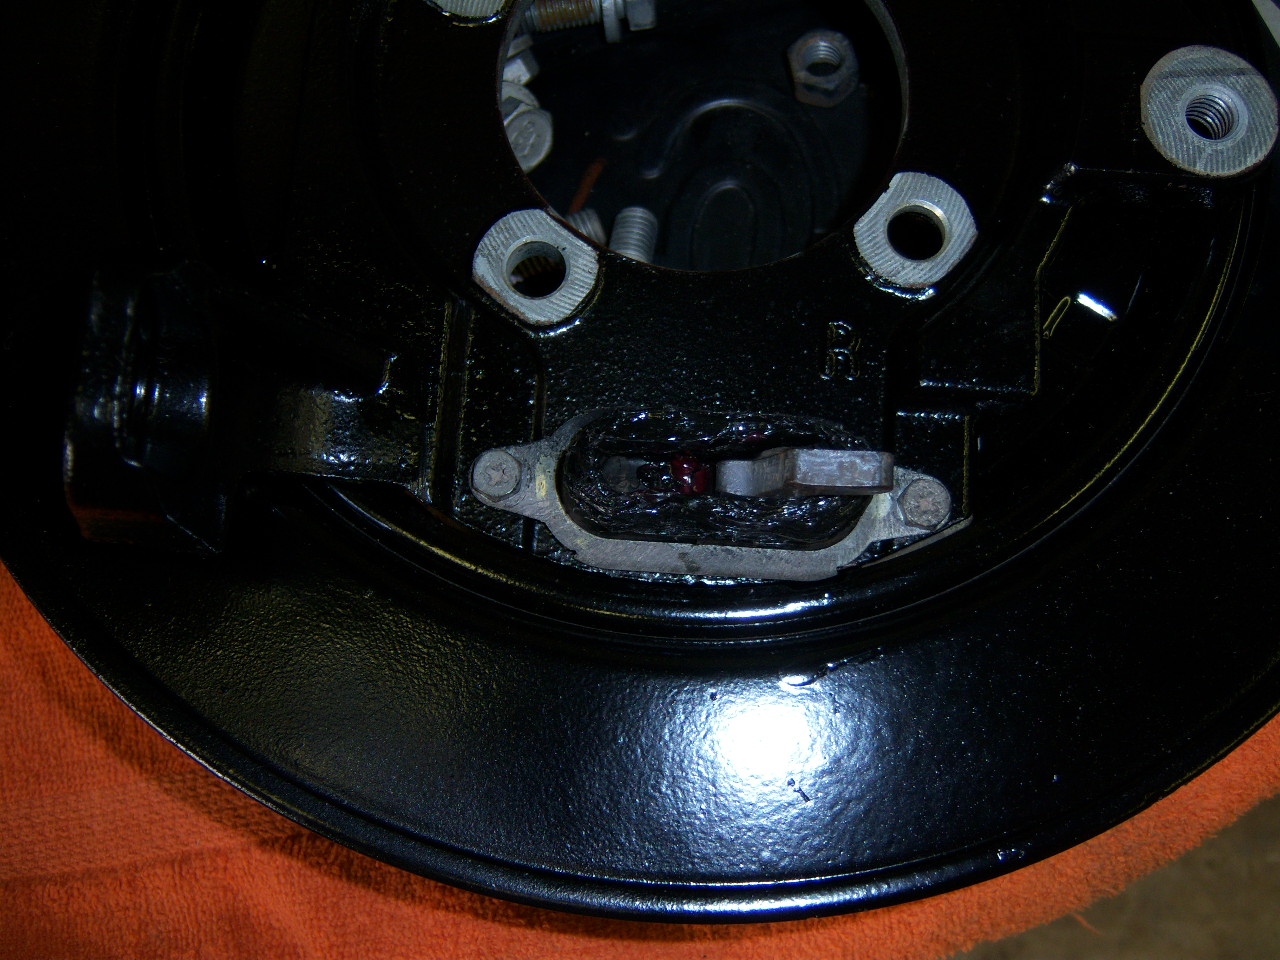
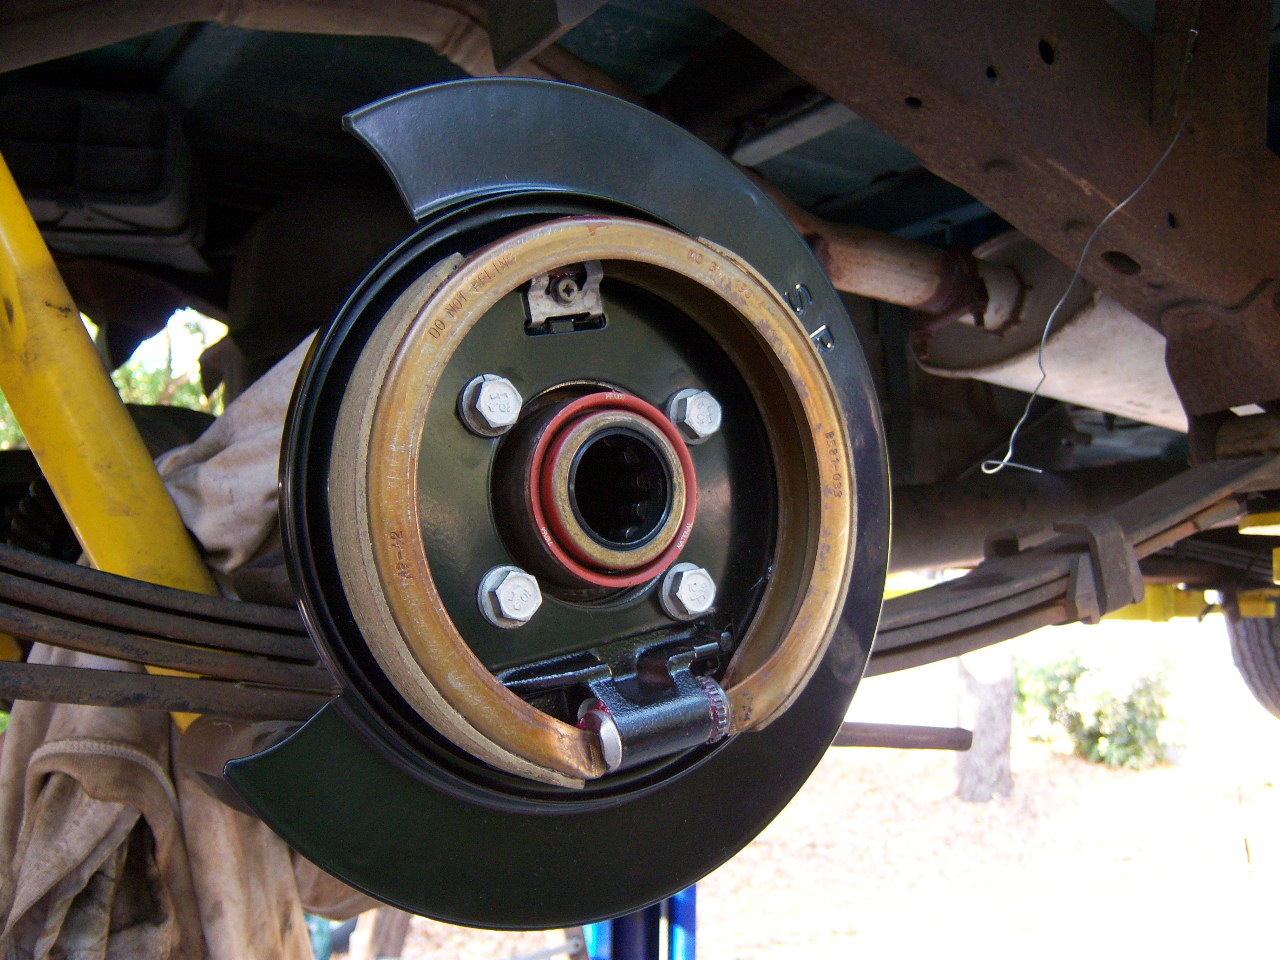
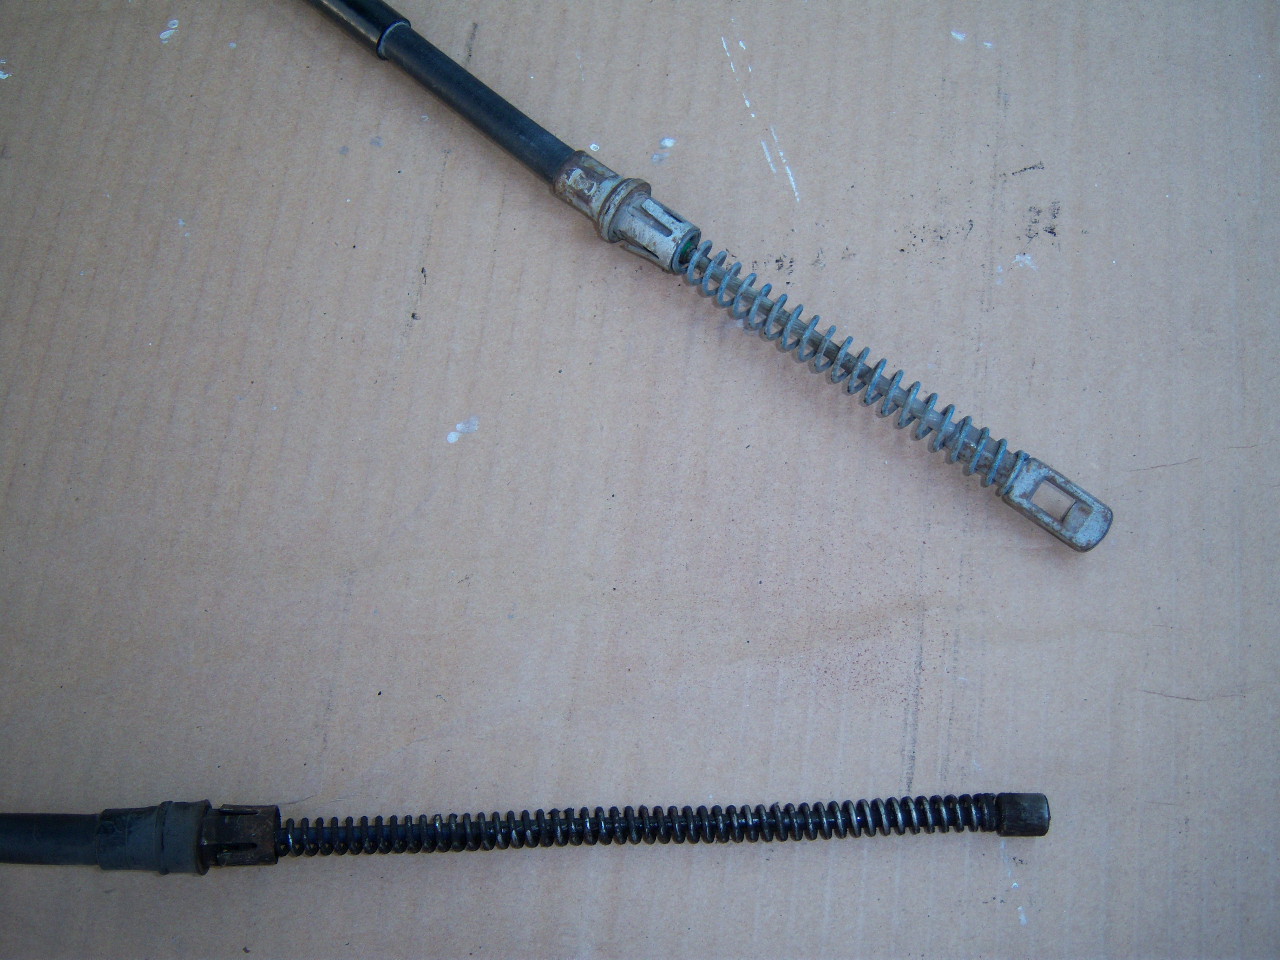
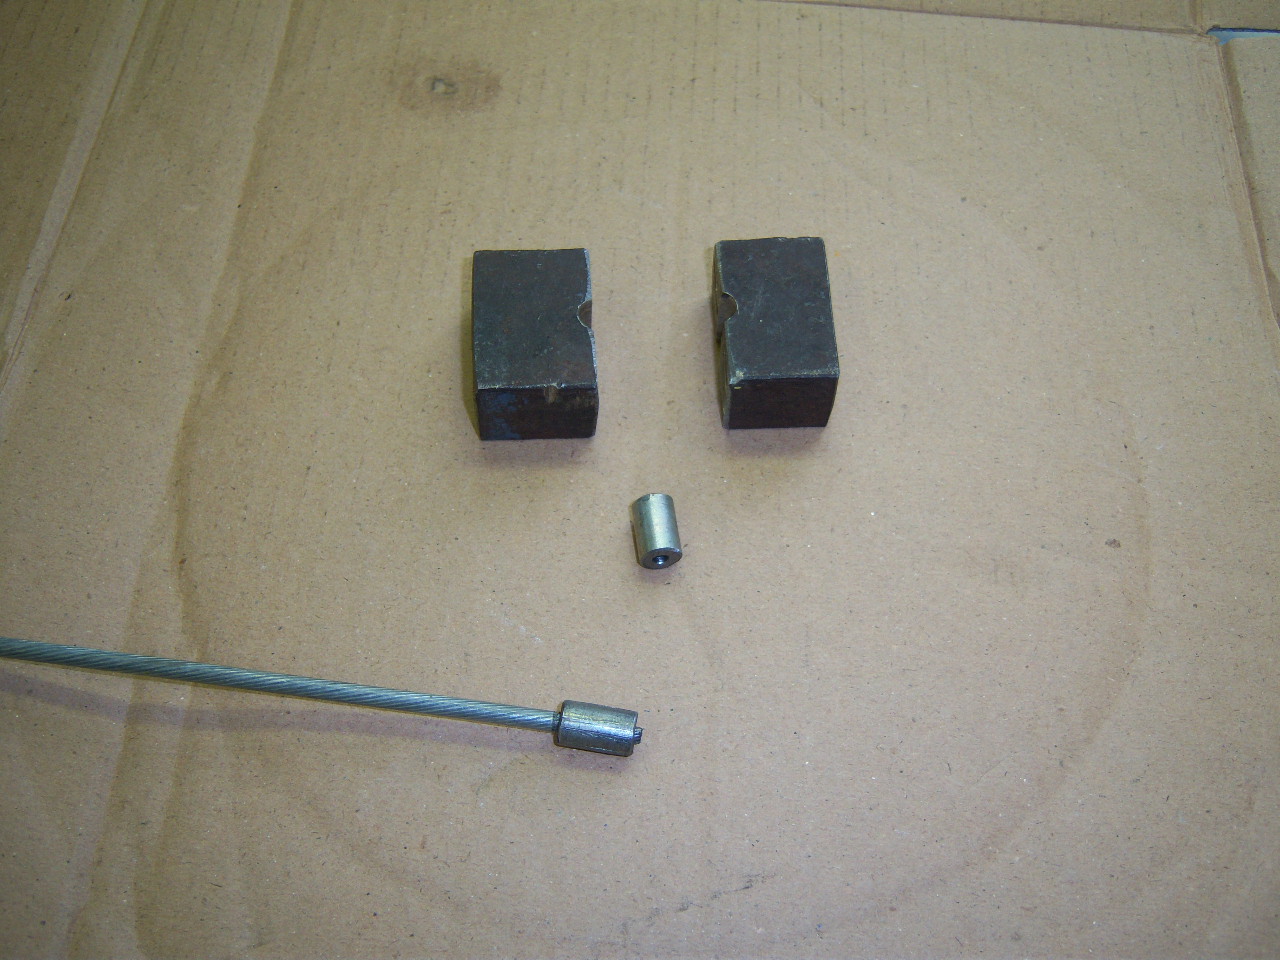
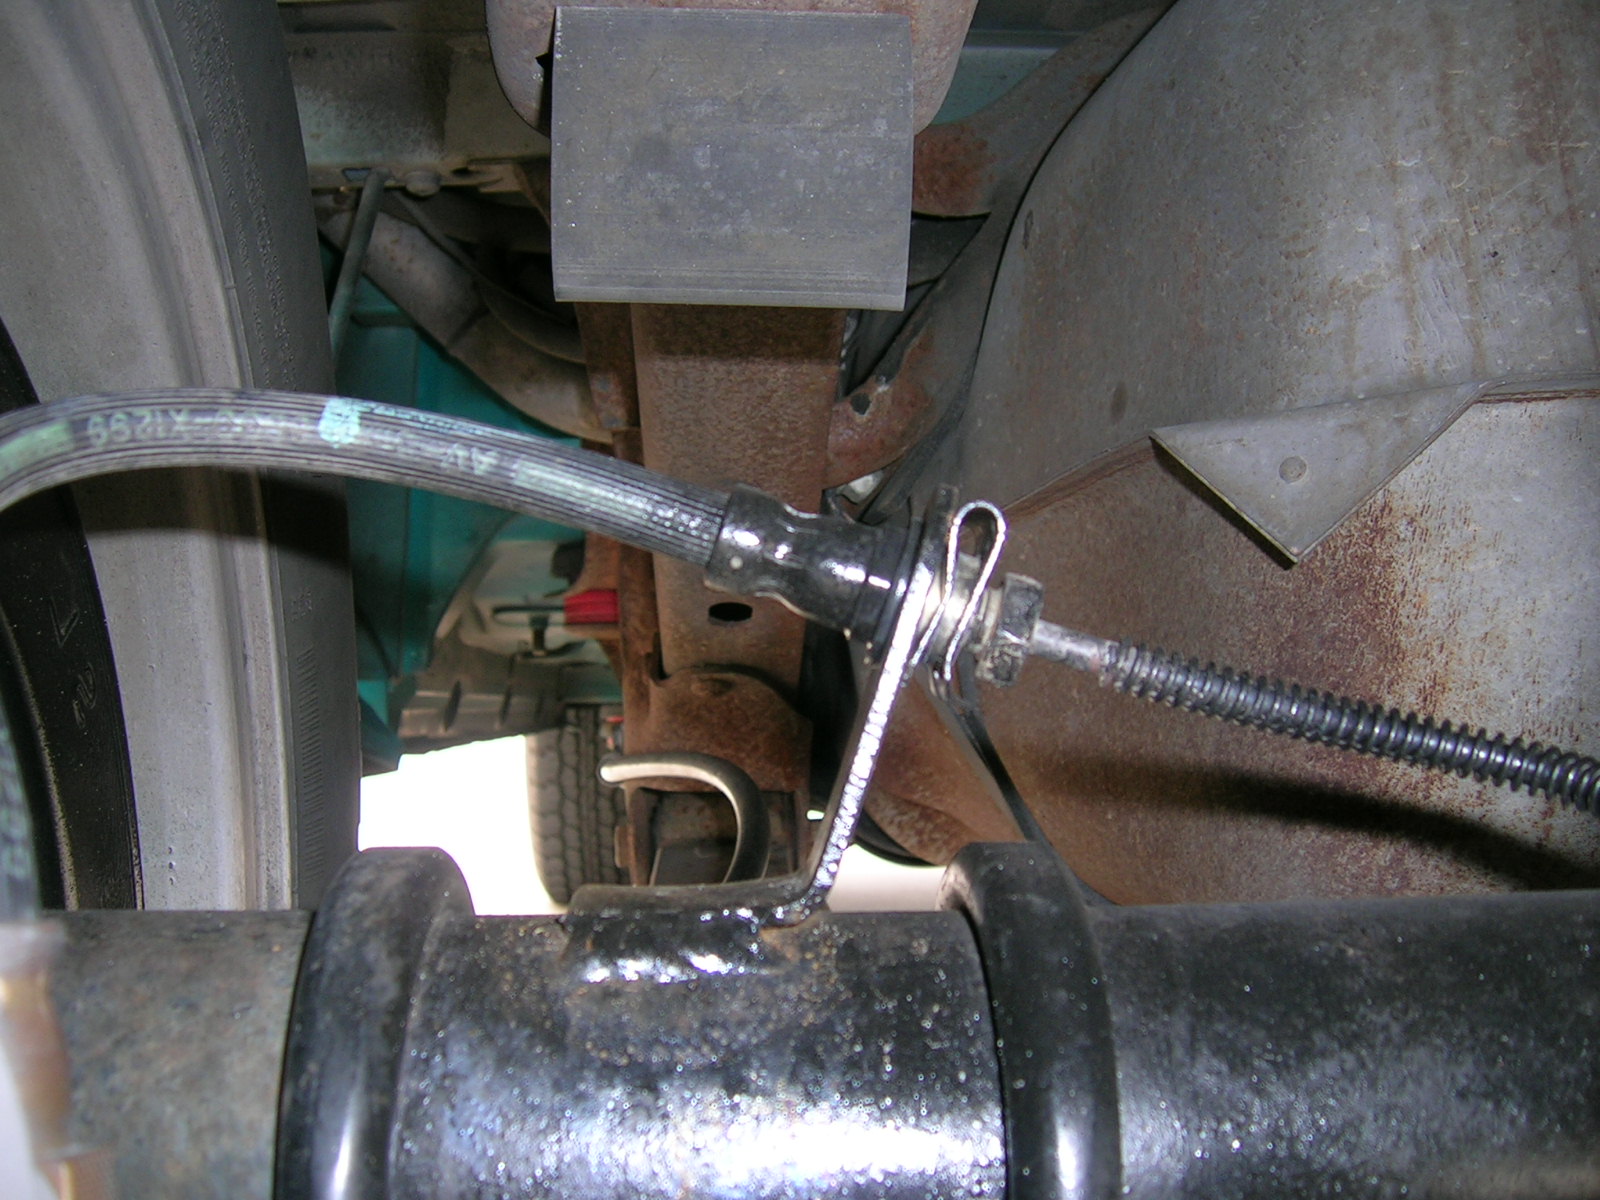
Now that the "easy" part is finished, it's time to hook up the E-brake somehow. When I was at the junkyard, I snagged the original cables to make the swap complete. Of course they were different lengths and mounted in different locations than on the pick up. Rather than spend a lot of time making the Blazer brackets work on the truck, or simply looping the drum cable's barrel end around the E-brake lever, I came up with a simpler and safer solution.
I kept the original drum brake cable jackets and replaced the inner cable
with the inner cable from the Blazer. All we had to do was trim them to the
correct length and crimp on a barrel end to connect with the original truck's
Y-adjuster. This was done with our custom crimp block and 20 ton press.
Simple, effective and done like the factory would have!
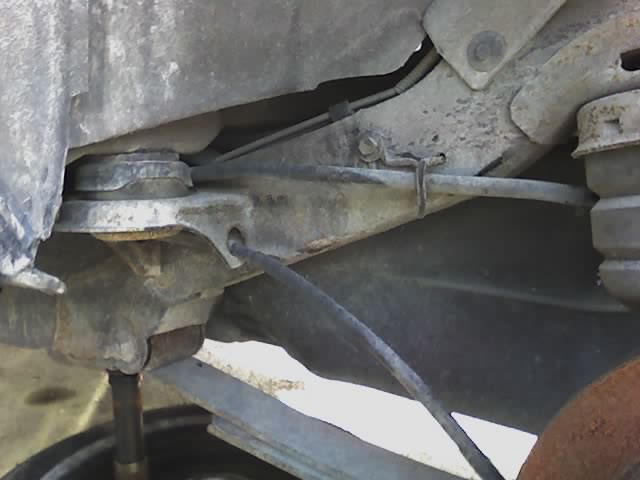
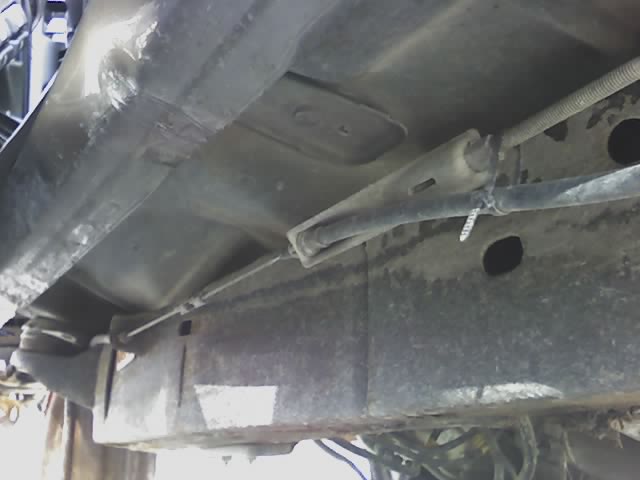
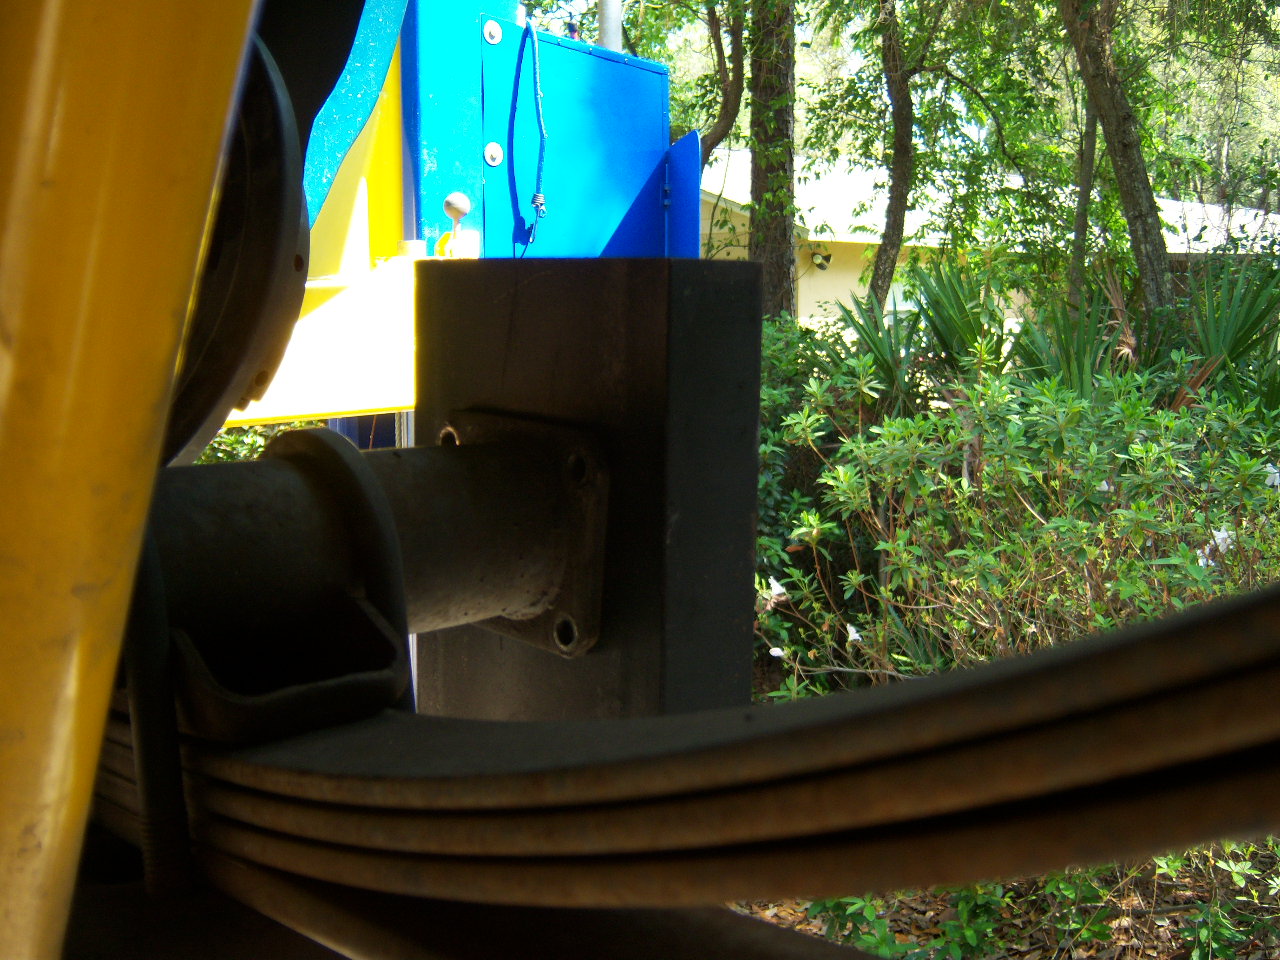
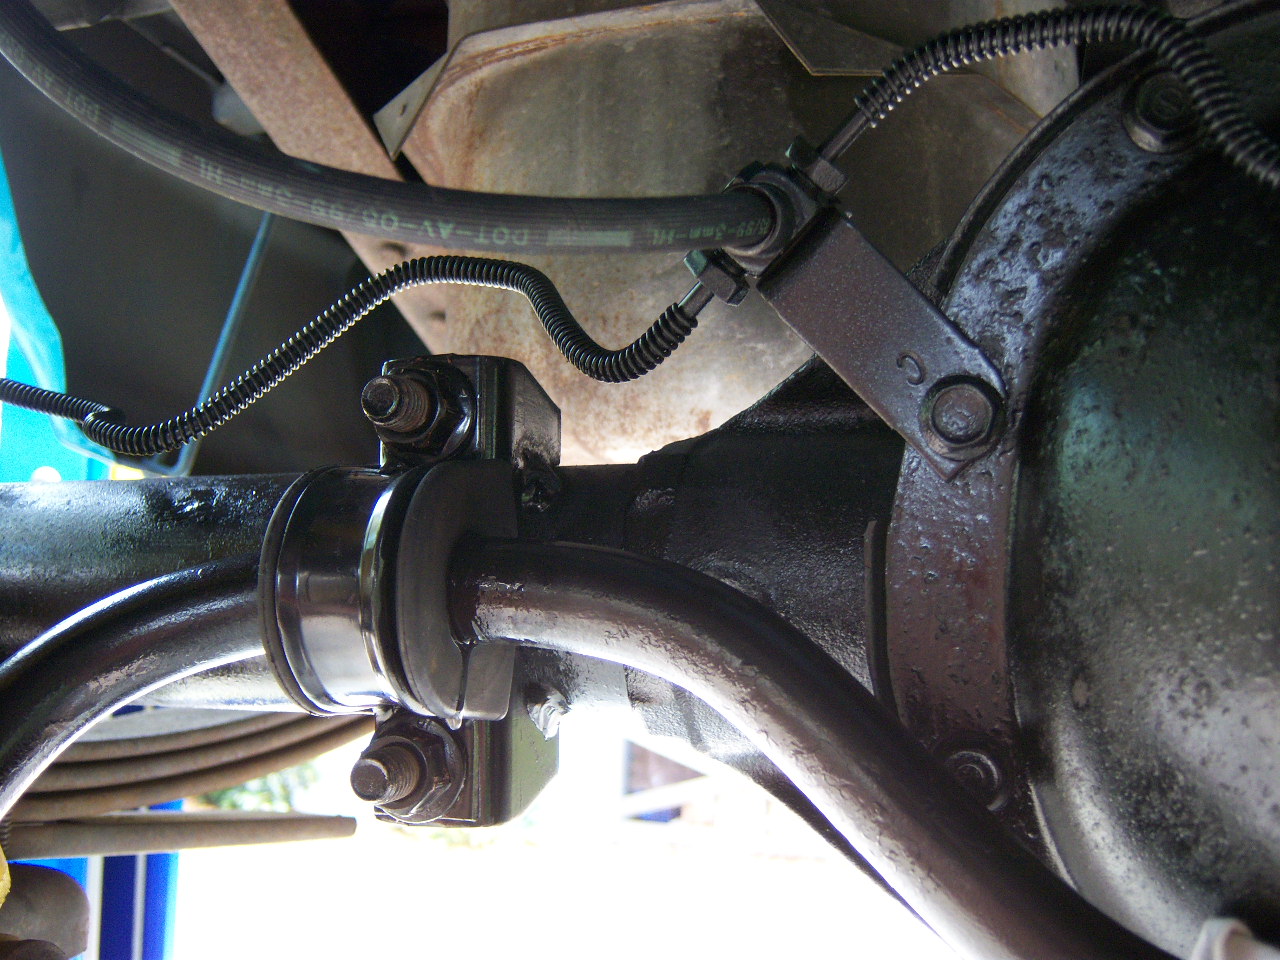
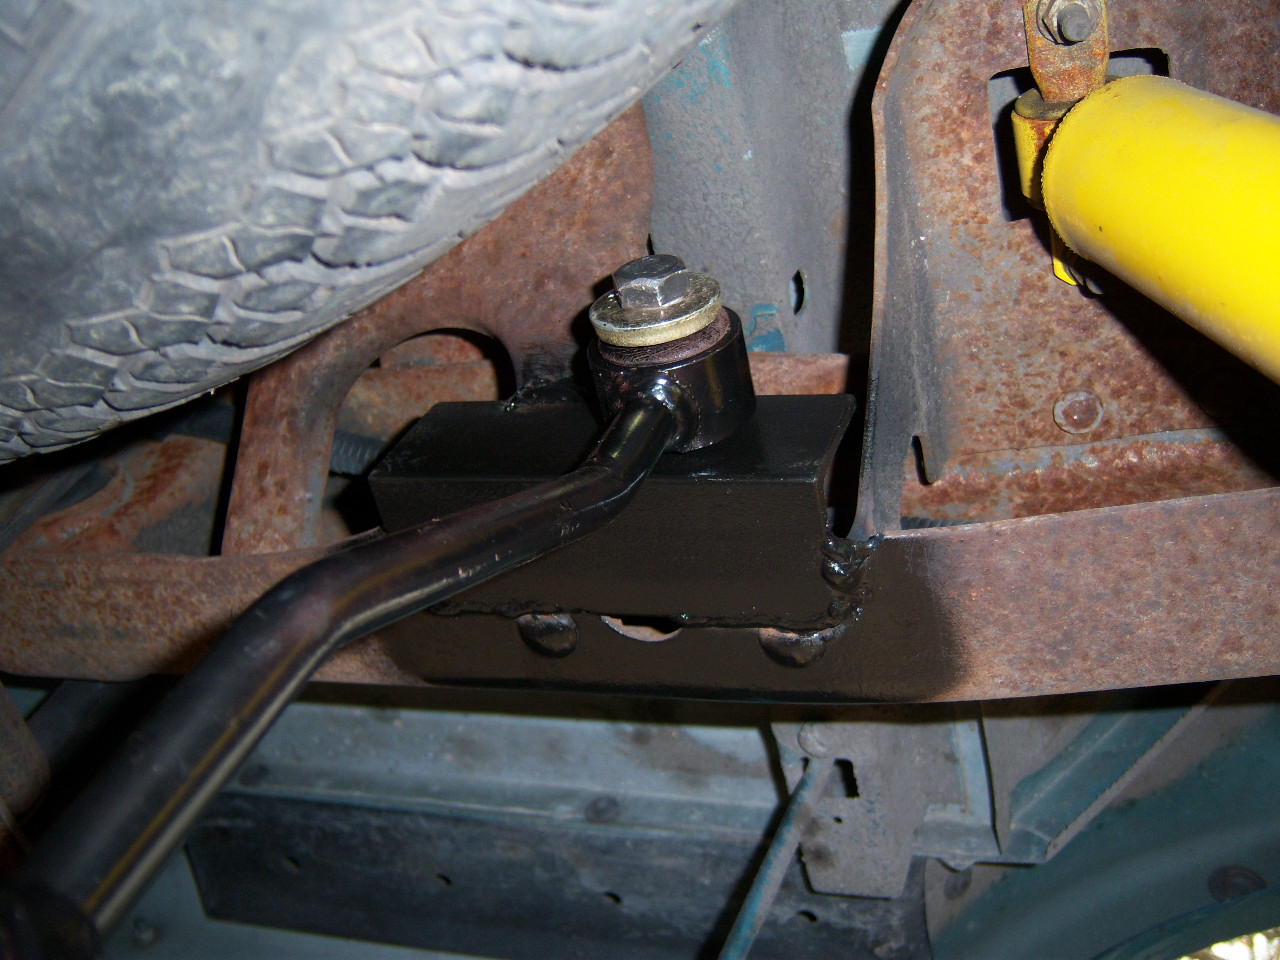
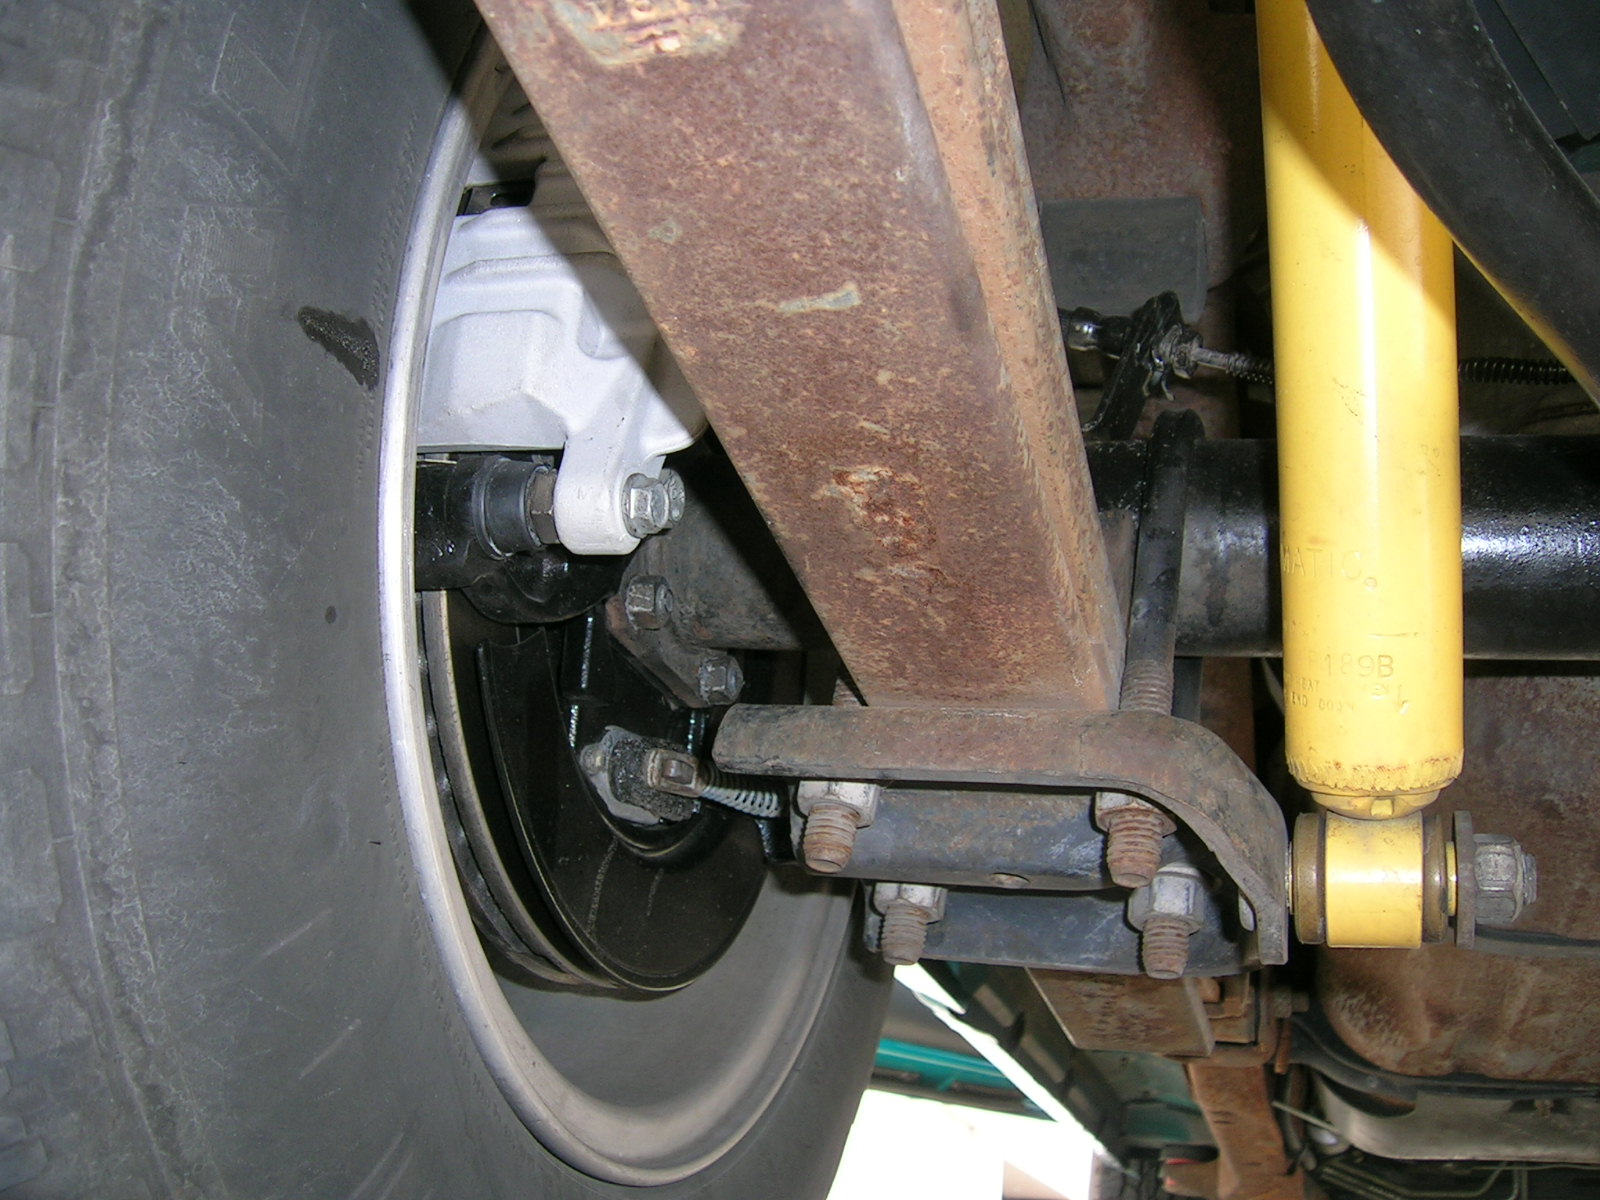
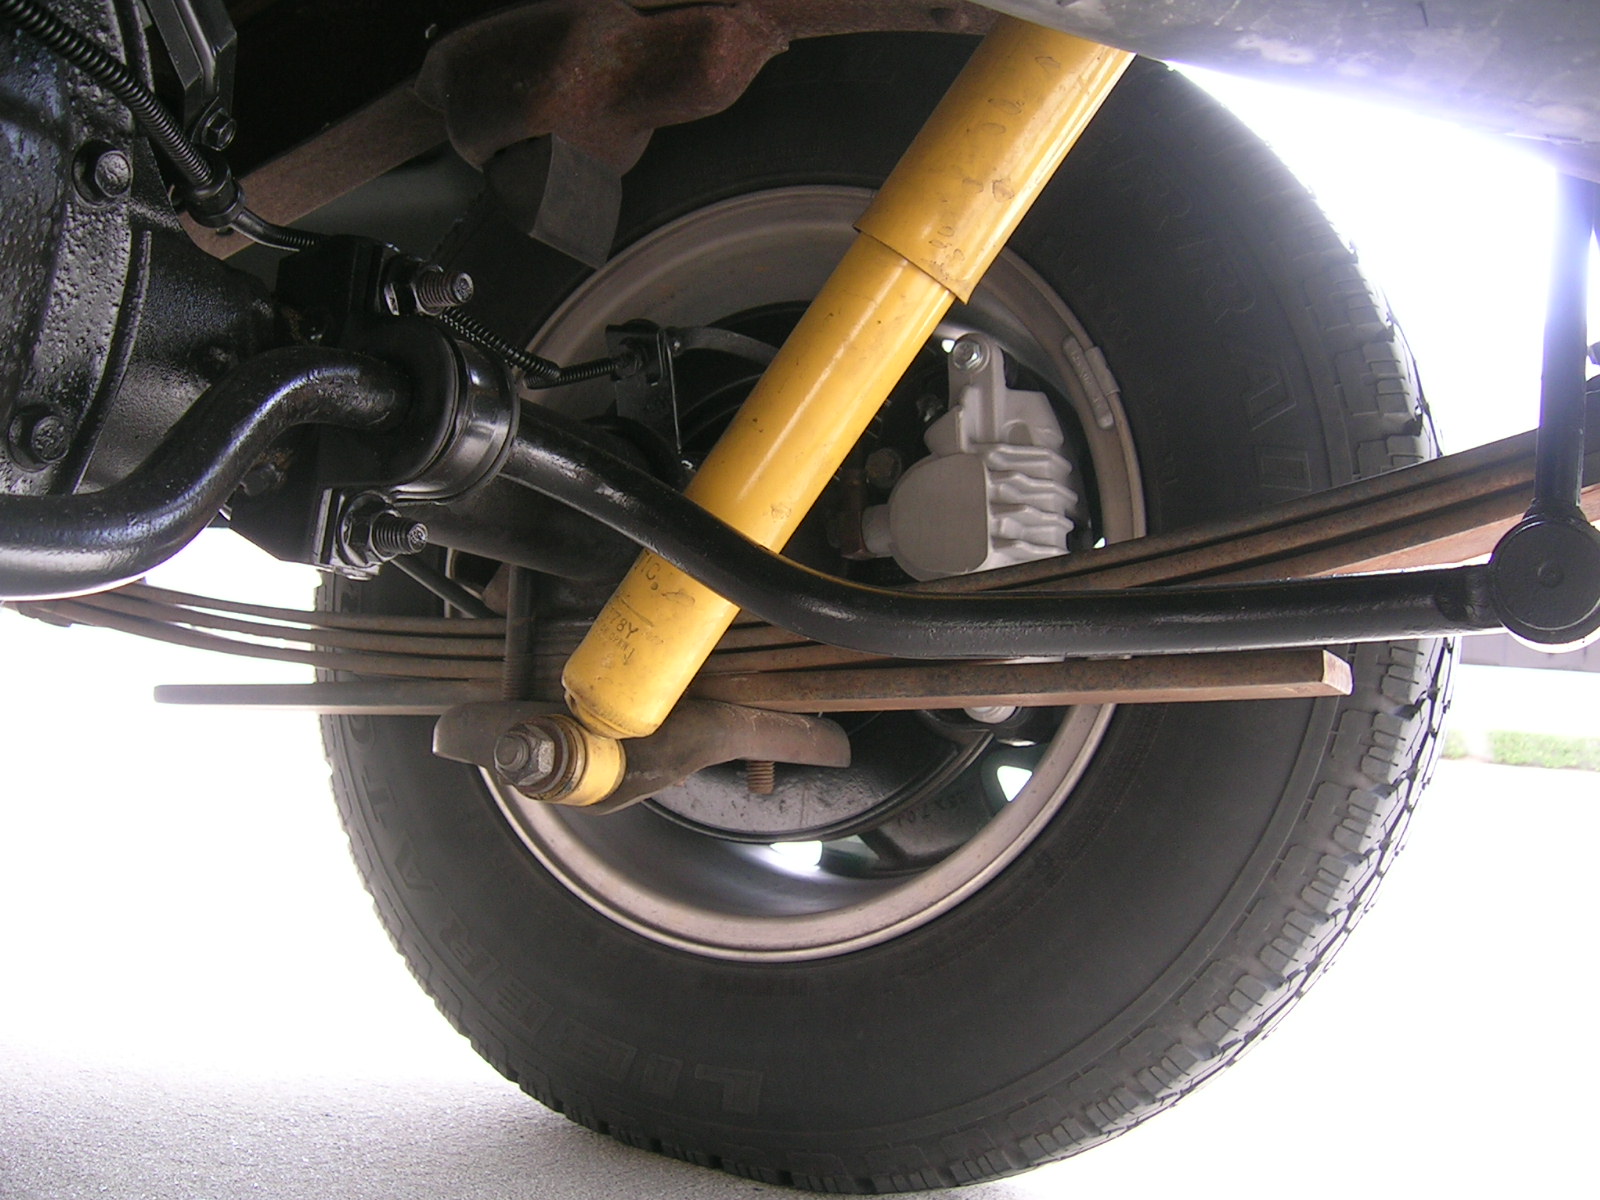
The last item I wanted to install was the rear anti-sway bar from the Blazer. The bar was cheap and I figured, "why not". The U-bolt and plate were easy enough to remove. The plate was then welded to the tube to keep it from rotating under load. The Blazer originally had tabs welded to the tubes to keep them from rotating. The Blazer's accident bent the drop links so I left those behind. Also they were flimsy rolled steel made into a tube which wasn't even welded for rigidity. Instead, I got a set from a 1996 Ford Explorer. The Ford version was much nicer: solid steel rod and they were bent in an offset fashion. Another item I could not get were the frame mounts for the end links. They were welded to the Blazer's frame. Again I came up with a simple solution: weld a piece of 3/16" thick angle iron in place on the frame. The bolt then runs through to a nut which is welded on the backside. Done.
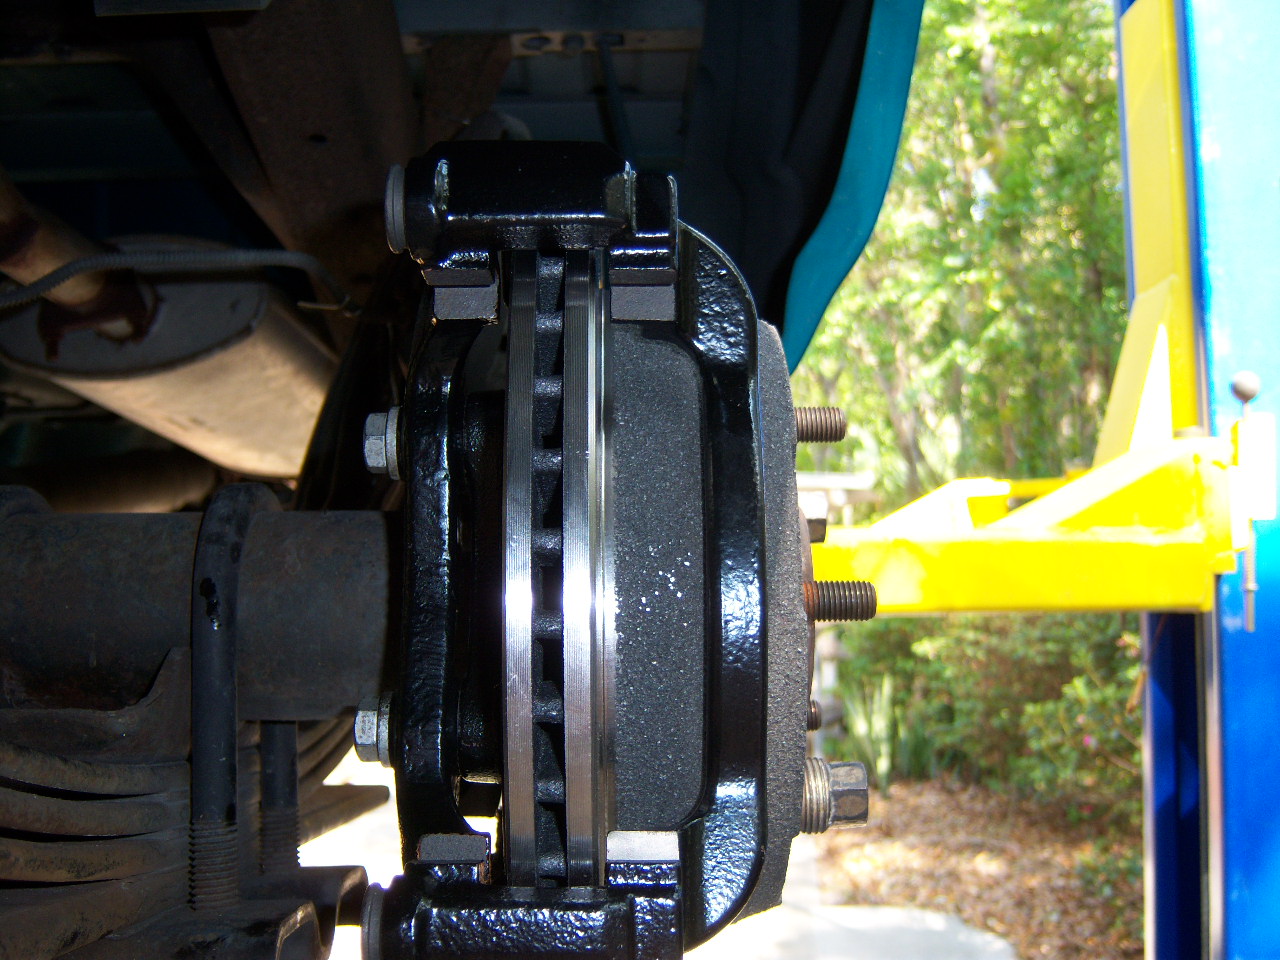
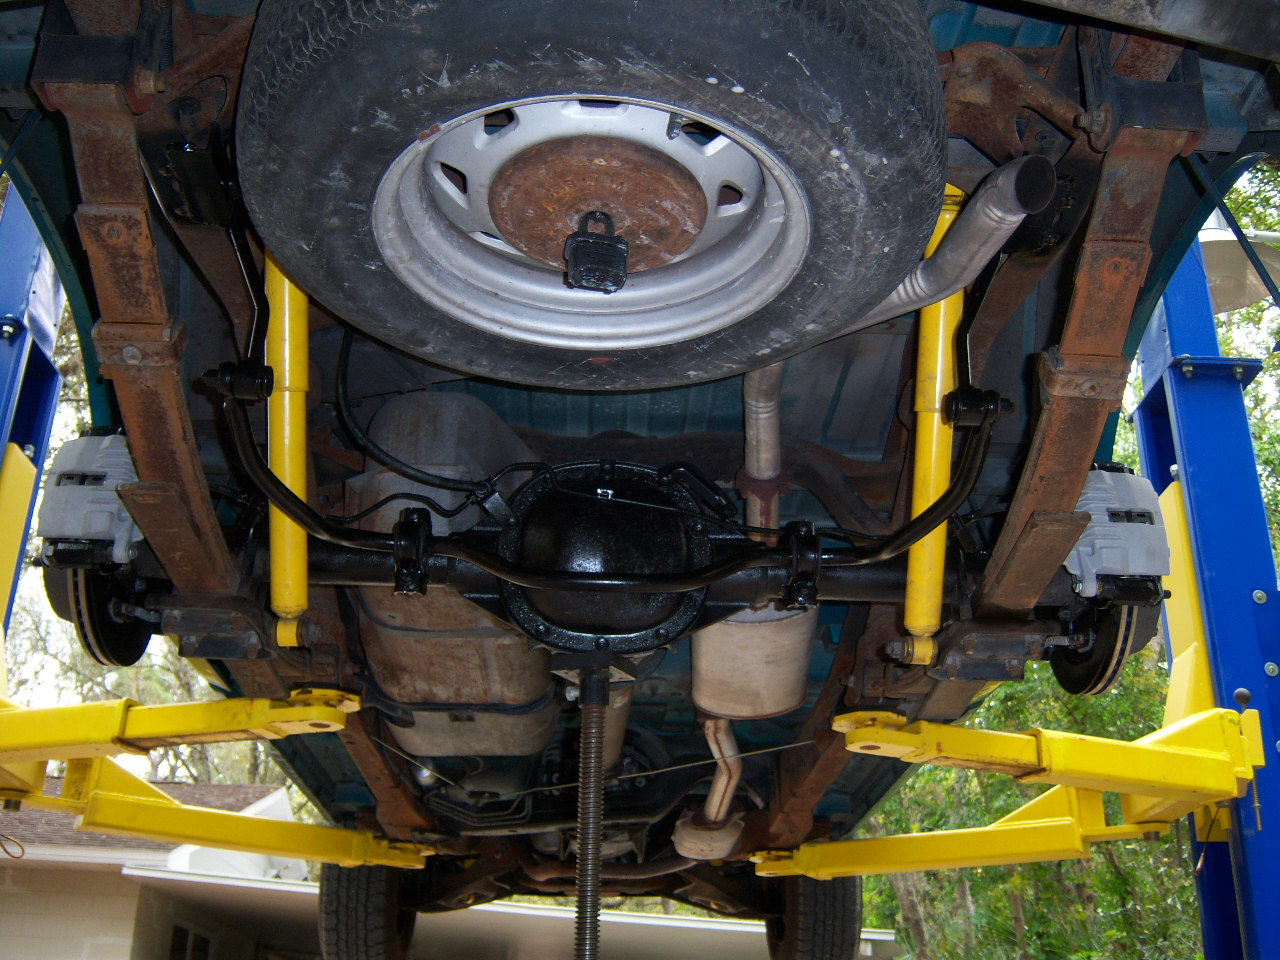
Here are some final shots of the project:
The truck now stops like a sports car. It also handles quick turns much better thanks to front and rear sway bars.
Here is the grand total on this conversion. You might be able to get some items cheaper!
| Item | Quantity | Price Ea. | Extended |
| Disc Backing Plate | 2 | 15.00 | 30.00 |
| Caliper Bracket | 2 | 12.00 | 24.00 |
| Caliper | 2 | 35.00 | 70.00 |
| Splash Shield | 2 | 0.00 | 0.00 |
| Sway Bar | 1 | 30.00 | 30.00 |
| End Links | 2 | 0.00 | 0.00 |
| E-Brake Cables | 2 | 0.00 | 0.00 |
| E-Brake Shoes | 2 | 0.00 | 0.00 |
| Rebuilt Calipers | 2 | 44.00 | 88.00 |
| New Rotors | 2 | 38.00 | 76.00 |
| New Brake Pads | 1 | 35.00 | 35.00 |
| New Caliper Bracket | 1 | 20.00 | 20.00 |
| Sub Total | 373.00 | ||
| 7% County Tax | 26.11 | ||
| Grand Total | $399.11 |
Comments on this set up:
The truck stops very well now.
The same braking result we experienced with the
F-350 are now present with the Sonoma. This included a slightly spongy pedal feel due to the addition of two
more rubber lines. I can also feel the rear brakes working instantly. This is
because the calipers apply instantly; there are no return springs to overcome
such as in a drum setup. Also the metering valve holds off pressure to the front
brakes until a knee point is reached in the rear lines (unknown at this time
what that PSI is). Remember you do not need to modify your proportioning valve
as trucks with rear ABS operate by method of a "dump valve". If rear wheel lock
up in sensed, the computer opens the dump valve to bleed off excess rear line
pressure until the rear wheels start to spin again. The computer doesn't need to
know (or care) whether the vehicle has rear drums or discs.
I was very disappointed that I could not find "caliper rebuild kits" anywhere. The calipers from the junkyard Blazer were in perfect shape. All I needed to fix them would be a seal and dust boot. I had to purchase rebuilt units instead. When I got them home I was very disappointed at the condition the new calipers were in when I opened the box. They looked like they fell off a truck and been run over by several cars. The aluminum had large dents all over, even where the copper washer seal goes for the brake hose was smashed- it would never seal! So I used my junkyard calipers and basically used the seals and dust boots from the "rebuilt" units. So in the end I ended up spending $88.00 on seals and dust boots!
This page was last updated: 08/26/2012