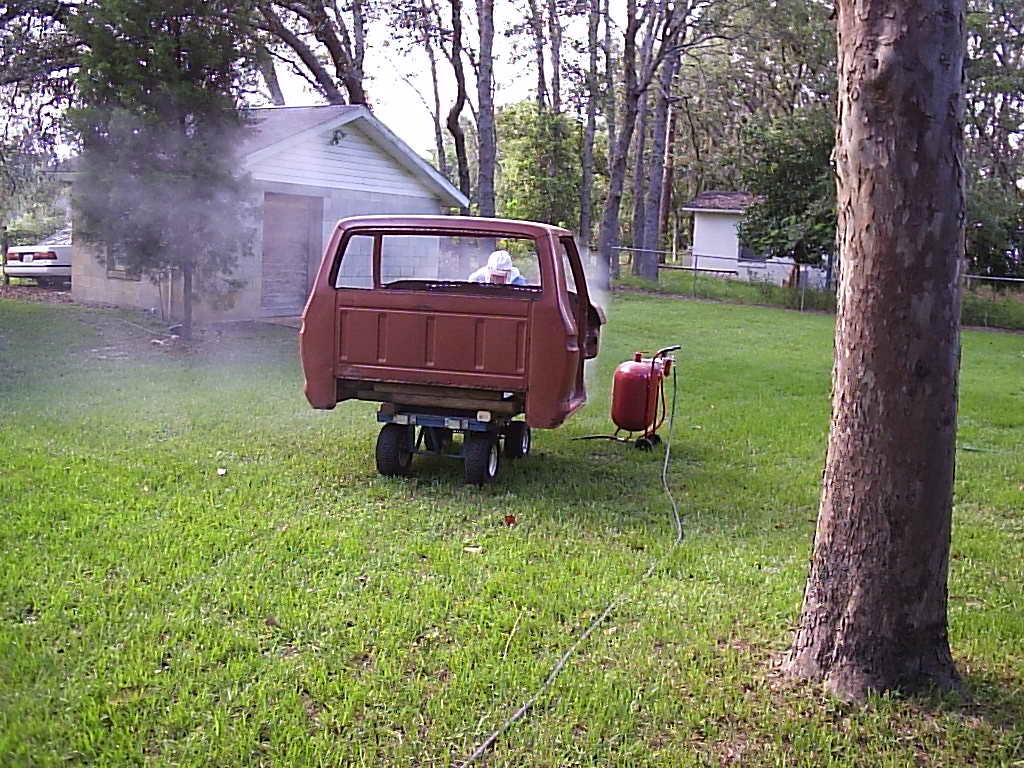
Now we begin the "not-so-fun" aspect of our truck restoration. Although this was always a southern truck, it did have a few rust spots. And as always, the more we dug deeper, the more cancer we found. So began the surgery to make the truck body look as good as the engine and frame.
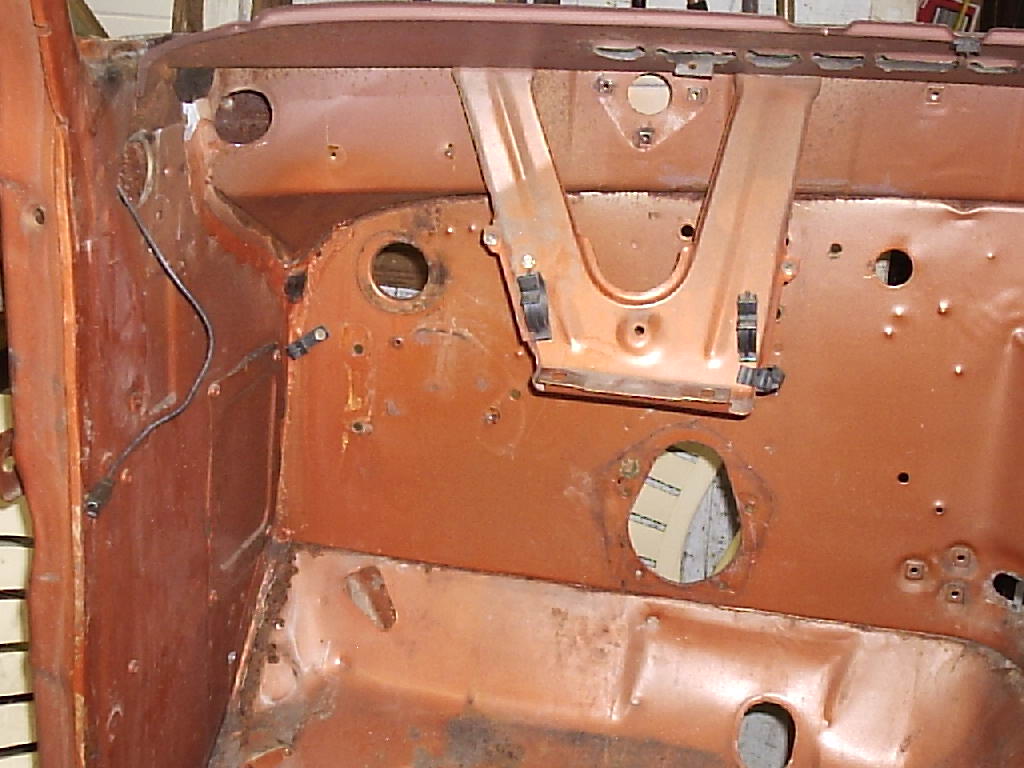
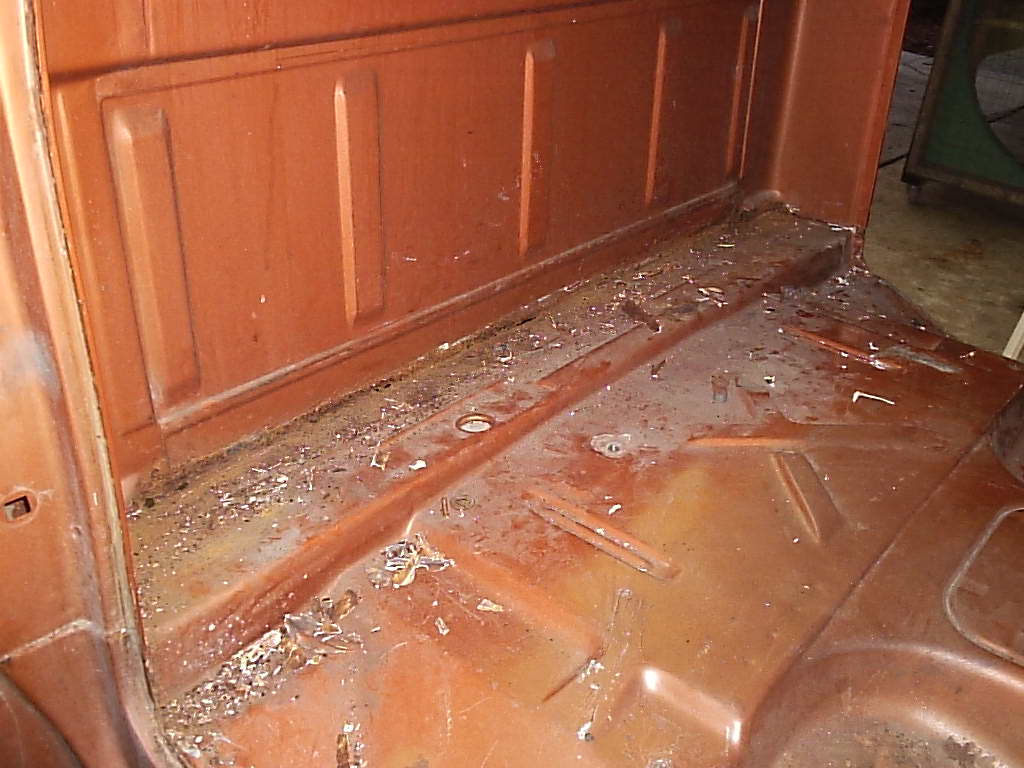
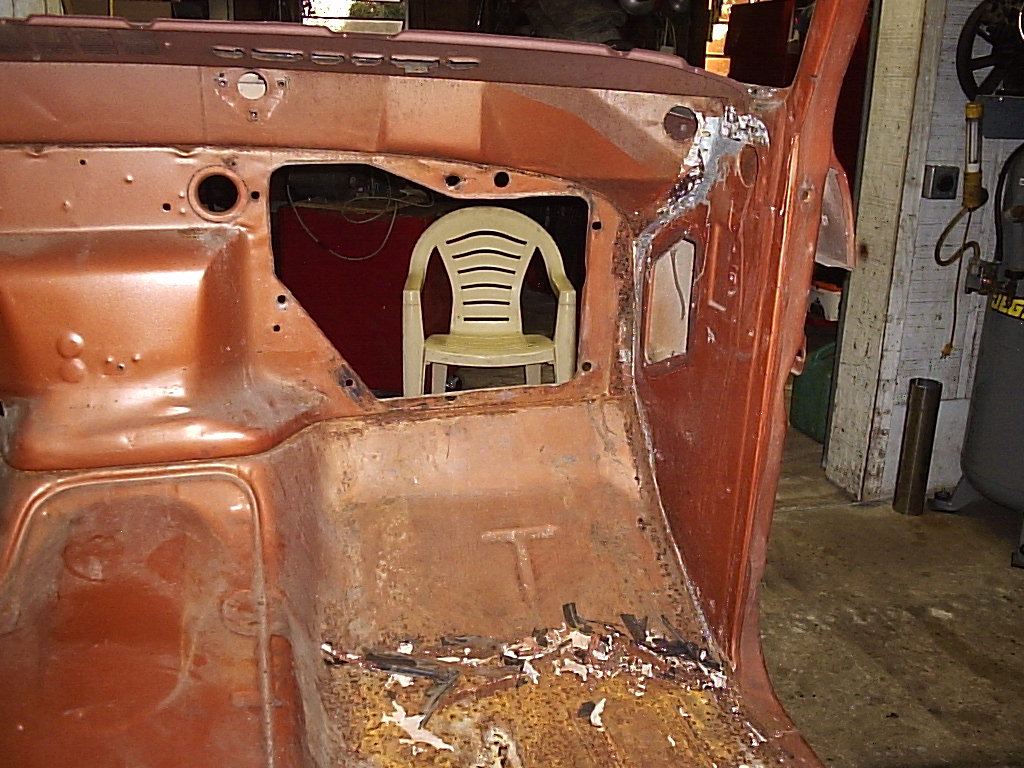
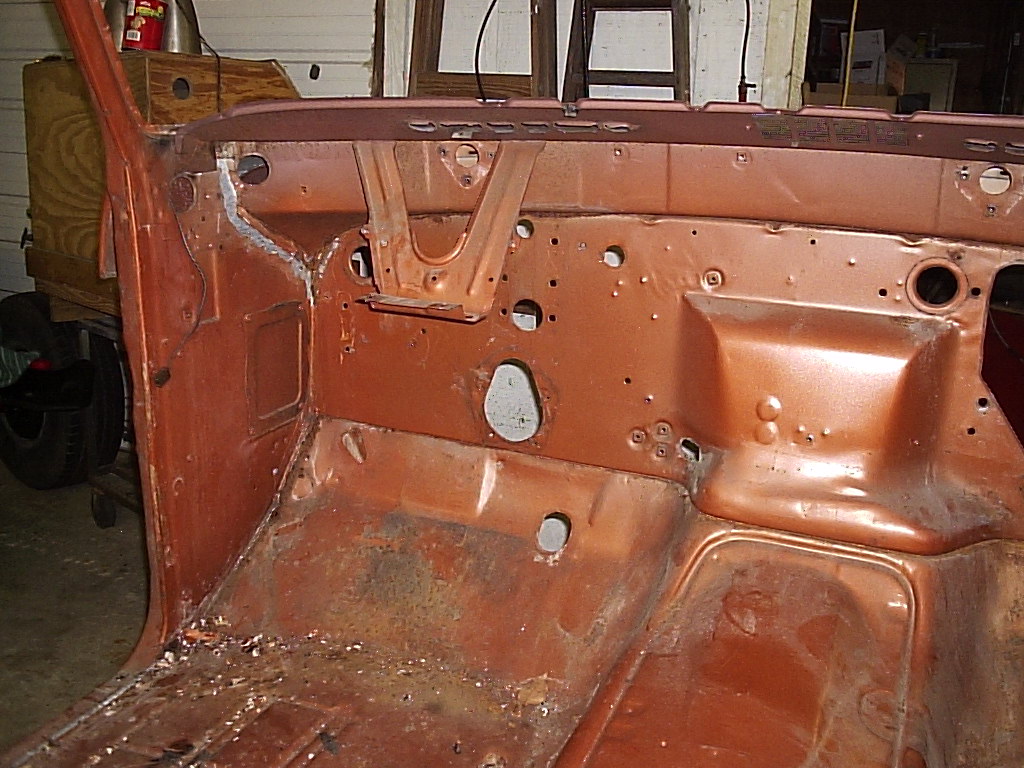
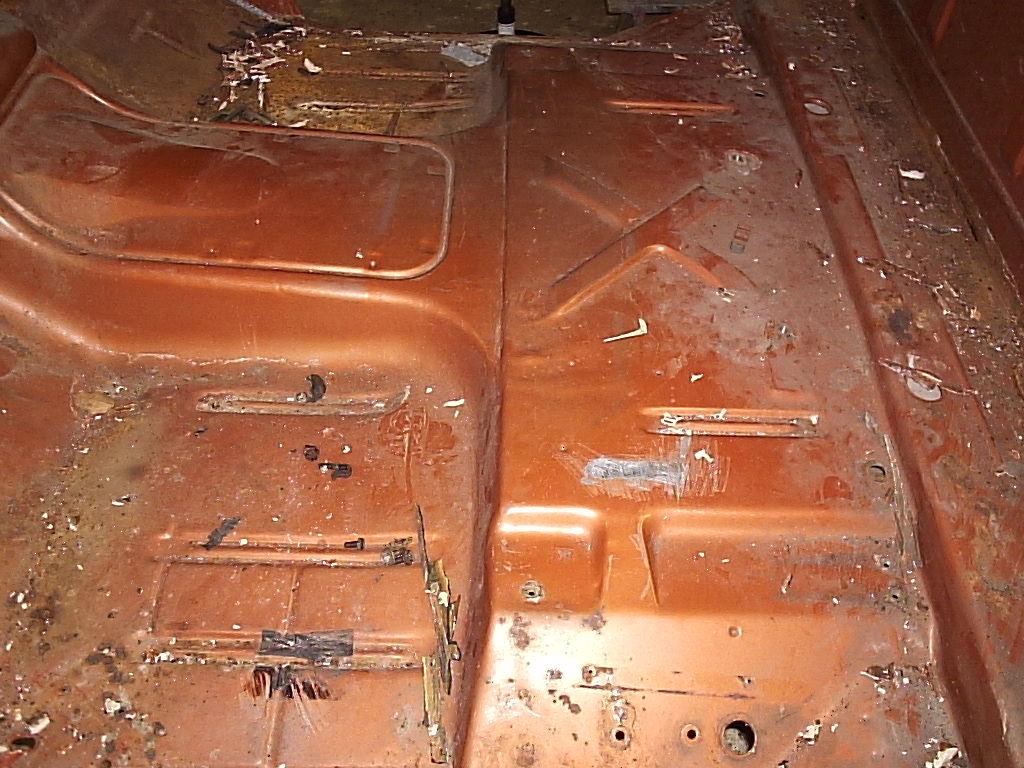
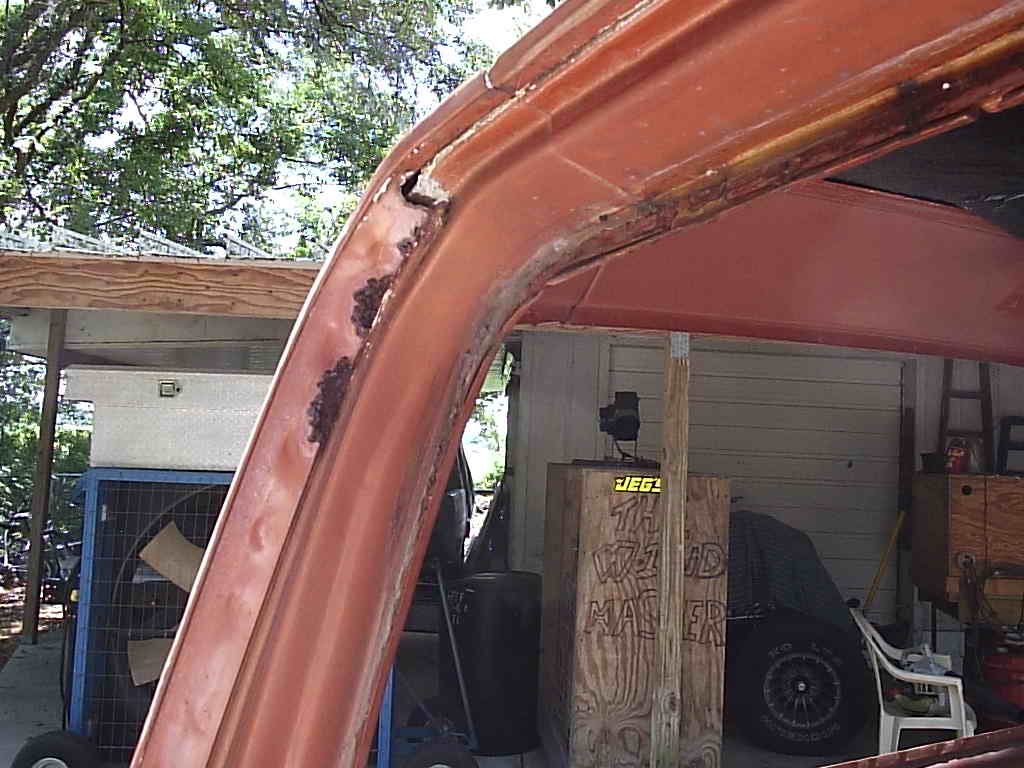
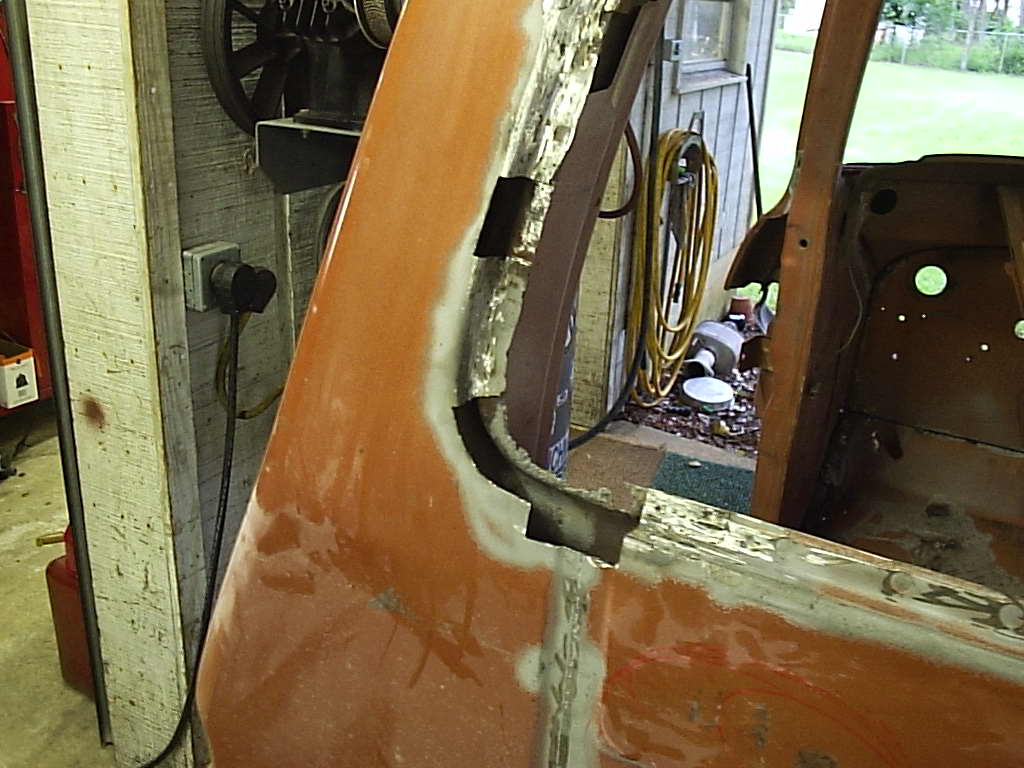
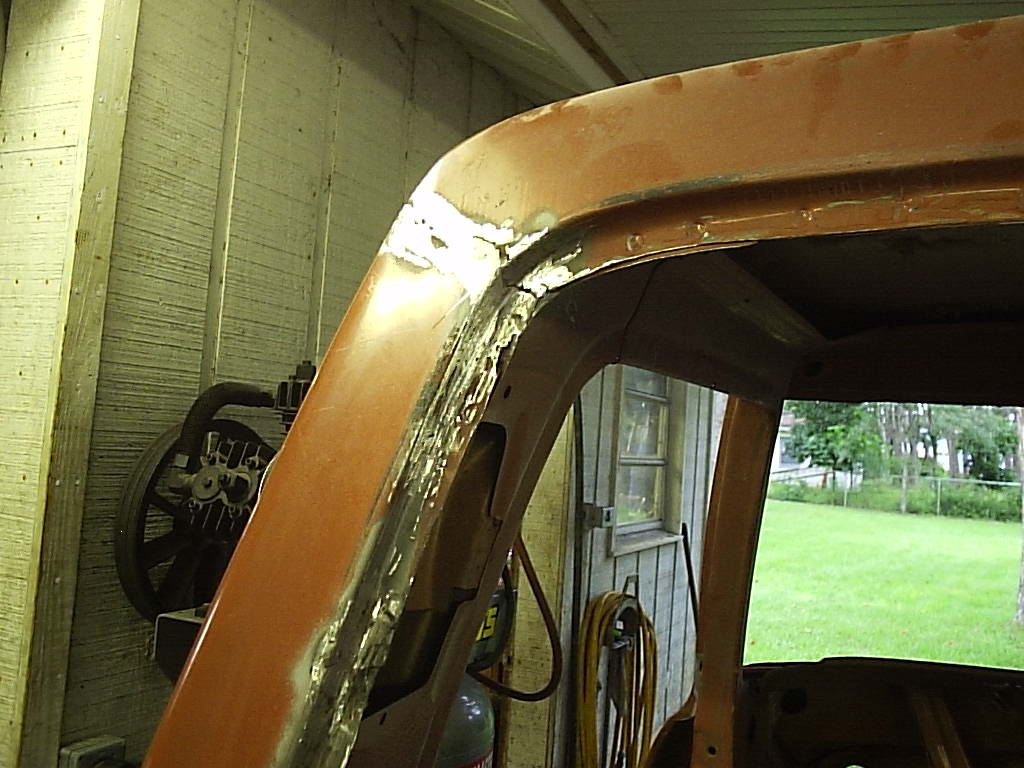
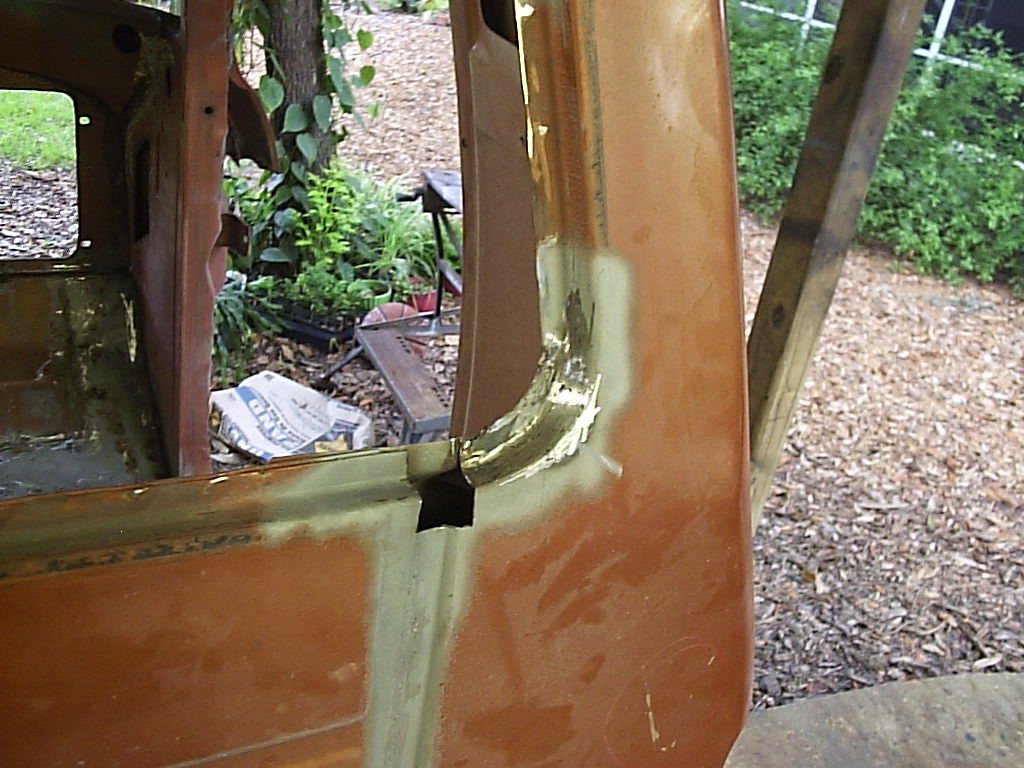
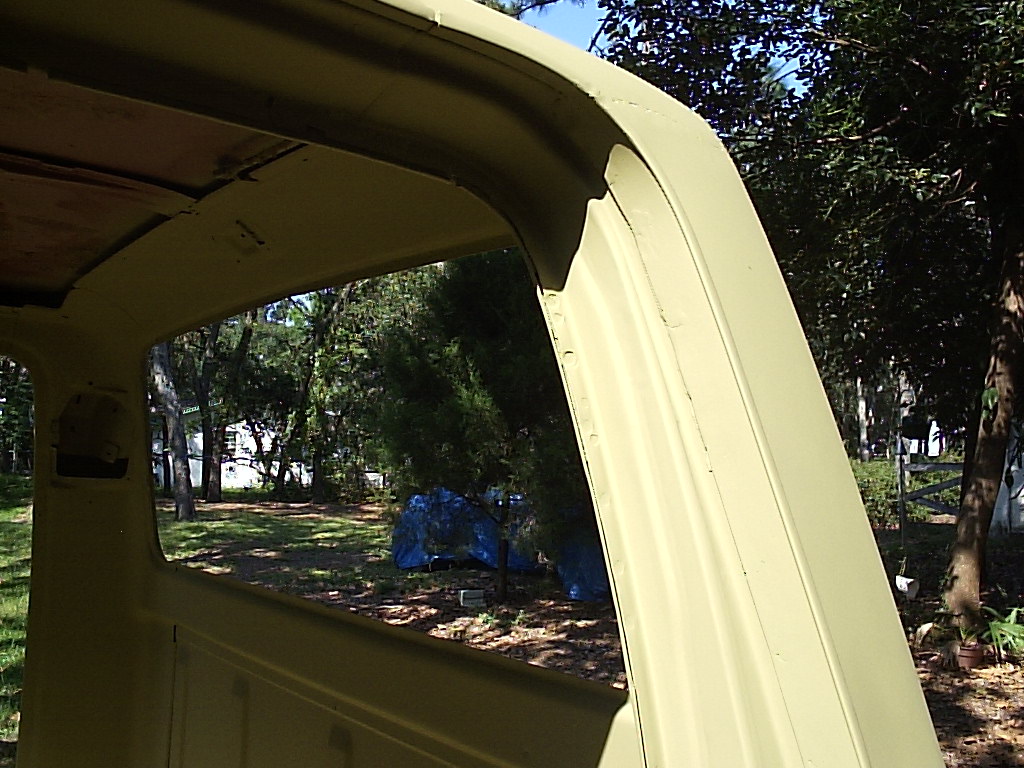
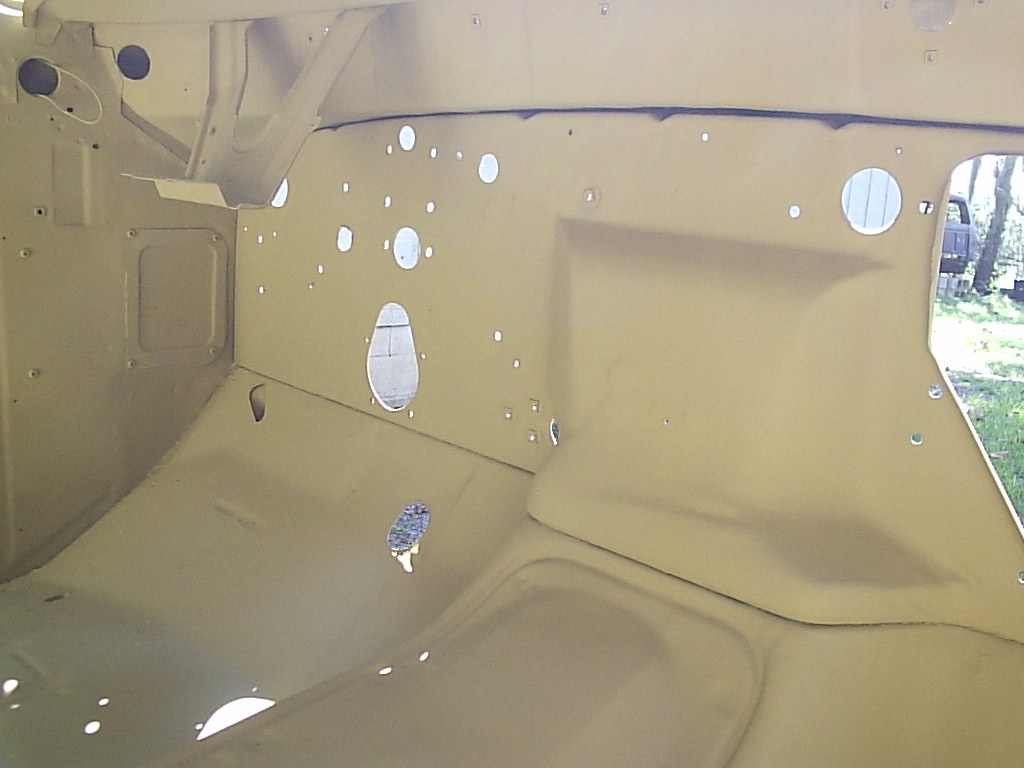
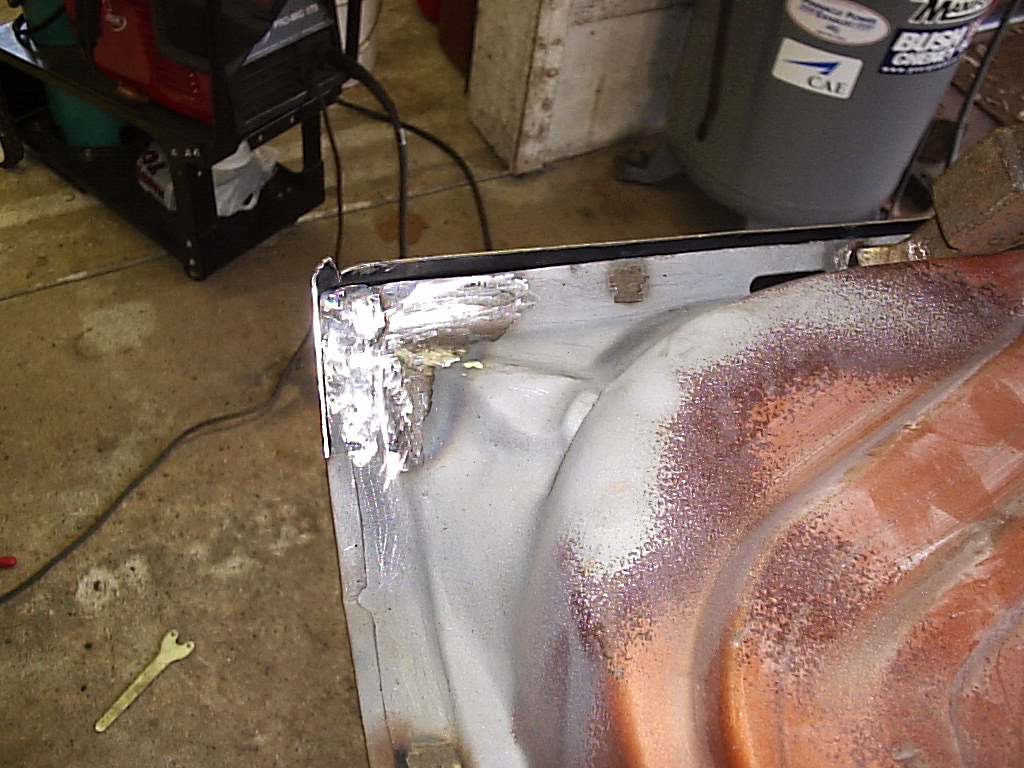
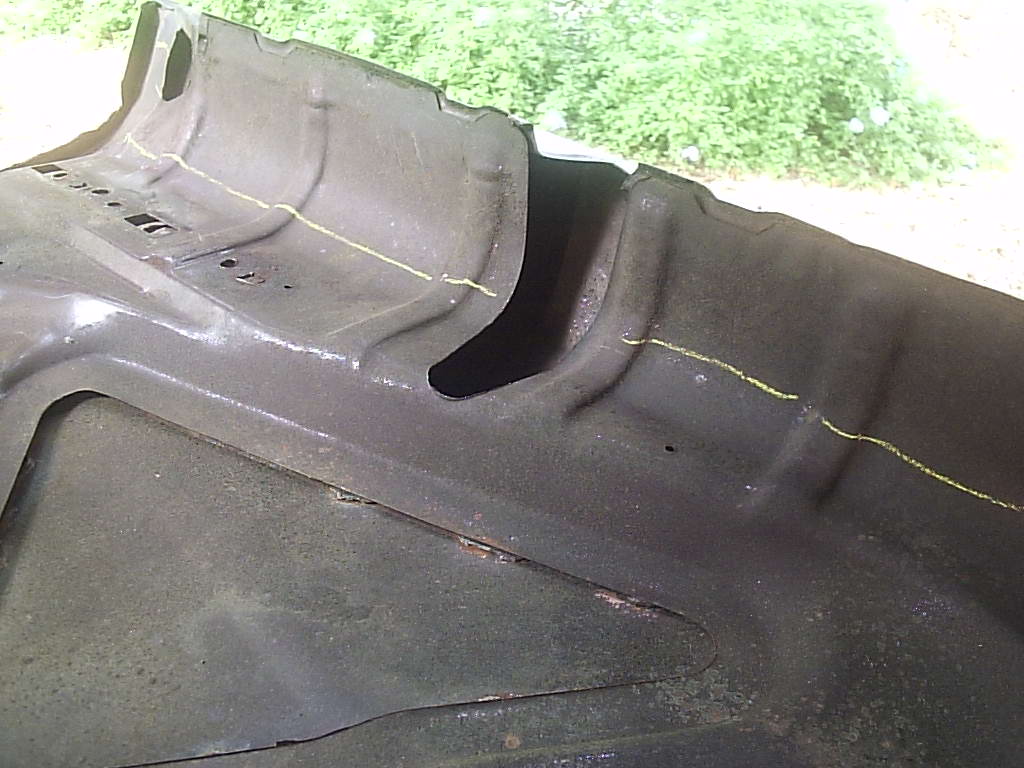
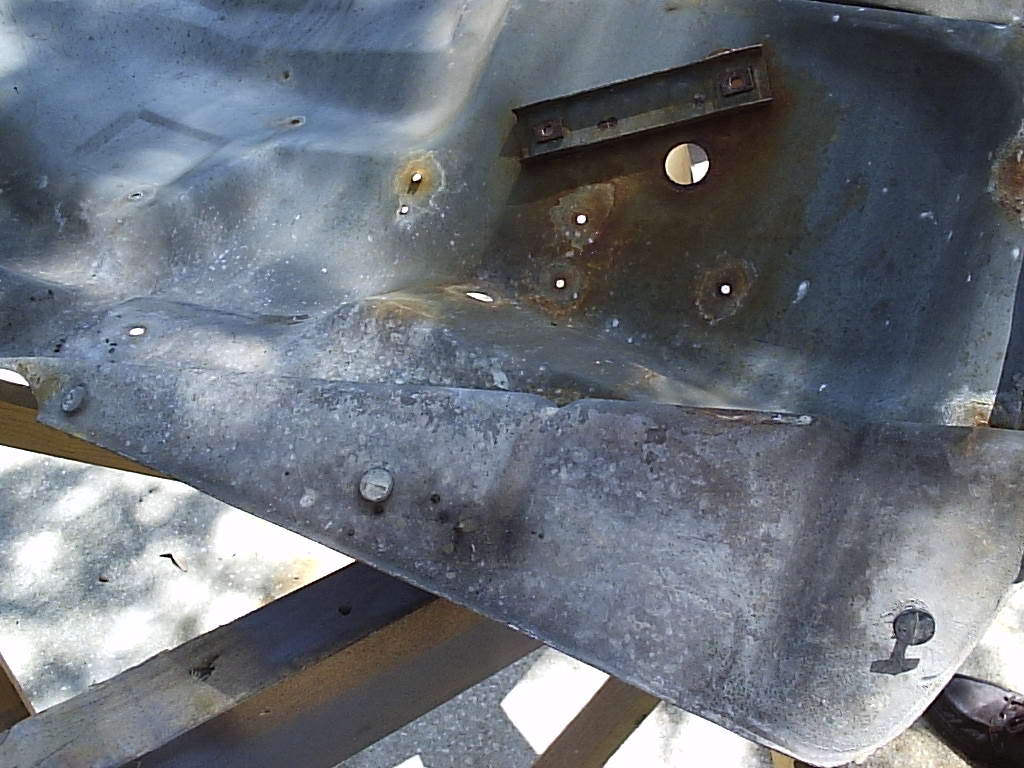
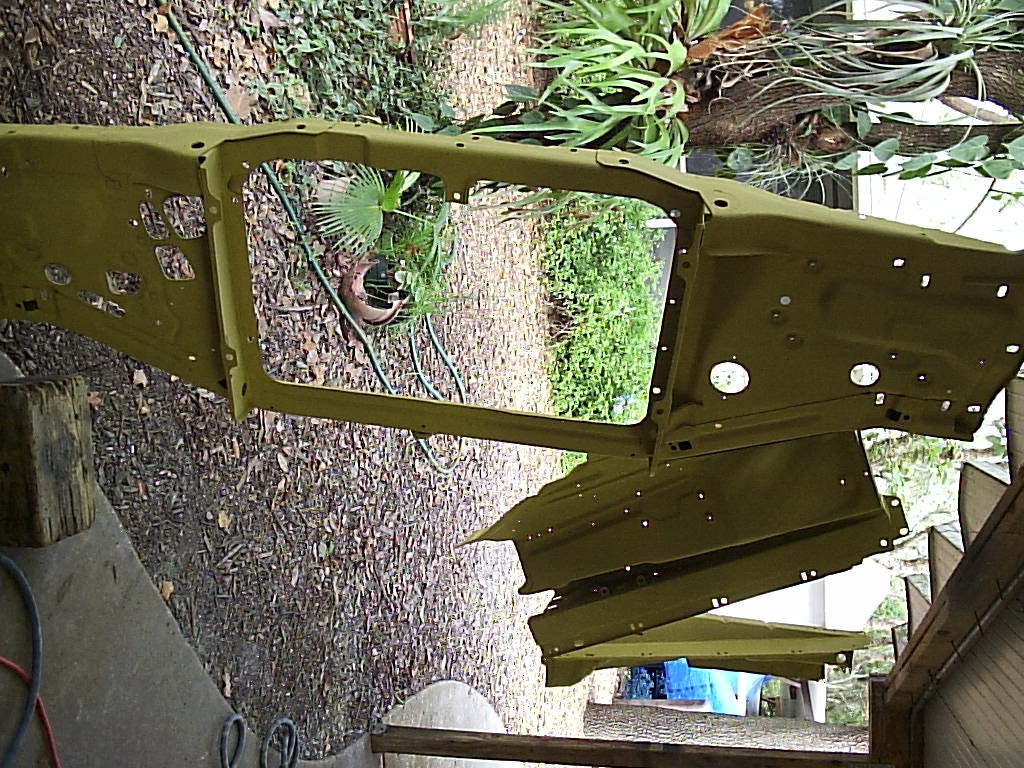
Starting with the cab, we have the usual 70's Ford rust around the rain gutters. The passenger's floorboard was rusted out from the many years of driving with a leaky heater core. The rust holes that I was most angry at were at the rear floorboard of the cab, and the rear window flange. These areas were the most difficult to repair and took close to all of my summer break to repair.
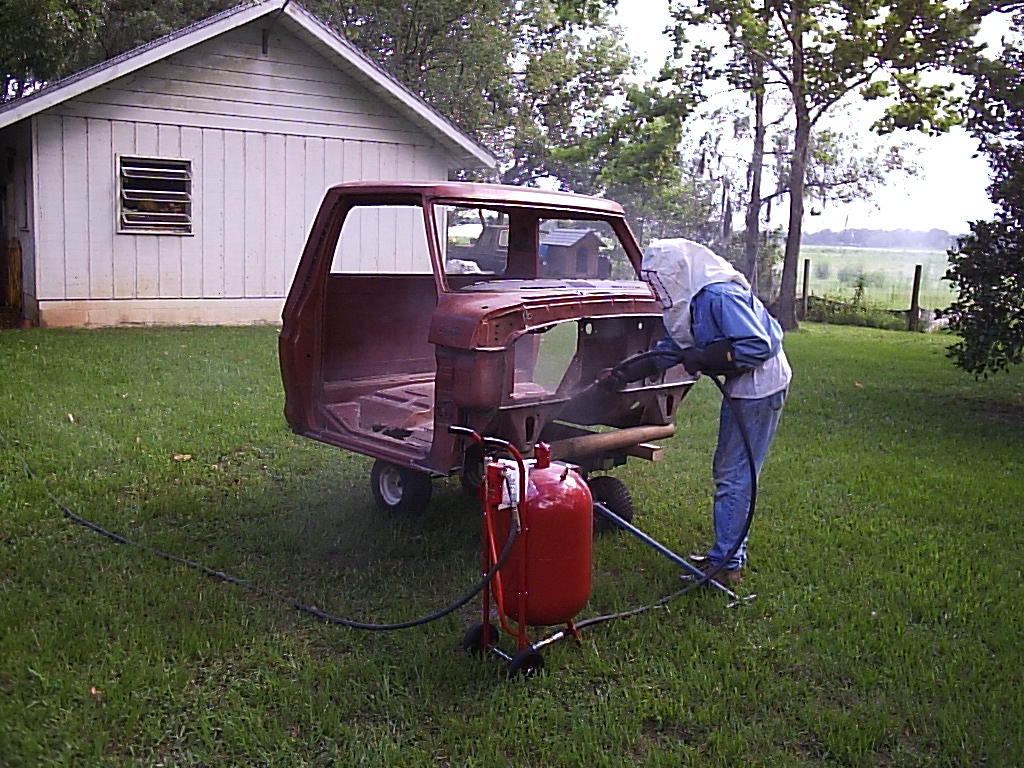
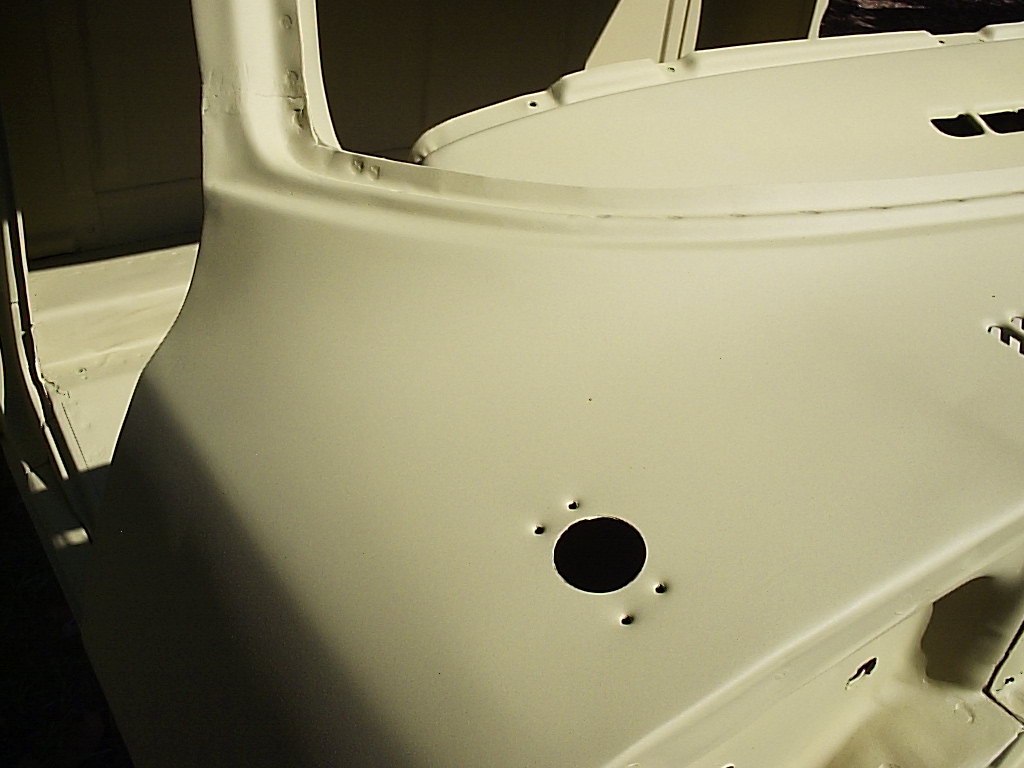
With the rust fixed from a new floorboard from JC Whitney and the panels from another 1978 F150 truck cab, we had all the rust taken care of and the cab was then ready for sandblasting and primer.
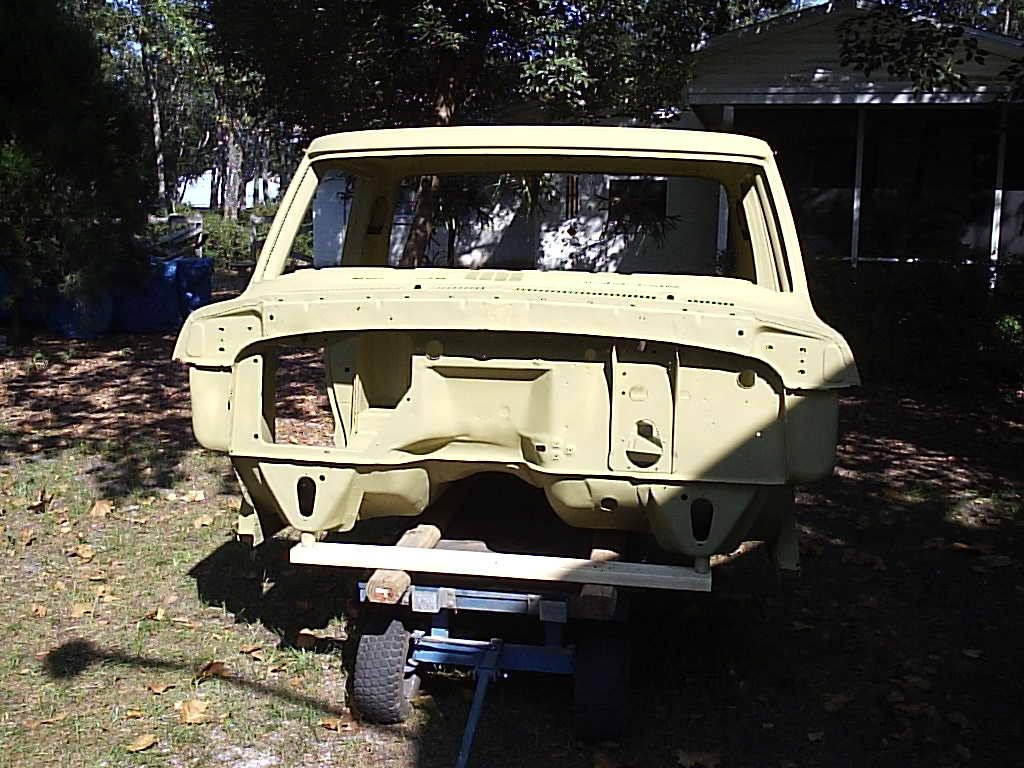
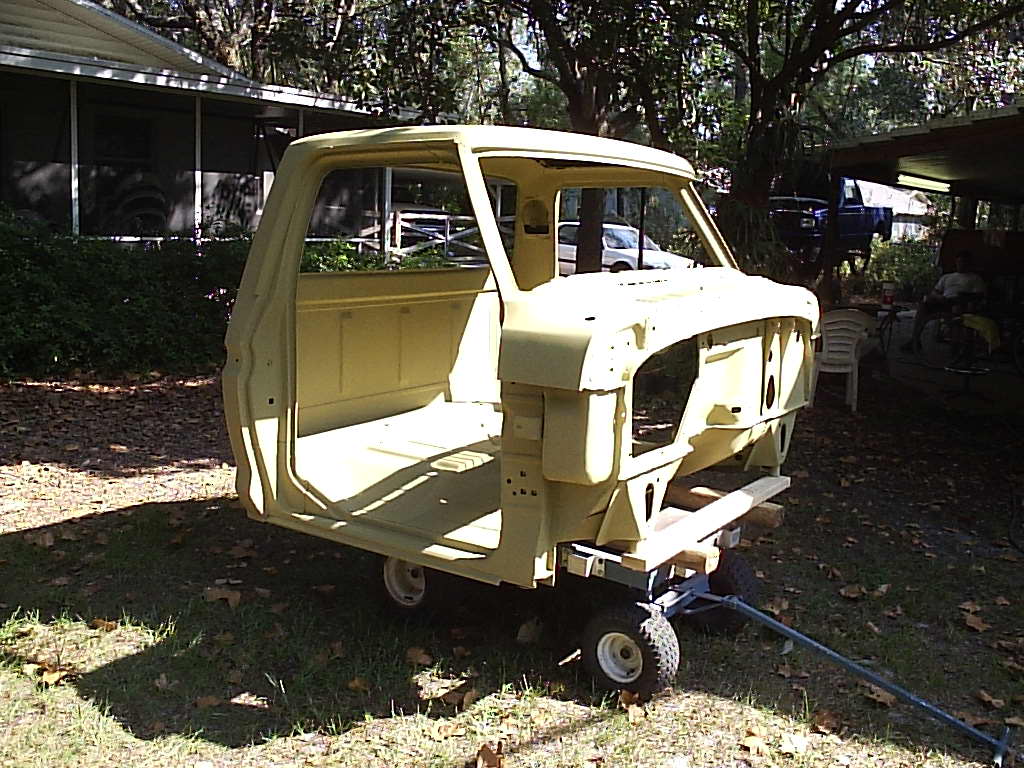
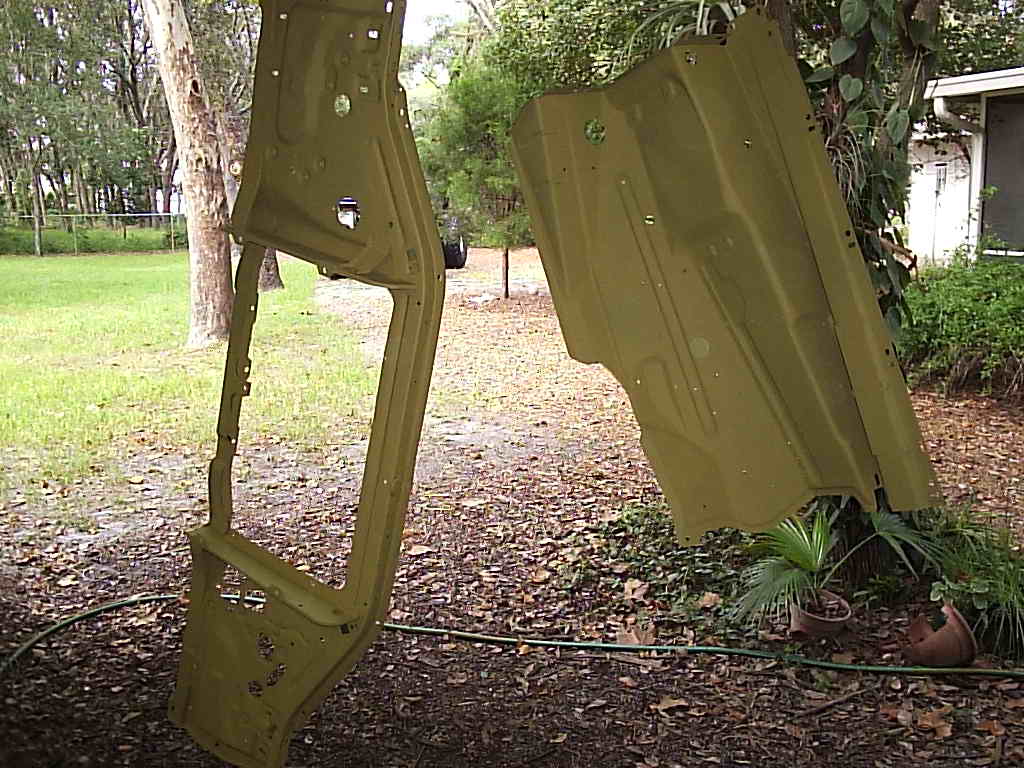
The yellow primer is DuPont Variprime® self etching primer and was shockingly expensive- $200 for one gallon! But the stuff dried hard as steel and proved to be a very good sealer as well. Next went on the normal gray automotive primer after the Vari-prime was given an initial sanding.
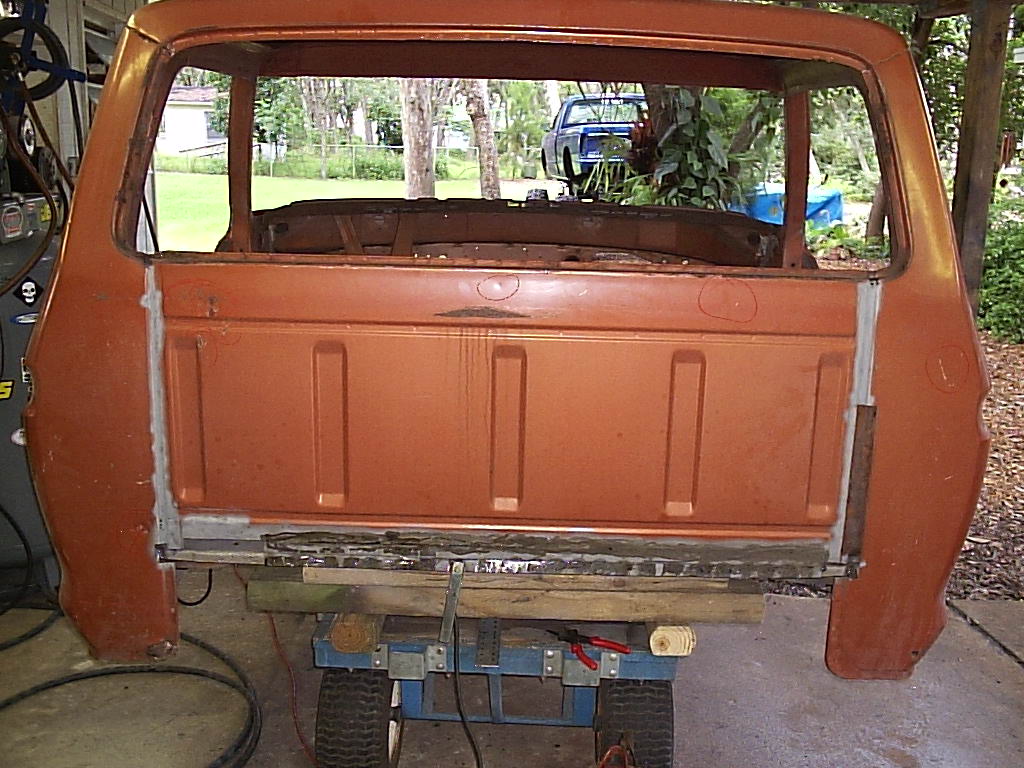
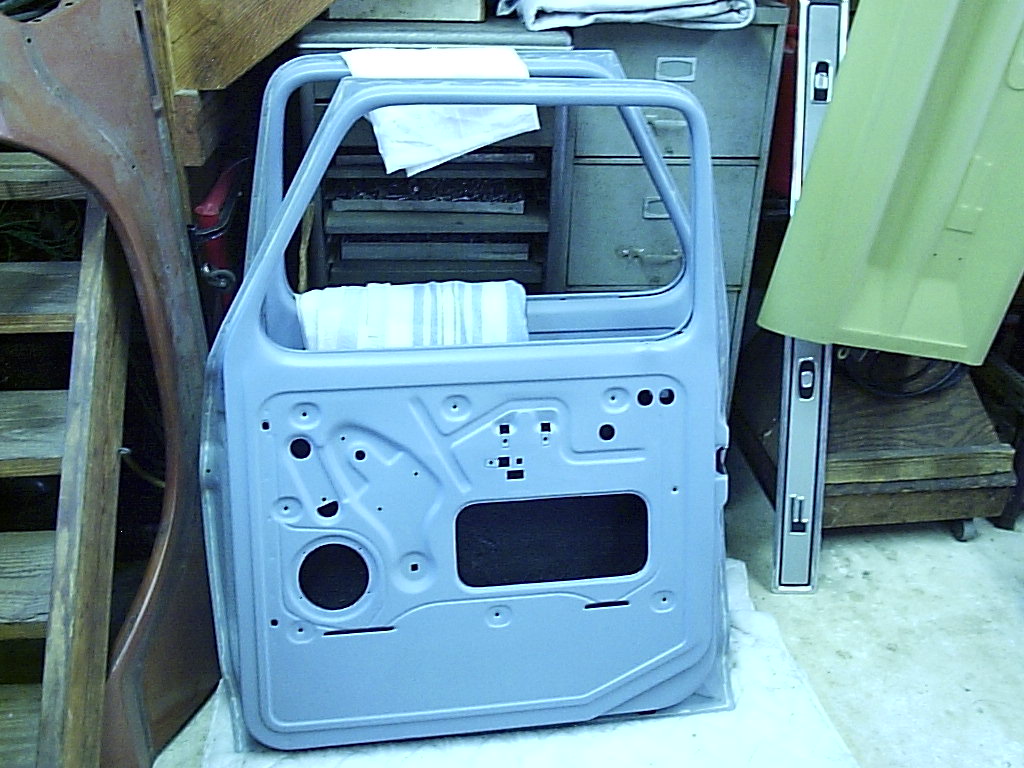
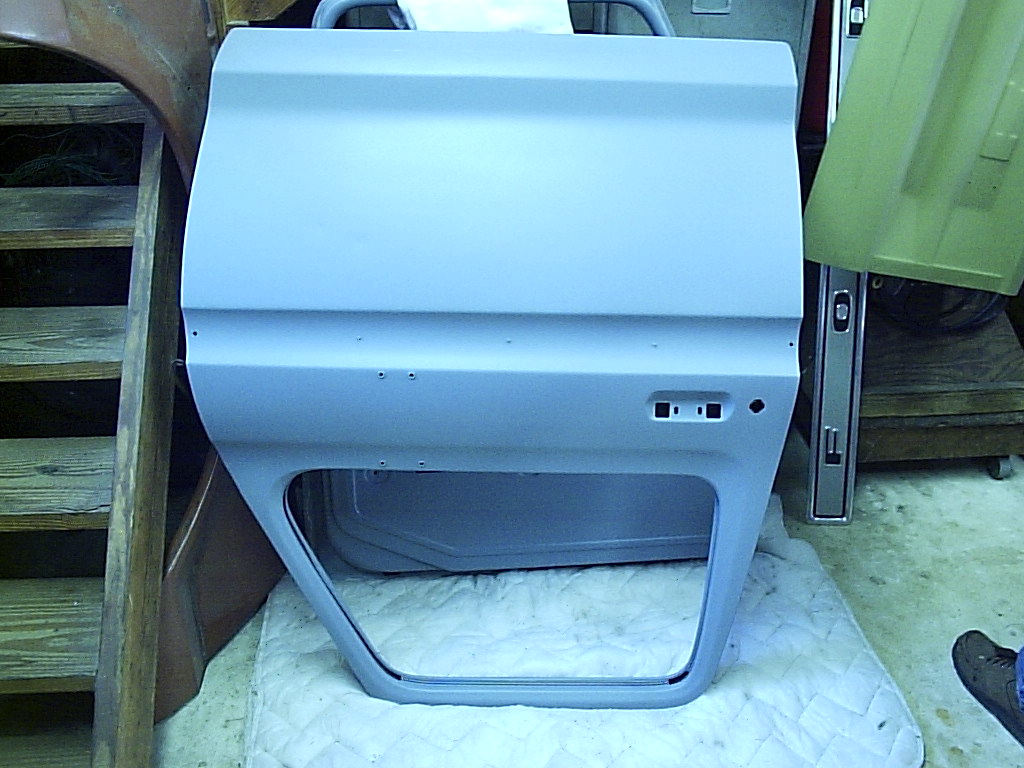
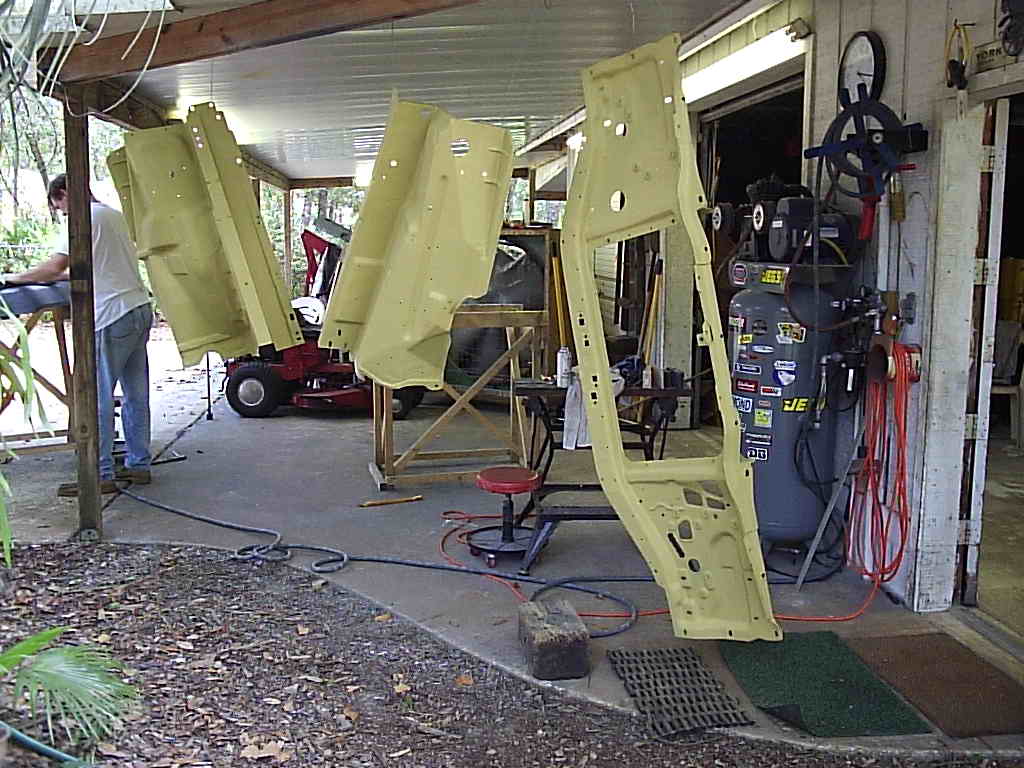
The doors were tackled next. They only had rust rot at the
bottom edges and were pretty easy to handle as compared to the severity of the
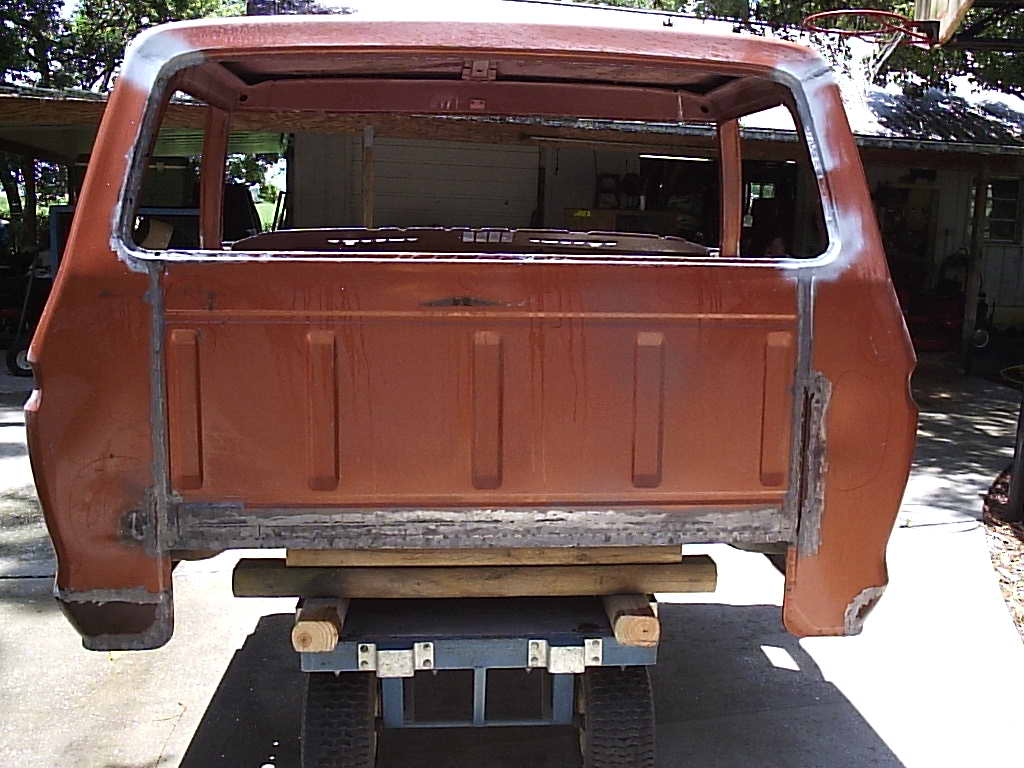
cab. The tailgate was also finished with the doors since it only had dings as
well.
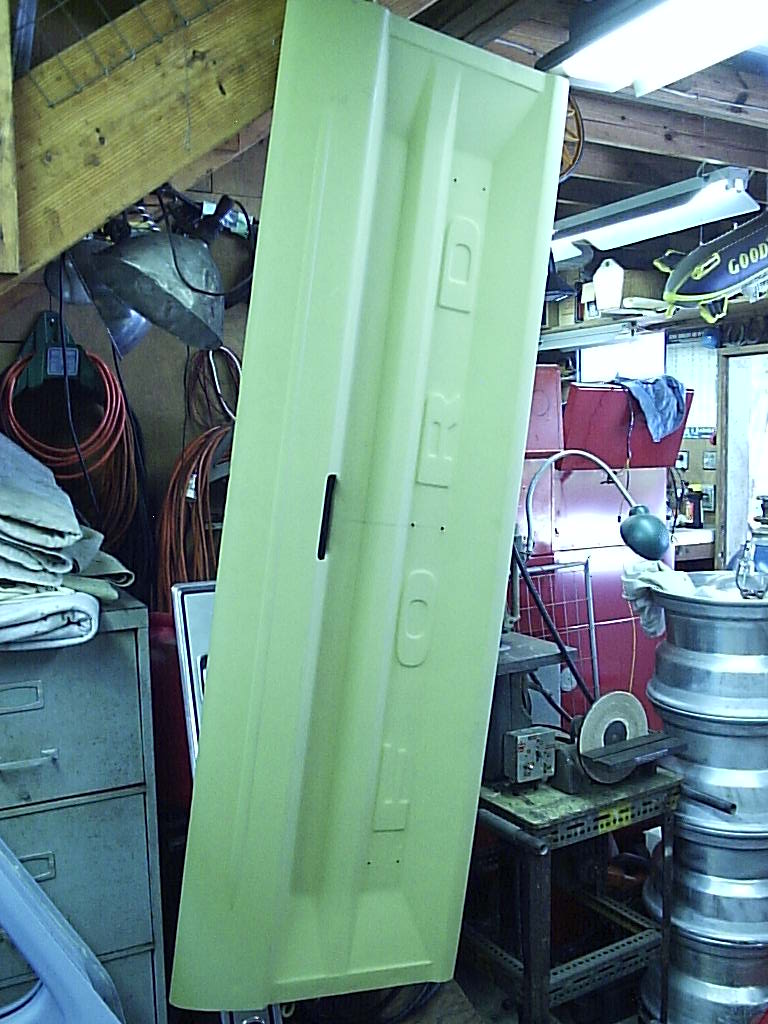
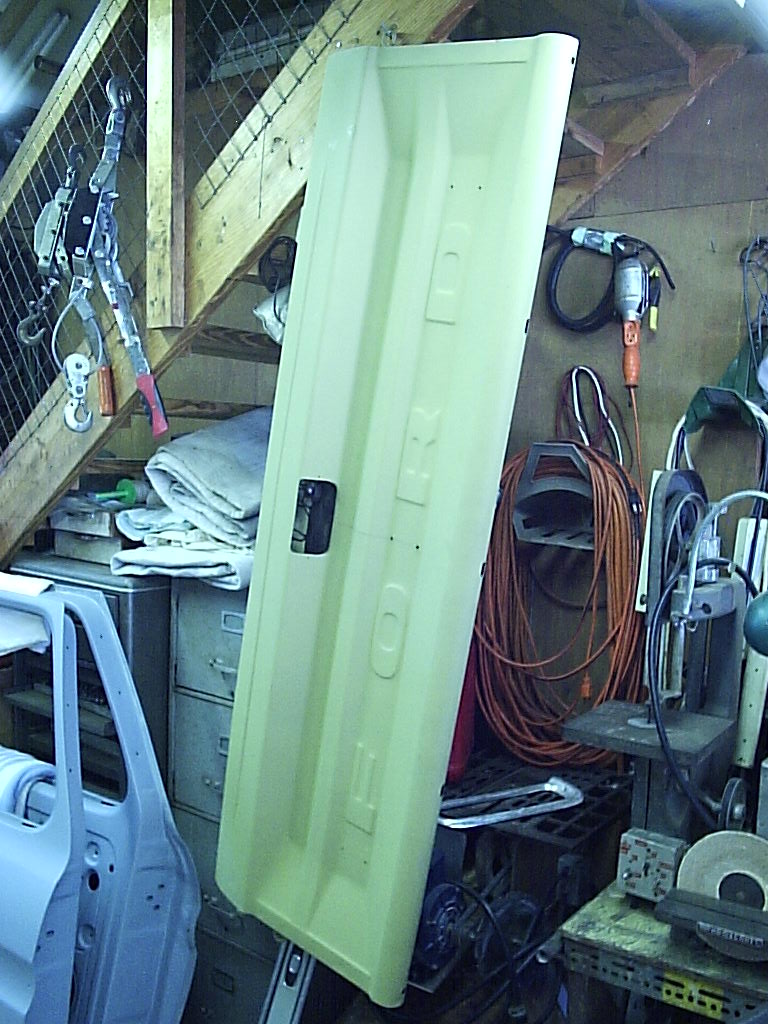
Note on the tailgate: Our original tailgate was quite dinged up.
Almost to the point that it was not worth the hassle to fix it up. Rather we
bought a new one for $99.95 from
LMC Truck and found it to
be the biggest piece of junk. The pivot bushing cups were not welded in
straight, the edges of the tailgate next to the tail lights were not folded over
so there was a sharp ugly looking edge where the two panels were spot welded
together and worst of all- the lines of the tailgate did not match that of the
bed. So be weary of imported Taiwanese body panels for domestic cars and trucks.
We did not have this problem with the same brand panels for the doors since we
only used pieces of them. The bed front worked out fine since it only consisted
of simple geometry. But a complex formed section such as the tailgate, well
forget it; buy AMERICAN!
The white balance on the camera was set too high which is a result of the bluish looking doors and green tailgate.
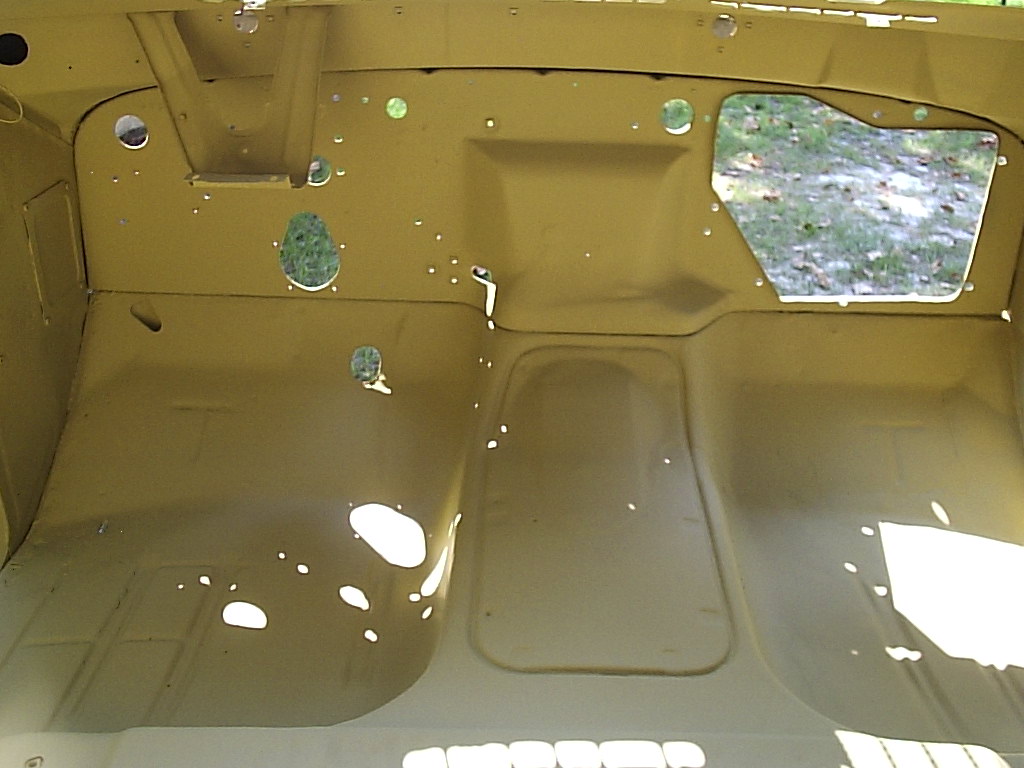
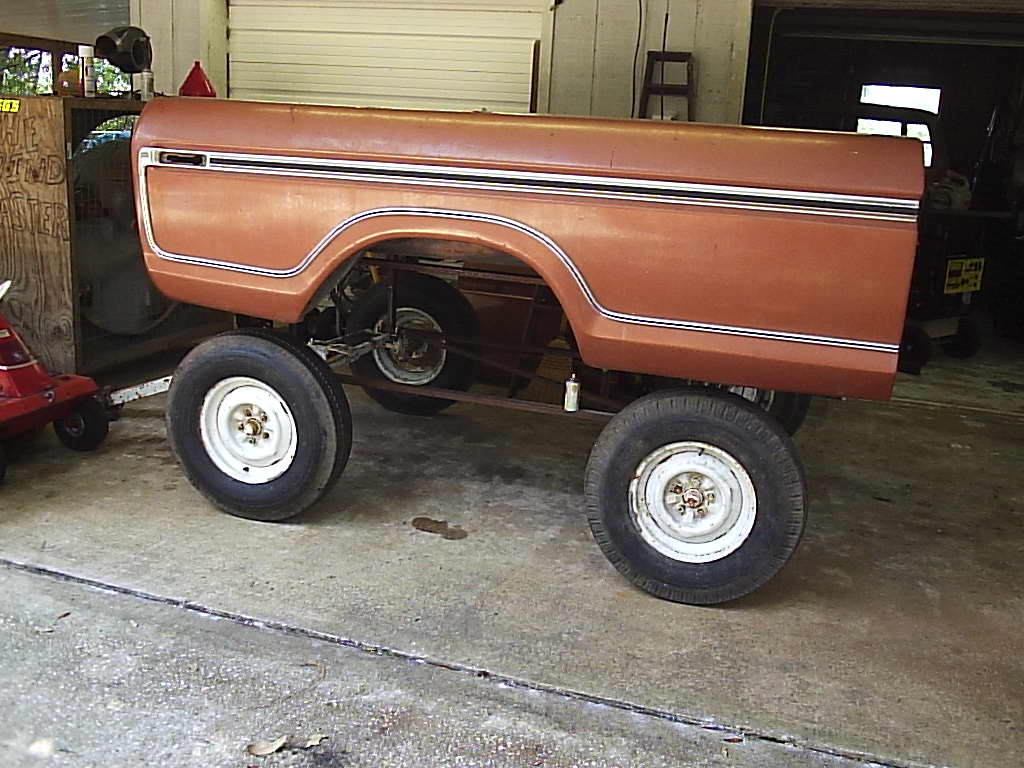
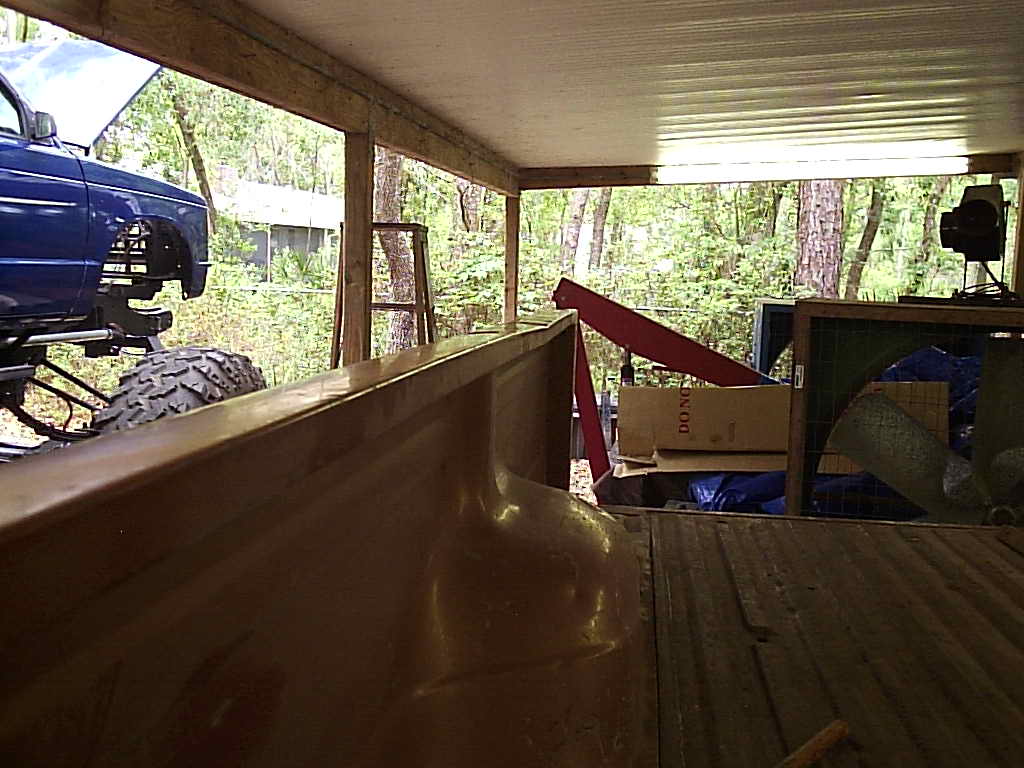
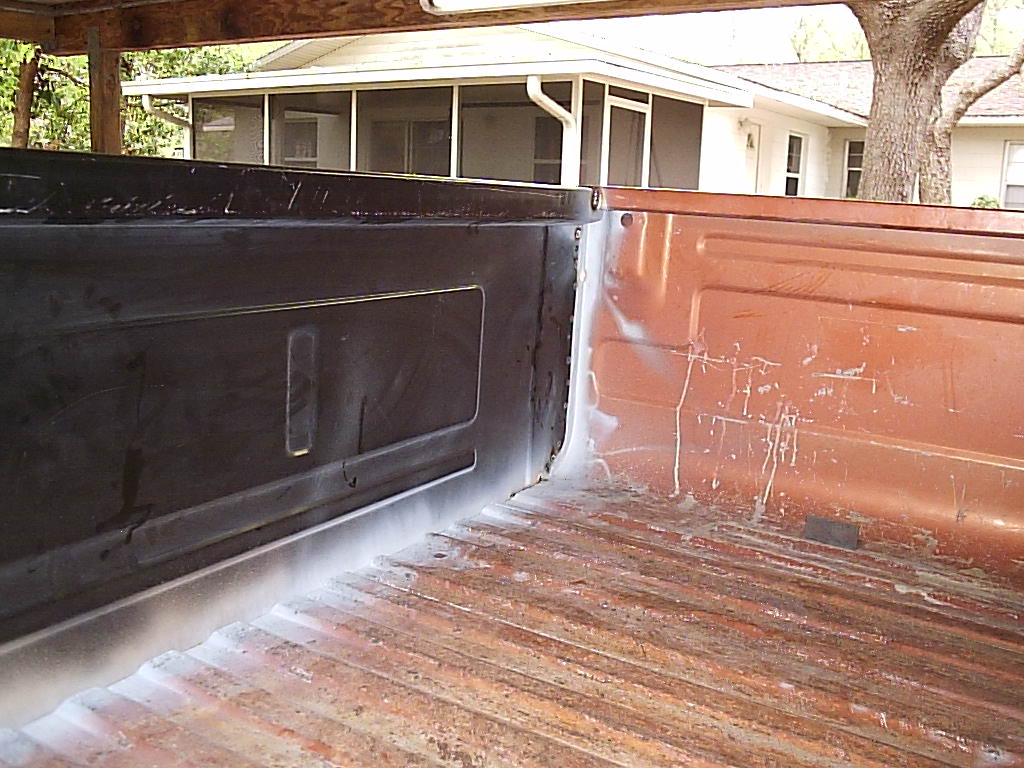
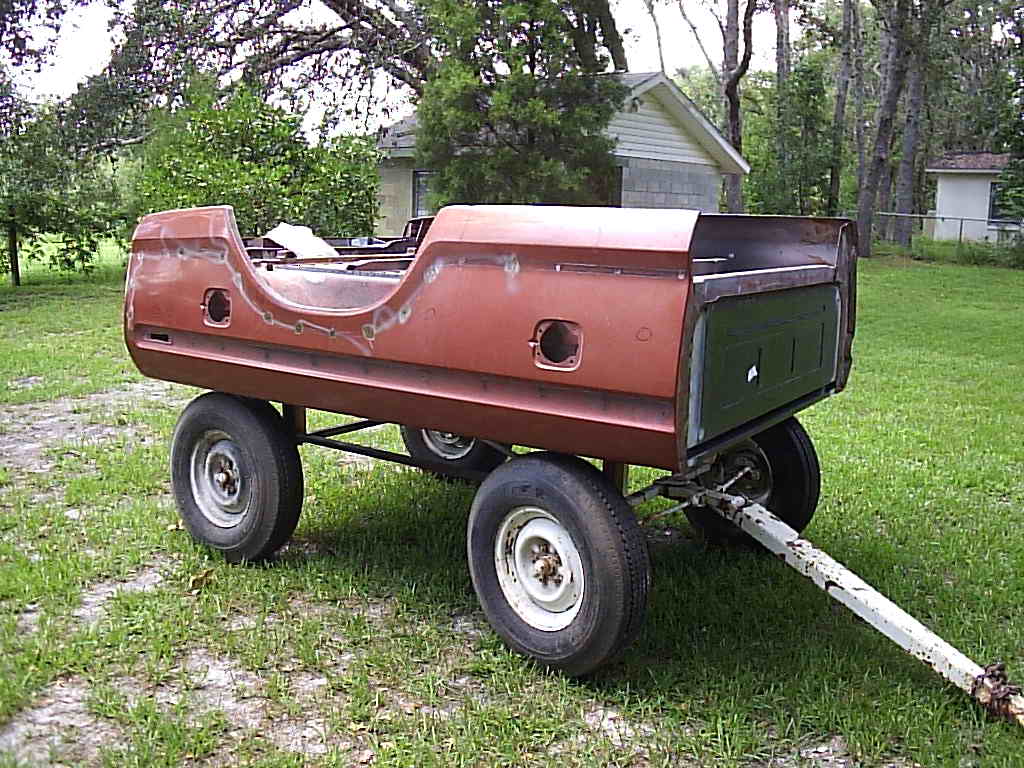
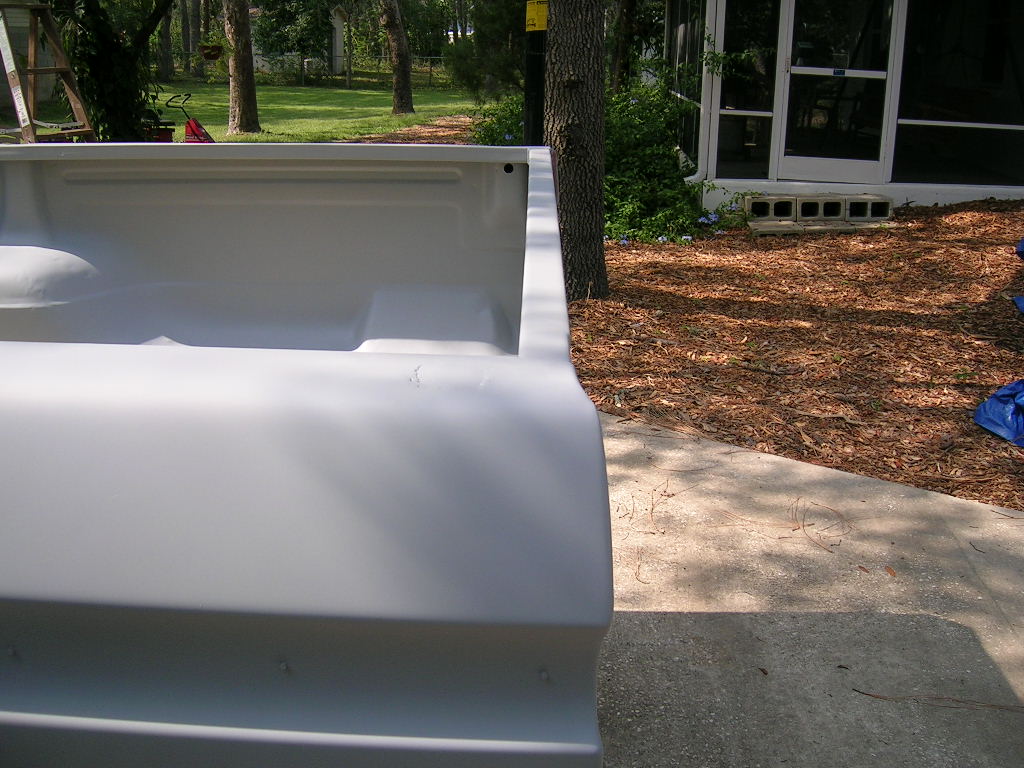
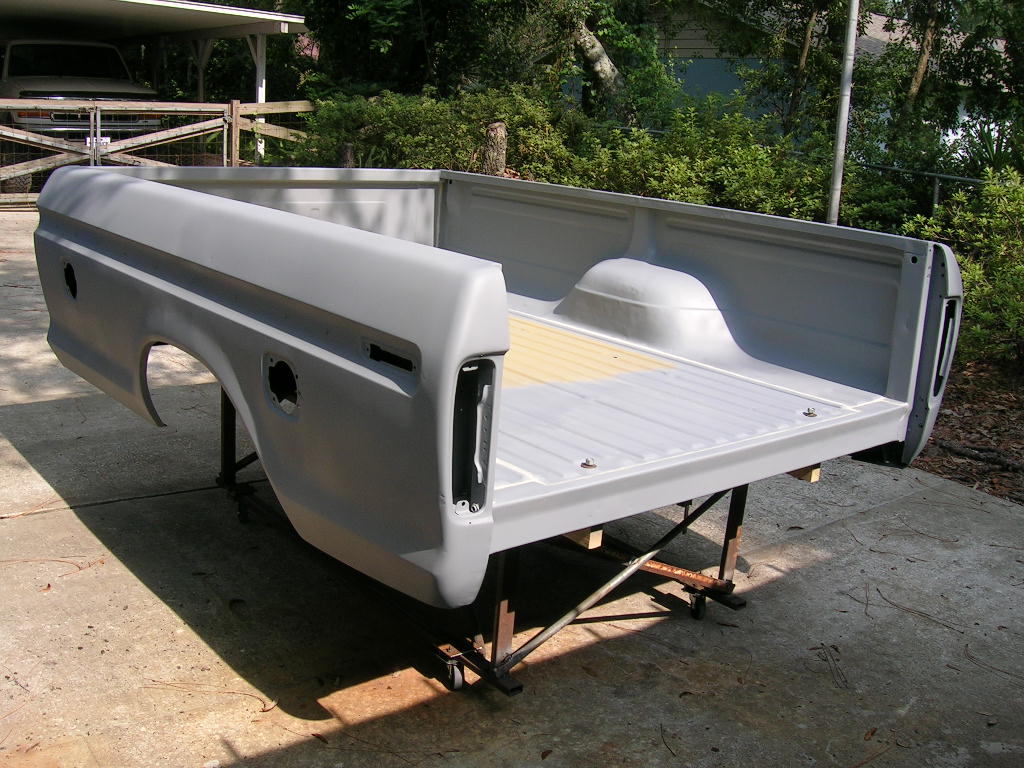
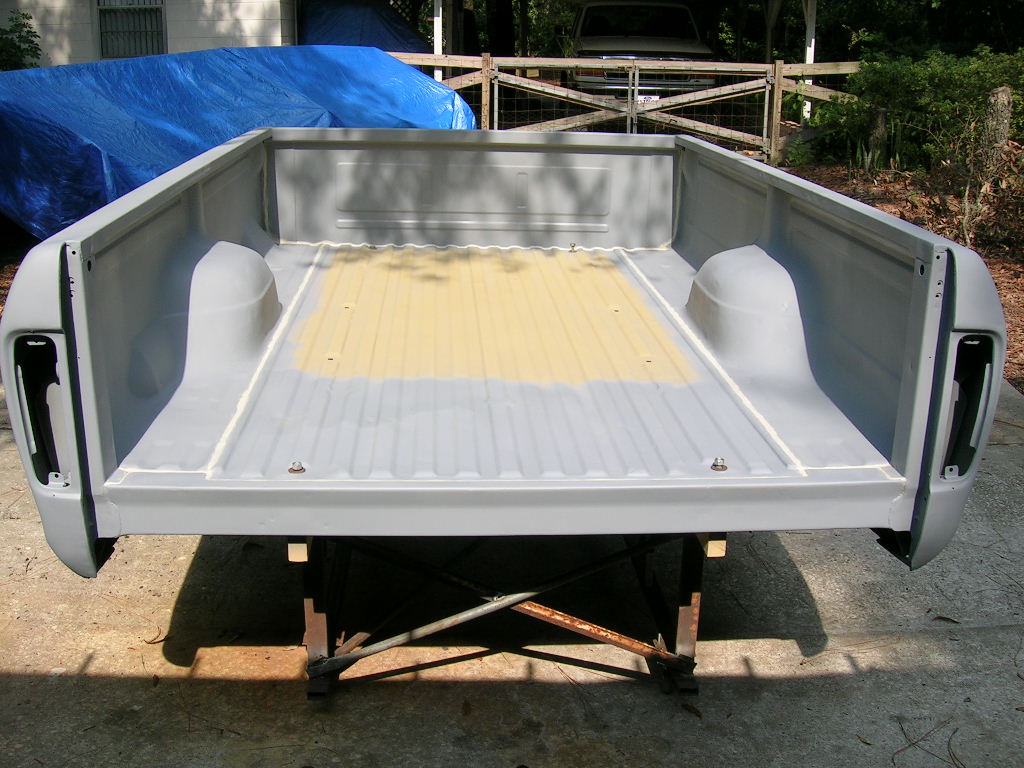
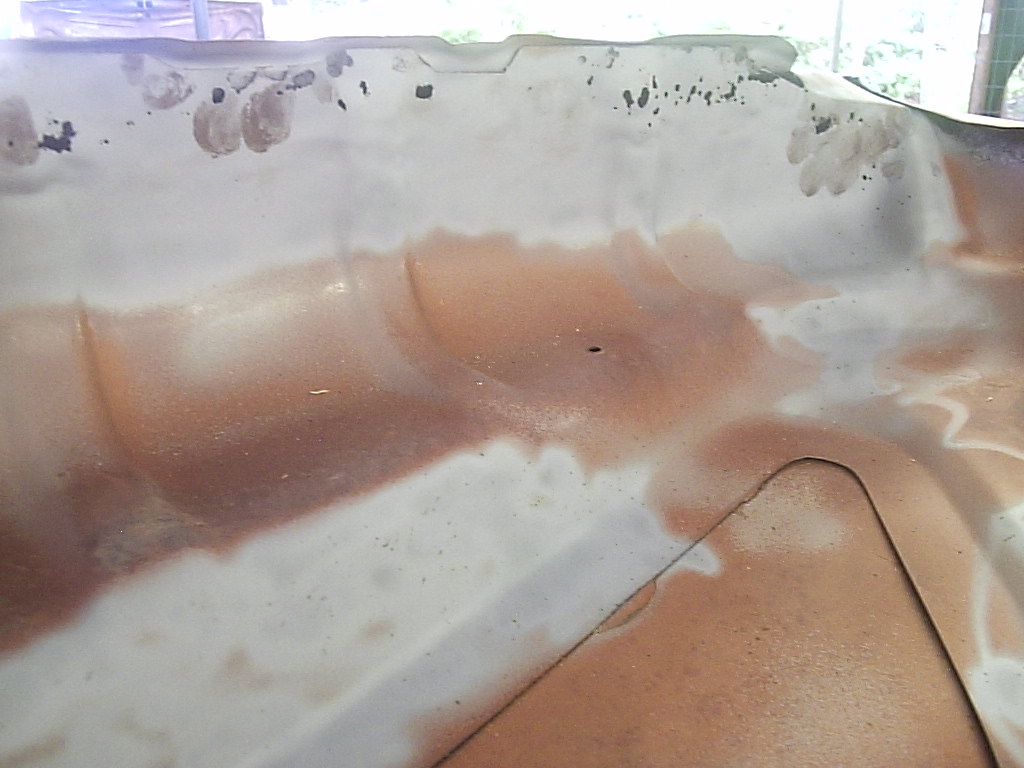
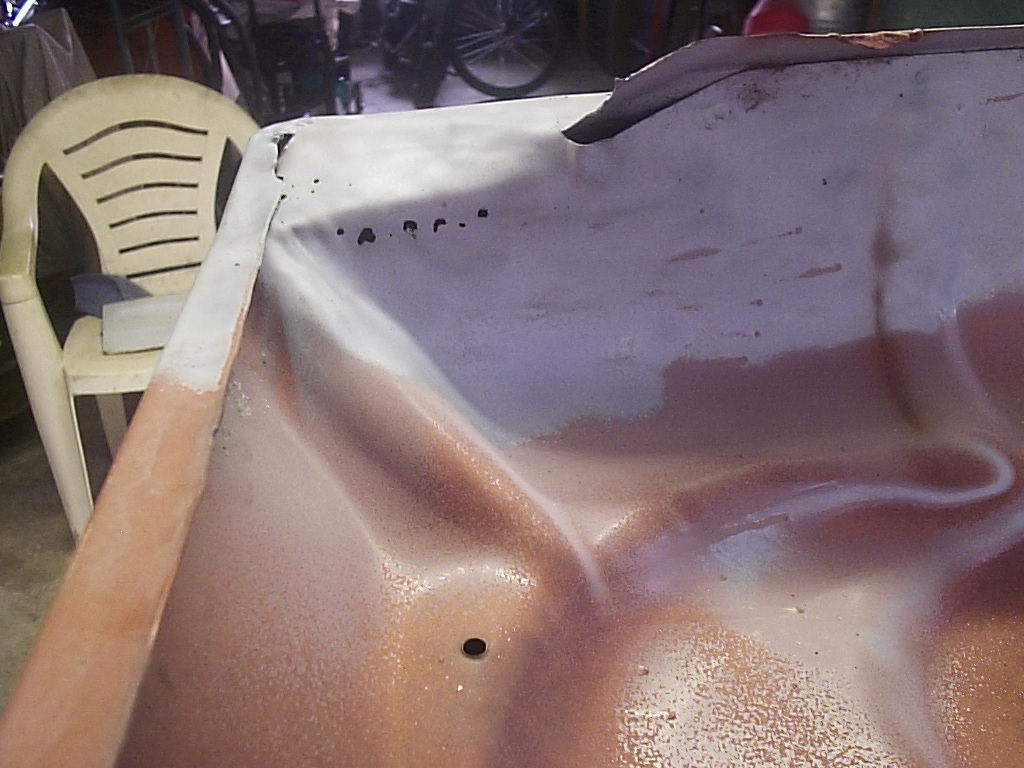
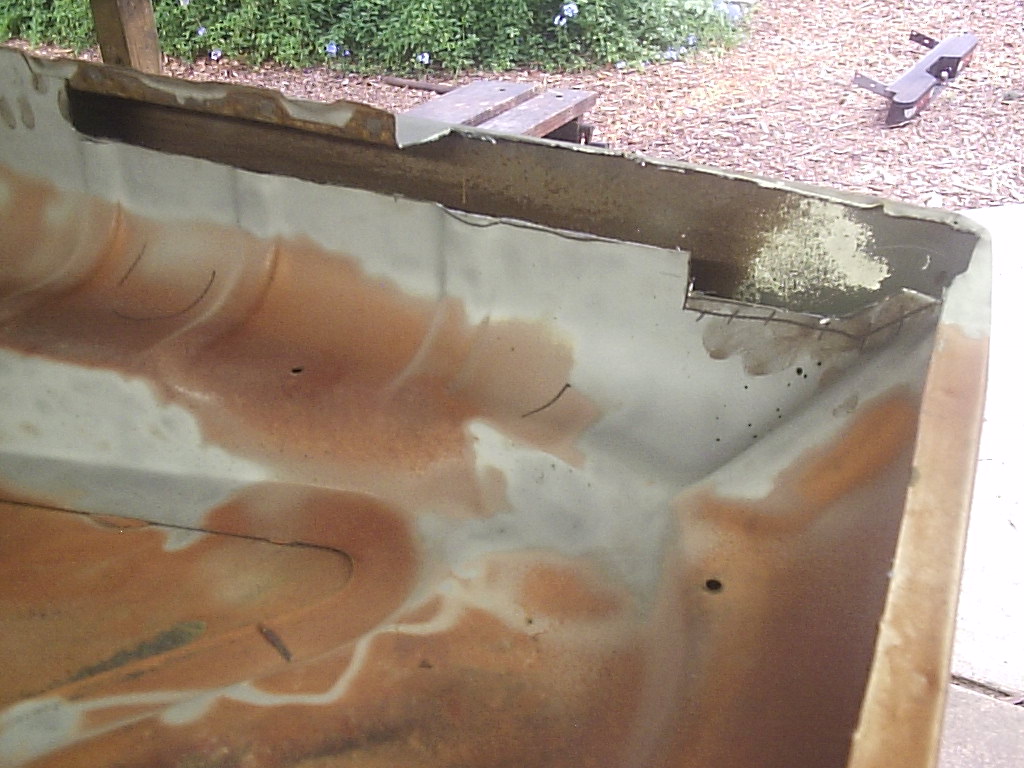
Later we moved on to the bed. The bed didn't have that much rust, just a lot
of unusually located dents. This required lots of pounding and banging,
amazingly the neighbors didn't mind one bit.
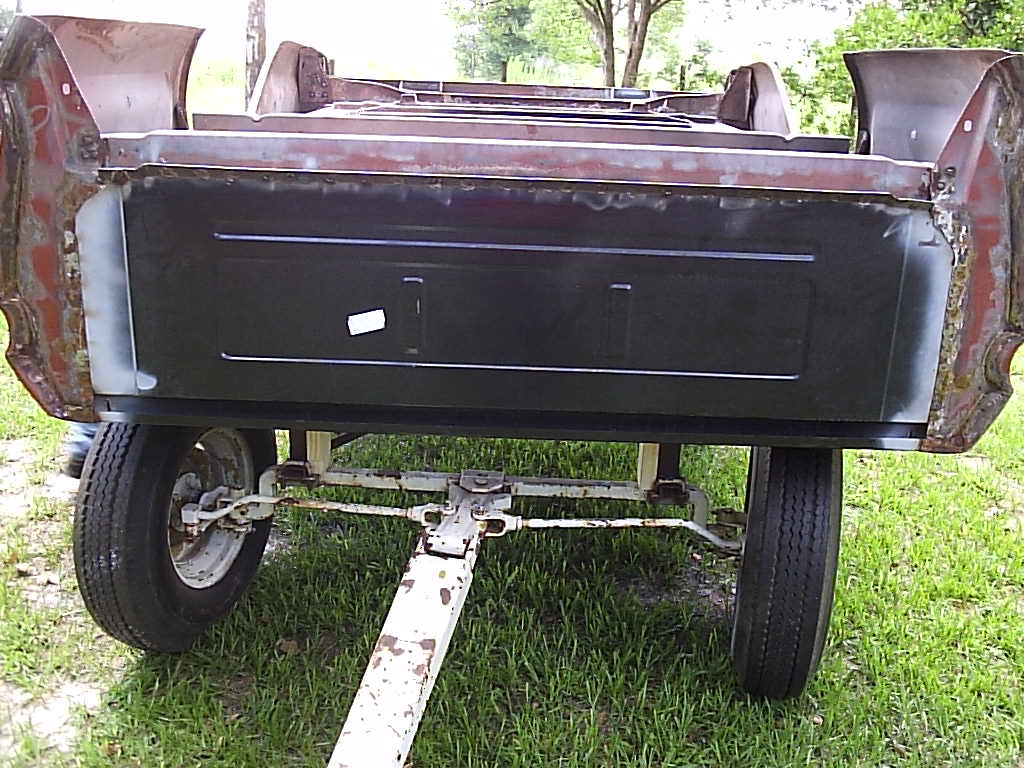
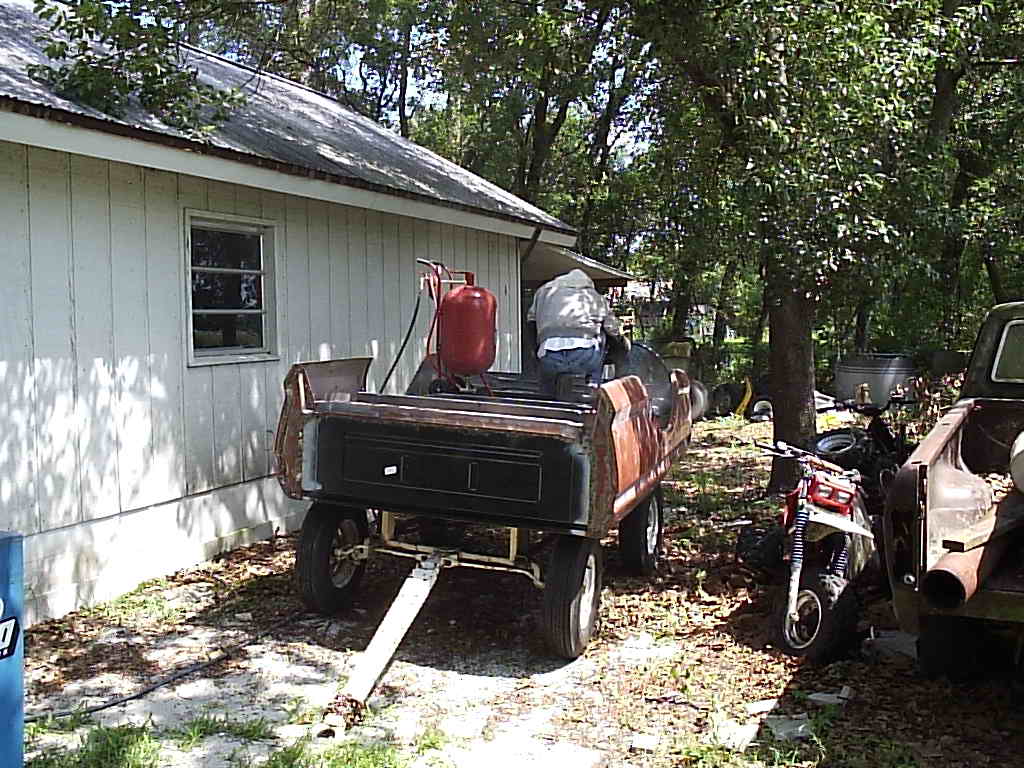
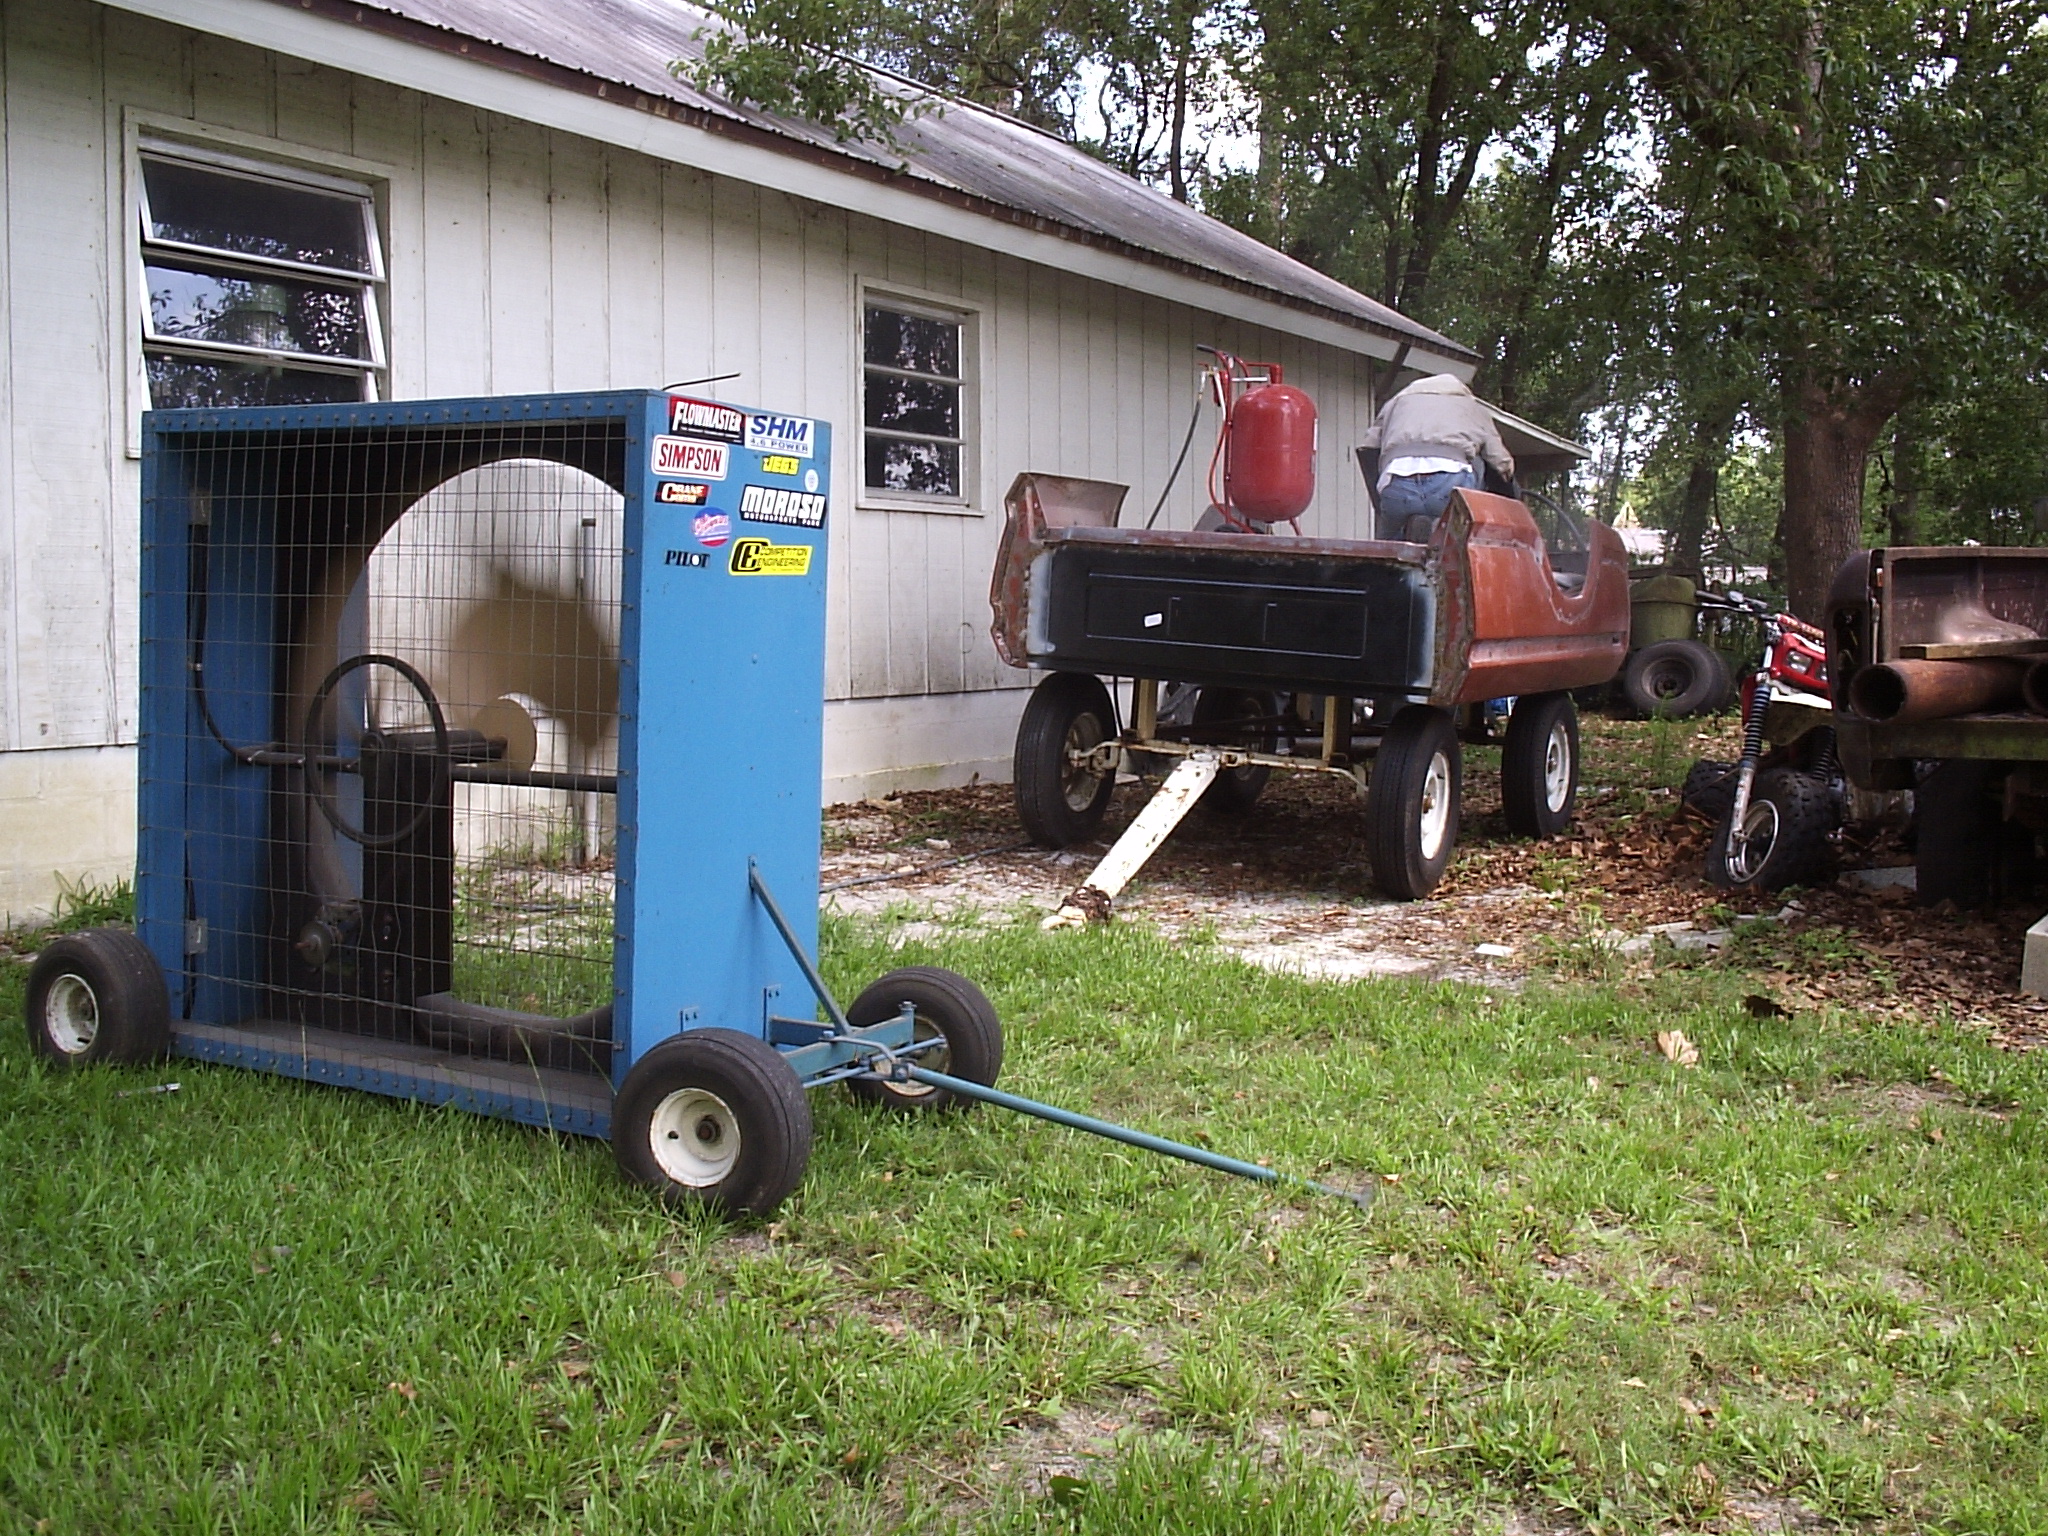
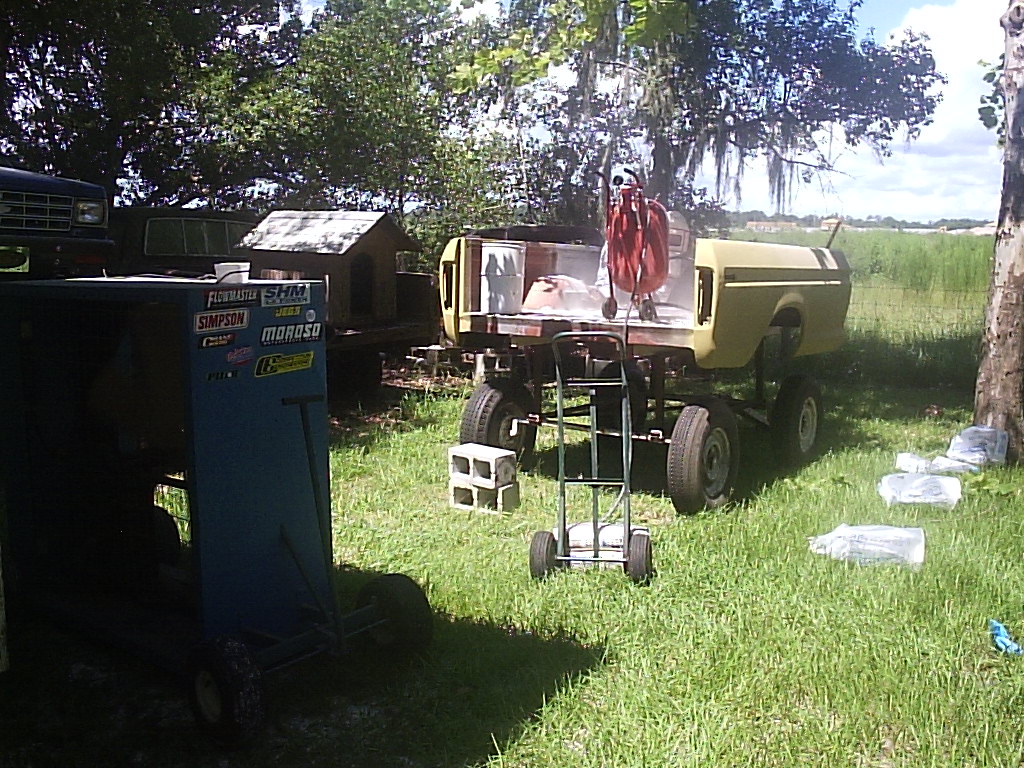
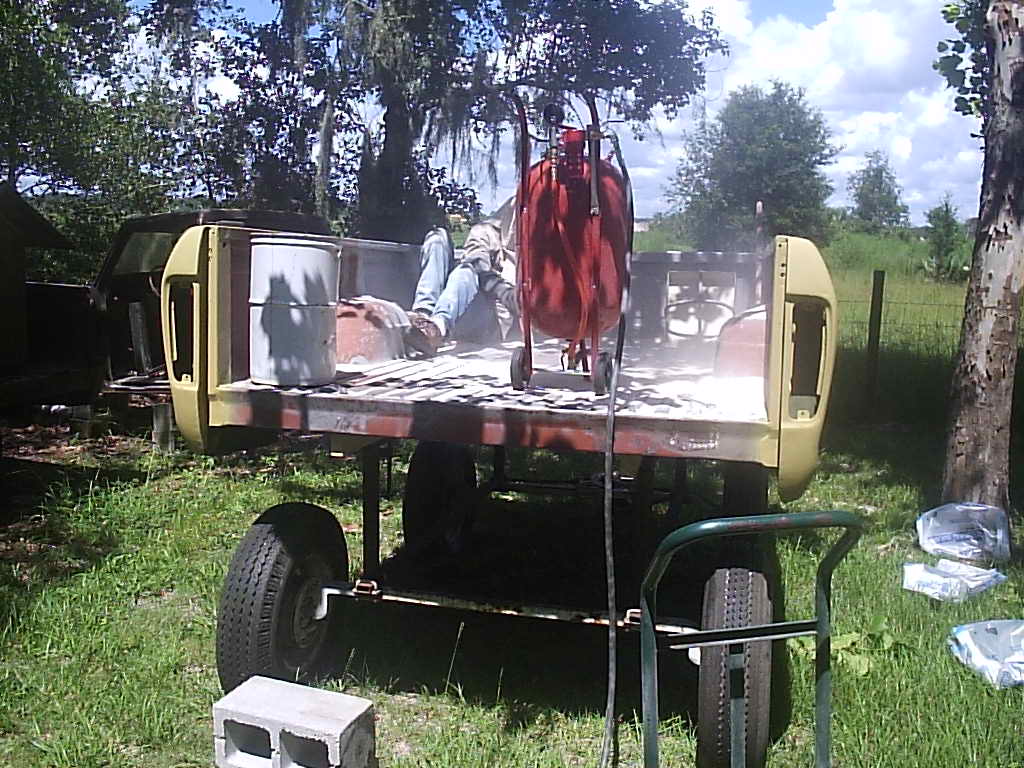
We made a "quick-cart" right at the beginning to hold the bed while we work on
it.
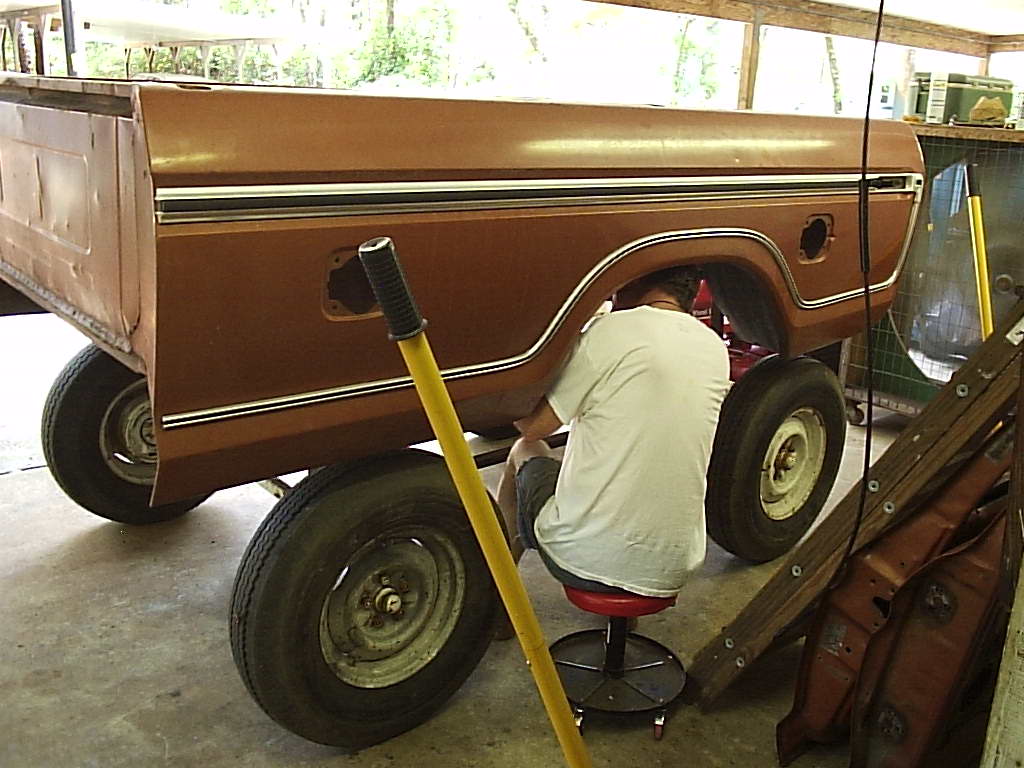
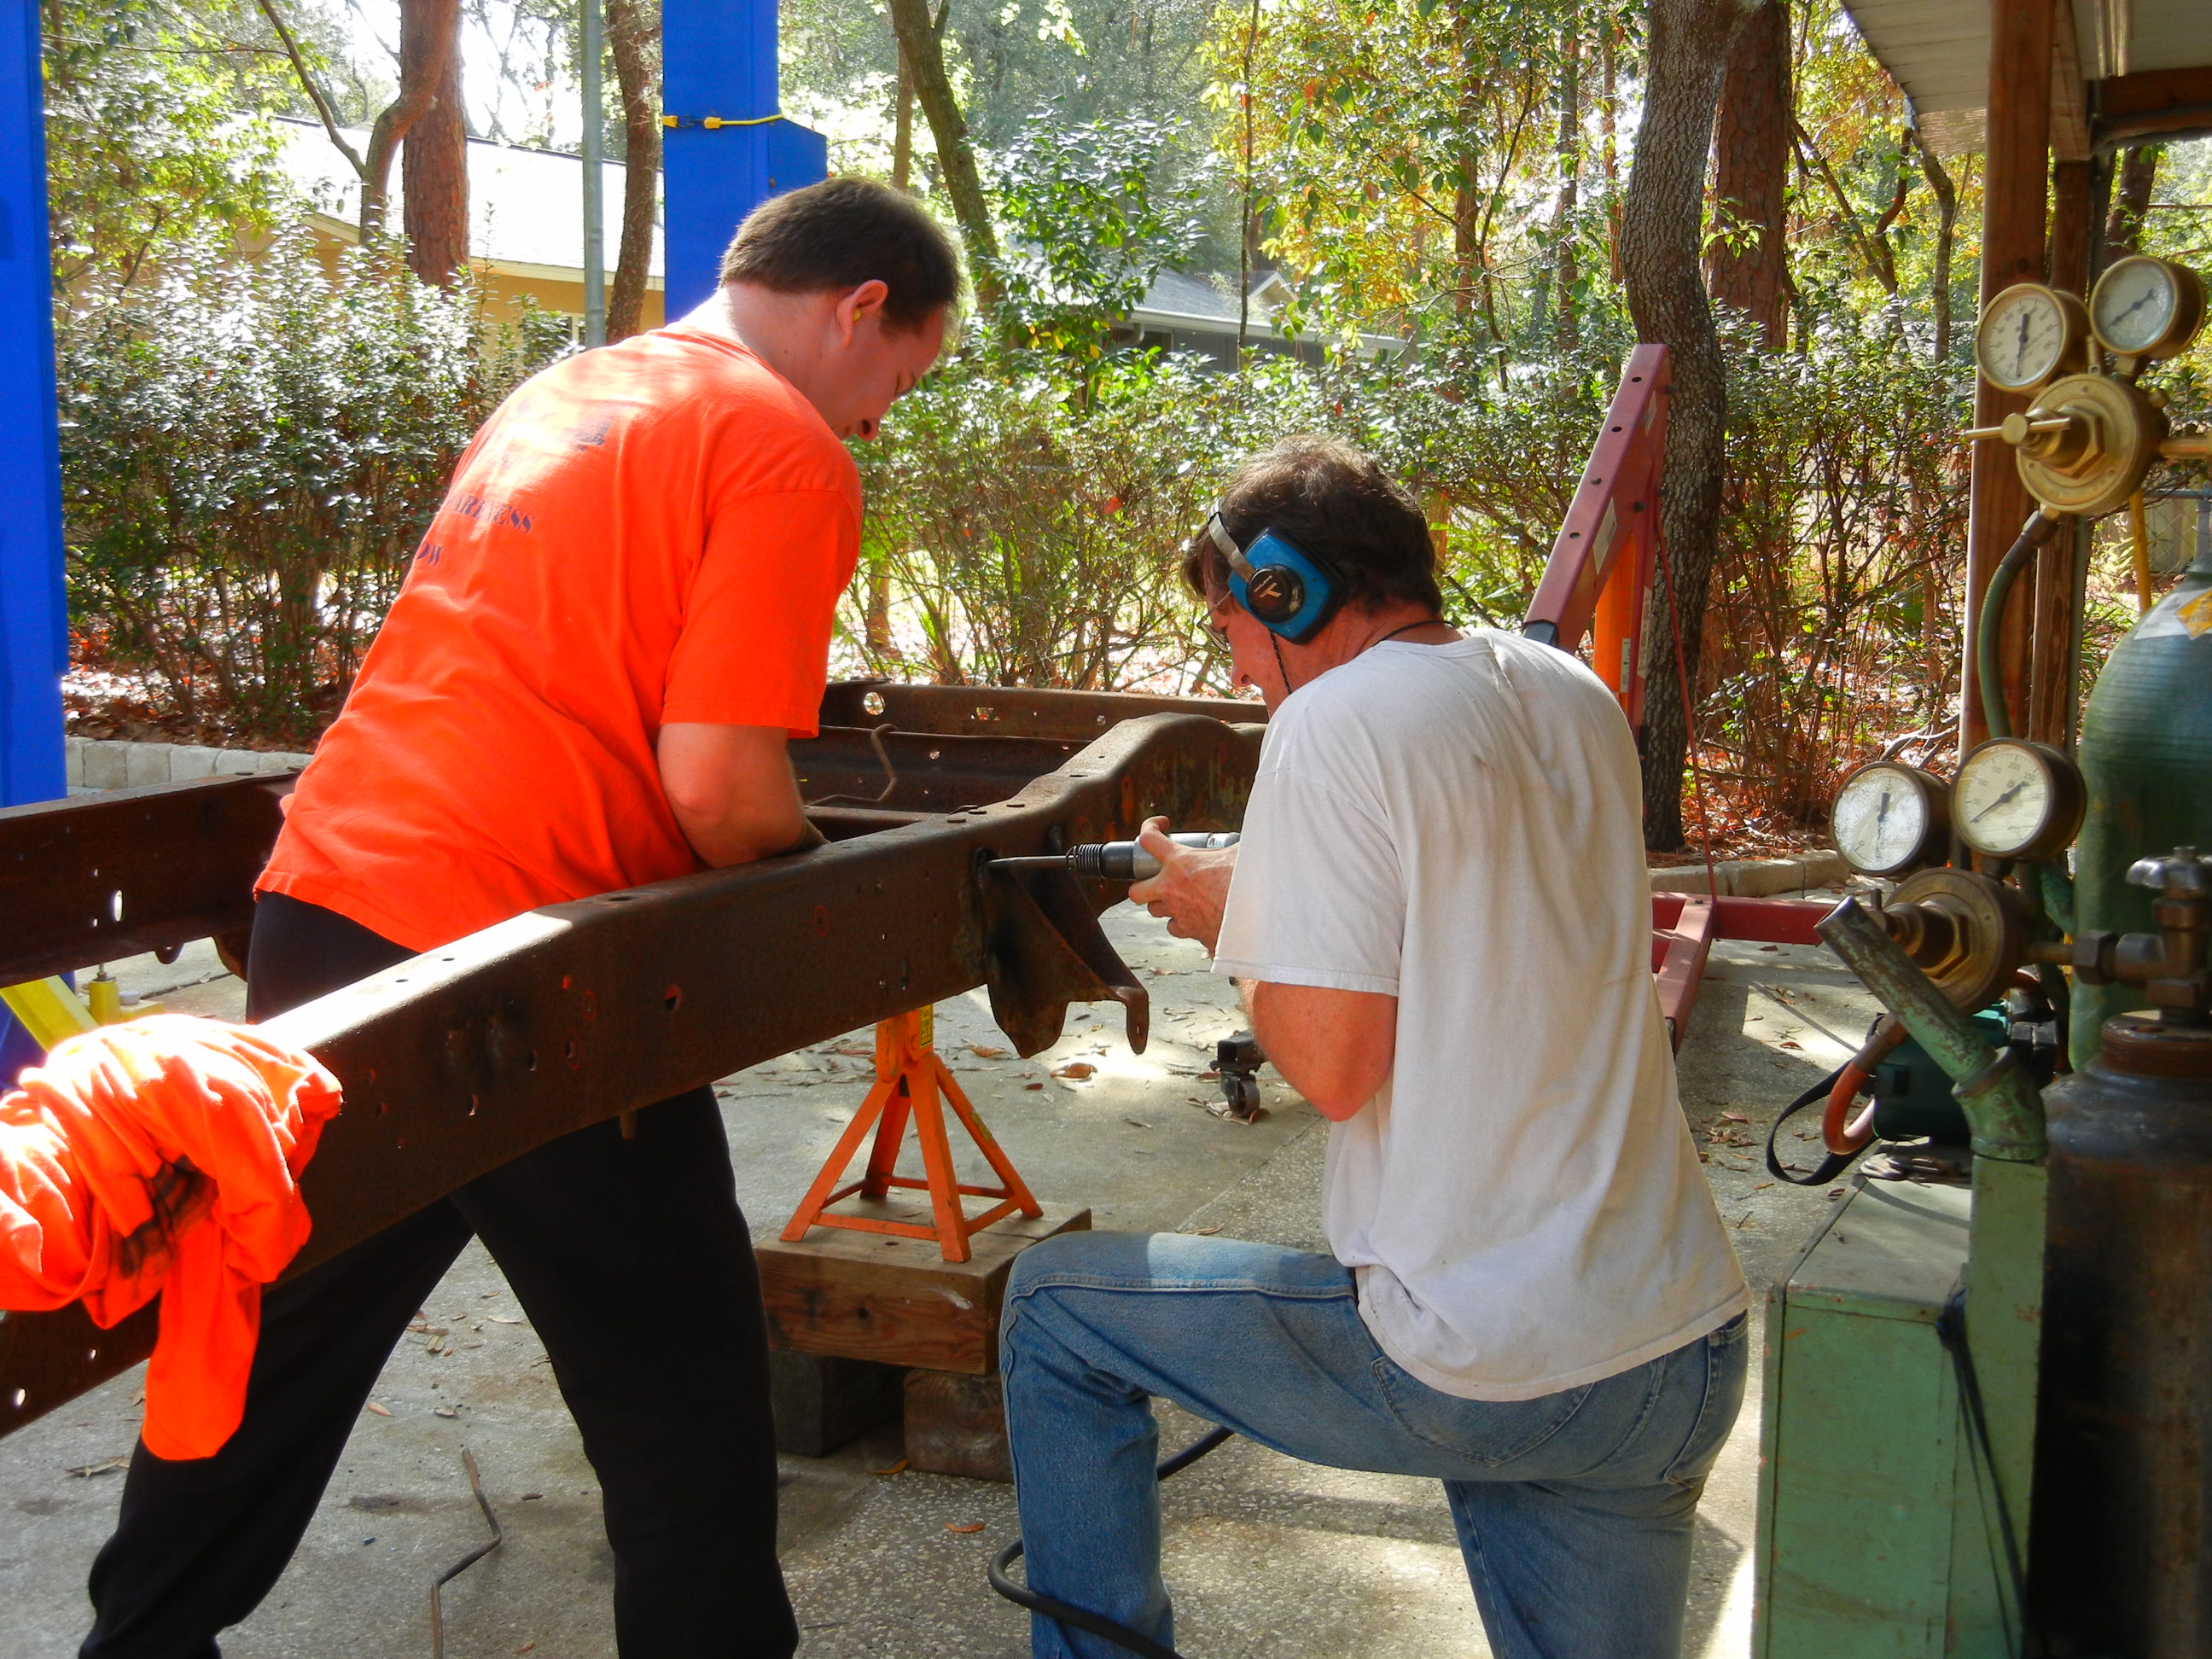
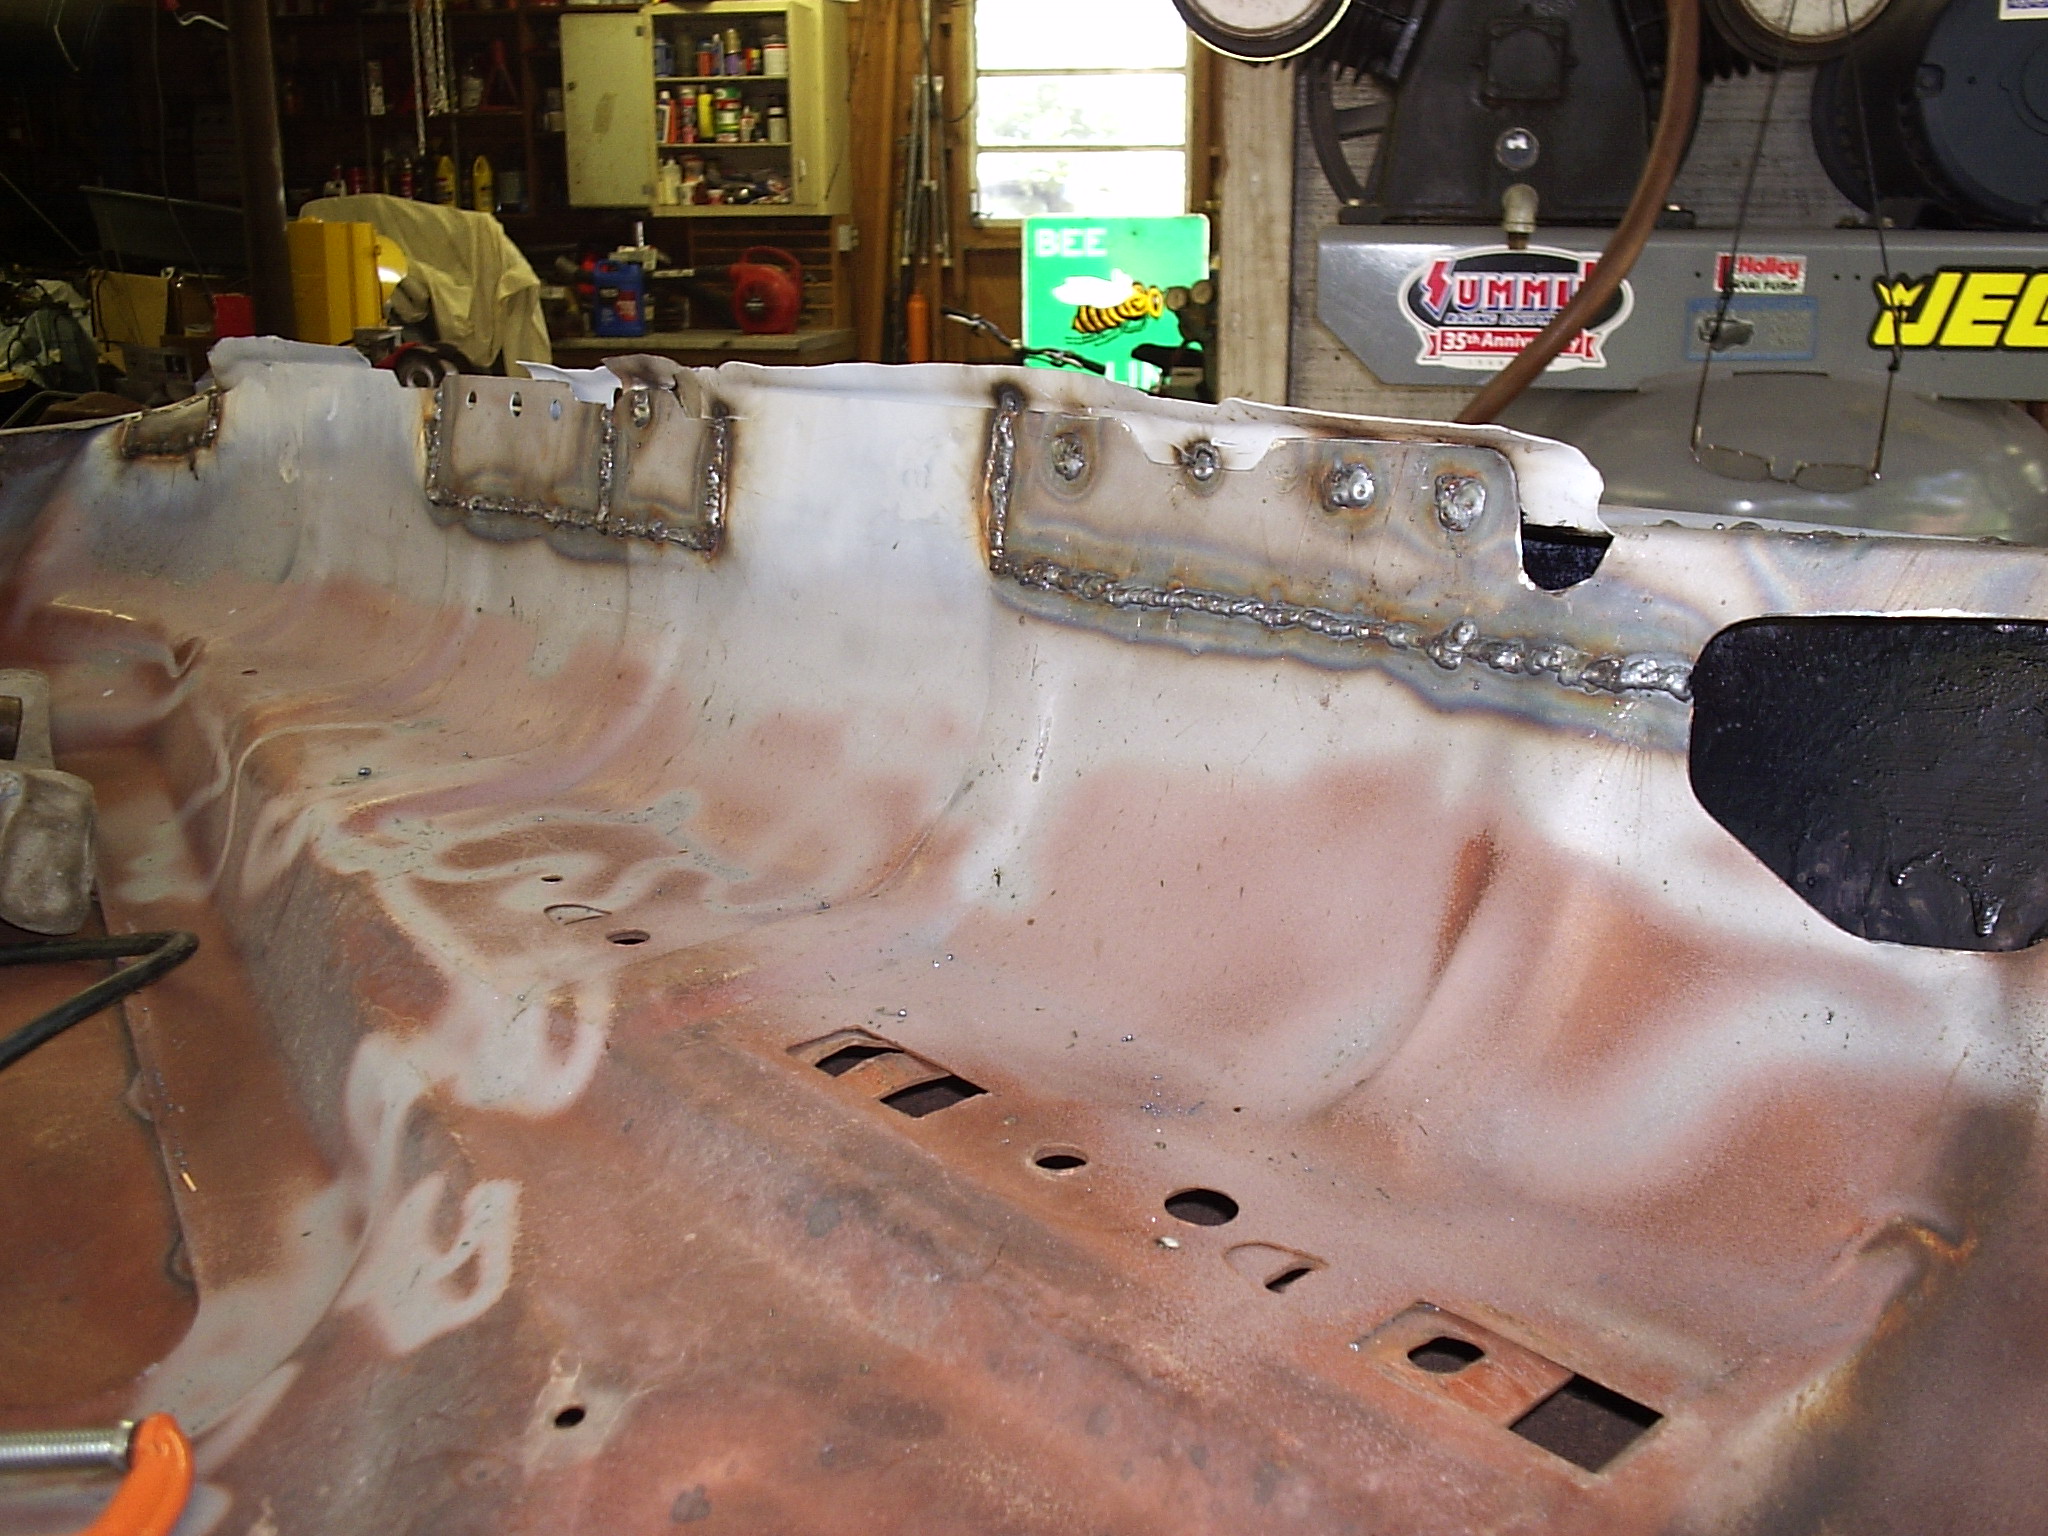
And of course shortly later came the same process again: drilling out spot welds and removing rusty/dented panels. The worst was by far the bed front. So many times I see trucks with the bed front all smashed up because people are too stupid not to tie their cargo down. I guess they think Newton's First Law doesn't apply to them. Our truck was no such survivor.
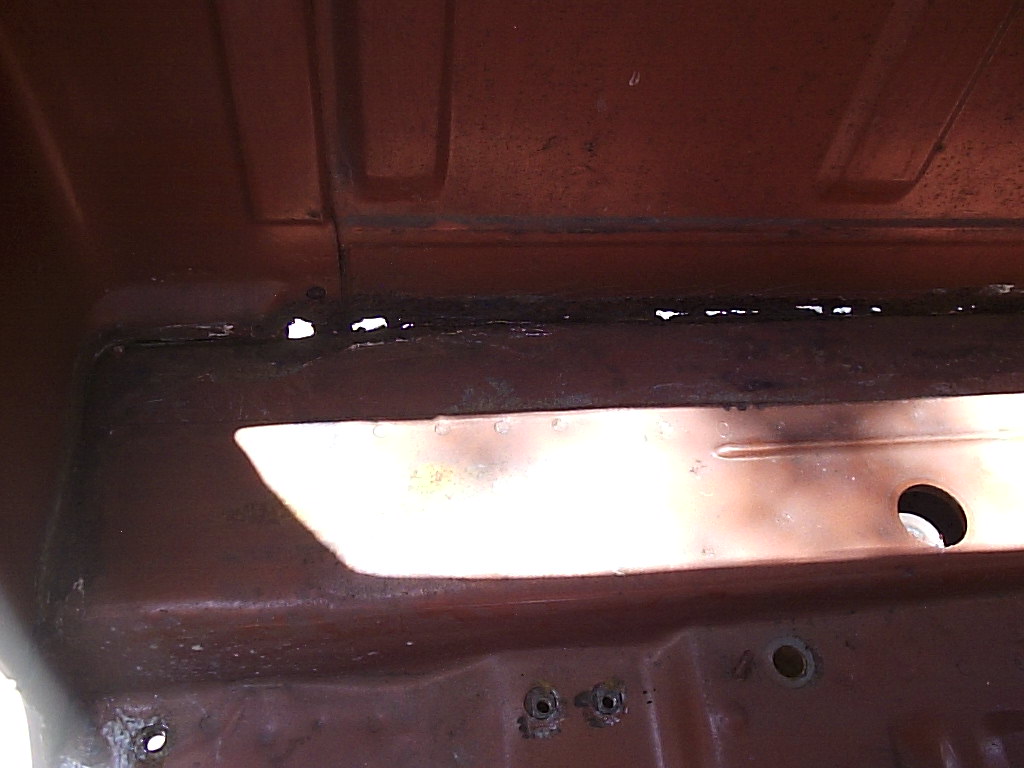
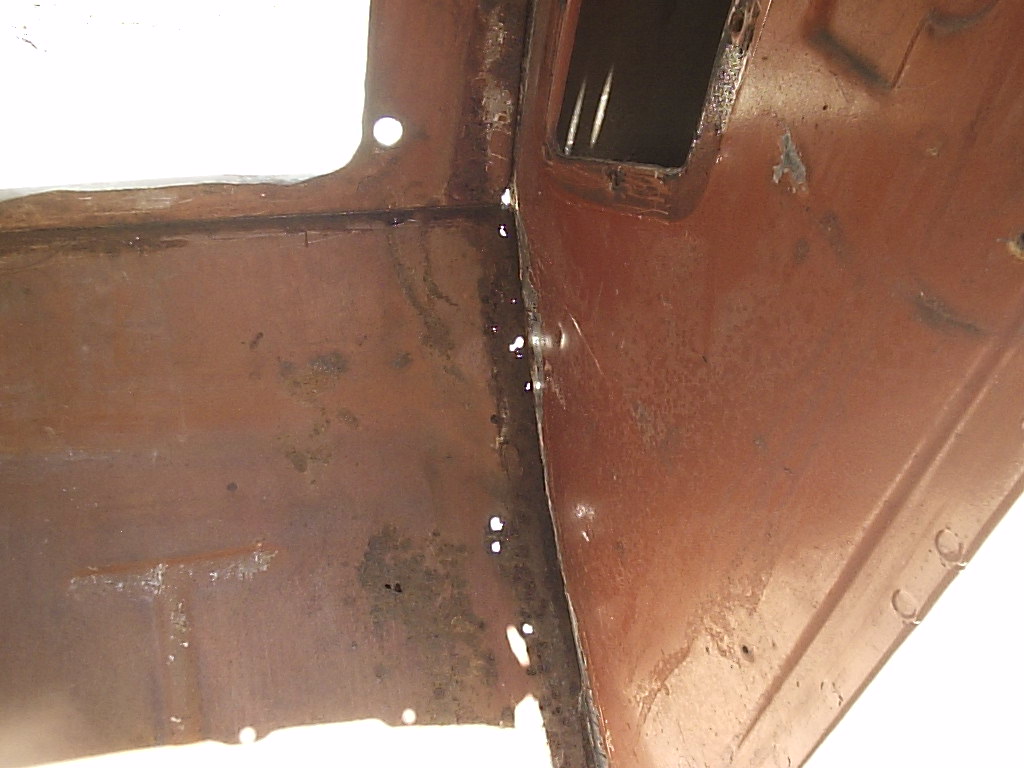
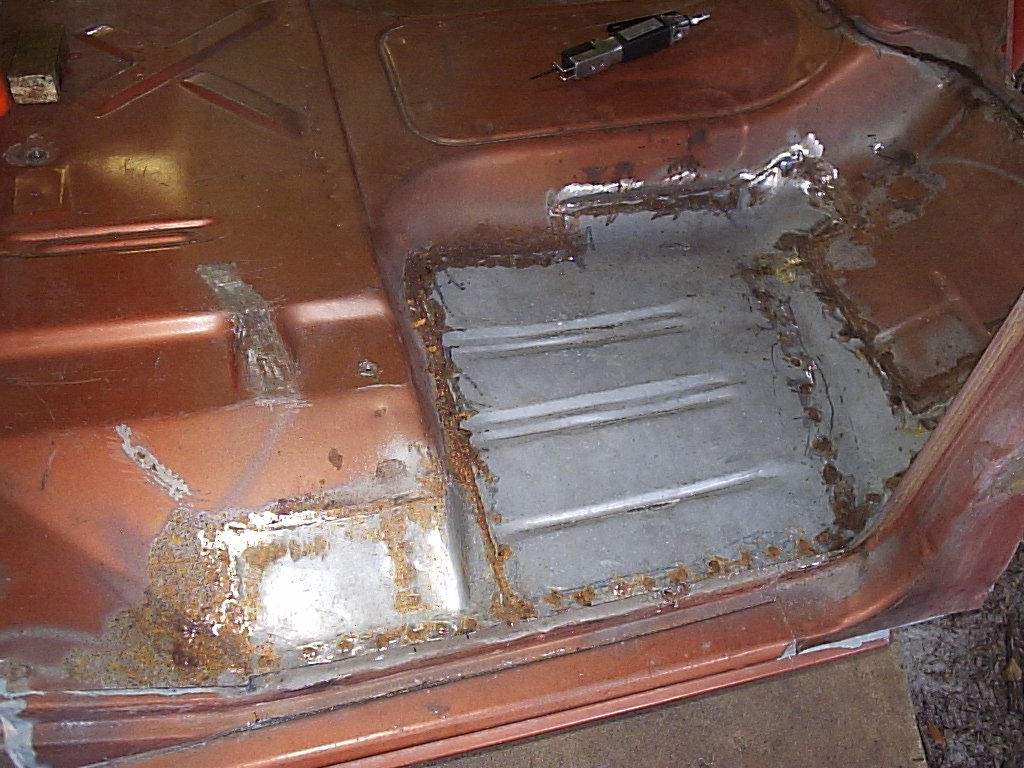
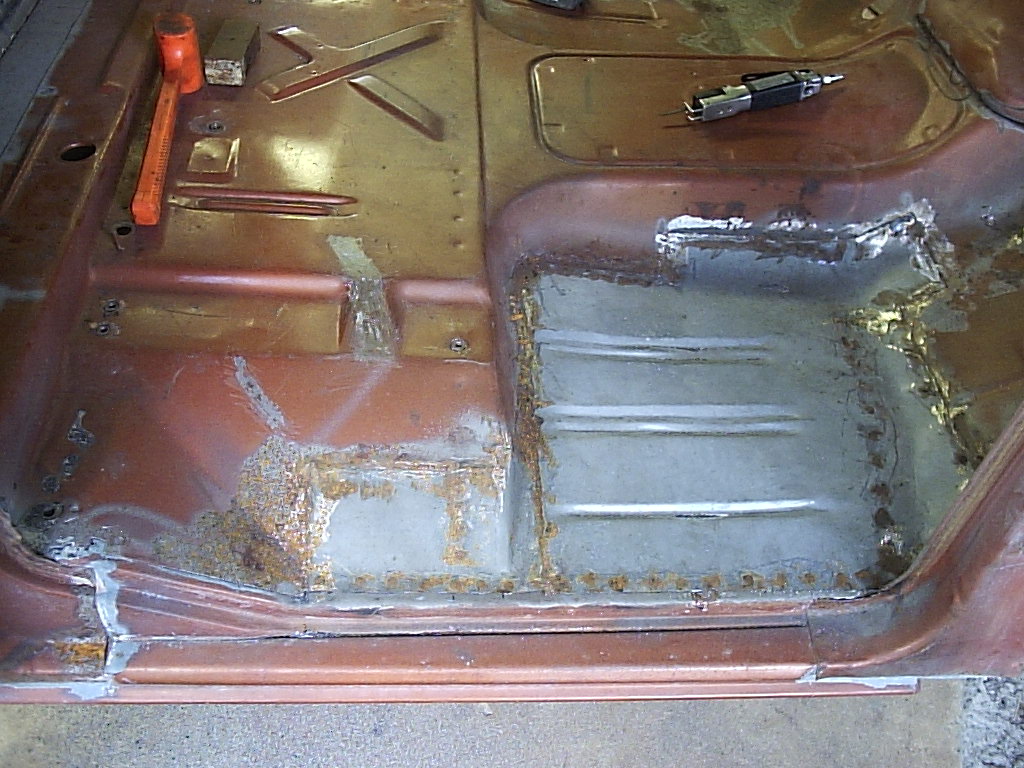
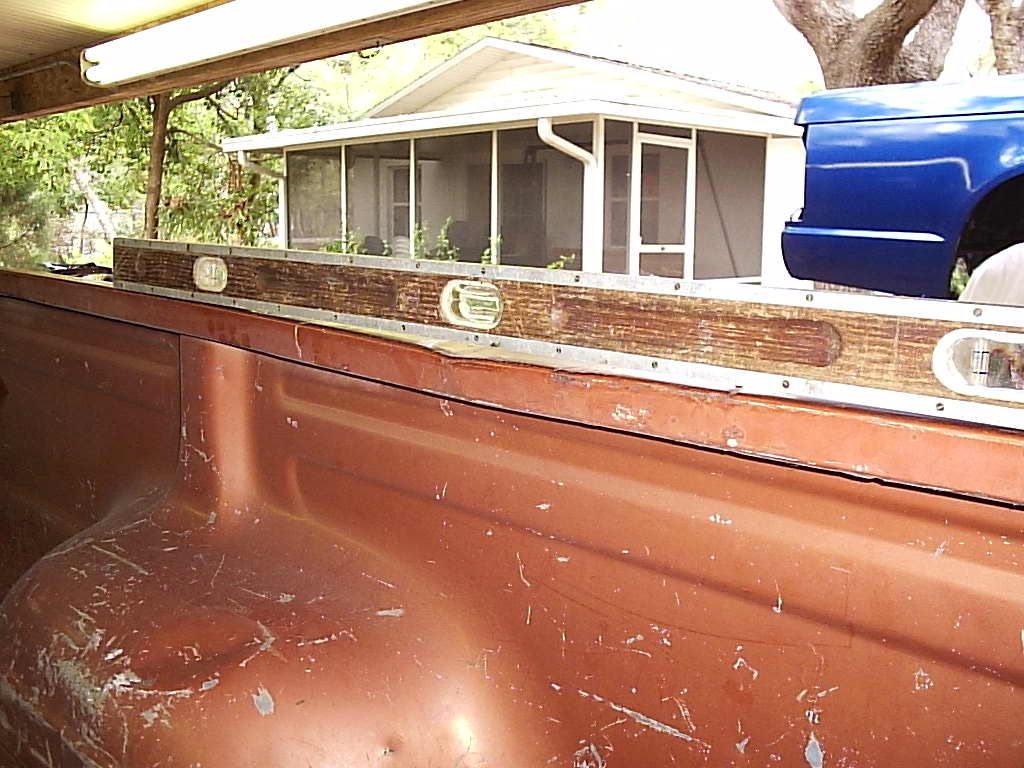
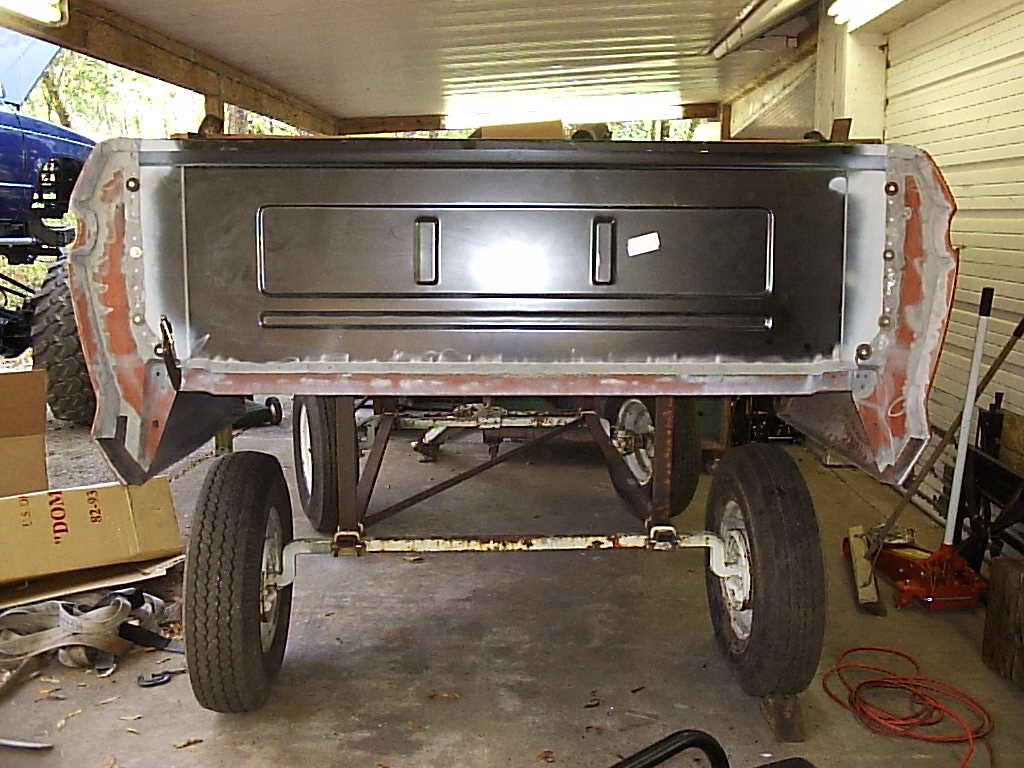
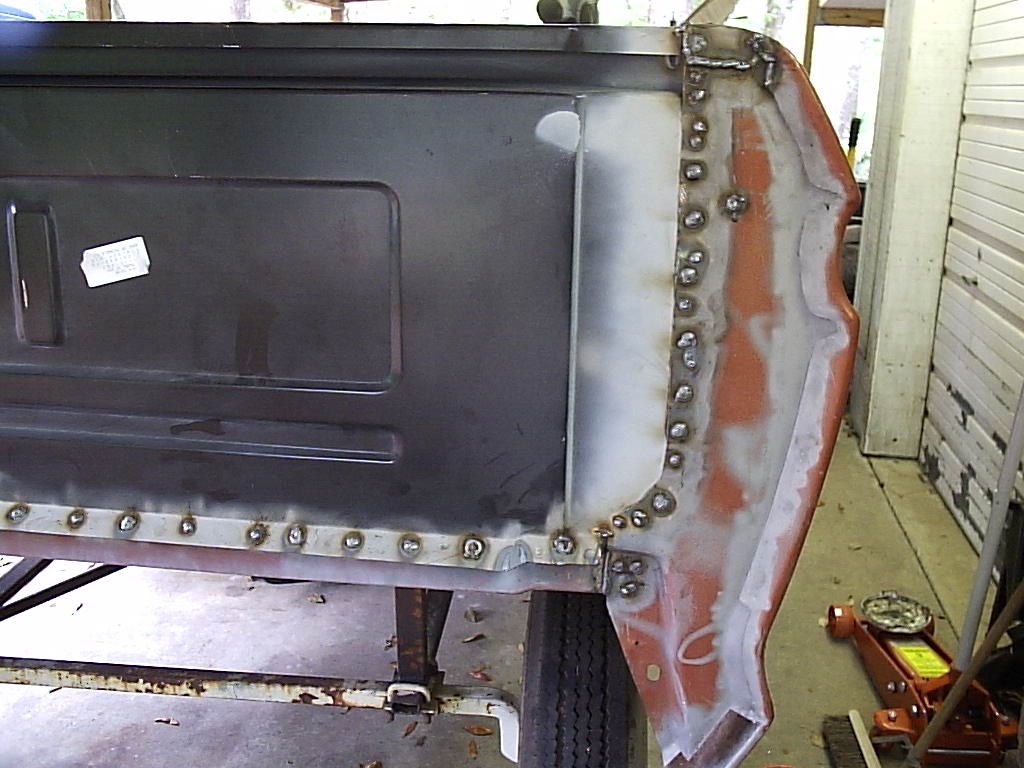
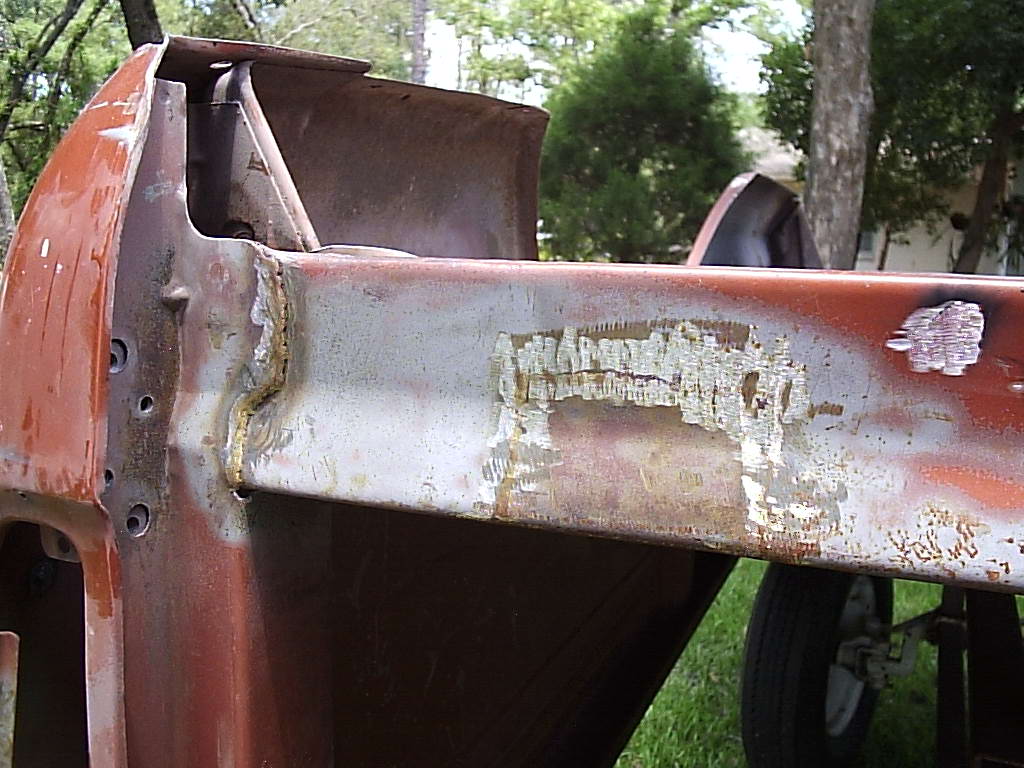
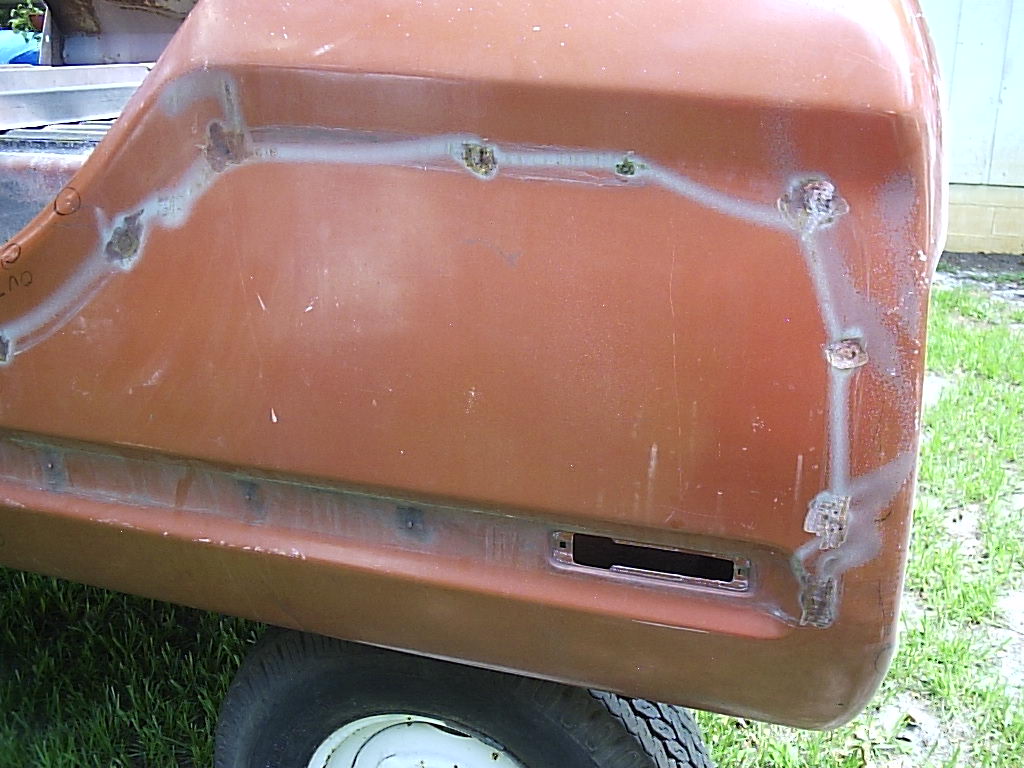
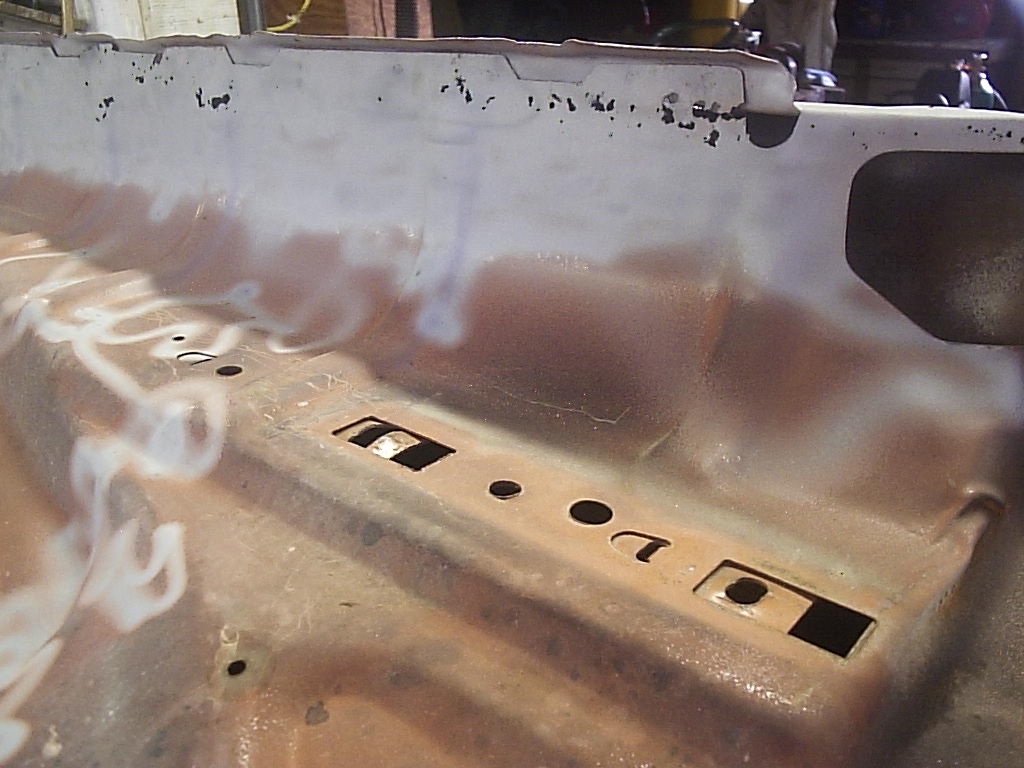
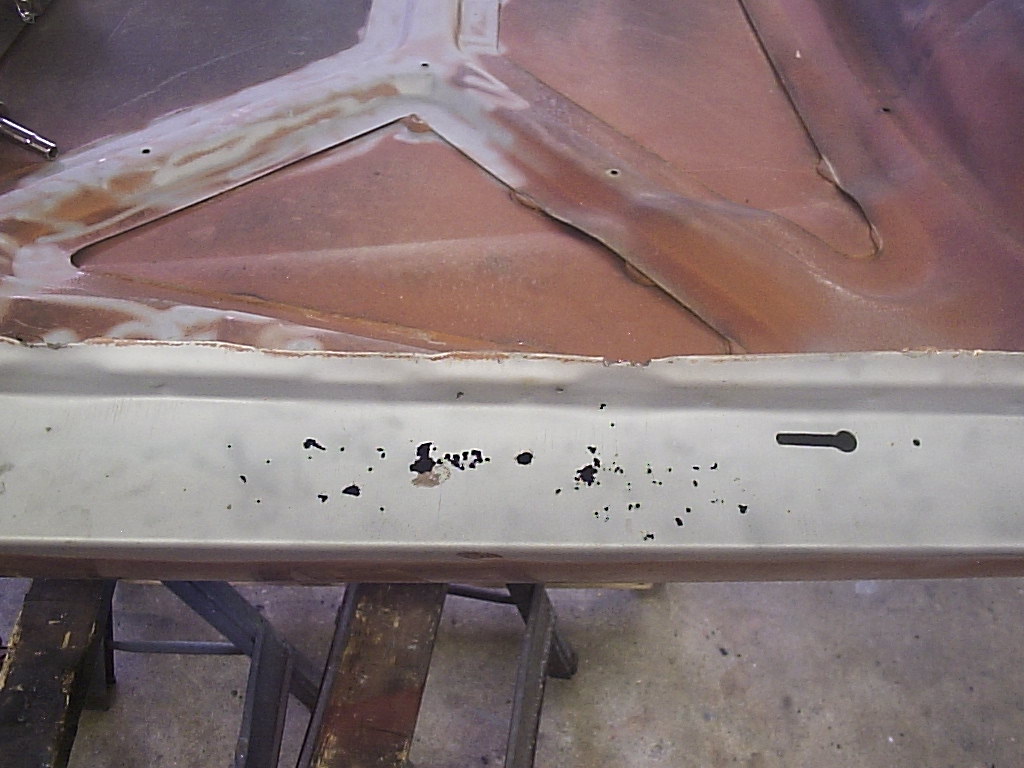
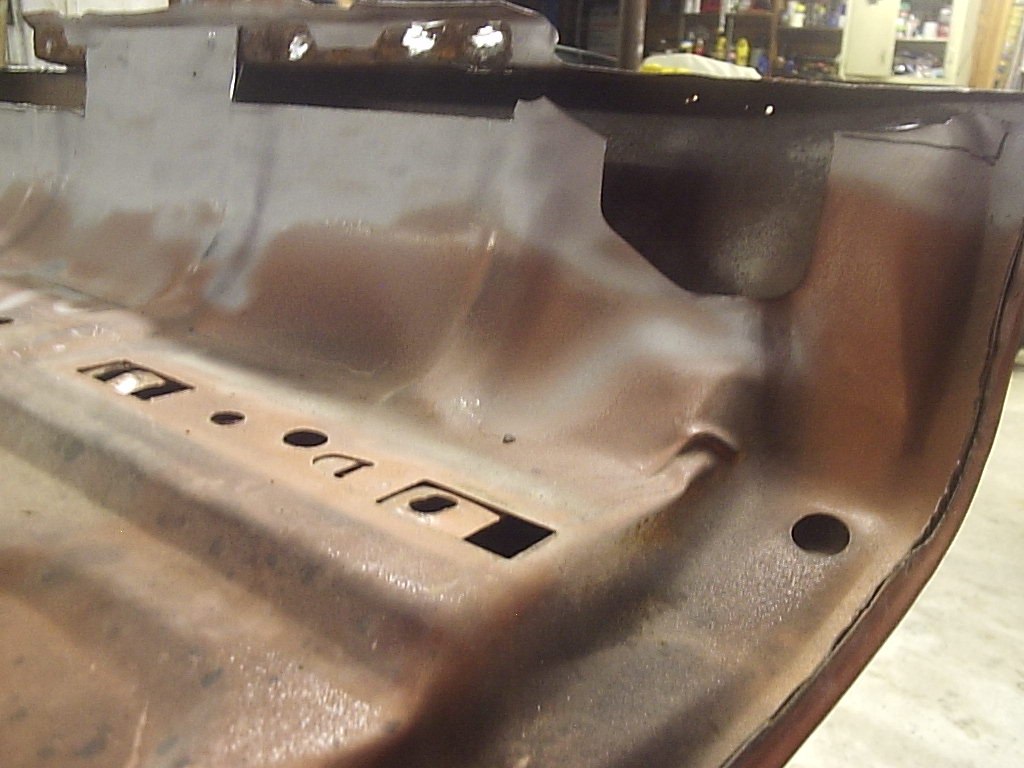
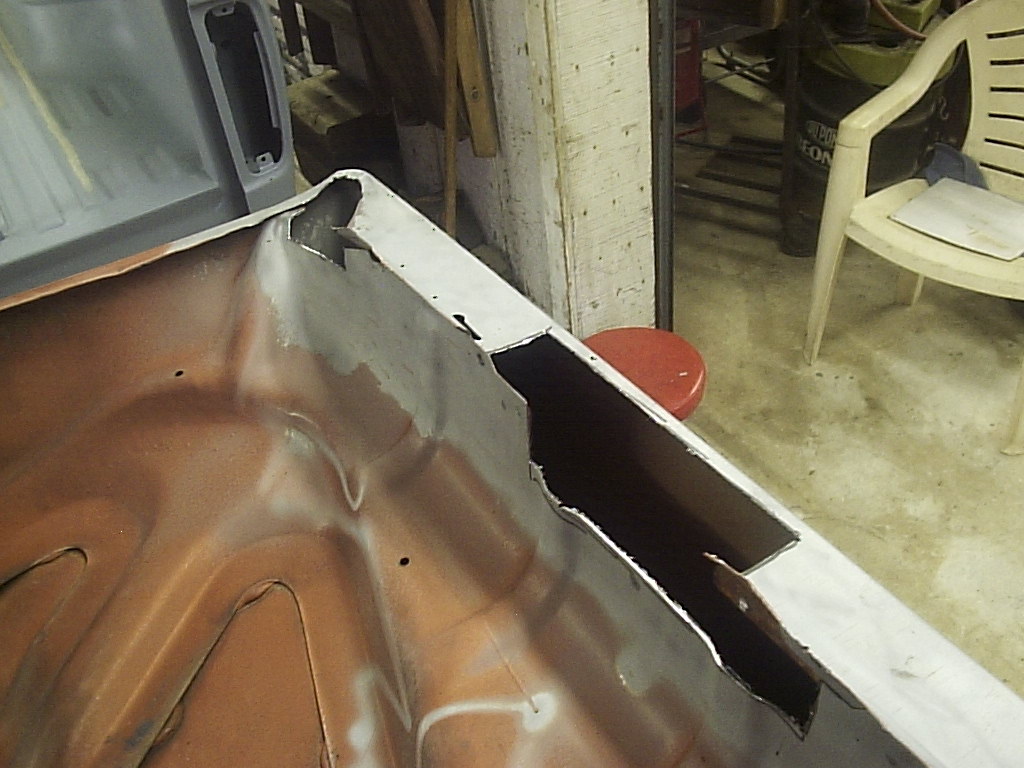
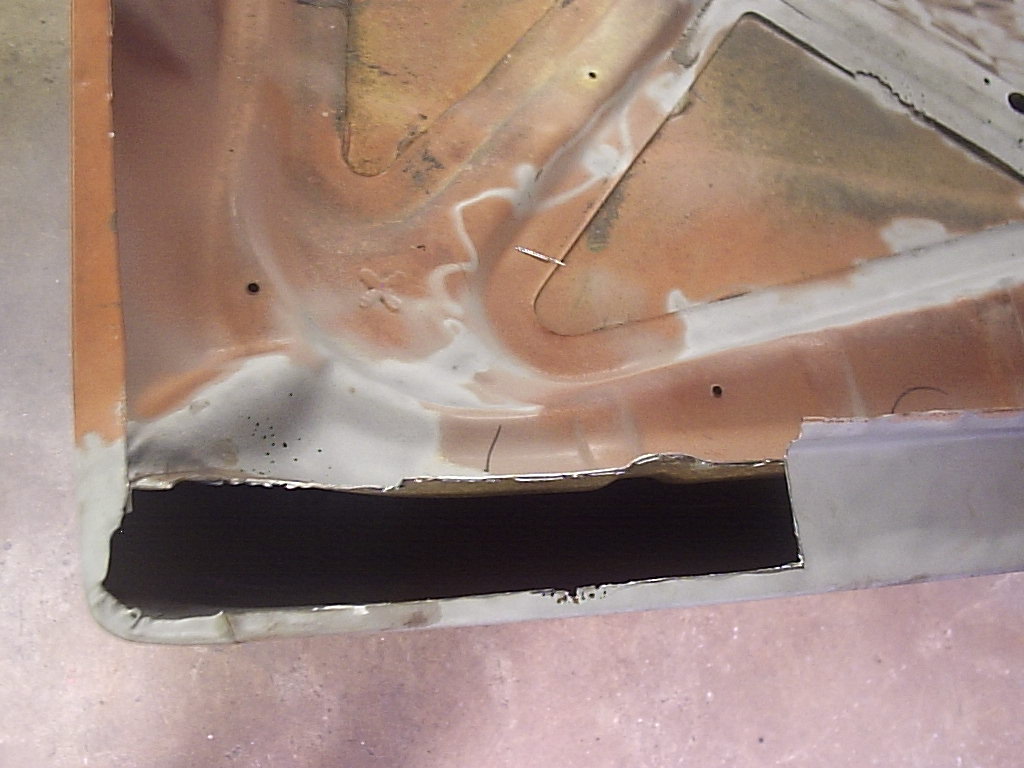
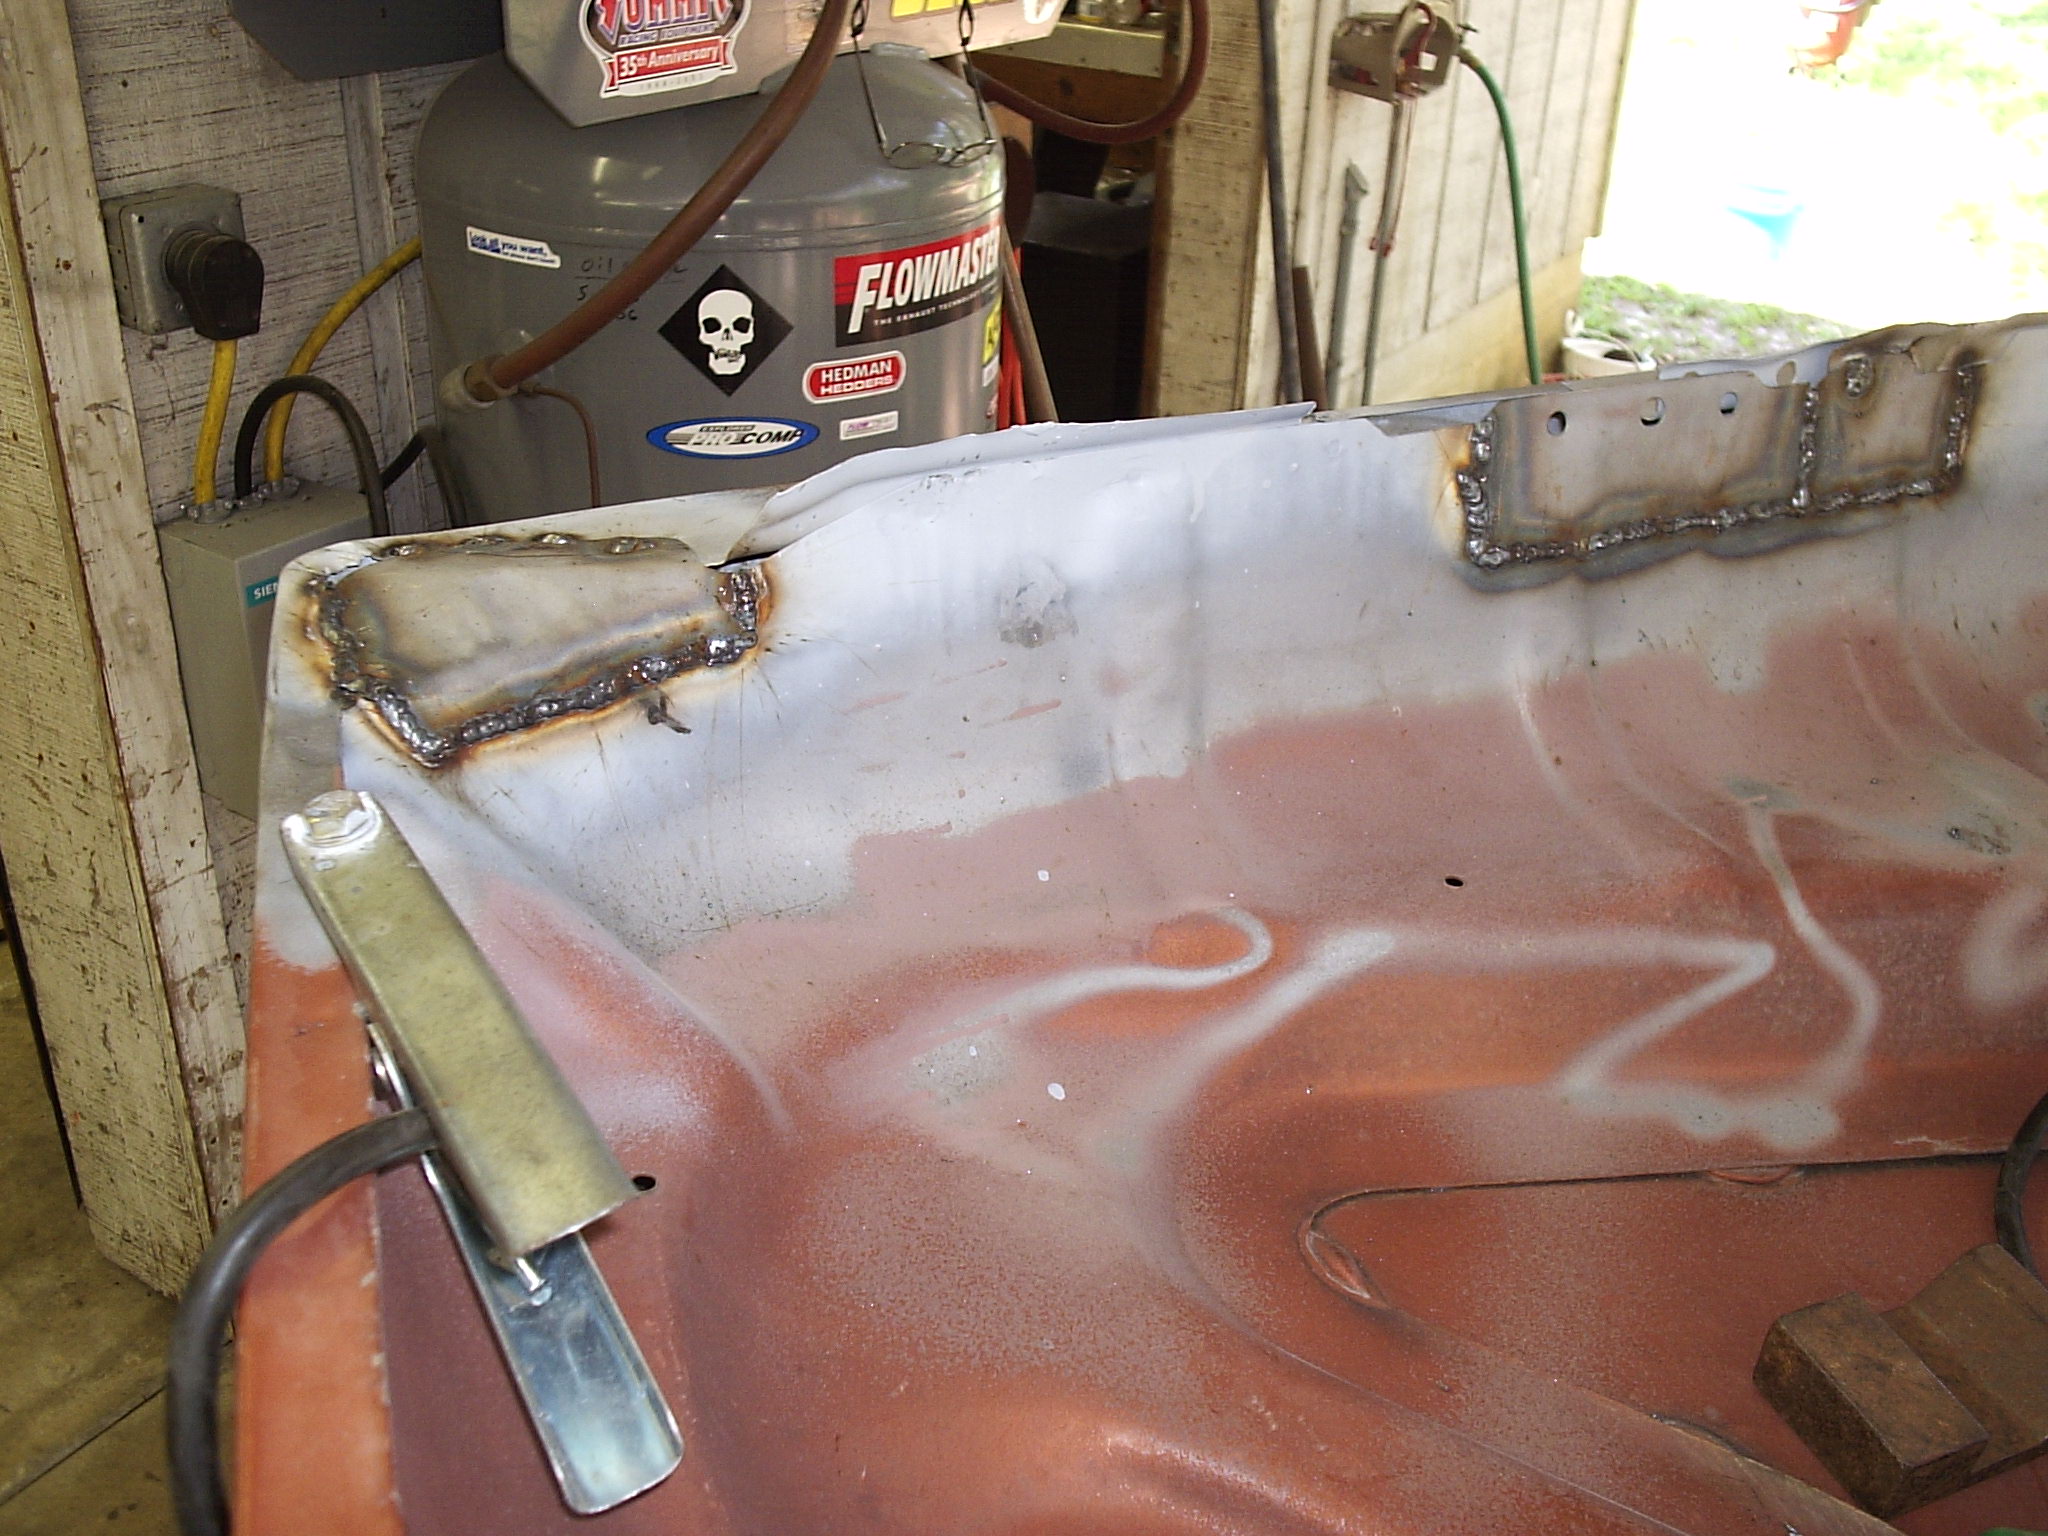
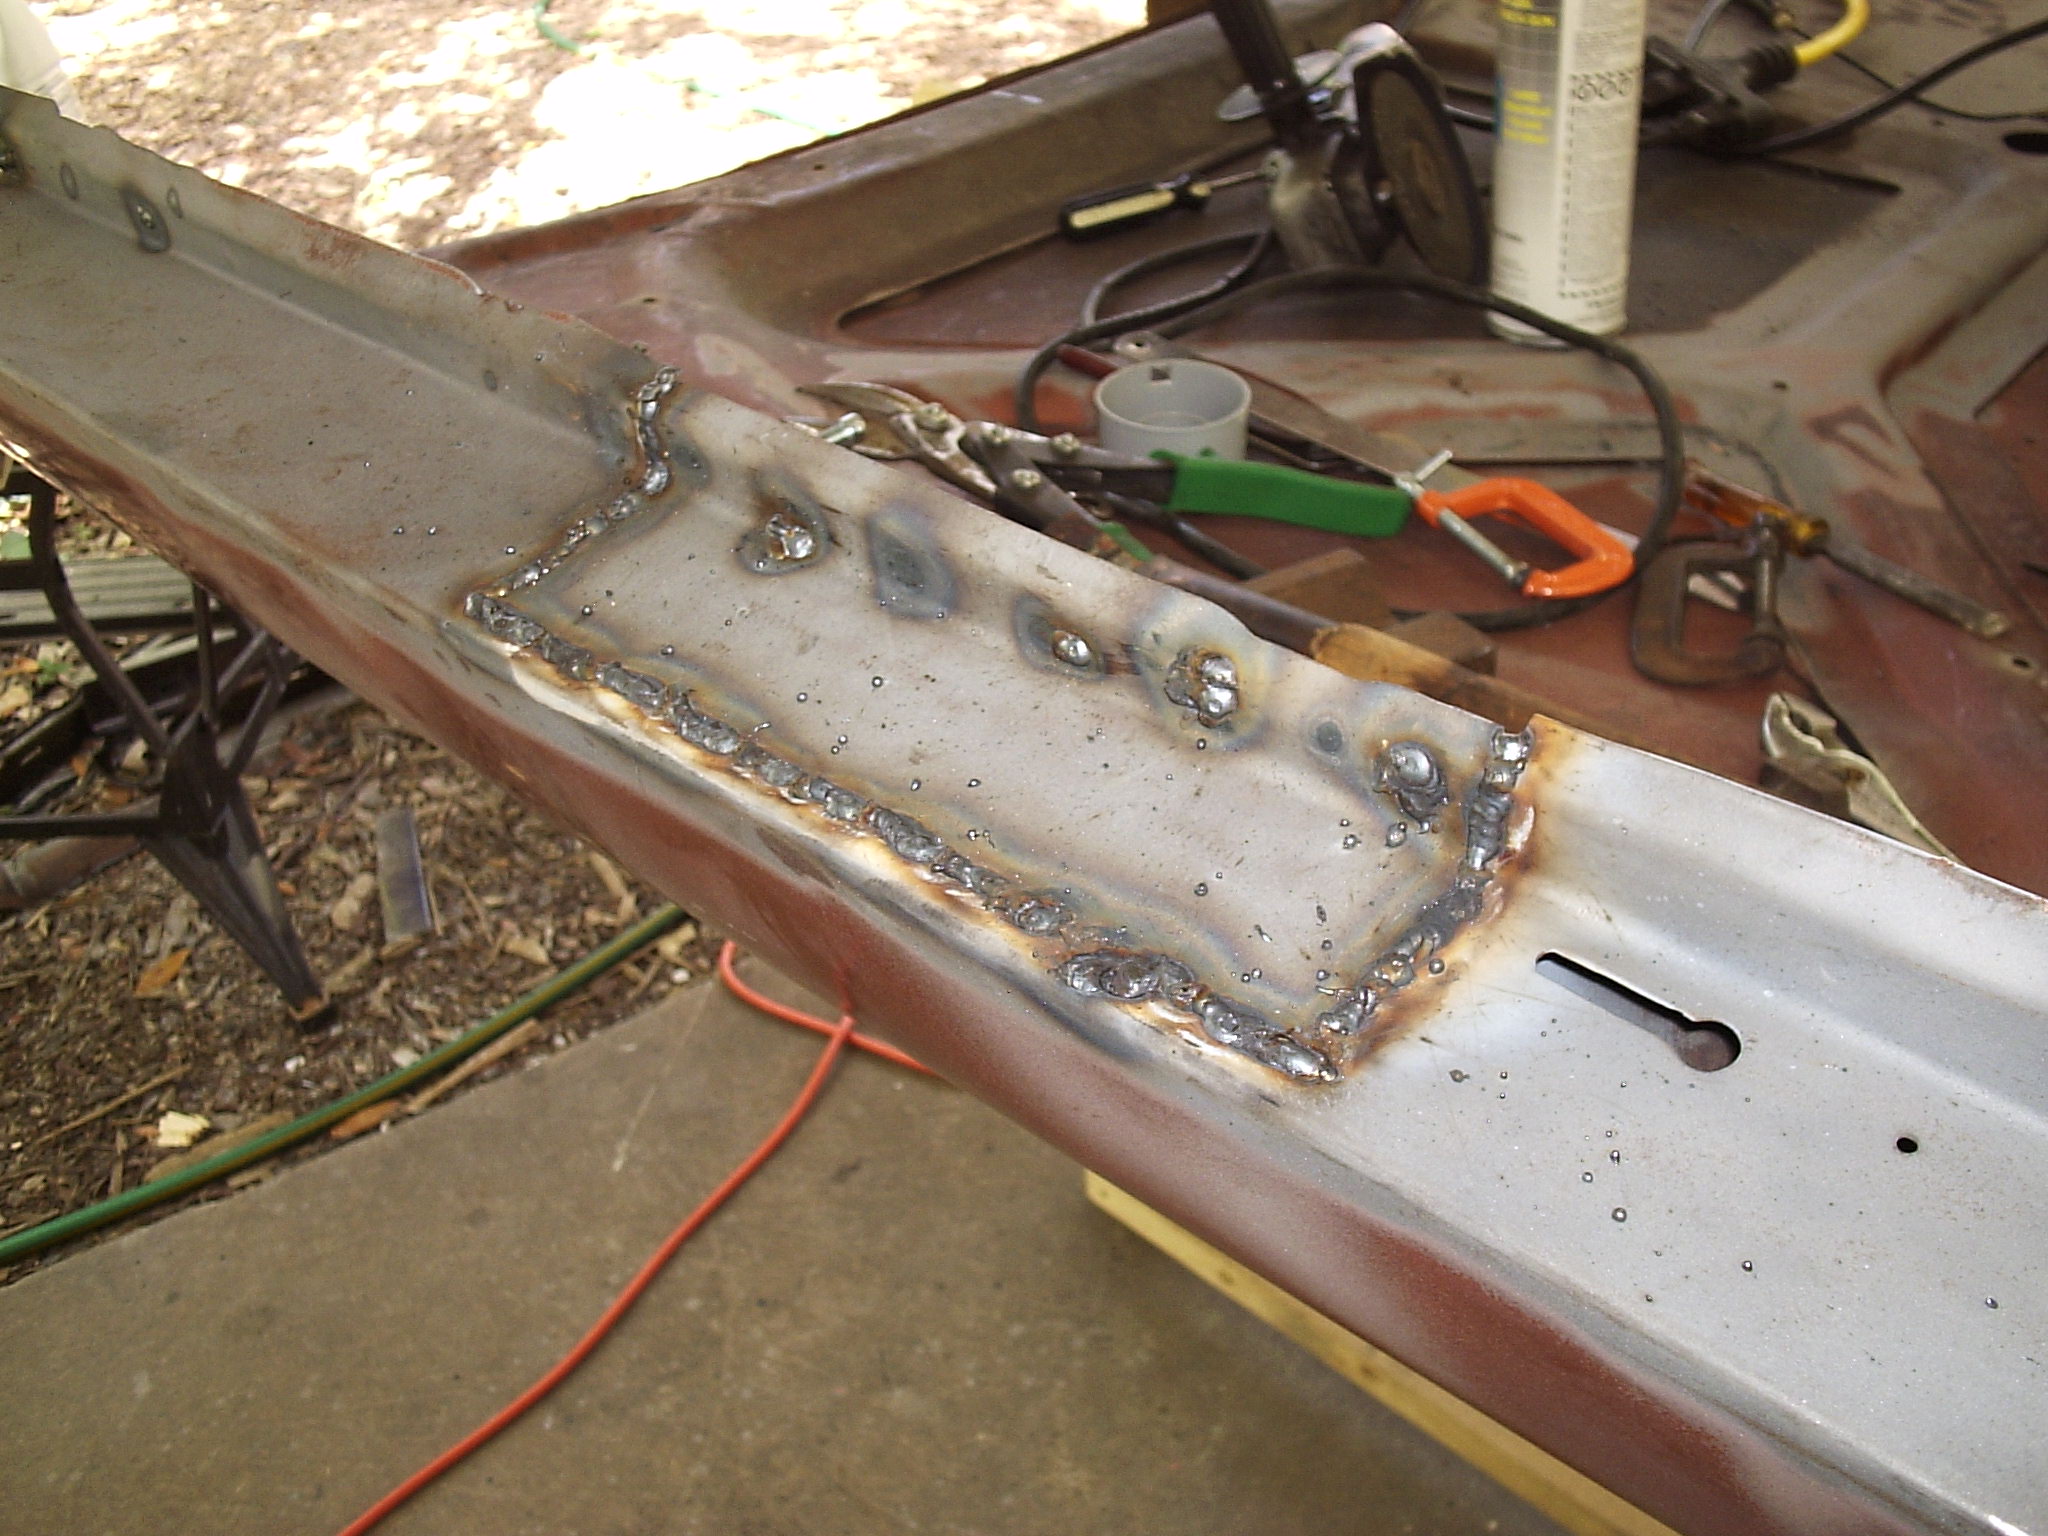
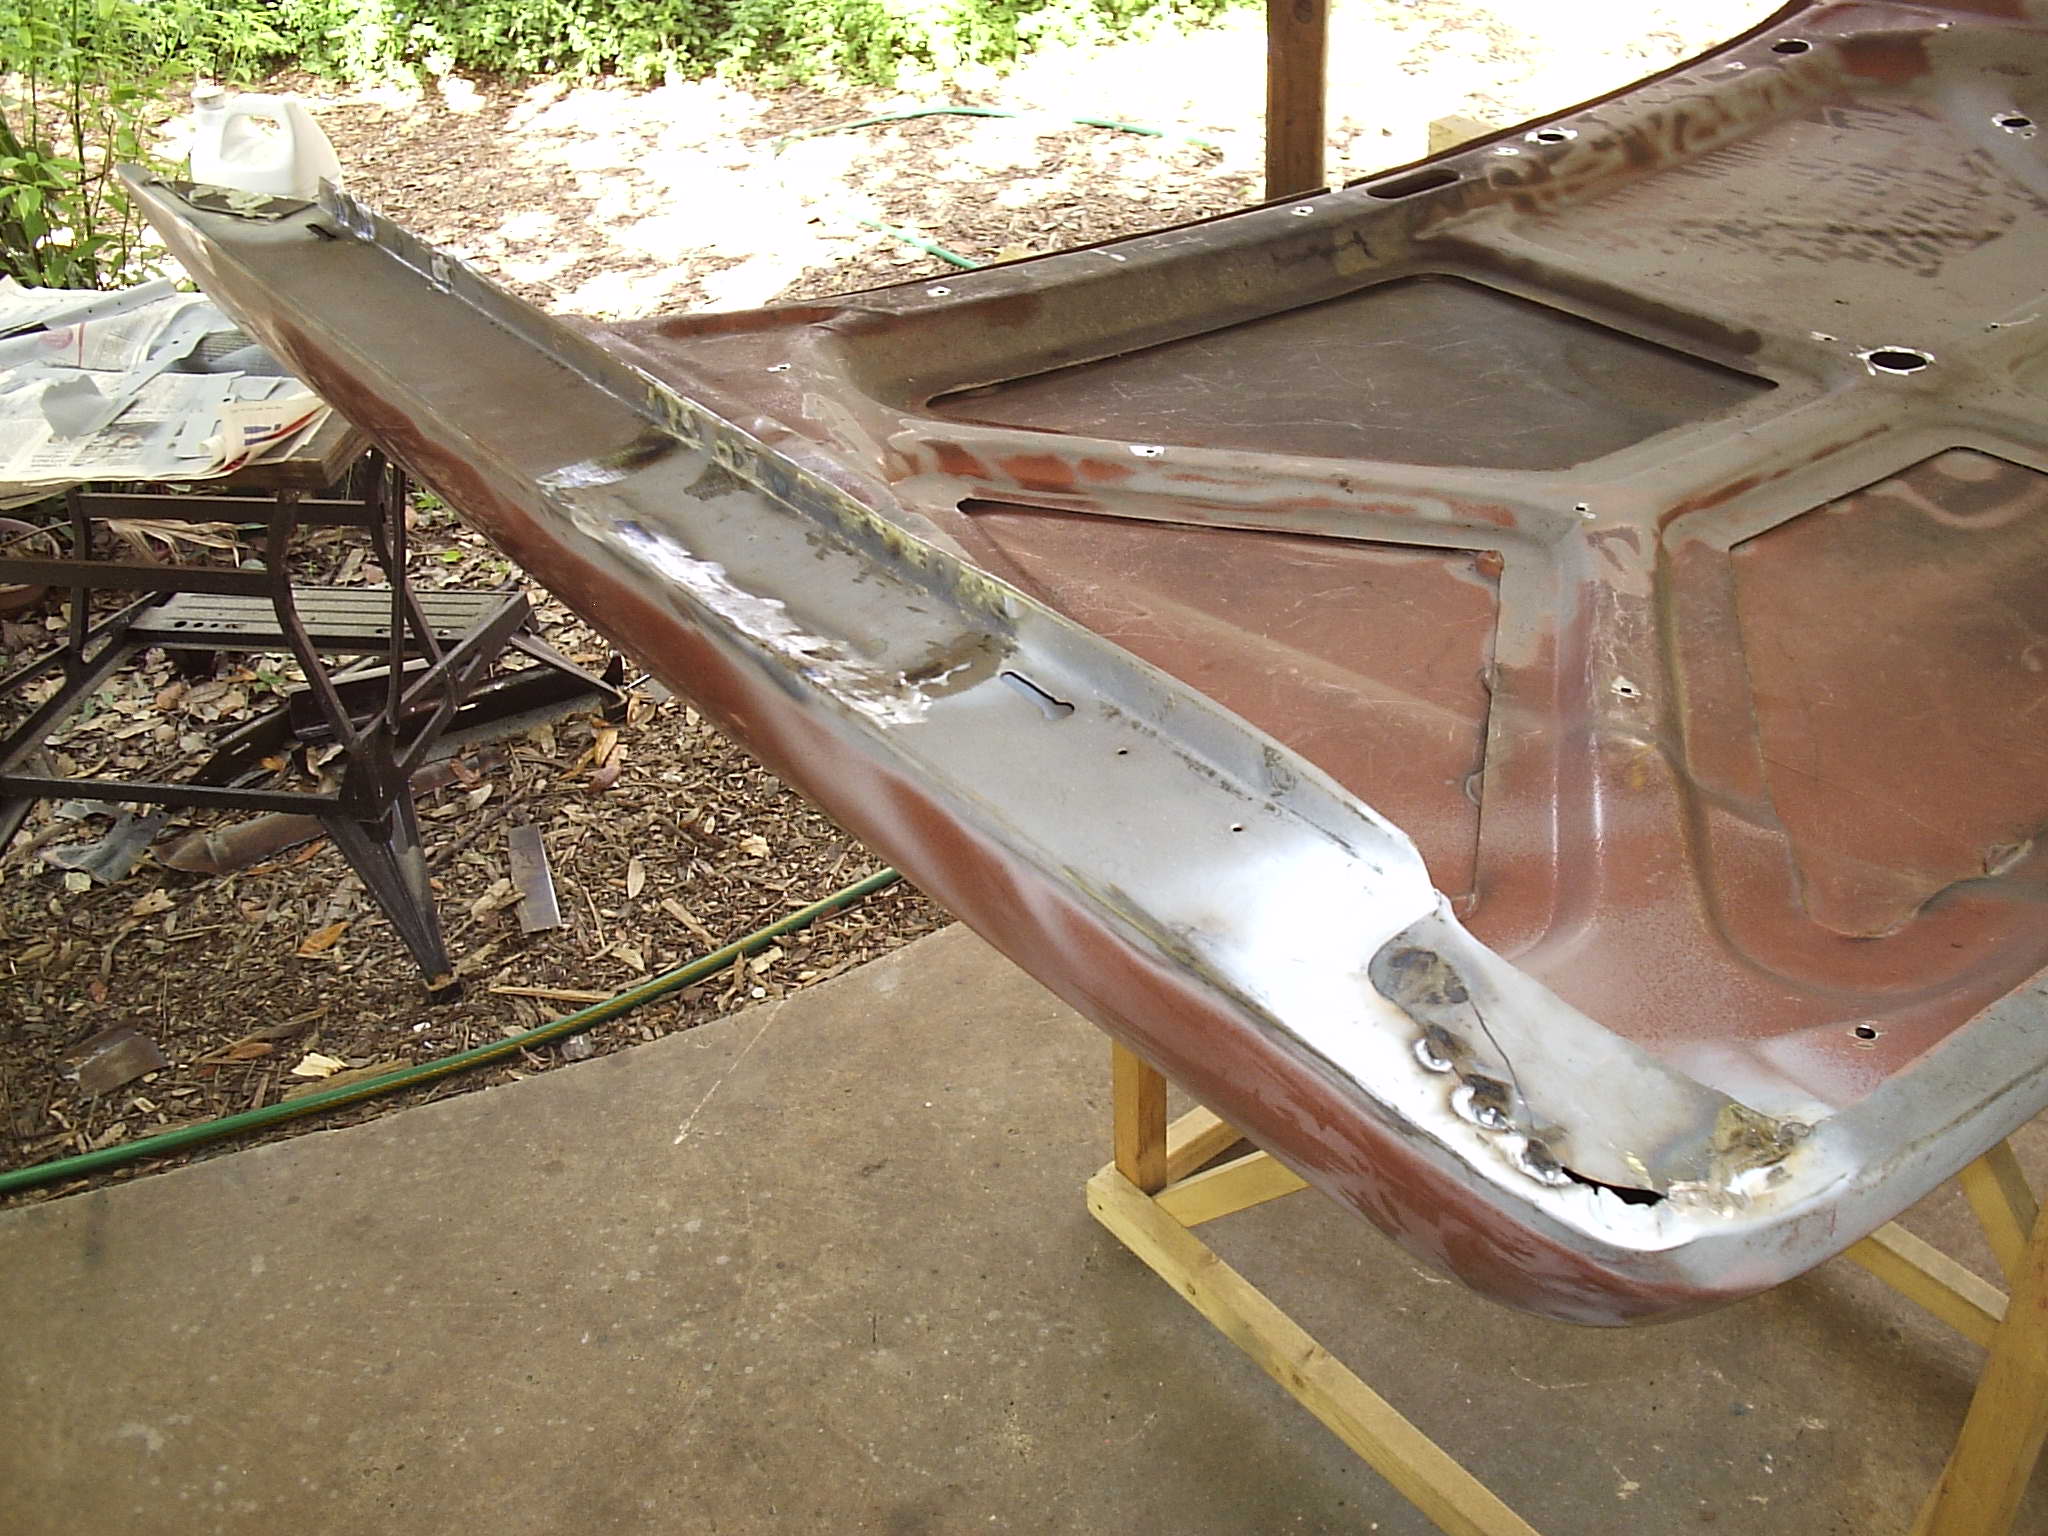
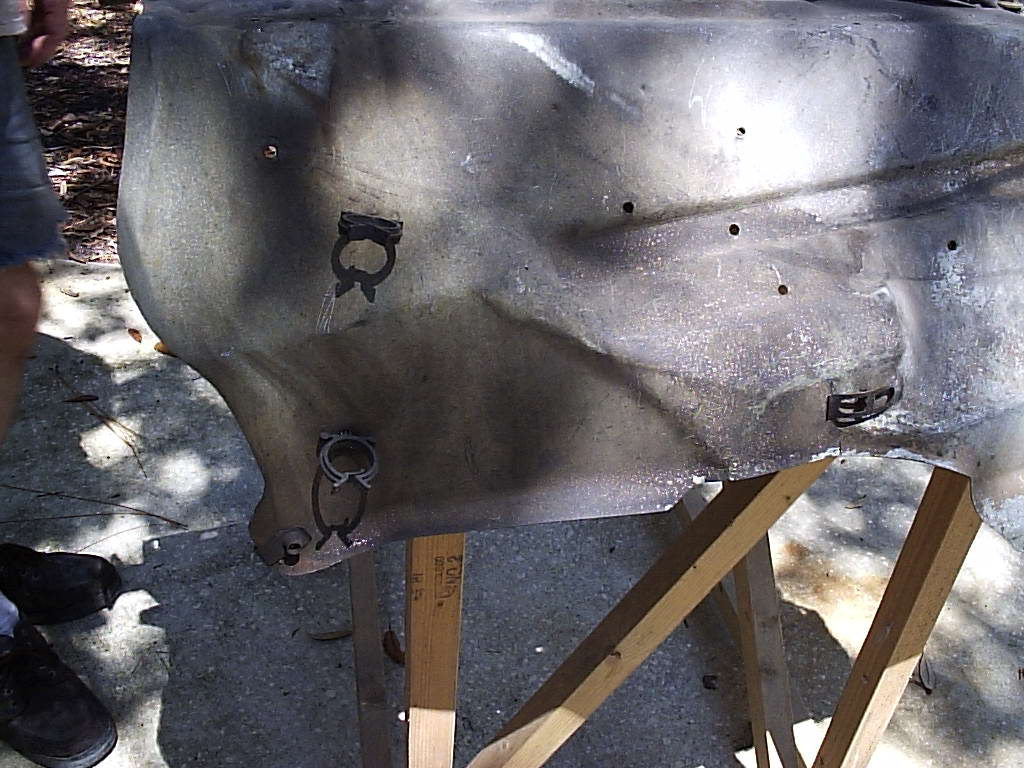
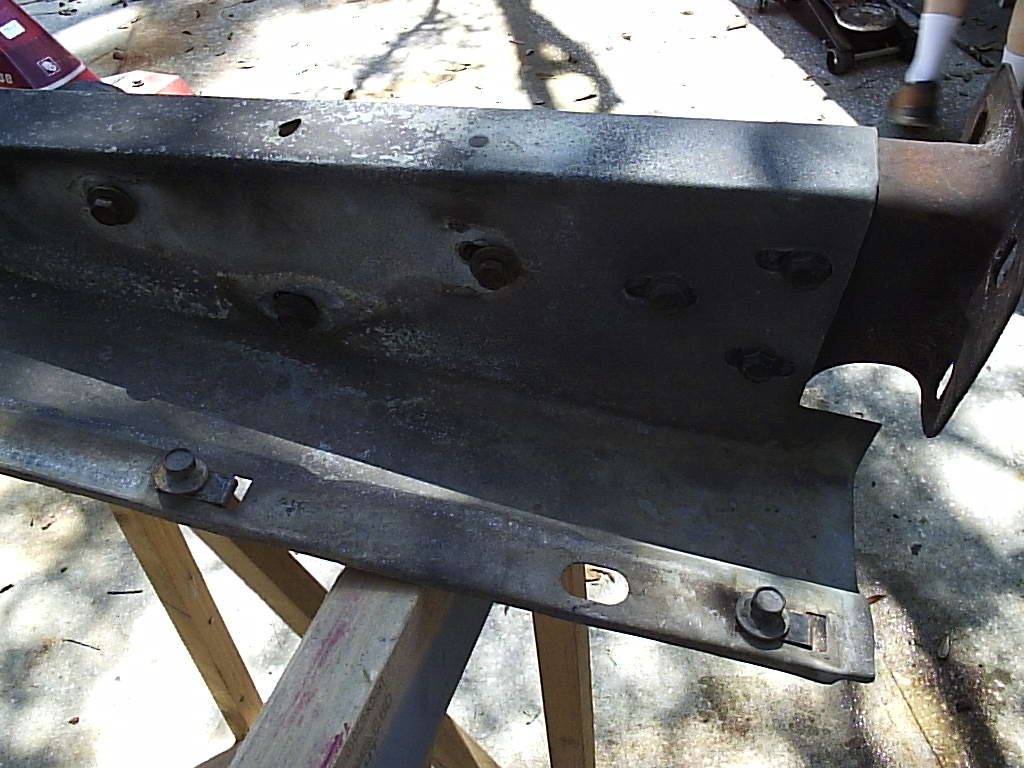
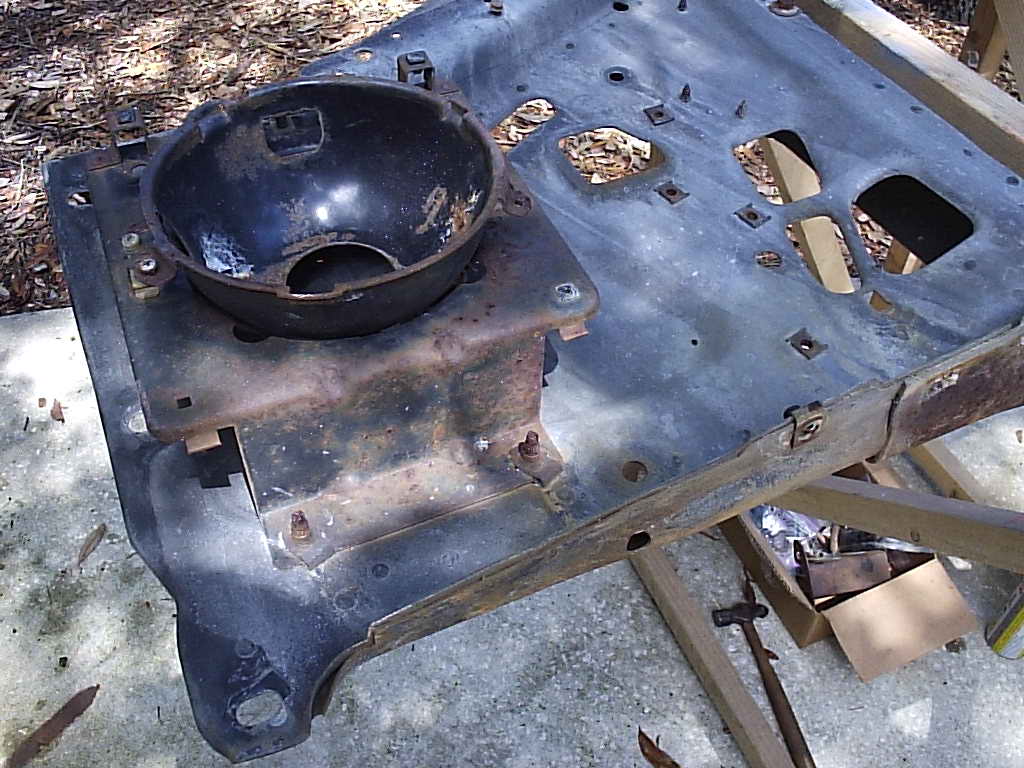
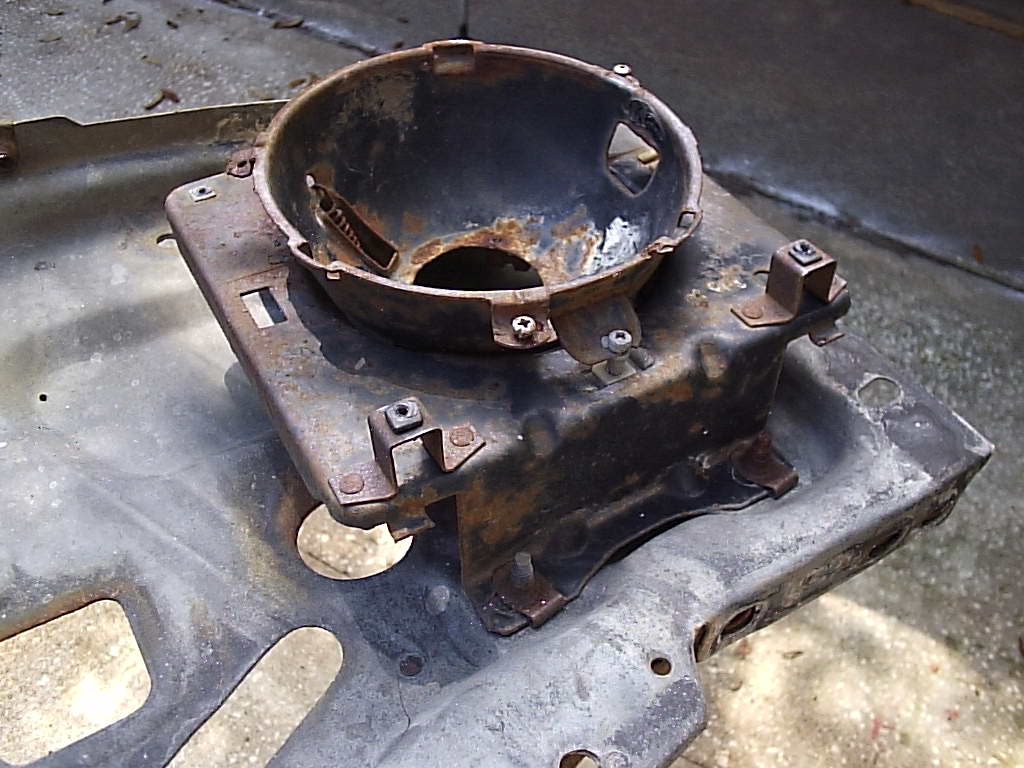
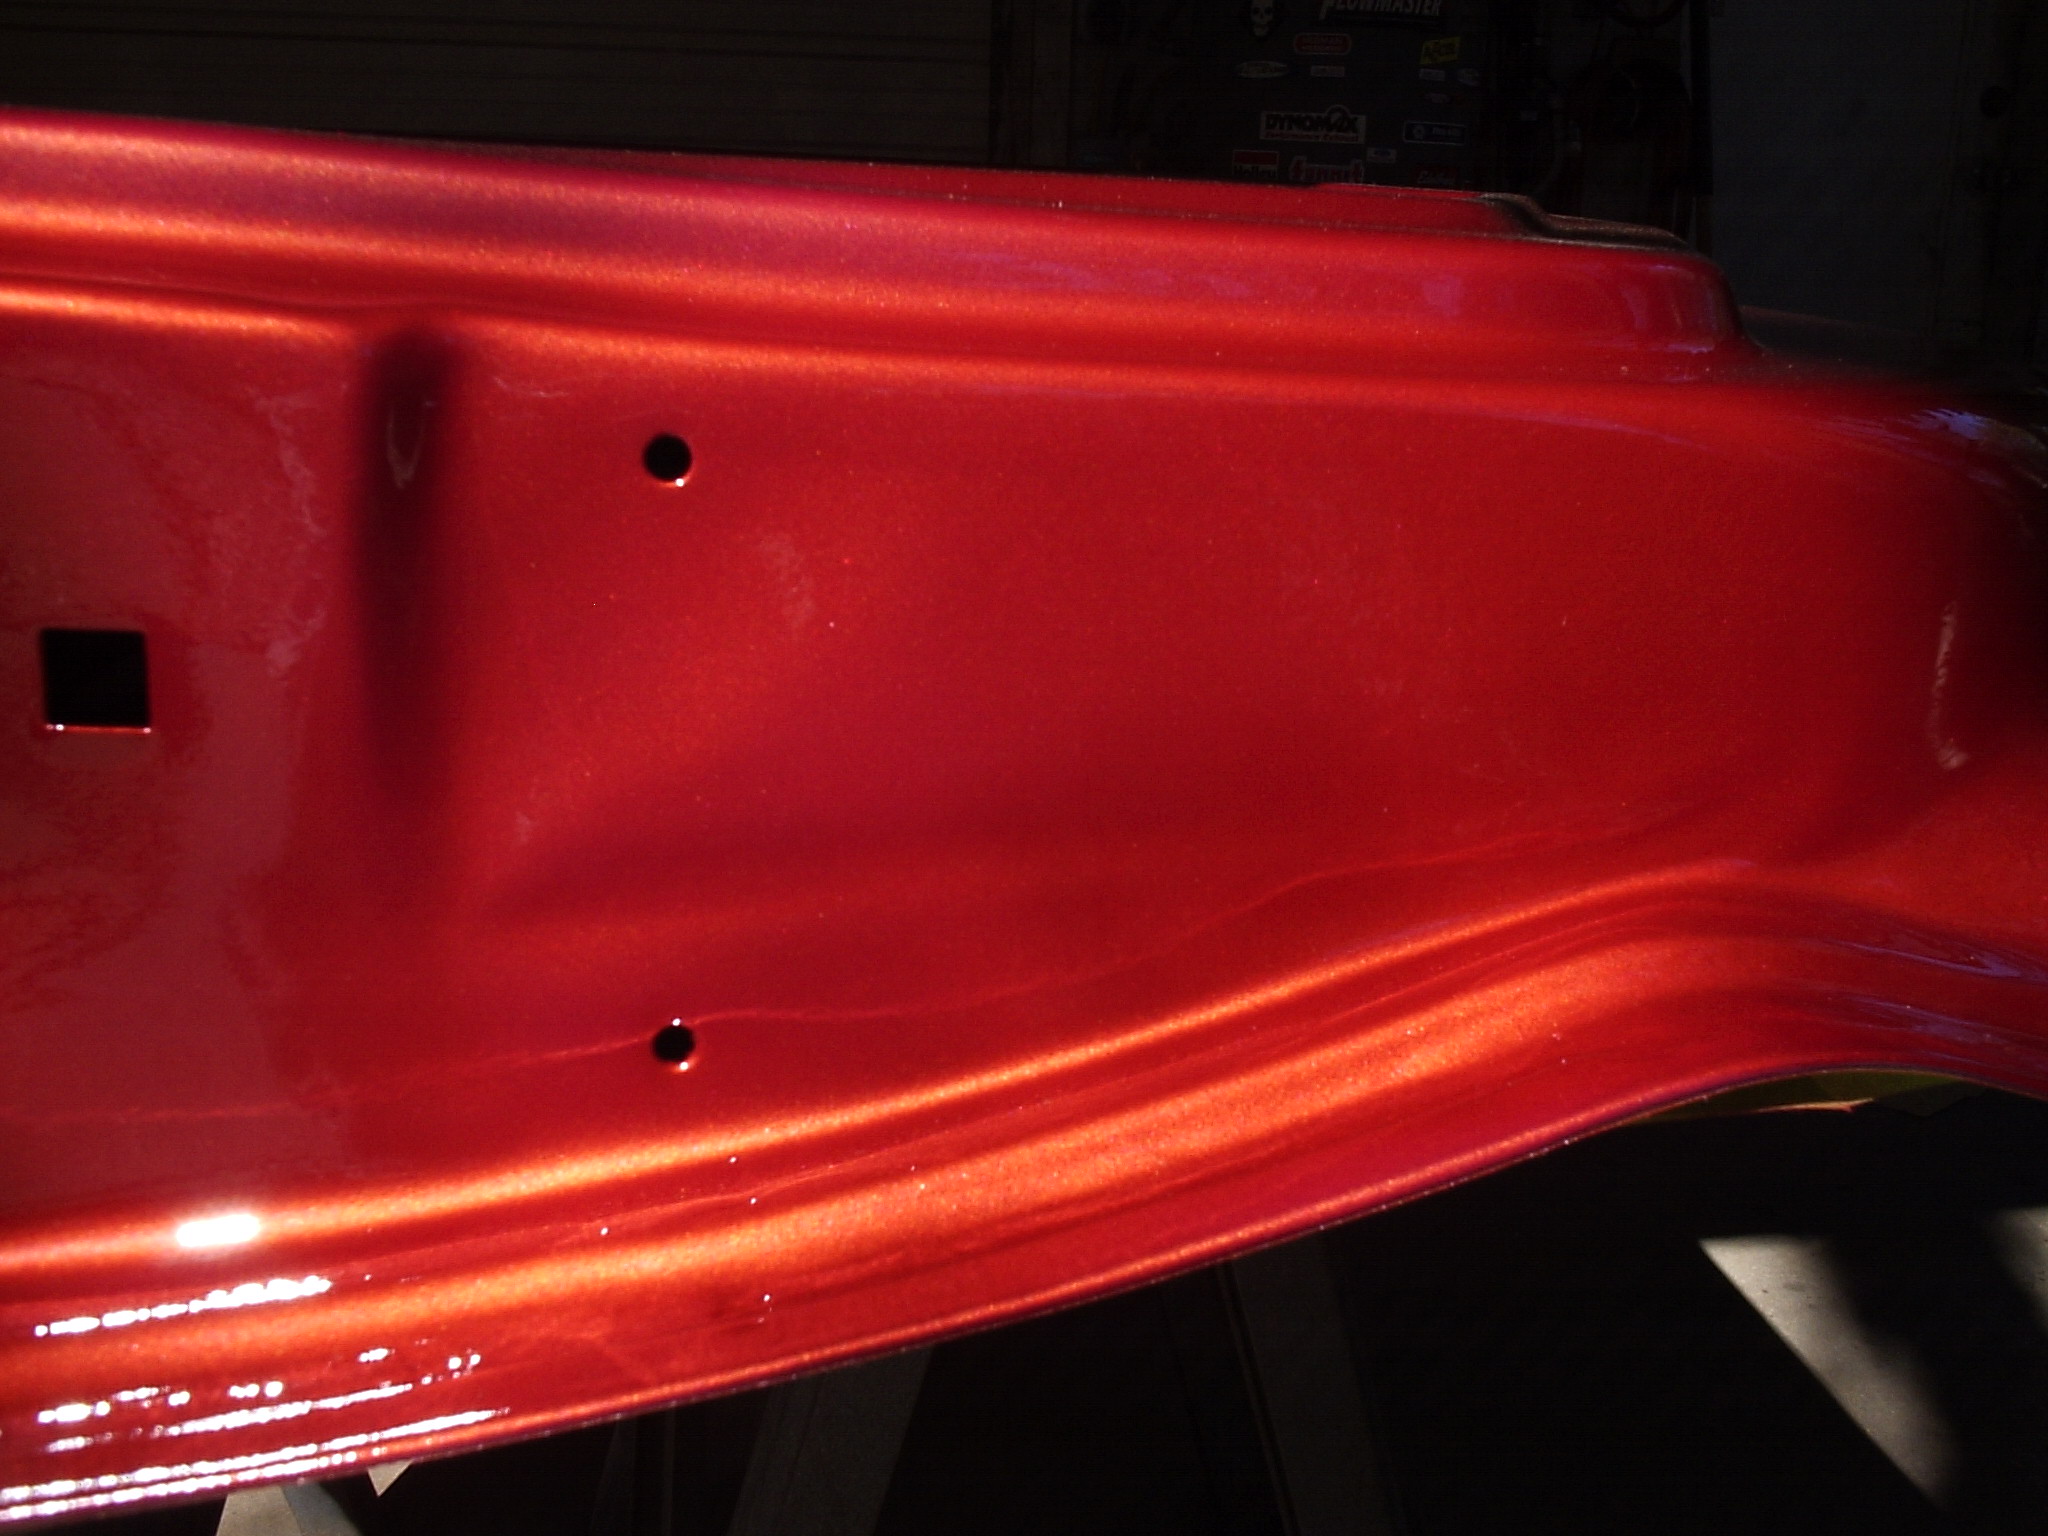
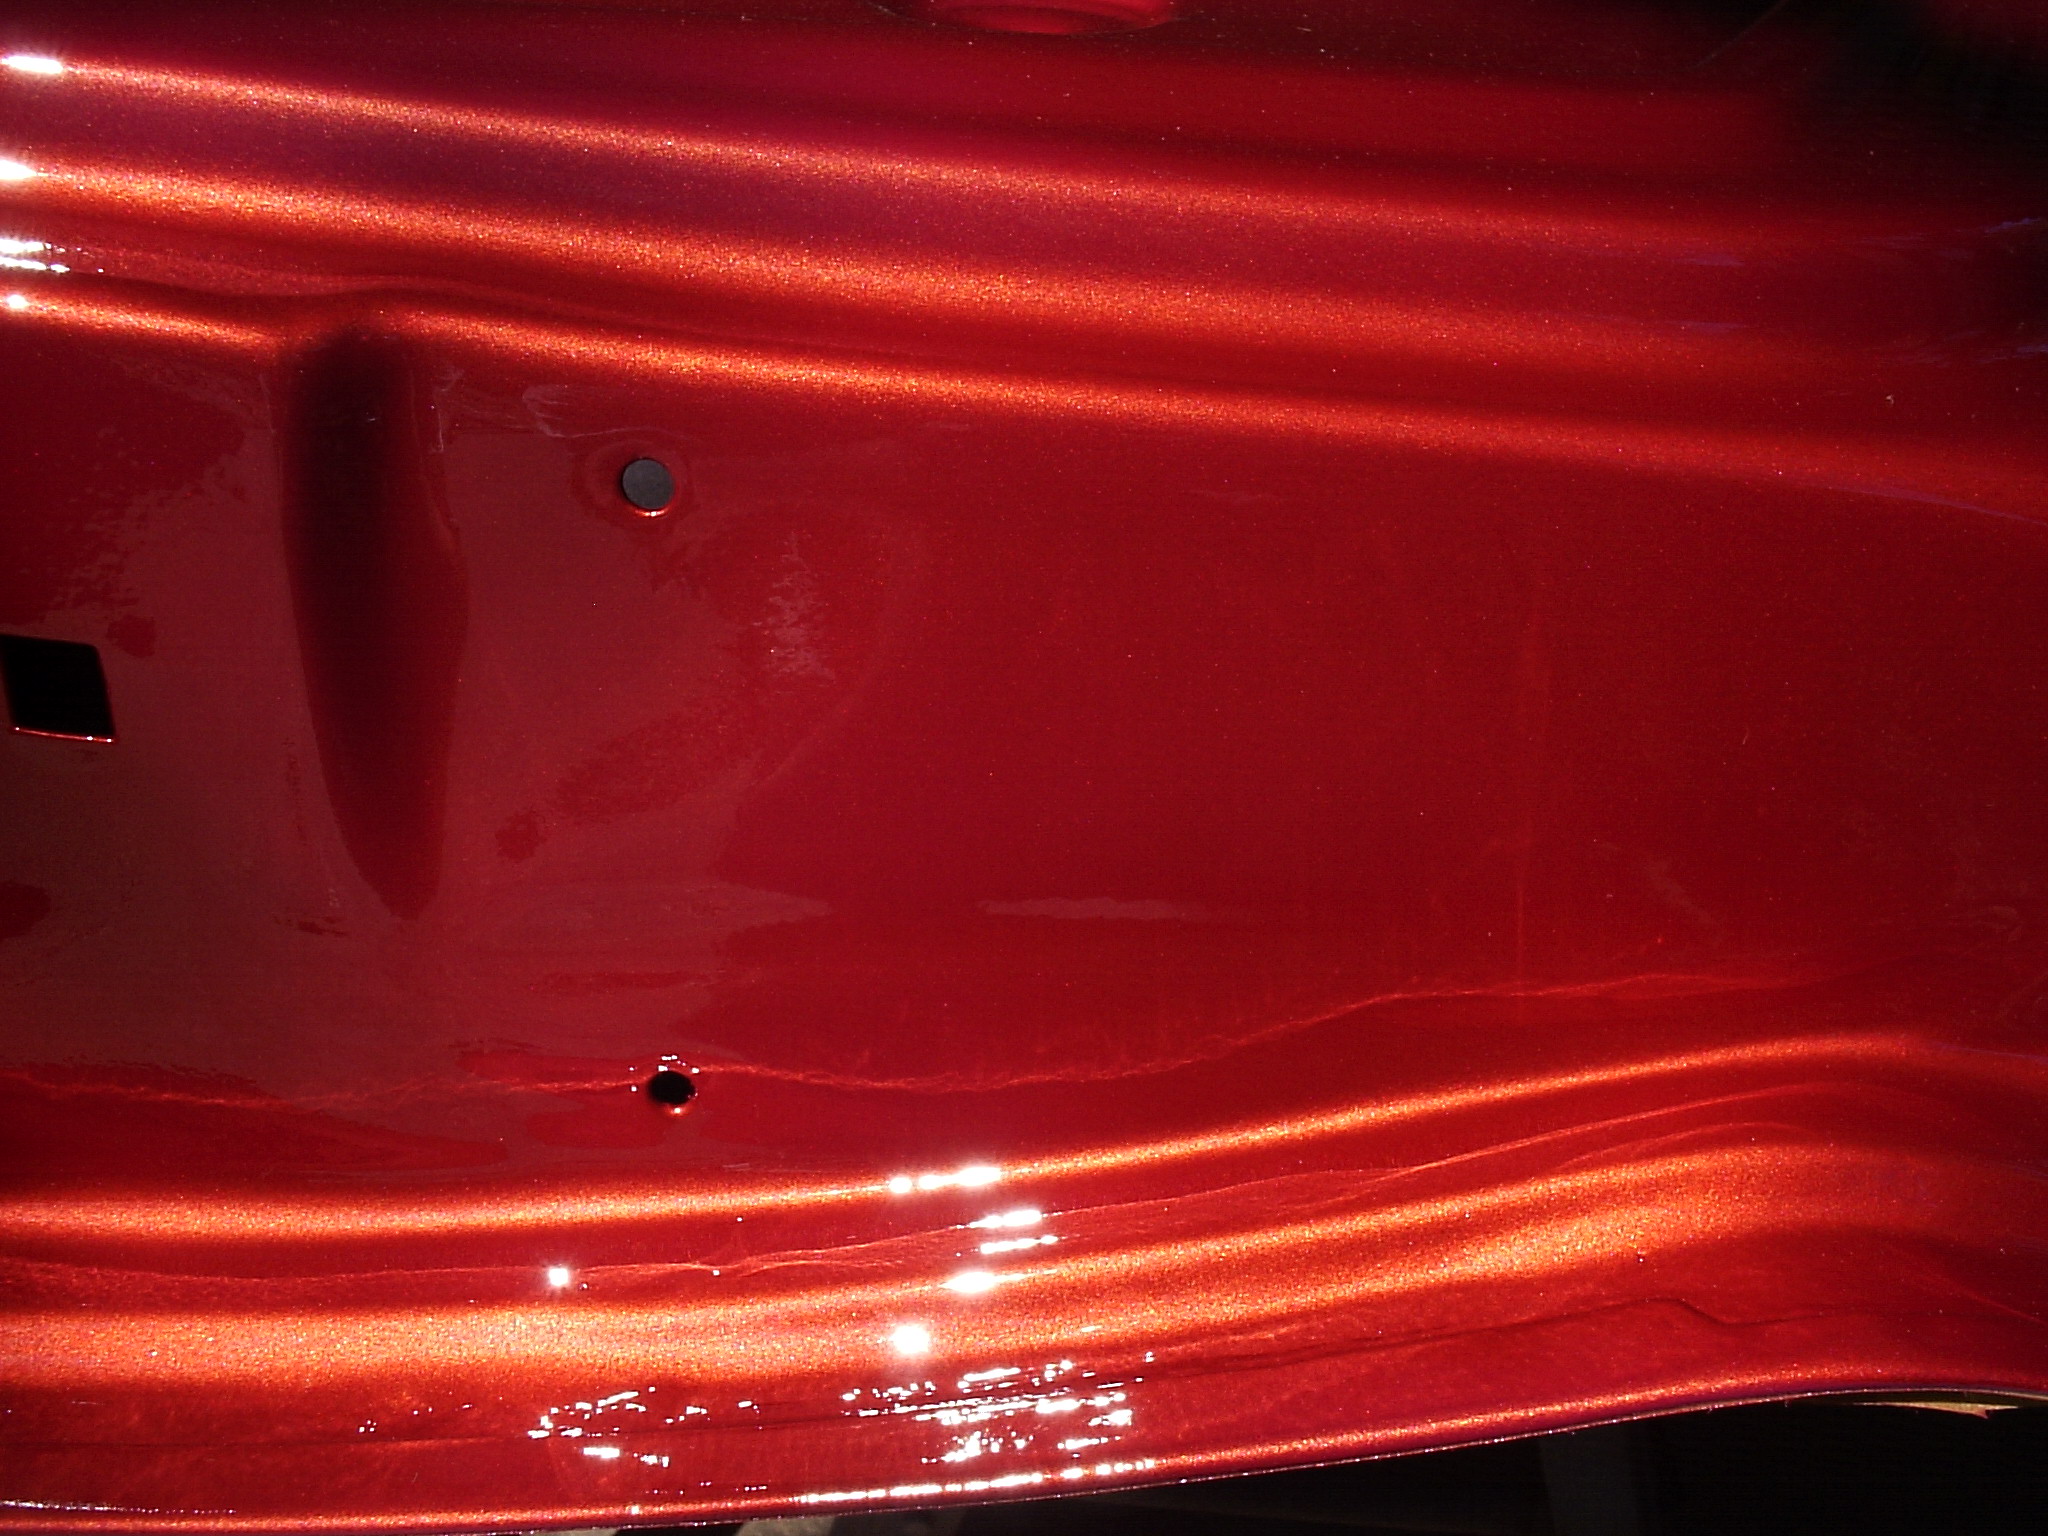
Another panel that was badly rusted was on the bottom of the bed just below the tailgate hinge which reinforced the bed where it gets bolted to the rear of the frame. It was replaced with another one from our '78 F-150 and is seen in photo 1 below. Also photo 2 is another section of the rear bed floor flange that was eat up with rust. Its patch panel came from our '78 F-250. The last two photos show the removal of the rivets and the welding of holes from the "Race-Trak" trim that will not be going back on.
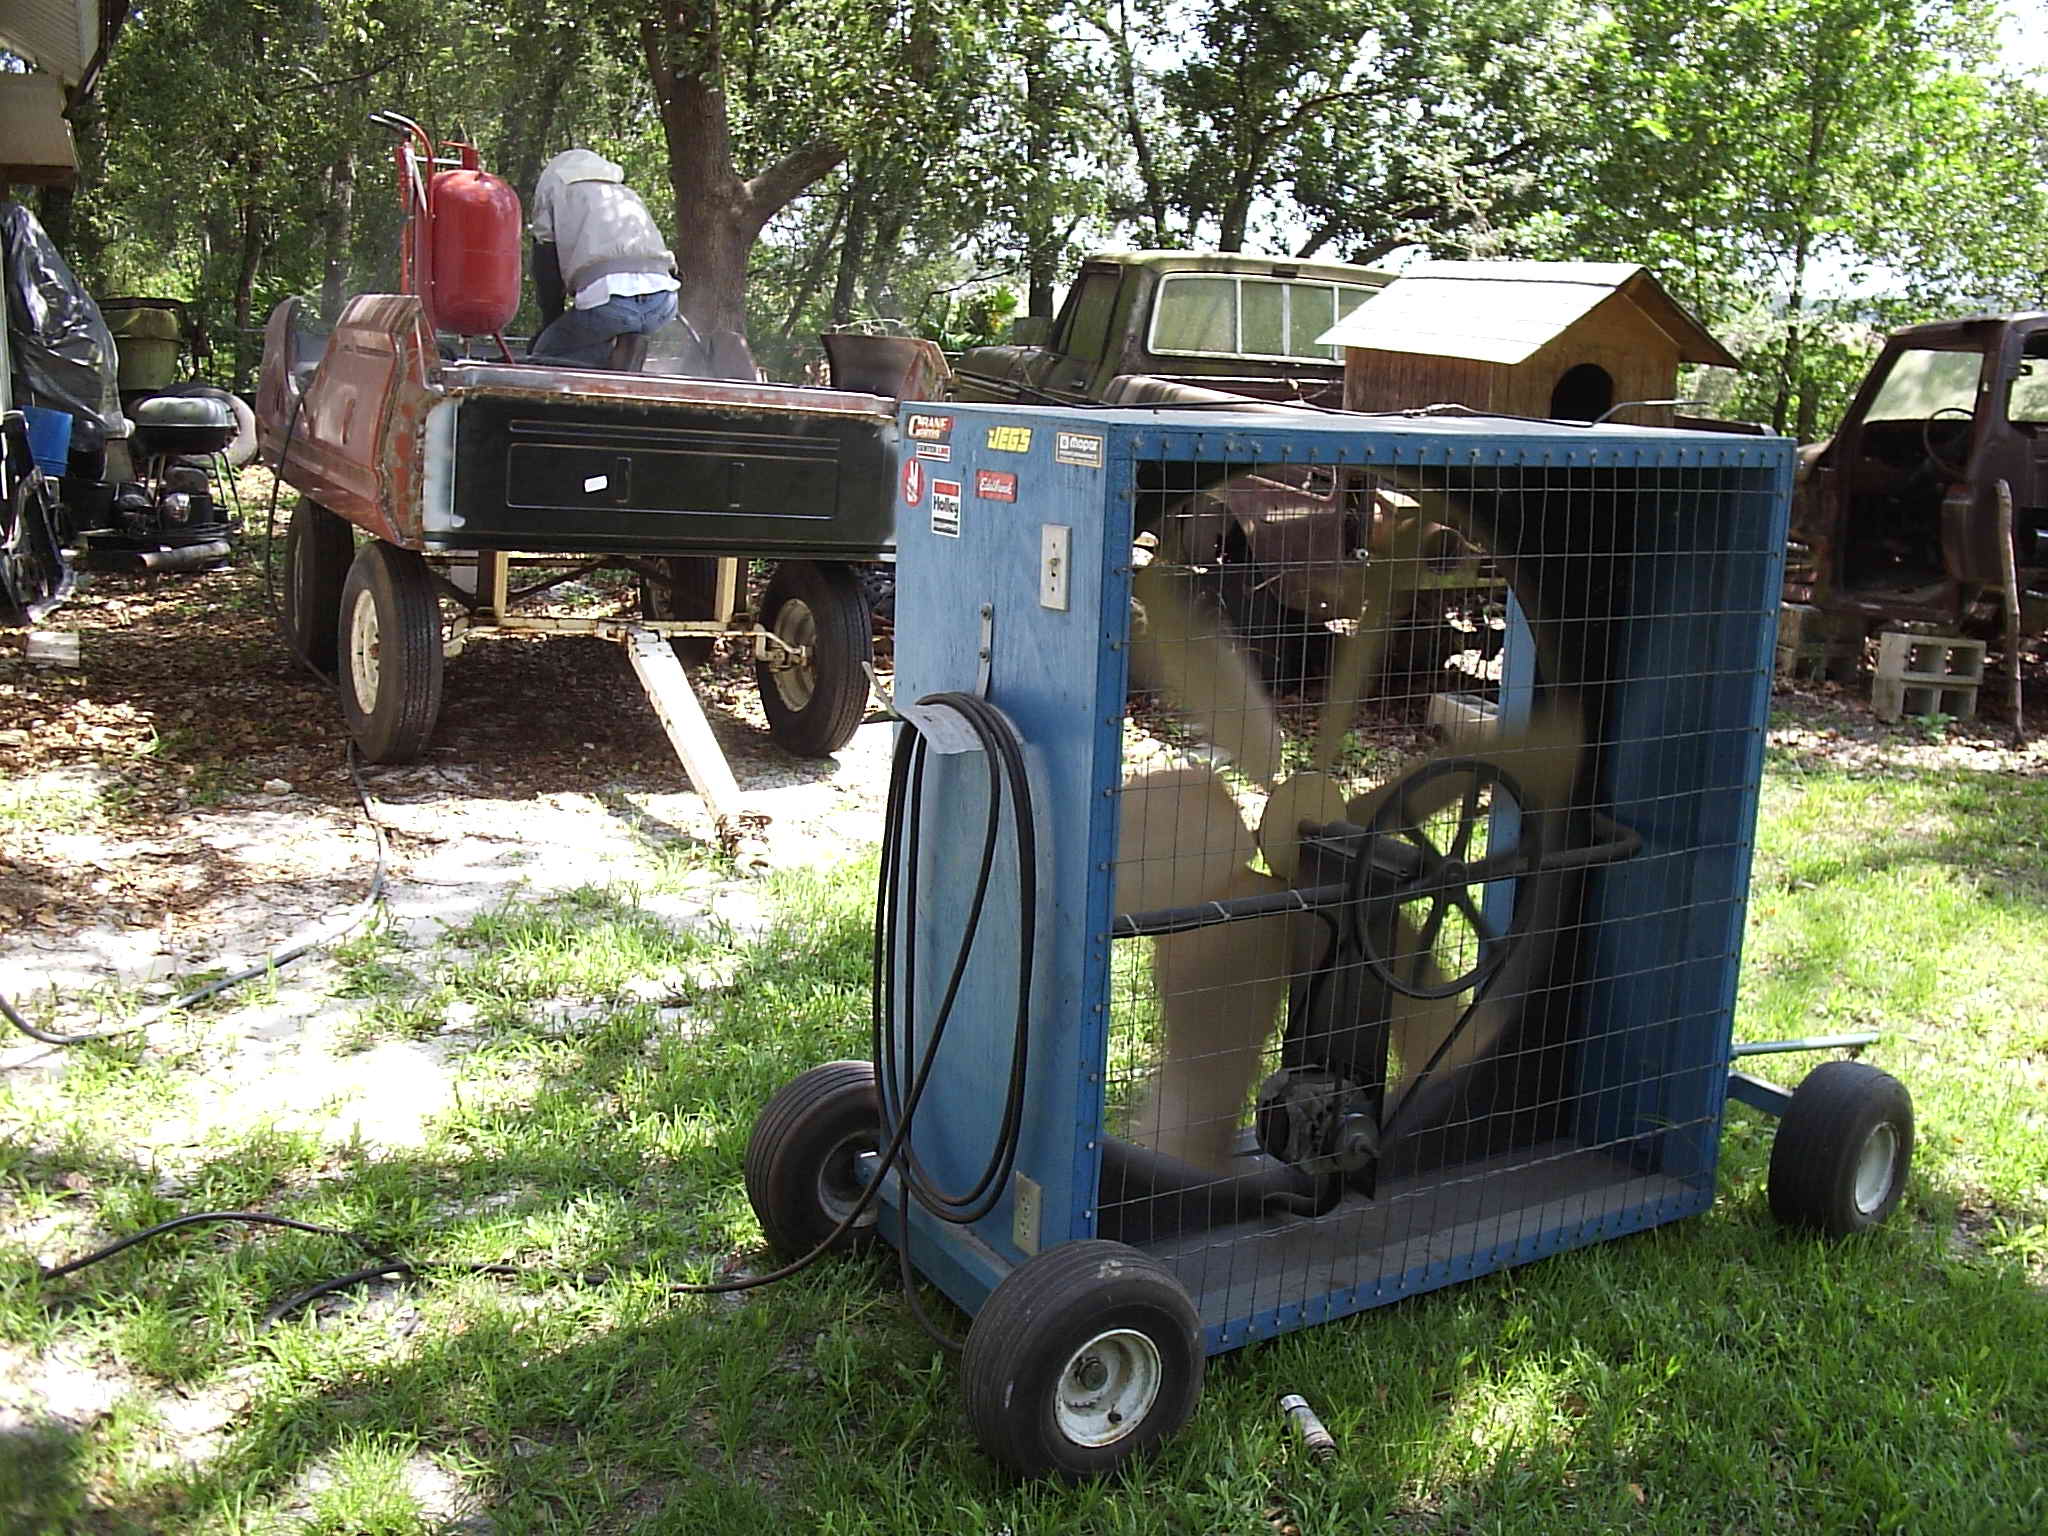
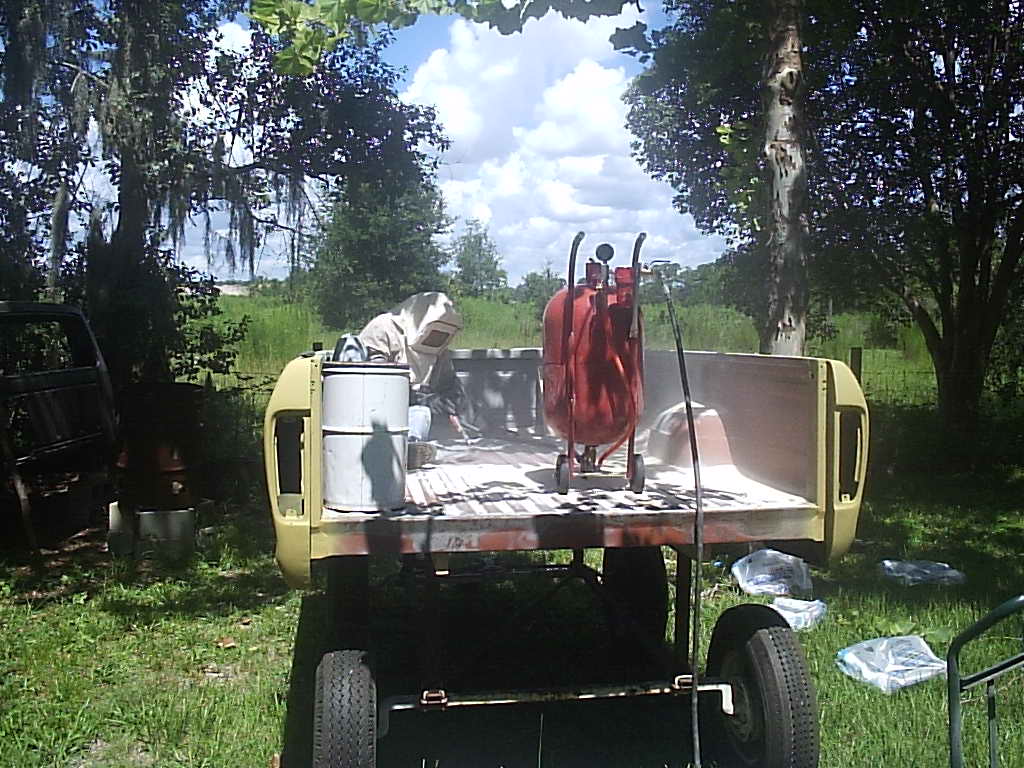
The bottom of the bed had a light coat of surface rust. Rather than slap on rust remover, we decided to do-it-right and sandblast it. This process took longer but the results are much better. Below is my dad and I making good use of our "Wind Master" fan to blow the sand/dust away. This was done in the rear of the shop so sand cleanup would not be an issue.
After the underside and outsides of the bed were sandblasted, it was shot with more Vari-prime. Then the inside of the bed was treated to the sandblaster.
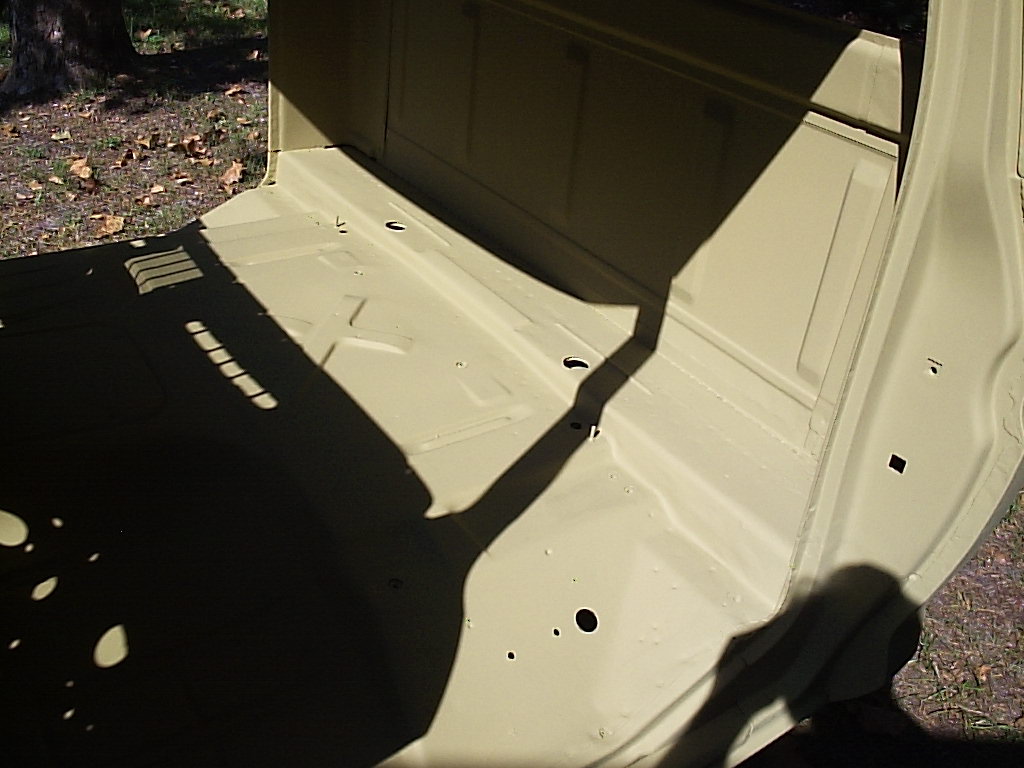
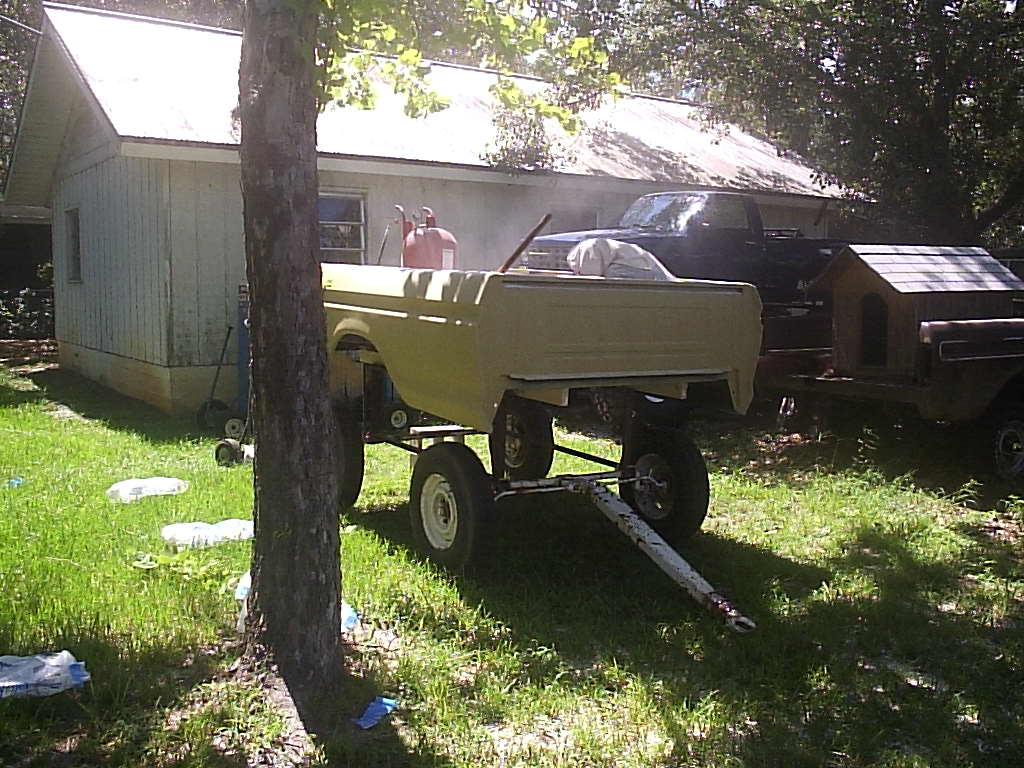
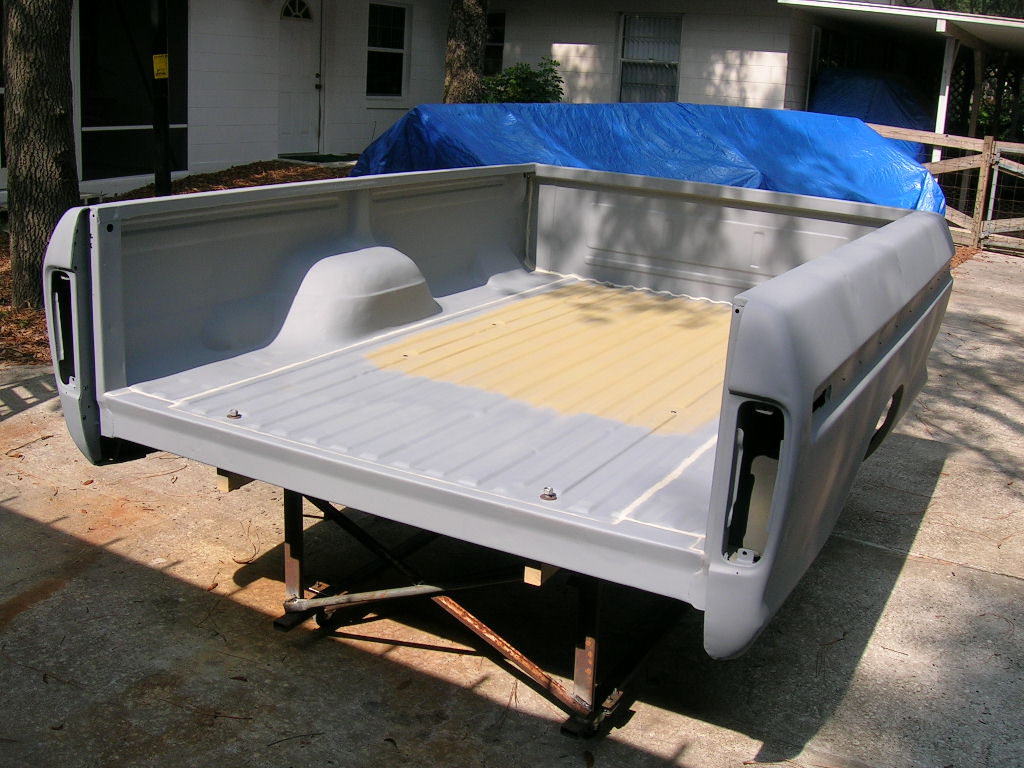
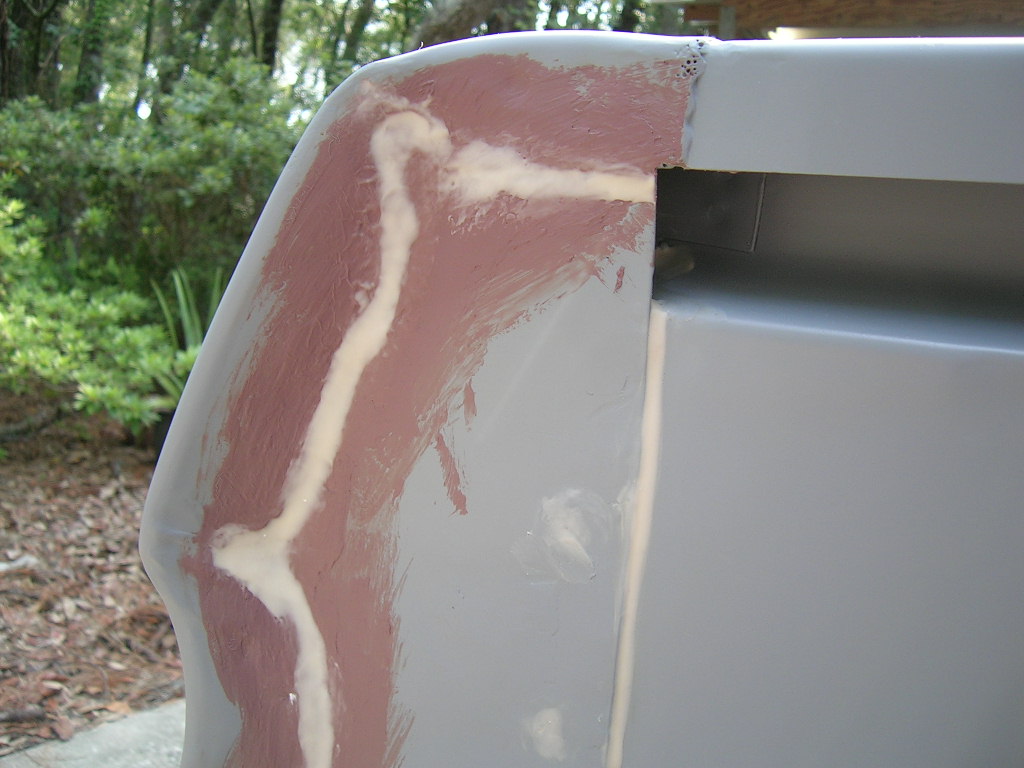
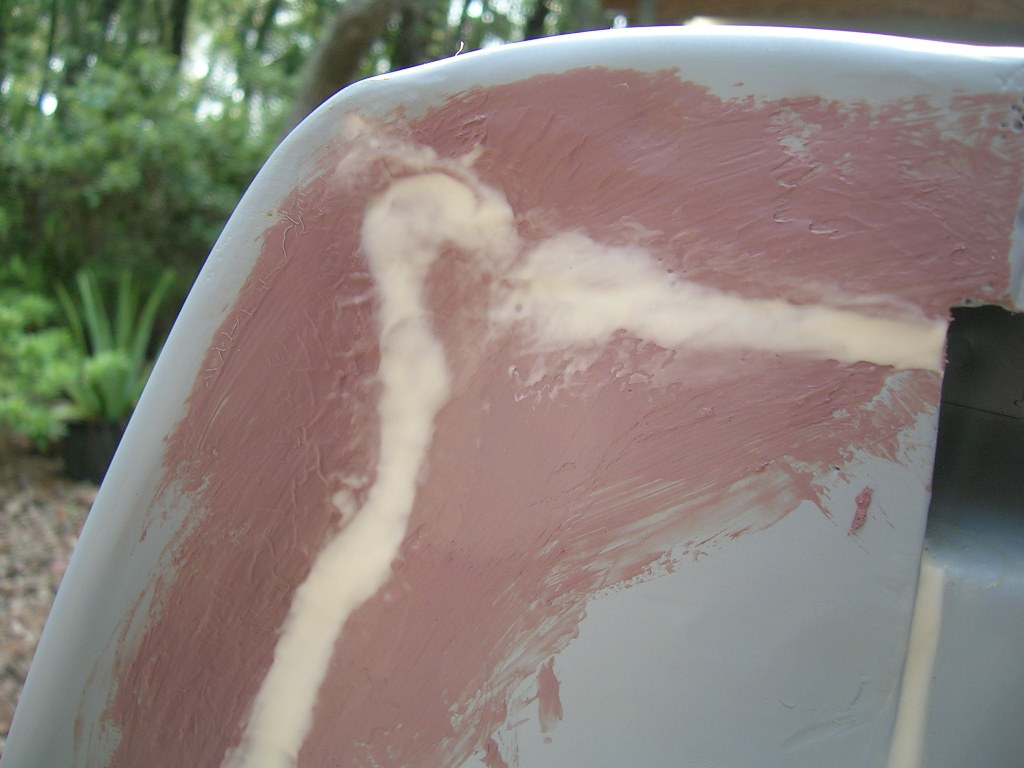
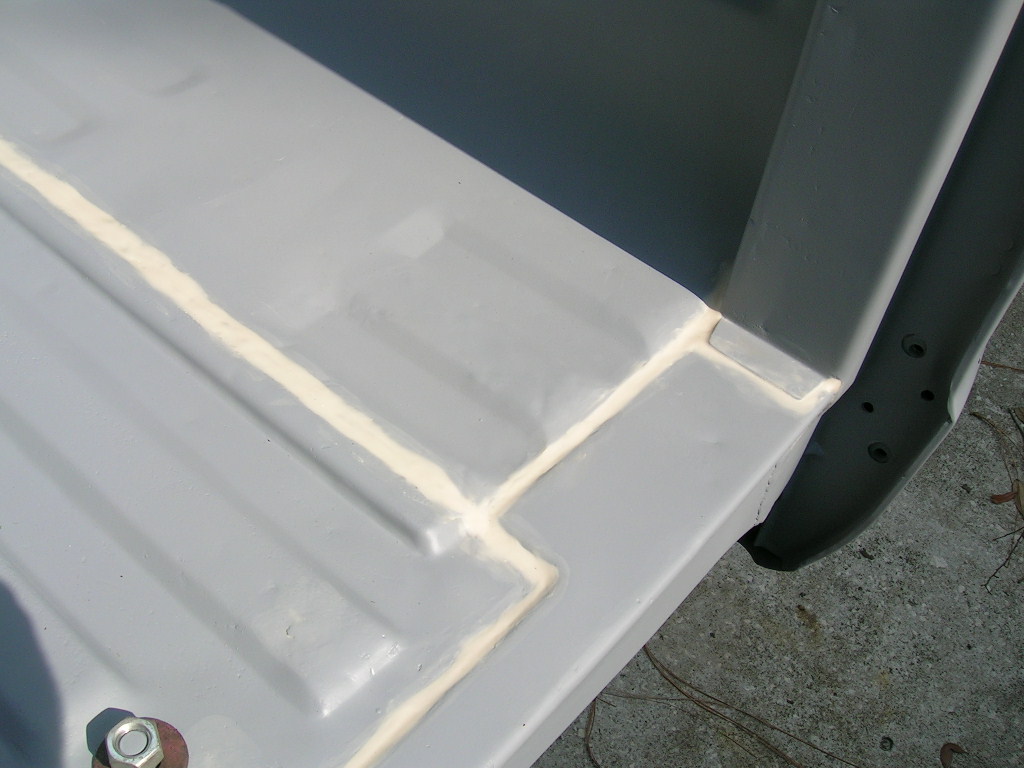
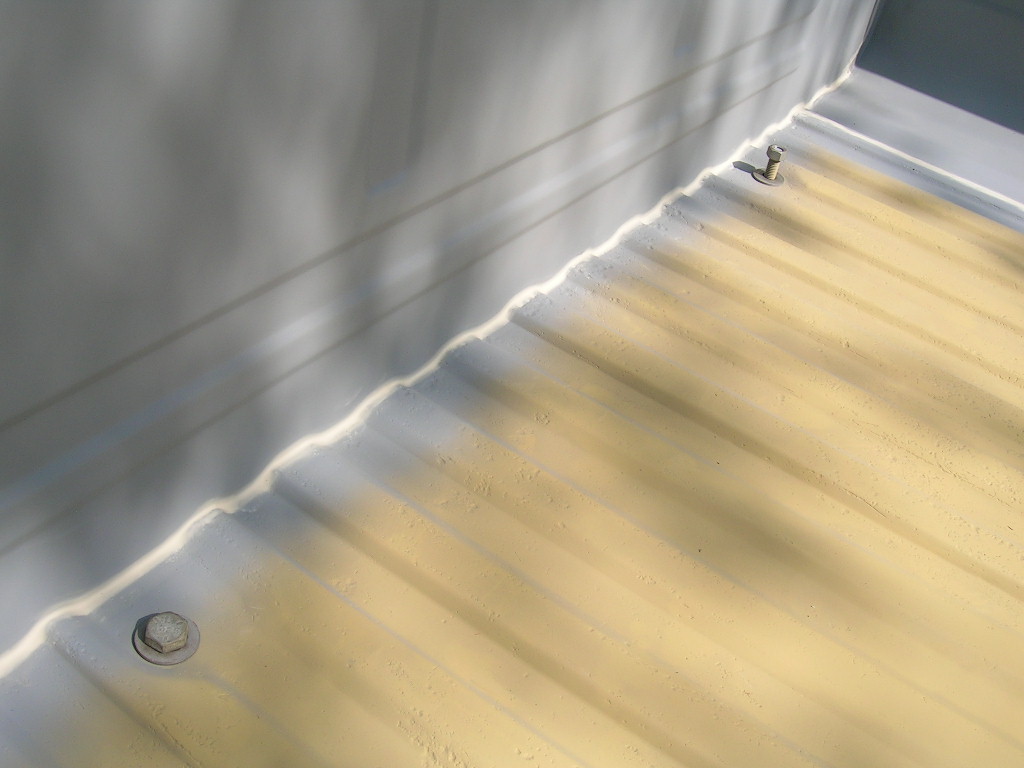
Once the entire bed was sandblasted and coated in Vari-prime, it was then sprayed with gray filler primer. Body seam sealer of two forms was also applied. Another of my "requests" was to weld up the stake holes in the top of the bed rails since this will no longer be a "work" truck.
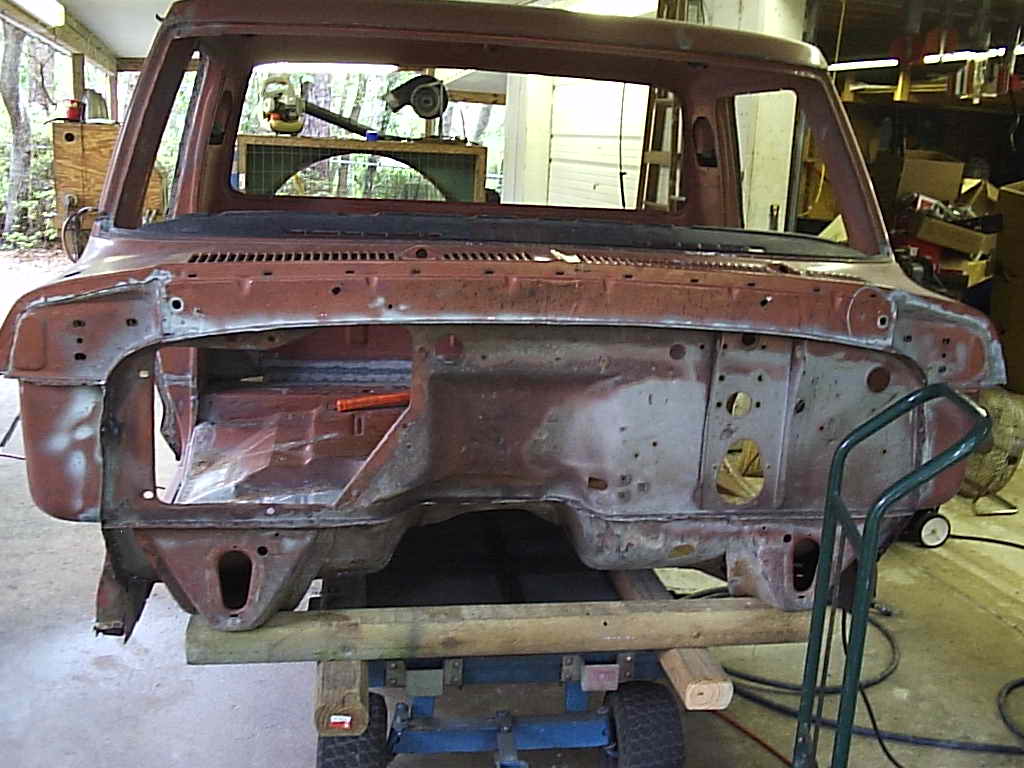
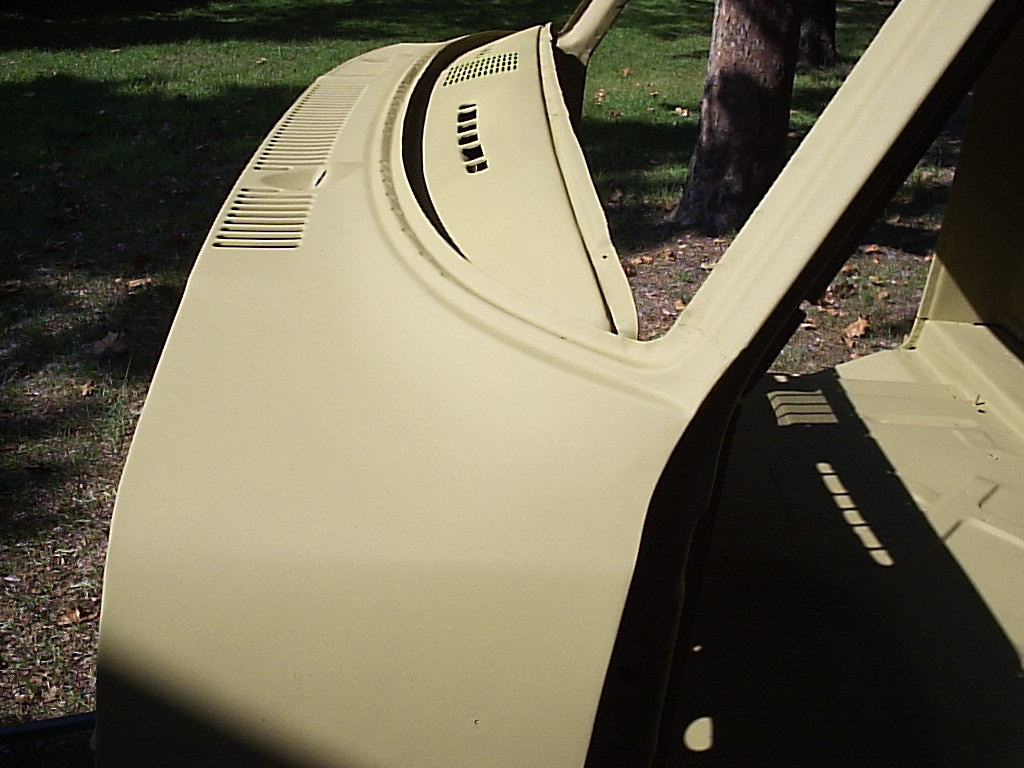
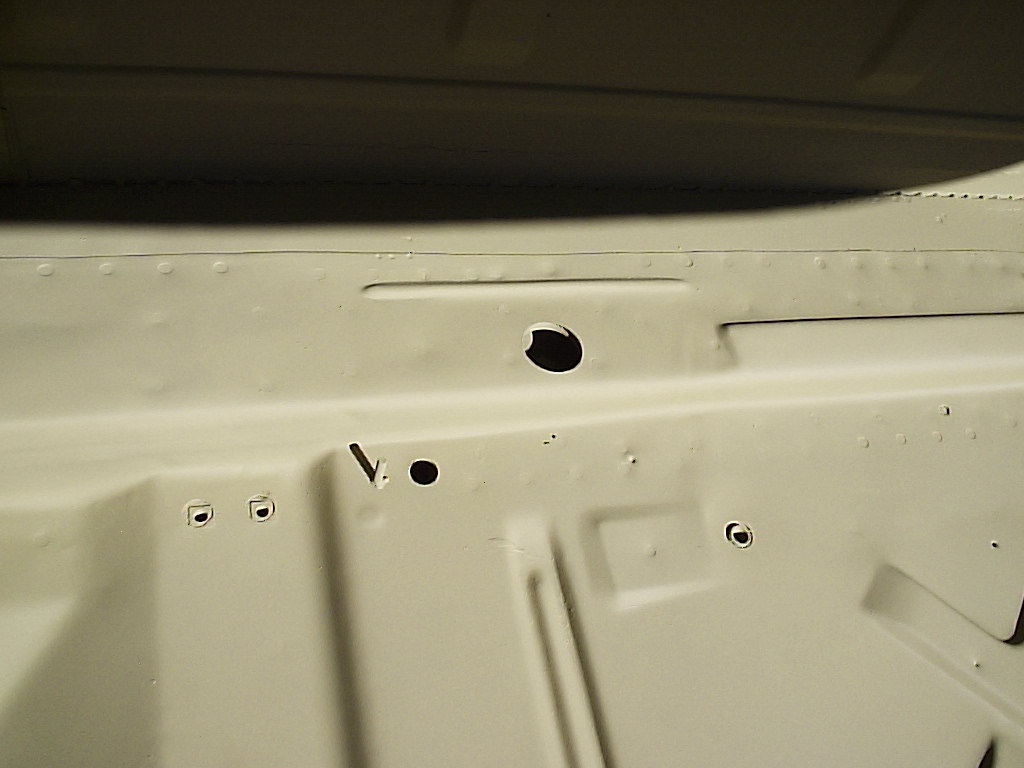
The hood and inner fenders were cleaned up next. Luckily the inner fenders did not have any rust, they were just really dirty from road grime and leaky battery acid. Again the same treatment for the hood: cut out old cancer and weld in new skin, grind smooth and spray with Vari-prime.
After the hood, inner fenders, outer fenders, radiator support, cab, and bed were all finally finished with gray filler primer, they could now be set on the frame to check for alignment. This is very important after all the sandblasting and welding/grinding was performed since warping poses a huge problem with bodywork. This was the first time in over two years since the cab and bed were mounted back on the frame! I had forgotten how cool these style trucks looked!
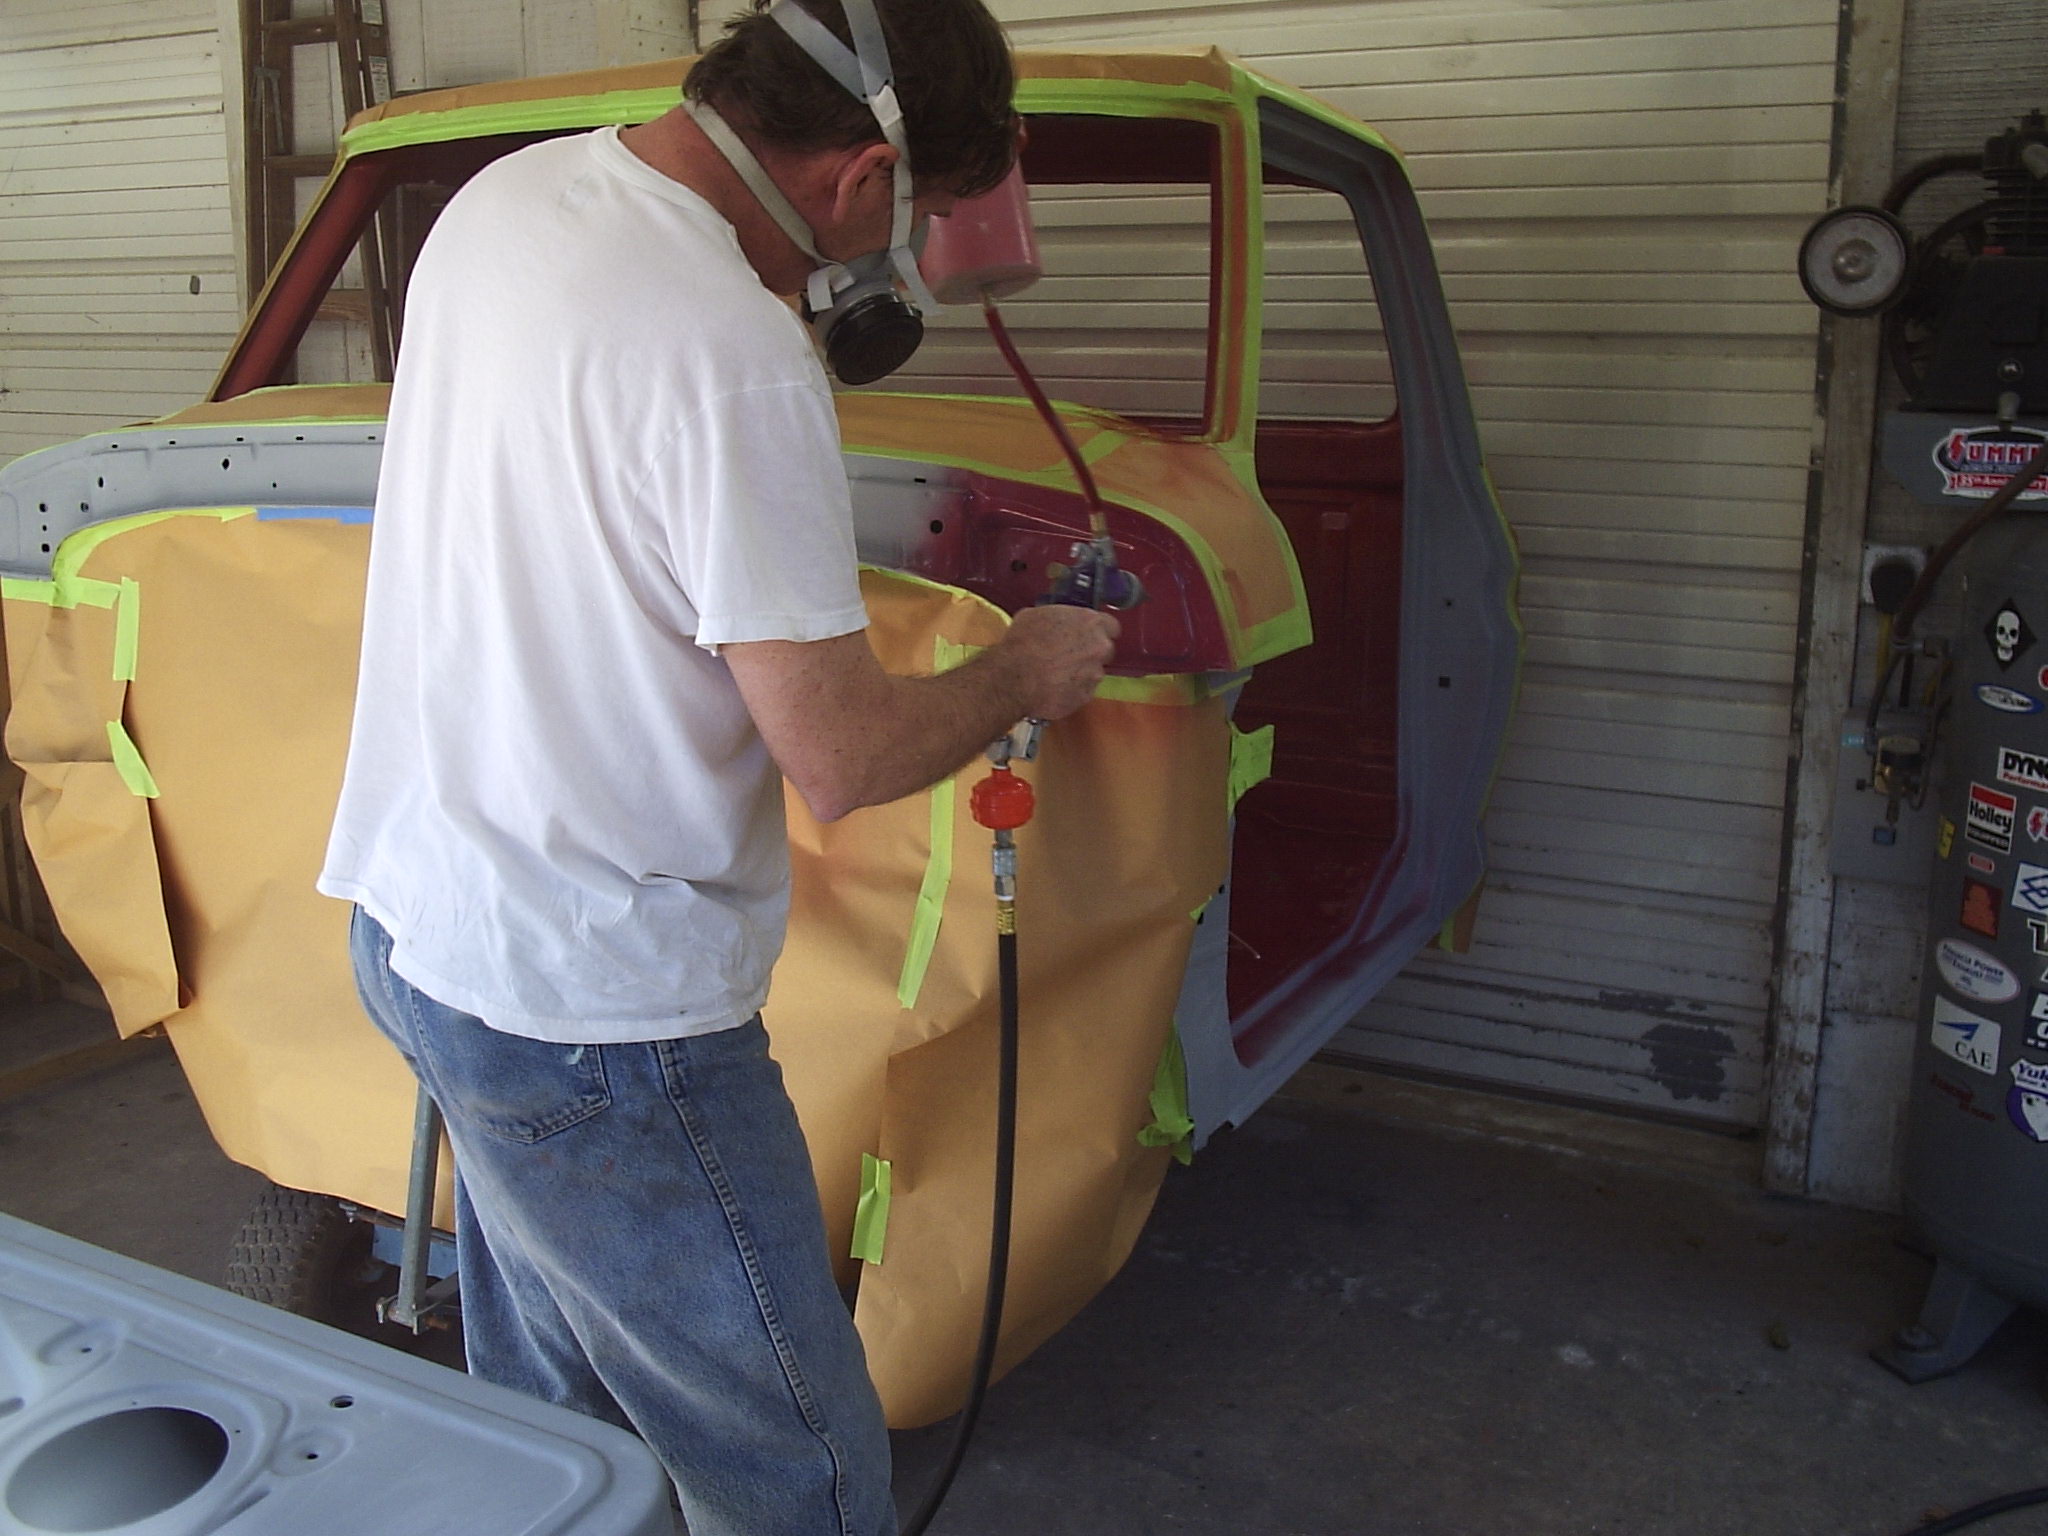
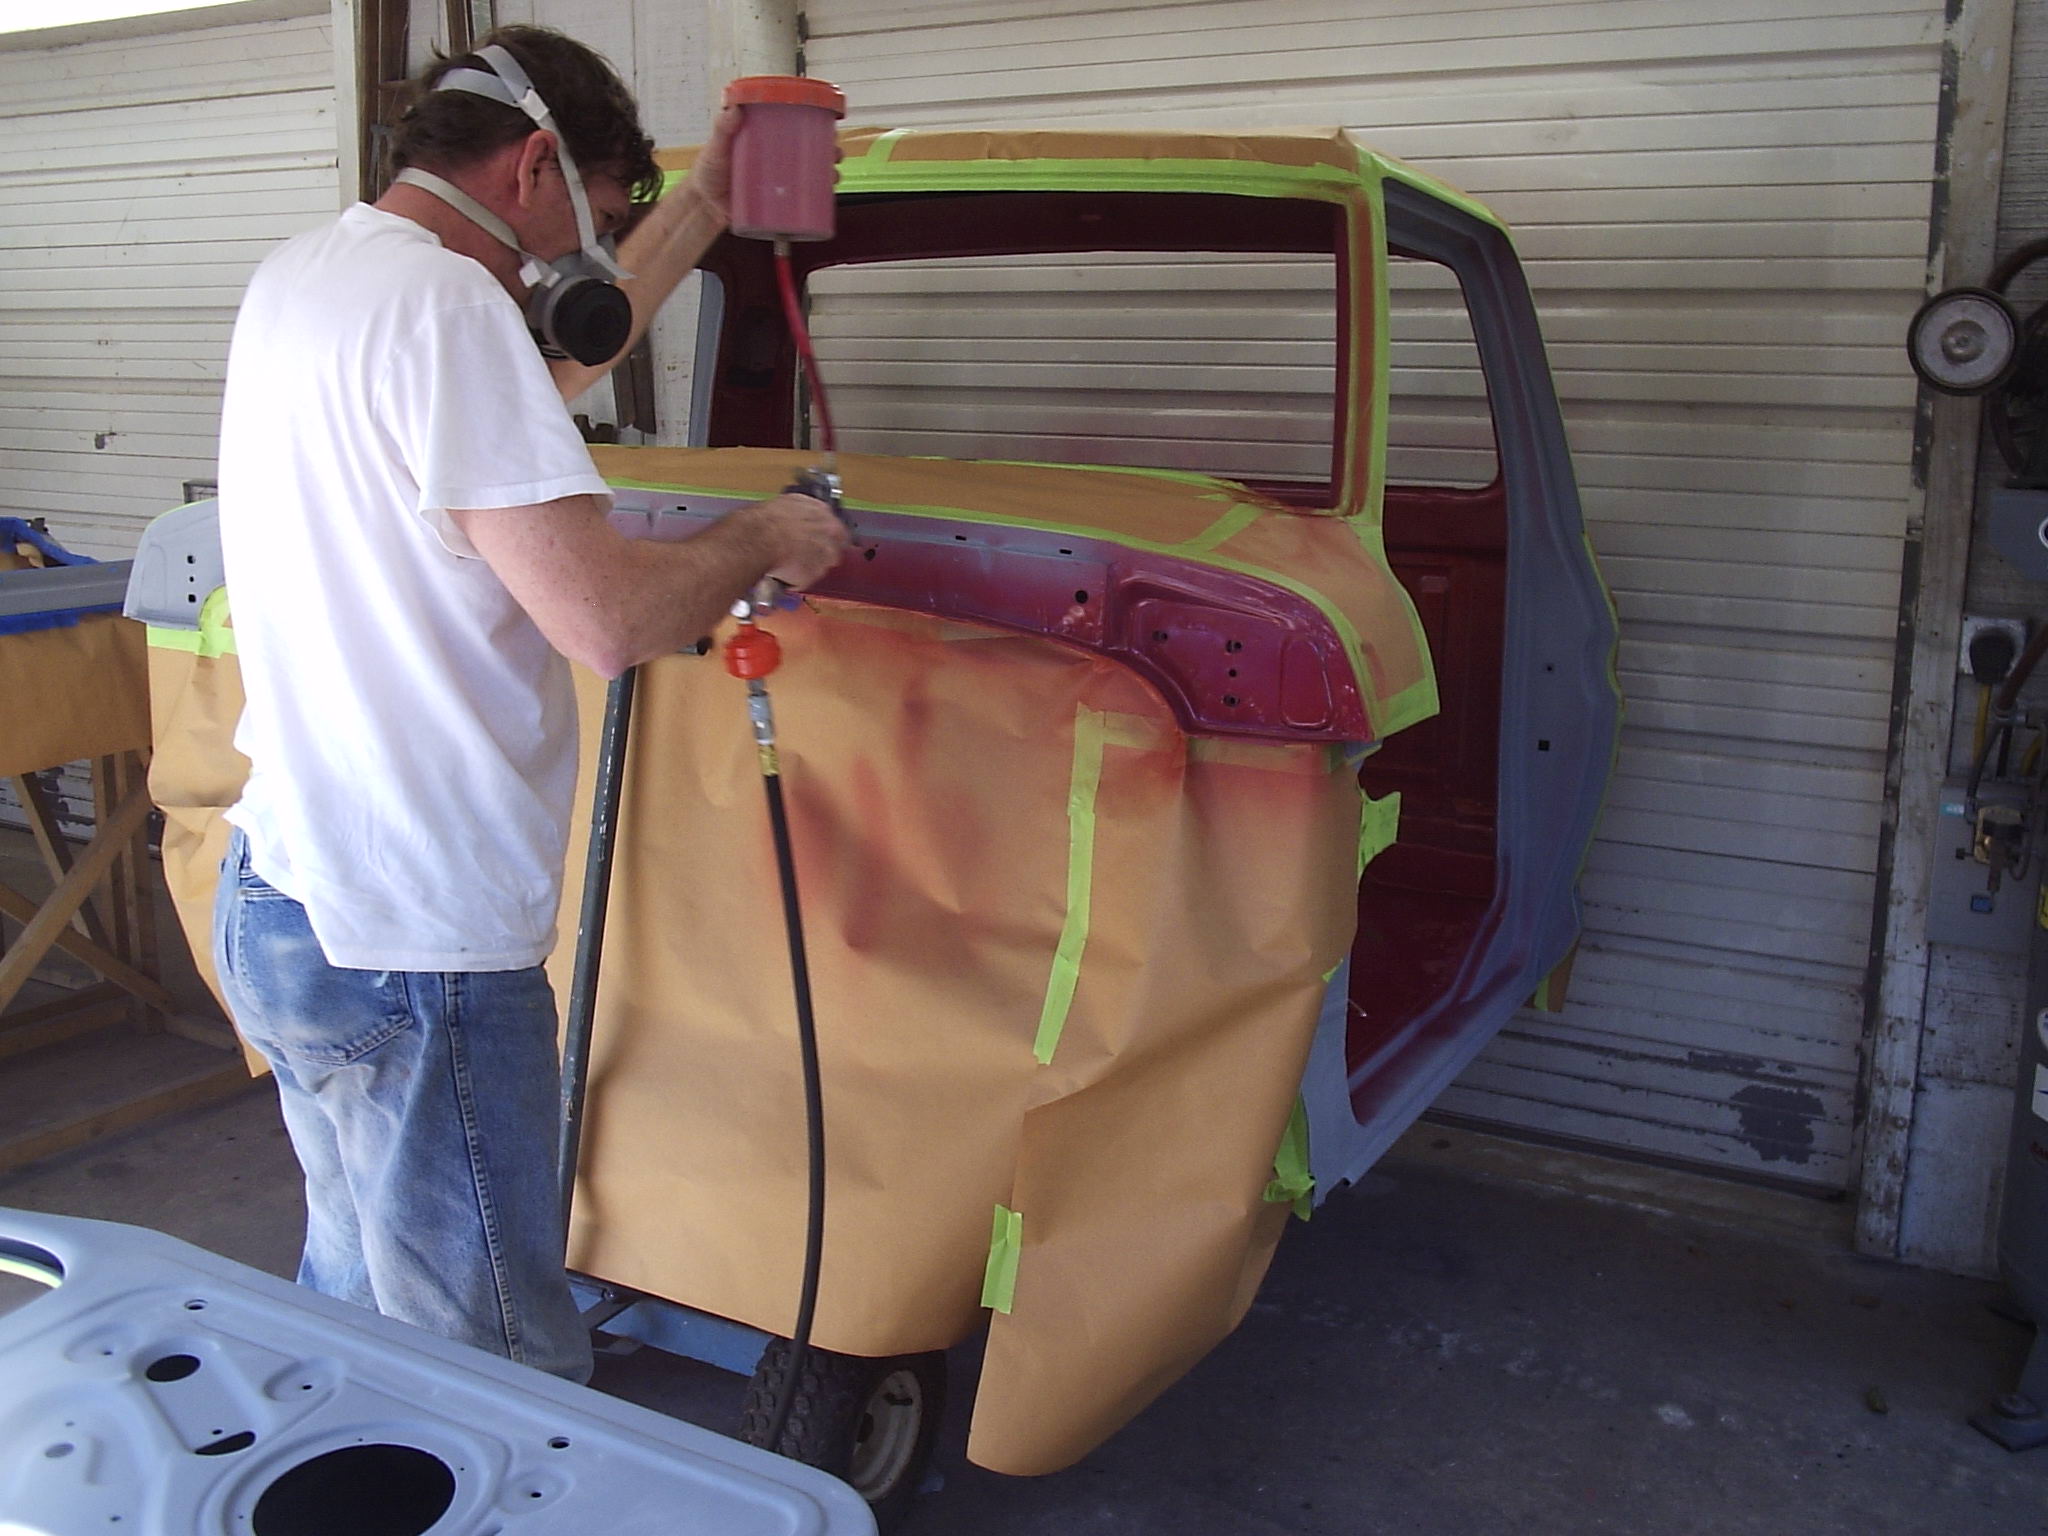
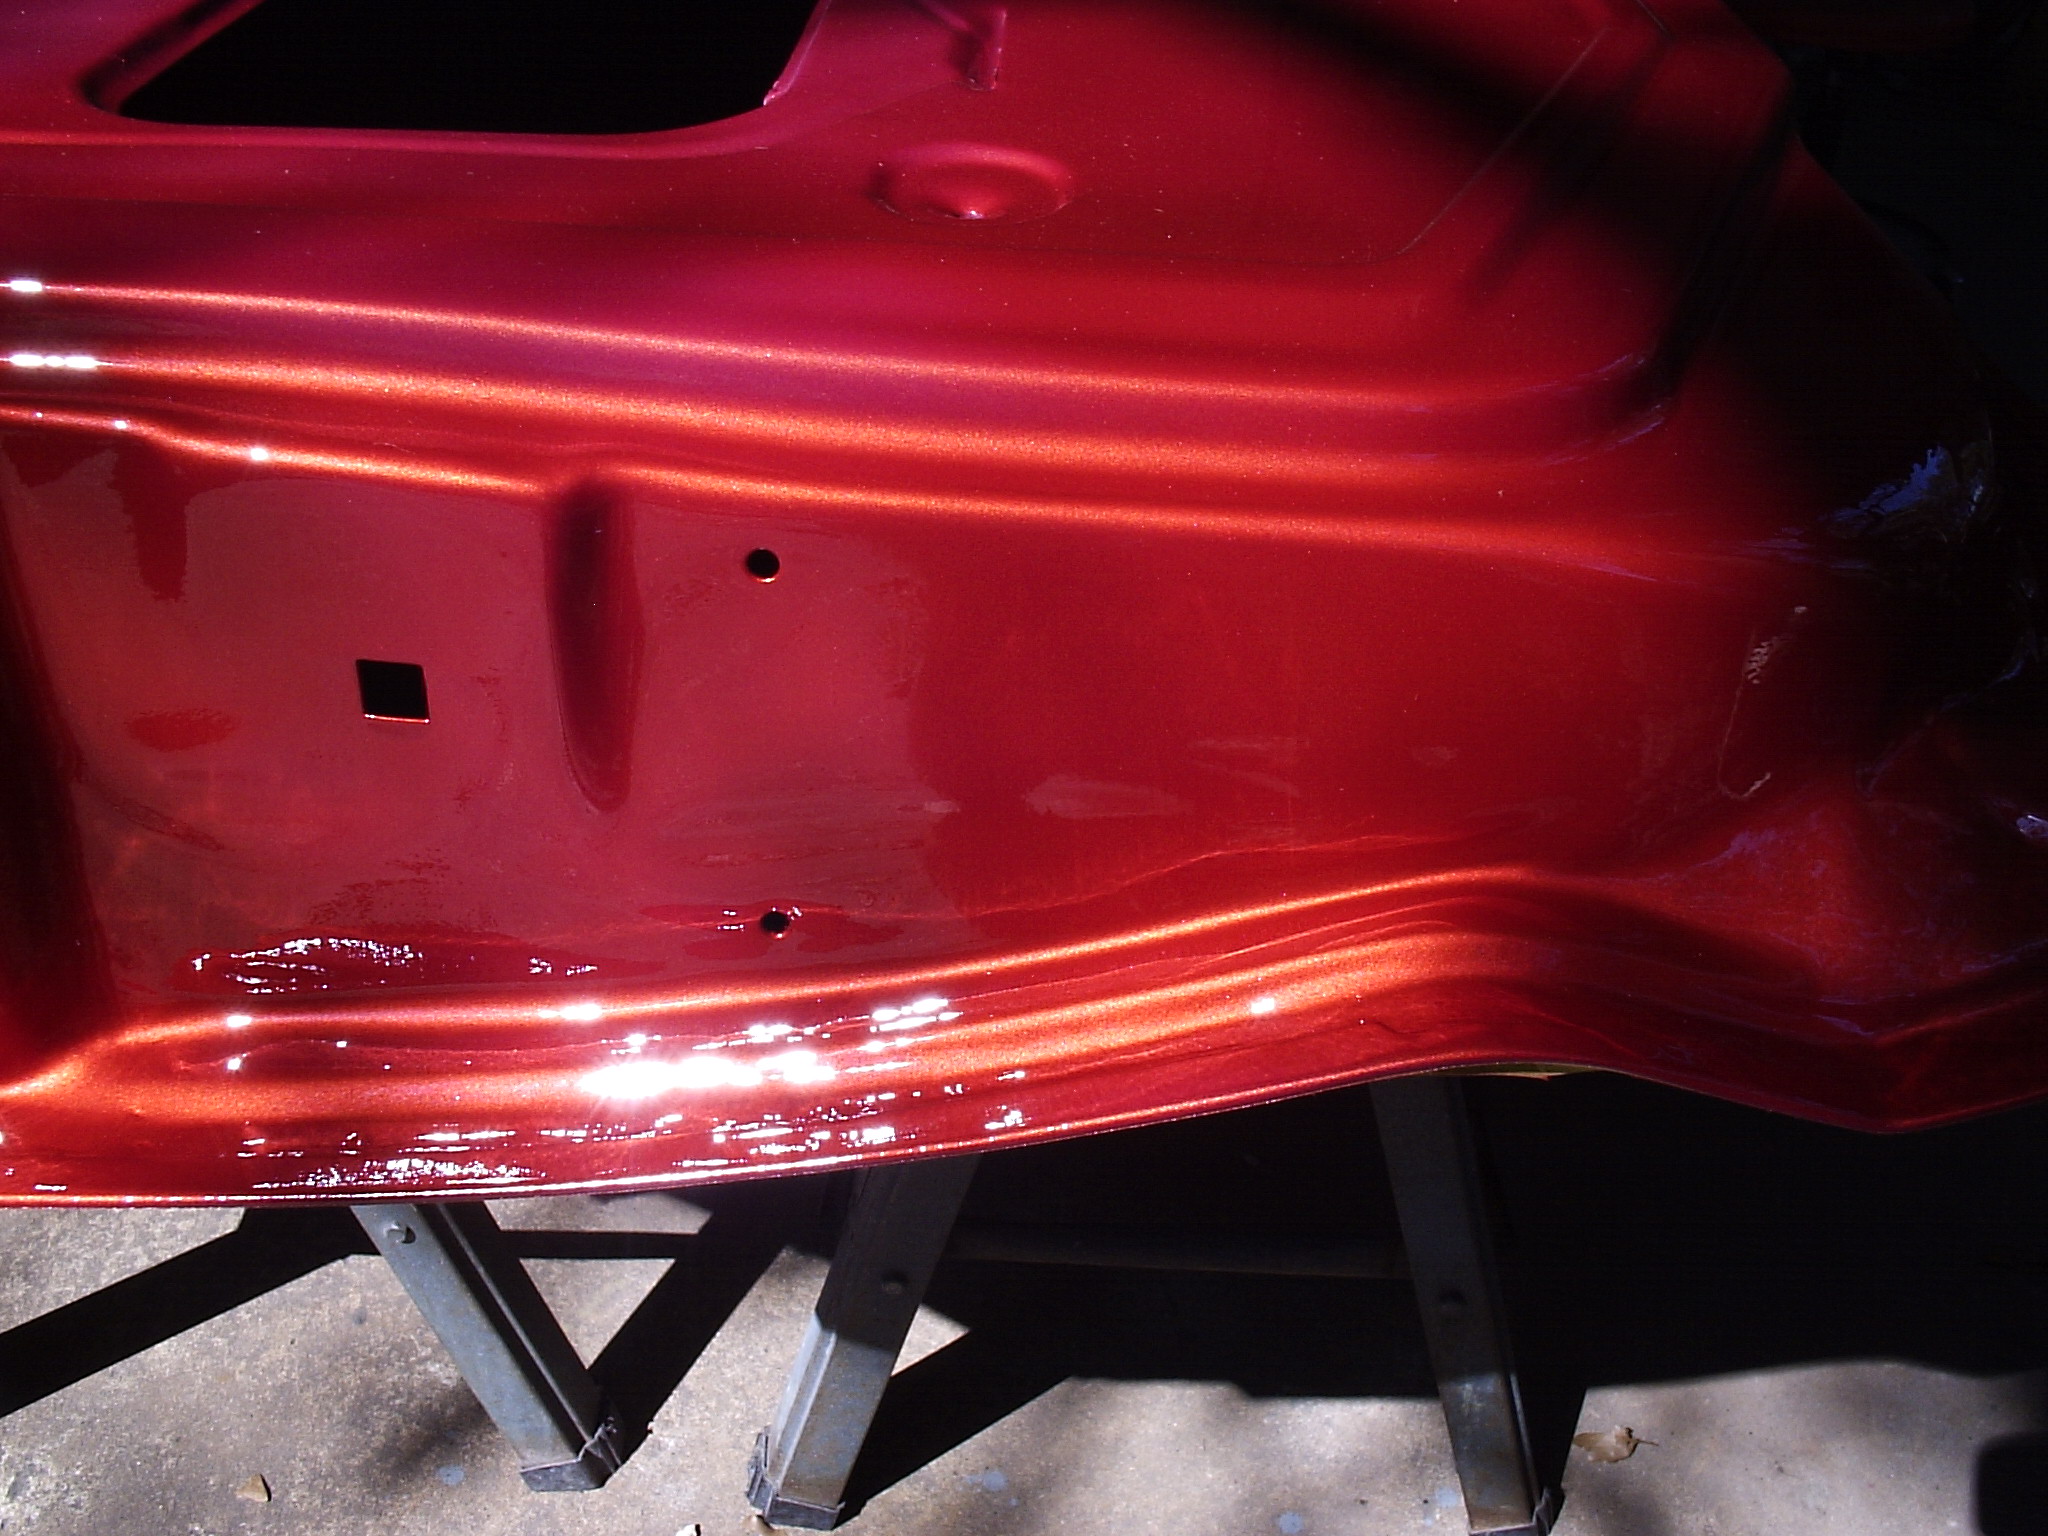
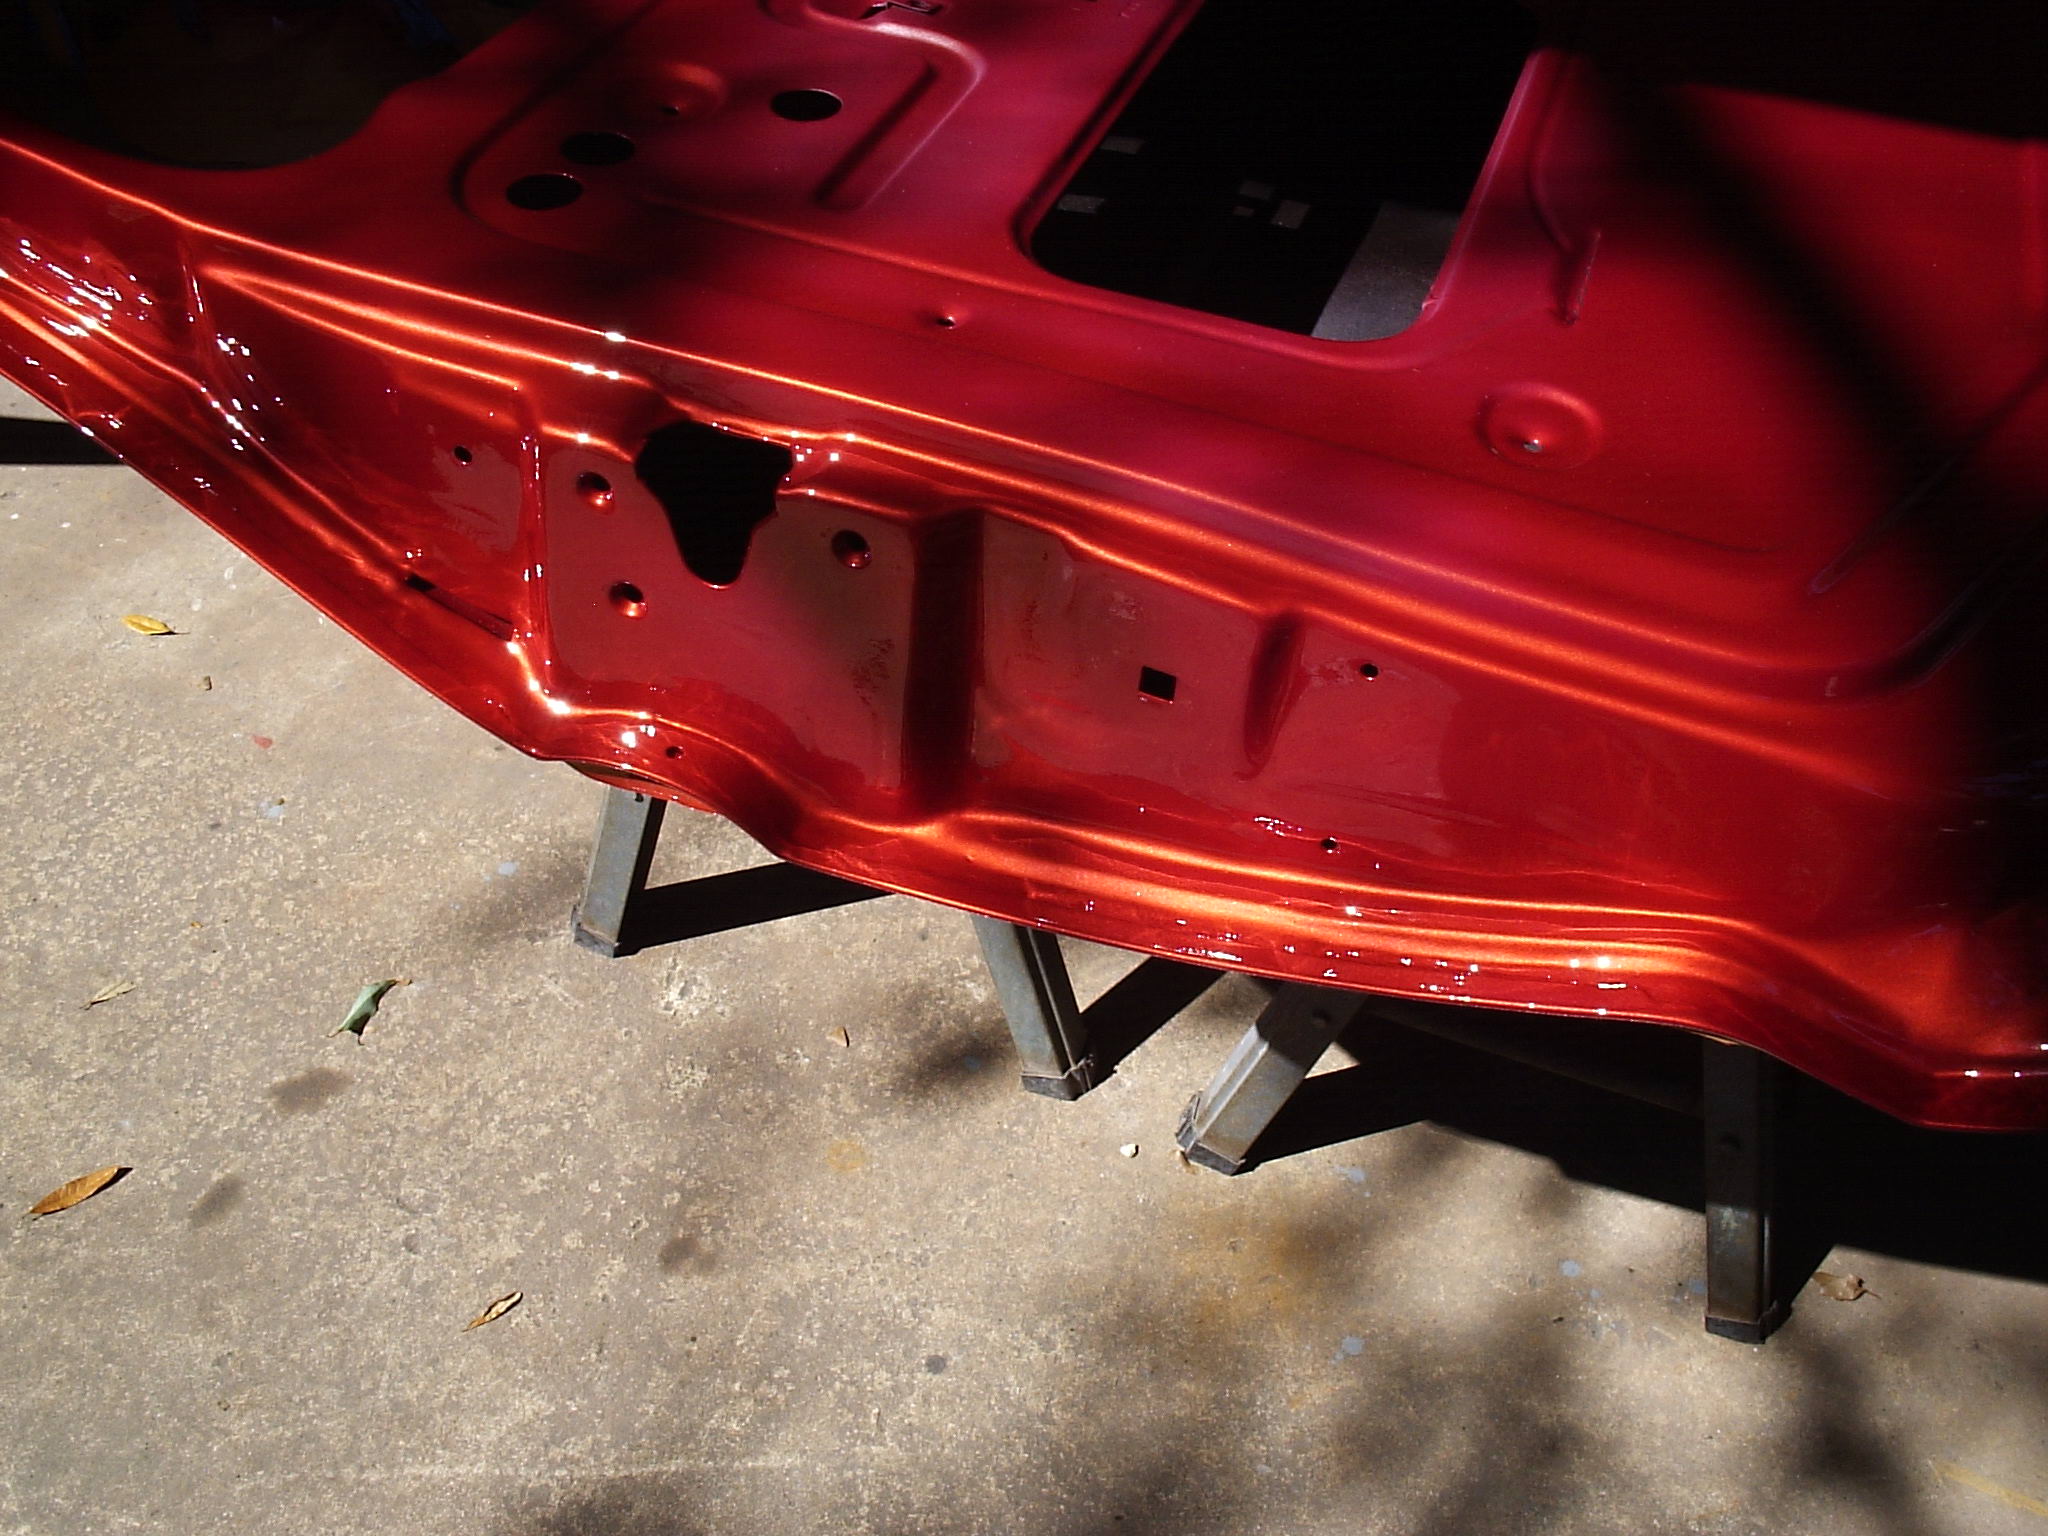
Now with the proper shims under the cab to align with the bed and fenders, the cab, bed and other items could finally be sprayed with color! The insides were tackled first so we could bolt the truck together and spray the outsides all at once for better color control.