
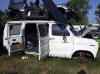
Luckily we found a van just like mine in a local junkyard!
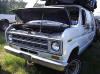
My dad won the argument of whether or not to use a donor vehicle to set up the suspension, cross members etc. onto. My brother and I thought it would have been more of a hassle to use another frame and then swap bodies later. (A van body is much heavier and more difficult to handle than a truck due to its size and inseparable body panels, so only go this route if you are sure you have the facility and the ability to do so.) The downtime of my van was not that big of a concern, I am a fulltime student in school, however I got a good deal on a 1977 2wd F-150 Ranger with a 460 to drive while the van undergoes its transformation. But getting under my van to see what exactly needed to be done, proved that one thing led to another and this wasn't going to be as easy as just welding some axles underneath.
Click on the thumbnails below for a
larger view and description.
Don't forget to use the arrows to scroll through all the pictures.
|
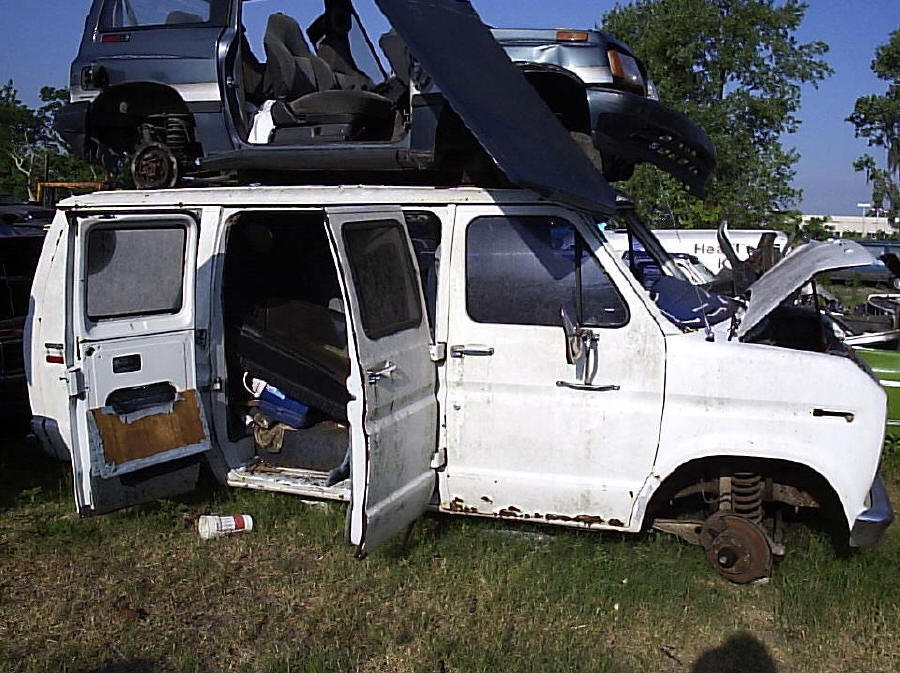
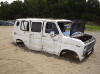
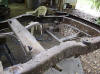
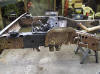
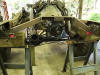
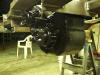
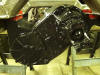
Well here is the 1976 E-150 shorty. Complete with the Geo Tracker 4x4 on the roof for when the van needs that extra go haha. The body and interior along with the 351w and C6 were all shot, but the frame sure was nice and thats all I needed.

|
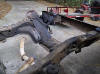
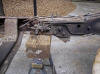
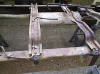
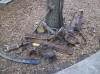
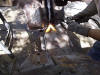
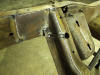
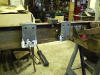
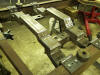
The first order of business was to knock off all of the useless 2wd suspension brackets. None of the twin I-beam system had anything worth saving for the 4wd conversion. Also, the pic shows our modification to the engine/ axle crossmember. The reason it is so wide is because it holds brackets for the I-beam pivot points which are spaced out a few inches from each other. What we did was cut out the middle section (about 6") to make things roomier underneath for whatever shall lay ahead. It will also make getting to the oil filter much easier.
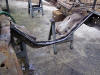
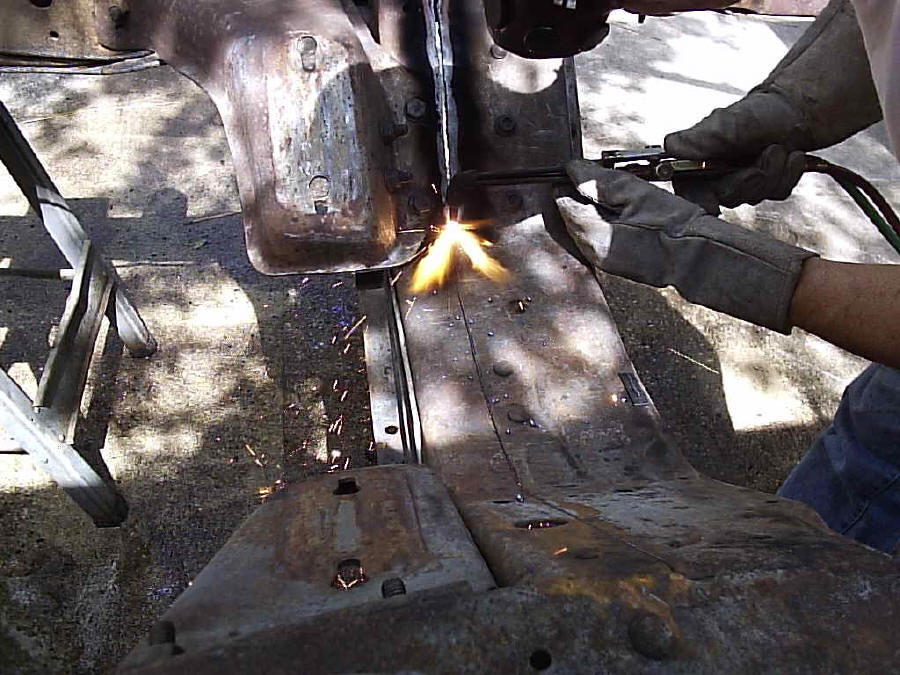
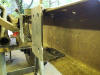
Note: Performing all of this welding to the front of the
frame pulled in the horns about 1" on each side. This was very frustrating to
deal with when the time came later to check body mount locations. The cure:
using an 8 ton engine hoist jack sideways in the frame while applying heat with
the torch pushed the horns back out to their original location.
This shouldn't happen to anyone who braces the frame horns with a 2x4 or 4x4 to
keep them from pulling inwards while the cross member is welded in.
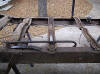
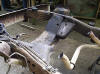
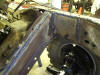
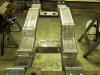
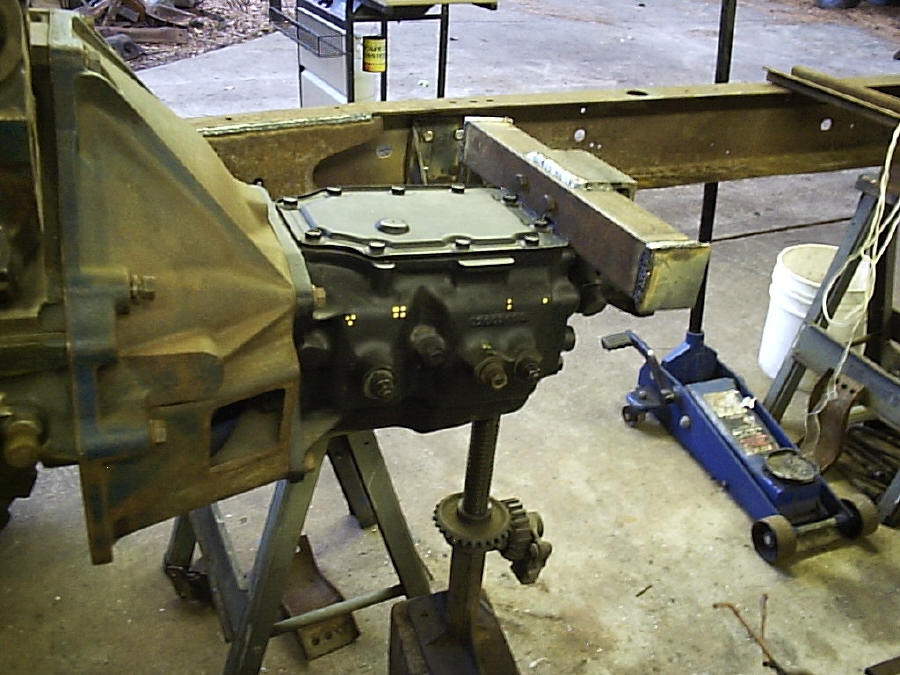
Now that the engine cross member was taken care of, attention was turned to the transmission and transfer case mounts
Now that the axles are finished, we started work on the cross members for the tranny and t-case. While we are waiting on parts to come in, hopefully we can have some other things finished by the time the Skyjacker springs arrive, such as relocating the main fuel tank, rather than shortening it.


%20008%207-25-04.jpg)
%20007%207-25-04.jpg)
|
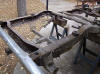
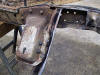
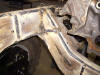
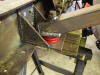
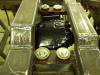
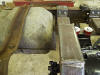
This top mount is proving to be more difficult than we expected. Since it mounts from the top, there is very limited space between it and the body (about 1" to be exact). So the mount had to be strong yet thin. Angle iron is great stuff for this application. The mount also has to clear the shifter linkages which are all in a tight area with limited space.
Move on to the springs and suspension page for more!